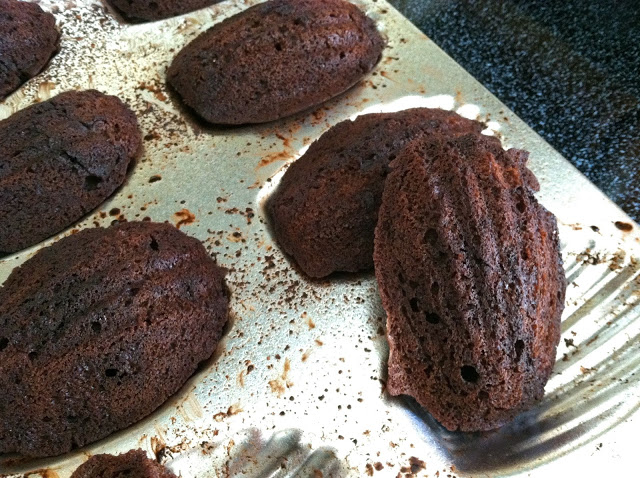
Chocolate Greek Yogurt Banana Bread
My sister served me this bread last week for breakfast and I enjoyed it quite a bit, so this weekend I decided to make myself a loaf. It's a wholesome chocolate banana bread made with whole wheat flour and Greek yogurt. When eating a breakfast bread, I like like having a nice thick slice; something I can really sink my teeth into. This bread is perfect for that. And topped with a little peanut butter for a little extra protein umph is my favorite way to finish it off!

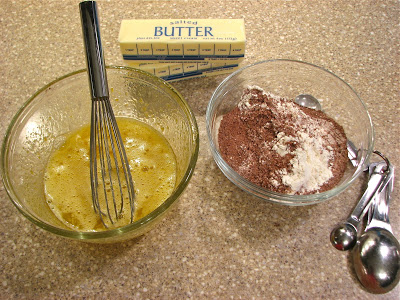
I streamlined the original recipe here, just so I didn't have to use as many bowls! Mix the wet ingredients in one bowl, the wet in another and mix them together. Done. I also did what I seem to always do and cut back on the sugar from 1/2 c honey, to 2 tbs honey + 2 tbs brown sugar (so 1/4 cup total). Feel free to double this for a sweeter and more indulgent bread.


Chocolate Greek Yogurt Banana Bread
Adapted from The Baker Mama
Ingredients
- 1 1/2 cups (180 grams) whole wheat flour
- 1/2 cup (40 grams) unsweetened cocoa powder
- 1 1/2 teaspoons baking powder
- 1/2 teaspoon kosher salt
- 1/2 cup plain Greek yogurt
- 2 tablespoons (42 grams) honey
- 2 tablespoons (25 grams) brown sugar
- 1 large egg
- 1 teaspoon vanilla
- 1/2 cup (110 grams) milk
- 1 cup (225 grams) mashed ripe banana; about 2 large bananas
- 1/2 - 1 cup dark chocolate chips or chunks (optional)
Directions
Preheat oven to 350°F. Lightly grease and flour a 9x5-inch loaf pan and set aside. In a medium bowl, whisk together the flour, cocoa powder, baking powder and salt, set aside.
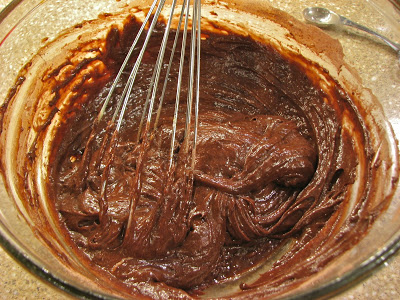
In a large bowl, beat together the remaining ingredients until well combined. Add the dry mixture to the wet mixture and mix with a spatula until mostly combined. Add in the chocolate chips or chocolate chunks if using, and continue to mix until completely combined with no more streaks of dry flour in the batter. Batter will be thick.
Spread batter evenly into prepared loaf pan. Press more chocolate chips into the top of the batter before baking, if desired. Bake on the middle rack of the oven for about 50 minutes, turning halfway through, or until a toothpick inserted in the center of the loaf comes out with a few moist crumbs. Let the bread cool in the pan for about 20 minutes before removing to a wire rack to cool completely and serve.
Yields: 8-10 slices