Spring Birthday Cake

I tested white cakes for a friend’s wedding a few years ago. I really liked two of the three cakes I tested. Of these two, I remember thinking that the one I didn’t use for the wedding was really good and I would want to make it again. Well, it’s been two years but I finally made it! And glad I did. It was as tasty as I remember! A really nice light, white cake. Good flavor and texture. Tight, fine crumb, moist and fluffy. Glad to have the recipe written down for a one layer option.


\The original recipe is the White Mountain Layer Cake From Bravetart by Stella Parks. I didn’t need a huge cake a few weeks back to make for my friend’s birthday so I cut the recipe in down to 1/3 of the original. Same friend it turns out that I made the wedding cake for! Worked great as a simple single layer cake. I topped with some spring green Swiss meringue buttercream. Love cake!


White Coconut Oil Layer Cake
Adapted from the White Mountain Layer Cake From Bravetart by Stella Parks
Ingredients

  • 150 grams cake flour (I did 135 g AP flour and 15 g cornstarch)

  • 75 g butter

  • 38 g coconut oil

  • 150 g sugar

  • 5/6 tsp baking powder

  • 1/3 tsp baking soda

  • 1/4 tsp kosher salt

  • 80 g egg whites (ended up being almost exactly 2 large eggs!)

  • 2/3 tsp vanilla extract

  • 1/3 tsp almond extract

  • 150 g buttermilk

Preheat oven to 325 degrees F. Line one 8-by-3-inch aluminum cake pans with parchment and grease with pan spray.

Combine butter, coconut oil, sugar, baking powder, baking soda and salt in the bowl of a stand mixer fitted with the paddle attachment. Mix on low speed to moisten, then increase to medium and cream until fluffy and light, about 5 minutes, pausing to scrap the bowl and beater halfway through. With the mixer running, add the egg white one at a time, follow by vanilla and almond extracts.

Reduce speed to low and sprinkle in one-third of the flour, followed by one-third of the buttermilk. Alternate between the two, allowing each addition to be roughly incorporated before adding the next. Once smooth, fold with a flexible spatula to ensure it’s well mixed from the bottom up. Transfer to prepared caked pan.

Bake until the cakes are firm but pale, browned only around the very edges, about 40 minutes. A toothpick inserted into the center will emerge with a few crumbs still attached, and your fingertip will leave a slight indentation in the puffy crust.

Cool until no trace of warmth remains, about 90 minutes. Loosen the cakes from their pans with a knife. Invert onto a wire rack, peel off the parchment, and re-invert.

Banana Oat Blender Muffins

I was looking for a nutritious snack for afternoons when I’m starting to get hungry, but there is still a long time before dinner! I’ve made various other recipes in the past, and a lot of them have almond or peanut butter. Nothing wrong with these, and I will still make these sort of recipes as well. However, this time I was looking for something without the nut butter. I found a oat blender muffin recipe online that looked good, and then tweaked if just a little to fit my needs. These are now a favorite in the house! Easy to make, nutritious and tasty. Exactly what I was looking for.

I like that they use oats for the flour. Great source of complex carbs, fiber and some protein. Naturally sweetened with bananas, and then yogurt for more protein. The original recipe calls for 2-3 tbs honey. I have used both maple syrup and honey and either works well. I have also made them without any added sugar, just the banana for sweetness, and this is what I prefer. I wanted these to have minimal added sugar, and found that I can do without any. They’re not overly sweet this way so if you’d like to add a few tablespoons that is reasonable as well. It’s up to you and your taste preference.

The original recipe also called for these to be baked at 400 degrees which I found to be a bit hot. I cut down to 350 and baked a few extra minutes. I prefer it this way.

Finally, the recipe does call for a full cup of Greek yogurt. A few times when making this I didn’t have a lot of yogurt left, so I did a combo of milk and yogurt. One time I even did milk, water and yogurt and this worked out fine too! Just a little less rich. (I used a little water because one day I was running low on both yogurt and milk… it happens…. )


Banana Oat Blender Muffins
Adapted from Well Plated
Ingredients

  • 2 cups (160 grams) old fashioned oats

  • 2 large bananas (about 200 grams) very ripe

  • 2 large eggs

  • 1 cup (227 grams) plain Greek yogurt (or a mix of plain yogurt and milk works as well)

  • 1-2 tablespoons (20-40 grams) honey or maple syrup, optional

  • 1 1/2 teaspoons baking powder

  • 1/2 teaspoon baking soda

  • 1/2 teaspoon pure vanilla extract

  • 1/4 teaspoon kosher salt

Directions
Preheat the oven to 350 degrees F. Lightly grease a 12-cup standard muffin tin.

Place all of the ingredients in a blender. Blend or process on high, stopping to scrape down and stir the ingredients if needed, until the batter is smooth and the oats have broken down almost completely; a couple of minutes.

Transfer batter to prepared muffin tin. Bake for 15-18 minutes, until a toothpick comes out with just a few moist crumbs. Cool for at least 5-10 minutes in the pan before transferring to a wire rack to cool completely.

Gluten Free Banana Bread

Found this tasty looking banana bread online. Had all the ingredients! Yay!!

Followed the recipe pretty closely, but did cut the brown sugar in half from 1/4 cup to 2 tablespoons. My bananas were pretty big and ended up weighing 400 grams which is probably a bit more then needed, but worked fine so that’s what I’ll do! Recipe called for a pinch of salt, I used 3/8 tsp. Was debating between 1/4 and 1/2 tsp so split the difference.

Nice texture, dense and mooshy in a good way! I like “mooshy”!! If you are one of the million people that has texture issues you probably don’t want to talk to me, I love interesting textures! This bread isn’t weird, don’t worry, but it’s a little more moist and dense than some. Doesn’t feel or taste gluten free to me!


Photos can be deceiving. Before I was able to take a photo of the finished loaf, my puppy Jojo got ahold of it… Thankfully she didn’t eat it all but I was rather irritated with her. I still managed to cut some nice slices, and am just didn’t think about where her mouth may have been earlier…

Gluten Free Banana Bread
Adapted from Early Brawd
Ingredients

  • 3 medium very ripe bananas (mine were around 400 grams, but may have been closer to a “large” banana)

  • 1/2 cup milk (I used whole milk, but can sub your favorite non-dairy milk if desired/needed)

  • 1 tbsp apple cider vinegar

  • 3 tbsp (45 grams) melted coconut oil

  • 2 tbsp (40 grams) maple syrup

  • 2 tbsp (30 grams) almond butter

  • 1 tsp vanilla extract

  • 1 cup (90 grams) of oat flour

  • 1 cup (160 grams) brown rice flour

  • 3/4 cup (78 grams) almond meal

  • 2 tablespoon (25 grams) brown sugar

  • 2 tsp baking powder

  • 1 tsp cinnamon

  • A pinch of salt

Directions
Preheat your oven to 350F and grease and line a 9×5 loaf pan. In a large mixing bowl, combine the almond milk and apple cider vinegar. Stir and set aside.

Peel and mash the very ripe bananas using a fork until puree. No need to over mash it, it’s okay if the texture is not perfectly homogeneous and small bites remain. Add the coconut oil, maple syrup, almond butter and vanilla extract to the mashed bananas and stir to combine. Then the milk and whisk until well combined.

In a separate bowl, mix all the dry ingredients together. Add the dry mixture to the wet ingredients and mix using a wooden spatula until just combined. Don’t over-mix the batter, it’s okay if it’s not totally homogeneous. Transfer the batter into your prepared loaf pan and smooth the surface using a spatula.

Bake for 50-60 minutes (I went closer to 50, may have been slightly undercooked but I like it that way and prefer to err on the side of under-baking vs over-baking) or until a toothpick comes out clean. Allow to cool down for 20 minutes, then remove the banana bread from the mold and allow to completely cool down, for at least 1 hour.

Lentil Burgers

These burgers were great! I overcooked some lentils so decided to make them into a veggie burger. This recipe has everything that I keep on hand. It took a little time to put together but not at all difficult. Good flavor. Good texture. Pan-fried well, didn’t fall apart. Could add any flavorings you wanted.

While I pan-fried the first two, the remaining six I baked. Easier this way. Baked them for 40 minutes at 375 degrees.

Lentil Burgers
From Making Thyme for Health
Ingredients

  • 2 ½ cups cooked green lentils [about 335 grams cooked, this is very approximately 145 grams raw/dried]

  • 1 cup carrots, finely chopped [I used 2 med/large carrots, 197 grams]

  • 1 cup onion, finely chopped [I used 3/4 medium onion, 130 grams]

  • 3 cloves garlic, minced

  • 1/2 cup (40 grams) walnuts

  • 1/2 cup (55 grams) sunflower seeds

  • 1/2 cup flour, I used chickpea flour

  • 1 cup breadcrumbs [I used two small/med pieces of bread that I toasted, about 85 grams toasted]

  • 2 eggs

  • 2 tablespoons (30 grams) tomato paste

  • 2 tablespoons (30 grams) Worcestershire

  • 1 tablespoon fresh or dried thyme [I omitted]

  • 1 tablespoon fresh or dried oregano [I omitted]

  • 1 teaspoon fine sea salt

Directions
Using a food processor, finely chop the onion, carrots, garlic, walnuts and sunflower seeds then transfer to a large bowl. I process each ingredient individually to achieve the best texture.

Next add half of the cooked lentils to the food processor and pulse until they appear slightly mashed, then transfer them to the bowl along with the remaining lentils.

Once you have all of the vegetables, lentils, nuts and seeds in the bowl, add the breadcrumbs, herbs, and salt.

In a small bowl, combine the beaten egg with the tomato paste and the Worcestershire. Pour the egg mixture into the bowl with vegetables and lentils and stir everything together. Sprinkle in the flour a little at a time as you continue to stir. If the mixture seems too wet, add more flour as needed. If you have time, refrigerating the mixture for about 30 minutes also helps dry out some of the moisture.

Form eight individual patties with your hands, making sure to keep them somewhat flat with rounded edges. They will hold together better if they aren’t too big or thick. At this point you can refrigerate them until you are ready to cook (for up to 2-3 days) or cook them right away.

When you’re ready to cook them, start by warming the olive oil over medium-heat in a skillet for at least five minutes. Once the skillet is thoroughly heated, cook the burgers on each side for about 5-6 minutes. I like the push the edges of the burger to the side of the pan as I cook them to make sure they are cooked on the sides as well. Serve on a warm bun with desired toppings and dig in!

Approximate Nutrition (for 1 burger, 1/8 of the recipe): 247 calories, 9 g fat, 30 grams carbs (8 g fiber, 5 grams sugars), 12 g protein

Breakfast Cookies

Good cookie. Hearty and filling. I couldn’t help myself and made one alteration, I added a serving of plain protein powder (35 grams of Sprout Living original protein powder). I’m not sure, but this might have made them a little more crumbly and delicate, because they are that.

I guess I also used PB instead of almond butter, but not sure if that makes a big difference or not, I wouldn’t think so.

She said too bake for 15 min, but I went more about 12 min.

Would try with a real egg instead of flax egg next time, I think that may help them hold together a little more.

I also used 28 grams each of dark chocolate chunks and chopped walnuts for my “add-ins”.

Breakfast Cookies
From Nourished by Caroline

Ingredients

  • 1 tablespoon (8 grams) flax seeds, ground

  • 2 tablespoons (28 grams) water

  • 3/4 cup (60 grams) rolled oats

  • 1/2 cup (52 grams) almond flour, spoon and leveled

  • 1/4 cup chocolate chips or chunks (optional)

  • 1/4 cup almonds, chopped or sliced (optional)

  • 1/2 teaspoon baking soda

  • 1/4 teaspoon salt

  • 1/2 cup almond butter

  • 3 tablespoons maple syrup

  • 2 tablespoons coconut oil, softened

  • 1 teaspoon vanilla extract

Directions
Preheat the oven to 350°F. Line a large baking sheet with parchment paper.

In a medium bowl, add the ground flax seeds and water. Let it sit until it thickens to form your flax "egg".

In another medium bowl, stir together the oats, almond flour, baking soda, salt, chocolate and almonds. Set aside.

Add the almond butter, maple syrup, coconut oil and vanilla to your same bowl containing the flax egg. Mix until a thick and smooth mixture forms.

Transfer the wet mixture to the dry mixture and mix until combined. The cookie batter should be thick.

Scoop the mixture to the prepared baking sheet, forming 8 cookies. With lightly wet hands, flatten them slightly.

Bake for 15 minutes at 350°F. Remove from the oven and let the cookies cool for at least 10 minutes before eating.

New Years Brunch, 2022

Lara and I decided we wanted to make some cinnamon rolls over the holidays. We certainly weren’t going to eat a whole batch of them ourselves, so we decided to invite some family over for a New Years Day brunch….

We both love brunch, but rarely get to have people over for a brunch party. This past New Year’s Day was therefore a treat! We had such a fun time coming up with a menu and then buying and preparing everything.

We did need to make a few dairy free items for some family members. There was a few moments of tension early in the mornign when we realized the first batch of cinnamon rolls (the dairy free version) wasn’t going to come out as planned. We pivoted, found a new recipe quick, threw it together and made it all work out in the end. Phew.

Random photos below followed by the recipes. I liked them all and would make again in a heartbeat! Enjoy!


Coconut Oil Cinnamon Rolls
Recipe from Love and Lemons
Ingredients
For the yeast

  • ½ cup warm water, 110°

  • 1 (¼-ounce) package active dry yeast

  • 1 teaspoon cane sugar

Dough

  • ⅓ cup melted coconut oil, plus more for brushing

  • ½ cup almond milk, at room temperature

  • ⅓ cup cane sugar

  • 1 teaspoon sea salt

  • 2¾ cups all-purpose flour, plus more for kneading

Filling

  • ½ cup brown sugar

  • 1½ tablespoons cinnamon

Glaze

  • 1½ cups powdered sugar, sifted

  • 3 to 4 tablespoons almond milk

  • ½ teaspoon vanilla extract

Instructions
Grease an 8x11 or 9x13-inch baking dish. In a small bowl, stir together the water, yeast, and sugar. Set aside for 5 minutes, or until the yeast is foamy.

Make the dough: In a medium bowl, combine the coconut oil, almond milk, sugar, and salt. Stir in the yeast mixture. Place the flour in a large bowl, then add the wet ingredients and stir until combined. The mixture will be sticky. Use your hands to roughly knead the mixture, then turn it out onto a floured surface. Knead 3 to 4 minutes until smooth, sprinkle with more flour if needed, and form into a ball. Brush a large bowl with coconut oil and place the dough inside. Cover with plastic wrap and set aside in a warm place to rise until doubled in size, about 1 hour.

Filling: In a small bowl, mix the brown sugar and cinnamon. Punch down dough and roll out on a floured surface into a 20x14-inch rectangle. Brush with 2 tablespoons melted coconut oil and sprinkle with the cinnamon sugar to within ½ inch of the edges. Starting at one of the short 14-inch ends, roll tightly into a log, then slice into 12 rolls. Place the rolls into the baking dish cut-side up, cover, and let rise for 1 hour.

Make the glaze: In a medium bowl, whisk together the powdered sugar, 3 tablespoons almond milk, and vanilla until smooth. If it’s too thick, add more almond milk.

Bake: Preheat the oven to 350°F. Bake the rolls 25 to 30 minutes or until lightly golden on top. Remove and allow to cool for 10 minutes, then drizzle the glaze on top and serve.

My (Jana’s) Notes: I made 1.5 x the recipe, cut the dough into thirds, and made 12 normal size from 2/3 of the dough, and 12 mini (from the other 1/3). Didn’t rise as well as liked, maybe didn’t let them rise the first time long enough? They did rise in the oven, but they didn’t get pillowy and soft and fluffy. They seem dense and heavy. We were disappointed. We wanted pillowy and soft.

Later in the day, after everyone left we tried them again and thought they were great, but just not a traditional soft and fluffy cinnamon roll. They are dense, chewy and kind of elastic-y. They aren’t at all dry or dried out, but taste and kind of feel like raw cinnamon roll dough. So although we were disappointed initially (and Lara said we could throw them away), in the end we thought they were fantastic. Just different than a normal roll (maybe because they were a little under-risen, or maybe that’s just how they are!)


Quick and Easy Cinnamon Rolls
From Sally’s Baking Addiction
Ingredients
Rolls

  • 2 and 3/4 cups (344g) all-purpose flour (spoon & leveled)

  • 1/4 cup (50g) granulated sugar

  • 1/2 teaspoon salt

  • 2 and 1/4 teaspoons Red Star Platinum Yeast or any instant yeast (1 packet)

  • 1/2 cup (120ml) whole milk

  • 1/4 cup (60ml) water

  • 3 Tablespoons unsalted butter

  • 1 large egg

Filling

  • 3 Tablespoons (45g) unsalted butter, softened to room temperature

  • 1 Tablespoon ground cinnamon

  • 1/4 cup (50g) granulated sugar or packed light or dark brown sugar

Icing

  • 1 cup (120g) confectioners’ sugar

  • 1/2 teaspoon pure vanilla extract

  • 2–3 Tablespoons (30-45ml) strong brewed coffee or milk

Instructions
Make the dough
: Whisk the flour, sugar, salt, and yeast together in a large bowl. Set aside.

Combine the milk, water, and butter together in a heatproof bowl. Microwave or use the stove and heat until the butter is melted and the mixture is warm to touch (about 110°F). Pour into the dry ingredients, add the egg, and stir until it forms a soft dough or use your mixer.

On a lightly floured surface using floured hands, knead the dough for 3 minutes. Place in a lightly greased bowl (I use non-stick spray), cover loosely, and let rest for about 10 minutes.

Fill the rolls: After 10 minutes, roll the dough out in a 14×8 inch rectangle. Spread the softened butter on top. Mix together the cinnamon and sugar. Sprinkle it all over the dough. Roll up the dough tightly to make a 14 inch log. Cut into 10-12 even rolls and arrange in a lightly greased 9-inch round cake pan or pie dish.

Rise: Tightly cover the rolls with aluminum foil or plastic wrap and allow to rise in a warm, draft-free environment for 60-90 minutes.

Bake the rolls: After the rolls have doubled in size, preheat the oven to 375°F (190°C). Bake for 25-28 minutes until lightly browned. If you notice the tops are getting too brown too quickly, loosely cover the rolls with aluminum foil and continue baking.

Make the icing: Whisk the confectioners’ sugar, vanilla extract, and coffee/milk together. Drizzle or spread over warm rolls.

MY (Jana’s) NOTES: Had to quick throw these together at 8:00am as the first batch (above) didn’t turn out as desired/expected. Wanted tall, fluffy, rich, decadent cinnamon rolls. These were it. Because I wanted them to be huge I ended up doubling the recipe, yet still cutting them into 12 rolls and baking them in a 9x13 (ish) baking pan. They turned out HUGE!!!! AND SOFT!!!!! They were incredible tall. And so so good! I would definitely double the recipe again. Huge rolls are fun. This is a good old American breakfast pastry at it’s finest. Decadent and over the top. Reminded us a lot of Ida’s cinnamon rolls. They only really needed to rise for 30-40 minutes. The kitchen was warm and they have a lot of yeast. Topped with cream cheese frosting. Probably took less than two hours from start to finish. Dad loved them. With lots of butter…

I don’t know how long them baked because my timer got screwed up. They turned out great, but Lara wanted them a little less brown. So could potentially cover with foil to prevent browning. Or bake them a little less… whatever that would be.

For frosting: 4 ounces cream cheese, 4 tbs butter, added a little milk (maybe wouldn’t need, but the cream cheese wasn’t super soft…). Didn’t use all the frosting.


Croissant Egg Bake
From Pinch of Yum
Ingredients

  • 2 tablespoons olive oil

  • 1 large yellow onion, sliced thinly

  • 2 1/2 cups diced ham [I used bacon!]

  • 2–3 ounces fresh baby spinach

  • 1 cup shredded cheese [I used Gruyere]

  • 12 eggs

  • 1/2 cup milk

  • 1 tablespoon Dijon mustard

  • 1 teaspoon salt

  • pepper to taste

  • 5–6 mini croissants [I used 2-3 regular croissants]

Instructions
Caramelize the Onions
: Heat the olive oil over medium-low heat in a large heavy pan. Add the onions and cook, stirring occasionally, for about 30 minutes until almost-jammy, onions that are a a really deep, rich, golden brown.

Ham and Spinach: Toss the ham in a skillet with a quick drizzle of olive oil. Pan-fry until the edges are kind of browned and some of the fat is rendered. Throw in your spinach. Stir to wilt the spinach. Remove from heat.

Eggs: Whisk eggs with the milk, dijon, salt, and pepper.

Layer: Preheat the oven to 350 degrees. Grease a 9×13 baking dish. Layer the ham, spinach, and onions on the bottom. Sprinkle with half of the cheese. Pour eggs over. Arrange croissant pieces on top. Finish with remaining cheese.

Bake: Cover with foil. Bake for 30 minutes, depending on oven and pan size. Remove foil and bake for another 5-10 minutes. You don’t want to overcook the eggs (gross) but the middle should be almost completely firm when you give the pan a quick jiggle test. You’ll also notice the whole thing will be just starting to puff up a bit. Slice, serve, and brunch forward!

MY (Jana’s) NOTES: Bought 3 Field and Fire croissants, used probably about 2 of them, plus a little. Would probably be fine if you used 2 large croissants. Ended up adding 4 extra eggs (with a splash of milk) because it just didn’t seem like enough with 12. It turned out great! I would probably always do 16 eggs, adjusting the milk accordingly. I used bacon instead of ham. Otherwise left it all the same. Was great! Easy to adapt the flavors as needed.

Cheese: Filled a 2 cup pyrex lightly with gruyere comte cheese. Wasn’t overly cheesy. I don’t think it needs more, but more would certainly fit if you wanted it super cheesy.


Sausage Sweet Potato Egg Bake
From Aimee Mars Living
Ingredients

  • 1 tablespoon coconut oil

  • 1 lb ground turkey [or turkey/chicken breakfast sausage!]

  • 1/2 tsp paprika

  • 1/2 tsp garlic powder

  • 12 large eggs

  • 1 small sweet potato

  • 1 cup fresh spinach

Directions
Preheat the oven to 375℉ and grease a 9 x 9 baking dish with coconut oil and set aside. Peel and slice the sweet potato, making sure to cut them 1/4-inch slices (any thicker and they won't be tender). Line the bottom of the greased baking dish with the sliced potatoes in a single layer, some overlap is okay.

Melt 1 tablespoon of coconut oil in a medium-sized skillet over medium heat add the ground turkey and season with additional spices if desired. Using a spatula break the meat apart and cook until browned, about 3 to 5 minutes. Drain and place on top of the sweet potato layer.

In a medium bowl beat the eggs with a whisk until combined. Add the paprika, garlic powder, and any additional salt and pepper if desired. Pour over the ground turkey layer.

Place the dish in the oven and cook for 30 minutes. Carefully slide the dish out, without removing it from the oven, and top with the spinach. Return to its position and continue cooking for 5 to 15 minutes until the center of the casserole is firm. I usually cook my casserole for 40 to 45 minutes in total.

MY (Jana’s) NOTES: Super easy. Used chicken breakfast sausage from Rakowski. A full pound. Added a small amount of fresh spinach to the sausage before adding the egg. Didn’t add the spices called for in the recipe because I did use the breakfast sausage instead of plain ground turkey. I sliced the sweet potato very thin. You don’t use very much sweet potato at all because it is raw and has to be sliced so thin. A nice accent, but if you wanted to use a little more sweet potato I would consider slicing and par baking the sweet potato and then putting the dish together. Maybe you wouldn’t need to par-bake the sweet potato, but maybe you would. I will have to experiment.

Thanksgiving 2021

I had a lovely Thanksgiving this year. It was low key and relaxing (for the most part; there are always those few minutes before eating when chaos is going on in the kitchen and you’re trying to make sure everything is done, on the table, serving utensils included, that everyone has a water glass and silverware, etc.) I went with a new turkey recipe this year. I posted the recipe as written below although I didn’t really follow it exactly. I didn’t feel like messing with a wet brine, so I dry brined instead. What I DID want to try was the butter jacket - roast the turkey covered in a butter soaked cheese cloth. Um, yes.

My turkey was 15 lbs, so a little smaller than she called for. It cooked for less time than called for, but unfortunately when Lara initially tried to carve it she discovered it wasn’t quite finished… she did a magnificent job of cutting it into pieces, putting everyhing on a few cookie sheets, and popping it back into the oven until done. Still turned out great and no one was any wiser.

I took the idea for the gravy and kind of eye-balled everything. It turned out very sweet due to the cider. I liked it a lot, although more of a “sauce” than a traditional gravy. I’m not a traditional gravy fan so that was okay with me.

Before heading to mom and dad’s Lara and I enjoyed a really nice (and fairly warm!) Thanksgiving run followed by our favorite breakfast and coffee. While we ate I made another batch of 100% whole wheat dinner rolls and then we packed everything up (love all my canvas bags, they are so great for transferring a lot of food prep!) and headed to Jenison to get started cooking for the day!

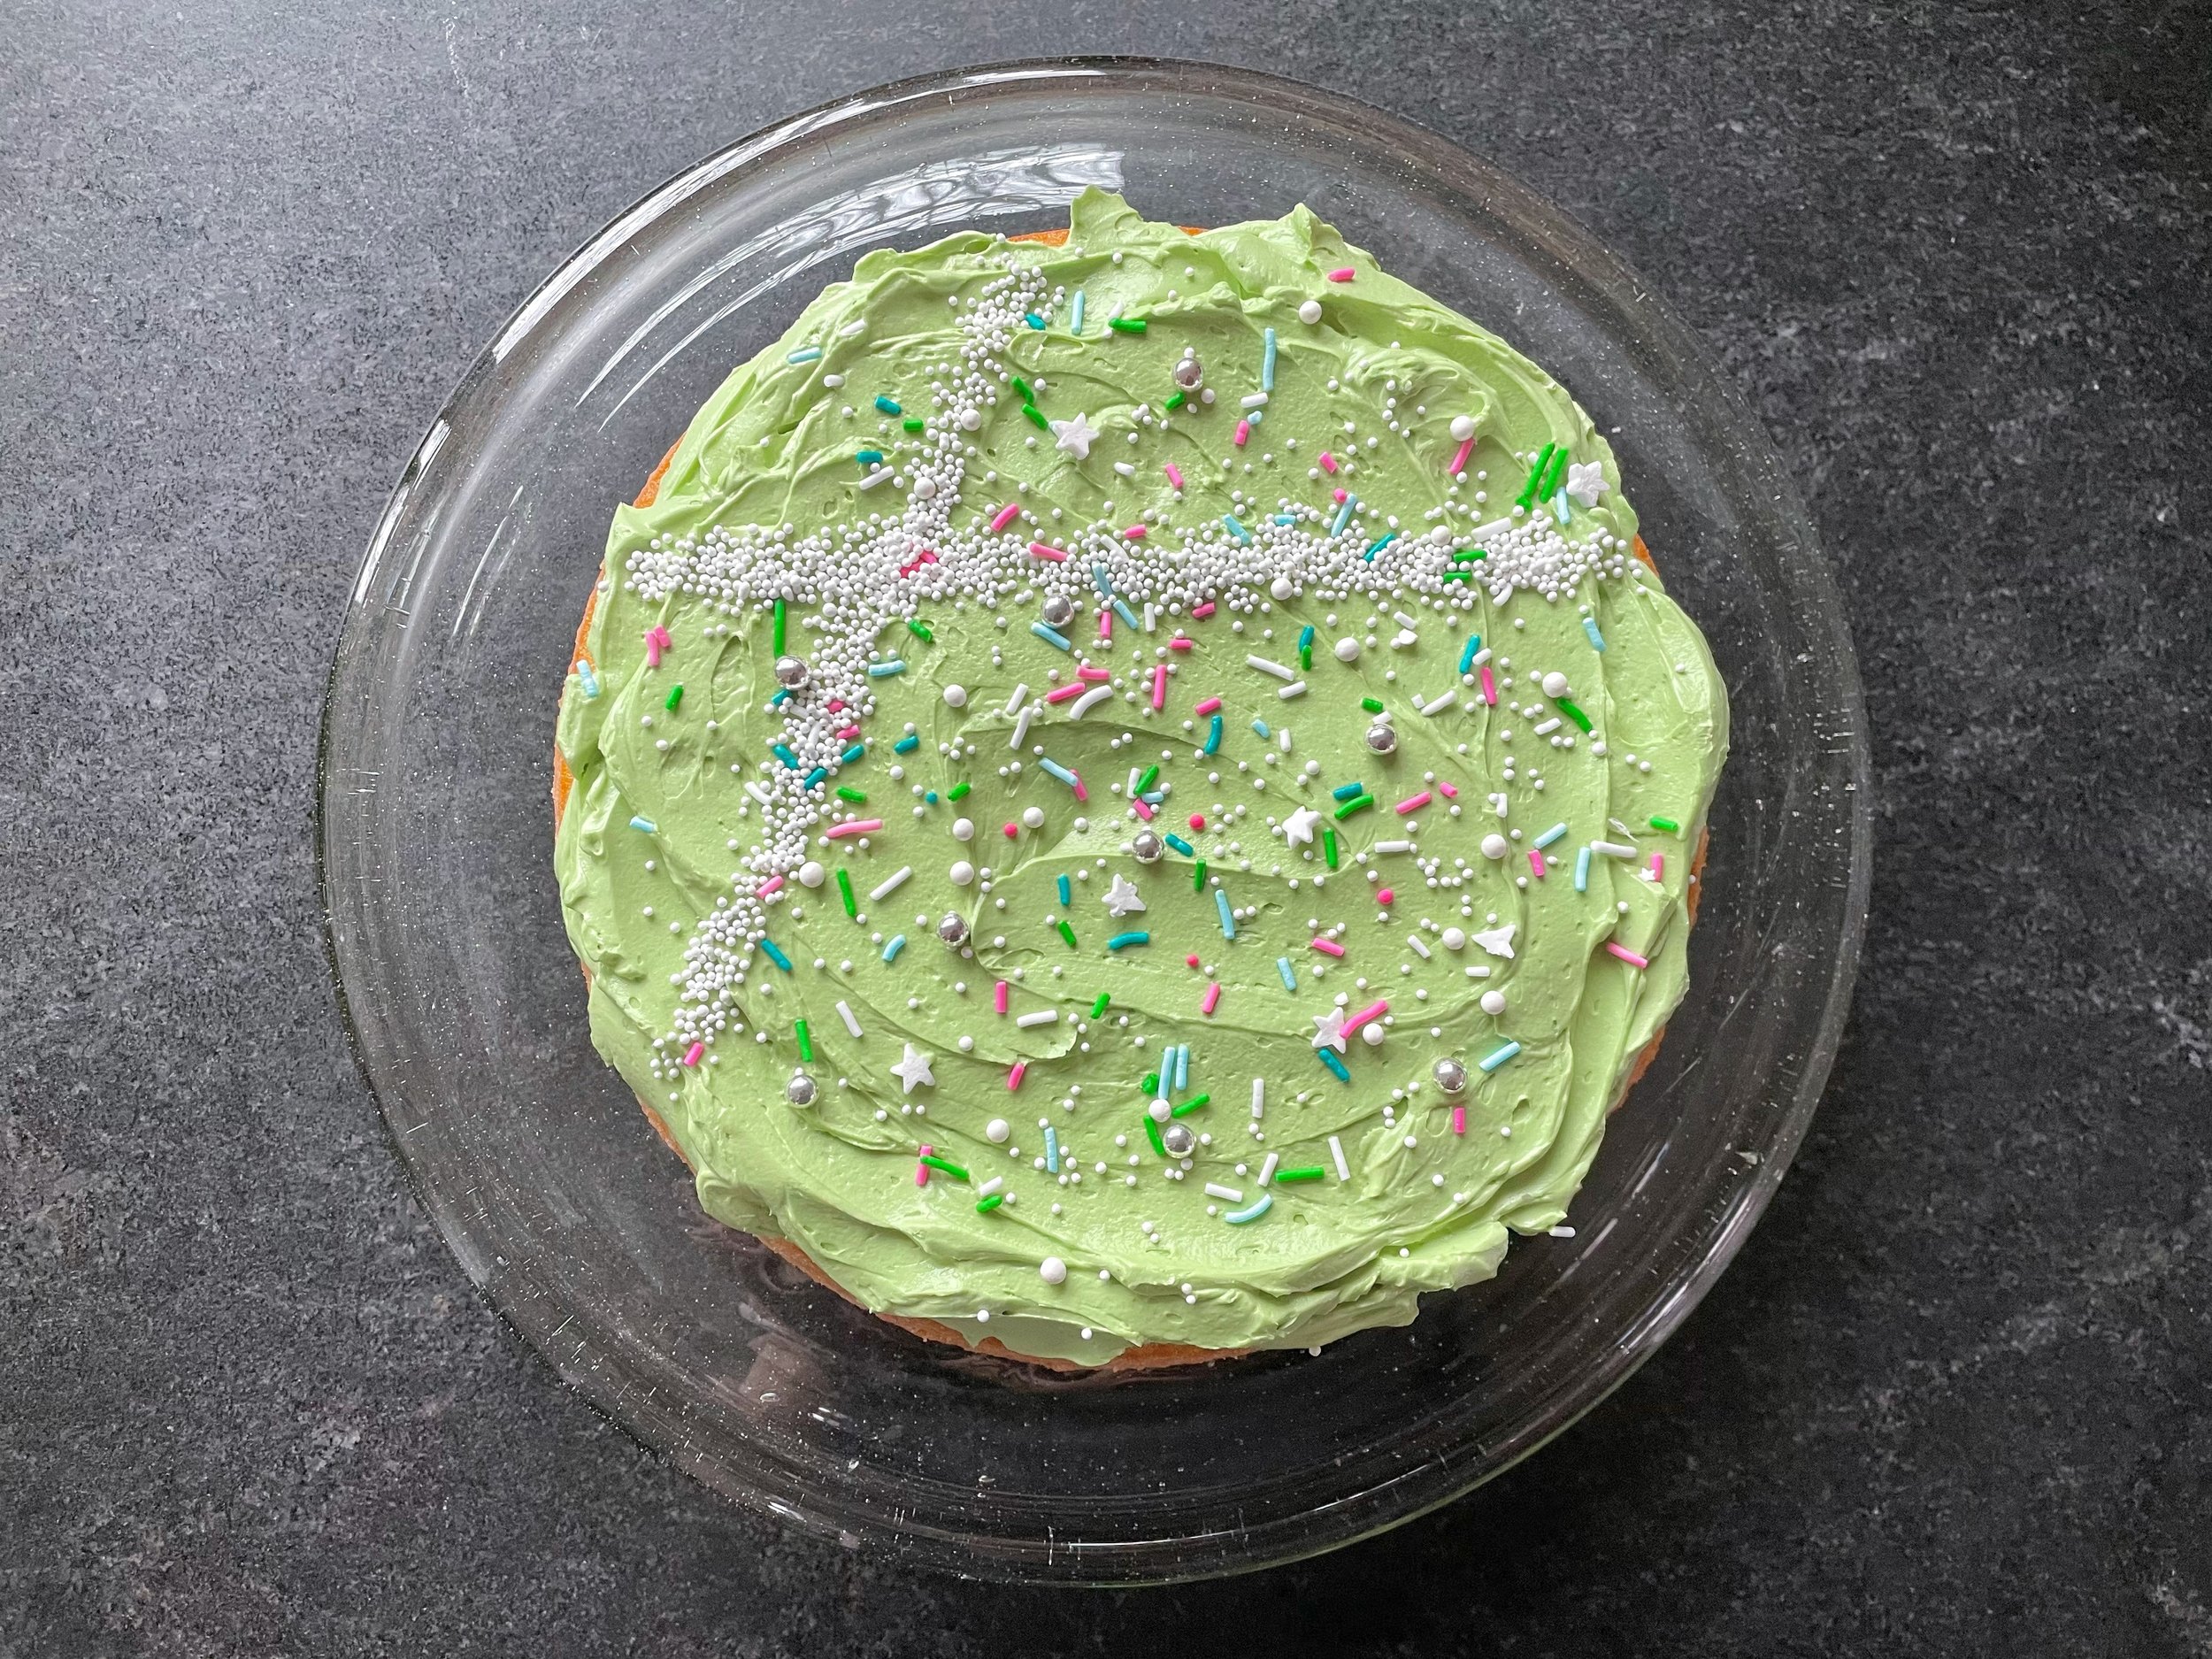
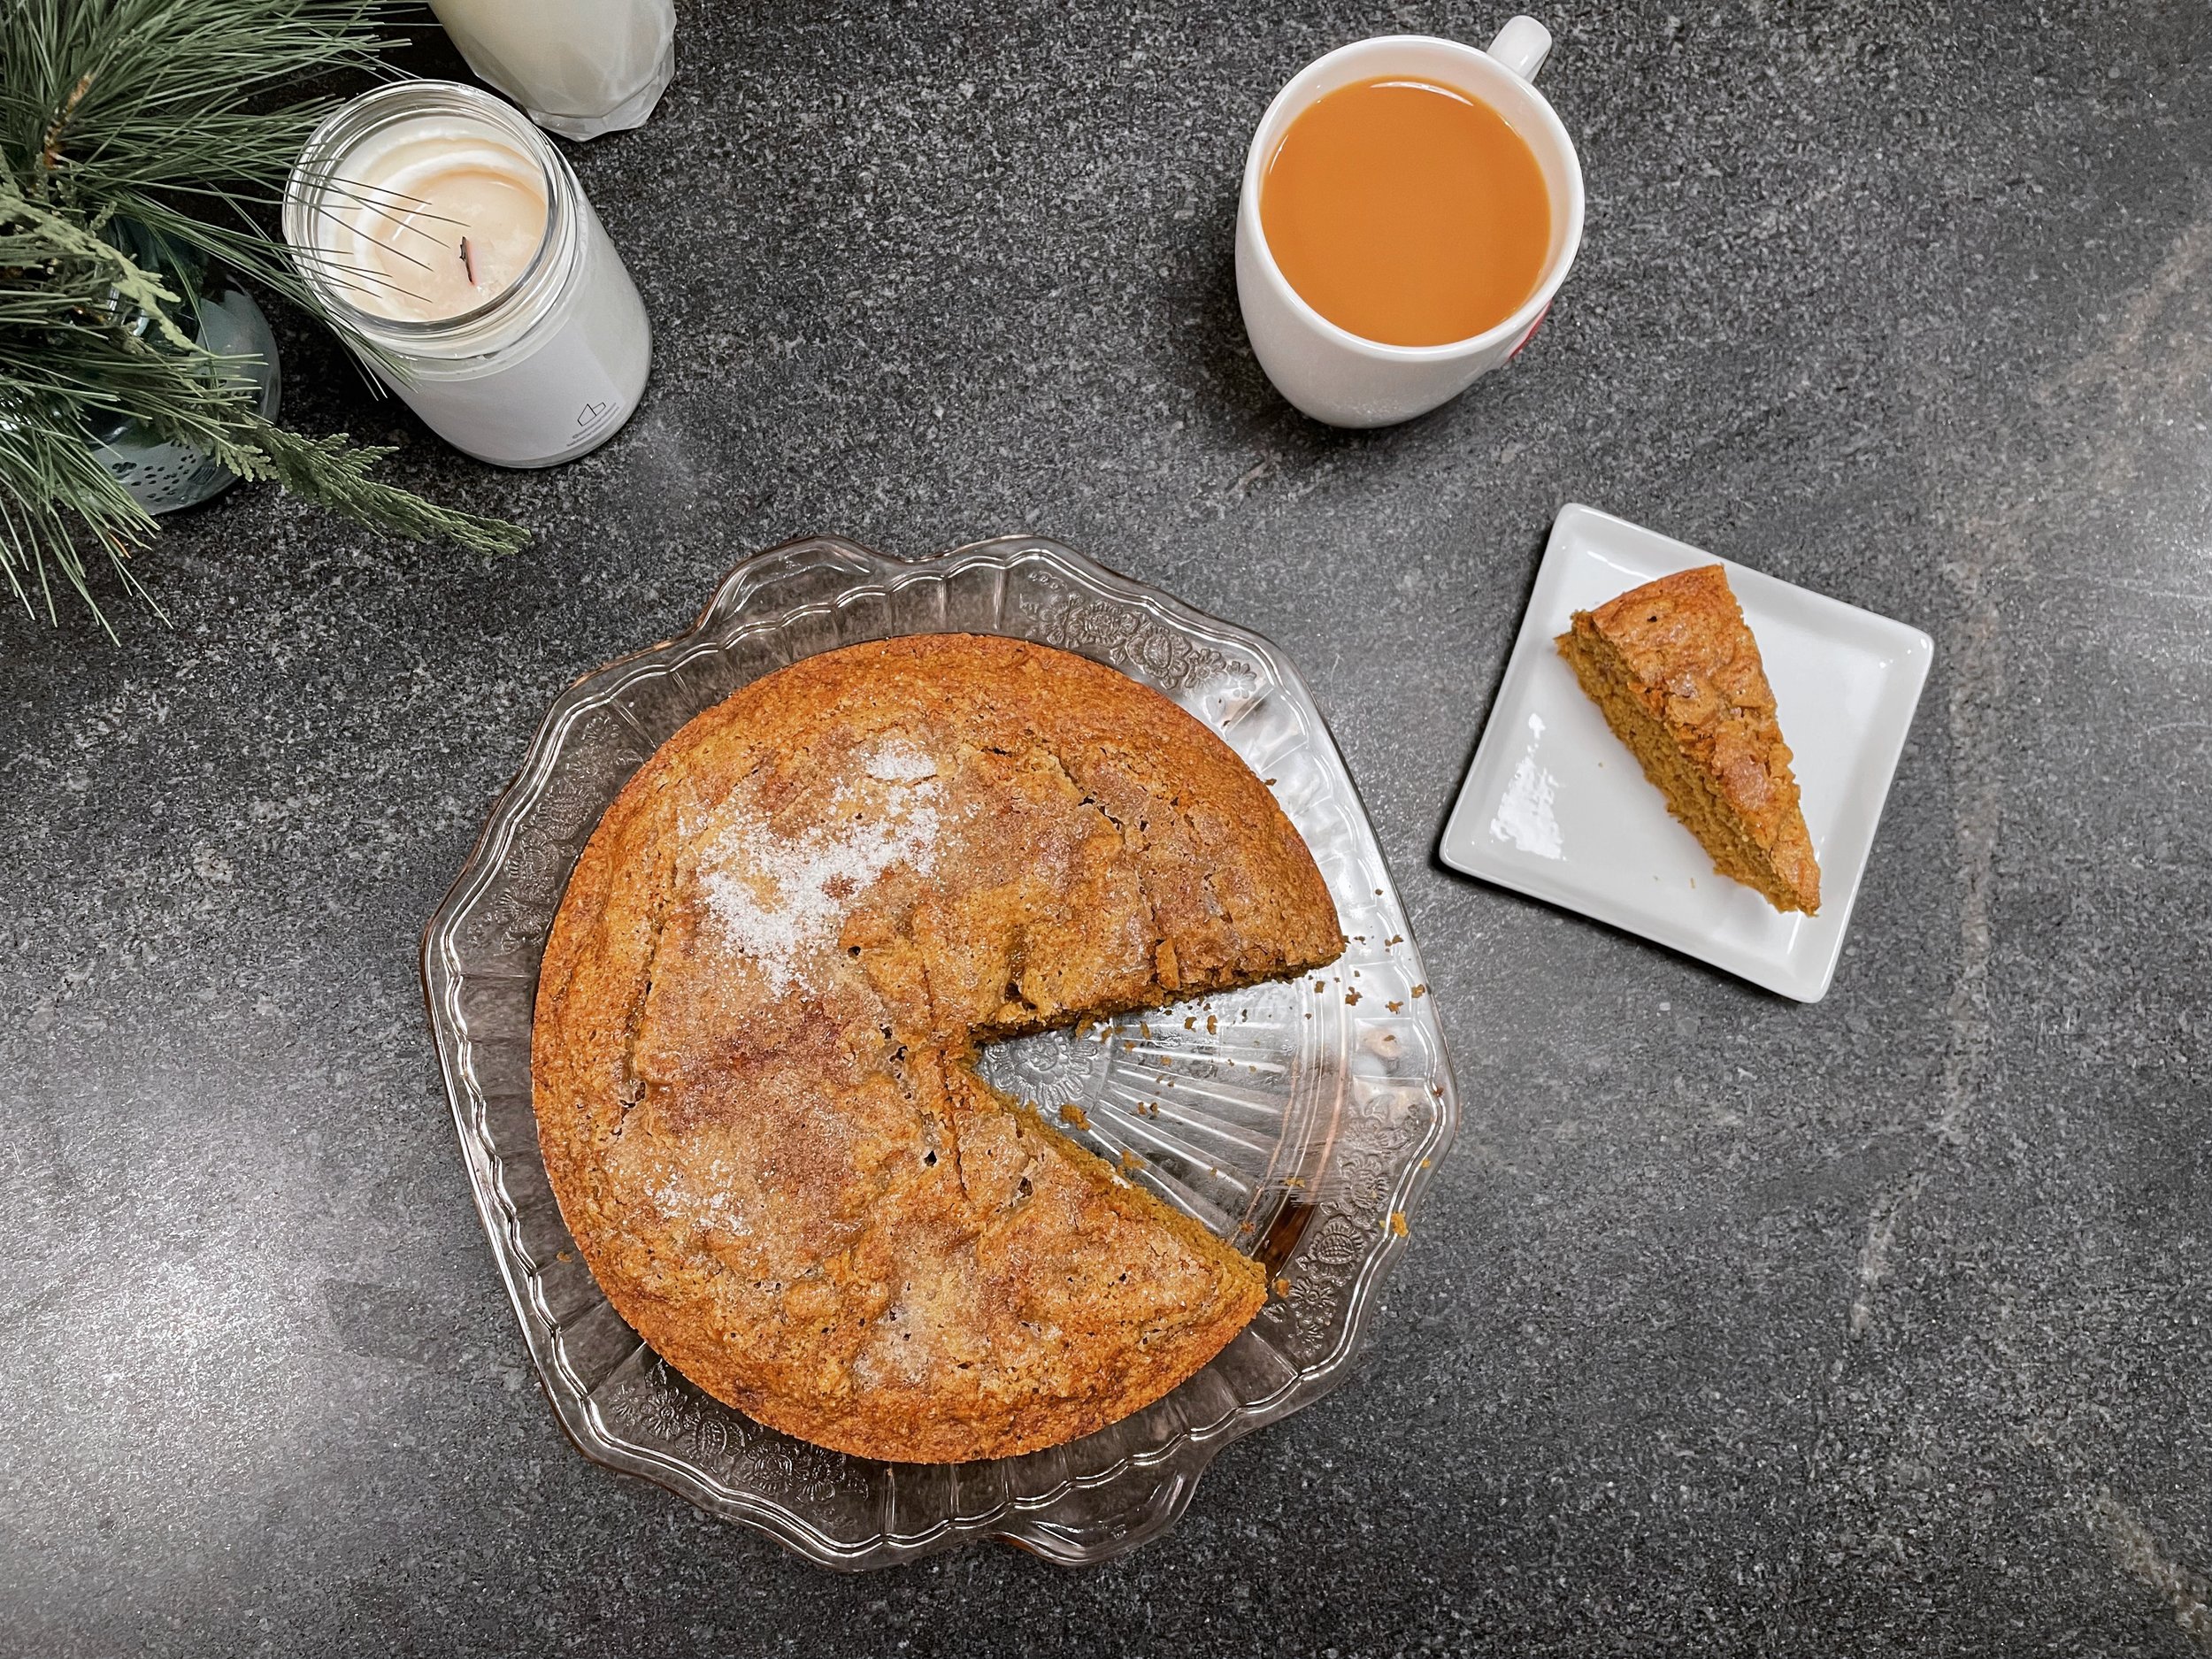
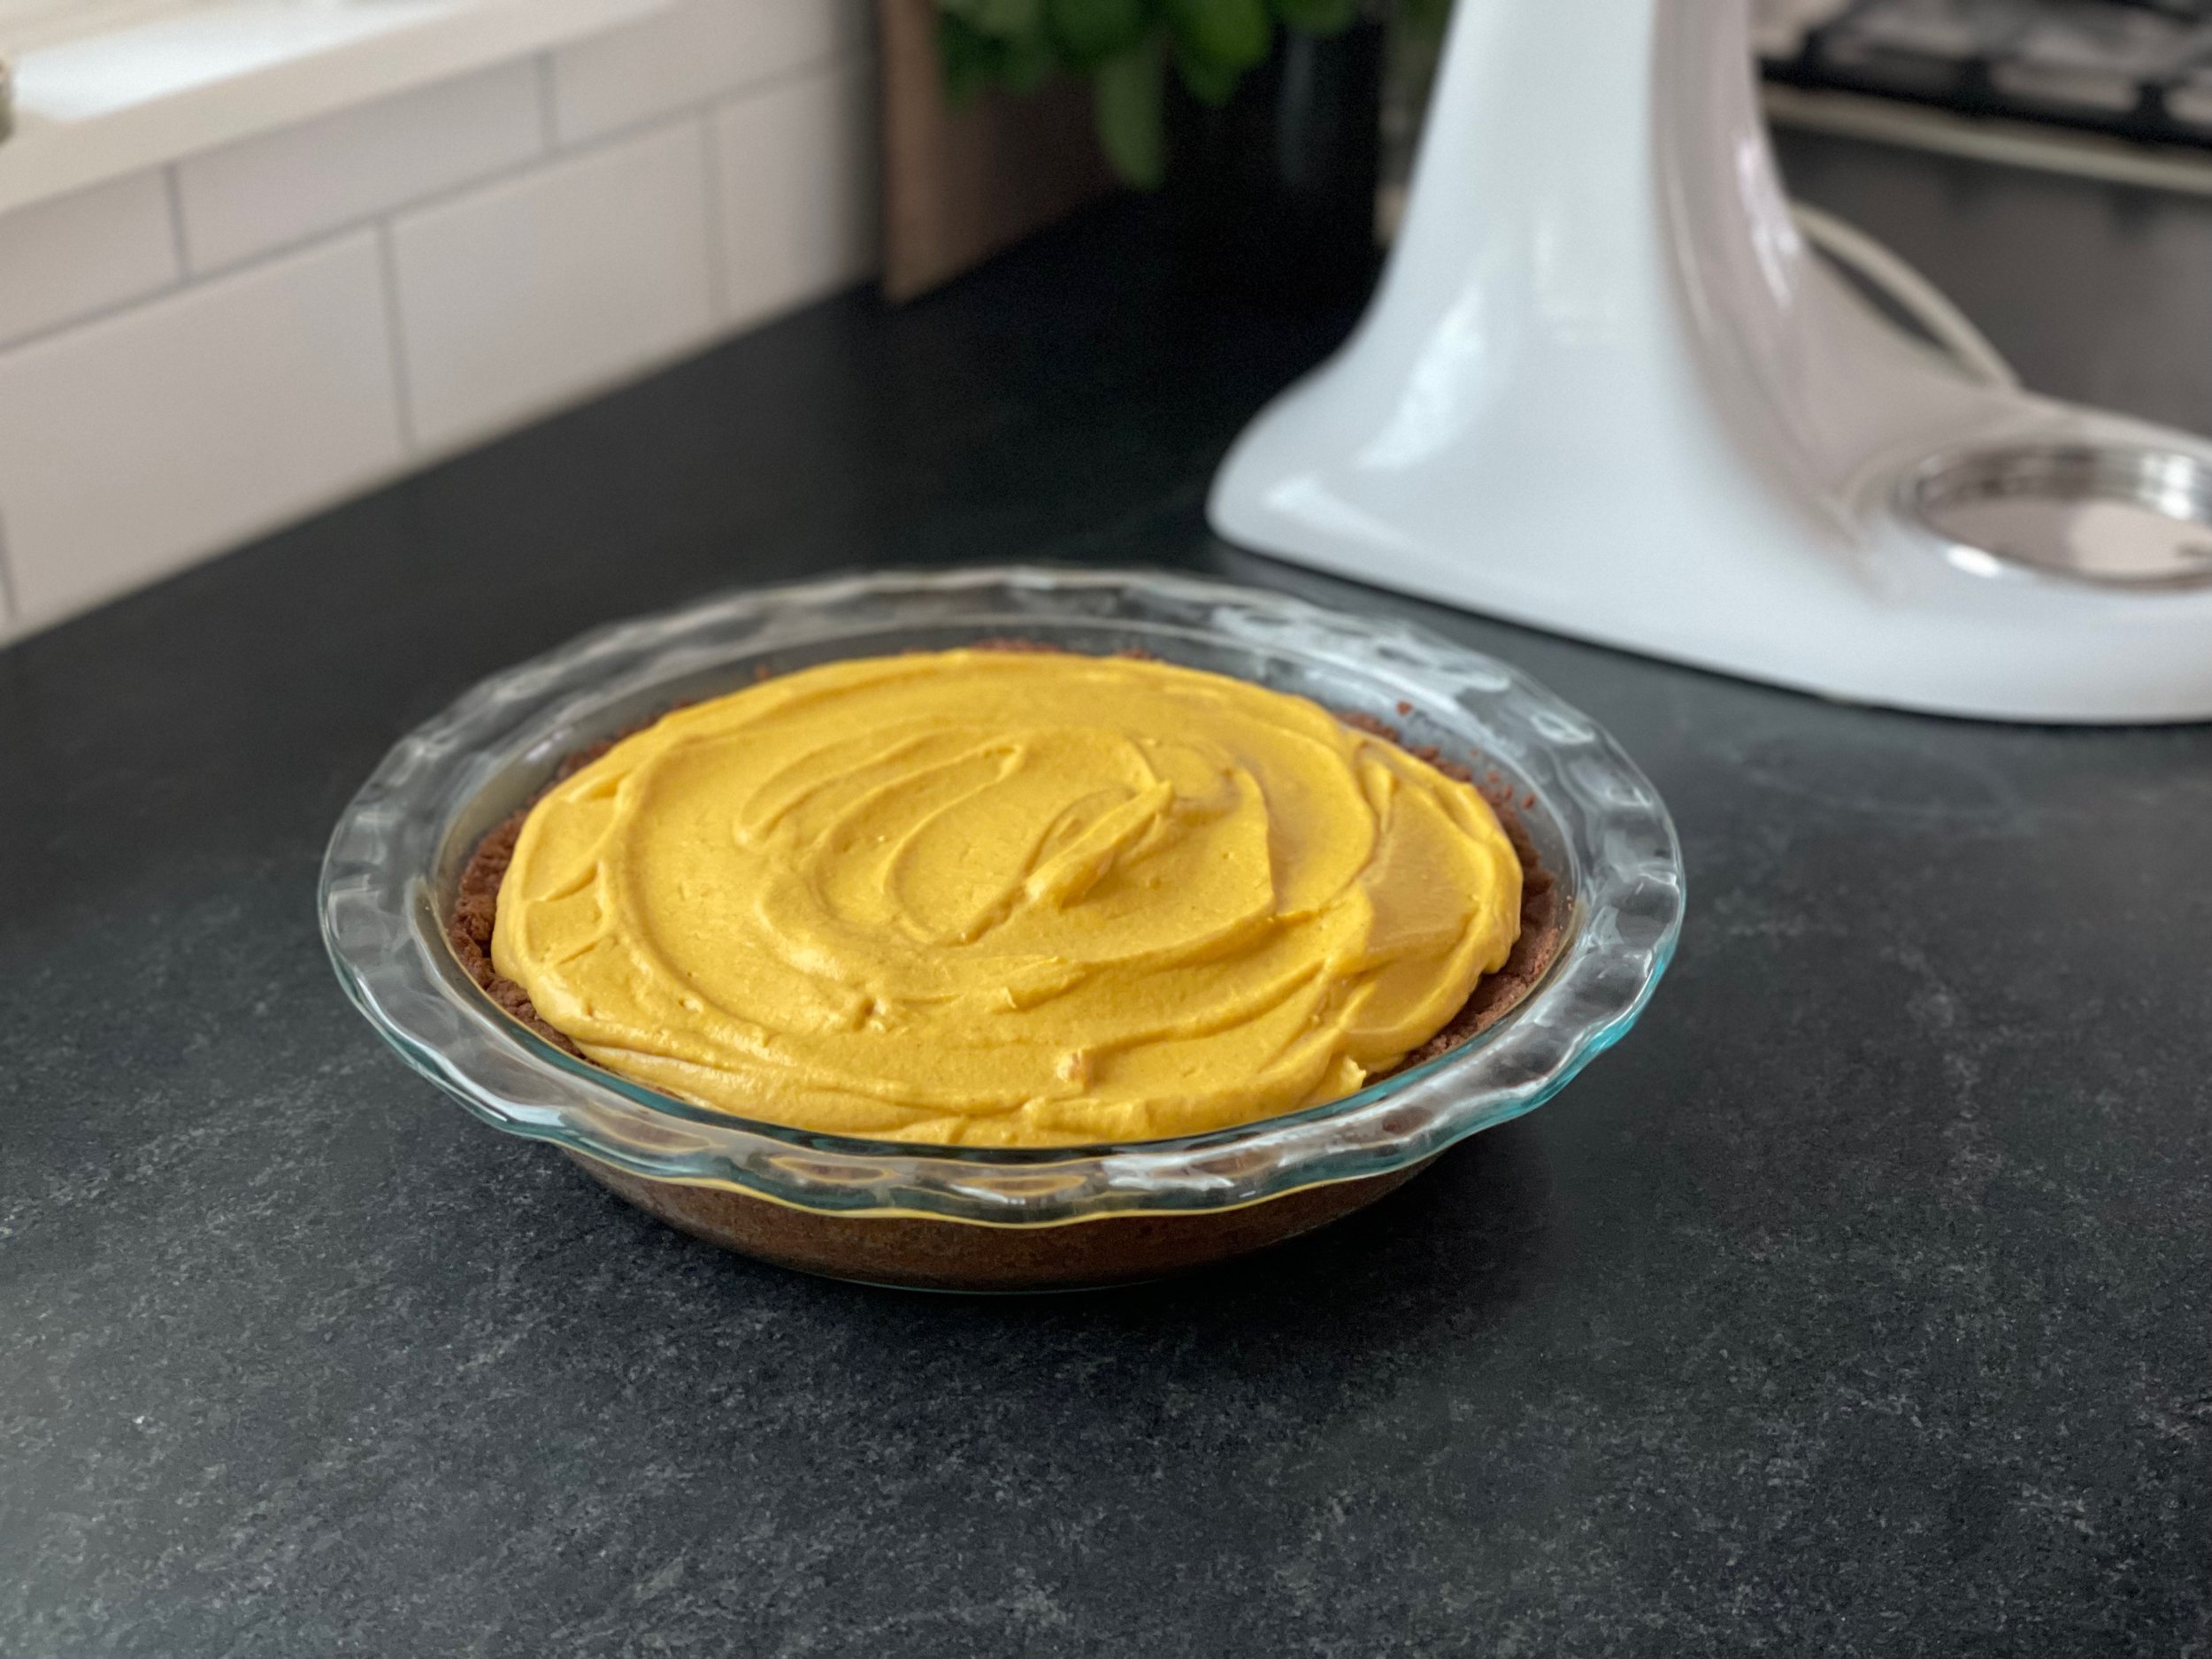
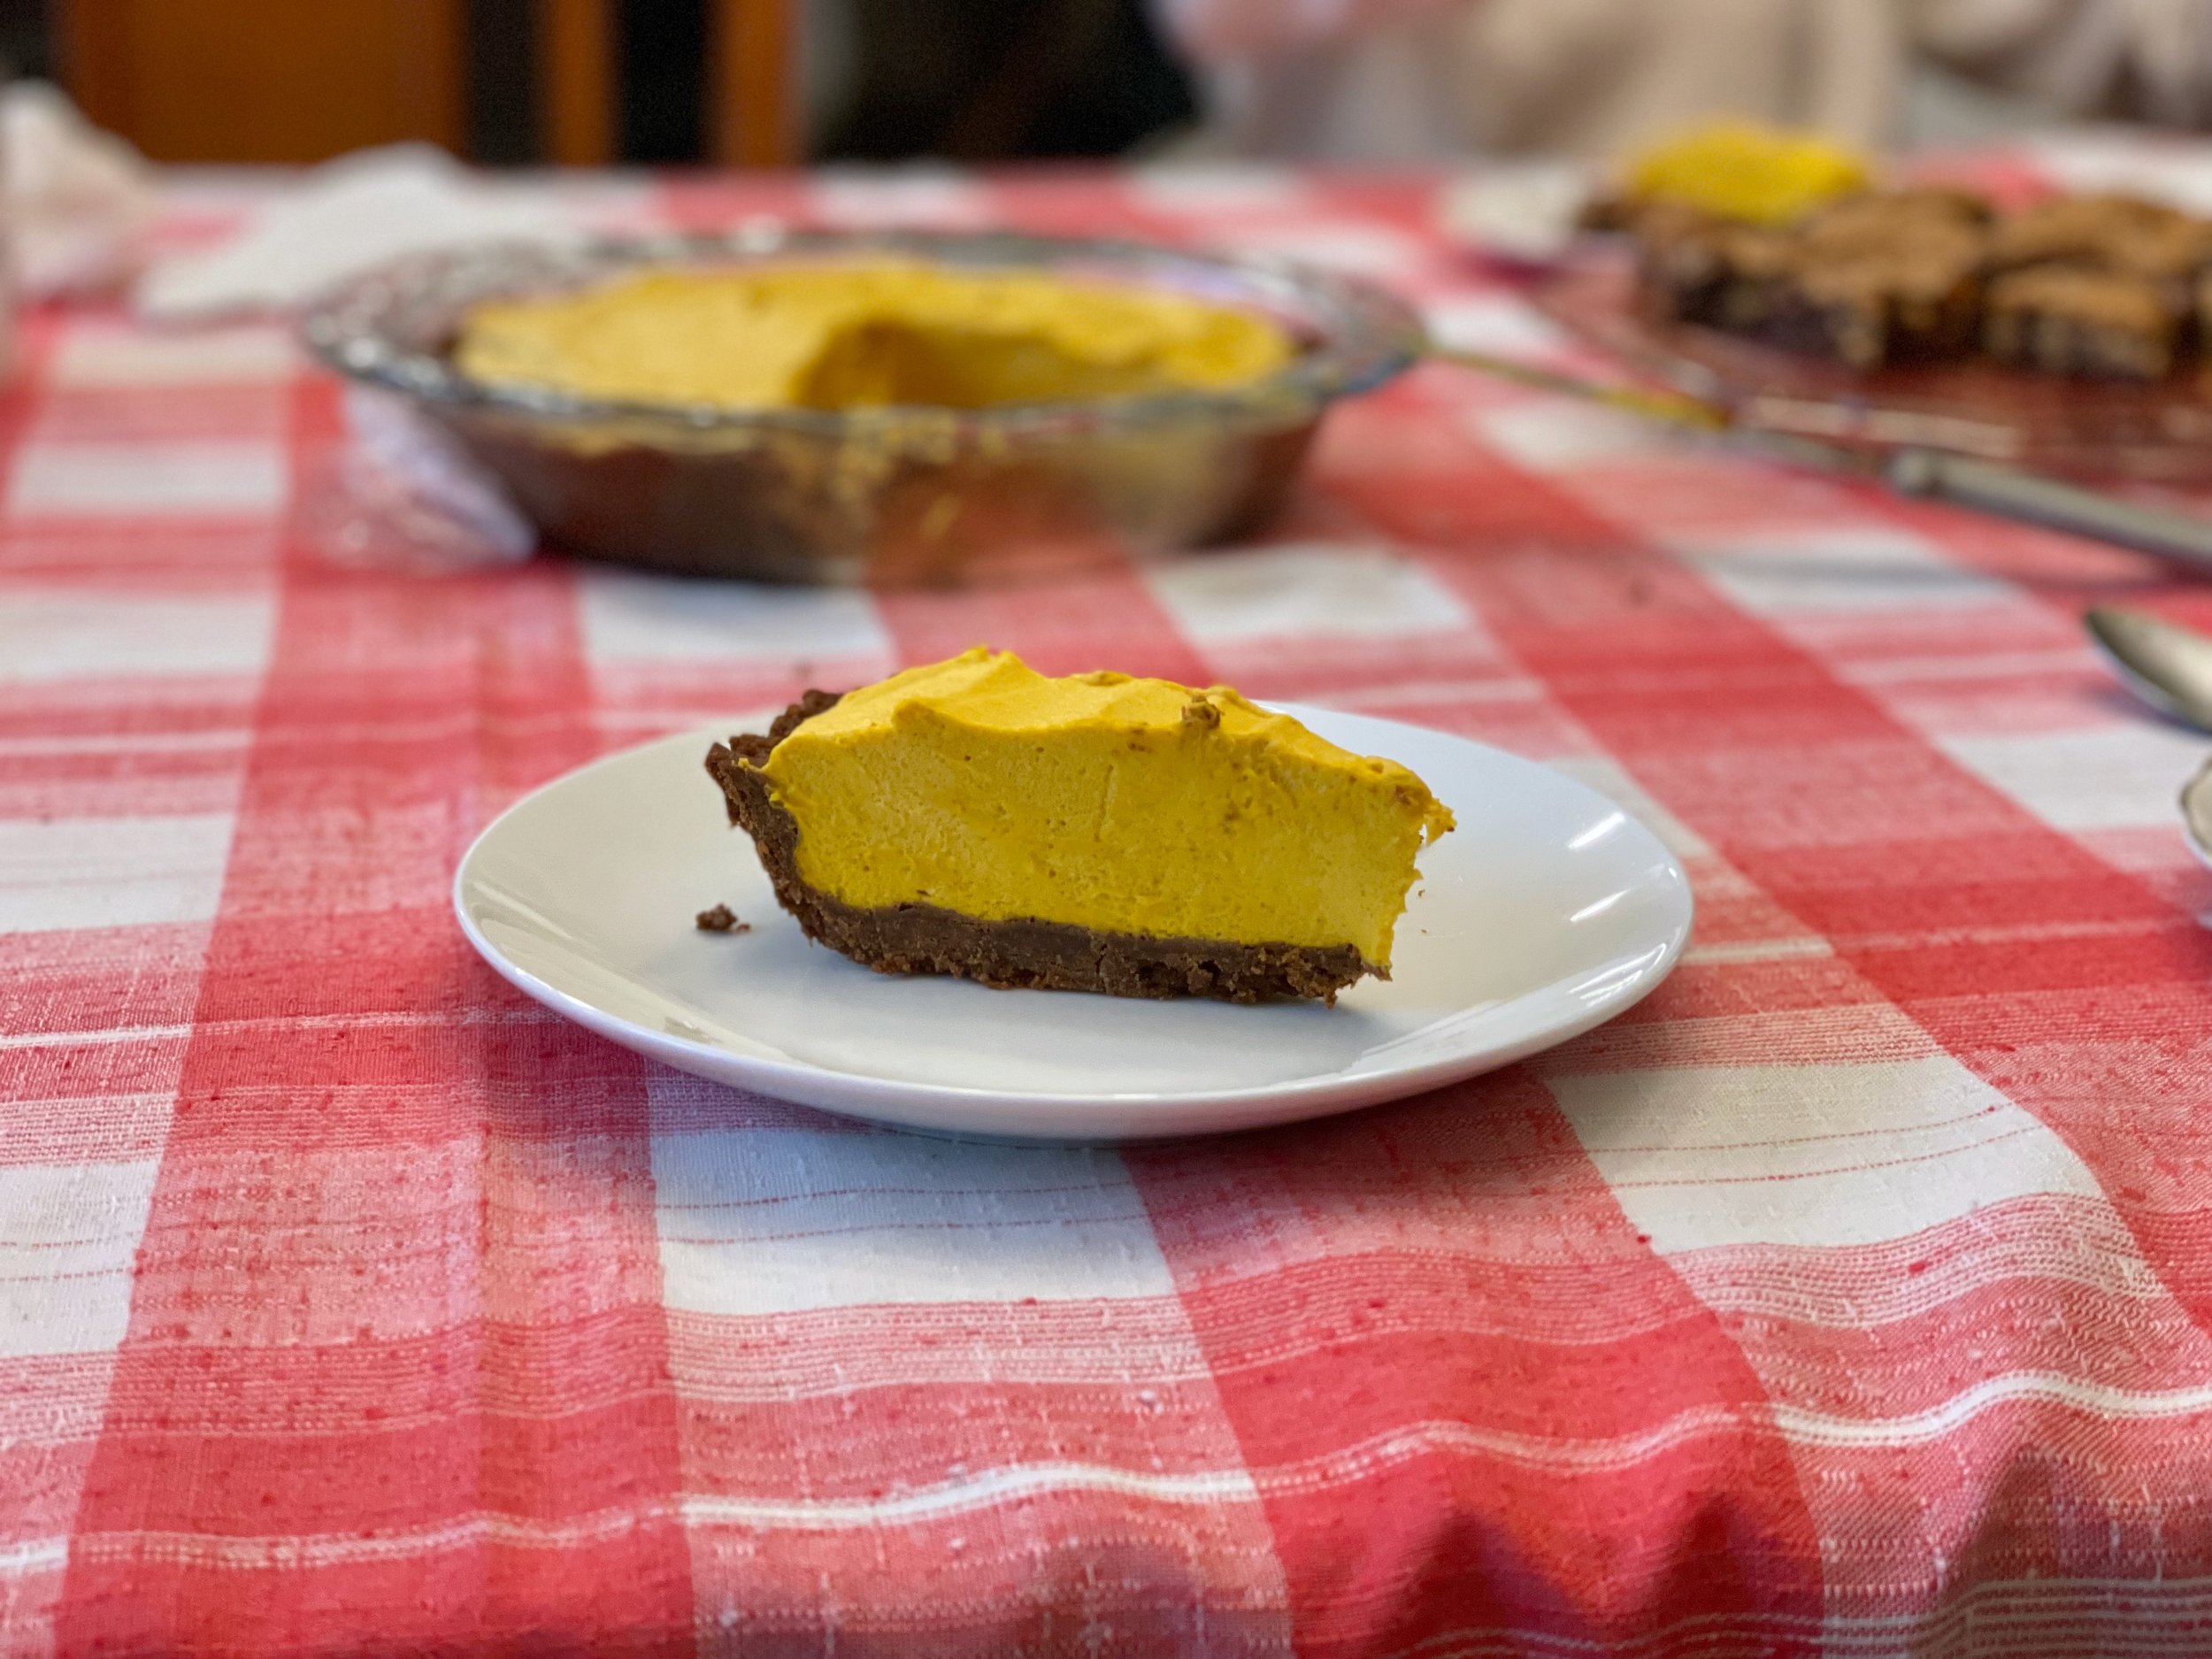
For dessert I made a pumpkin mousse pie I had seen on instagram. It just looked fun! I don’t love pumpkin pie, but a mousse pie with foleded in whipped cream looked wonderful, and it was! I really loved it and would make again! I used Effie’s biscuits instead of traditional graham crackers for the crust. I ended up doubling the amount of biscuit. I used two full Effies boxes. I initially used one and it looked way too wet. Maybe just because it’s a very different type of graham cracker. Didn’t matter though, the crust turned out deliciously, and EXTRA thick! I’m not sad about that. I still used the 6 Tbs butter, just double the cookie/cracker.

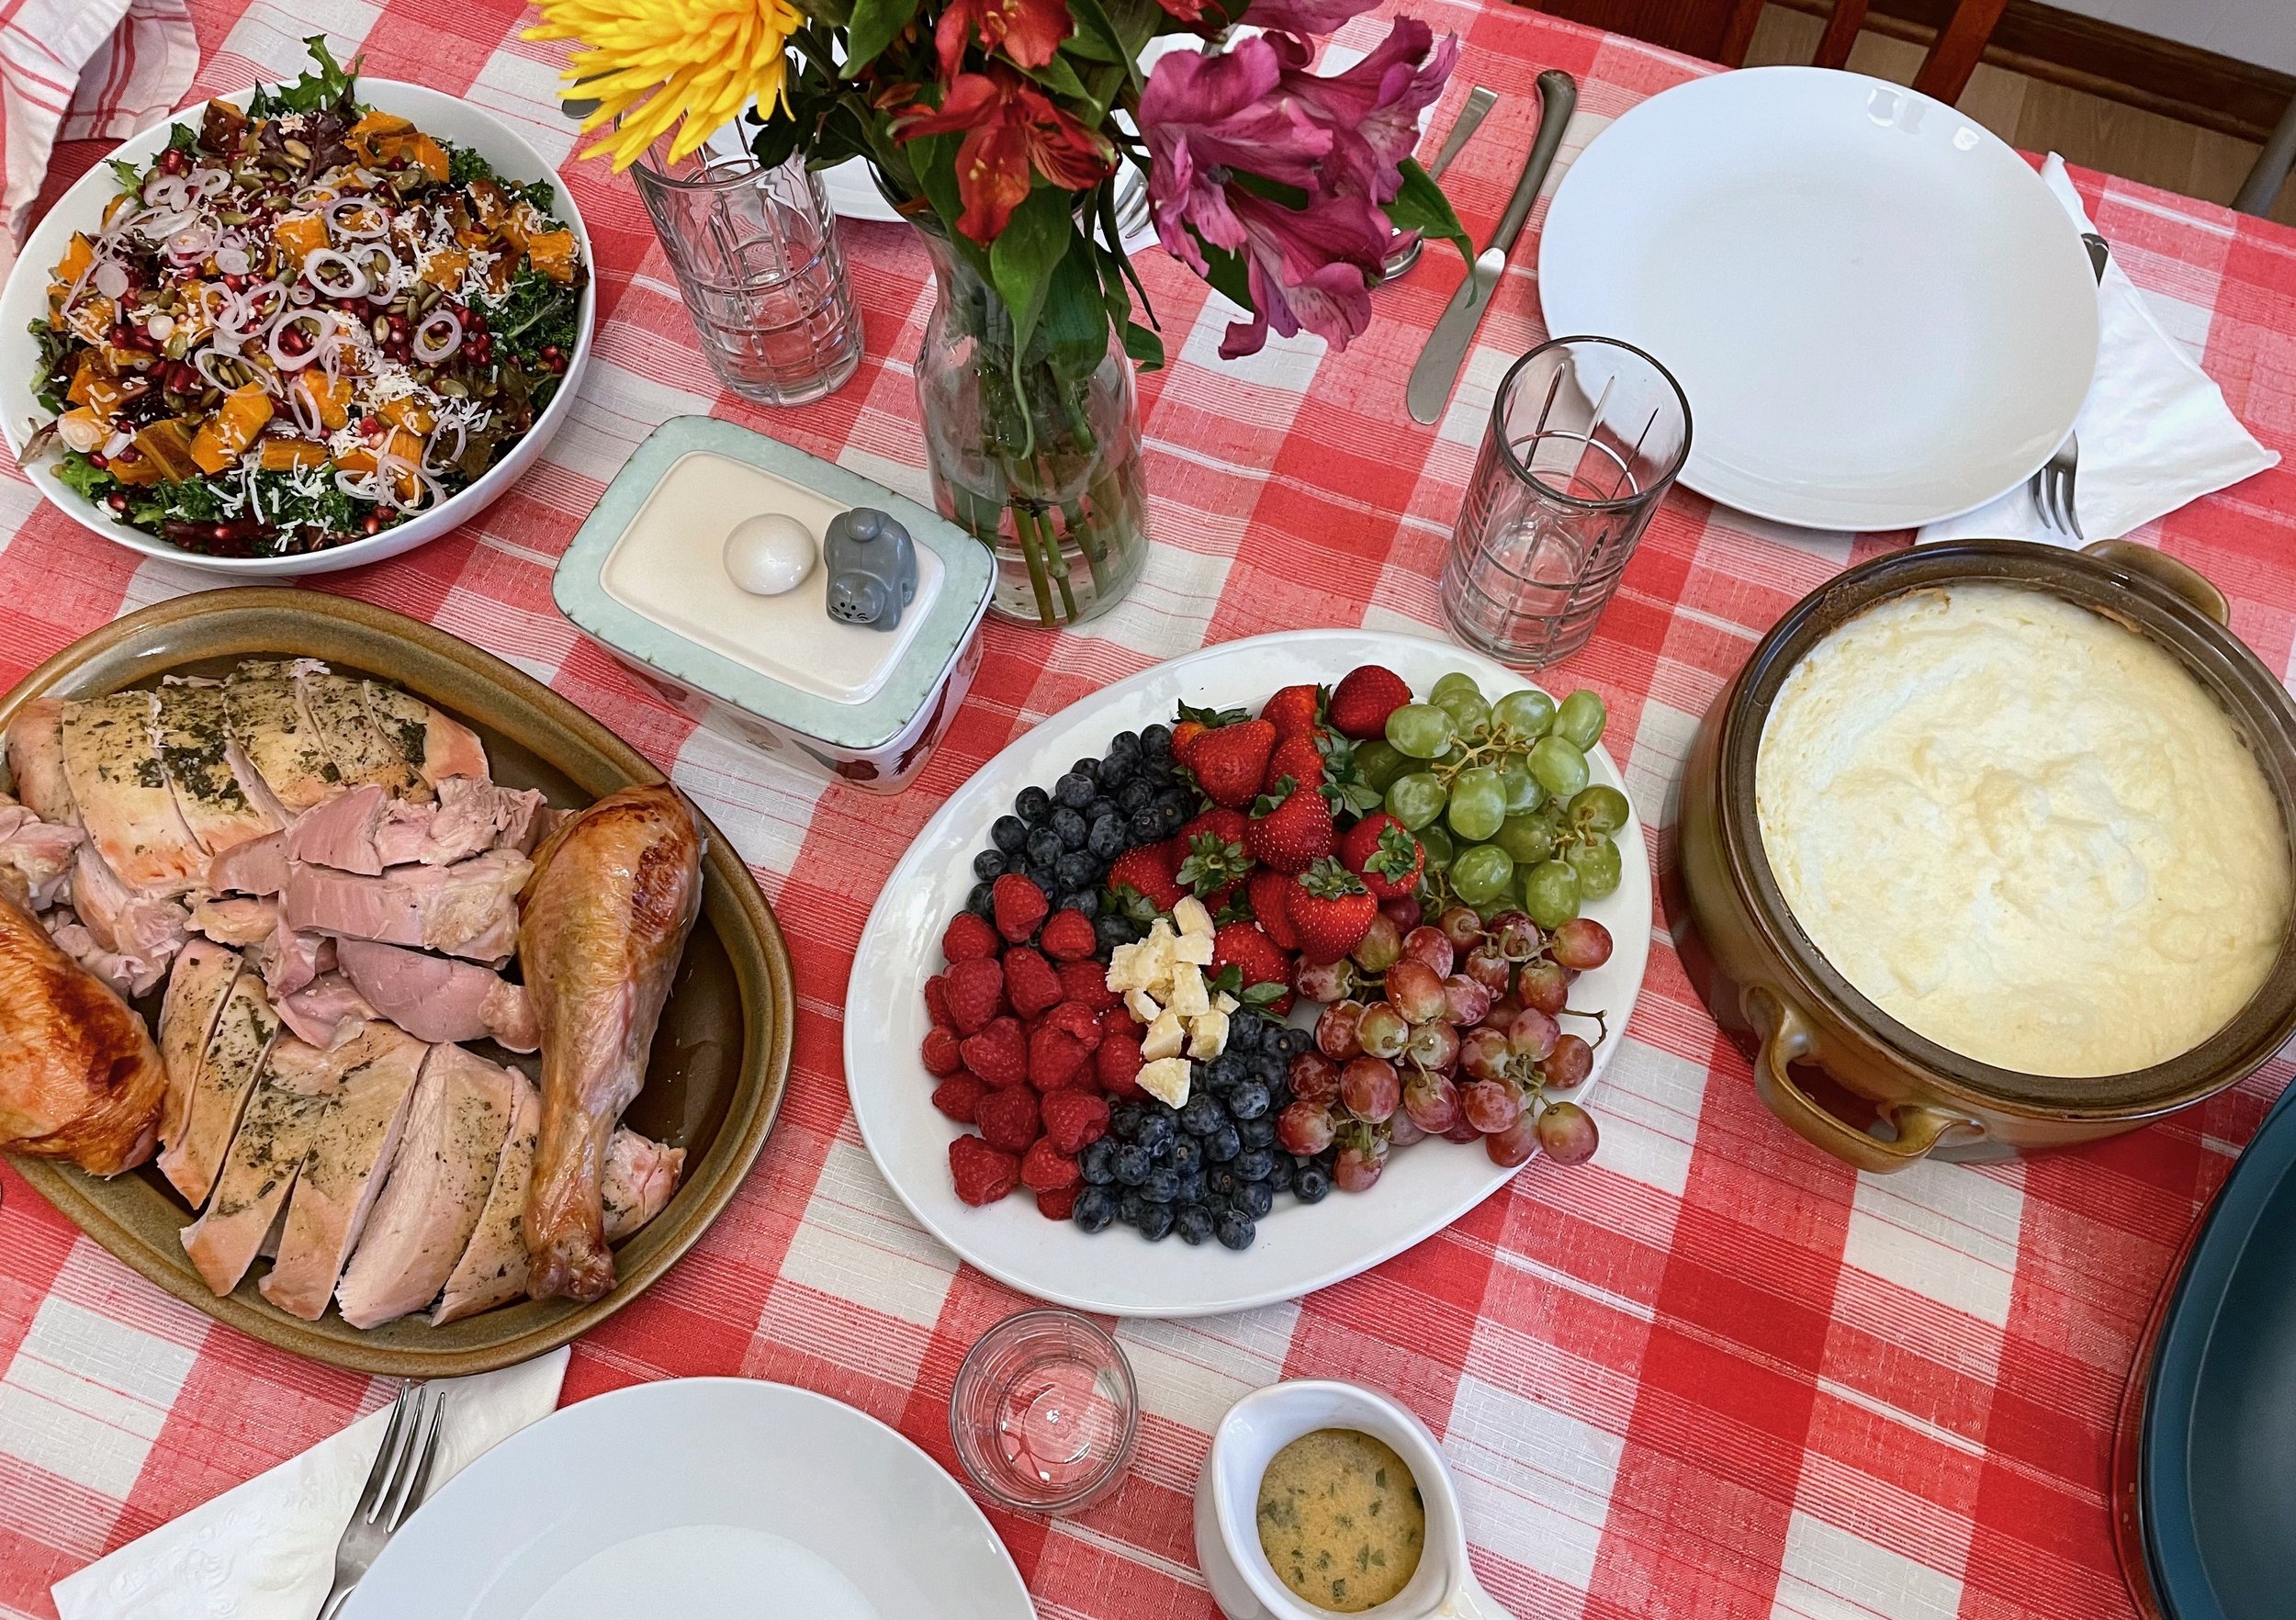
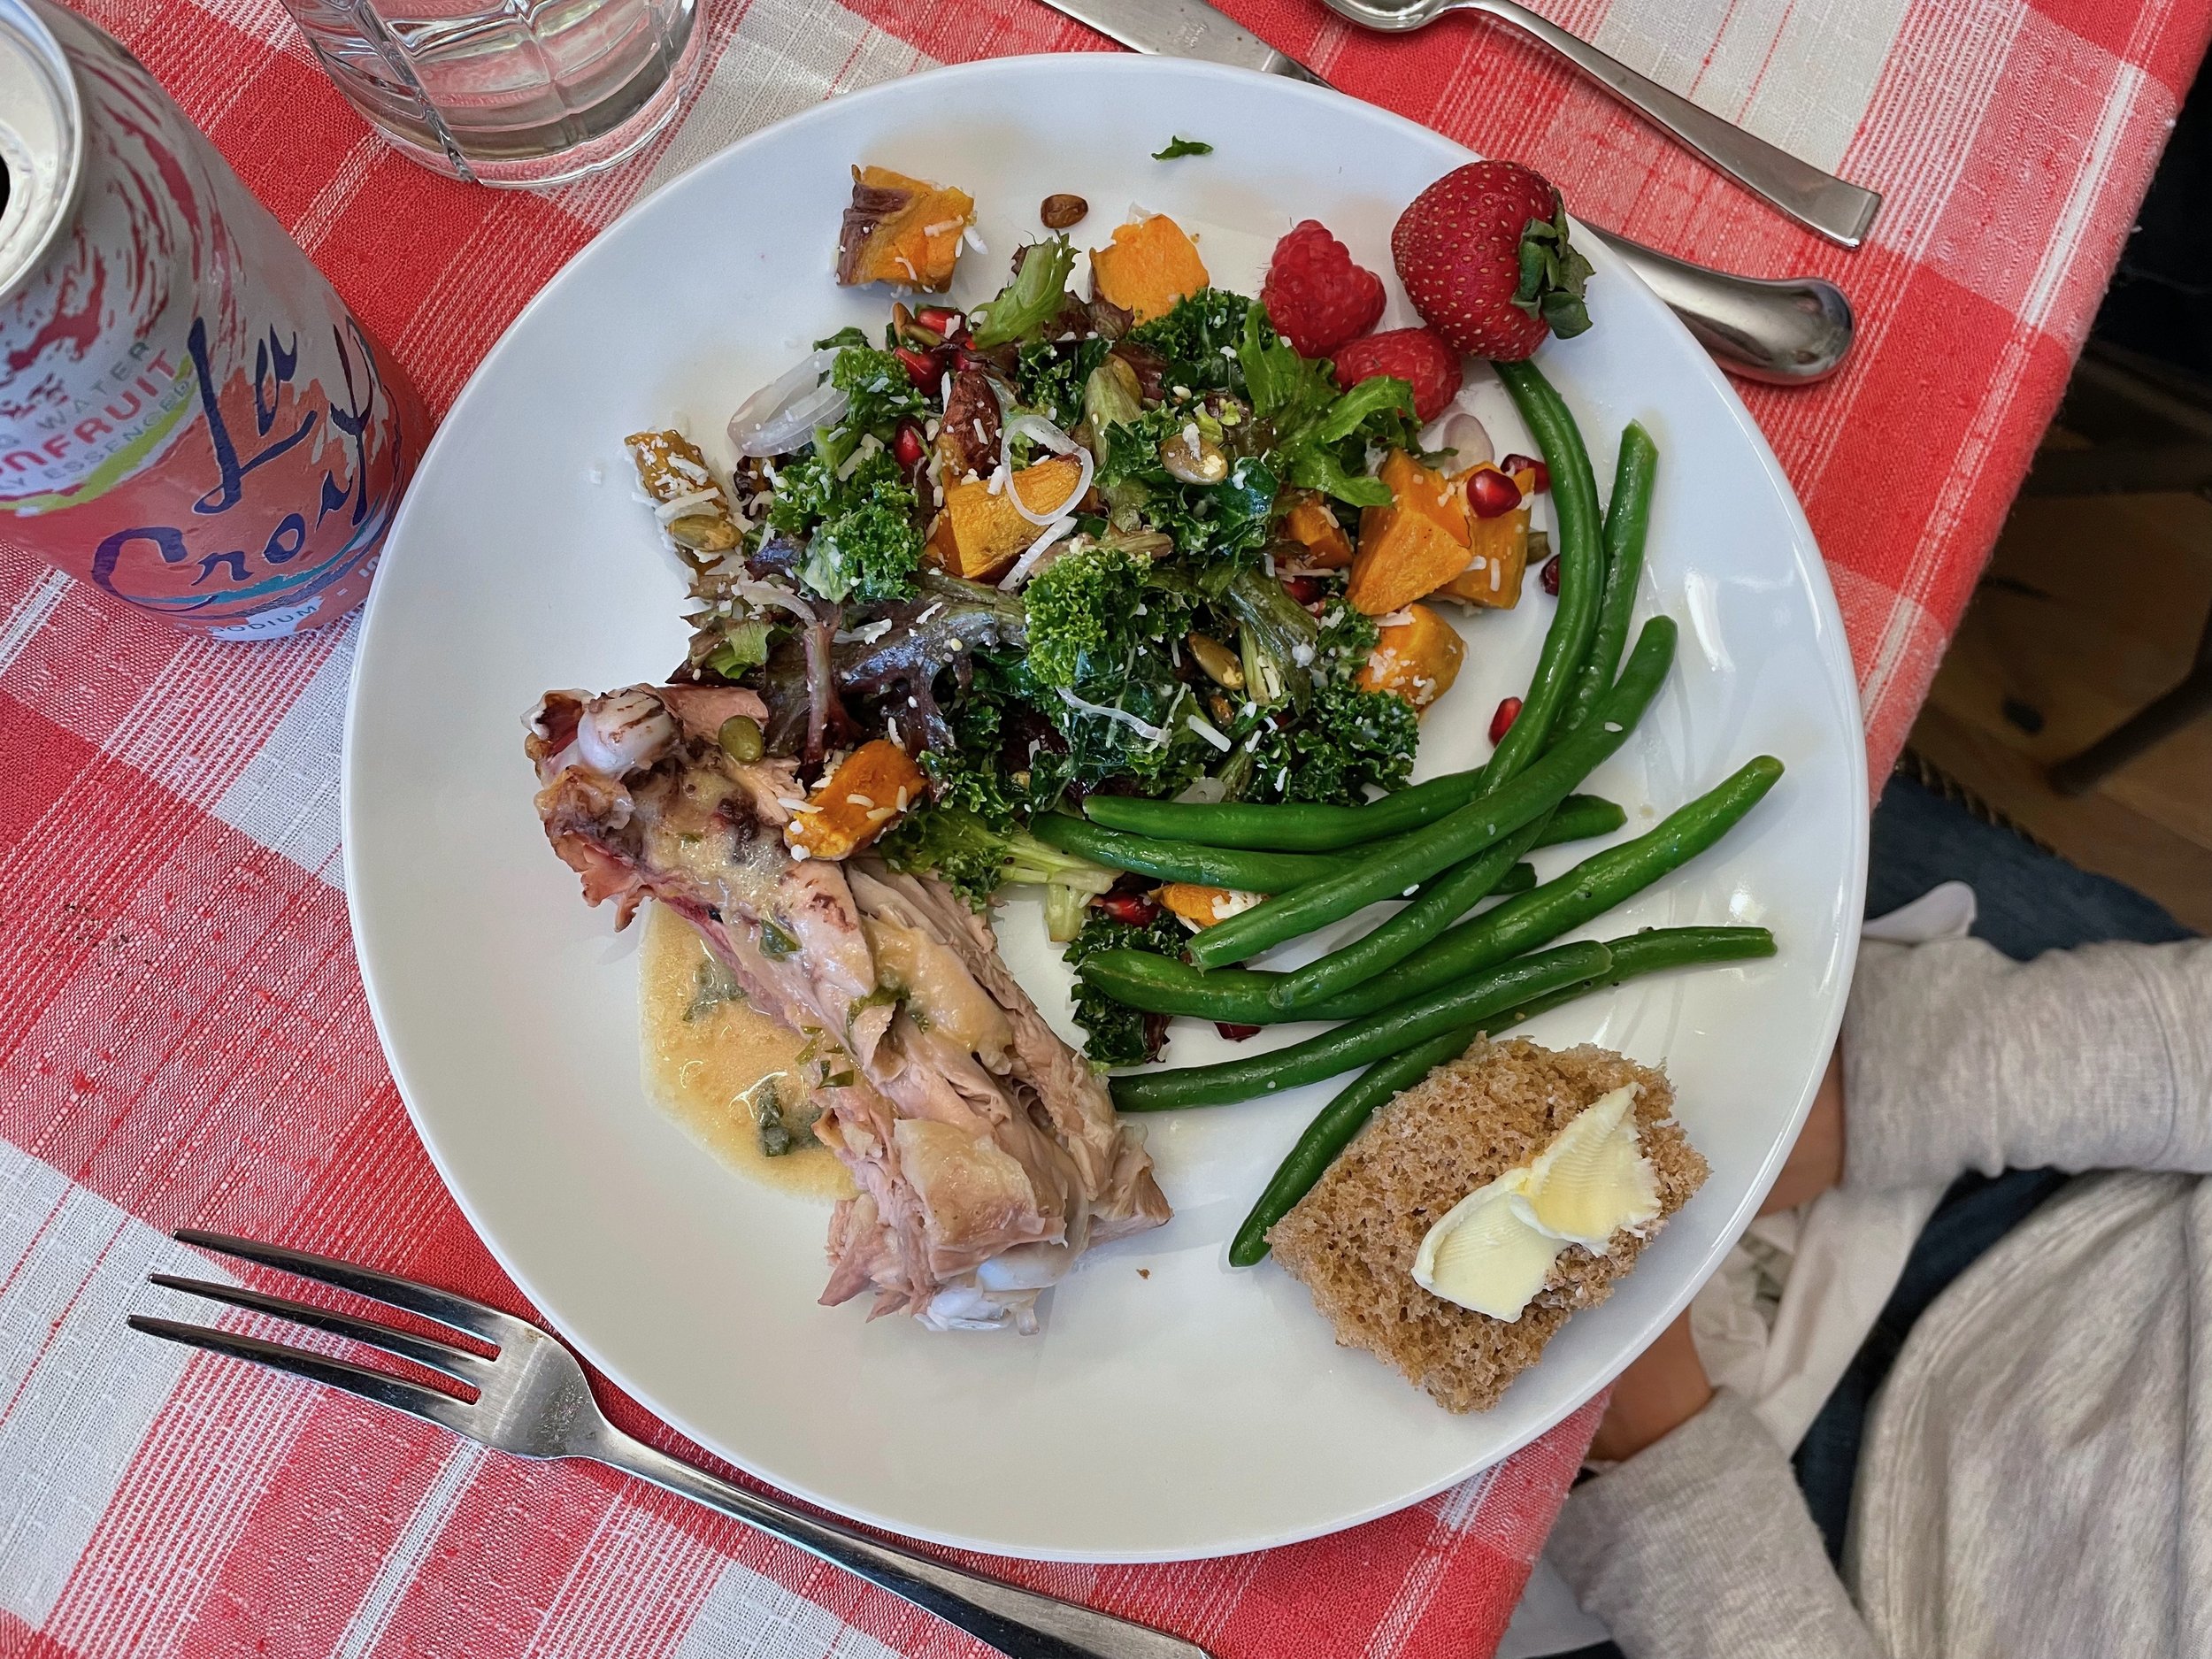
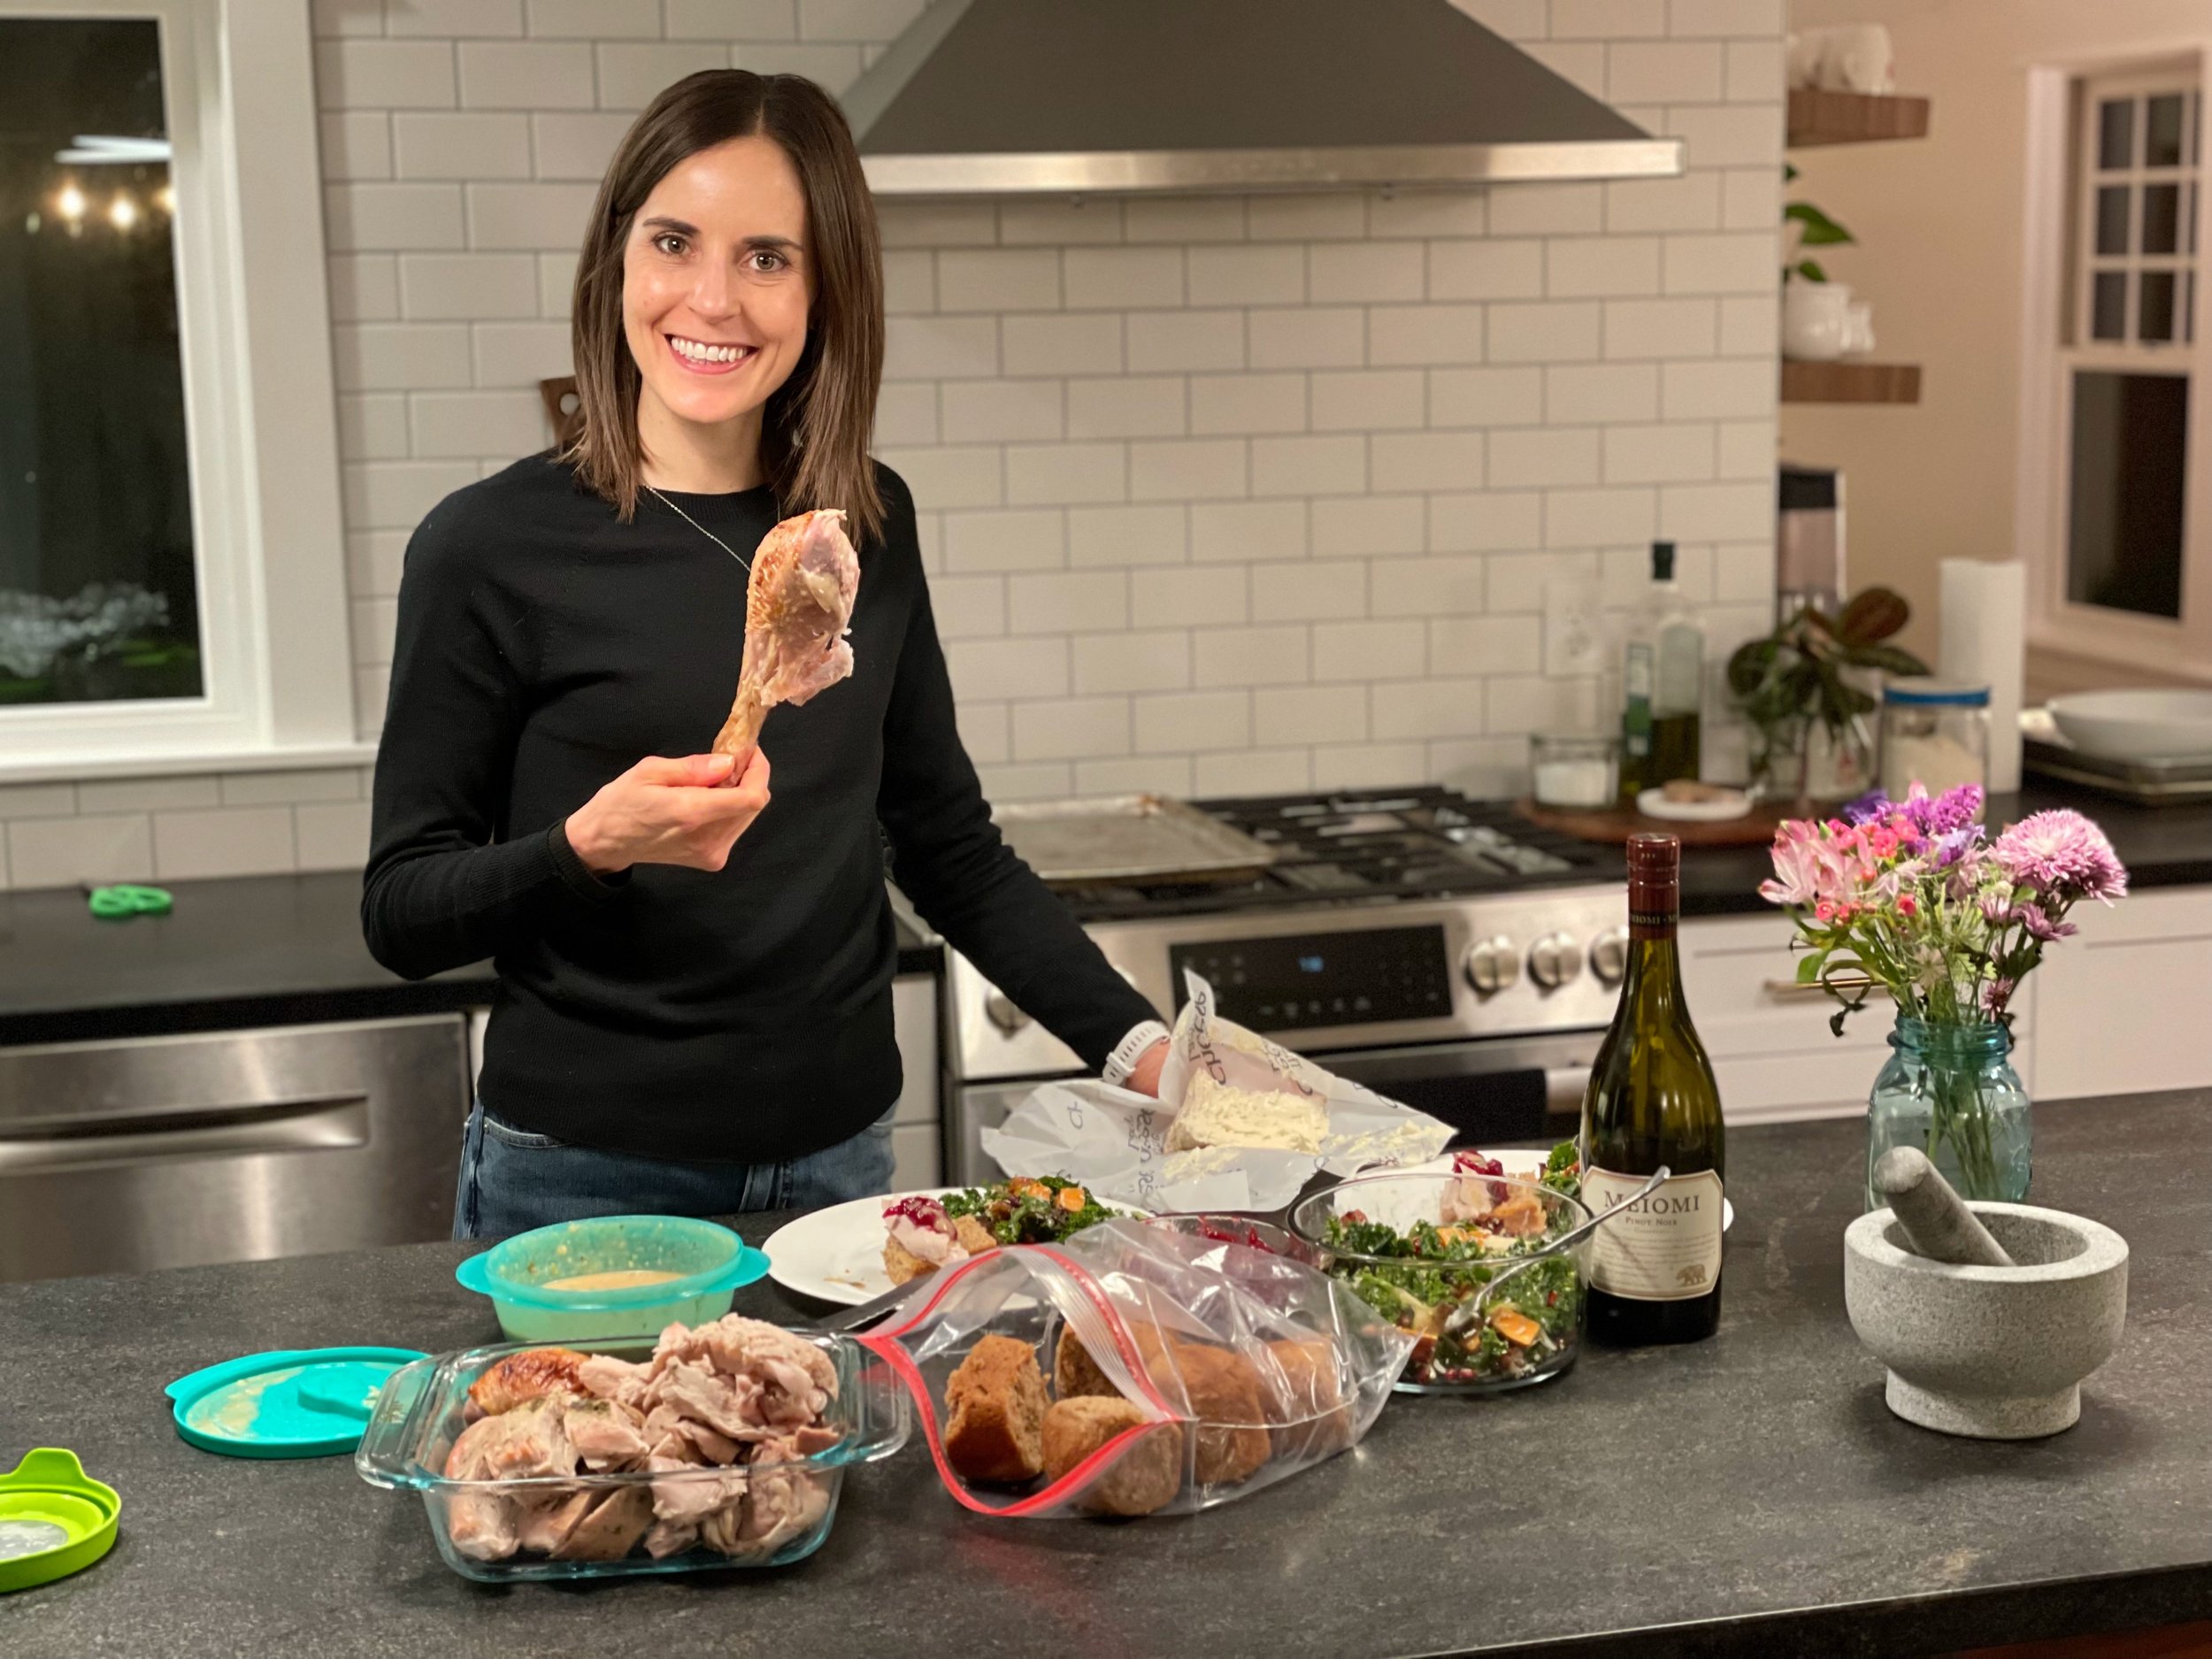
Butter Roasted Turkey with Cider Herb Gravy
From ful-filled
Ingredients

FOR THE CIDER BRINE:

  • 3 quarts apple cider, divided

  • 1 1/2 cups kosher salt

  • 1/4 cup whole allspice

  • 8 bay leaves

  • 4 quarts cold water

  • (1) 16-20 pound turkey (neck and gizzard reserved)

FOR THE GRAVY:

  • 2 tablespoons minced fresh Italian parsley

  • 2 tablespoons minced fresh thyme

  • 2 tablespoons minced fresh sage

  • 2 tablespoons minced fresh marjoram

  • 1 teaspoon minced fresh rosemary

  • 1 teaspoon ground nutmeg

  • 1/4 cup unsalted butter

  • 4 cups chicken broth

  • 2 cups apple cider

  • 1/4 cup all purpose flour

  • 1/2 cup whipping cream

  • 2 tablespoons Calvados (apple brandy) or other brandy

FOR ROASTING:

  • 2 sticks unsalted butter

  • 2 yards cheesecloth

  • 2 large Granny Smith apples, quartered

  • 2 large onions, quartered

  • 1 cup chicken broth

  • 1 cup apple cider

Instructions
FOR THE BRINE:
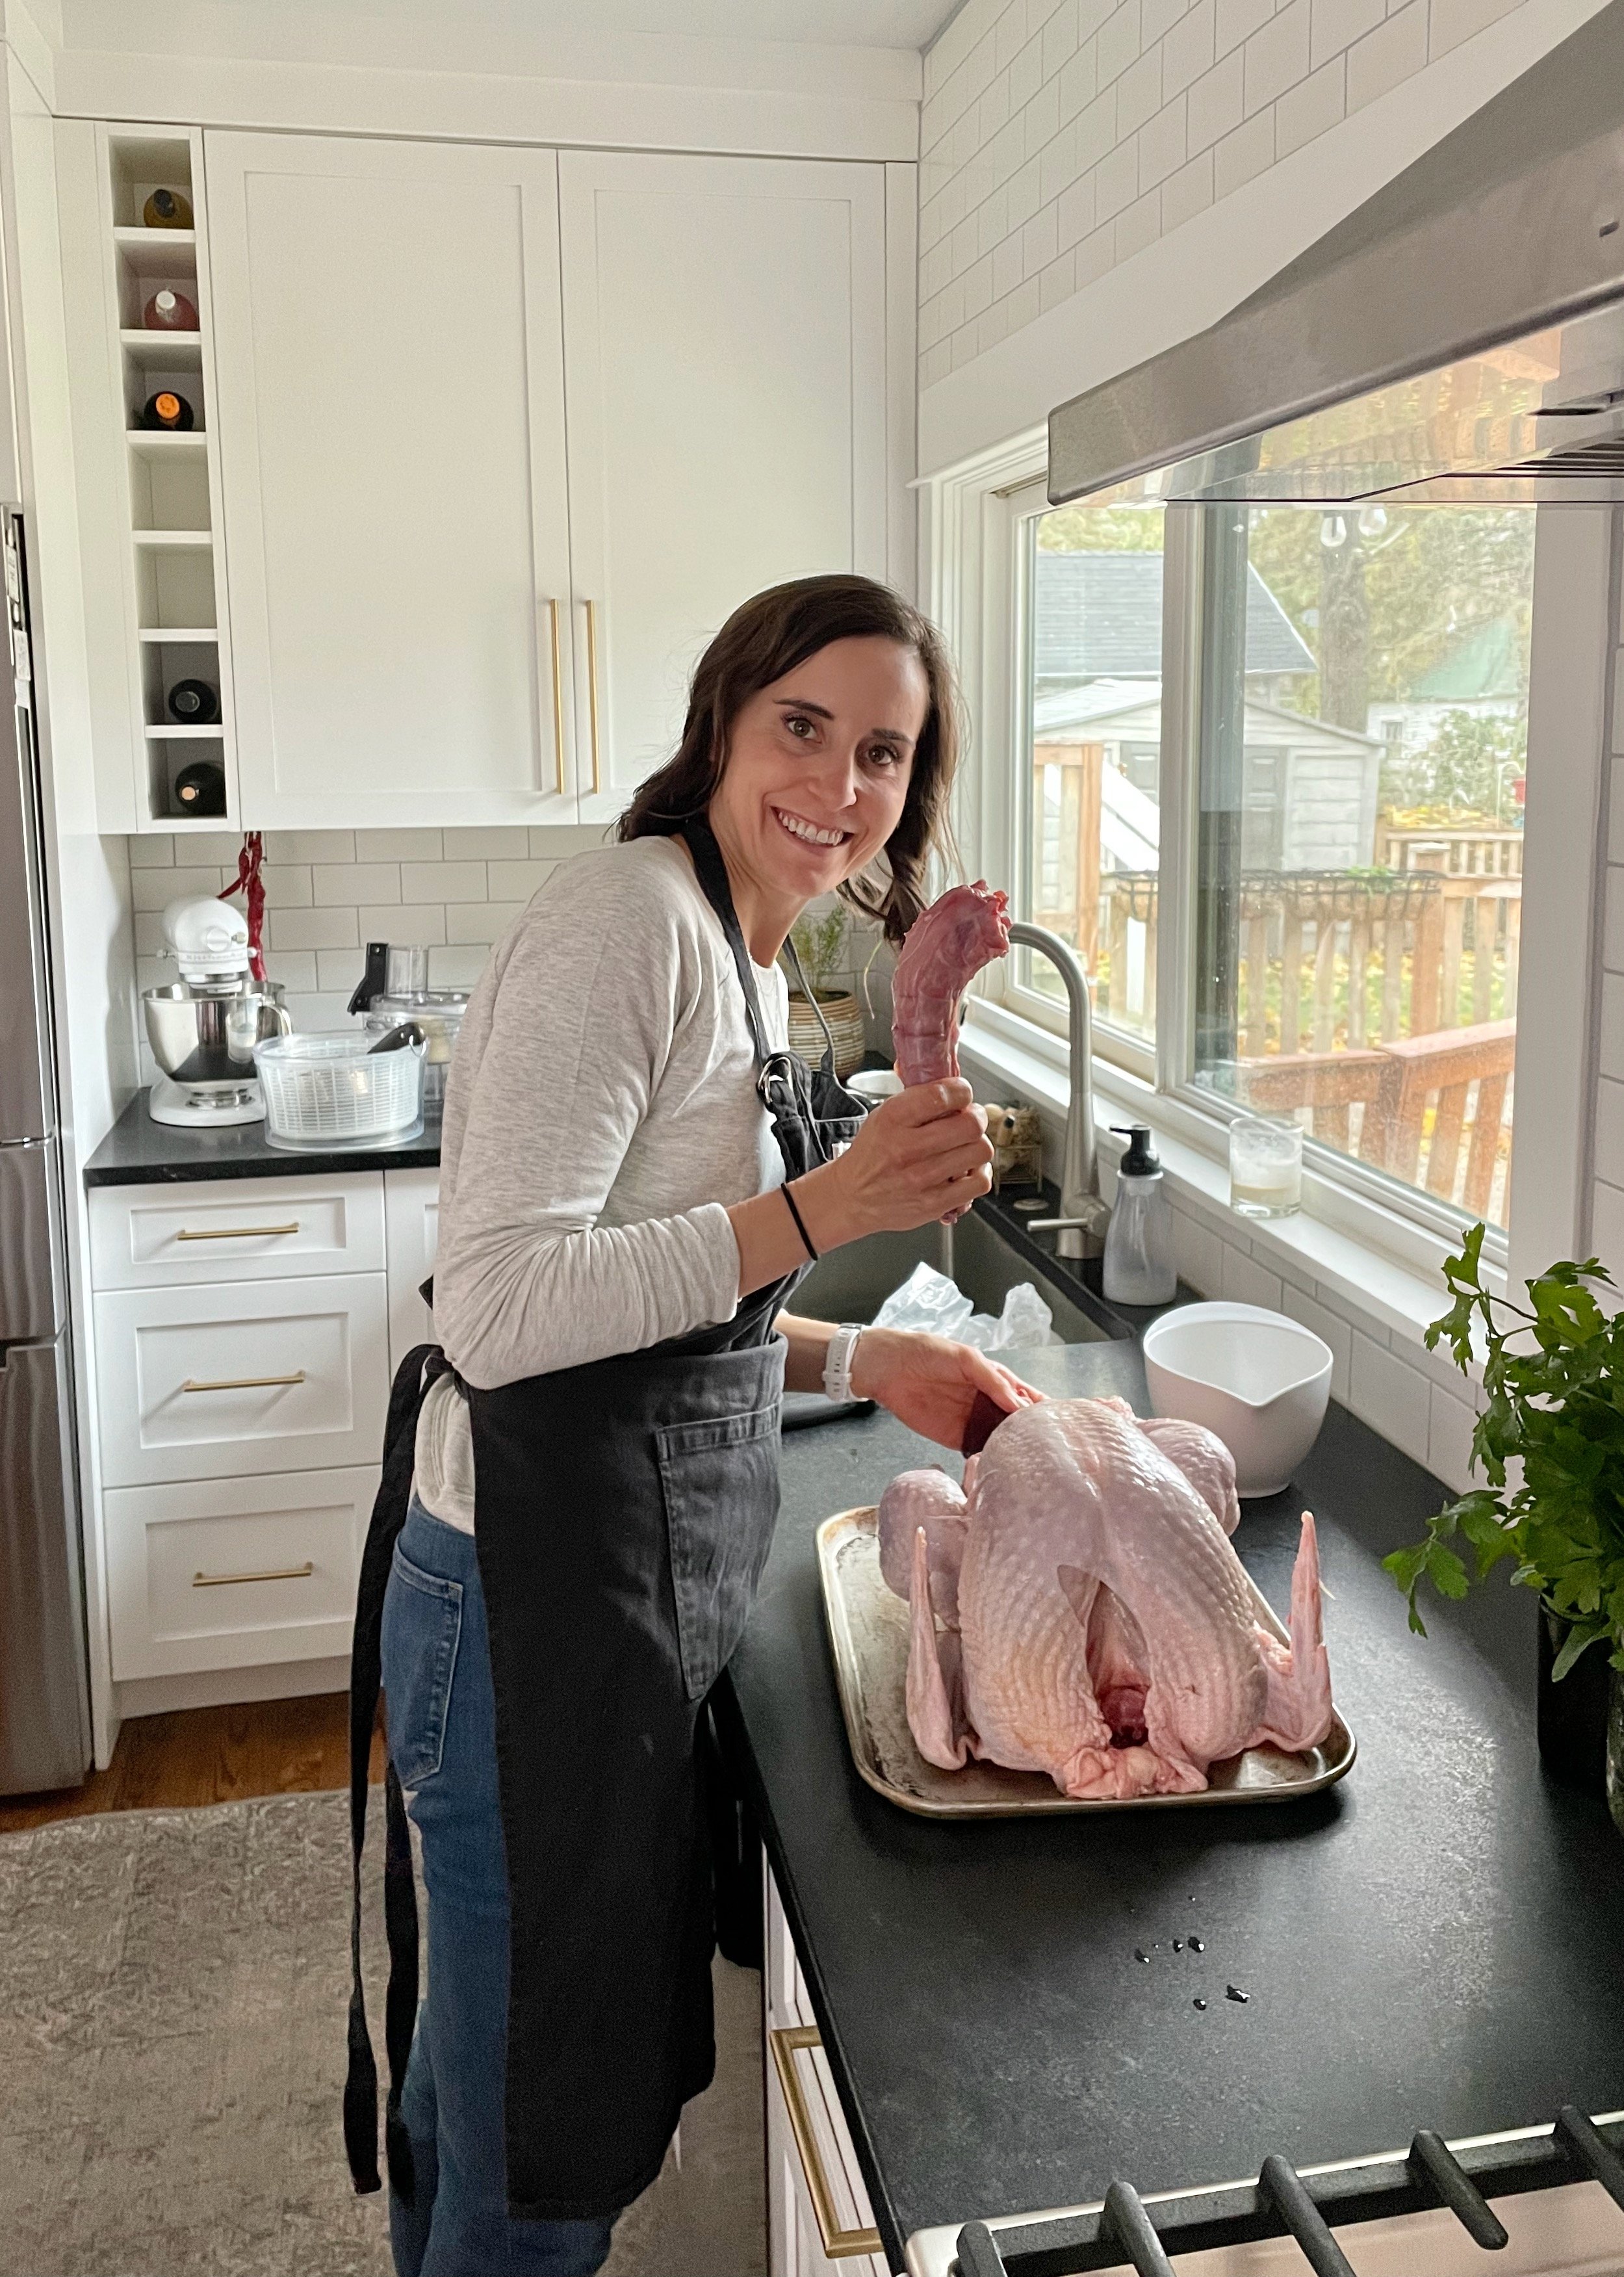
Line extra-large pot with two 13-gallon plastic bags, 1 inside the other (or use a brining bag). Simmer 1 quart apple cider, salt, allspice, and bay leaves in 20-quart pot for 5 minutes, stirring until salt dissolves. Remove from heat, add remaining 2 quarts cider and 4 quarts water. Pour brine into plastic bag. Wrap turkey neck and refrigerate. Submerge turkey in brine to cover completely, gathering bags tightly to eliminate any air; tie bags closed. Refrigerate turkey in brine in pot for at least 18 hours and up to 20 hours.

Next day: Line a large roasting pan with 4 layers of paper towels. Remove turkey from brine and drain well; discard brine. Place turkey in prepared pan. Cover with plastic wrap and refrigerate overnight.

FOR THE GRAVY:
Combine broth and apple cider in heavy large saucepan. Boil until reduced to 3 cups, about 20 minutes. Pour broth reduction into bowl. Melt 1/4 cup butter in same saucepan over medium-high heat. Add flour; stir 1 minute. Whisk in broth reduction, then cream, Calvados, and remaining herb mixture. Bring to boil; reduce heat to medium-low and simmer until gravy base is thickened and reduced to 2 3/4 cups, whisking often, about 20 minutes. Cool gravy base, cover & chill. (Gravy base can be made 2 days ahead.)

FOR ROASTING:
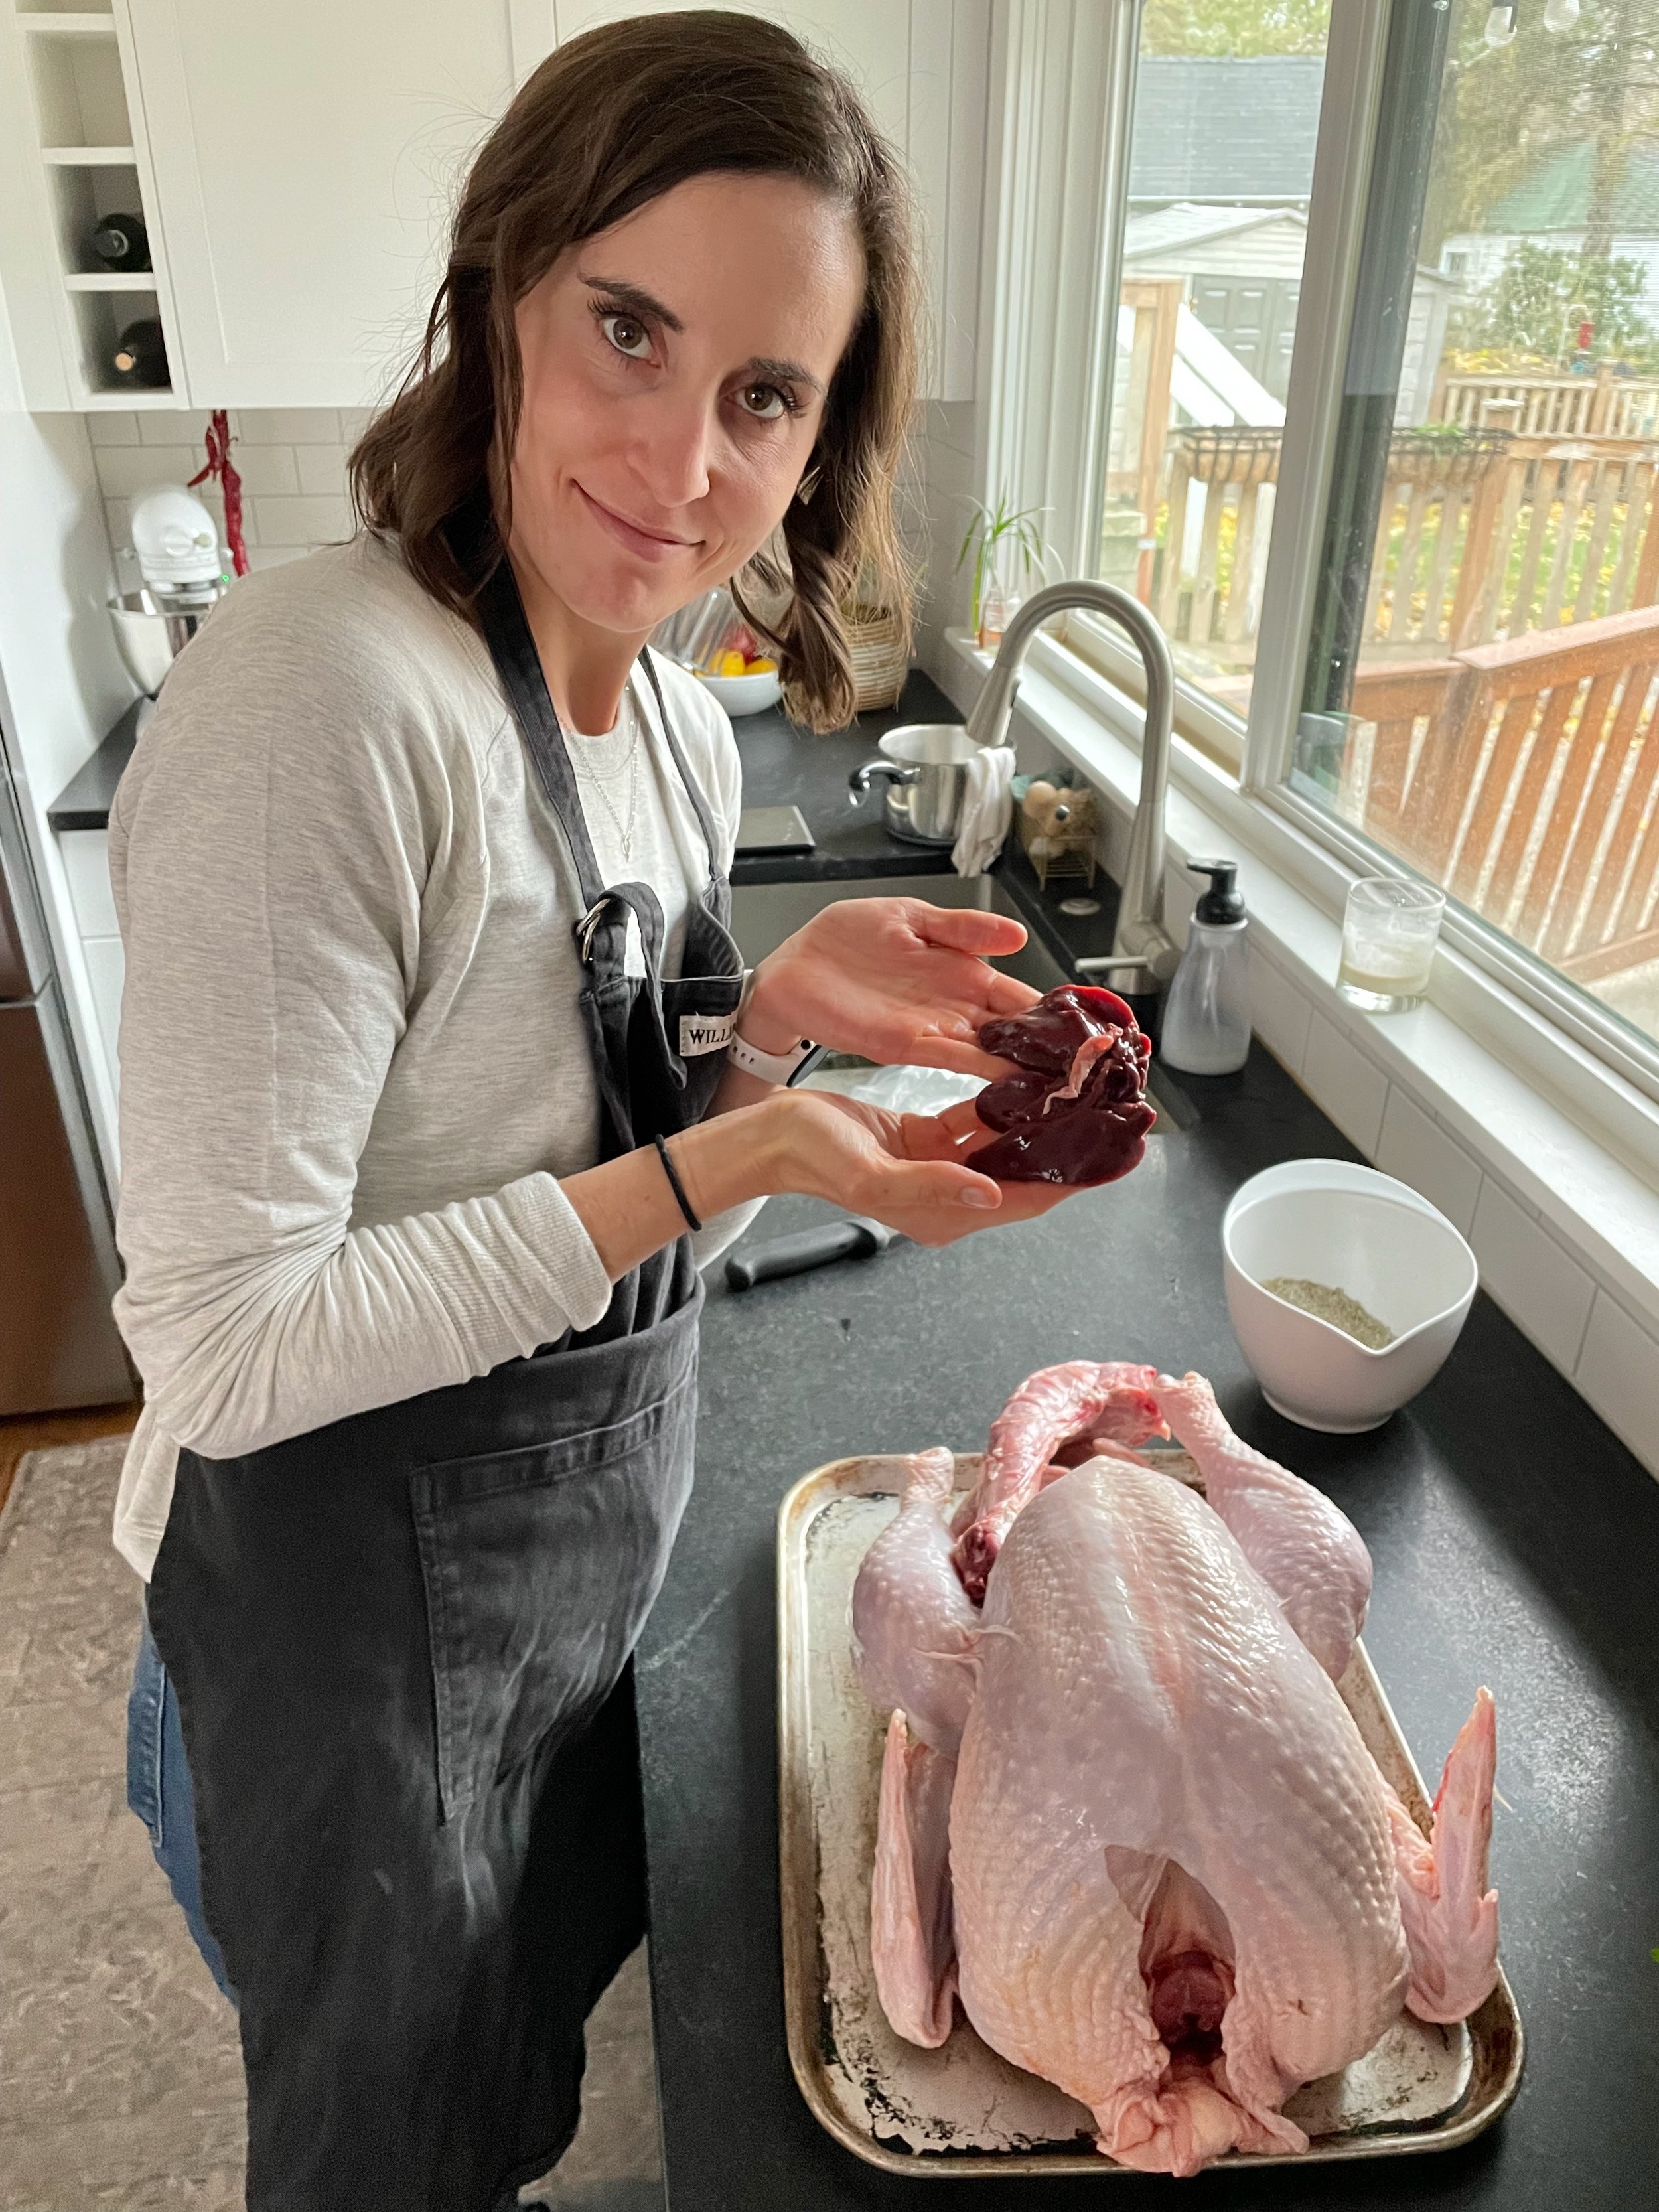
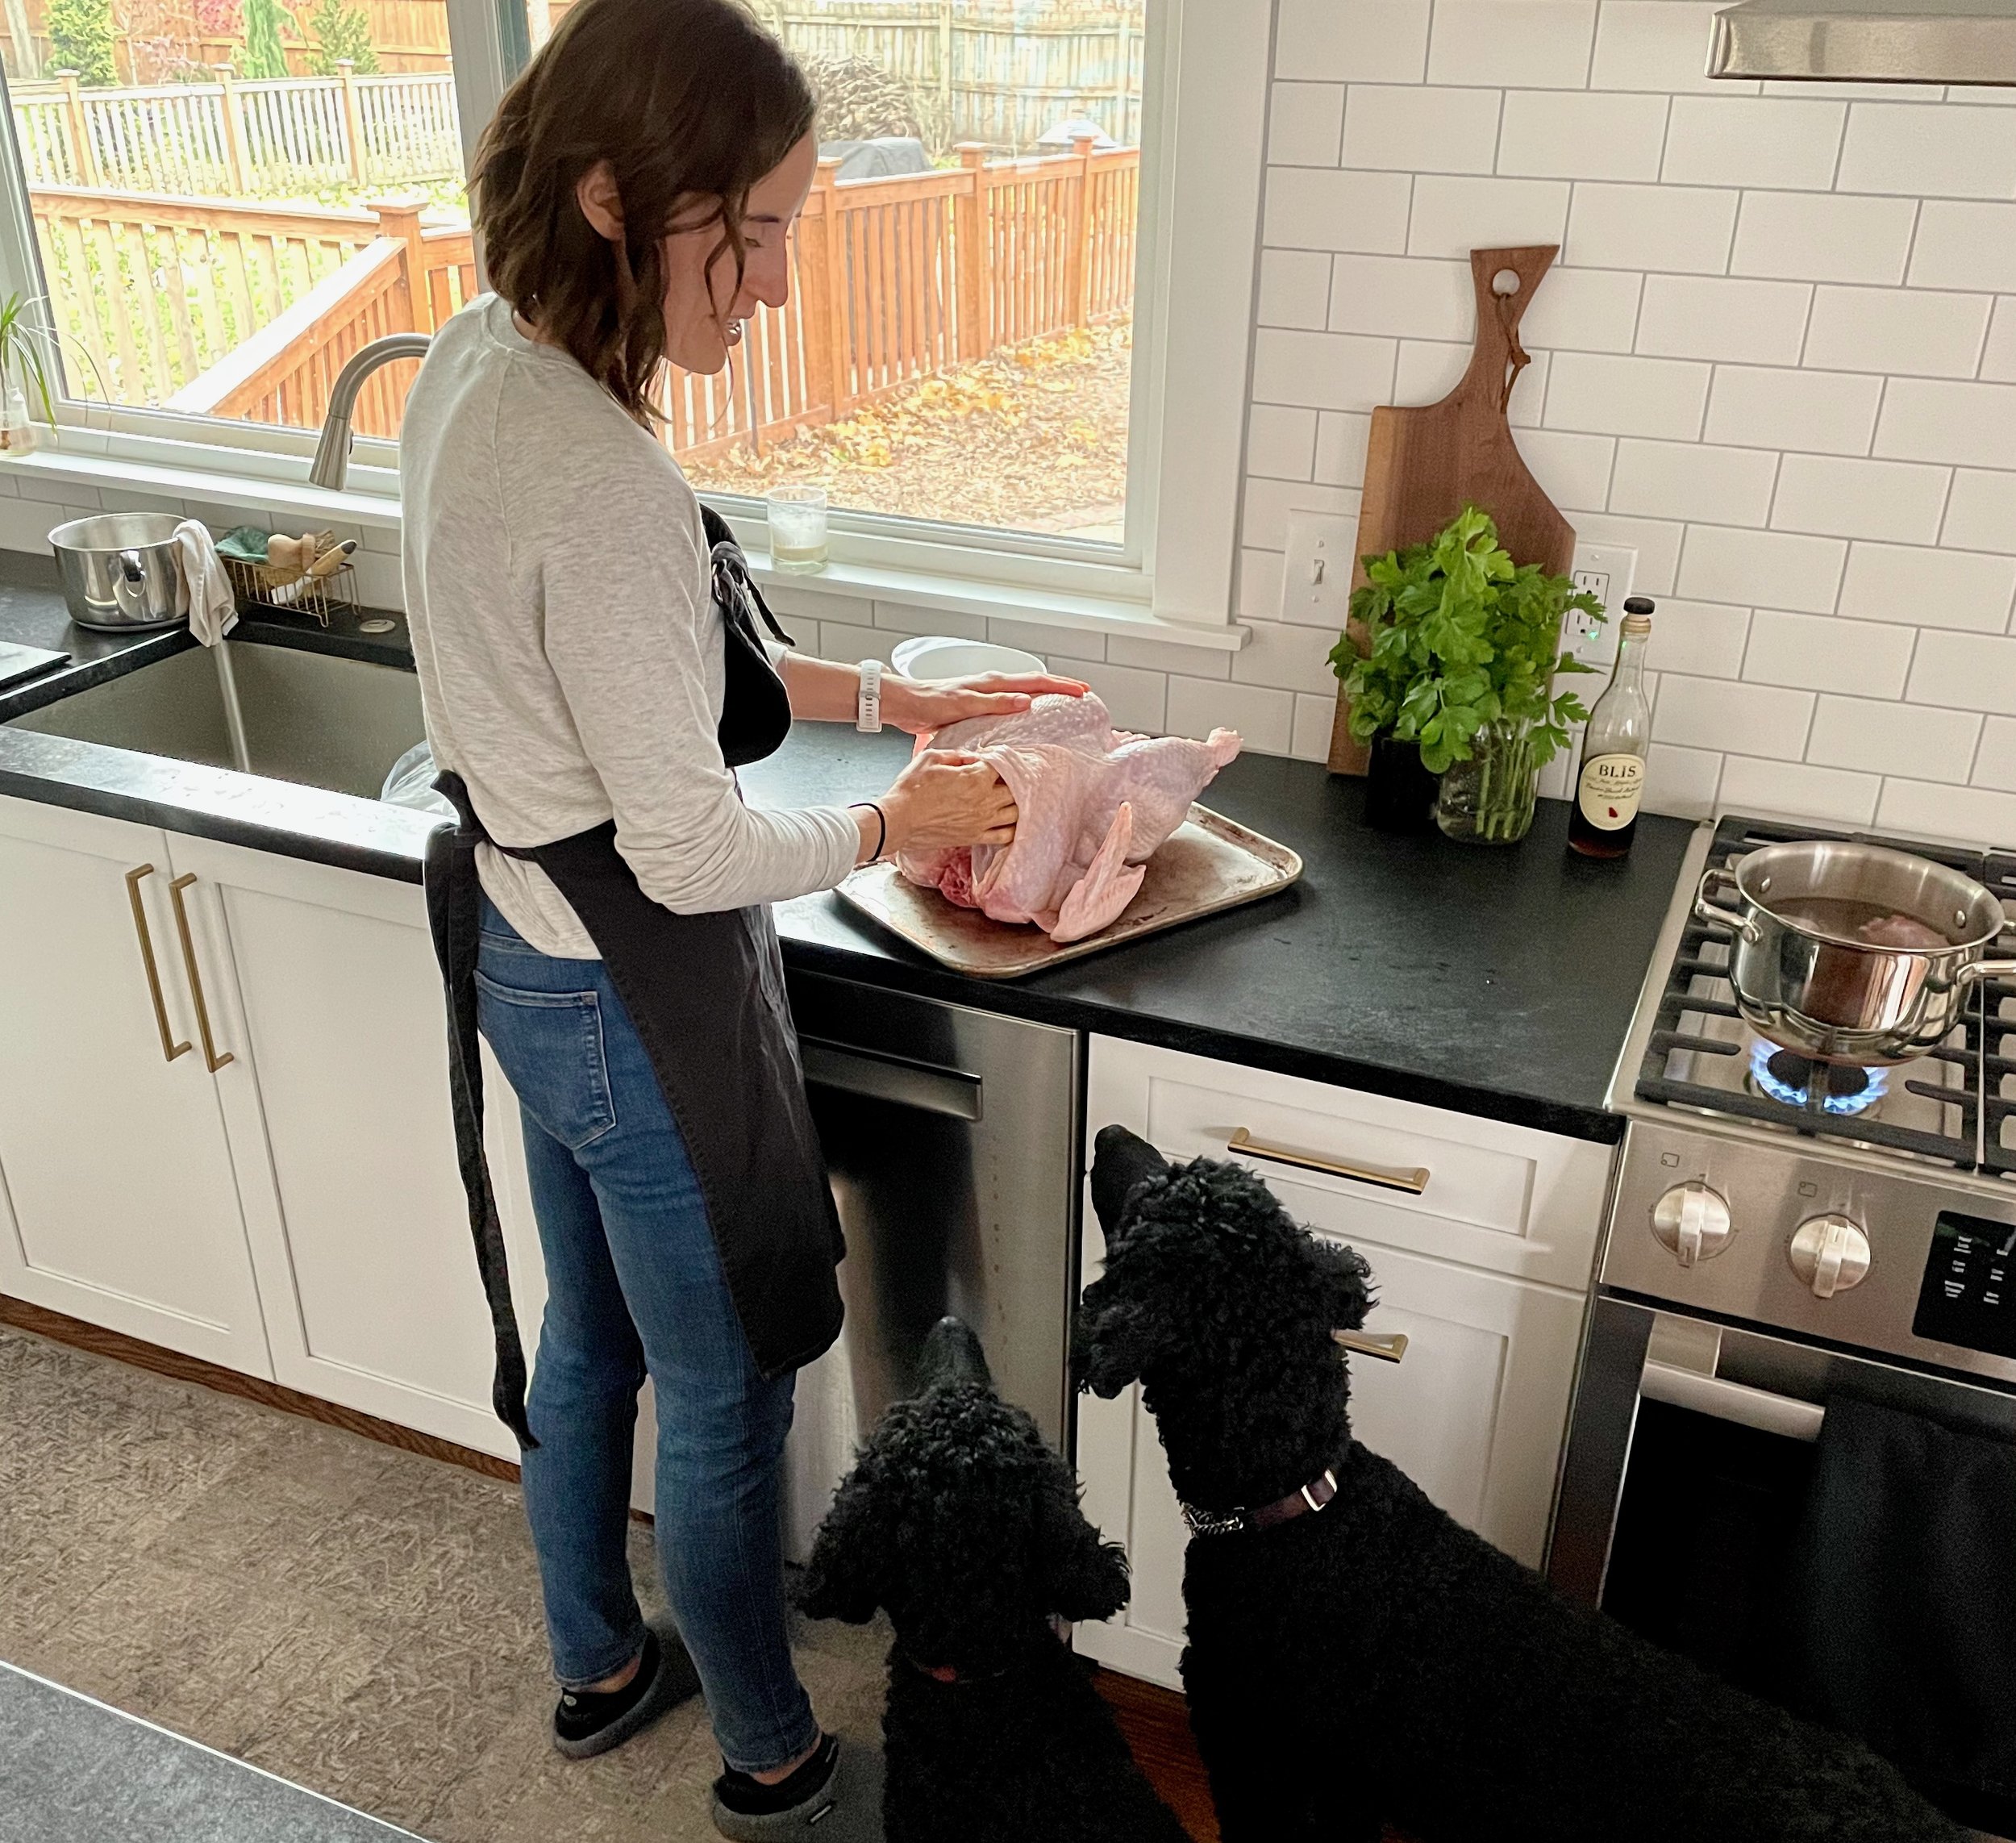
Position rack in bottom third of oven and preheat to 350°F. Remove turkey from roasting pan; drain any accumulated juices from main cavity. Discard paper towels from roasting pan. Return turkey to prepared pan. Tuck wing tips under; tie legs together loosely to hold shape. Place some apple quarters and onion quarters in main cavity. Scatter remaining apples and onions around turkey in pan. Add reserved turkey neck to pan along with 1 cup of broth.

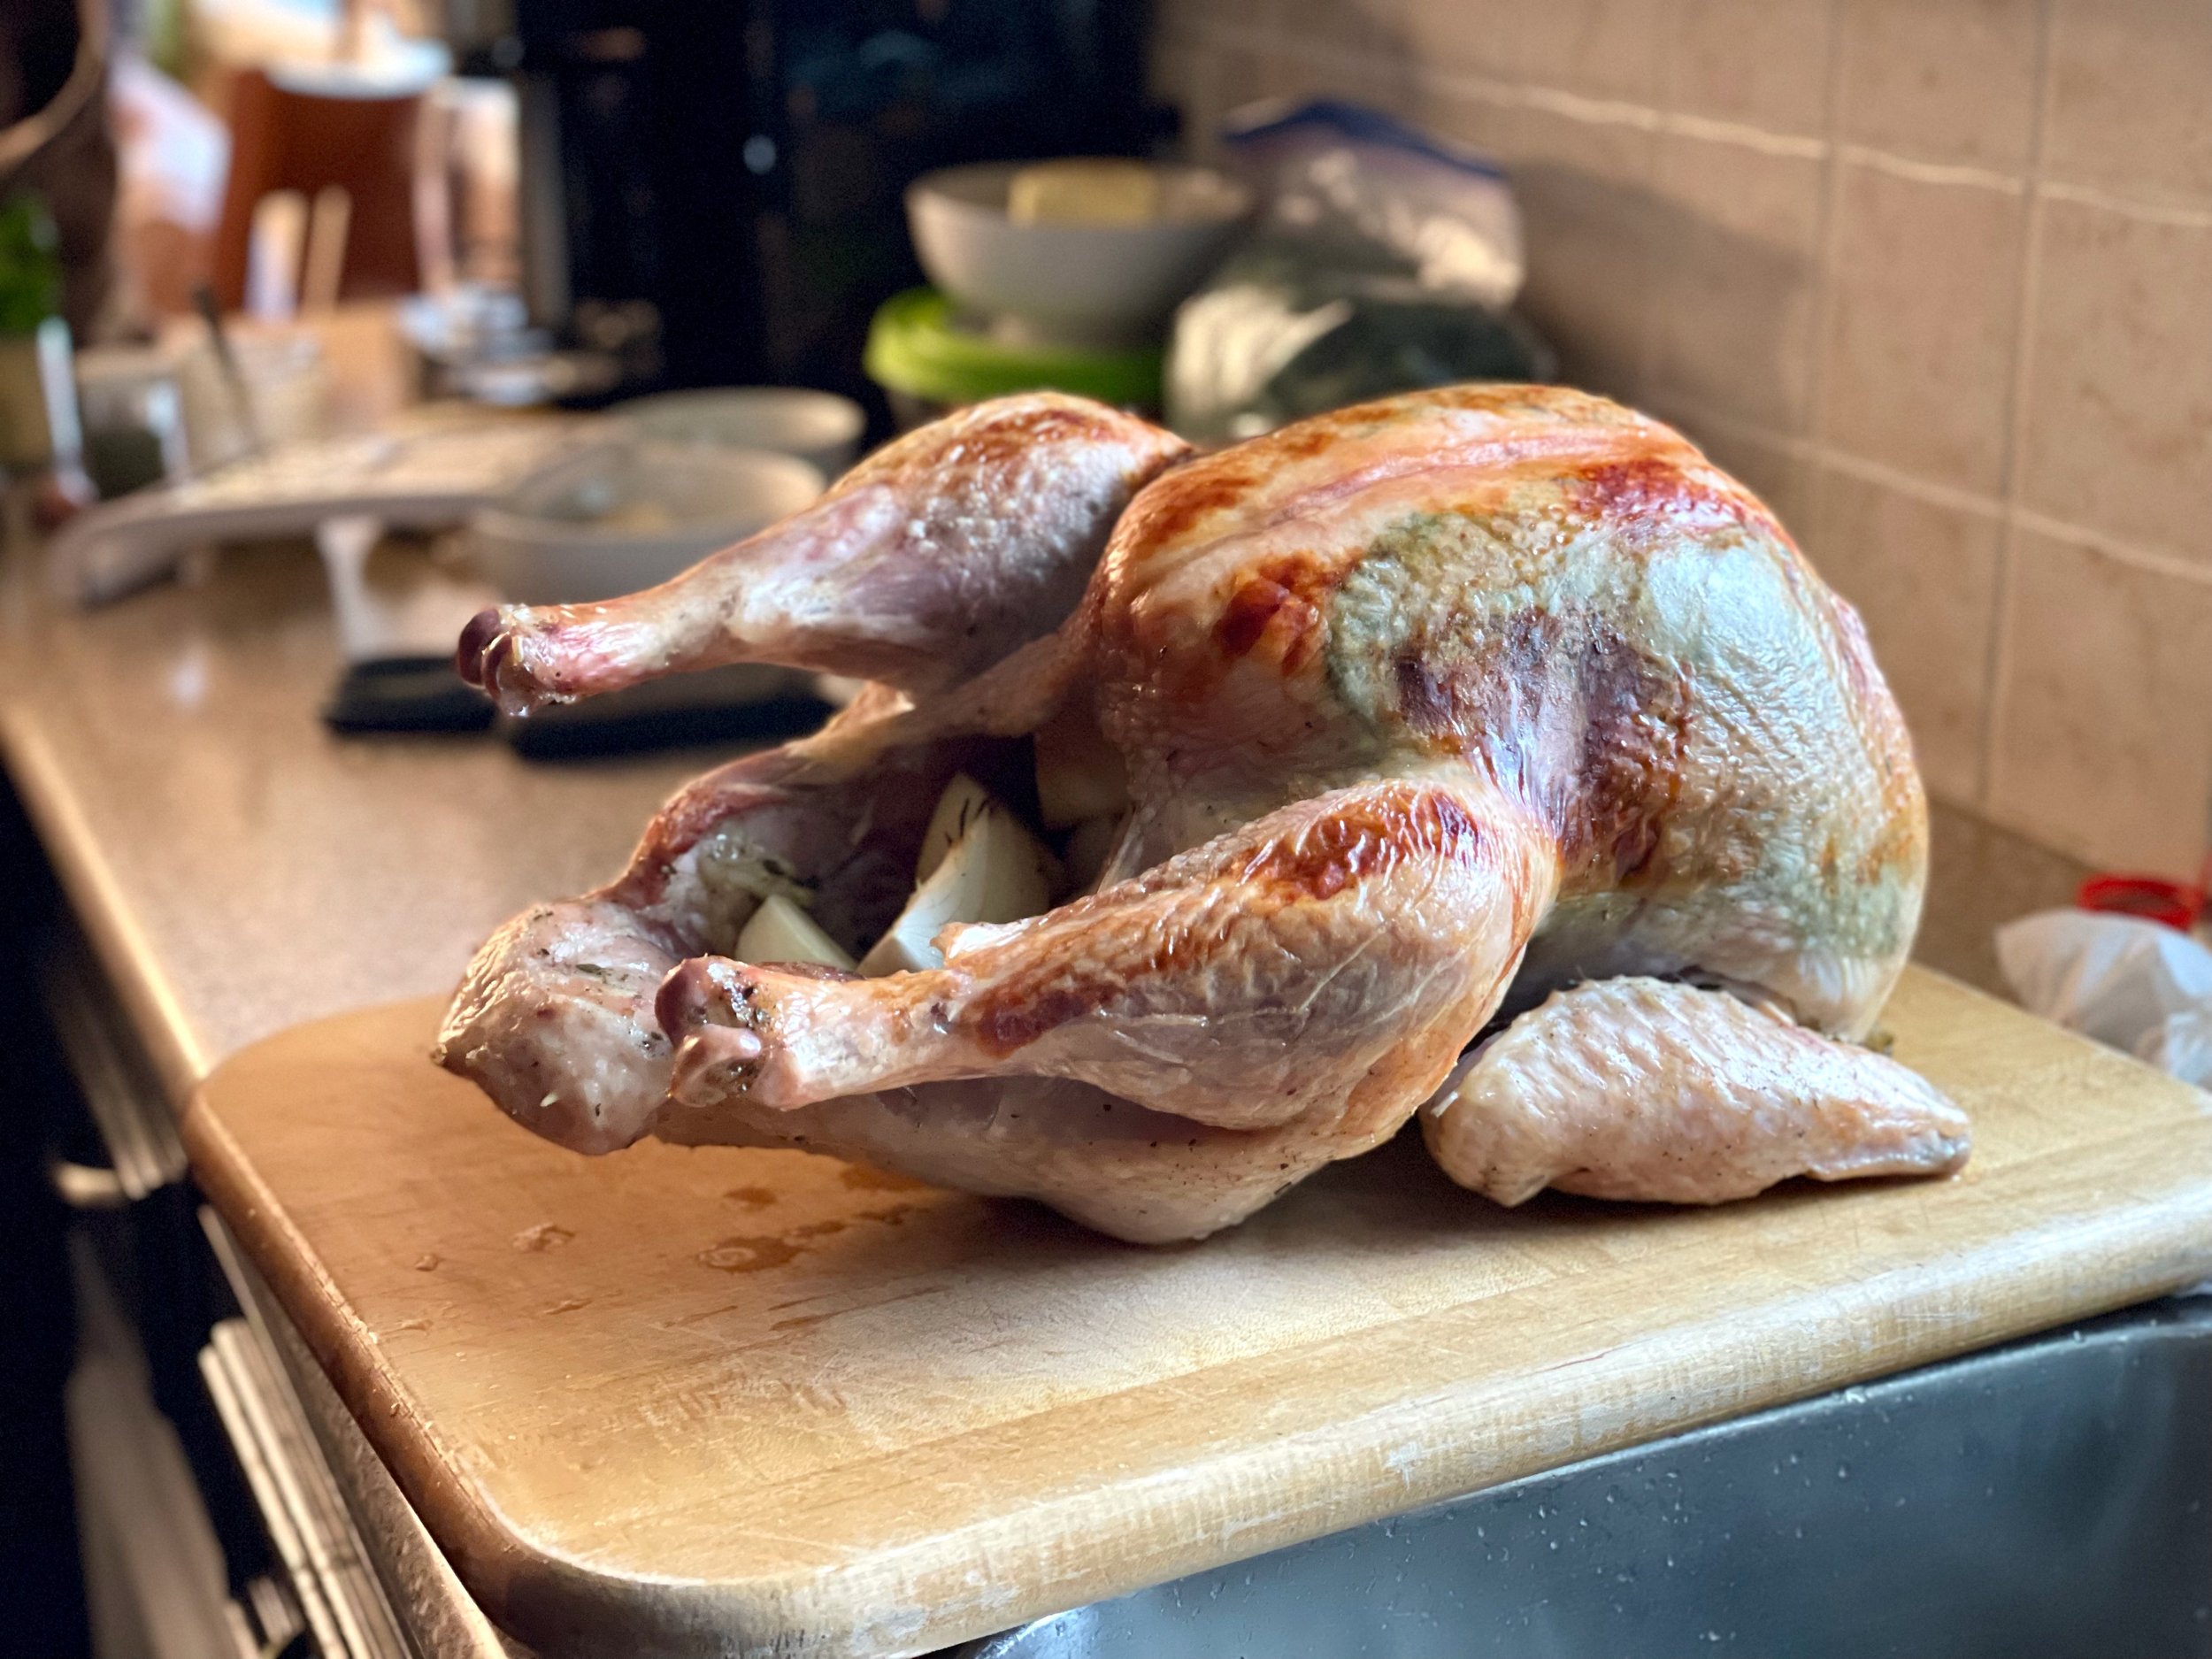
Fold a 2 yd. piece of cheesecloth to create a 4 layer rectangle. Dampen the cloth with water & wring out. Melt two sticks of butter and then submerge the cloth in the melted butter, making sure it is completely saturated. Drape over the top of the turkey, covering it completely.

Roast turkey for 1 hour. Baste with 1/2 cup apple cider. Roast turkey 30 minutes. Baste with remaining 1/2 cup cider. Roast turkey, basting every 30 minutes with pan juices for anther 1 1/2 hours. Very gently remove the cheesecloth from the turkey, taking care not to tear the skin. Baste turkey one more time, then return the turkey to the oven and roast until a thermometer inserted in the thickest part of a thigh measures 170 degrees F, about another 30-45 minutes.

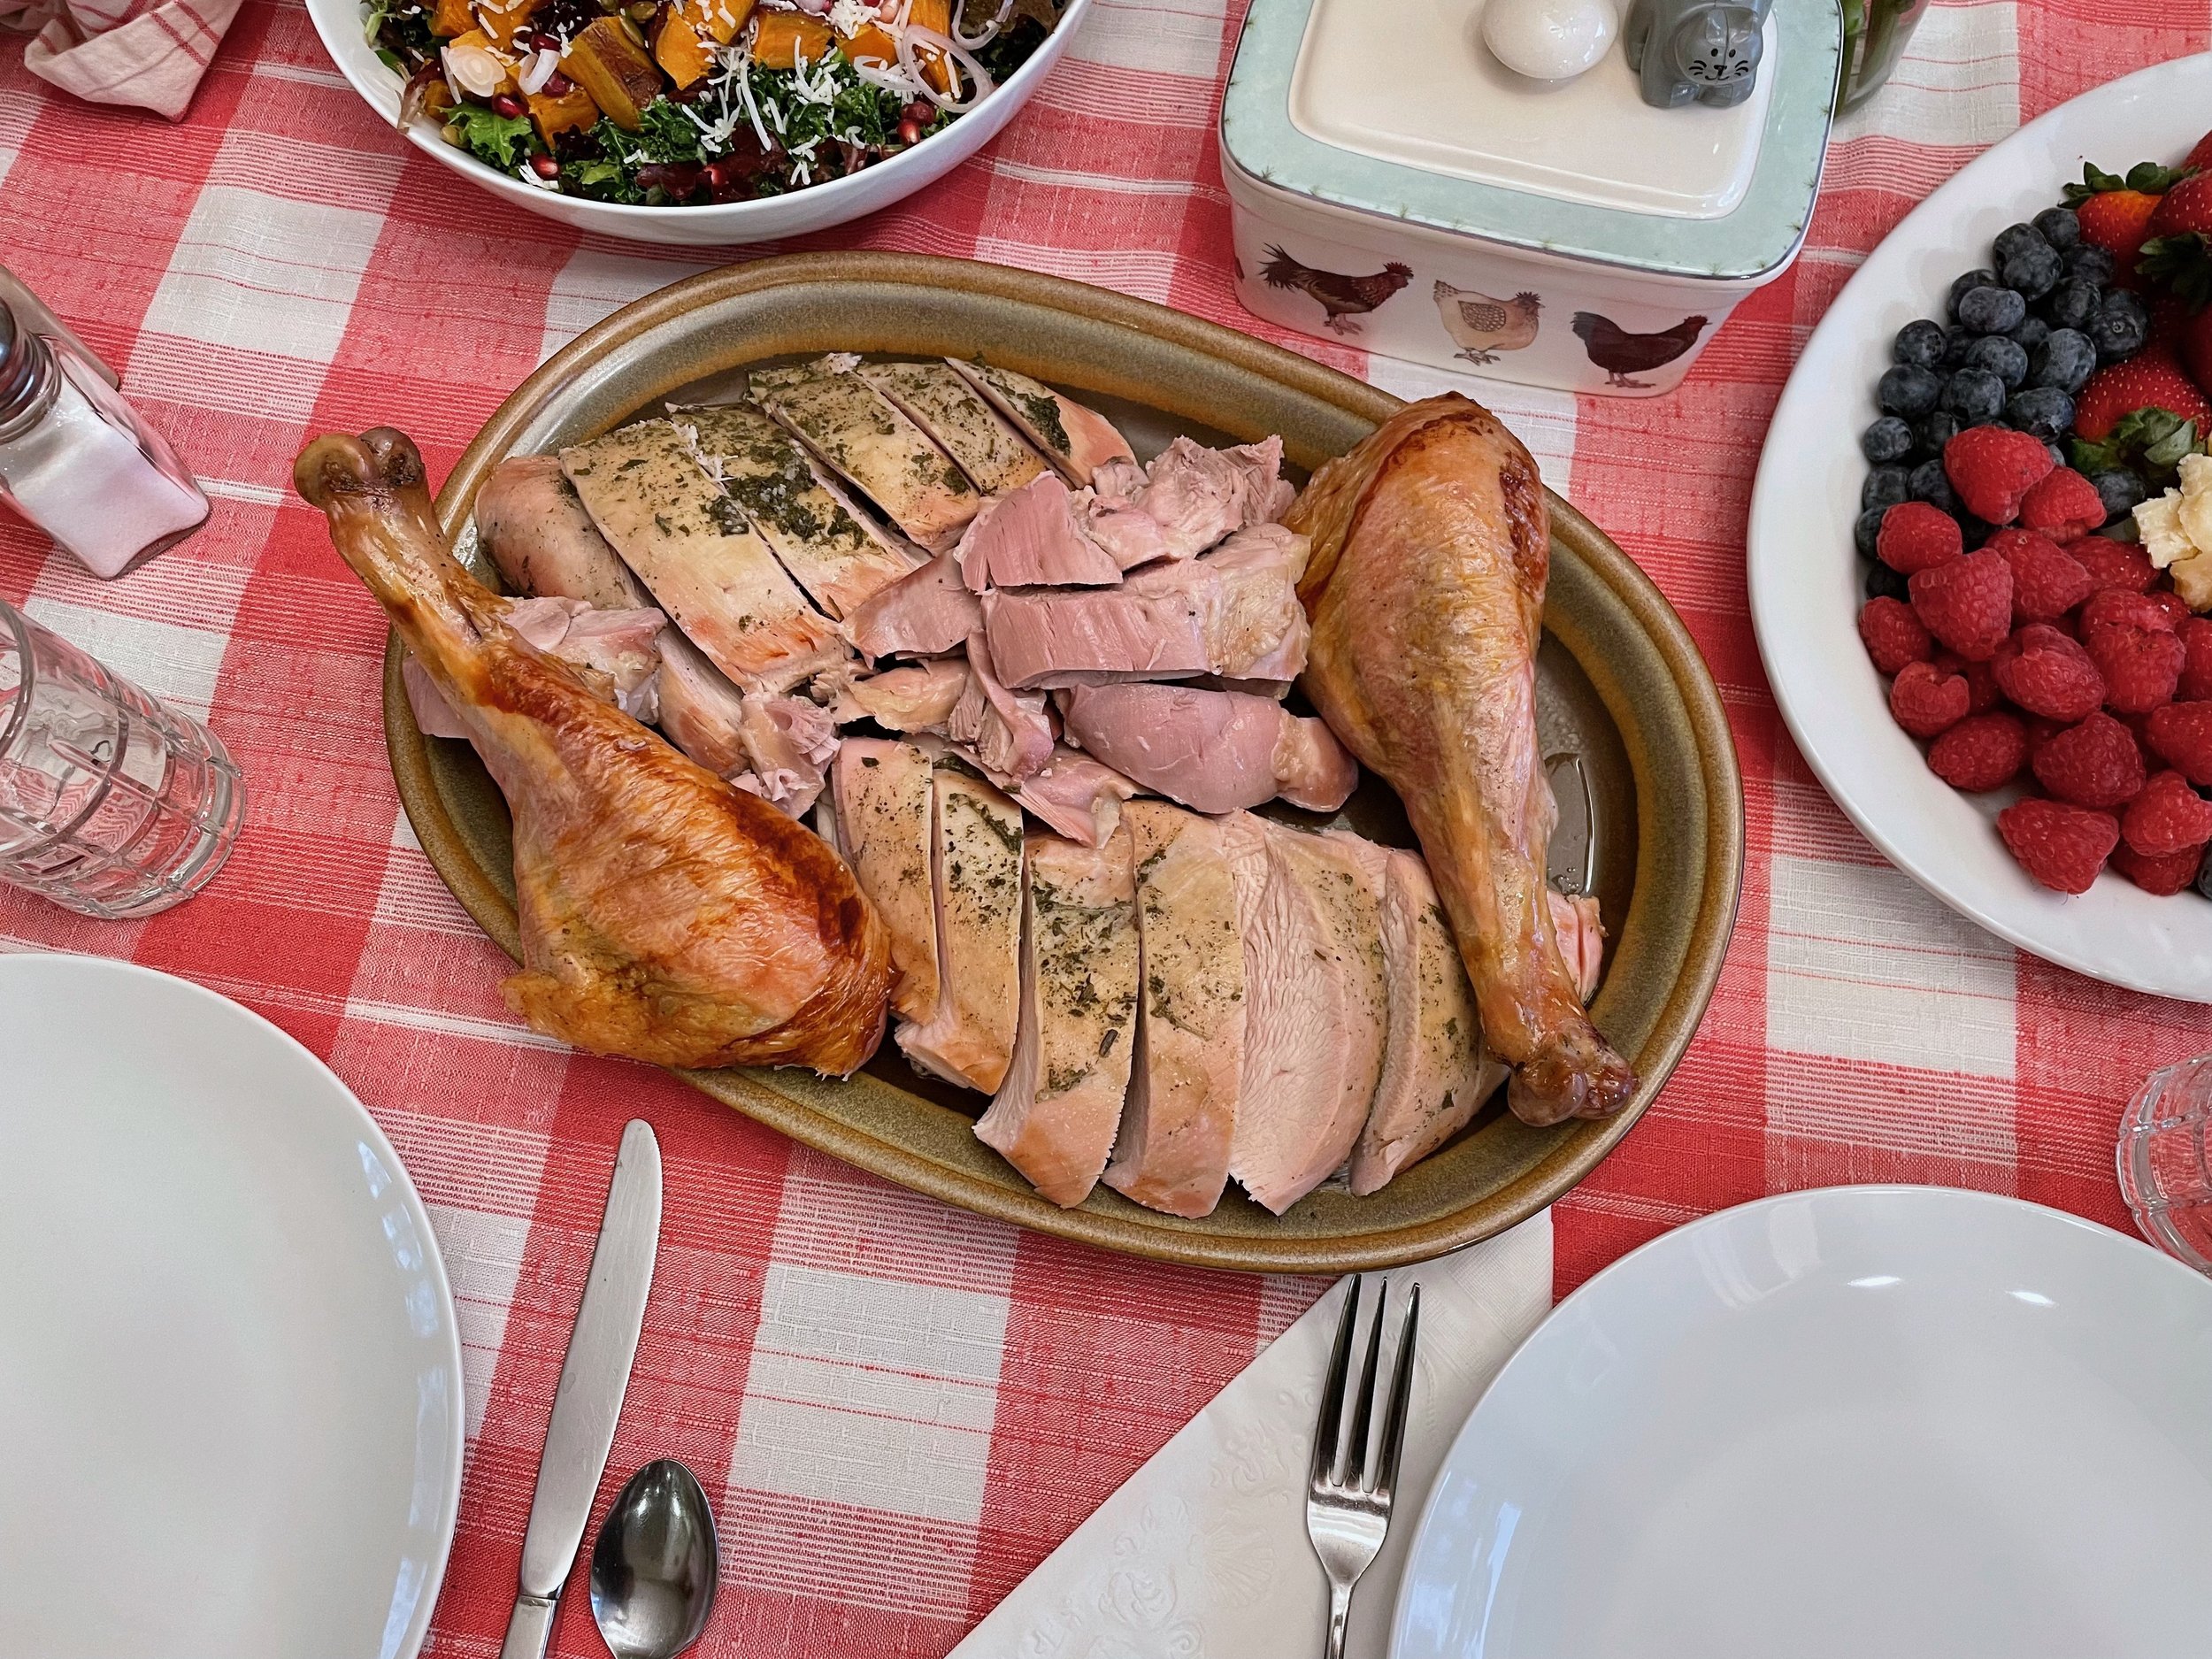
When done roasting, transfer turkey to a platter; let stand at least 30 minutes before carving (internal temperature will rise 5 to 10 degrees).

Discard apples, onions, and turkey neck from pan. Pour pan juices into large glass measuring cup; spoon off fat from surface. Pour degreased juices into gravy base and bring to boil over medium-high heat, whisking occasionally. Boil until gravy thickens enough to coat spoon and is reduced to 3 1/2 cups, about 15 minutes. Season gravy to taste with pepper. Serve turkey with gravy.

Pumpkin Mousse Pie
From ful-filled
Ingredients
FOR THE FILLING:

  • (1) 15 oz can (425g) pumpkin puree

  • 1/2 cup (120g) maple syrup (date syrup works well too or try 1/2 date syrup + 1/2 maple syrup)

  • 2 tsp unflavored gelatin

  • 1/4 cup (60g) cold water

  • 1/2 tsp cinnamon

  • 1/4 tsp ginger

  • 1/4 tsp nutmeg

  • 1/8 tsp clove or allspice

  • 1 1/4 cup (10oz/284g) heavy whipping cream

FOR THE CRUST:

  • 1 sleeve (155g) graham crackers (approximately 10 whole graham crackers) gingersnaps or biscoff cookies would work well too

  • 6 tbsp (85g) unsalted butter, melted

  • 1/4 tsp fine grain salt

FOR THE TOPPING

  • 3/4 cup (6oz/170g) heavy whipping cream

  • 2 tbsp maple syrup

  • 1/3 cup (40g) candied pecans, chopped

DIRECTIONS:
Start by sprinkling the 2 tsp gelatin over the 1/4 cup of water in a small dish, let gelatin soak into water while you move on to the next step.

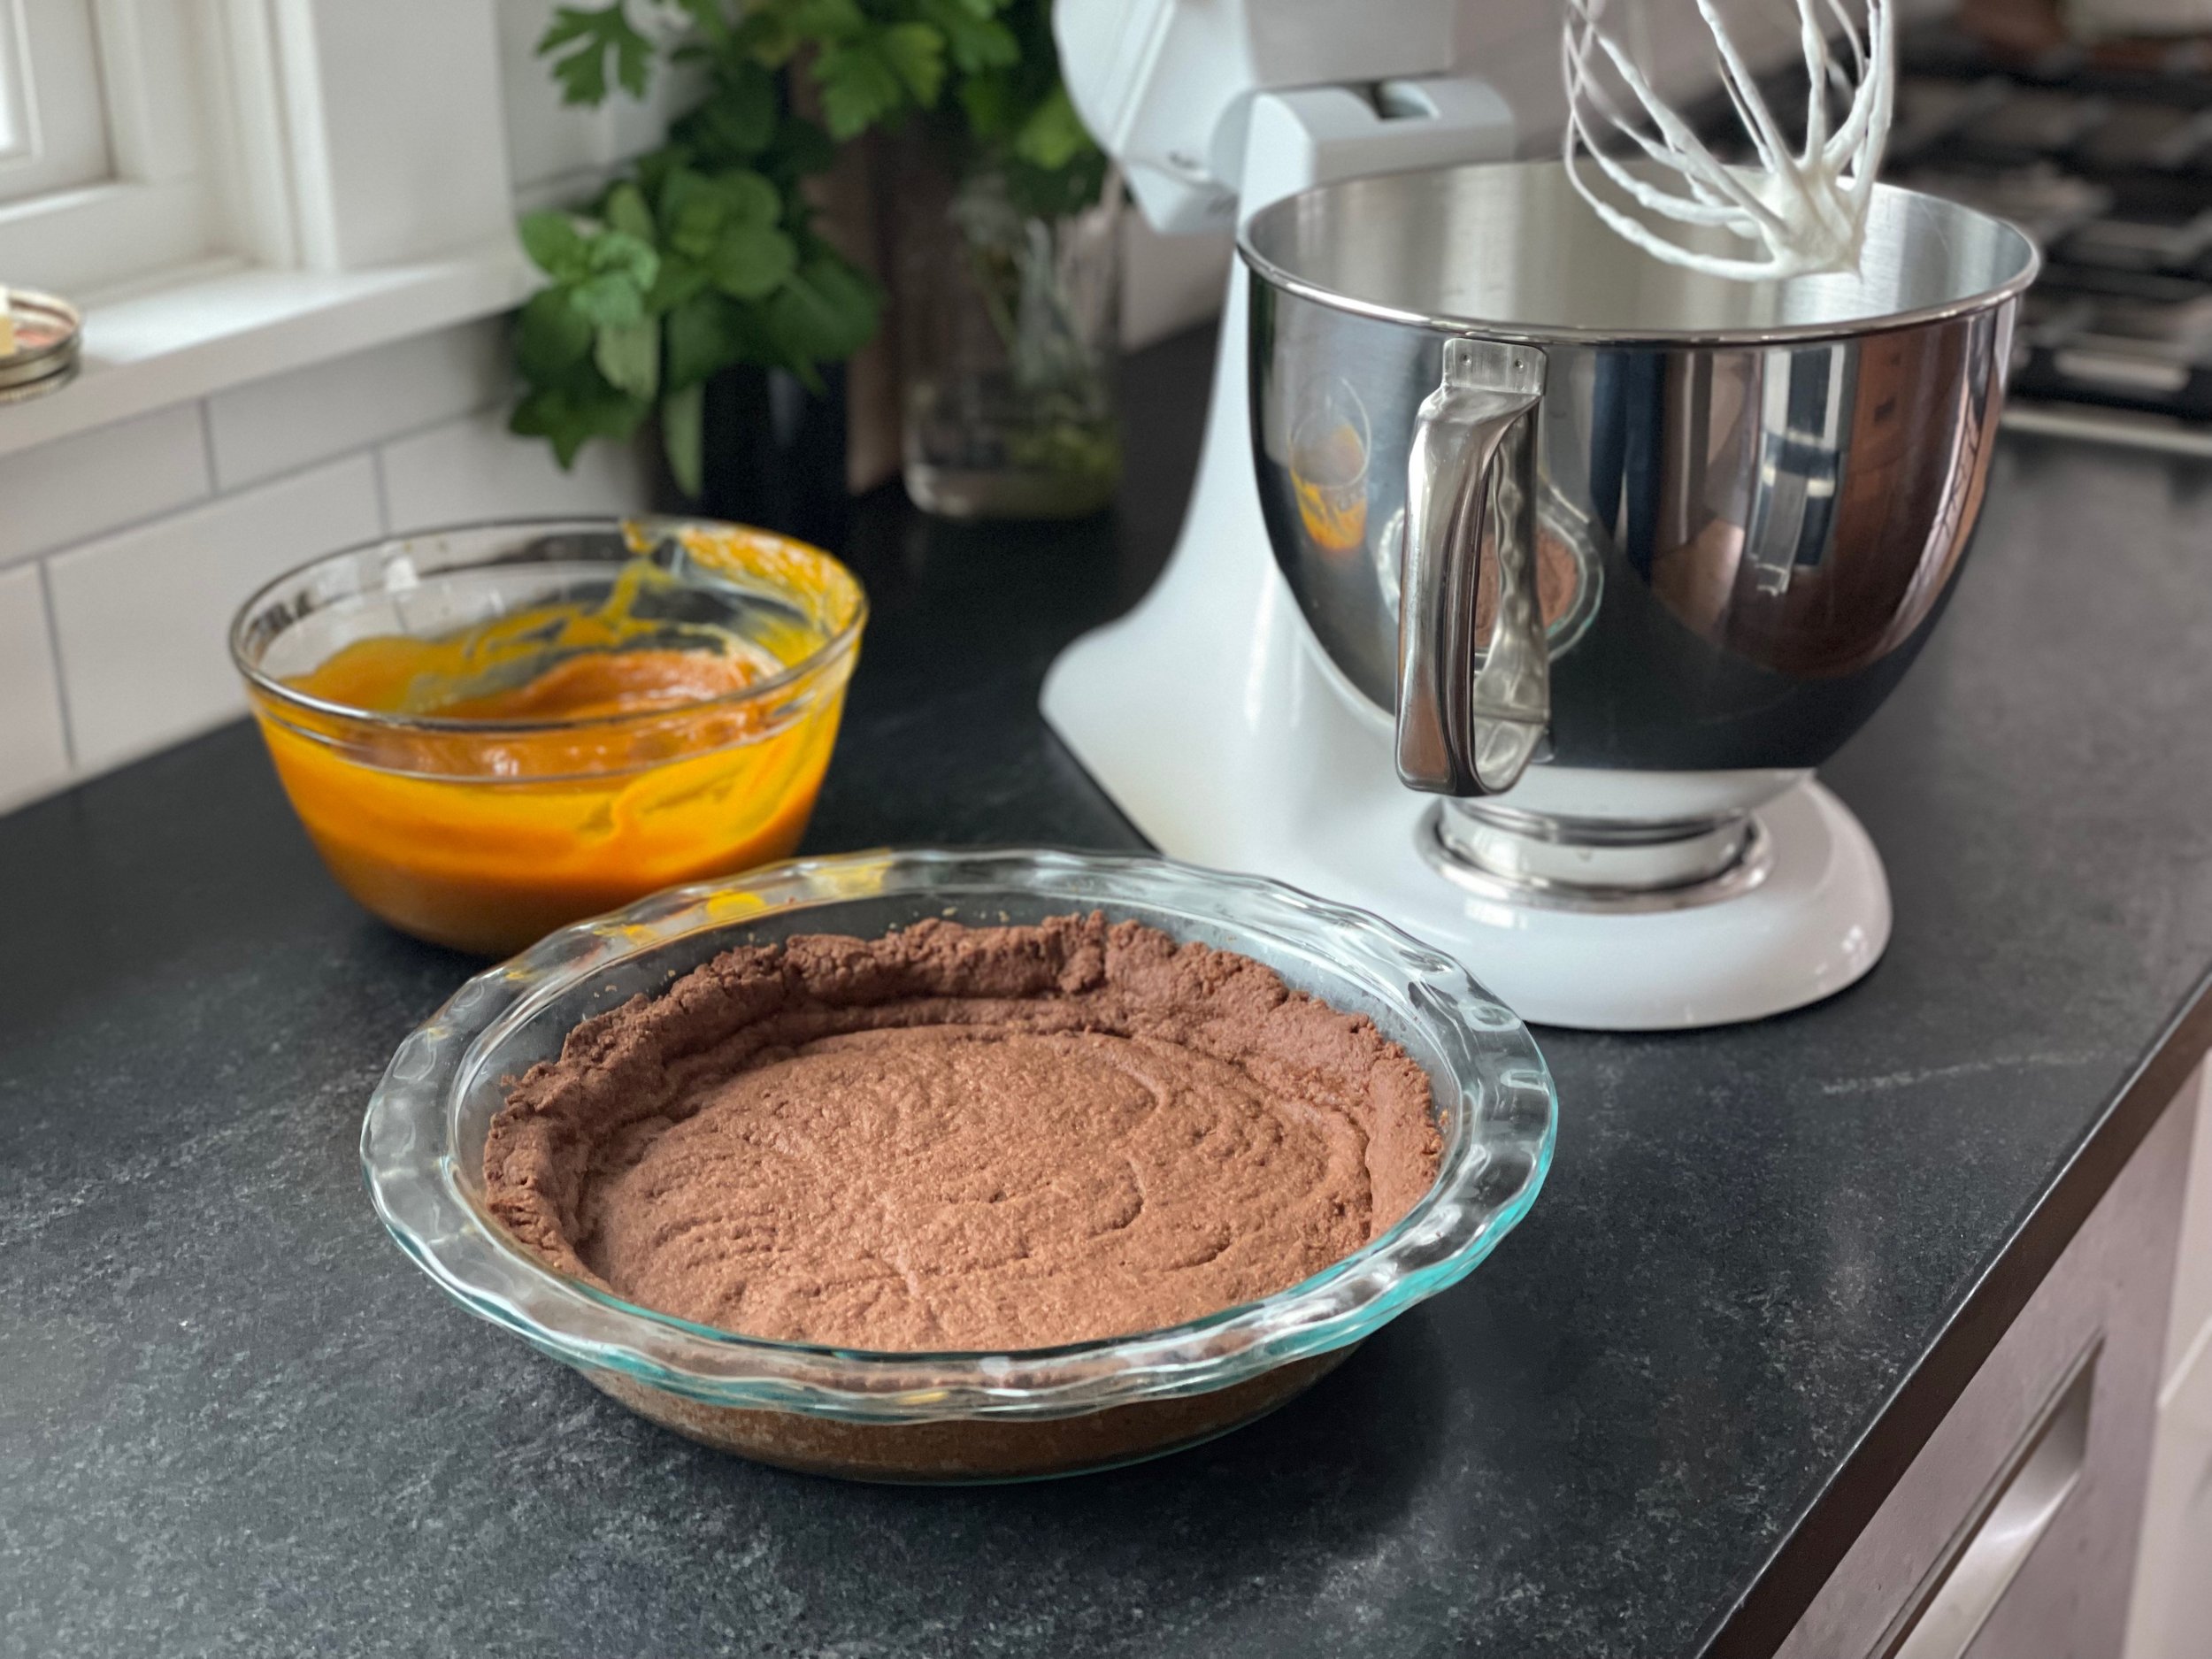
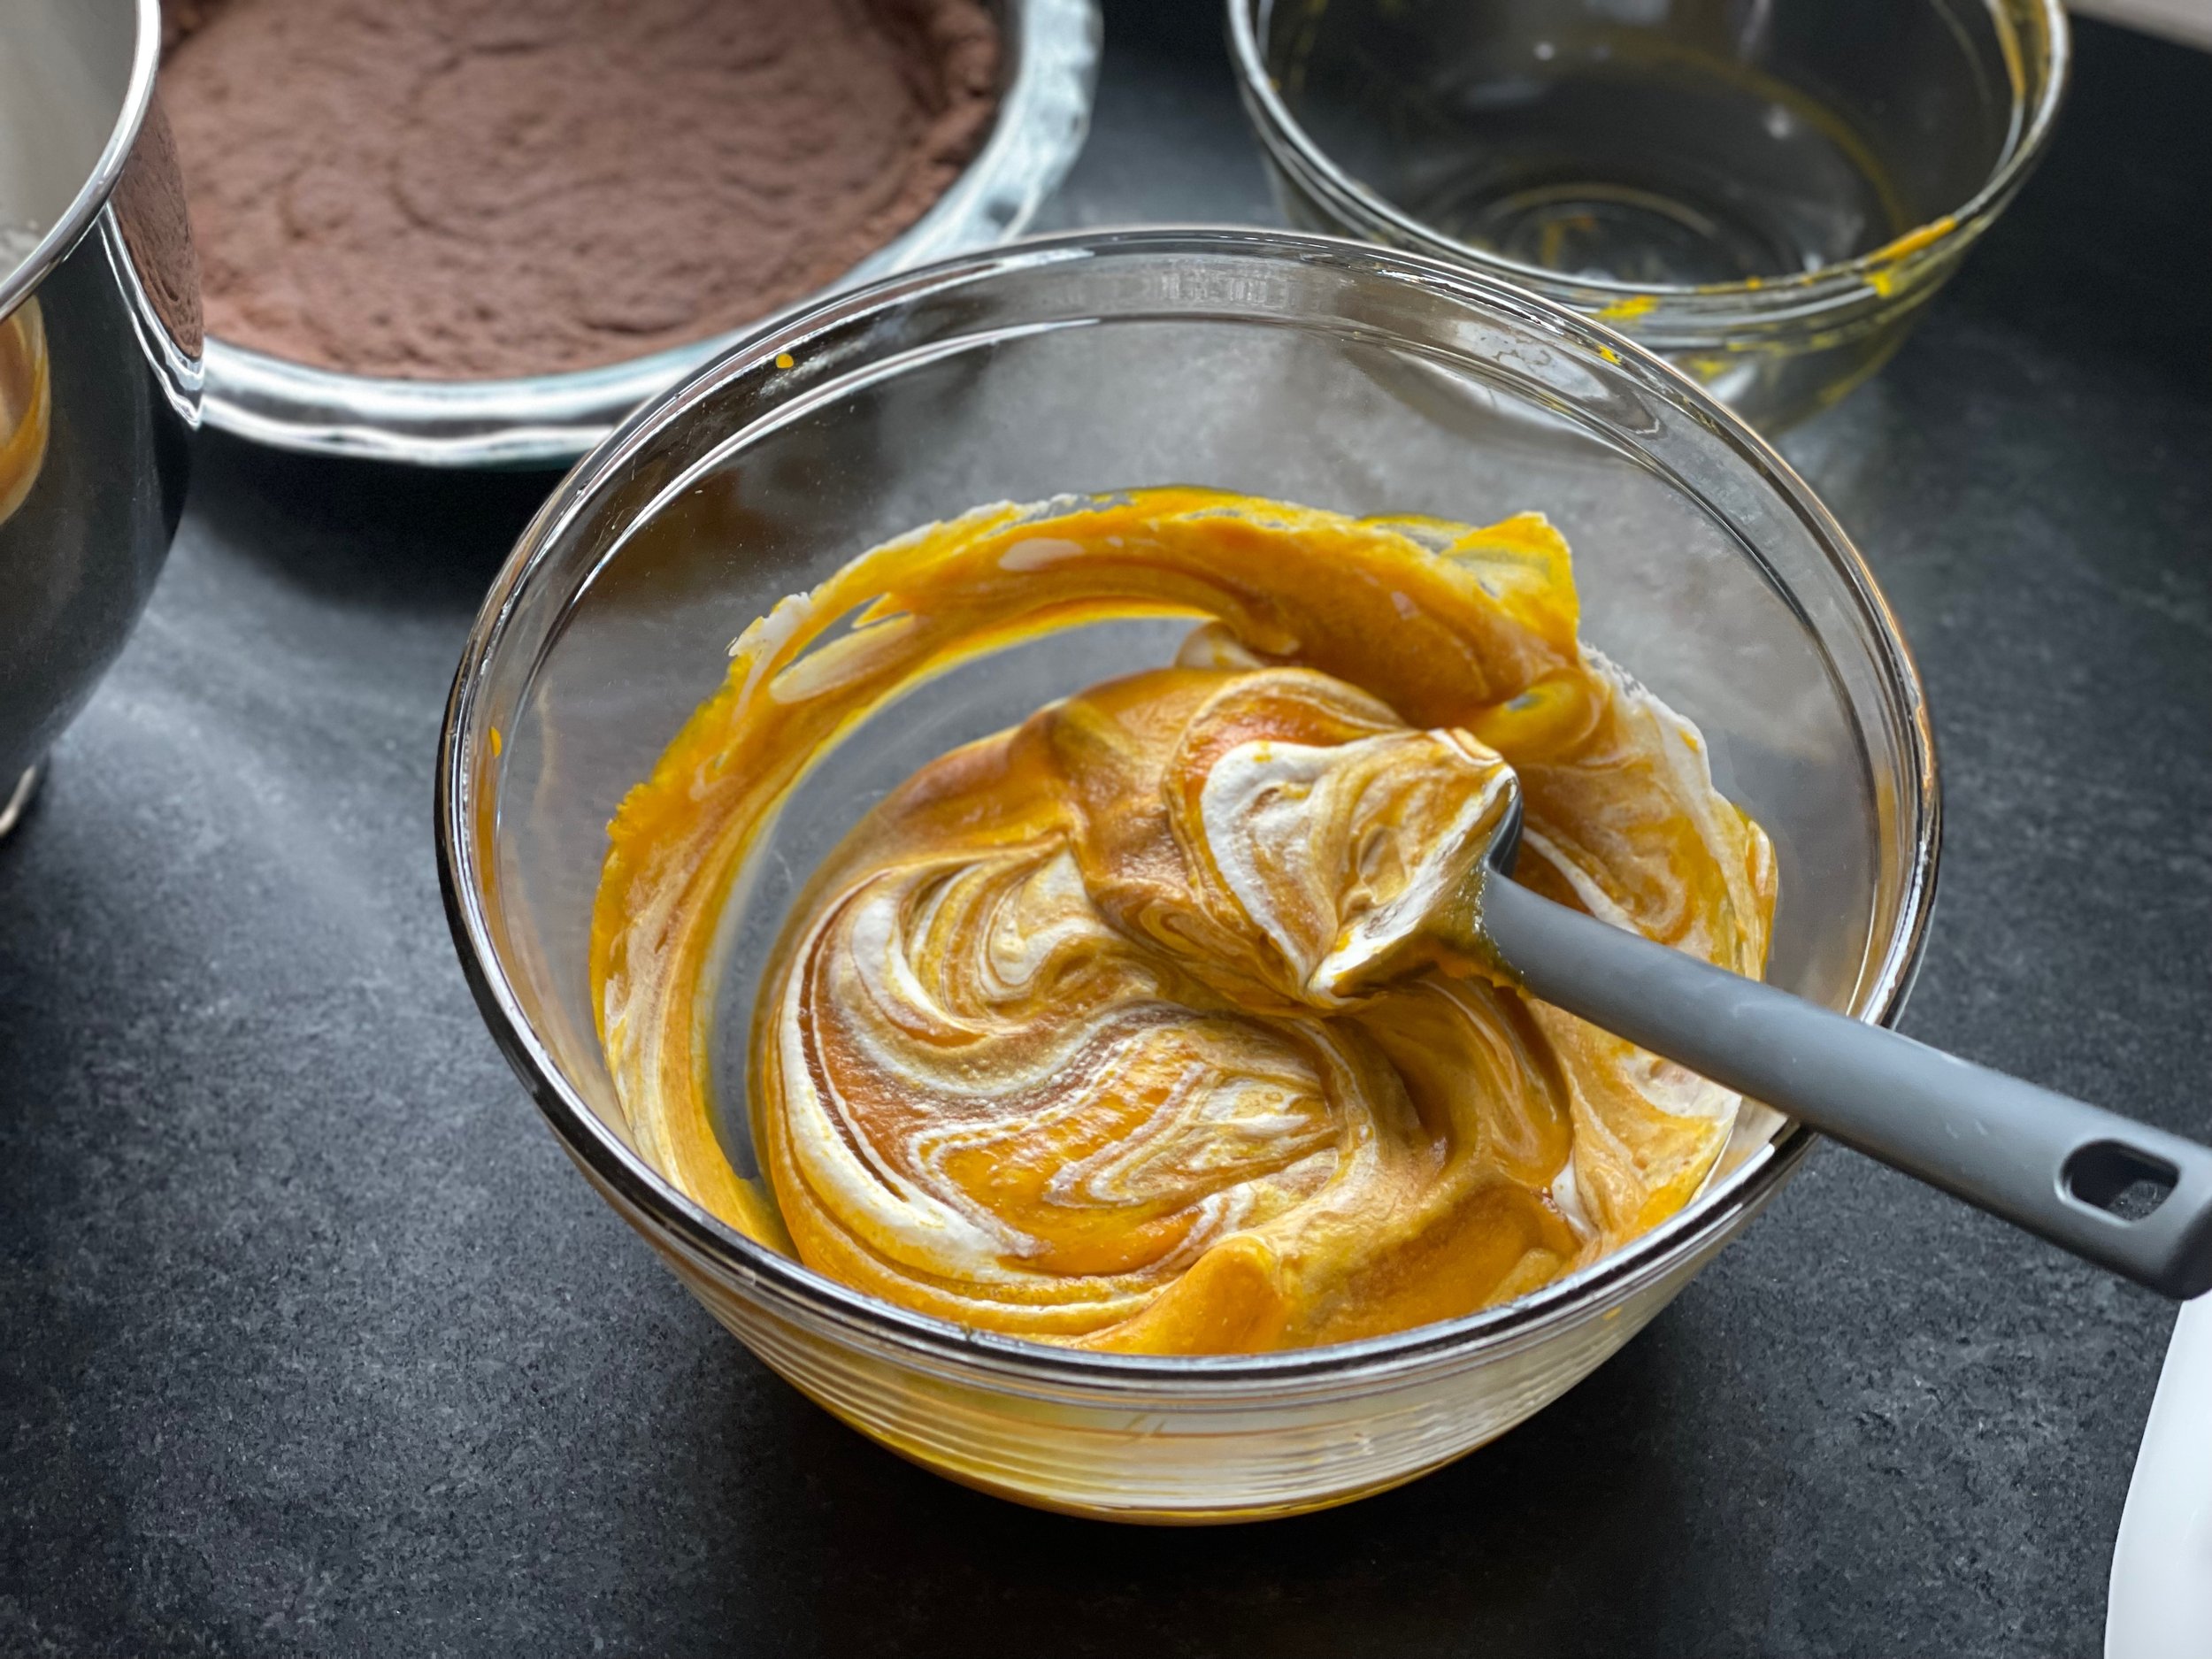
In a small pot combine pumpkin puree, maple syrup, and spices. Place on the stovetop over medium low heat, stirring to combine. Once mixture is heated through, add the soaked gelatin to the pot, stirring until dissolved & well combined. Turn off the heat and allow pumpkin mixture to cool to room temperature while you prepare the pie crust.

FOR THE PIE CRUST
Pre-heat oven to 350 F

Crush graham crackers into fine crumbs in your food processor. Add fine grain salt & pulse briefly to combine. Add melted butter and pulse until well combined with the graham cracker crumbs.

Pour crumbs into a 9" pie dish, spreading them evenly into the bottom of the pie dish. Using a measuring cup, press the crumbs evenly across the pie dish & up the sides. Use the measuring cup along with your fingers to gently press the crumbs at the edges to make sure they are nice & packed.

Bake the crust for 12 minutes - remove from the oven & allow to cool to room temperature.

FOR THE FILLING:
Whip the 10oz of heavy cream until soft peaks. Fold the cooled pumpkin mixture into the whipped cream until just combined. Add the pumpkin mousse mixture to your cooled pie crust. Place pie in the refrigerator to chill at least 8 hours.

To serve: whip the remaining 3/4 cup heavy cream with 1 tbsp maple syrup until it reaches soft peaks. Top the pumpkin mousse pie with the fresh whipped cream and sprinkle with chopped candied pecans, slice & serve.


I had a lovely holiday weekend after all of the Thanksgiving festivities! Lara and I first went to Everett’s for a Christmas tree with the dogs. Couldn’t decide on a tree so we got a garland instead. The next day we went to a cut your own Christmas tree farm where I found a little tree that was the perfect size for me! It started snowing as we finished getting the trees and it was just so festive!