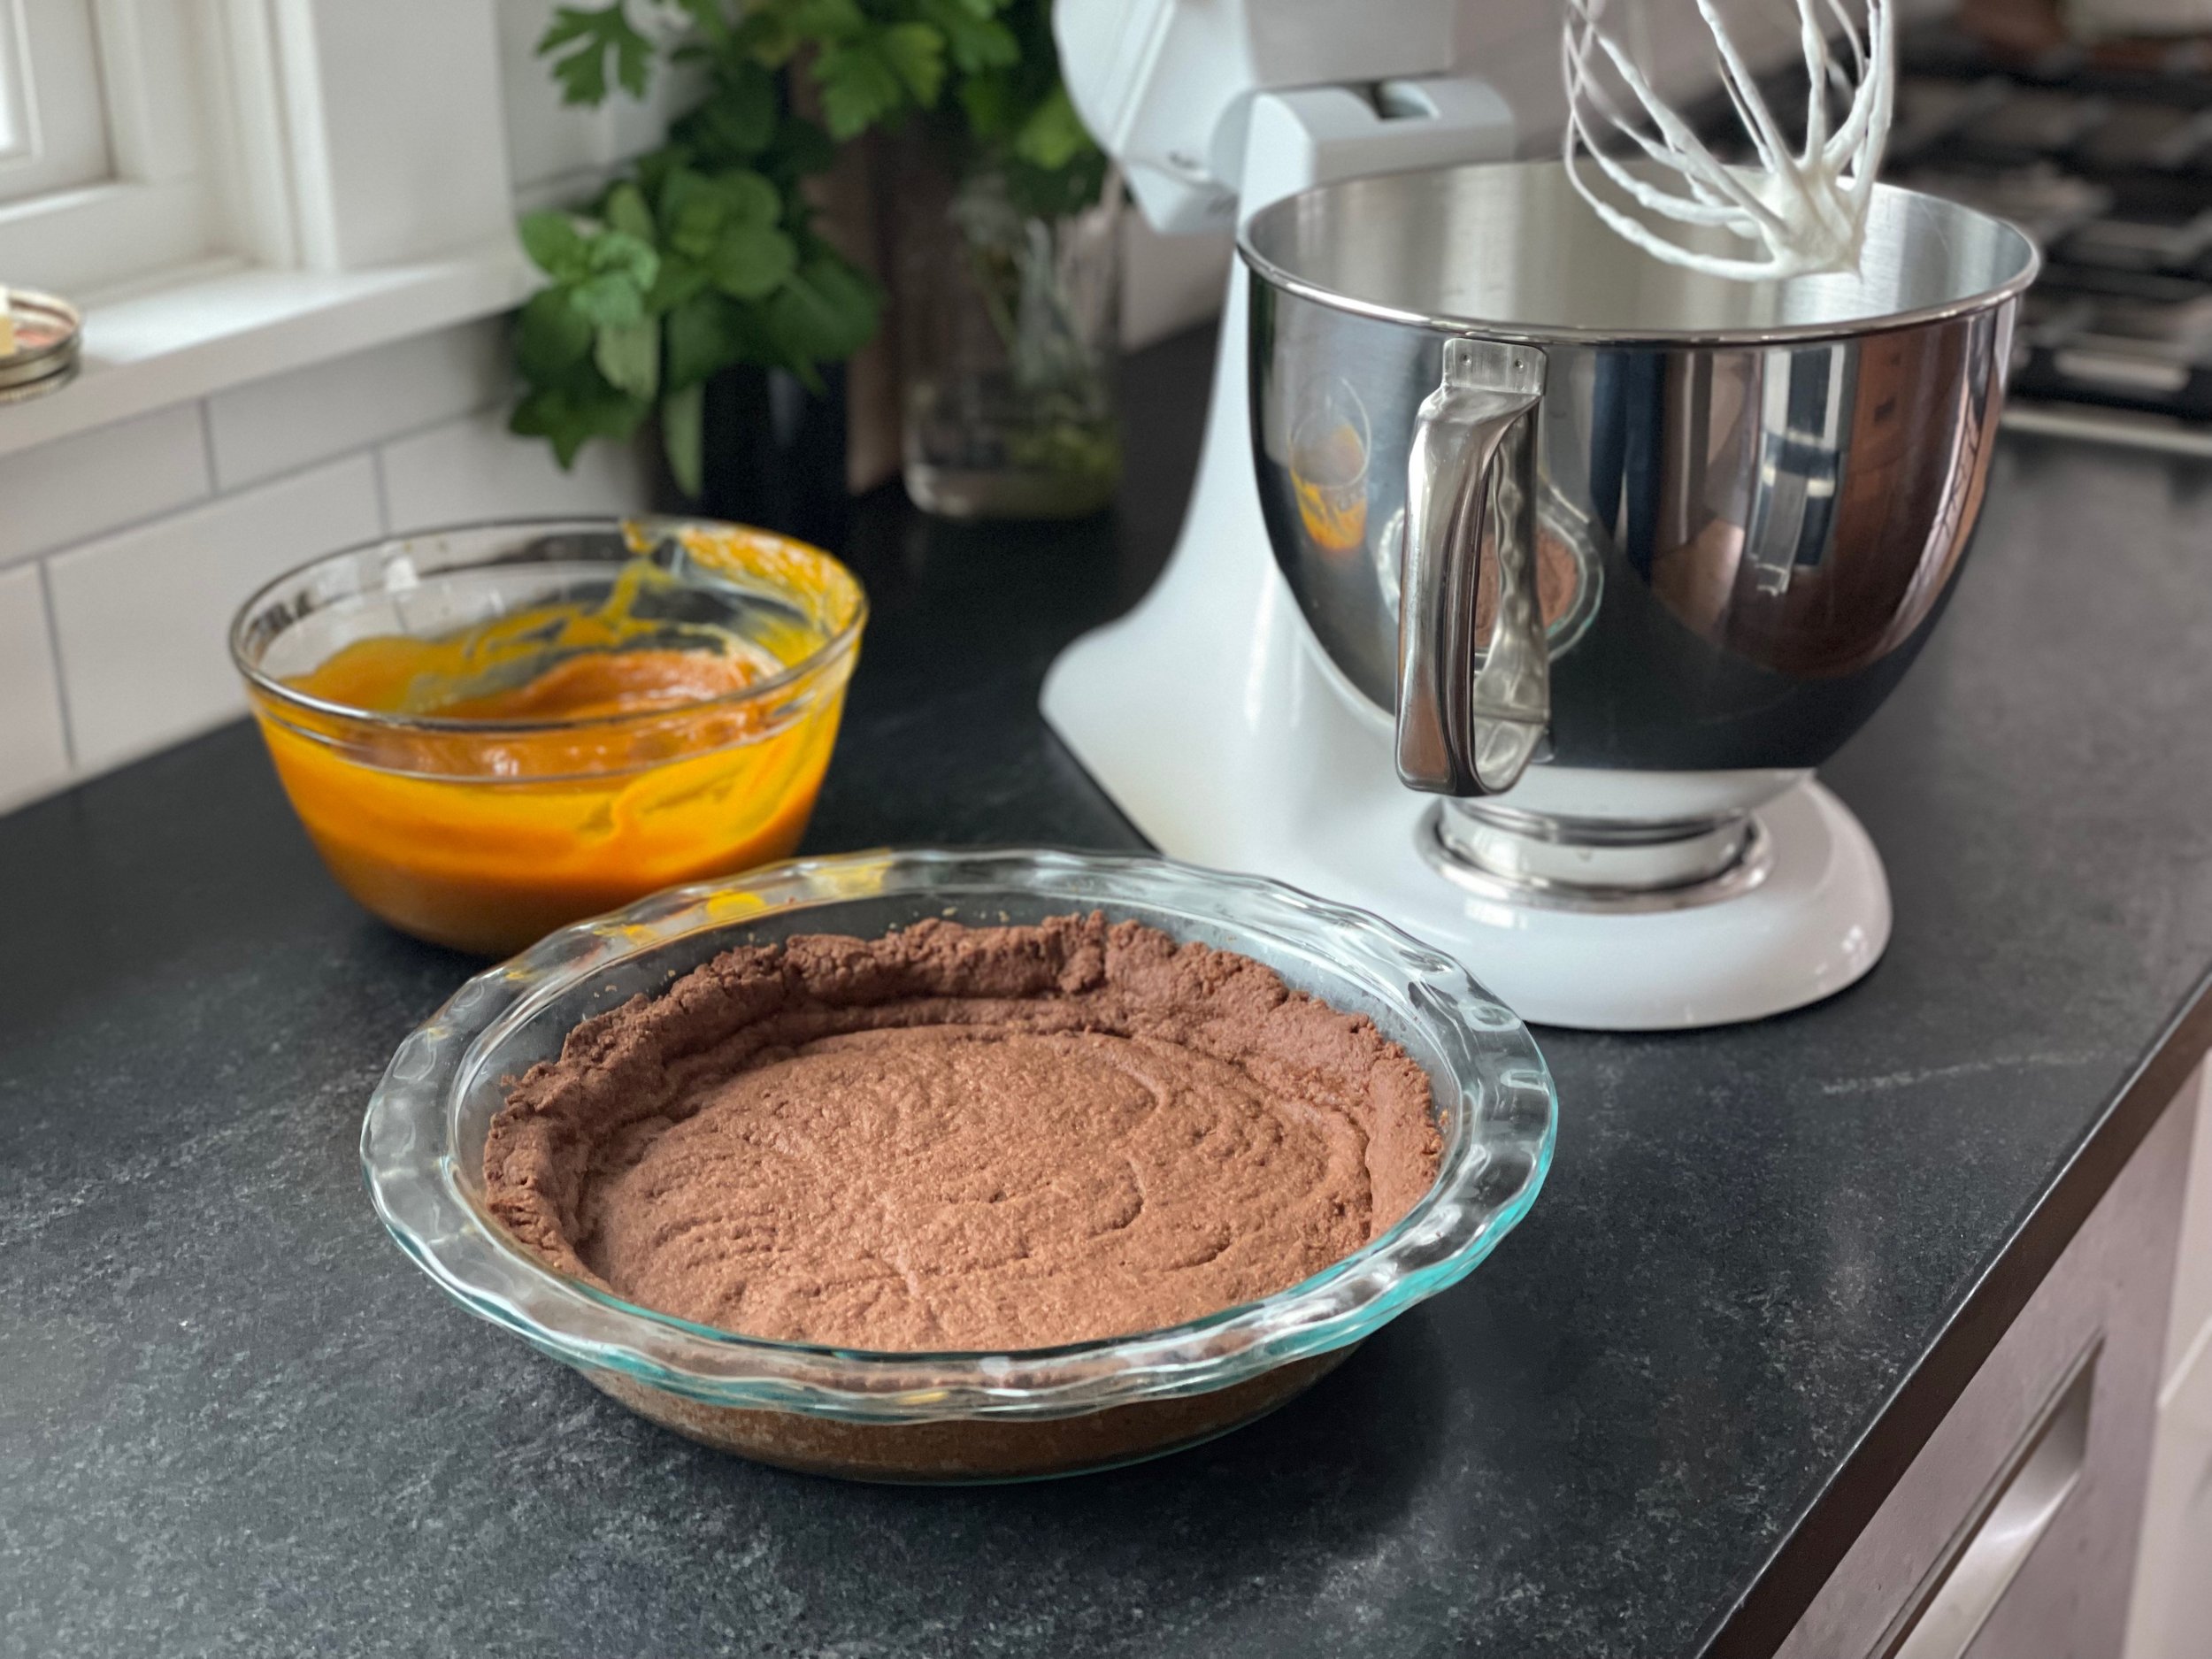
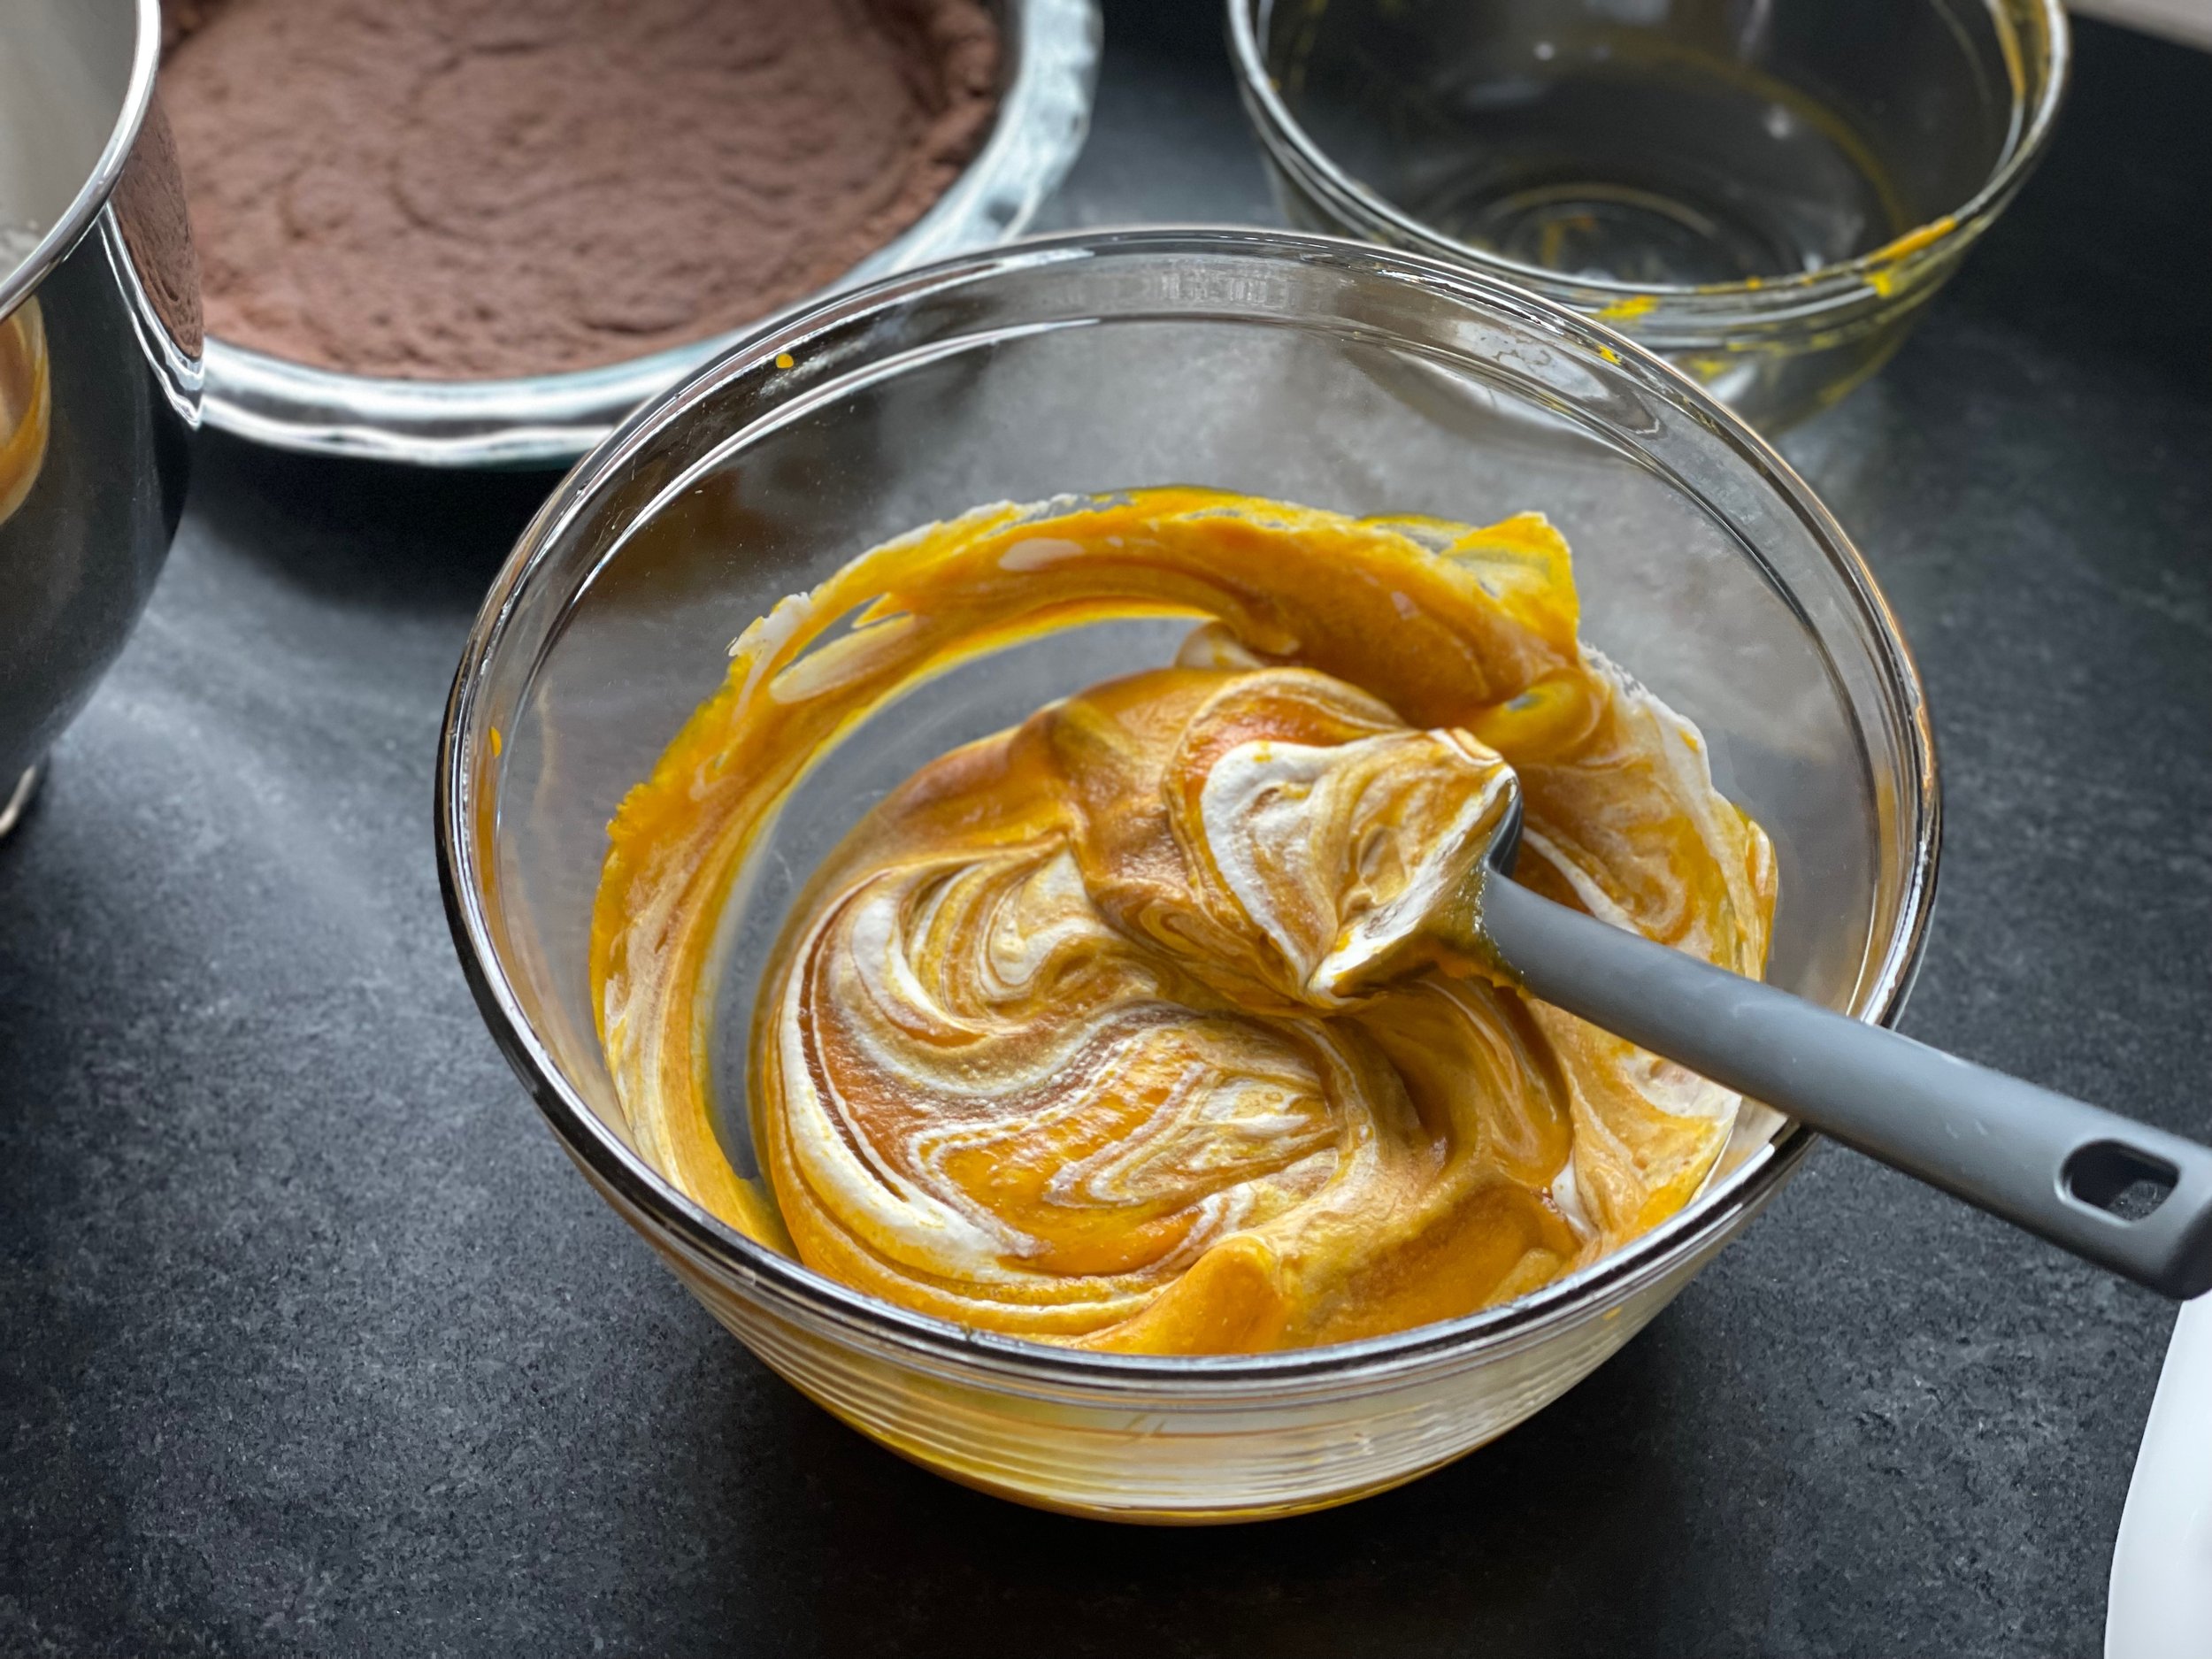
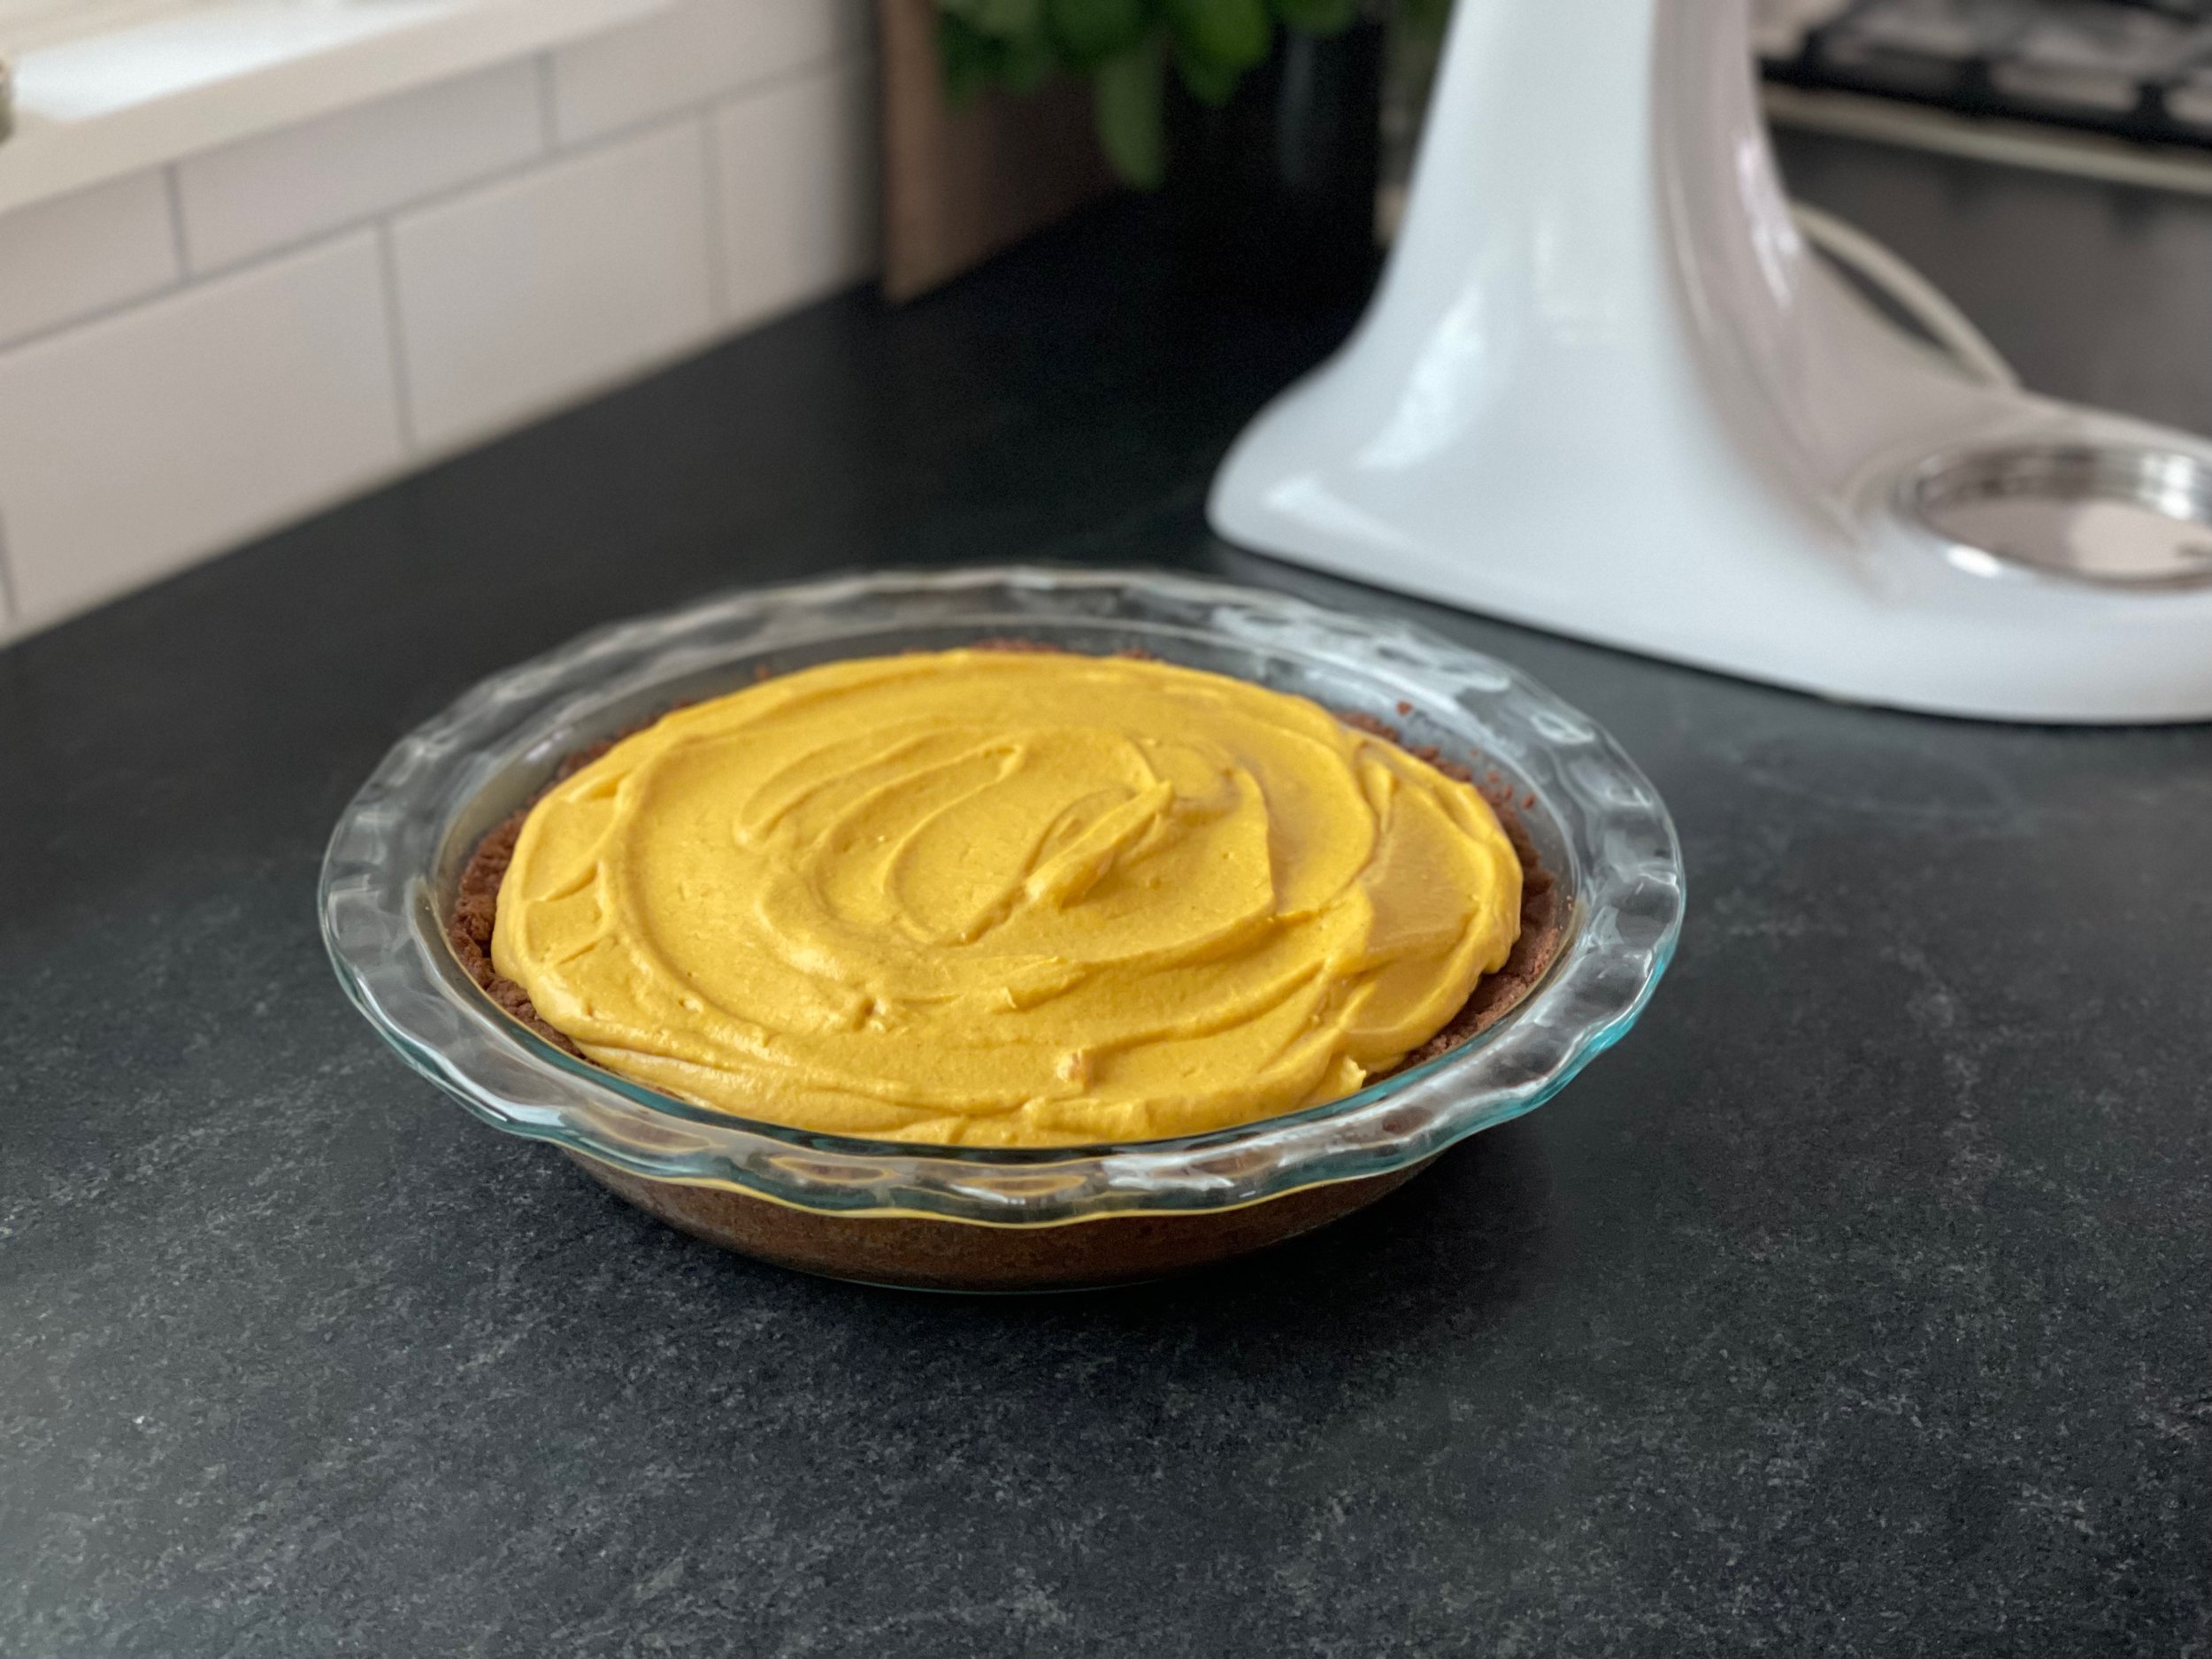
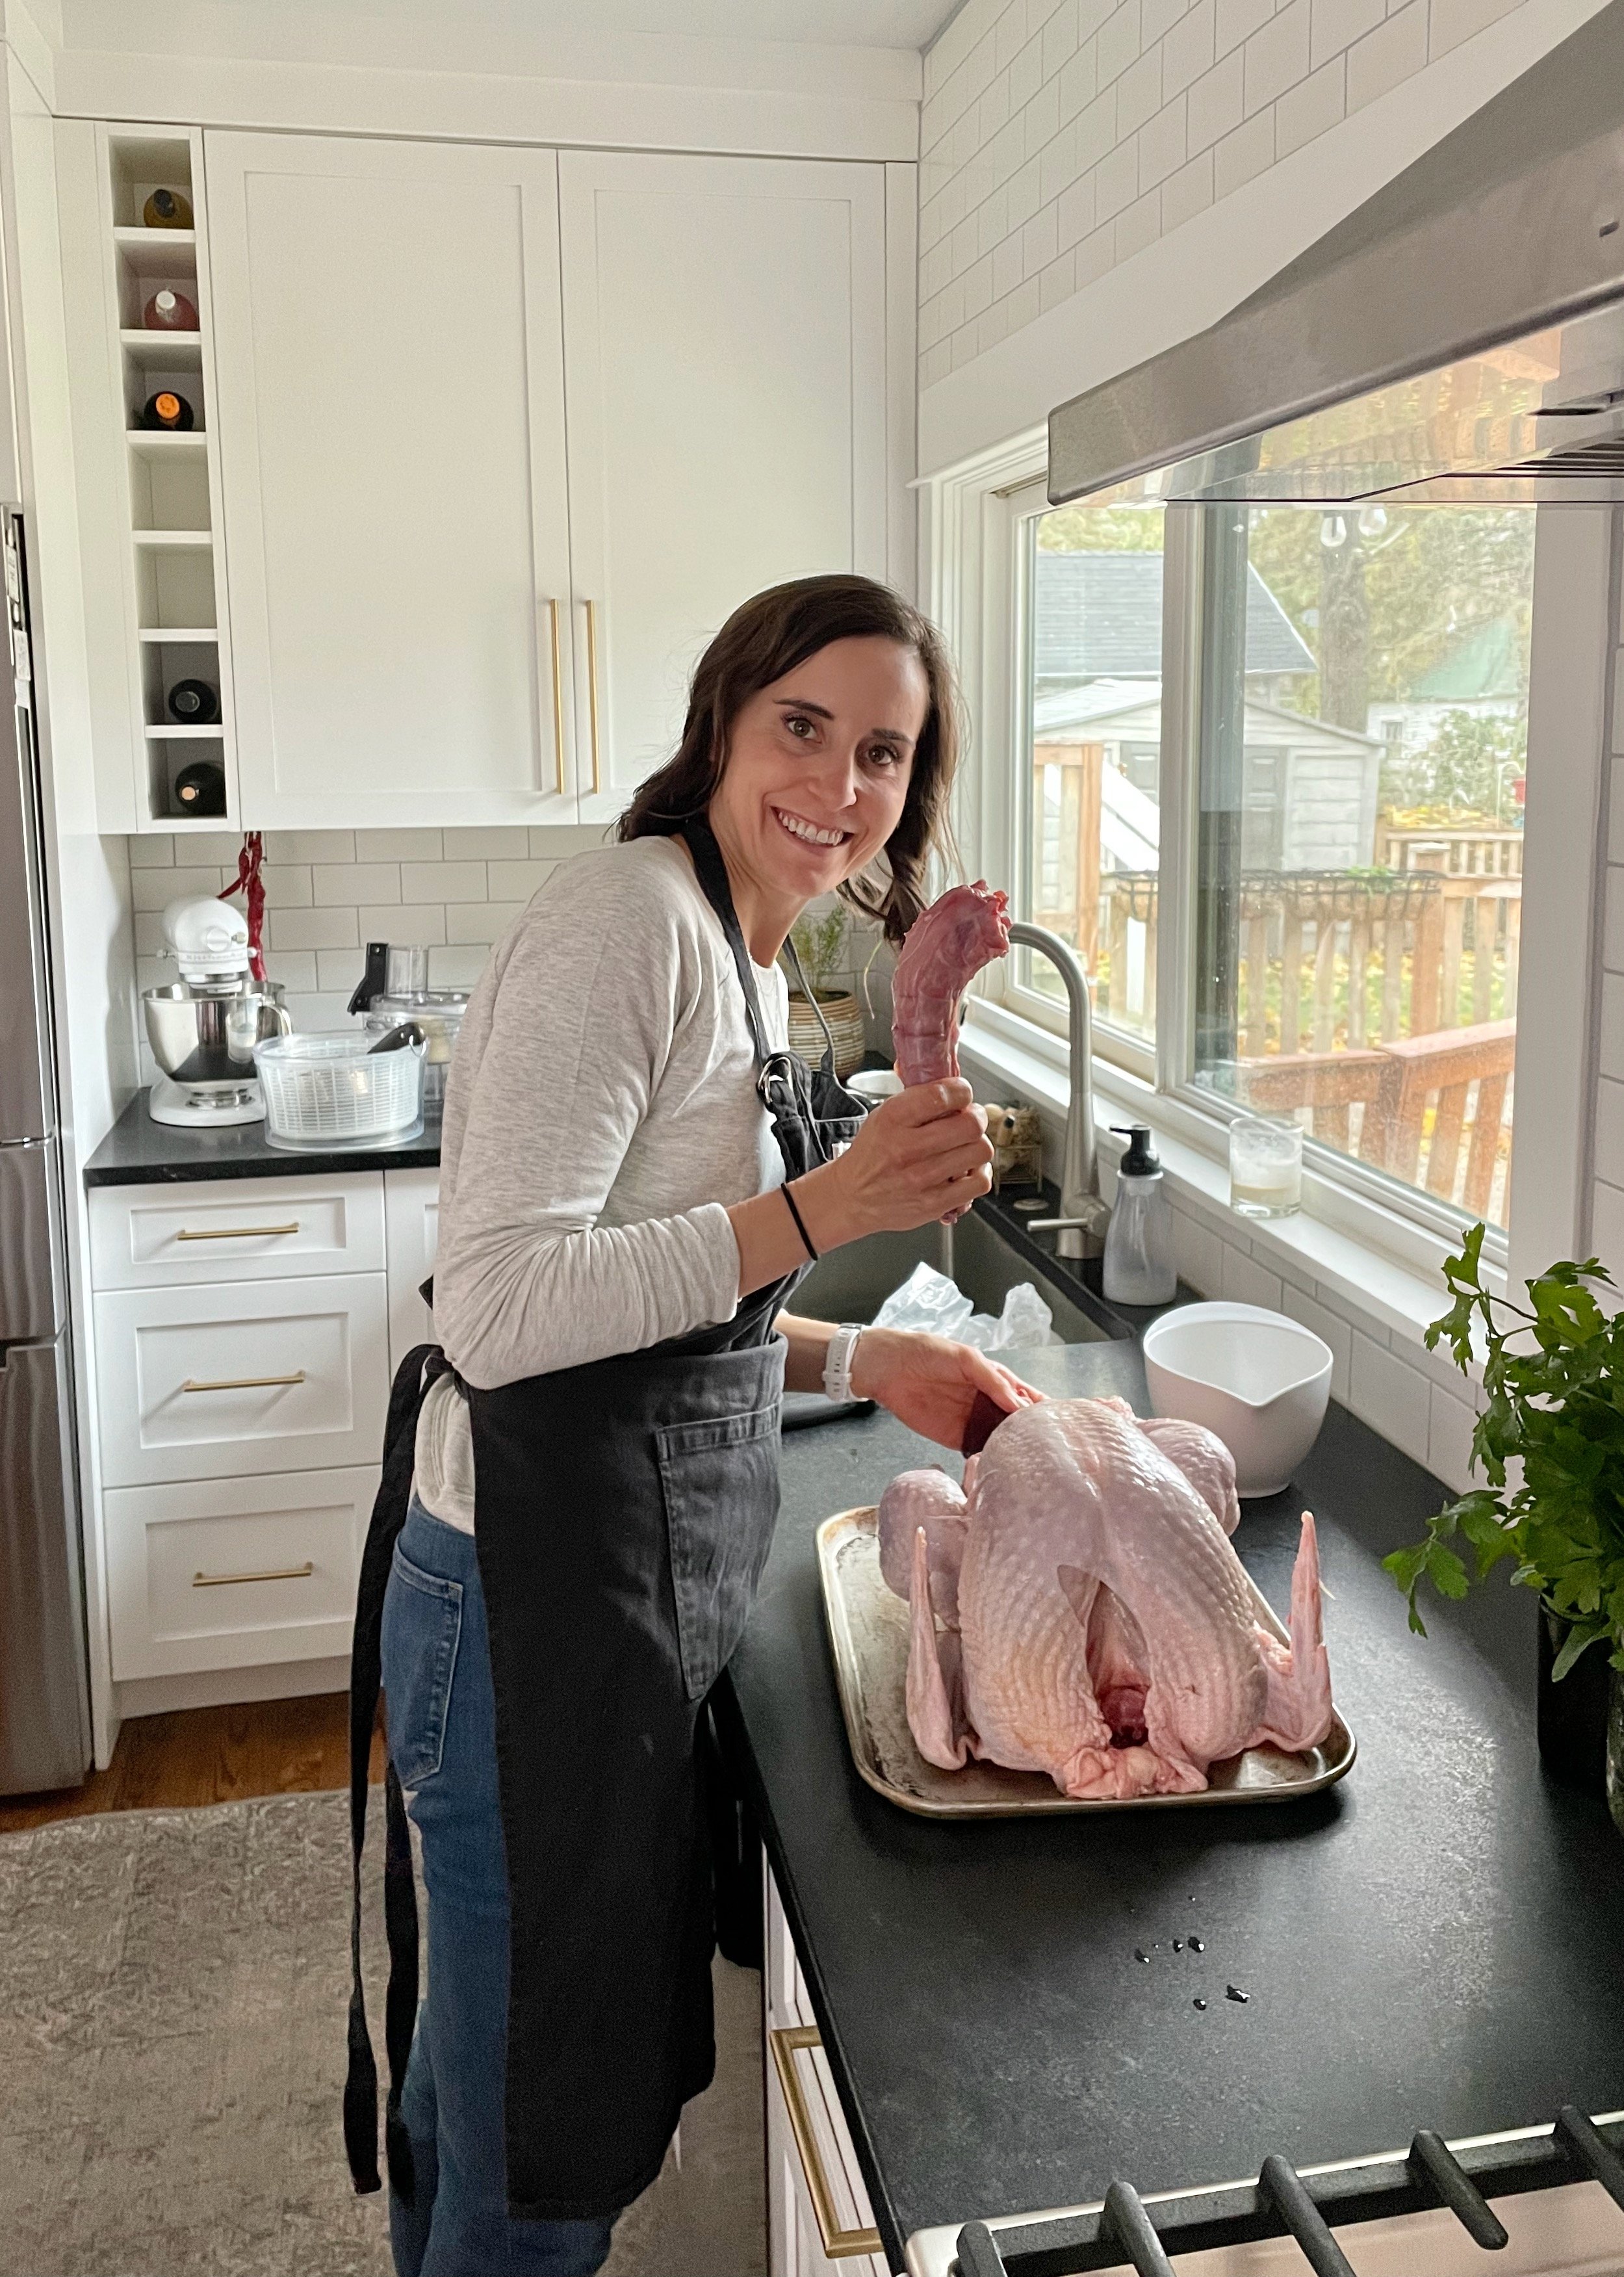
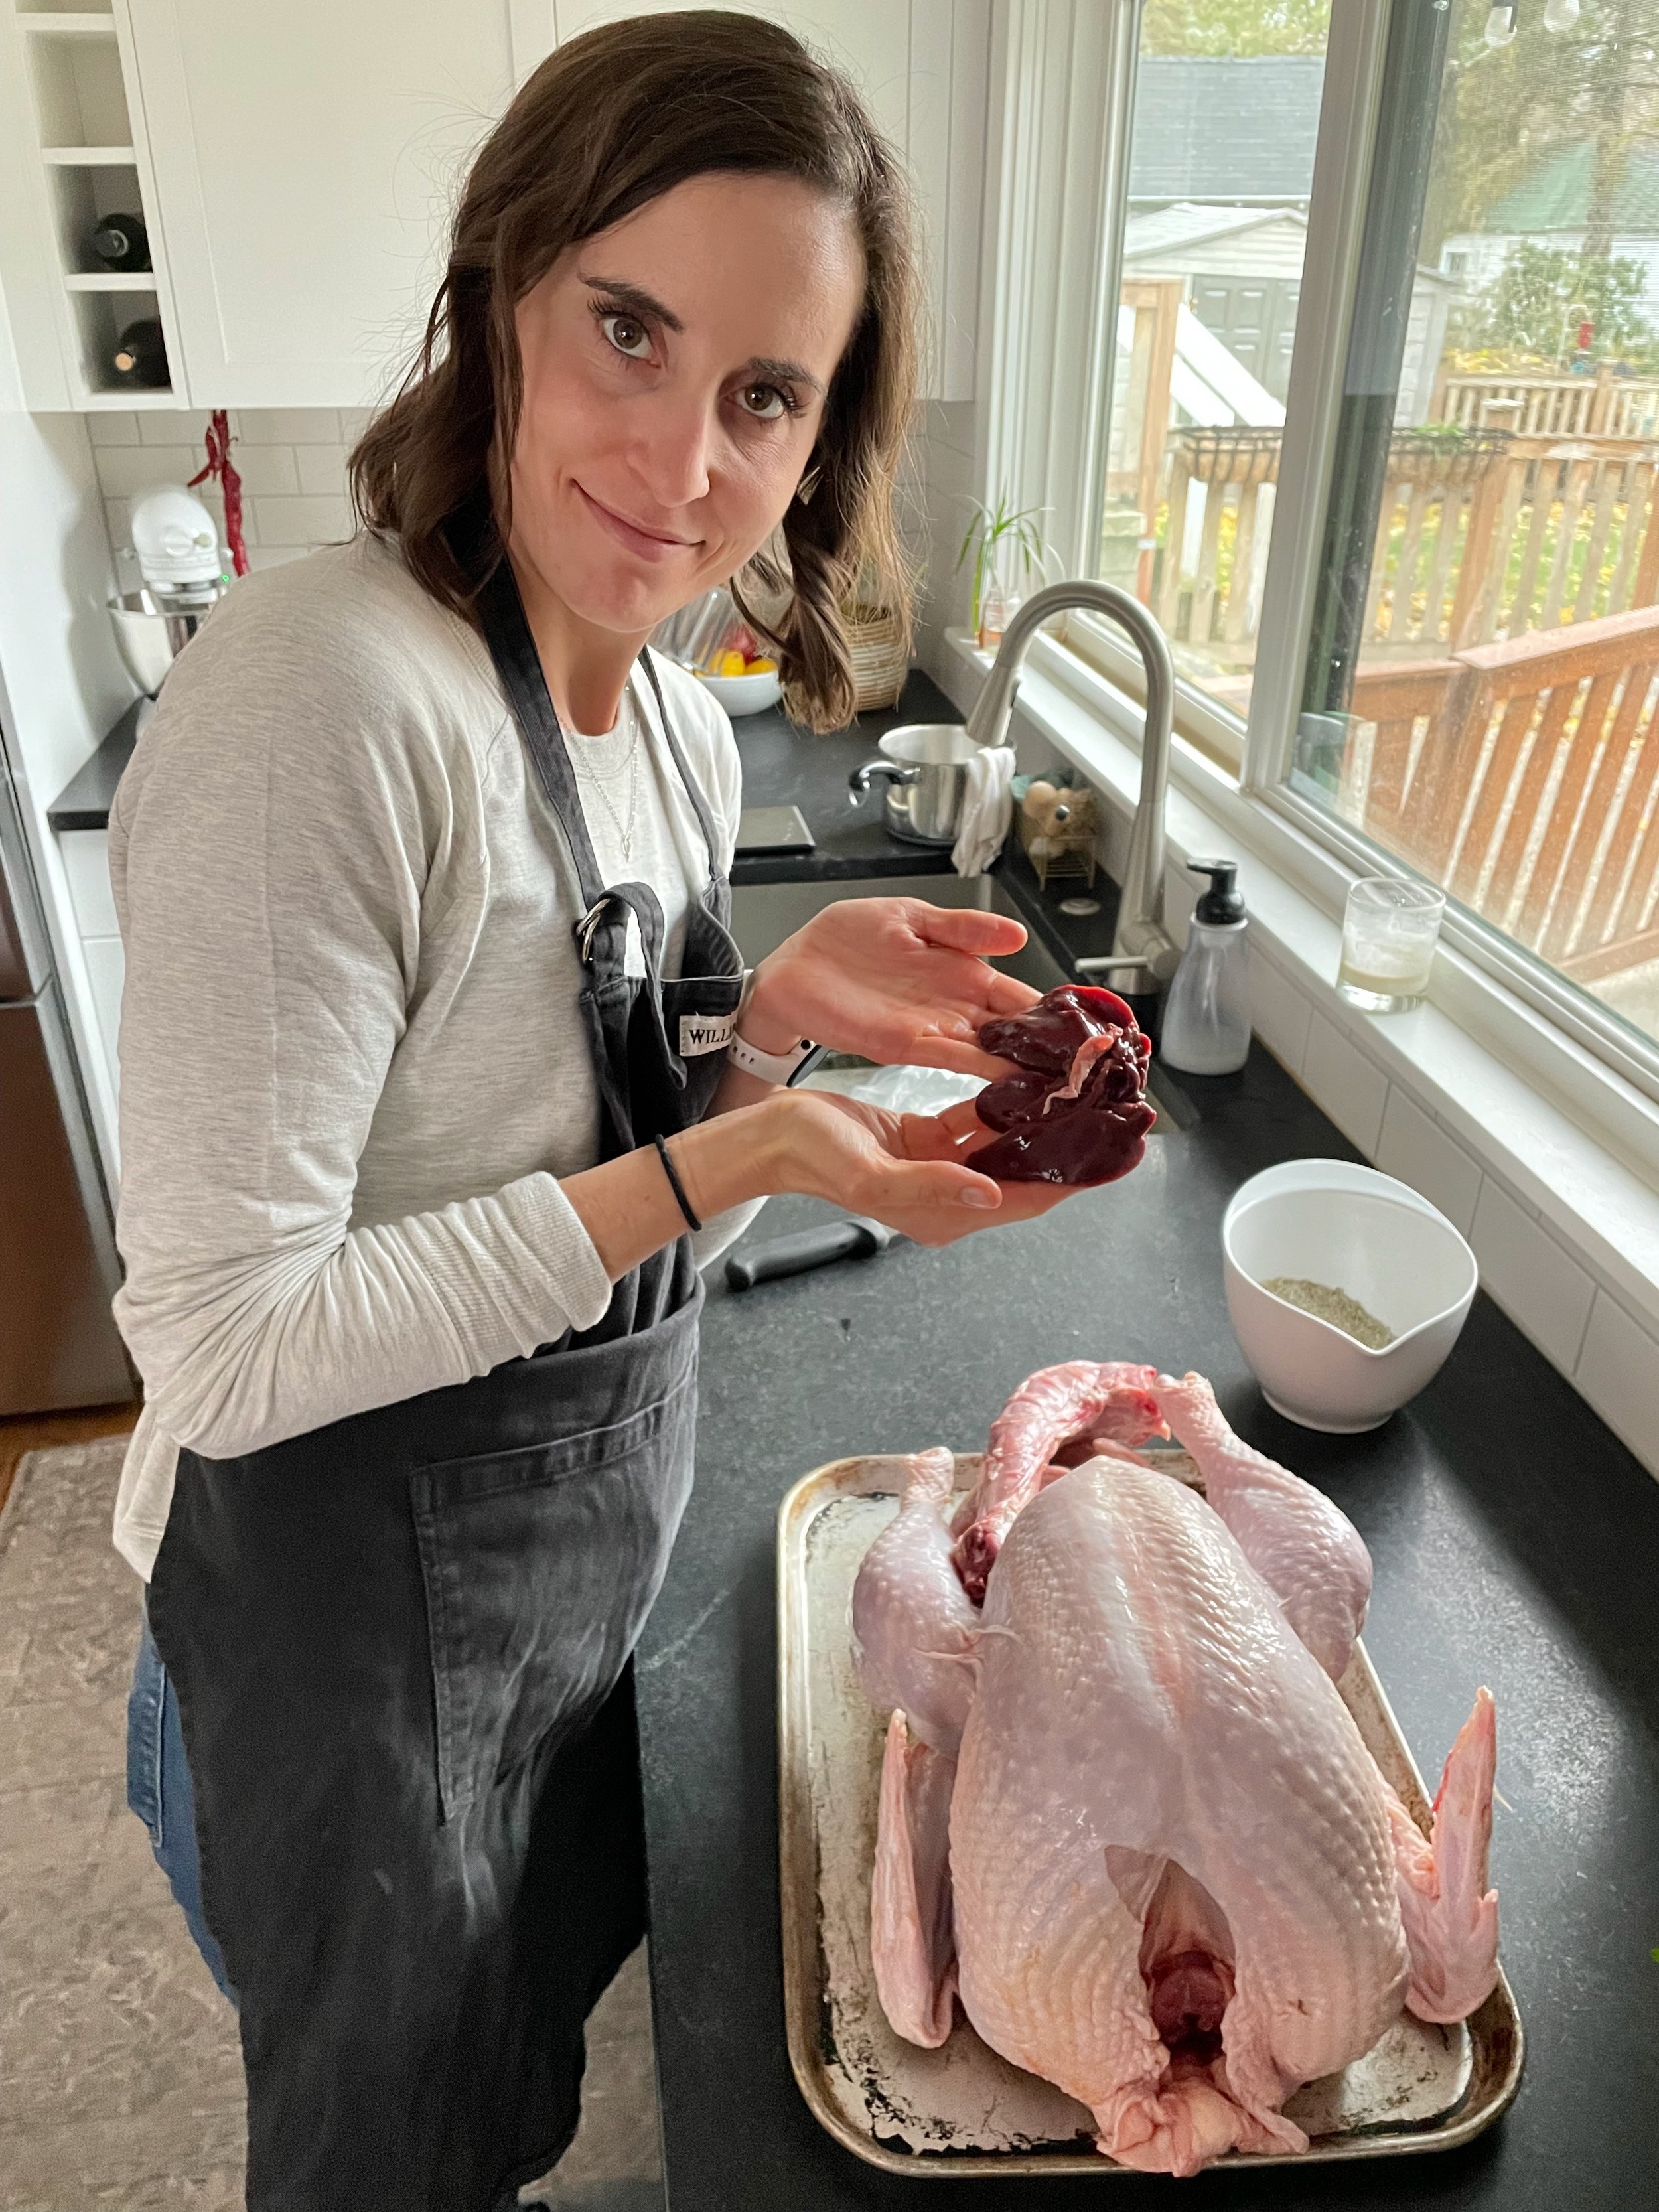
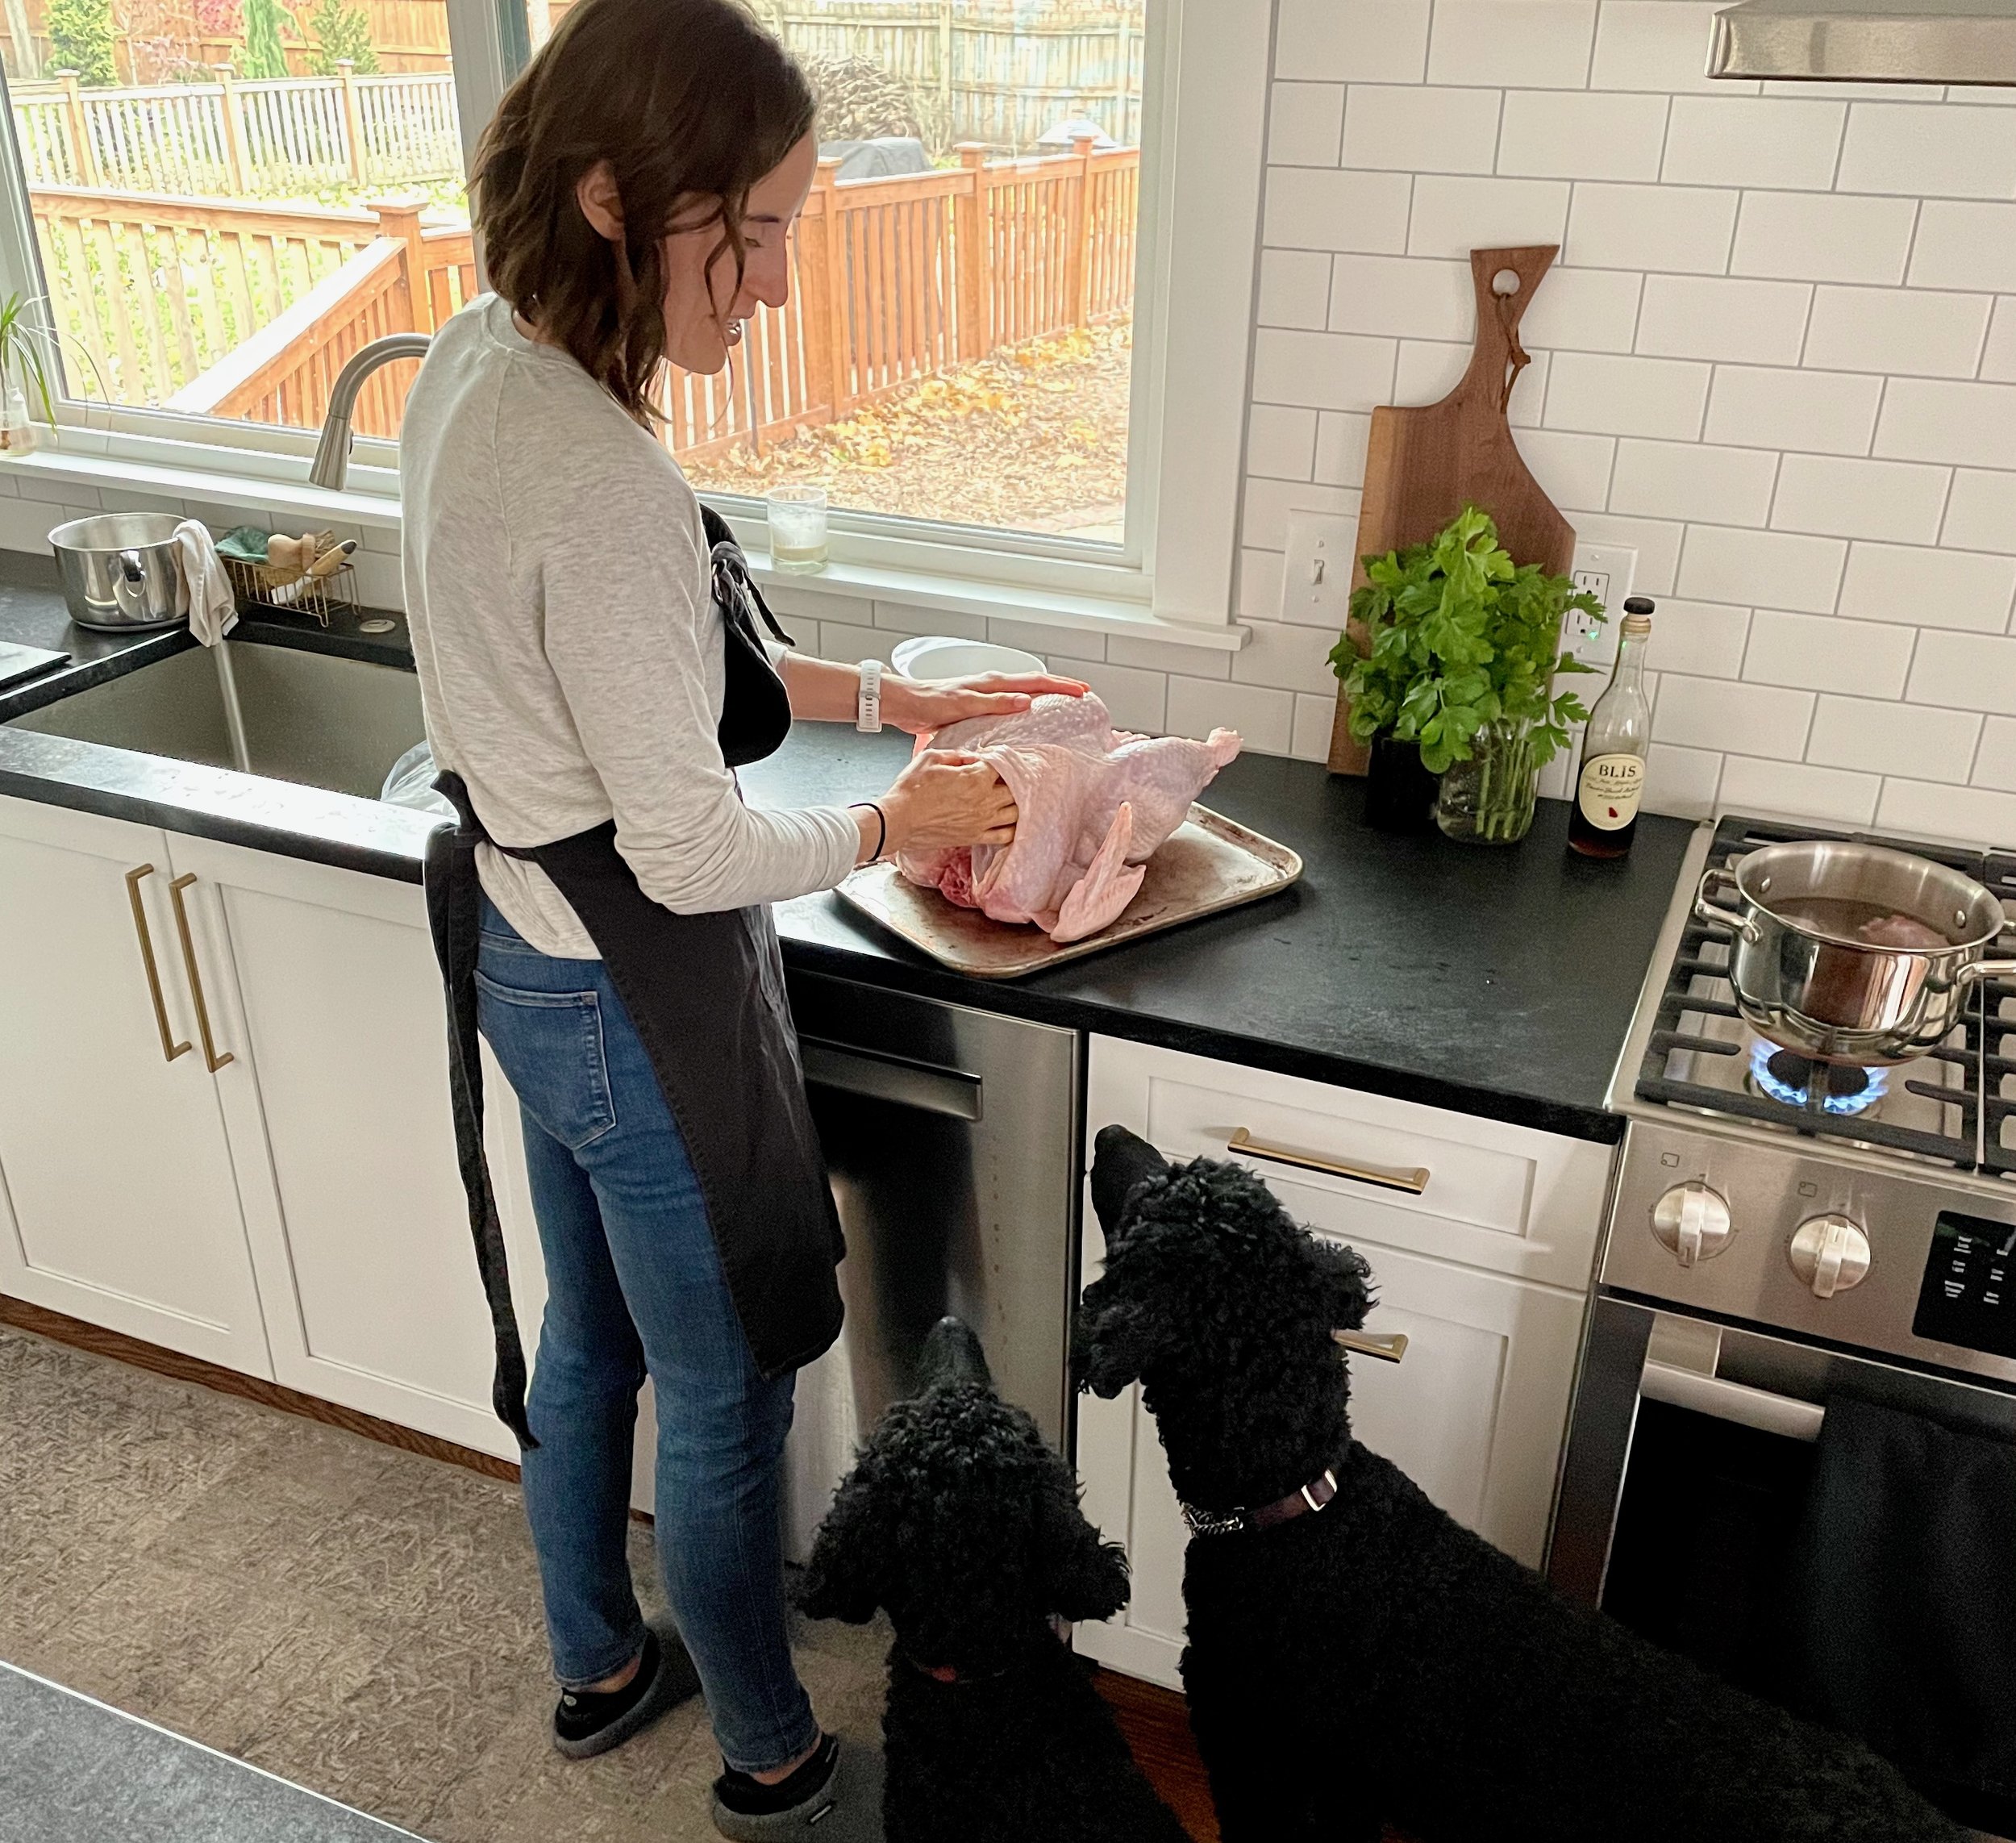
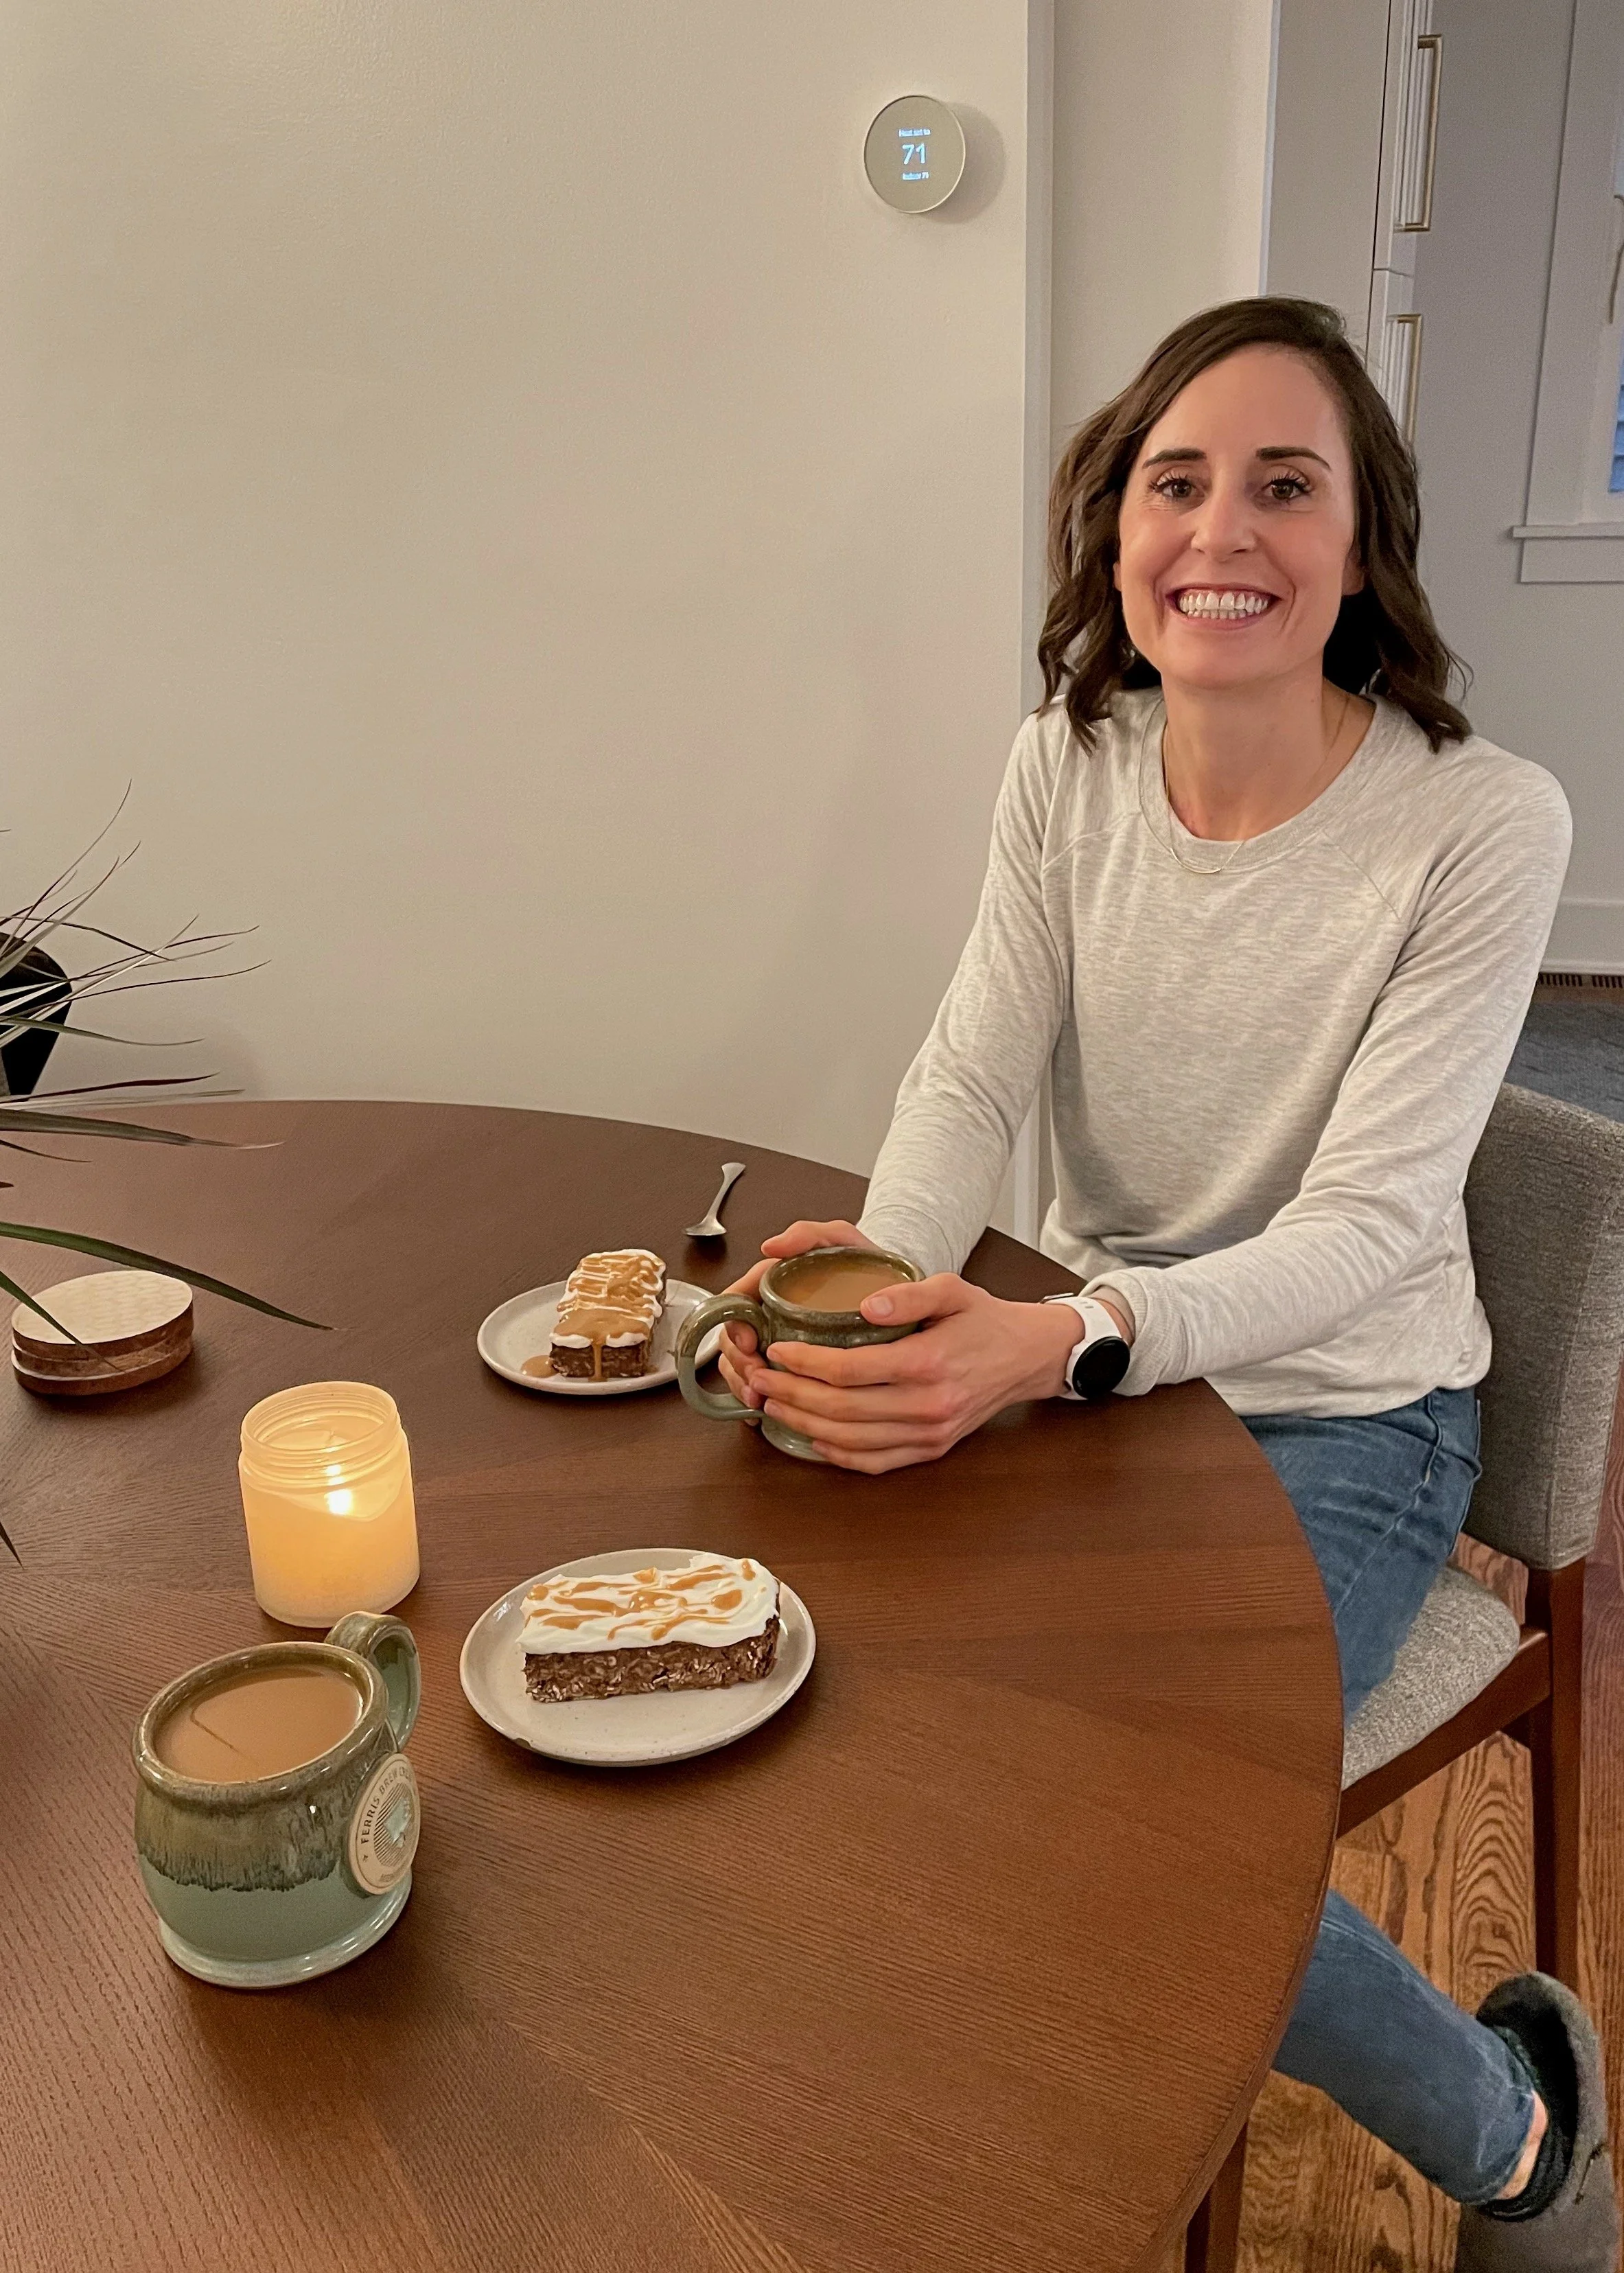
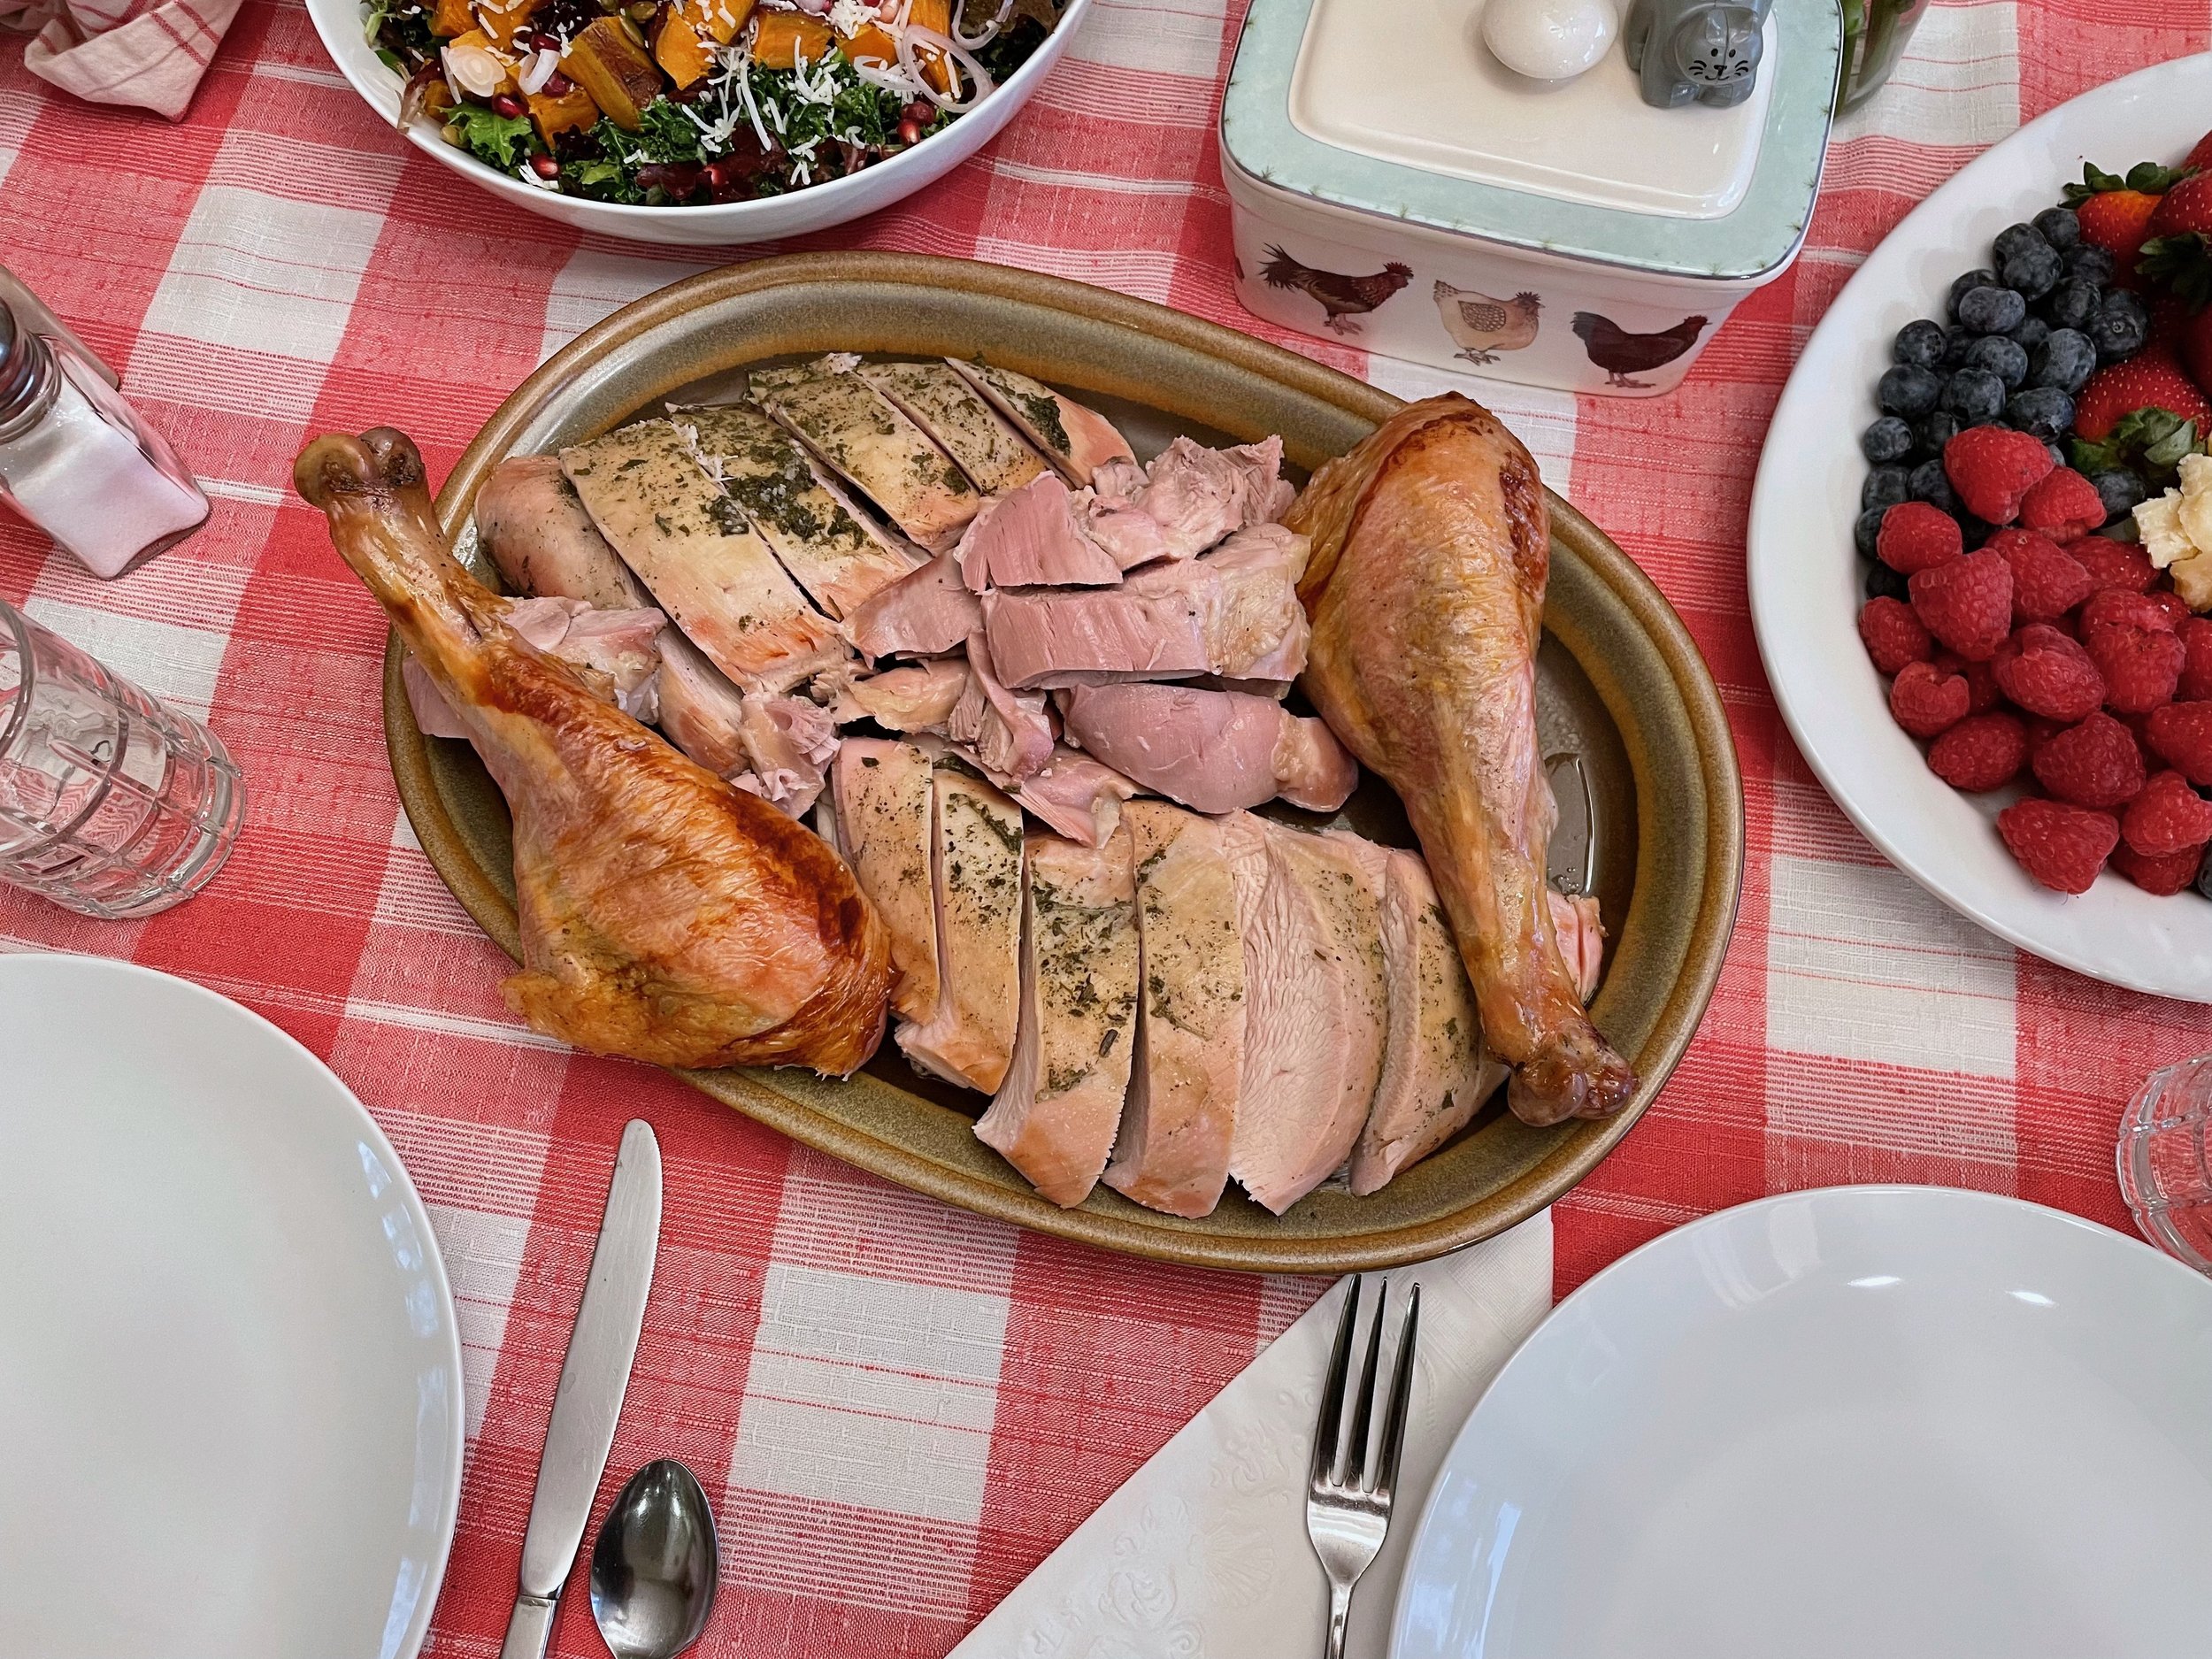
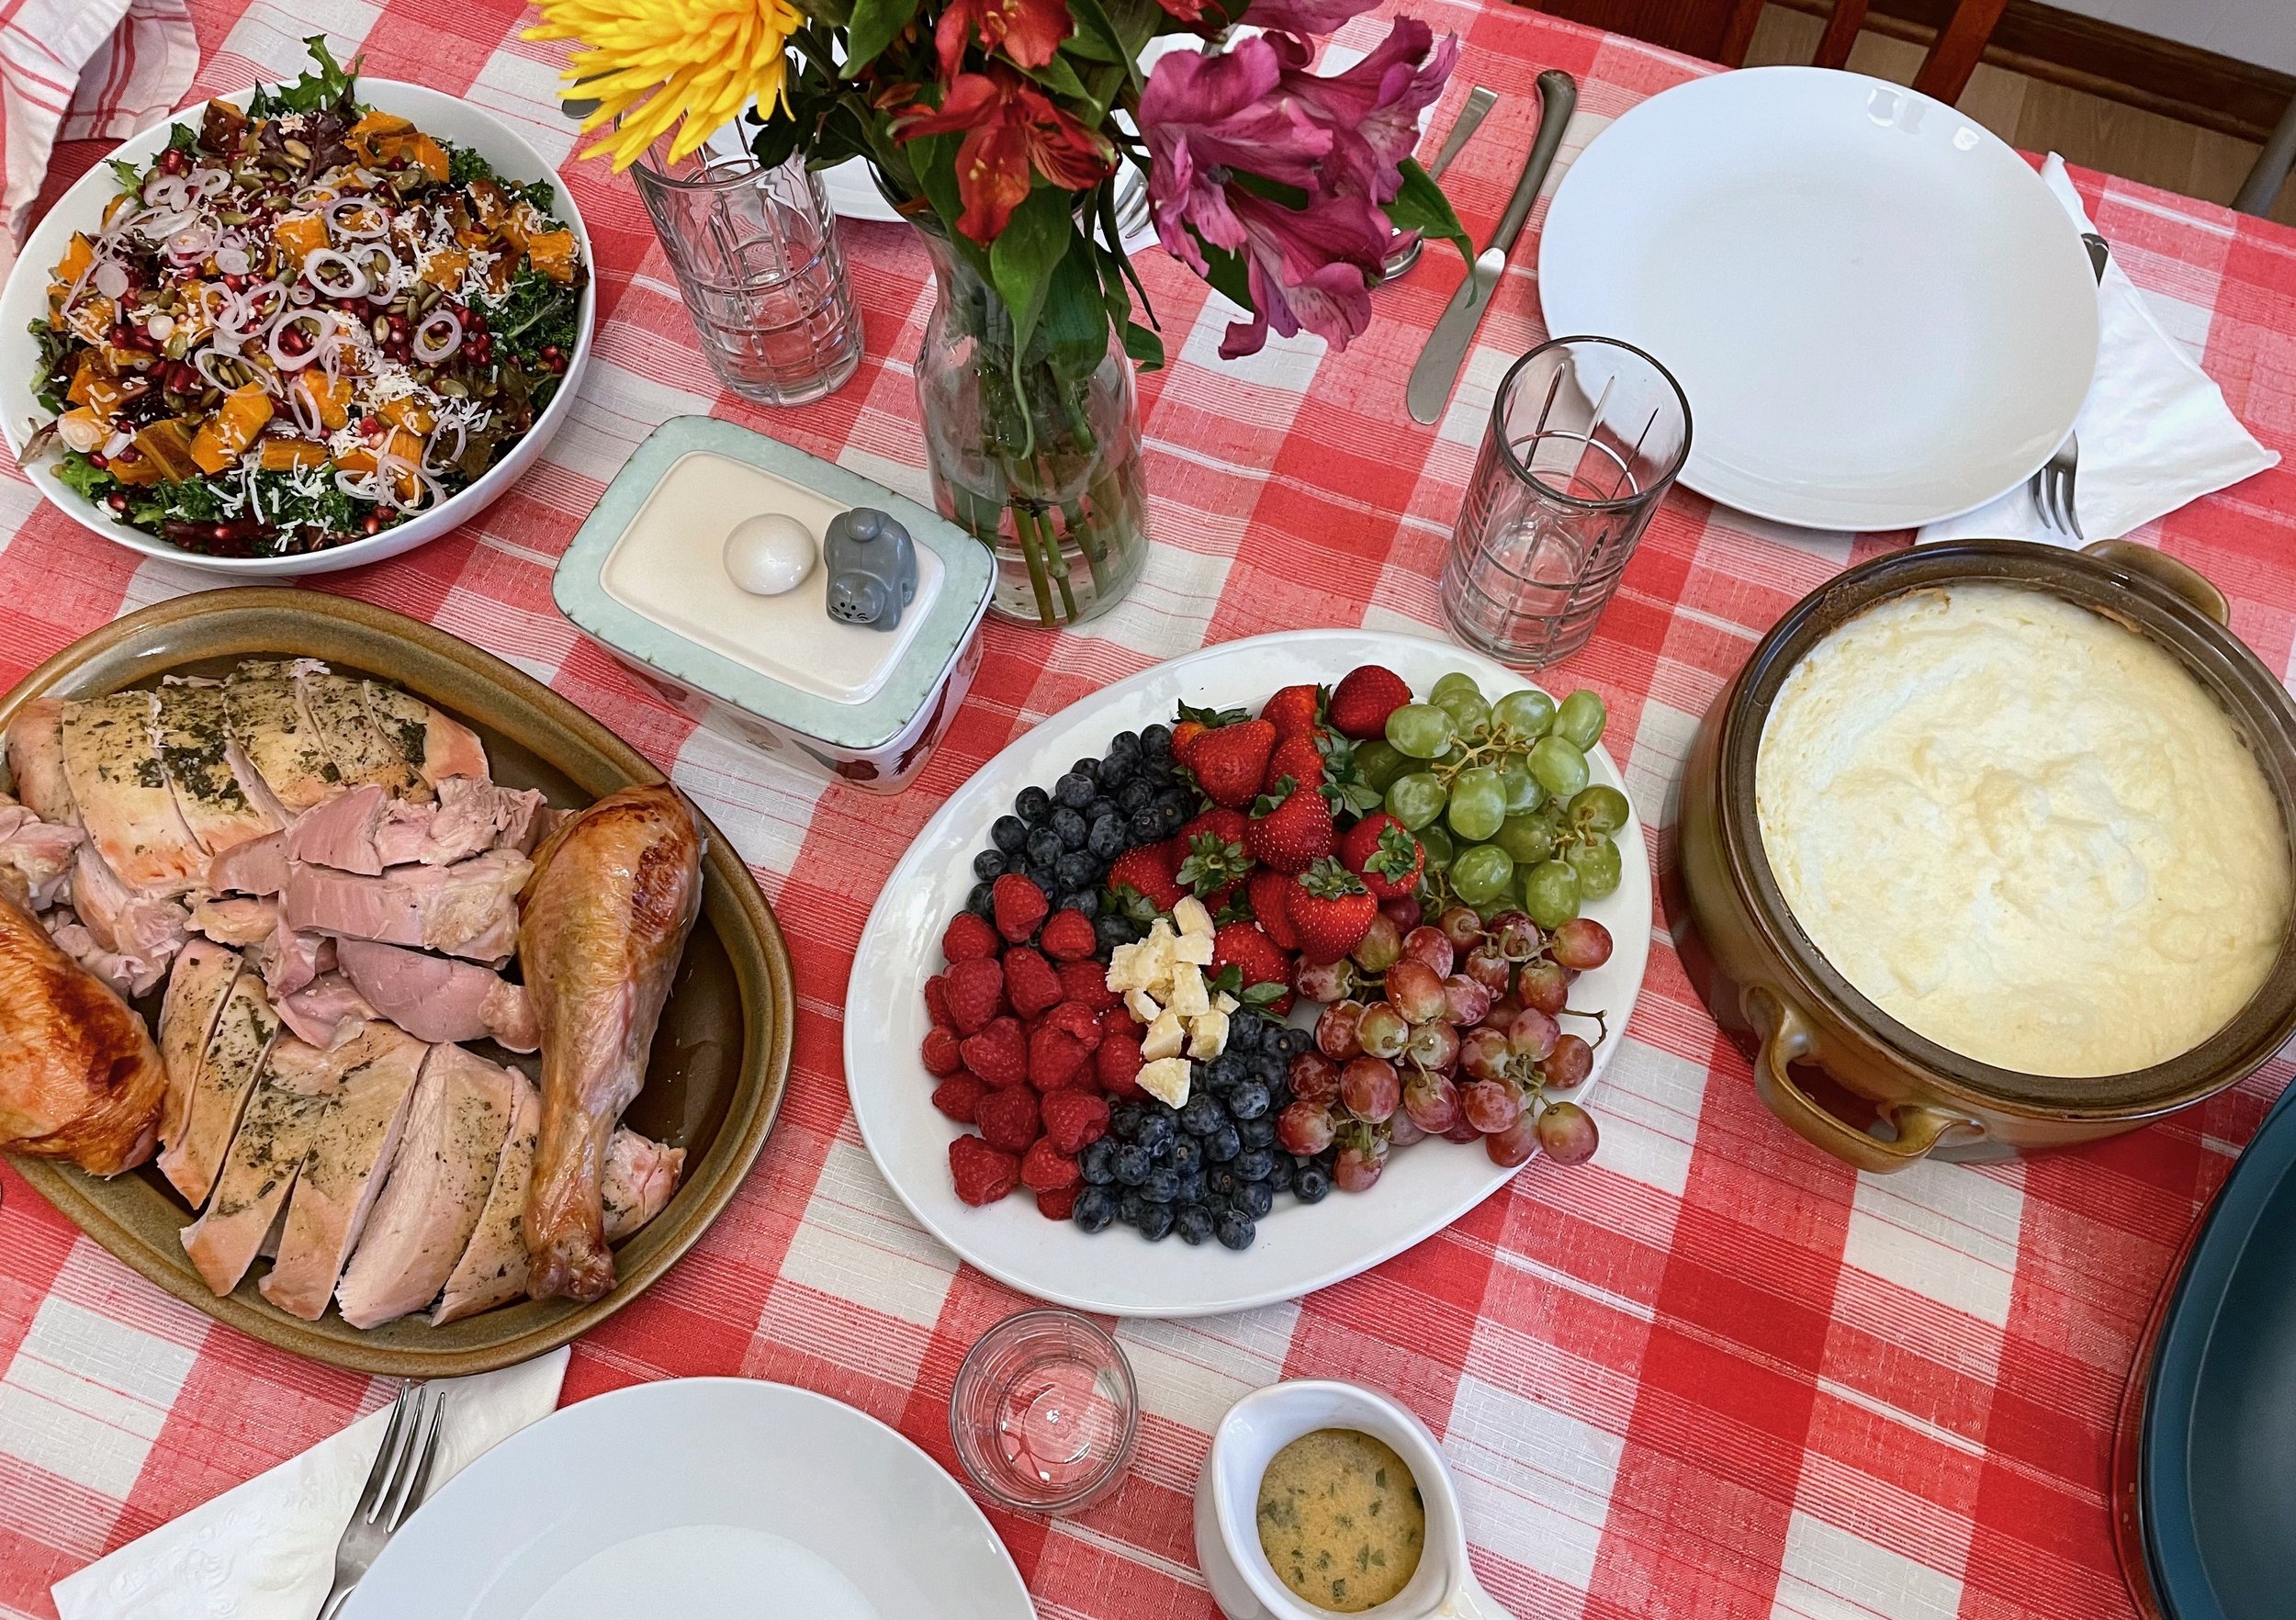
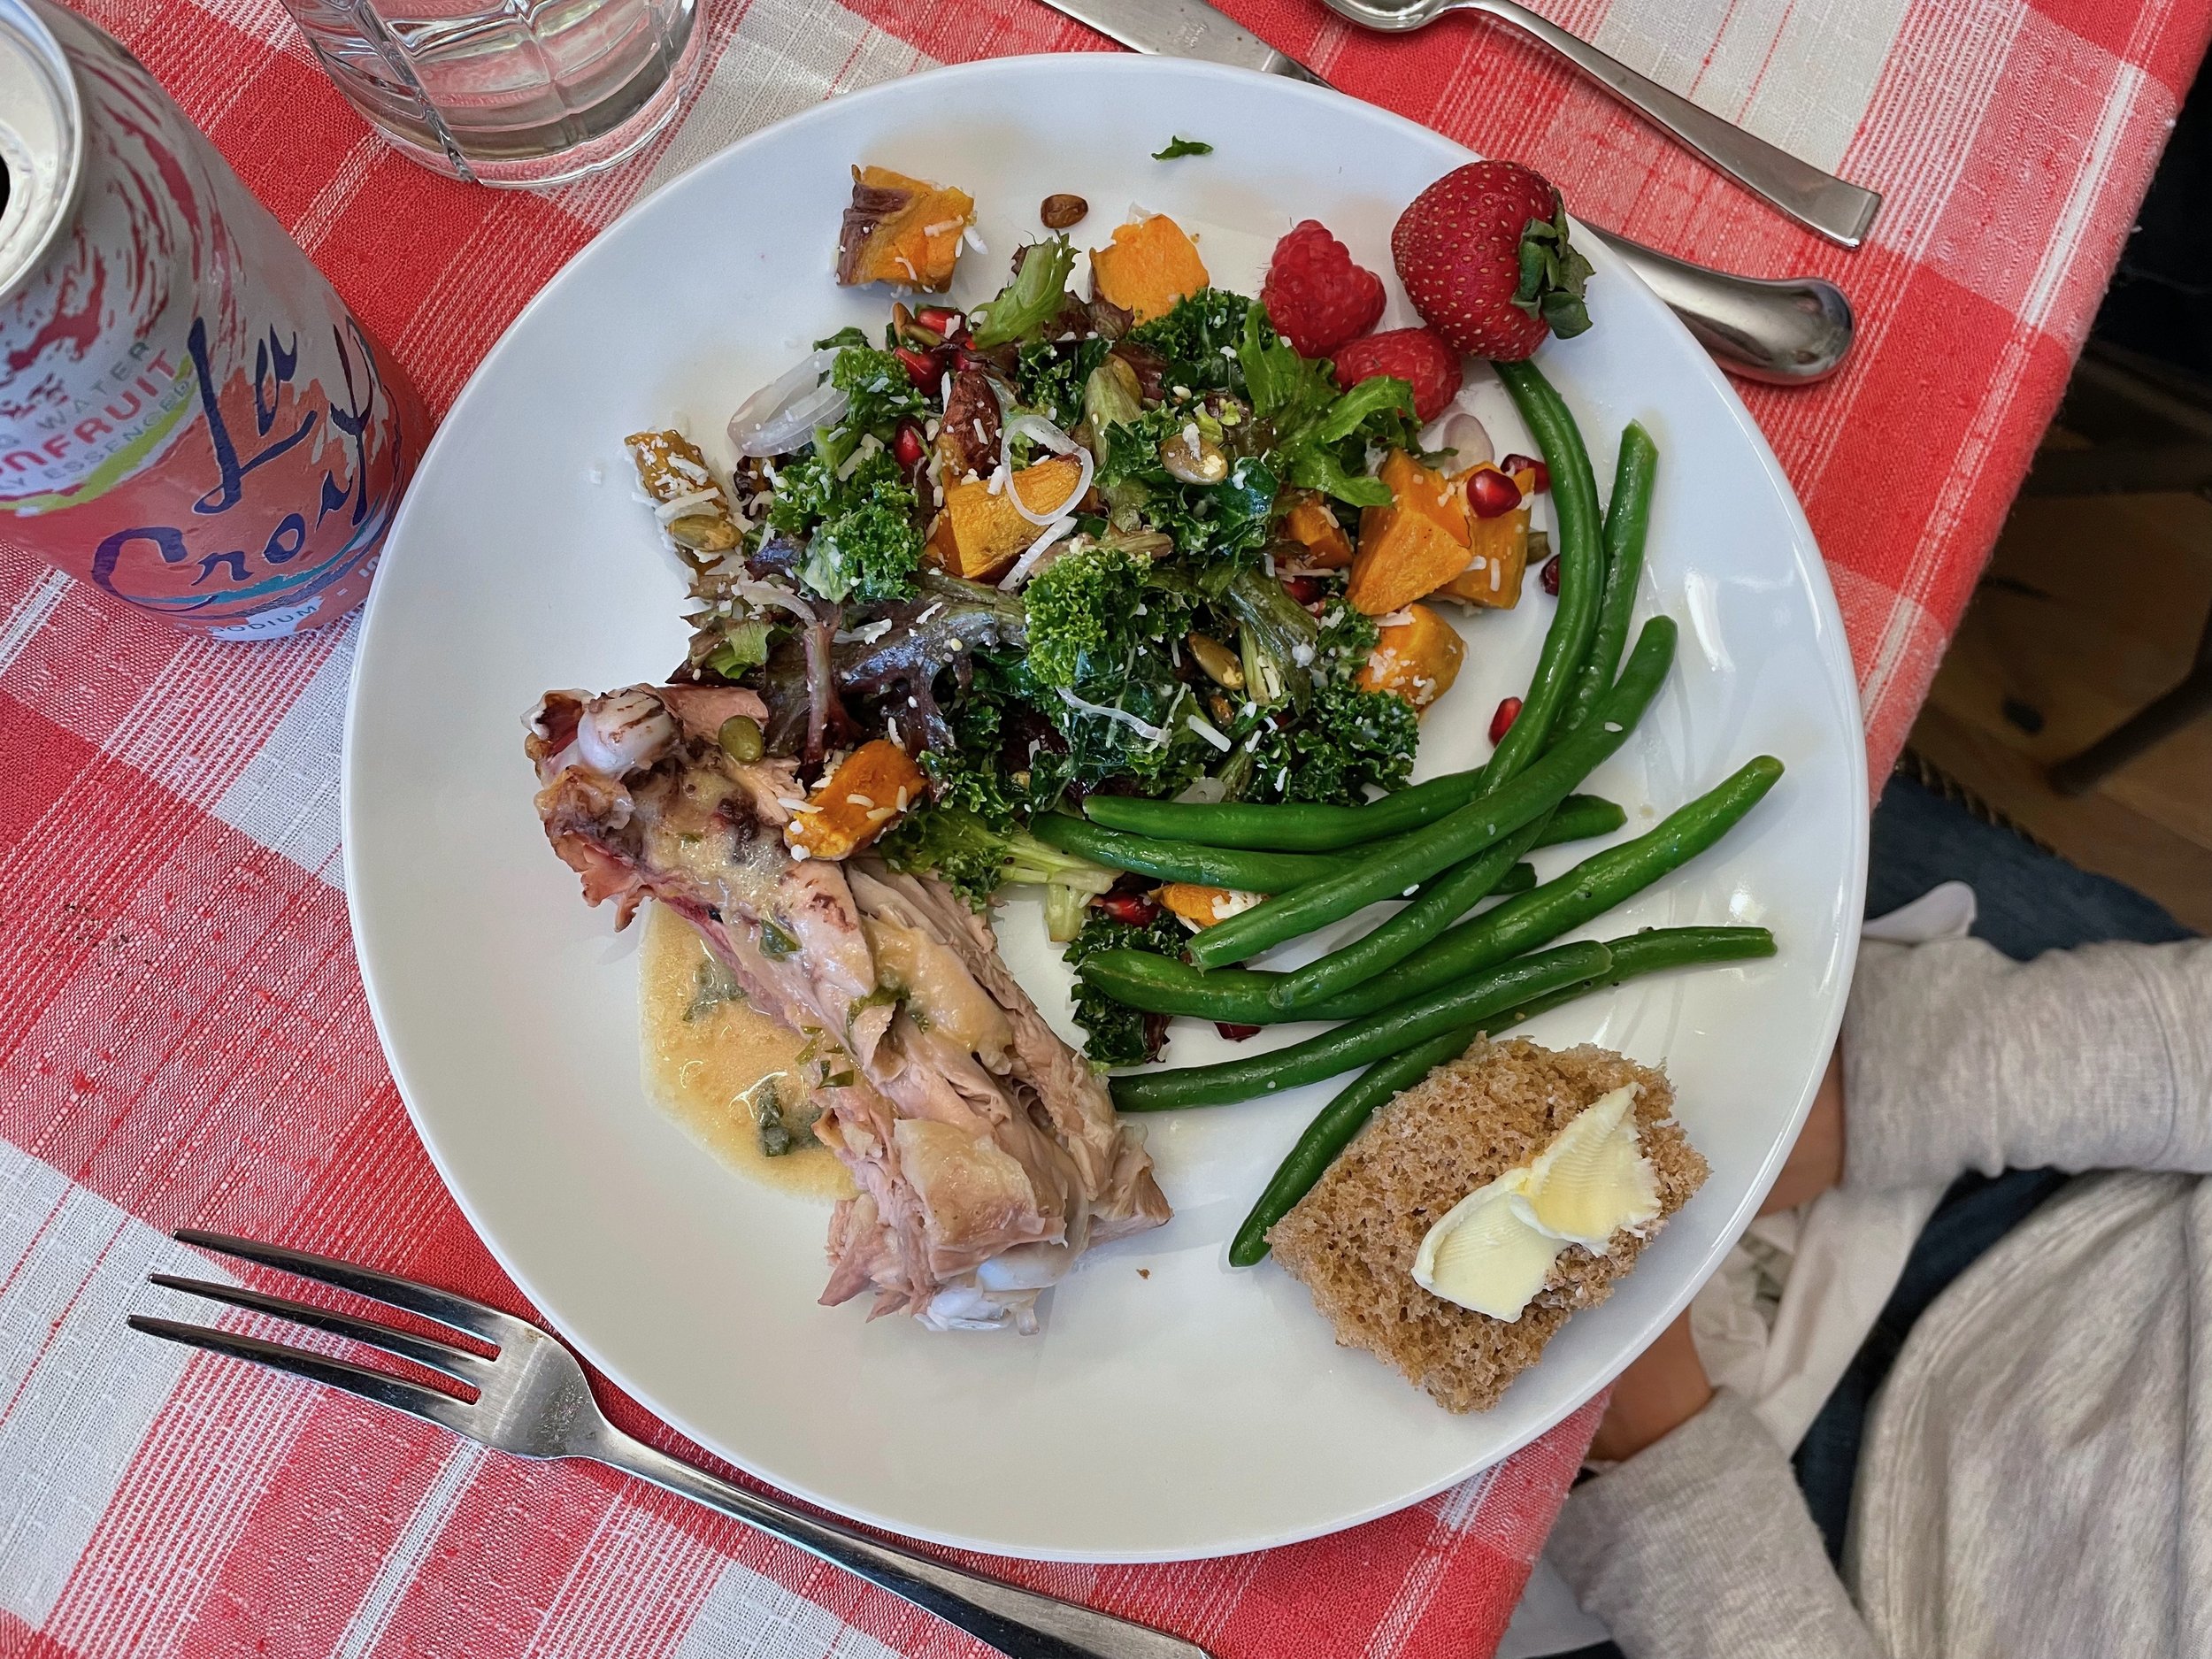
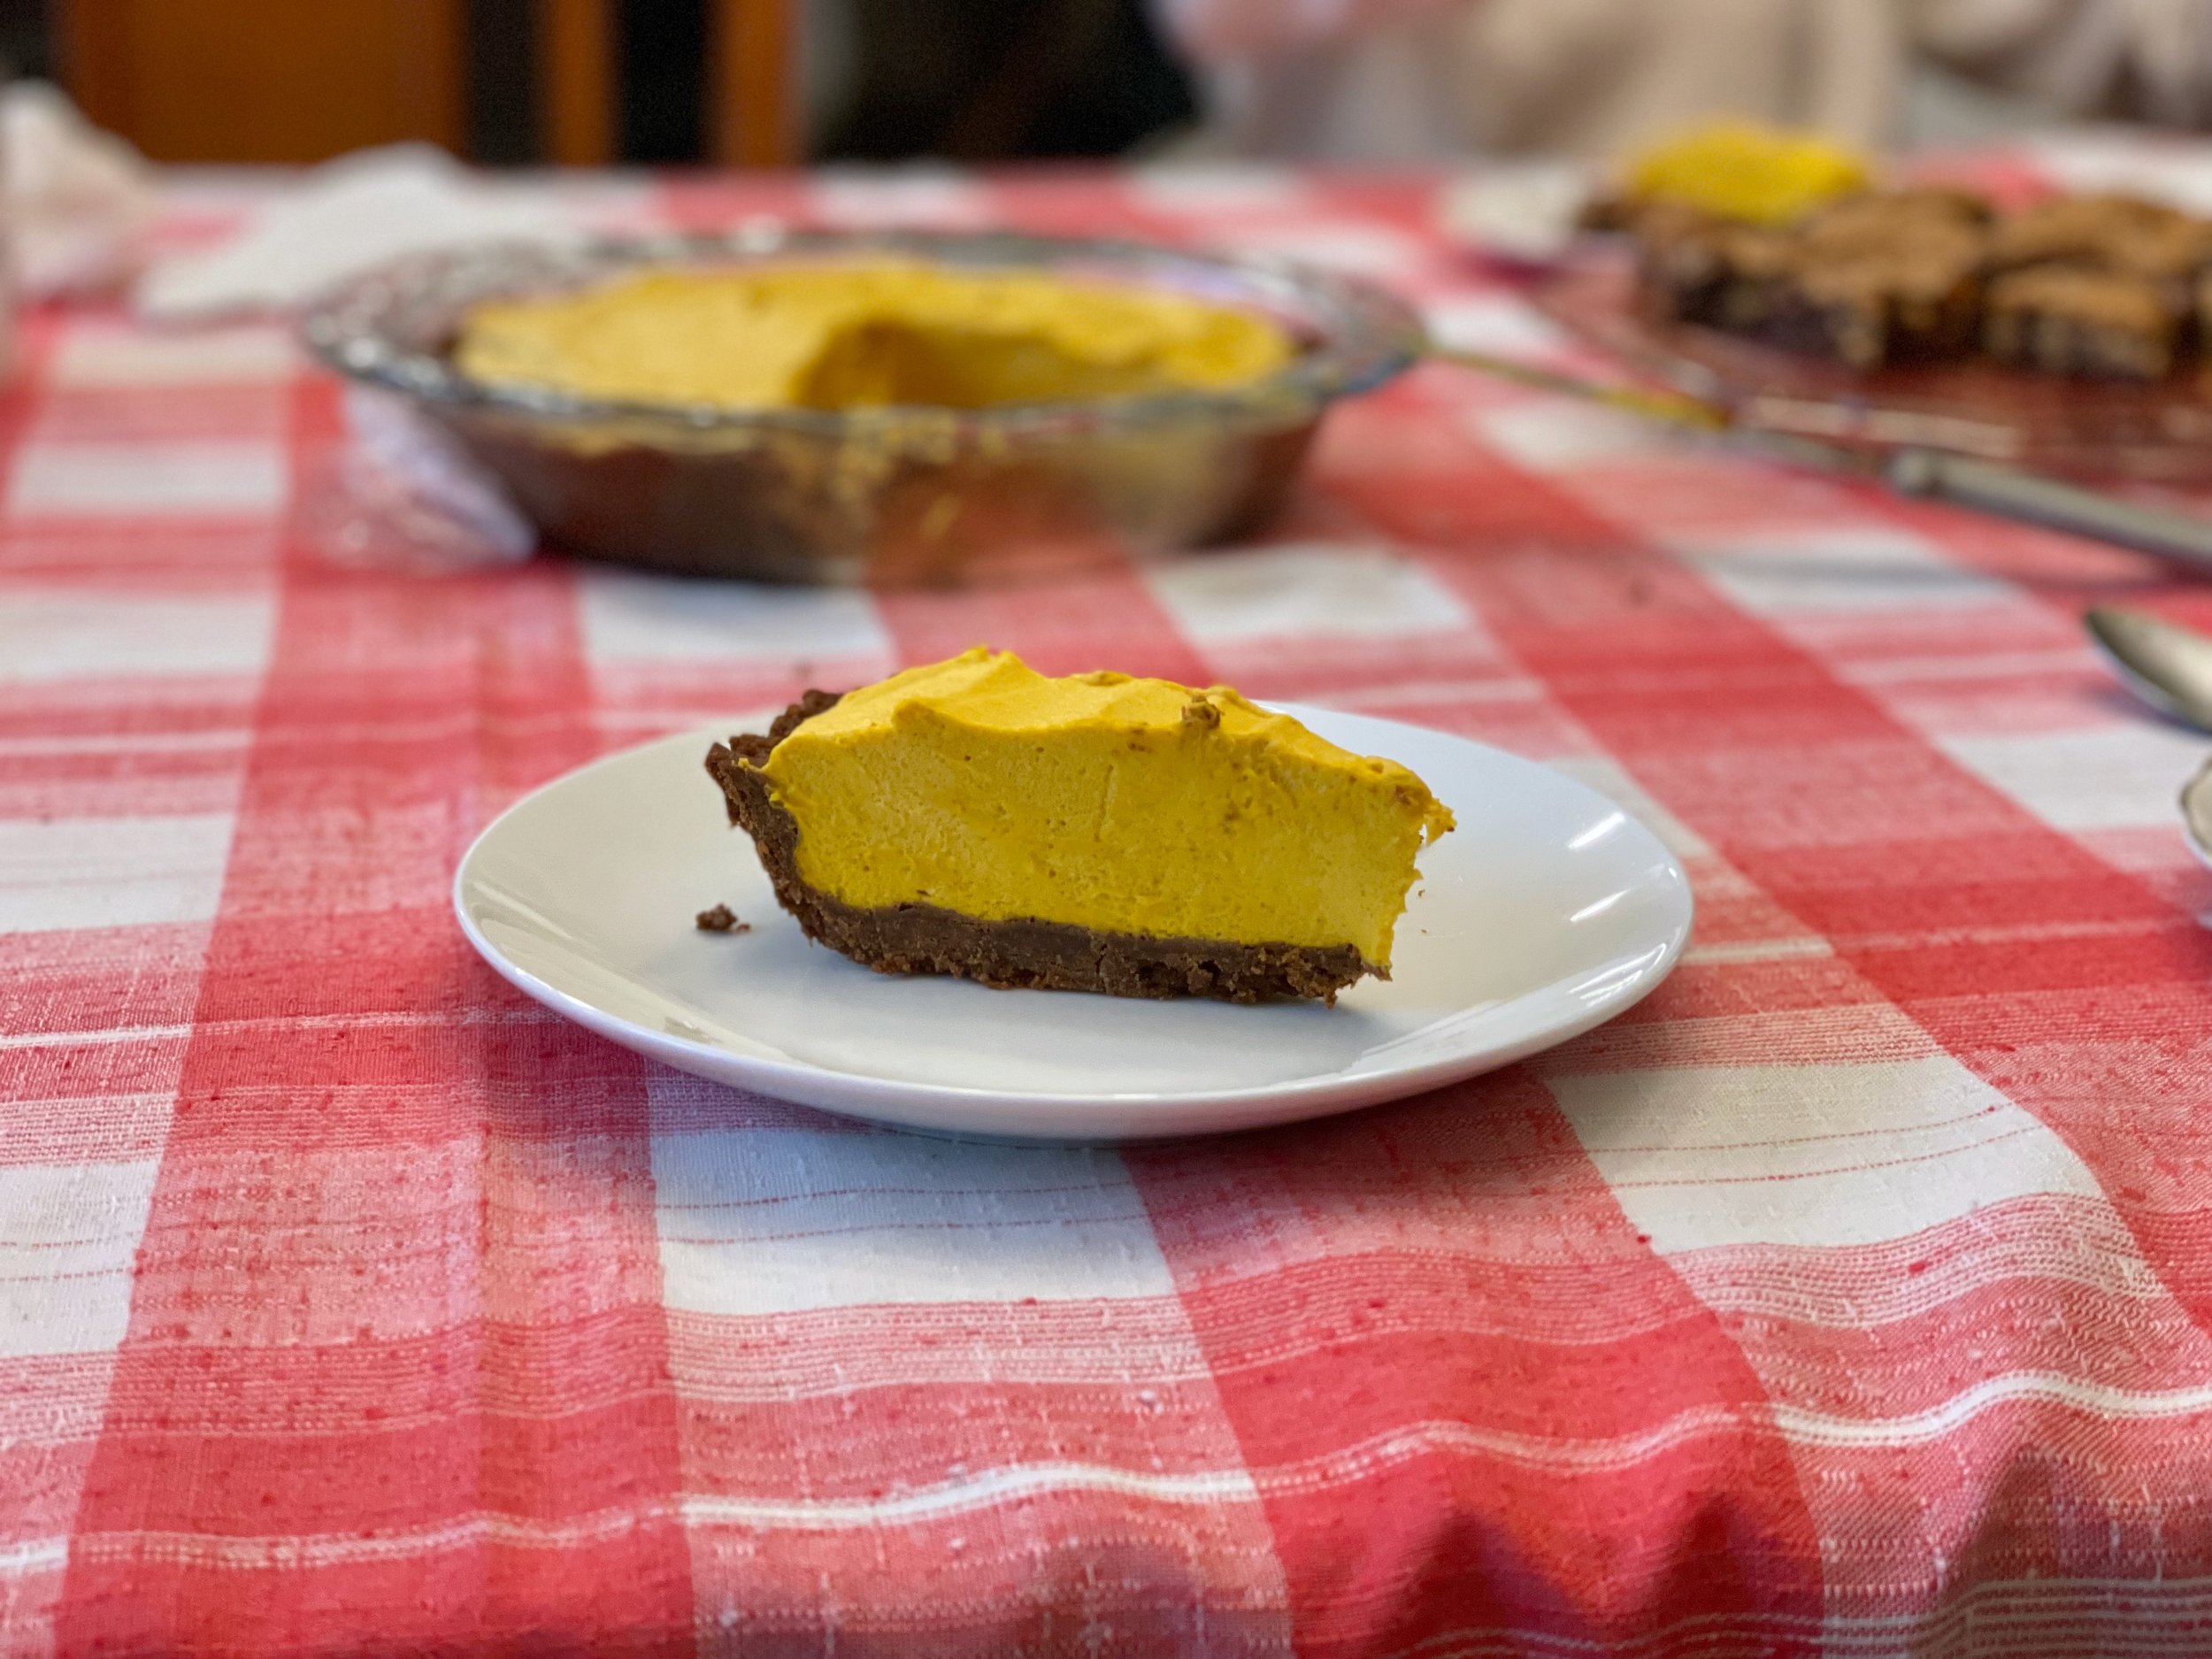
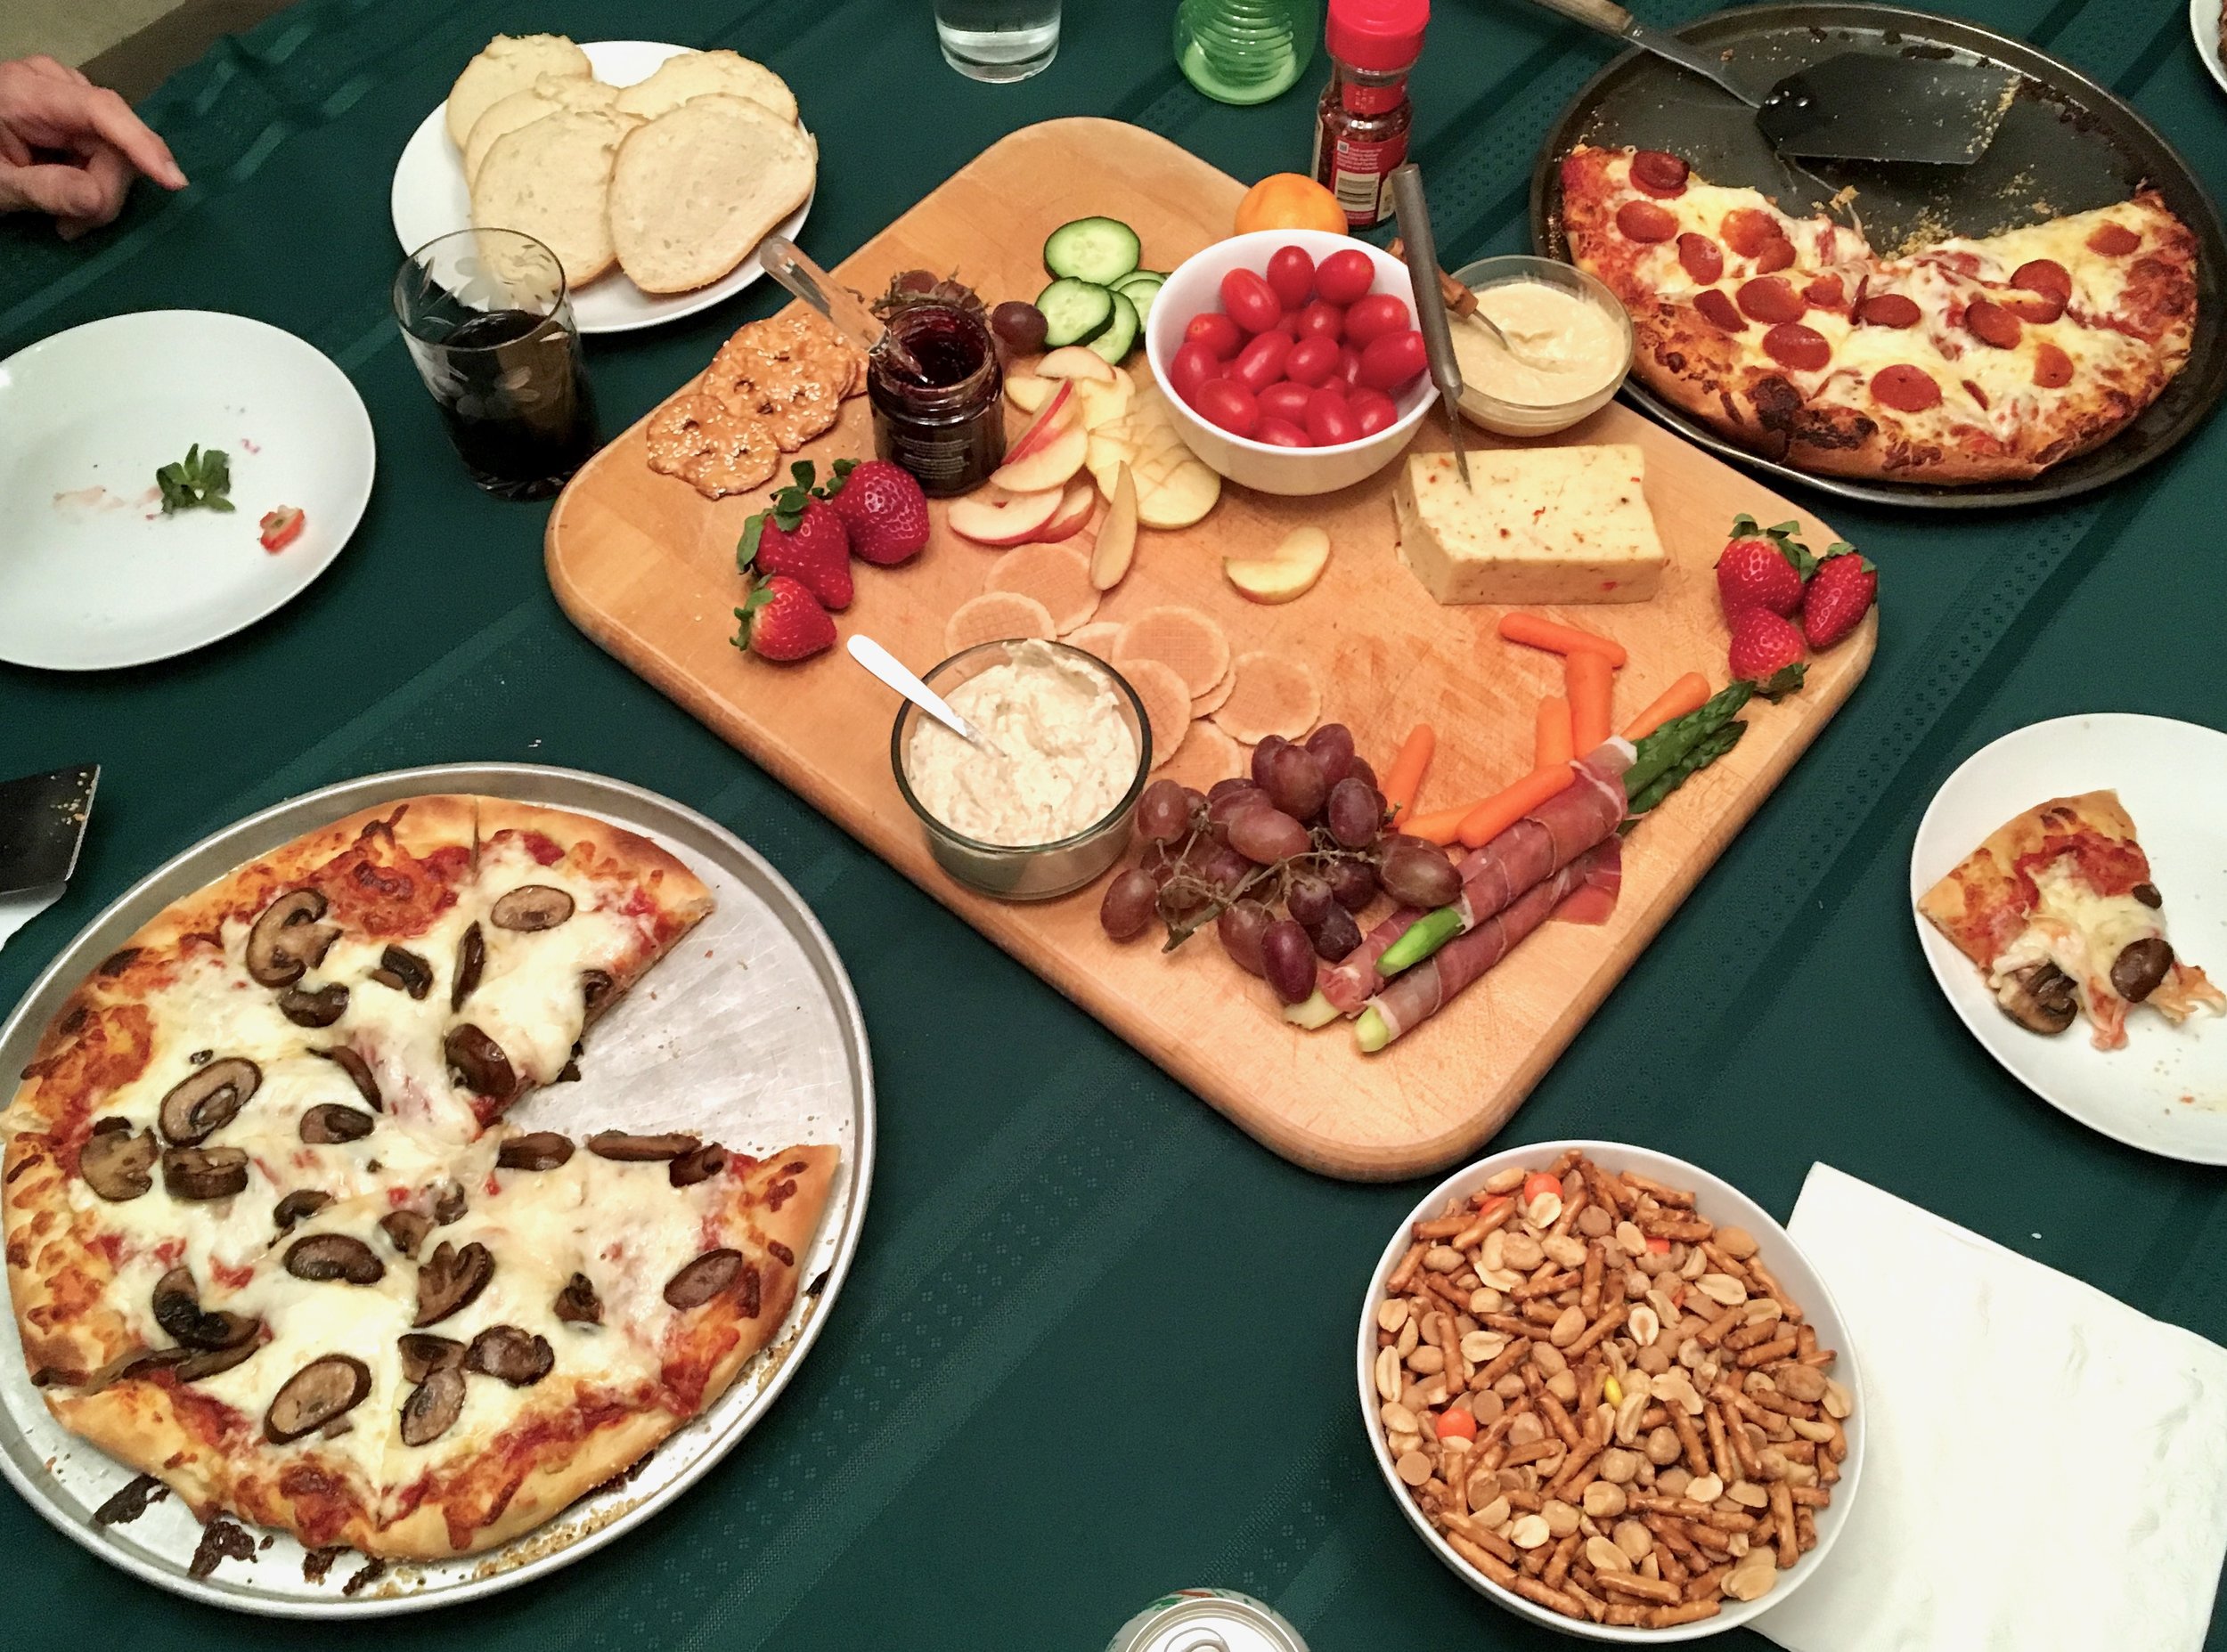
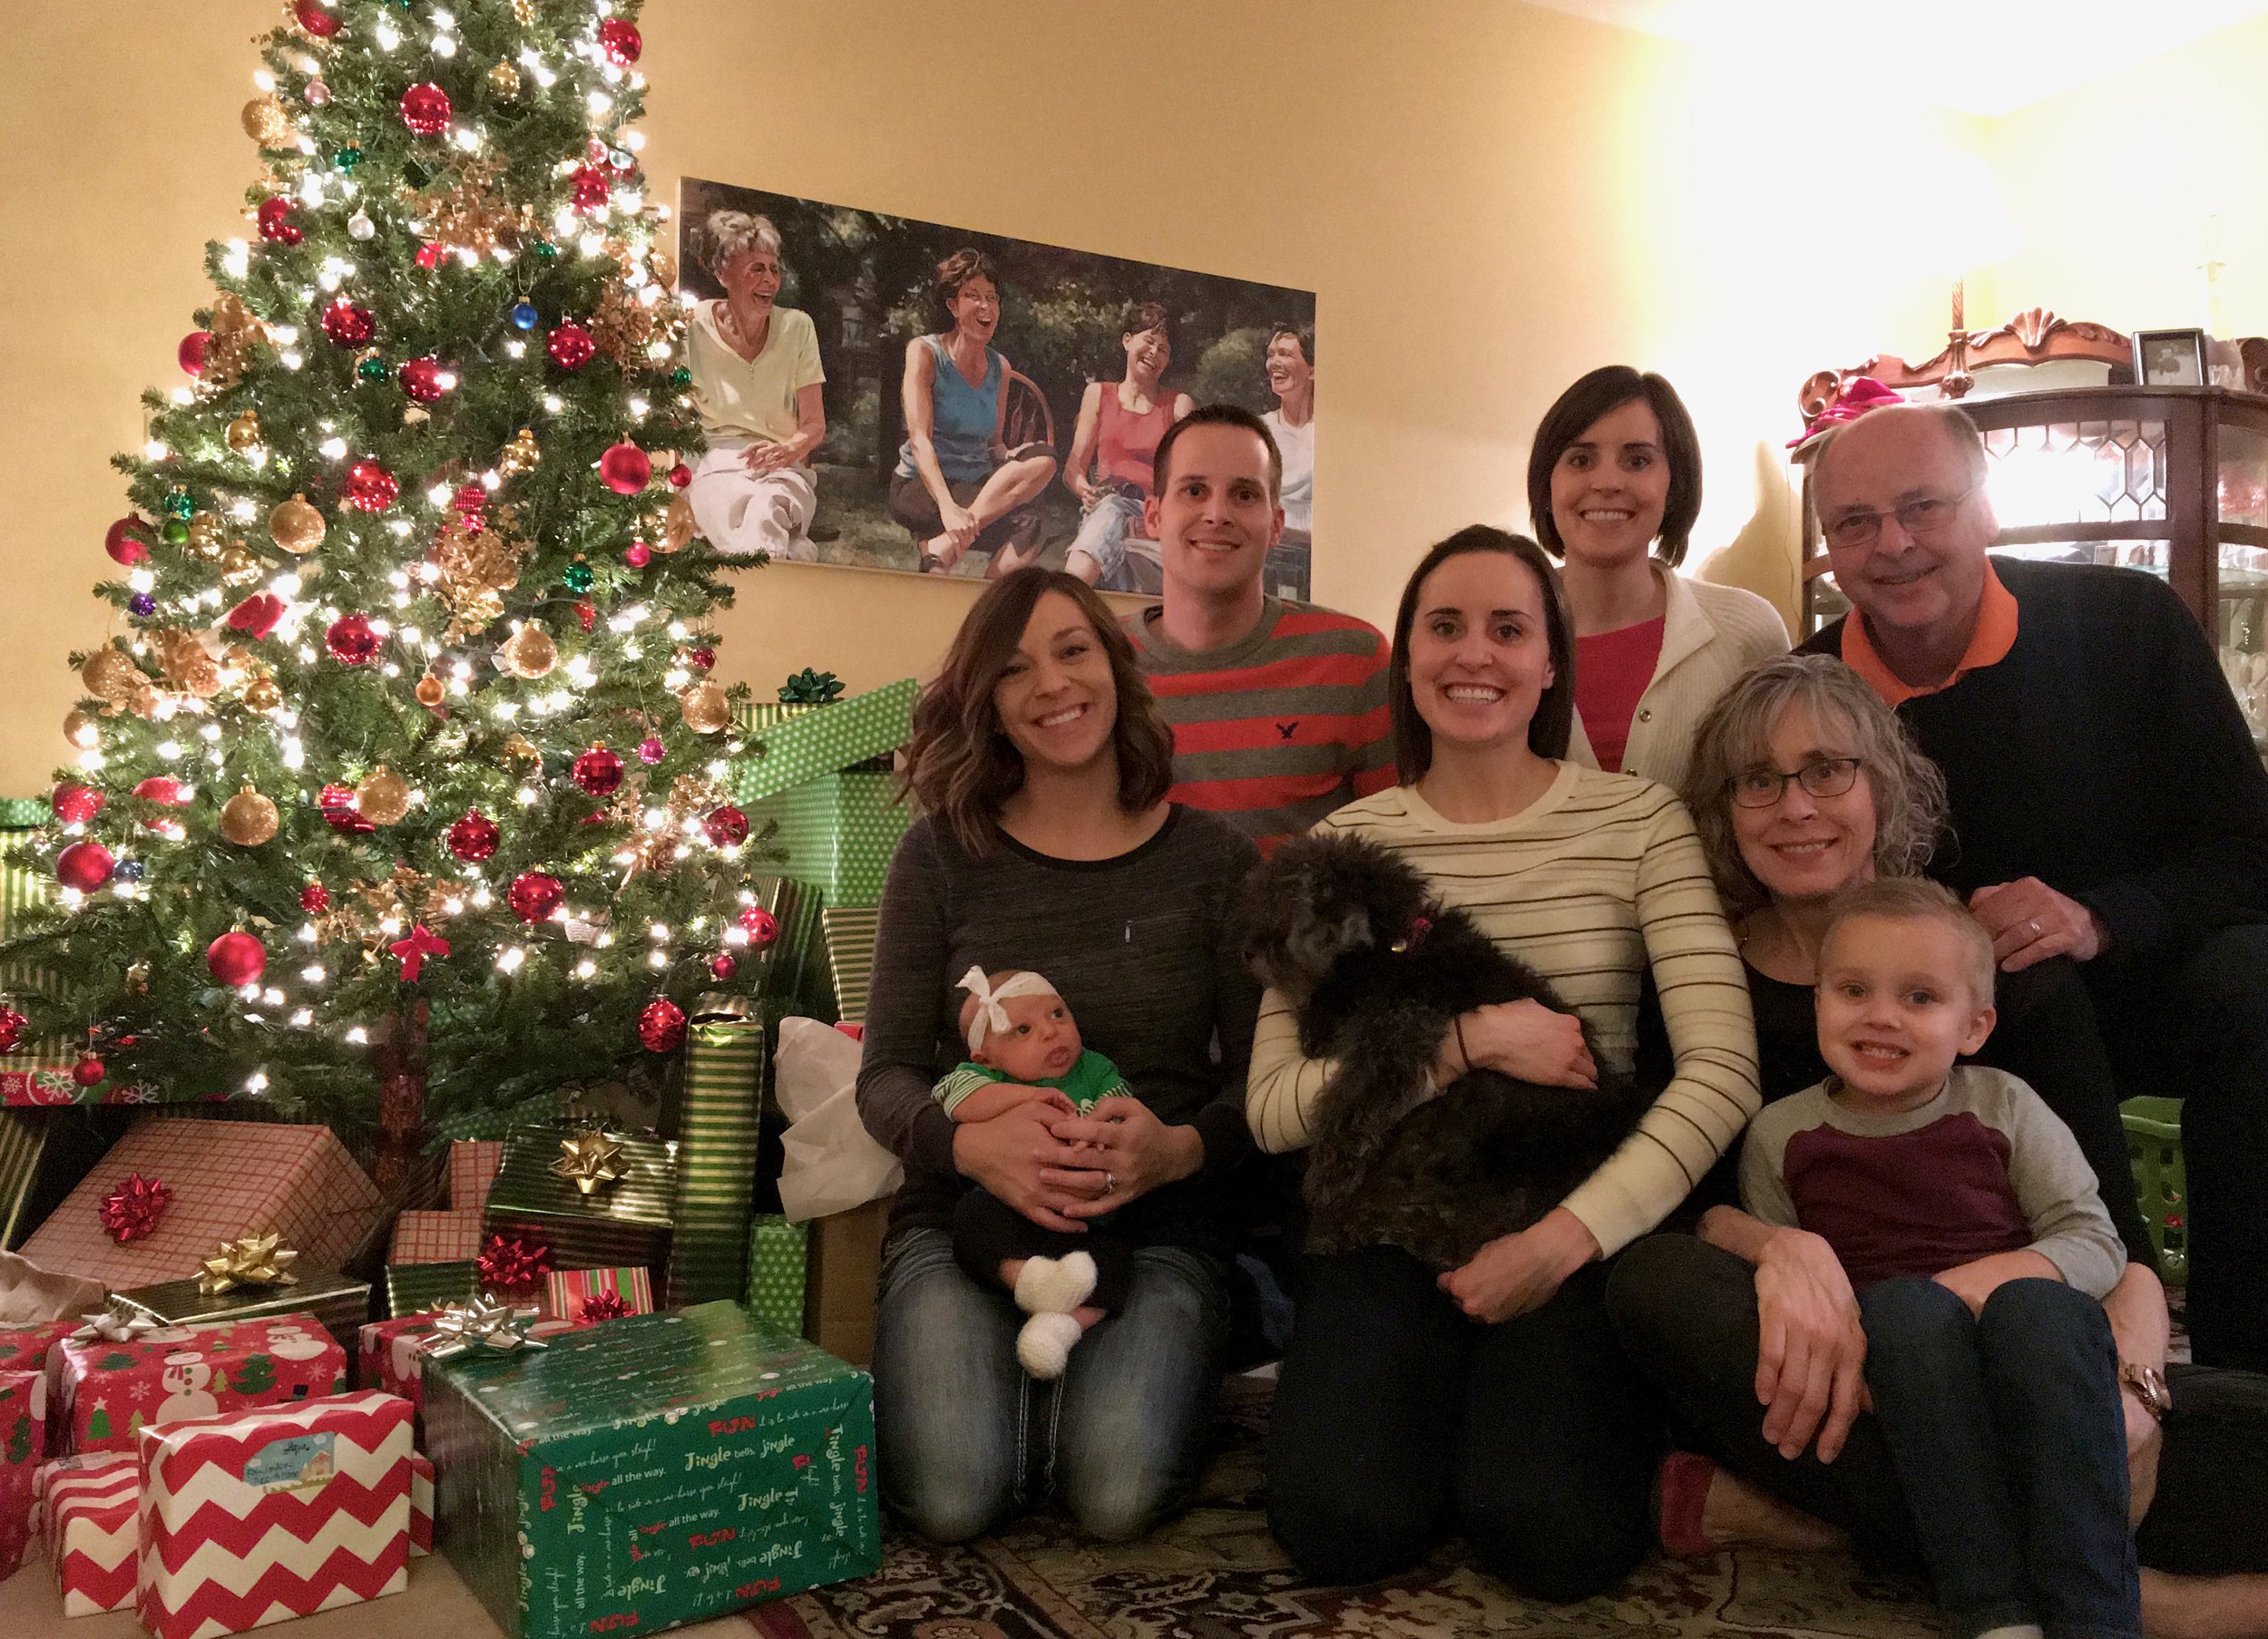
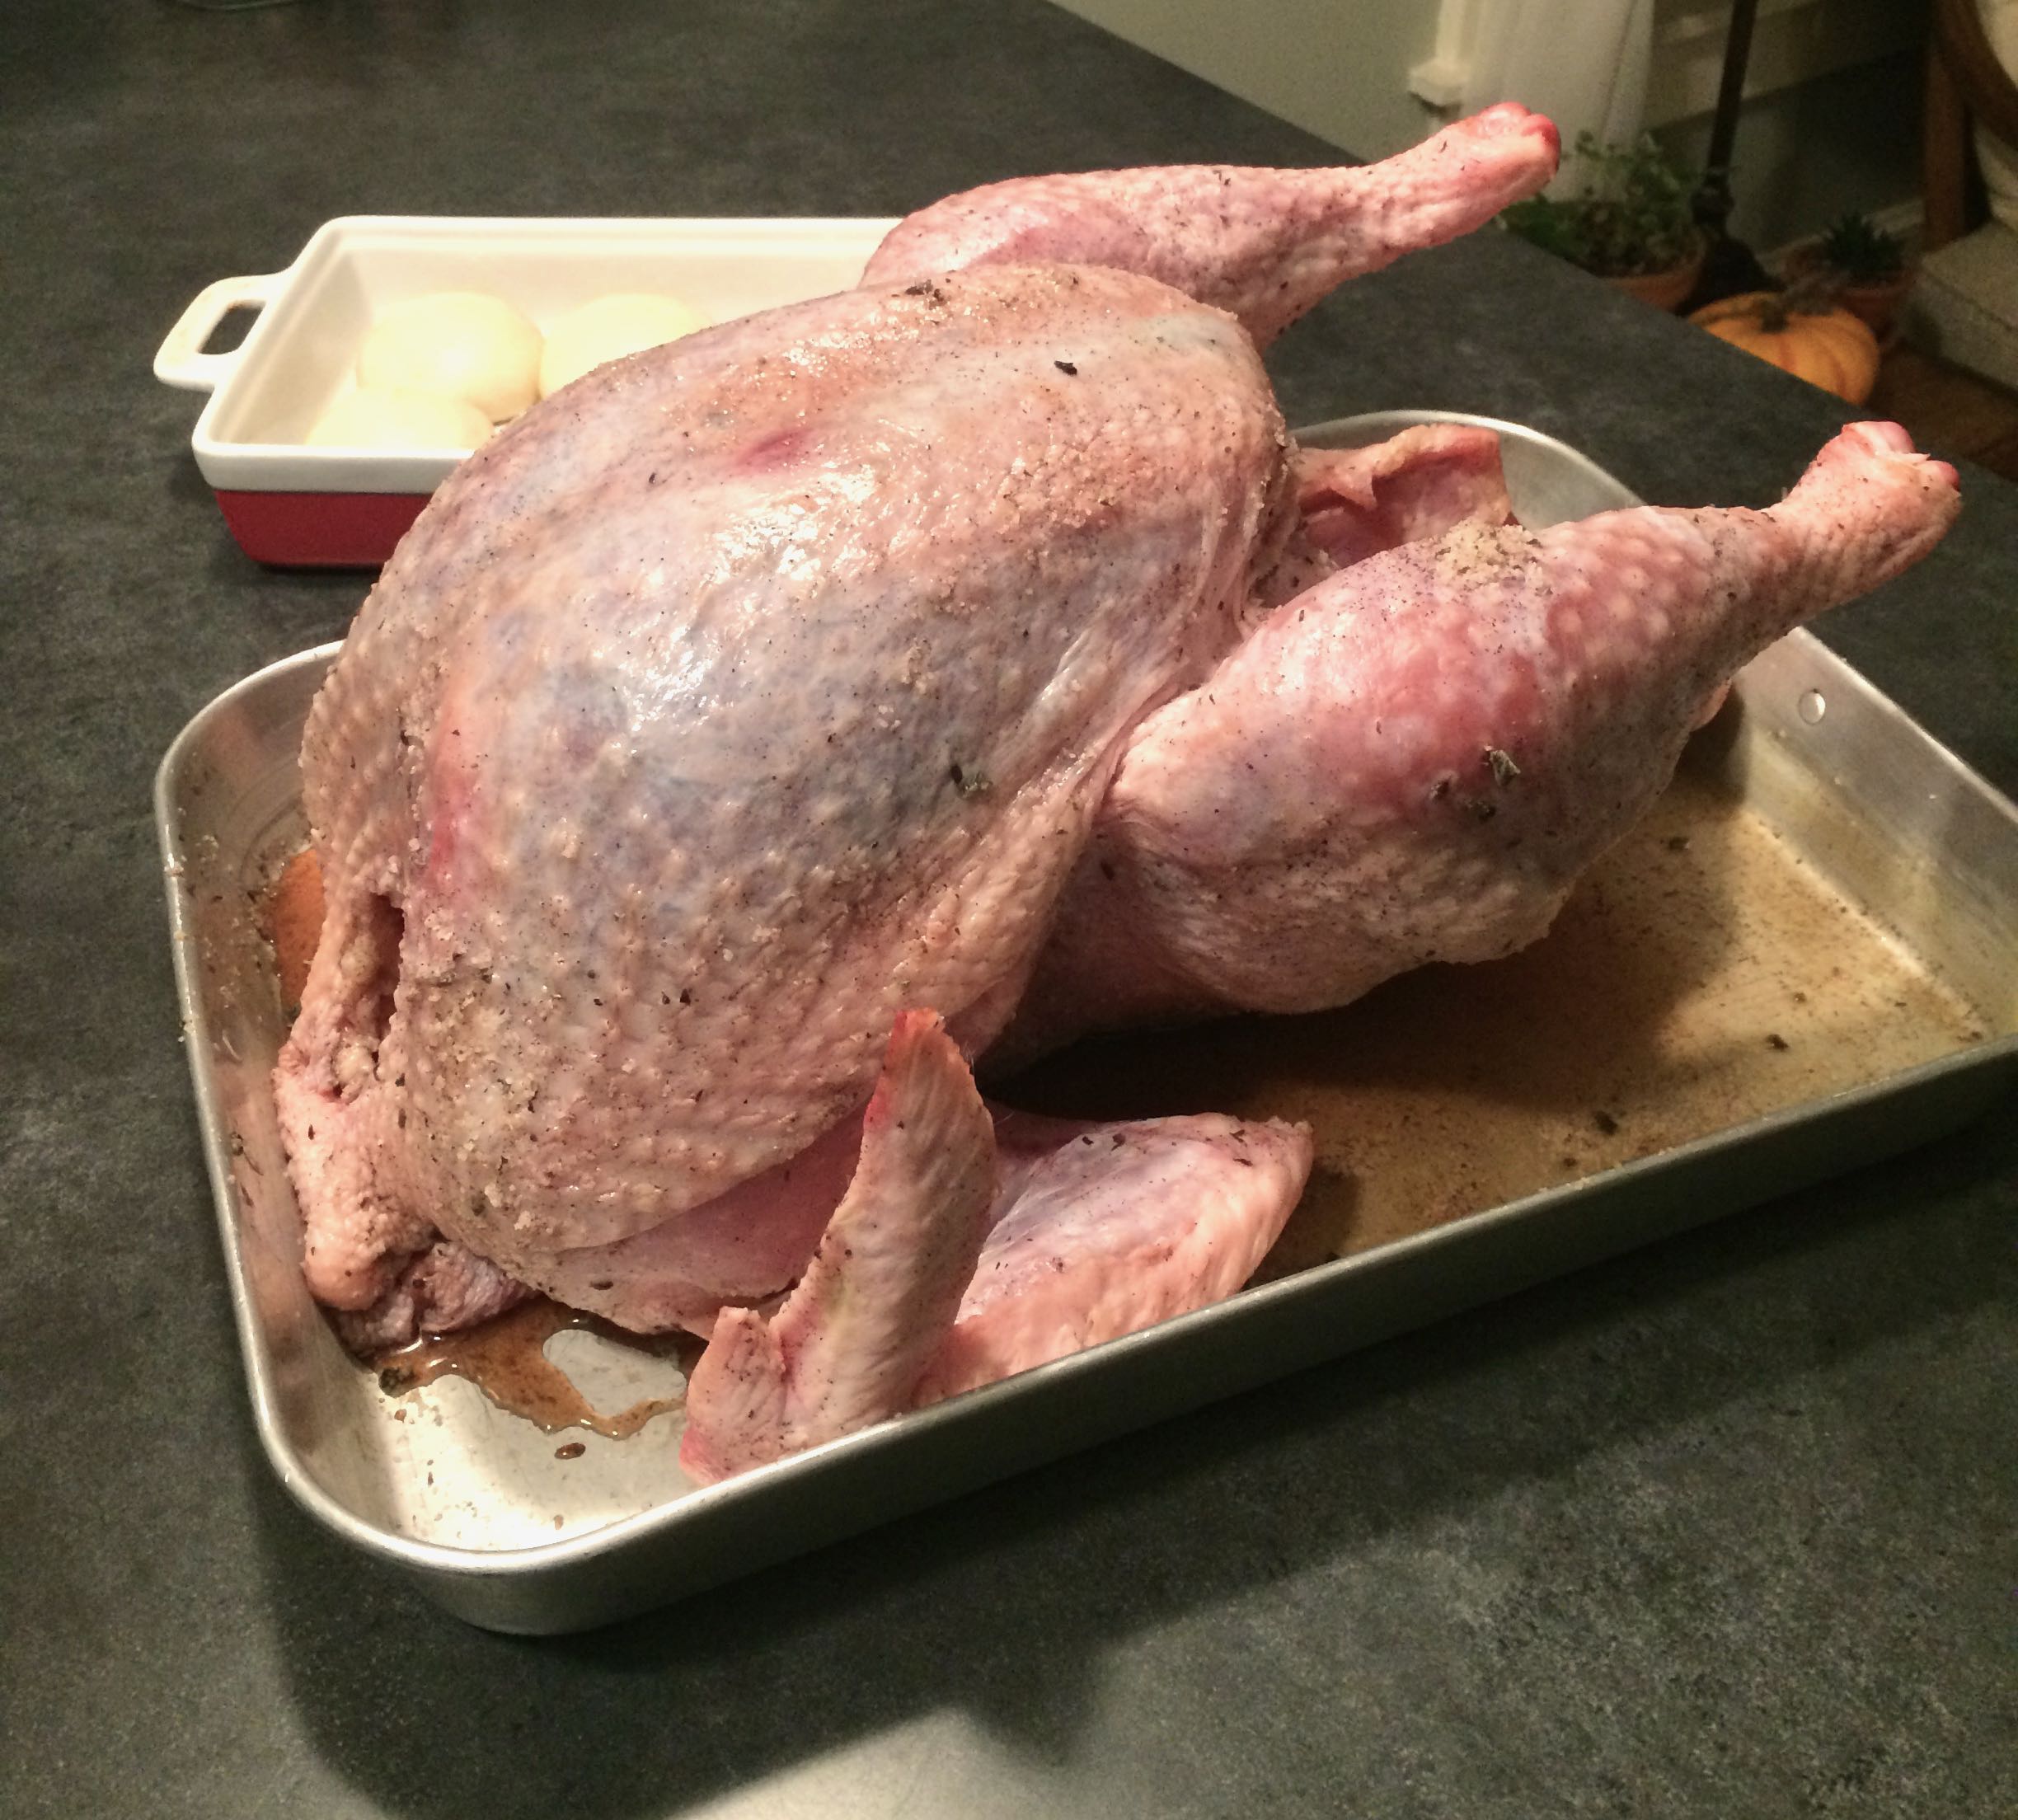
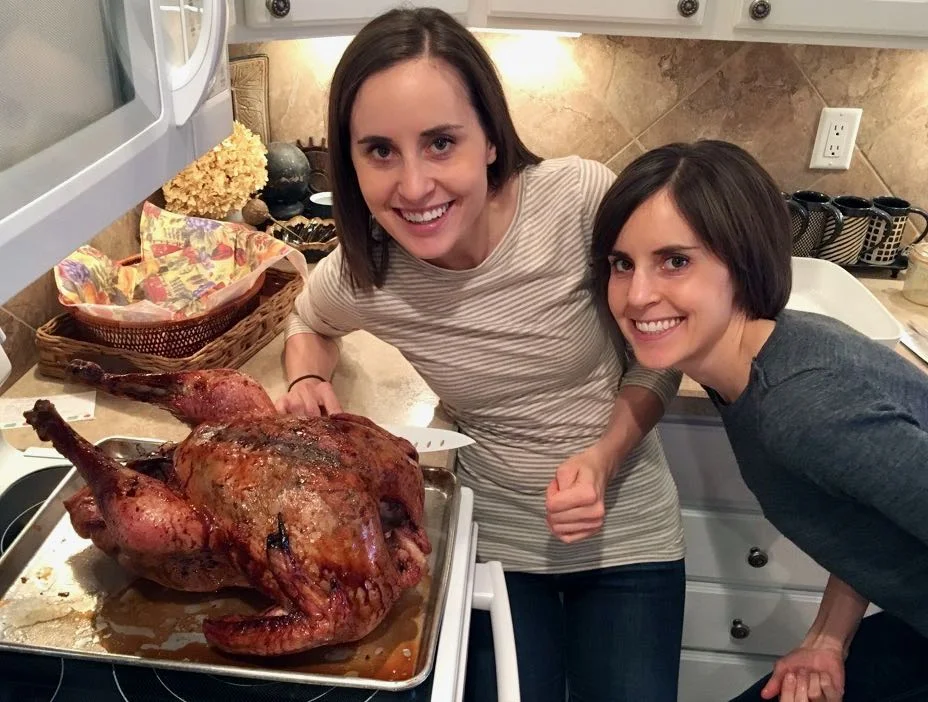
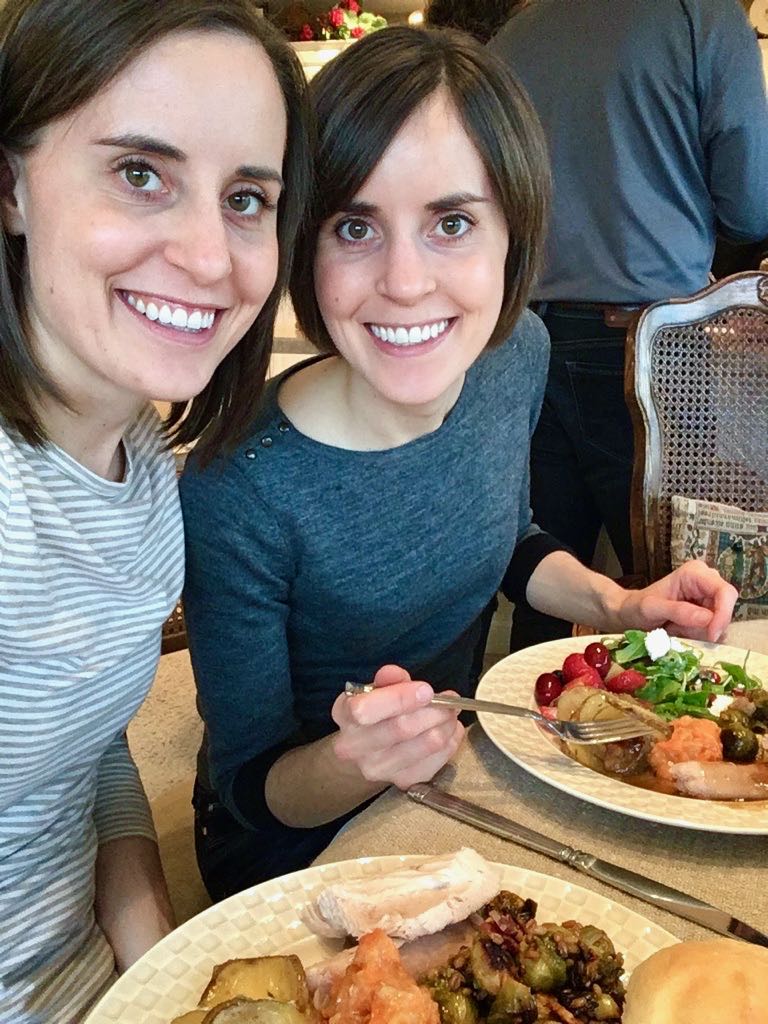
New Years Brunch, 2022

Lara and I decided we wanted to make some cinnamon rolls over the holidays. We certainly weren’t going to eat a whole batch of them ourselves, so we decided to invite some family over for a New Years Day brunch….

We both love brunch, but rarely get to have people over for a brunch party. This past New Year’s Day was therefore a treat! We had such a fun time coming up with a menu and then buying and preparing everything.

We did need to make a few dairy free items for some family members. There was a few moments of tension early in the mornign when we realized the first batch of cinnamon rolls (the dairy free version) wasn’t going to come out as planned. We pivoted, found a new recipe quick, threw it together and made it all work out in the end. Phew.

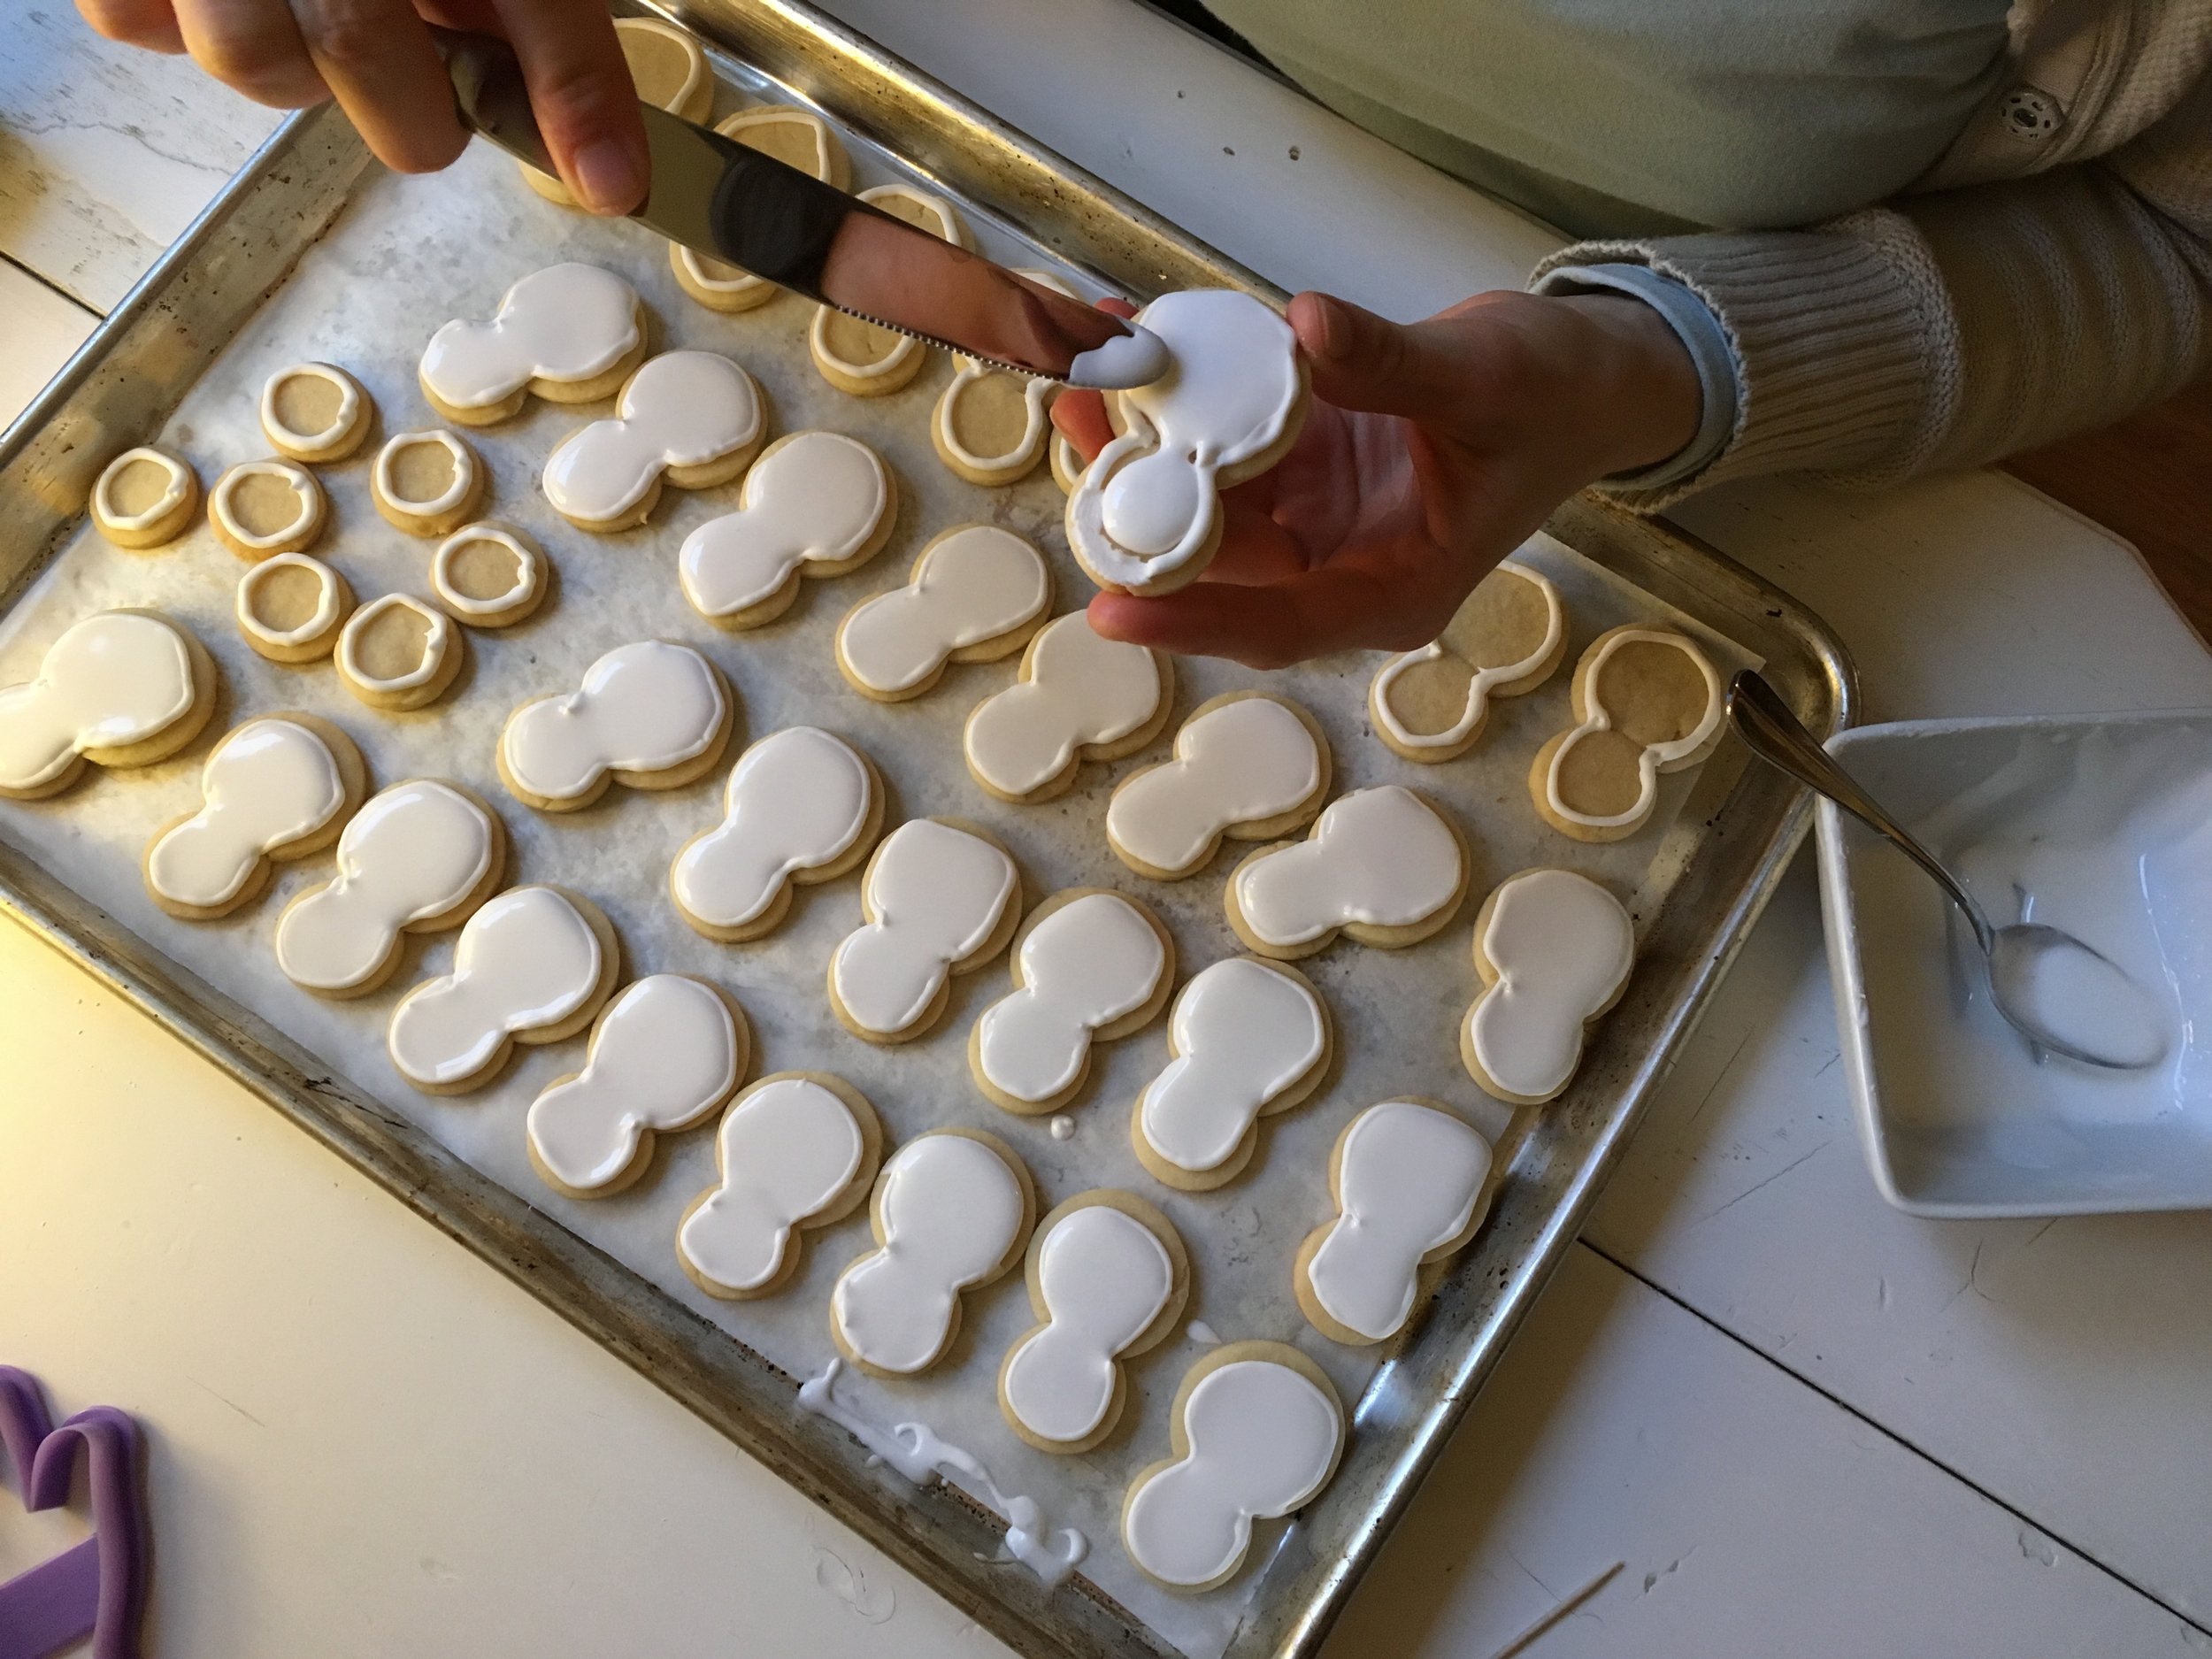
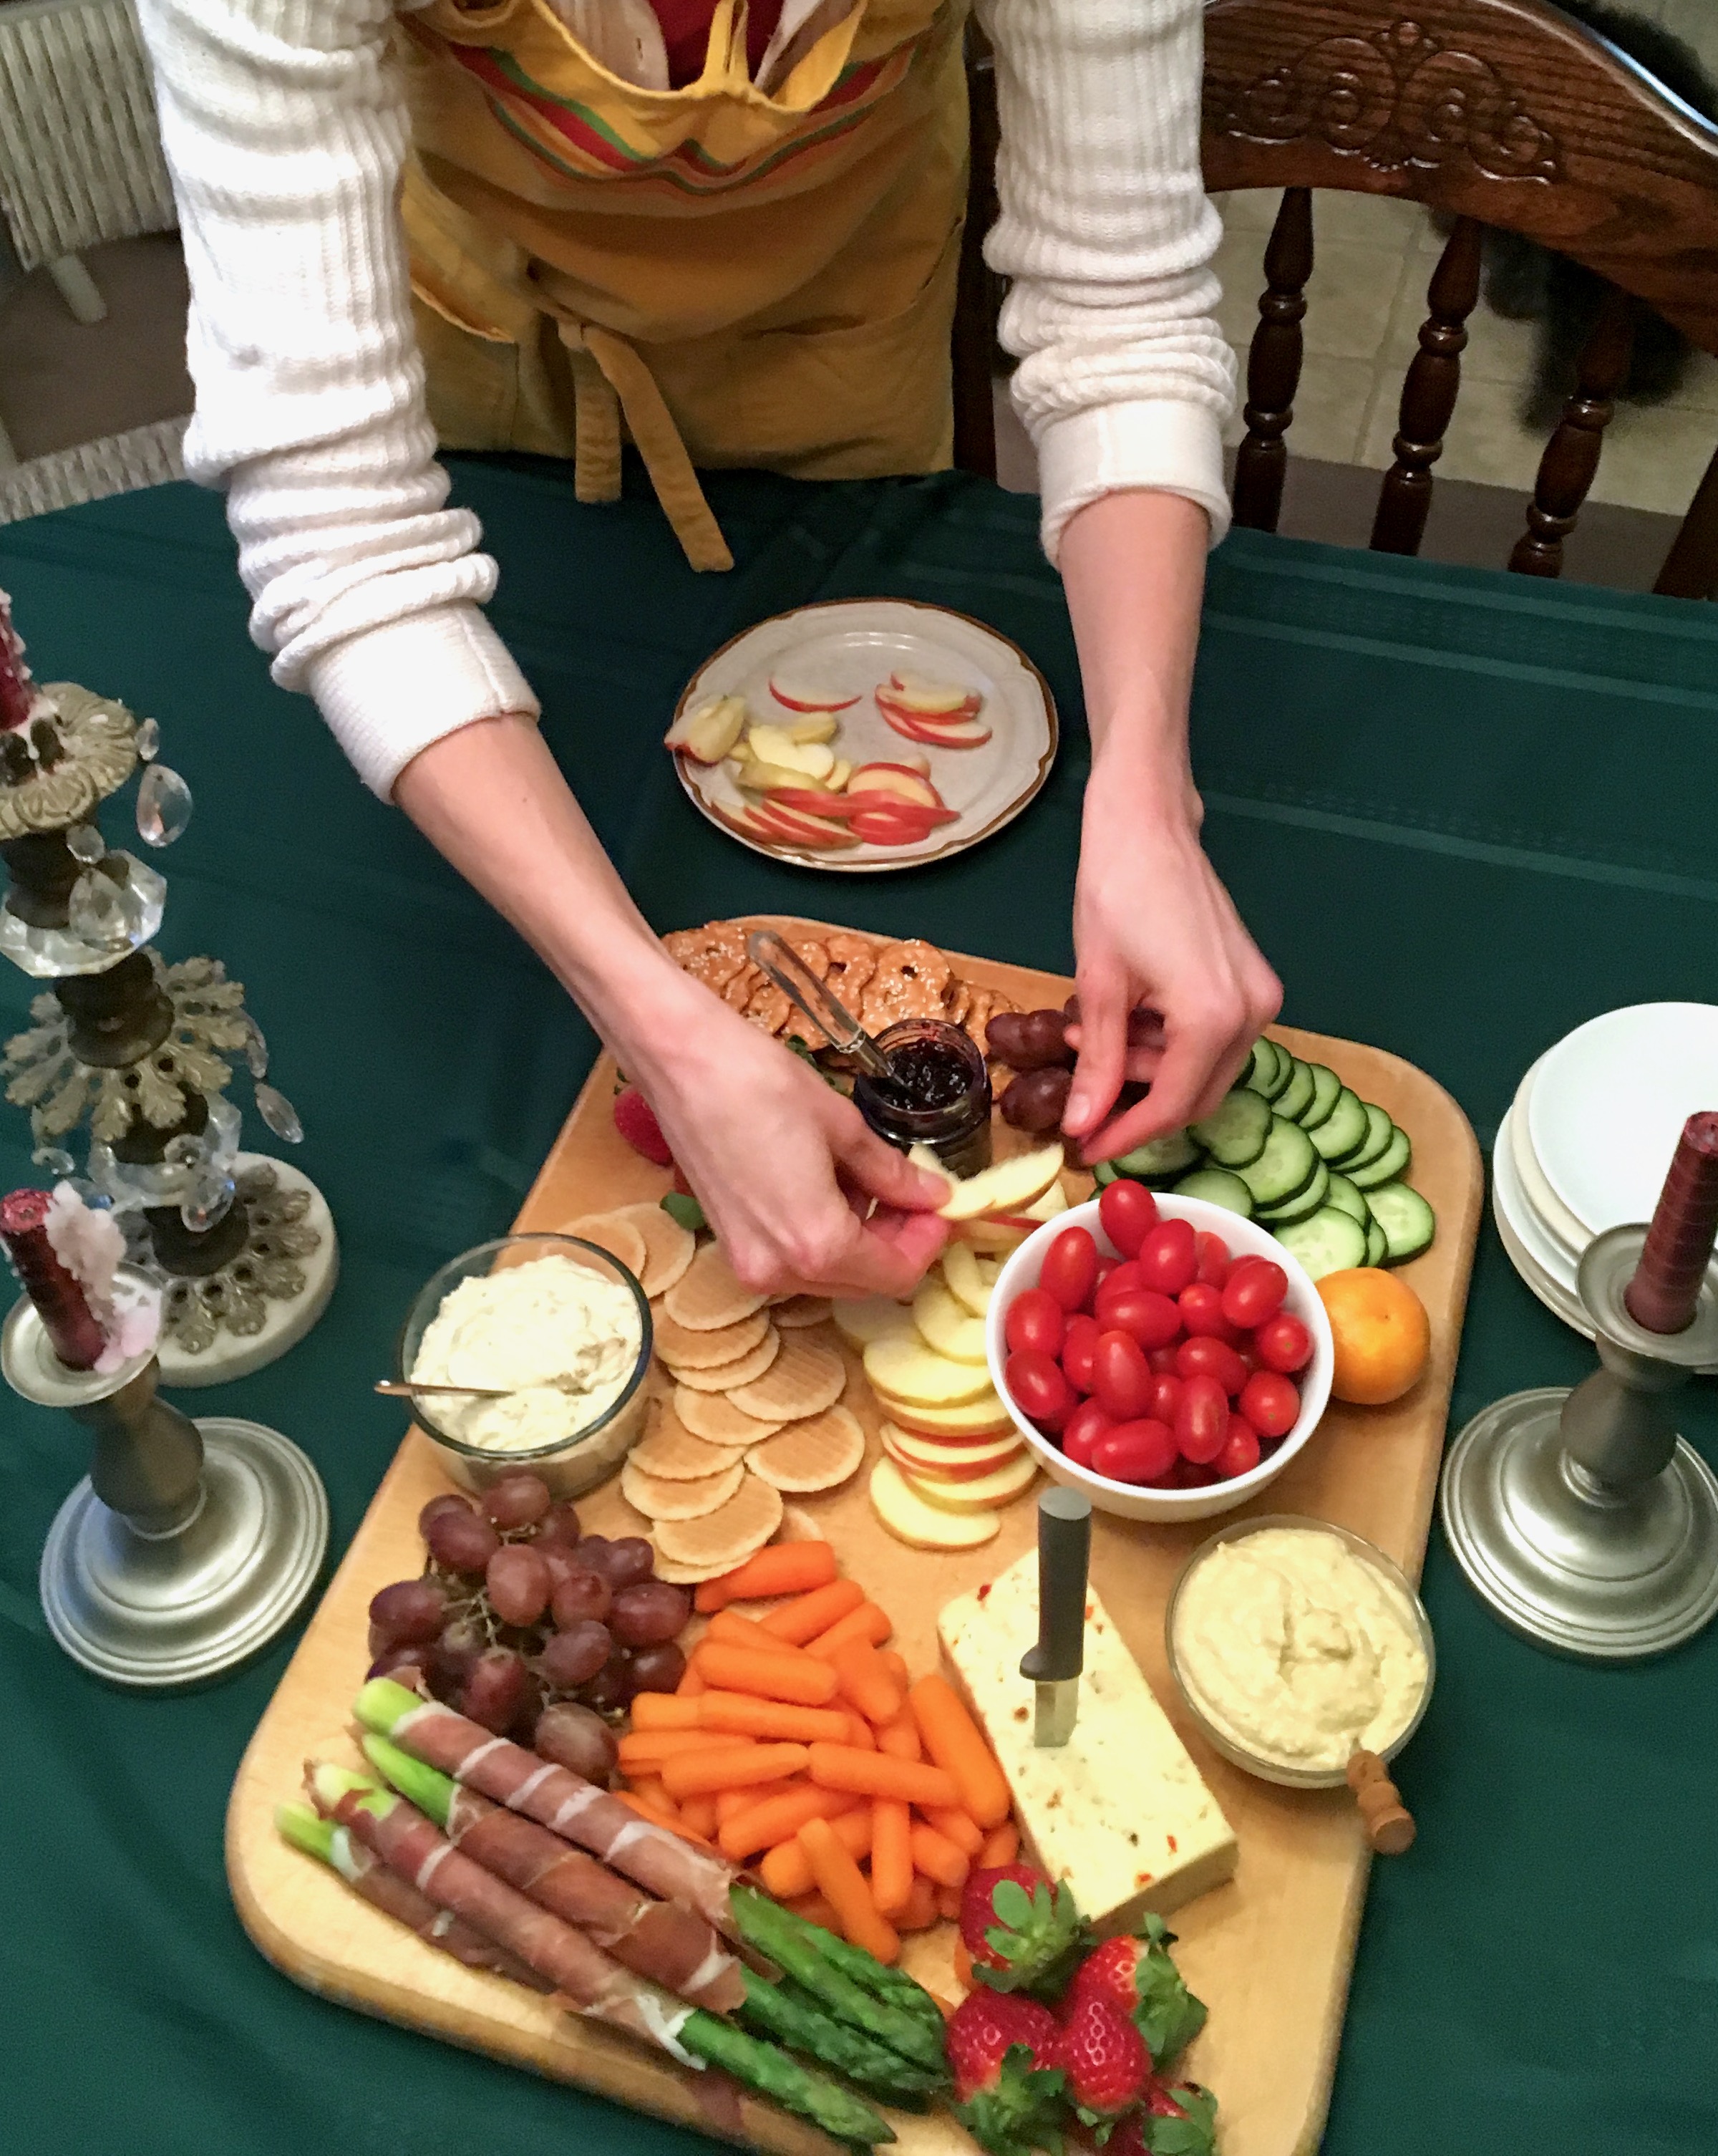
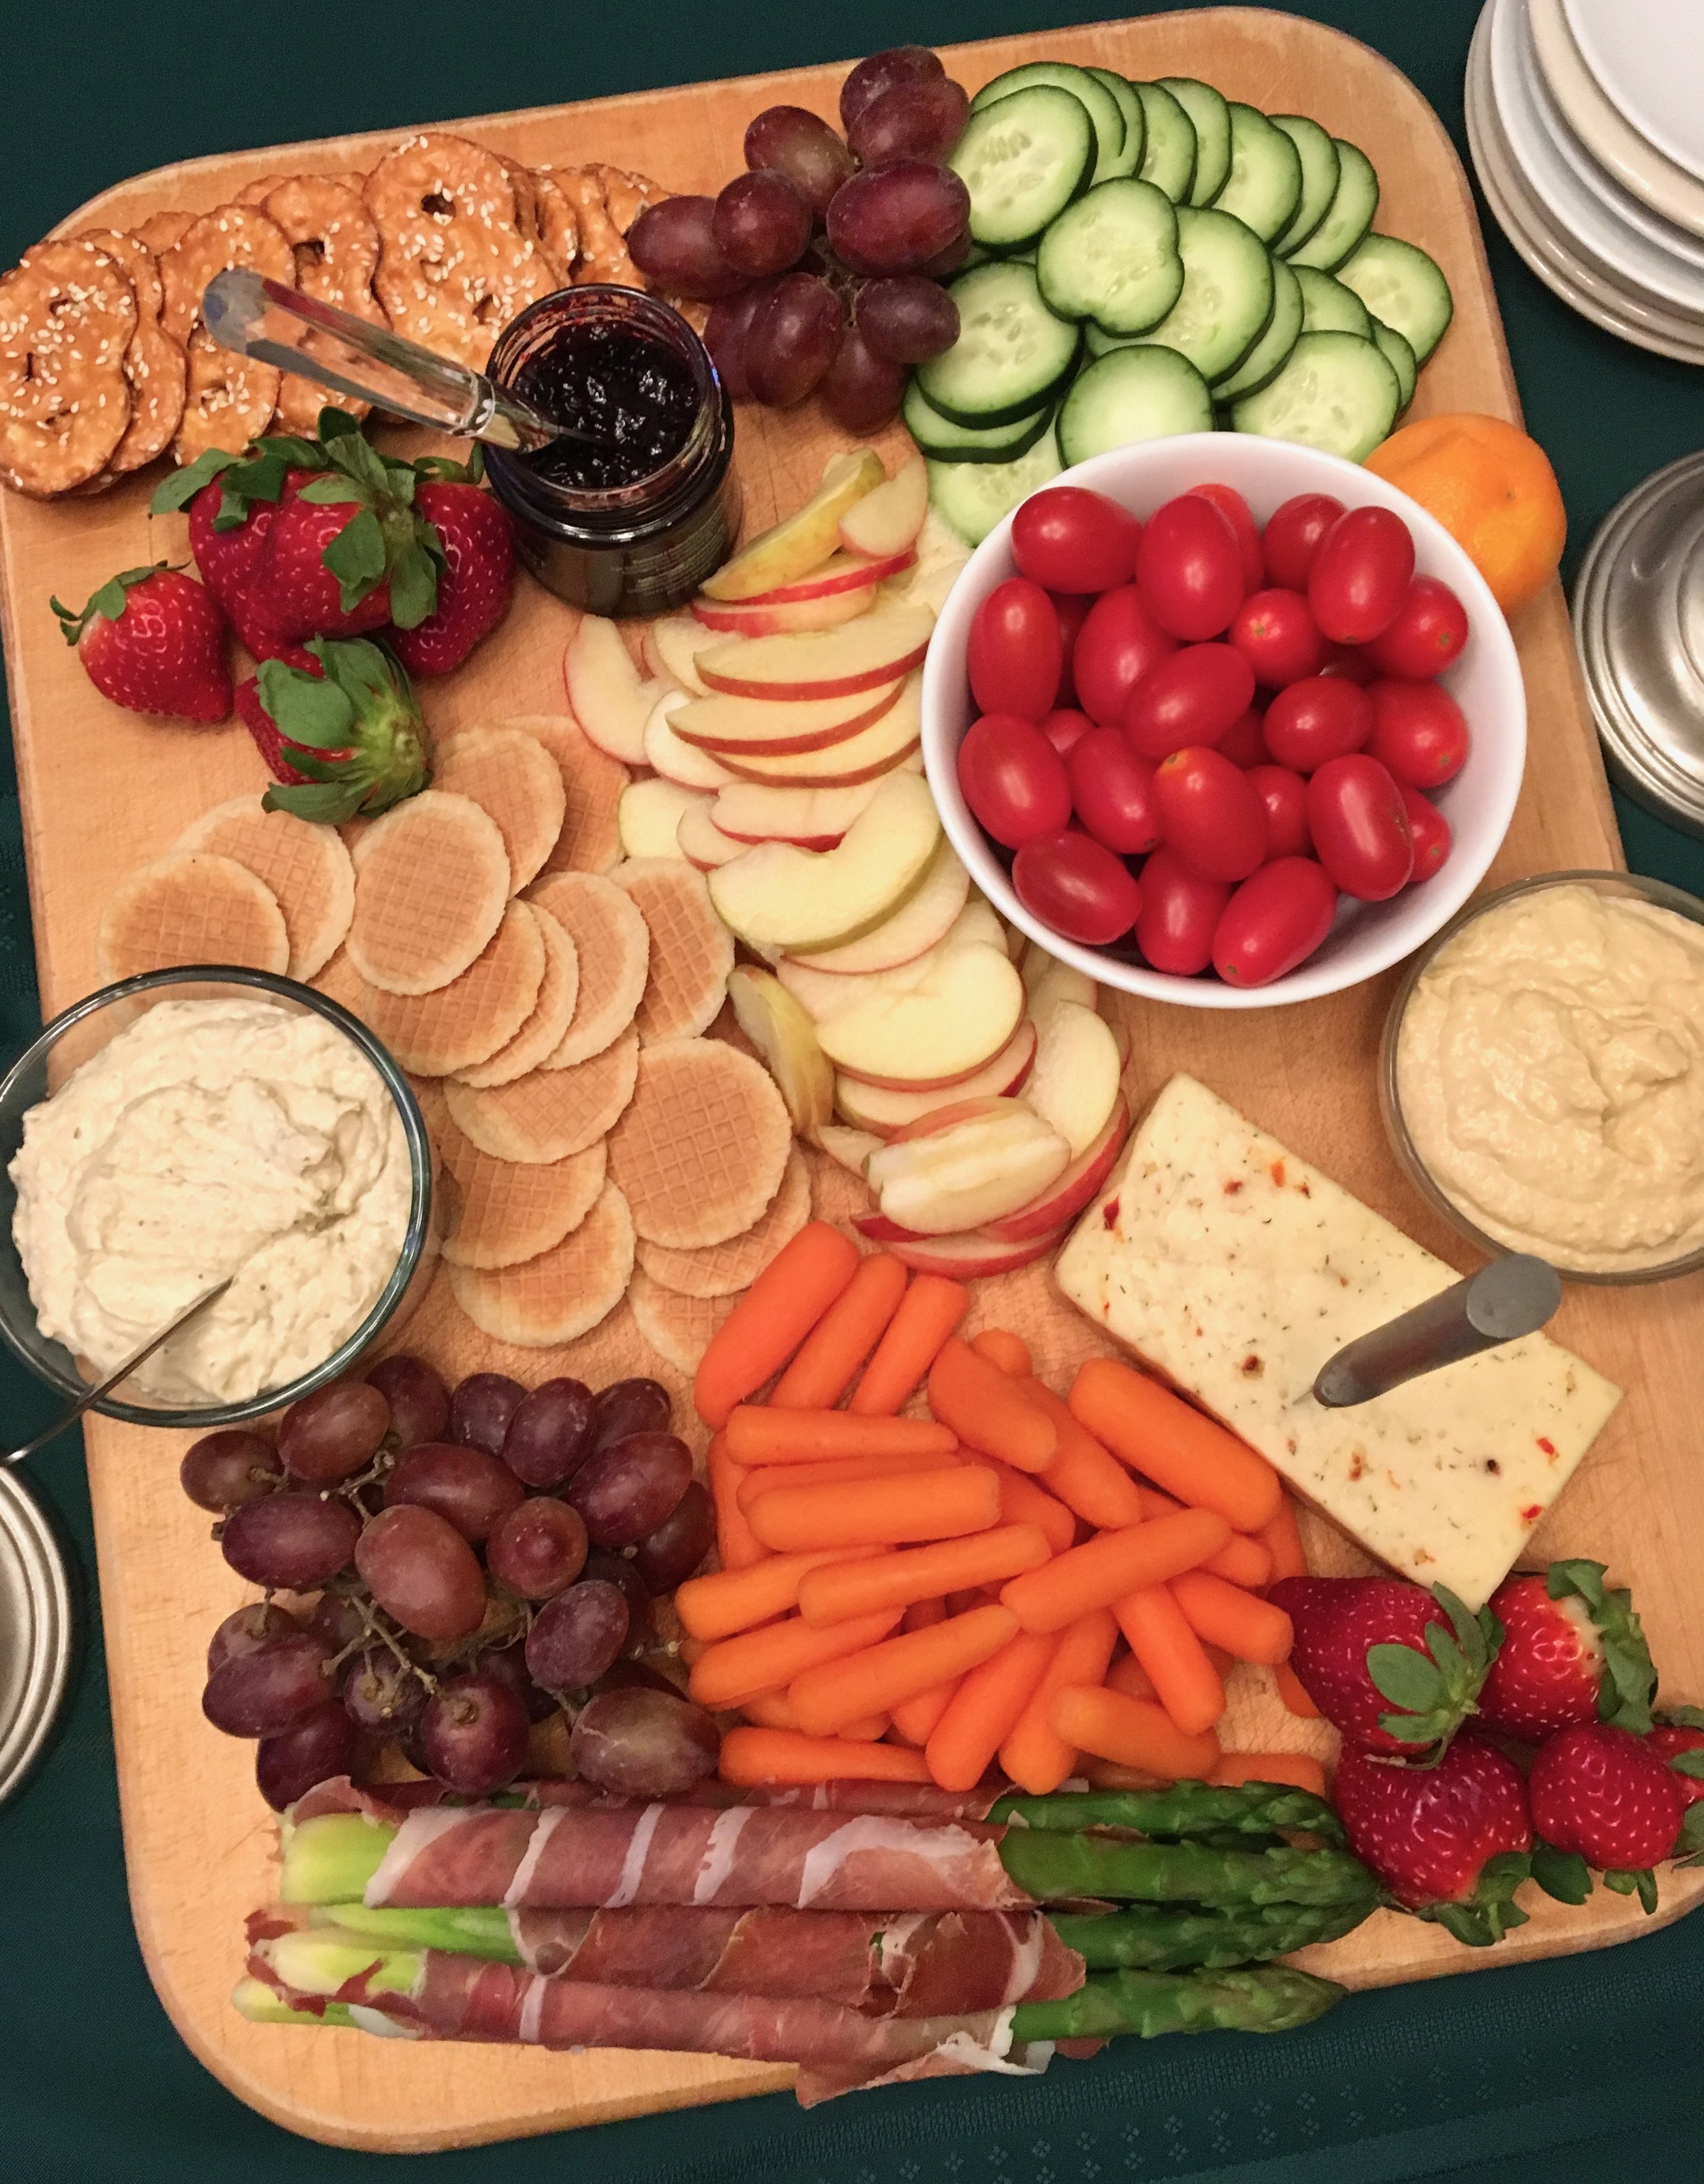
Random photos below followed by the recipes. I liked them all and would make again in a heartbeat! Enjoy!


Coconut Oil Cinnamon Rolls
Recipe from Love and Lemons
Ingredients
For the yeast

  • ½ cup warm water, 110°

  • 1 (¼-ounce) package active dry yeast

  • 1 teaspoon cane sugar

Dough

  • ⅓ cup melted coconut oil, plus more for brushing

  • ½ cup almond milk, at room temperature

  • ⅓ cup cane sugar

  • 1 teaspoon sea salt

  • 2¾ cups all-purpose flour, plus more for kneading

Filling

  • ½ cup brown sugar

  • 1½ tablespoons cinnamon

Glaze

  • 1½ cups powdered sugar, sifted

  • 3 to 4 tablespoons almond milk

  • ½ teaspoon vanilla extract

Instructions
Grease an 8x11 or 9x13-inch baking dish. In a small bowl, stir together the water, yeast, and sugar. Set aside for 5 minutes, or until the yeast is foamy.

Make the dough: In a medium bowl, combine the coconut oil, almond milk, sugar, and salt. Stir in the yeast mixture. Place the flour in a large bowl, then add the wet ingredients and stir until combined. The mixture will be sticky. Use your hands to roughly knead the mixture, then turn it out onto a floured surface. Knead 3 to 4 minutes until smooth, sprinkle with more flour if needed, and form into a ball. Brush a large bowl with coconut oil and place the dough inside. Cover with plastic wrap and set aside in a warm place to rise until doubled in size, about 1 hour.

Filling: In a small bowl, mix the brown sugar and cinnamon. Punch down dough and roll out on a floured surface into a 20x14-inch rectangle. Brush with 2 tablespoons melted coconut oil and sprinkle with the cinnamon sugar to within ½ inch of the edges. Starting at one of the short 14-inch ends, roll tightly into a log, then slice into 12 rolls. Place the rolls into the baking dish cut-side up, cover, and let rise for 1 hour.

Make the glaze: In a medium bowl, whisk together the powdered sugar, 3 tablespoons almond milk, and vanilla until smooth. If it’s too thick, add more almond milk.

Bake: Preheat the oven to 350°F. Bake the rolls 25 to 30 minutes or until lightly golden on top. Remove and allow to cool for 10 minutes, then drizzle the glaze on top and serve.

My (Jana’s) Notes: I made 1.5 x the recipe, cut the dough into thirds, and made 12 normal size from 2/3 of the dough, and 12 mini (from the other 1/3). Didn’t rise as well as liked, maybe didn’t let them rise the first time long enough? They did rise in the oven, but they didn’t get pillowy and soft and fluffy. They seem dense and heavy. We were disappointed. We wanted pillowy and soft.

Later in the day, after everyone left we tried them again and thought they were great, but just not a traditional soft and fluffy cinnamon roll. They are dense, chewy and kind of elastic-y. They aren’t at all dry or dried out, but taste and kind of feel like raw cinnamon roll dough. So although we were disappointed initially (and Lara said we could throw them away), in the end we thought they were fantastic. Just different than a normal roll (maybe because they were a little under-risen, or maybe that’s just how they are!)


Quick and Easy Cinnamon Rolls
From Sally’s Baking Addiction
Ingredients
Rolls

  • 2 and 3/4 cups (344g) all-purpose flour (spoon & leveled)

  • 1/4 cup (50g) granulated sugar

  • 1/2 teaspoon salt

  • 2 and 1/4 teaspoons Red Star Platinum Yeast or any instant yeast (1 packet)

  • 1/2 cup (120ml) whole milk

  • 1/4 cup (60ml) water

  • 3 Tablespoons unsalted butter

  • 1 large egg

Filling

  • 3 Tablespoons (45g) unsalted butter, softened to room temperature

  • 1 Tablespoon ground cinnamon

  • 1/4 cup (50g) granulated sugar or packed light or dark brown sugar

Icing

  • 1 cup (120g) confectioners’ sugar

  • 1/2 teaspoon pure vanilla extract

  • 2–3 Tablespoons (30-45ml) strong brewed coffee or milk

Instructions
Make the dough
: Whisk the flour, sugar, salt, and yeast together in a large bowl. Set aside.

Combine the milk, water, and butter together in a heatproof bowl. Microwave or use the stove and heat until the butter is melted and the mixture is warm to touch (about 110°F). Pour into the dry ingredients, add the egg, and stir until it forms a soft dough or use your mixer.

On a lightly floured surface using floured hands, knead the dough for 3 minutes. Place in a lightly greased bowl (I use non-stick spray), cover loosely, and let rest for about 10 minutes.

Fill the rolls: After 10 minutes, roll the dough out in a 14×8 inch rectangle. Spread the softened butter on top. Mix together the cinnamon and sugar. Sprinkle it all over the dough. Roll up the dough tightly to make a 14 inch log. Cut into 10-12 even rolls and arrange in a lightly greased 9-inch round cake pan or pie dish.

Rise: Tightly cover the rolls with aluminum foil or plastic wrap and allow to rise in a warm, draft-free environment for 60-90 minutes.

Bake the rolls: After the rolls have doubled in size, preheat the oven to 375°F (190°C). Bake for 25-28 minutes until lightly browned. If you notice the tops are getting too brown too quickly, loosely cover the rolls with aluminum foil and continue baking.

Make the icing: Whisk the confectioners’ sugar, vanilla extract, and coffee/milk together. Drizzle or spread over warm rolls.

MY (Jana’s) NOTES: Had to quick throw these together at 8:00am as the first batch (above) didn’t turn out as desired/expected. Wanted tall, fluffy, rich, decadent cinnamon rolls. These were it. Because I wanted them to be huge I ended up doubling the recipe, yet still cutting them into 12 rolls and baking them in a 9x13 (ish) baking pan. They turned out HUGE!!!! AND SOFT!!!!! They were incredible tall. And so so good! I would definitely double the recipe again. Huge rolls are fun. This is a good old American breakfast pastry at it’s finest. Decadent and over the top. Reminded us a lot of Ida’s cinnamon rolls. They only really needed to rise for 30-40 minutes. The kitchen was warm and they have a lot of yeast. Topped with cream cheese frosting. Probably took less than two hours from start to finish. Dad loved them. With lots of butter…

I don’t know how long them baked because my timer got screwed up. They turned out great, but Lara wanted them a little less brown. So could potentially cover with foil to prevent browning. Or bake them a little less… whatever that would be.

For frosting: 4 ounces cream cheese, 4 tbs butter, added a little milk (maybe wouldn’t need, but the cream cheese wasn’t super soft…). Didn’t use all the frosting.
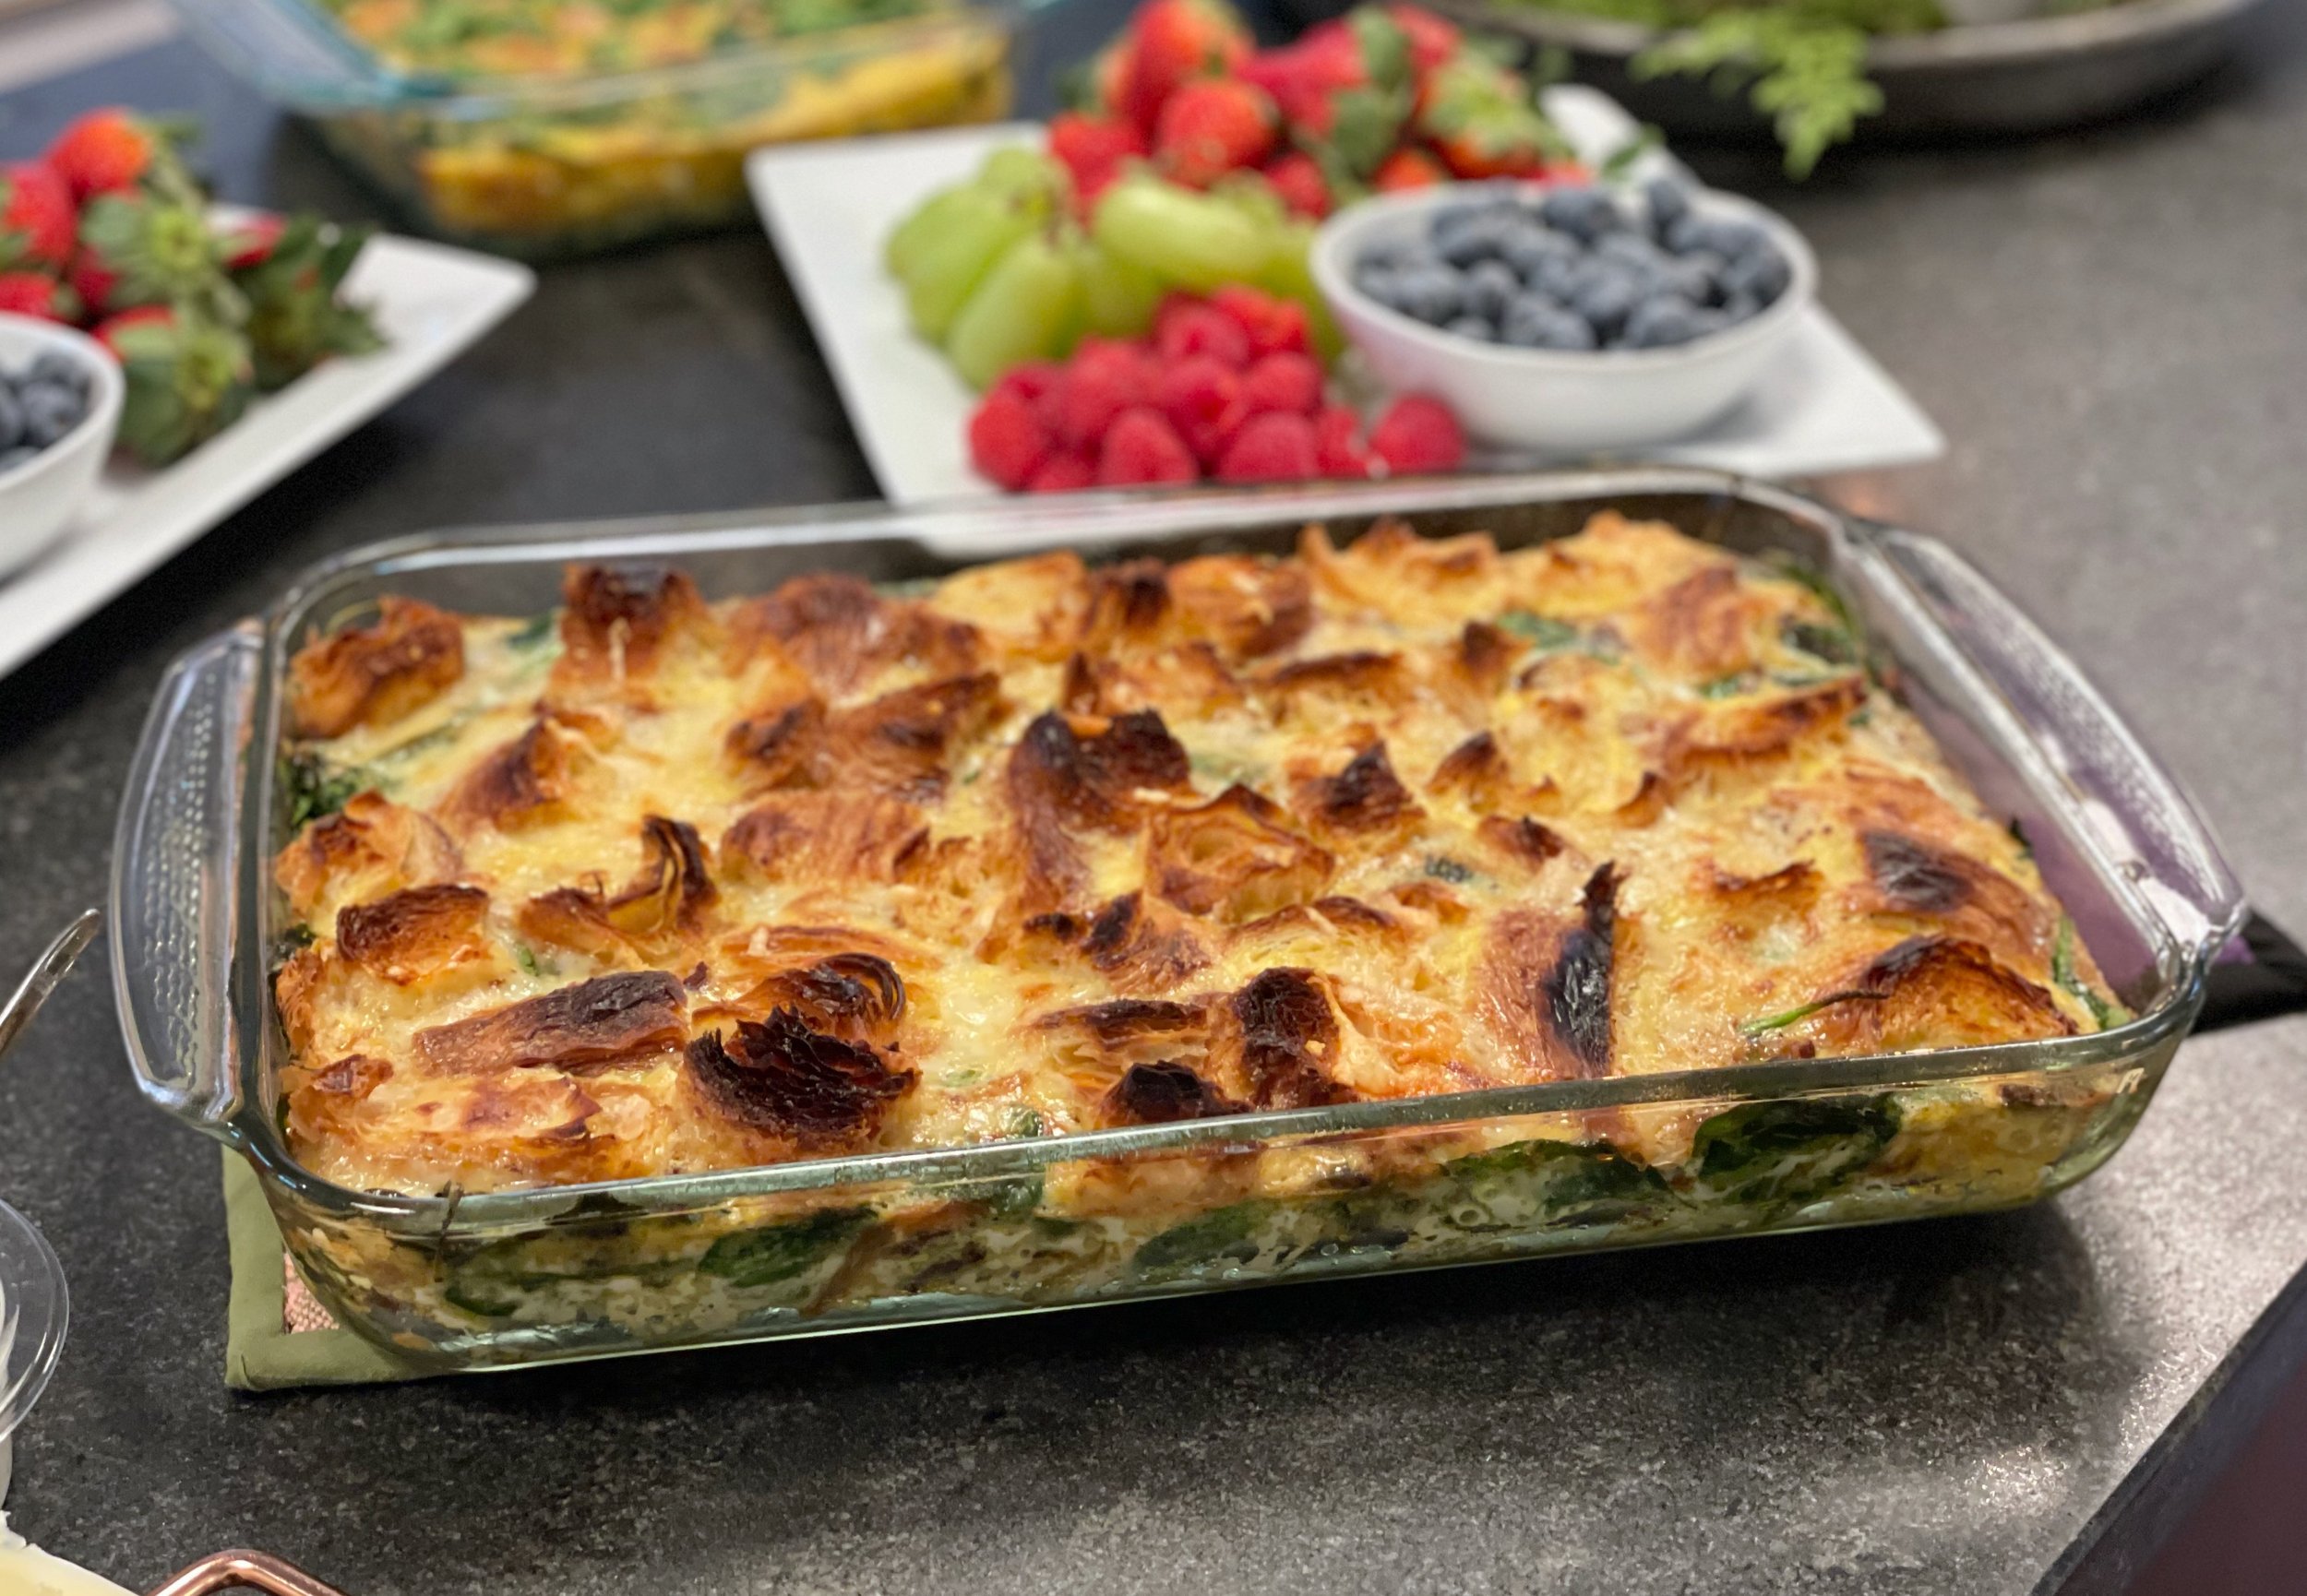

Croissant Egg Bake
From Pinch of Yum
Ingredients

  • 2 tablespoons olive oil

  • 1 large yellow onion, sliced thinly

  • 2 1/2 cups diced ham [I used bacon!]

  • 2–3 ounces fresh baby spinach

  • 1 cup shredded cheese [I used Gruyere]

  • 12 eggs

  • 1/2 cup milk

  • 1 tablespoon Dijon mustard

  • 1 teaspoon salt

  • pepper to taste

  • 5–6 mini croissants [I used 2-3 regular croissants]

Instructions
Caramelize the Onions
: Heat the olive oil over medium-low heat in a large heavy pan. Add the onions and cook, stirring occasionally, for about 30 minutes until almost-jammy, onions that are a a really deep, rich, golden brown.

Ham and Spinach: Toss the ham in a skillet with a quick drizzle of olive oil. Pan-fry until the edges are kind of browned and some of the fat is rendered. Throw in your spinach. Stir to wilt the spinach. Remove from heat.

Eggs: Whisk eggs with the milk, dijon, salt, and pepper.

Layer: Preheat the oven to 350 degrees. Grease a 9×13 baking dish. Layer the ham, spinach, and onions on the bottom. Sprinkle with half of the cheese. Pour eggs over. Arrange croissant pieces on top. Finish with remaining cheese.

Bake: Cover with foil. Bake for 30 minutes, depending on oven and pan size. Remove foil and bake for another 5-10 minutes. You don’t want to overcook the eggs (gross) but the middle should be almost completely firm when you give the pan a quick jiggle test. You’ll also notice the whole thing will be just starting to puff up a bit. Slice, serve, and brunch forward!

MY (Jana’s) NOTES: Bought 3 Field and Fire croissants, used probably about 2 of them, plus a little. Would probably be fine if you used 2 large croissants. Ended up adding 4 extra eggs (with a splash of milk) because it just didn’t seem like enough with 12. It turned out great! I would probably always do 16 eggs, adjusting the milk accordingly. I used bacon instead of ham. Otherwise left it all the same. Was great! Easy to adapt the flavors as needed.

Cheese: Filled a 2 cup pyrex lightly with gruyere comte cheese. Wasn’t overly cheesy. I don’t think it needs more, but more would certainly fit if you wanted it super cheesy.


Sausage Sweet Potato Egg Bake
From Aimee Mars Living
Ingredients

  • 1 tablespoon coconut oil

  • 1 lb ground turkey [or turkey/chicken breakfast sausage!]

  • 1/2 tsp paprika

  • 1/2 tsp garlic powder

  • 12 large eggs

  • 1 small sweet potato

  • 1 cup fresh spinach

Directions
Preheat the oven to 375℉ and grease a 9 x 9 baking dish with coconut oil and set aside. Peel and slice the sweet potato, making sure to cut them 1/4-inch slices (any thicker and they won't be tender). Line the bottom of the greased baking dish with the sliced potatoes in a single layer, some overlap is okay.

Melt 1 tablespoon of coconut oil in a medium-sized skillet over medium heat add the ground turkey and season with additional spices if desired. Using a spatula break the meat apart and cook until browned, about 3 to 5 minutes. Drain and place on top of the sweet potato layer.

In a medium bowl beat the eggs with a whisk until combined. Add the paprika, garlic powder, and any additional salt and pepper if desired. Pour over the ground turkey layer.

Place the dish in the oven and cook for 30 minutes. Carefully slide the dish out, without removing it from the oven, and top with the spinach. Return to its position and continue cooking for 5 to 15 minutes until the center of the casserole is firm. I usually cook my casserole for 40 to 45 minutes in total.

MY (Jana’s) NOTES: Super easy. Used chicken breakfast sausage from Rakowski. A full pound. Added a small amount of fresh spinach to the sausage before adding the egg. Didn’t add the spices called for in the recipe because I did use the breakfast sausage instead of plain ground turkey. I sliced the sweet potato very thin. You don’t use very much sweet potato at all because it is raw and has to be sliced so thin. A nice accent, but if you wanted to use a little more sweet potato I would consider slicing and par baking the sweet potato and then putting the dish together. Maybe you wouldn’t need to par-bake the sweet potato, but maybe you would. I will have to experiment.

Thanksgiving 2021

I had a lovely Thanksgiving this year. It was low key and relaxing (for the most part; there are always those few minutes before eating when chaos is going on in the kitchen and you’re trying to make sure everything is done, on the table, serving utensils included, that everyone has a water glass and silverware, etc.) I went with a new turkey recipe this year. I posted the recipe as written below although I didn’t really follow it exactly. I didn’t feel like messing with a wet brine, so I dry brined instead. What I DID want to try was the butter jacket - roast the turkey covered in a butter soaked cheese cloth. Um, yes.

My turkey was 15 lbs, so a little smaller than she called for. It cooked for less time than called for, but unfortunately when Lara initially tried to carve it she discovered it wasn’t quite finished… she did a magnificent job of cutting it into pieces, putting everyhing on a few cookie sheets, and popping it back into the oven until done. Still turned out great and no one was any wiser.

I took the idea for the gravy and kind of eye-balled everything. It turned out very sweet due to the cider. I liked it a lot, although more of a “sauce” than a traditional gravy. I’m not a traditional gravy fan so that was okay with me.

Before heading to mom and dad’s Lara and I enjoyed a really nice (and fairly warm!) Thanksgiving run followed by our favorite breakfast and coffee. While we ate I made another batch of 100% whole wheat dinner rolls and then we packed everything up (love all my canvas bags, they are so great for transferring a lot of food prep!) and headed to Jenison to get started cooking for the day!

For dessert I made a pumpkin mousse pie I had seen on instagram. It just looked fun! I don’t love pumpkin pie, but a mousse pie with foleded in whipped cream looked wonderful, and it was! I really loved it and would make again! I used Effie’s biscuits instead of traditional graham crackers for the crust. I ended up doubling the amount of biscuit. I used two full Effies boxes. I initially used one and it looked way too wet. Maybe just because it’s a very different type of graham cracker. Didn’t matter though, the crust turned out deliciously, and EXTRA thick! I’m not sad about that. I still used the 6 Tbs butter, just double the cookie/cracker.

Butter Roasted Turkey with Cider Herb Gravy
From ful-filled
Ingredients

FOR THE CIDER BRINE:

  • 3 quarts apple cider, divided

  • 1 1/2 cups kosher salt

  • 1/4 cup whole allspice

  • 8 bay leaves

  • 4 quarts cold water

  • (1) 16-20 pound turkey (neck and gizzard reserved)

FOR THE GRAVY:

  • 2 tablespoons minced fresh Italian parsley

  • 2 tablespoons minced fresh thyme

  • 2 tablespoons minced fresh sage

  • 2 tablespoons minced fresh marjoram

  • 1 teaspoon minced fresh rosemary

  • 1 teaspoon ground nutmeg

  • 1/4 cup unsalted butter

  • 4 cups chicken broth

  • 2 cups apple cider

  • 1/4 cup all purpose flour

  • 1/2 cup whipping cream

  • 2 tablespoons Calvados (apple brandy) or other brandy

FOR ROASTING:

  • 2 sticks unsalted butter

  • 2 yards cheesecloth

  • 2 large Granny Smith apples, quartered

  • 2 large onions, quartered

  • 1 cup chicken broth

  • 1 cup apple cider

Instructions
FOR THE BRINE:
Line extra-large pot with two 13-gallon plastic bags, 1 inside the other (or use a brining bag). Simmer 1 quart apple cider, salt, allspice, and bay leaves in 20-quart pot for 5 minutes, stirring until salt dissolves. Remove from heat, add remaining 2 quarts cider and 4 quarts water. Pour brine into plastic bag. Wrap turkey neck and refrigerate. Submerge turkey in brine to cover completely, gathering bags tightly to eliminate any air; tie bags closed. Refrigerate turkey in brine in pot for at least 18 hours and up to 20 hours.

Next day: Line a large roasting pan with 4 layers of paper towels. Remove turkey from brine and drain well; discard brine. Place turkey in prepared pan. Cover with plastic wrap and refrigerate overnight.

FOR THE GRAVY:
Combine broth and apple cider in heavy large saucepan. Boil until reduced to 3 cups, about 20 minutes. Pour broth reduction into bowl. Melt 1/4 cup butter in same saucepan over medium-high heat. Add flour; stir 1 minute. Whisk in broth reduction, then cream, Calvados, and remaining herb mixture. Bring to boil; reduce heat to medium-low and simmer until gravy base is thickened and reduced to 2 3/4 cups, whisking often, about 20 minutes. Cool gravy base, cover & chill. (Gravy base can be made 2 days ahead.)

FOR ROASTING:
Position rack in bottom third of oven and preheat to 350°F. Remove turkey from roasting pan; drain any accumulated juices from main cavity. Discard paper towels from roasting pan. Return turkey to prepared pan. Tuck wing tips under; tie legs together loosely to hold shape. Place some apple quarters and onion quarters in main cavity. Scatter remaining apples and onions around turkey in pan. Add reserved turkey neck to pan along with 1 cup of broth.

Fold a 2 yd. piece of cheesecloth to create a 4 layer rectangle. Dampen the cloth with water & wring out. Melt two sticks of butter and then submerge the cloth in the melted butter, making sure it is completely saturated. Drape over the top of the turkey, covering it completely.

Roast turkey for 1 hour. Baste with 1/2 cup apple cider. Roast turkey 30 minutes. Baste with remaining 1/2 cup cider. Roast turkey, basting every 30 minutes with pan juices for anther 1 1/2 hours. Very gently remove the cheesecloth from the turkey, taking care not to tear the skin. Baste turkey one more time, then return the turkey to the oven and roast until a thermometer inserted in the thickest part of a thigh measures 170 degrees F, about another 30-45 minutes.

When done roasting, transfer turkey to a platter; let stand at least 30 minutes before carving (internal temperature will rise 5 to 10 degrees).

Discard apples, onions, and turkey neck from pan. Pour pan juices into large glass measuring cup; spoon off fat from surface. Pour degreased juices into gravy base and bring to boil over medium-high heat, whisking occasionally. Boil until gravy thickens enough to coat spoon and is reduced to 3 1/2 cups, about 15 minutes. Season gravy to taste with pepper. Serve turkey with gravy.

Pumpkin Mousse Pie
From ful-filled
Ingredients
FOR THE FILLING:

  • (1) 15 oz can (425g) pumpkin puree

  • 1/2 cup (120g) maple syrup (date syrup works well too or try 1/2 date syrup + 1/2 maple syrup)

  • 2 tsp unflavored gelatin

  • 1/4 cup (60g) cold water

  • 1/2 tsp cinnamon

  • 1/4 tsp ginger

  • 1/4 tsp nutmeg

  • 1/8 tsp clove or allspice

  • 1 1/4 cup (10oz/284g) heavy whipping cream

FOR THE CRUST:

  • 1 sleeve (155g) graham crackers (approximately 10 whole graham crackers) gingersnaps or biscoff cookies would work well too

  • 6 tbsp (85g) unsalted butter, melted

  • 1/4 tsp fine grain salt

FOR THE TOPPING

  • 3/4 cup (6oz/170g) heavy whipping cream

  • 2 tbsp maple syrup

  • 1/3 cup (40g) candied pecans, chopped

DIRECTIONS:
Start by sprinkling the 2 tsp gelatin over the 1/4 cup of water in a small dish, let gelatin soak into water while you move on to the next step.

In a small pot combine pumpkin puree, maple syrup, and spices. Place on the stovetop over medium low heat, stirring to combine. Once mixture is heated through, add the soaked gelatin to the pot, stirring until dissolved & well combined. Turn off the heat and allow pumpkin mixture to cool to room temperature while you prepare the pie crust.

FOR THE PIE CRUST
Pre-heat oven to 350 F

Crush graham crackers into fine crumbs in your food processor. Add fine grain salt & pulse briefly to combine. Add melted butter and pulse until well combined with the graham cracker crumbs.

Pour crumbs into a 9" pie dish, spreading them evenly into the bottom of the pie dish. Using a measuring cup, press the crumbs evenly across the pie dish & up the sides. Use the measuring cup along with your fingers to gently press the crumbs at the edges to make sure they are nice & packed.

Bake the crust for 12 minutes - remove from the oven & allow to cool to room temperature.

FOR THE FILLING:
Whip the 10oz of heavy cream until soft peaks. Fold the cooled pumpkin mixture into the whipped cream until just combined. Add the pumpkin mousse mixture to your cooled pie crust. Place pie in the refrigerator to chill at least 8 hours.

To serve: whip the remaining 3/4 cup heavy cream with 1 tbsp maple syrup until it reaches soft peaks. Top the pumpkin mousse pie with the fresh whipped cream and sprinkle with chopped candied pecans, slice & serve.


I had a lovely holiday weekend after all of the Thanksgiving festivities! Lara and I first went to Everett’s for a Christmas tree with the dogs. Couldn’t decide on a tree so we got a garland instead. The next day we went to a cut your own Christmas tree farm where I found a little tree that was the perfect size for me! It started snowing as we finished getting the trees and it was just so festive!

Christmas 2017

Merry Christmas! I hope everyone had a blessed day yesterday. It was s a beautiful white Christmas here in Michigan, we couldn't have asked for better. It truly felt like the story book Christmas. While I unfortunately had to work all day at the hospital yesterday, I am thankful that I am working at the hospital, and not admitted to the hospital myself. With Christmas music playing in the workroom, and the snow falling gently outside, it really wasn't too bad! I made the rest of the team breakfast for Christmas morning. Broccoli cheddar quiche, and coffee break muffins. Lara brought in a baked oatmeal and we all enjoyed a festive and delicious breakfast before getting to work!

IMG_1917.jpg

Thankfully, I was able to do a lot of baking and cooking for the holidays this year. First, Lara and I made Christmas cookies to give away to friends and co-workers. We decided on a trio of delicate snowflake Linzer cookies, thick and fruity stollen bars, and our yearly extra chewy molasses cookies (<-- these things are amazing! They may not look super exciting, but they are the best molasses cookies I have ever had!). We bagged those up a few weeks ago to get into the holiday spirit.

IMG_1854.jpg
IMG_1860.jpg
IMG_1871.jpg
 
IMG_1863.jpg
IMG_1858.jpg
IMG_1864.jpg

Next, the annual decorated sugar cookies. We decided on cute little owls, snowy Christmas trees, and simple holiday words. They turned out super cute! Lara did most of the actual decorating as usual, and of course did a wonderful job! These were snacked on all weekend long by family, friends and coworkers. 

IMG_1918.jpg
IMG_1920.jpg
IMG_1921.jpg

We celebrated Christmas with the whole extended family in Holland on the water this year on the 23rd. It was a great turn out. Most of the family could make it from all areas of the country! We had a wonderful time eating and talking and just enjoying the day all together. 

25550334_10214412110837591_2987767959520134947_n.jpg

Grandpa and grandma got into the Christmas spirit! Looking good!

25660051_10214412110797590_4219519452398896167_n.jpg
IMG_1908.jpg

And finally - Christmas day, at the hospital. Merry Christmas from the whole family medicine team!

If I had to work the holiday, at least it was with this great group of people!

IMG_1909.jpg

Peppermint Cheesecake

I can't believe that I have been blogging for so long and have not yet posted one cheesecake!! I do have a red velvet cheesecake cake, but no true cheesecake. Well considered this problem officially fixed today! Here is my first official cheesecake post, and it is a great one. My work had a work Christmas party a few weeks ago which included ugly sweaters, white elephant gifts, all that fun stuff. Obviously my first question is - what's to eat? It was potluck time, it was requested that everyone bring an appetizer or a dessert. This year it was time; Cheesecake time. 

I had stumbled across a cheesecake a few weeks earlier that for whatever reason had just caught my eye. On a whim I decided to just go for it. I went to the store and picked up cream cheese, ricotta, Oreos and candy canes and I am so glad I did. This cheesecake was so simple and turned out delicious. Creamy and light and silky smooth. A winner all around. 

IMG_1847 (1).jpg

The original recipe included a graham cracker crust and was topped with fresh strawberries. Since it's December that wasn't quite right. I wasn't sure what I was going to do, but as I was walking through the aisles at the grocery store my eyes caught on a package of peppermint Oreos and I knew what I was going to create - an Oreo peppermint cheesecake. I swapped out the graham crackers for peppermint Oreos, and added a hint of peppermint extract to the filling and voila! The perfect Christmas cheesecake was born! 

 
IMG_1844.jpg
IMG_1852 (1).jpg
 

Peppermint Cheesecake
Cheesecake Adapted from Lil cookie
Crust adapted from Crazy for Crust
Ingredients
For the crust:

  • 25 mint creme Oreos
  • 5 tablespoons (2 1/2 ounces) butter, melted

For the filling:

  • 2 8-ounce packages (450 grams) cream cheese
  • 1 16-ounce (450 grams) whole milk ricotta cheese
  • 1 cup (200 grams) sugar
  • 3/4 teaspoon peppermint extract
  • 1 tsp. vanilla extract
  • 3/4 teaspoon kosher salt
  • 1/4 cup (35 grams) all-purpose flour
  • 5 large eggs

For coating:

  • 1 8-ounce container sour cream
  • 1 tablespoon sugar
  • 1/2 tsp. vanilla extract

Directions
For the crust: preheat oven to 350 degrees. Line a 9 inch springform pan with aluminum foil (alternatively, you can use a 9 inch, tall sided cake pan with removable bottom). 
In a food processor with a steel blade, process the Oreos until crushed into small bits. Add melted butter and process until combined and the mixture is damp and cohesive. 

Press the moist crumbs to the bottom and the sides of the pan and bake for about 10 minutes. (I found it easiest to do this with a metal measuring cup.) Cool for a few minutes at room temperature. Turn the oven temperature down to 325 degrees. 

Meanwhile, make the cheese filling: Wipe the bowl of the food processor clean. Add the cream cheese, ricotta, sugar, peppermint extract, vanilla and salt and process until well combined. Add the eggs one by one, processing between additions until well incorporated. Add the flour and pulse a few times until the flour is incorporated into the filling.

Pour the cheese filling into the baked crust. Place cheesecake in the now 325 degree oven and bake for 60-70 minutes or until the cake is golden, a bit swollen and slightly vibrating in the center. Remove from the oven, turn the oven off, and let the cheesecake cool for about 10 minutes at room temperature.

While the cheesecake is baking prepare the coating: in a small bowl, mix sour cream, sugar and vanilla to a uniform mixture. Once the cheesecake has cooled about 10 minutes, pour the sour cream coating on top of the cake and return to the still-hot (but turned off) oven for 5-6 minutes.
Remove from oven and cool completely at room temperature before refrigerating it for at least 7-8 hours (preferably overnight).

Christmas Cookies 2016

Although they were a little late this year, I made sure to decorate my yearly batch of Christmas cookies. I whipped these together with my sister, and we went with a couple simple designs that would be simple to create; some cute little snowmen, and some festive gloves. I wanted to do mittens, but we didn't have a mitten cookie cutter, just a glove, so that's the route we went. Decorating Christmas cookies has become one of my favorite Christmas traditions so I was glad that we were able to find the time to do it again this year!


I had a great time the rest of my Christmas; going to the IMAX with my whole family to see Star Wars on the
big screen was tons of fun. 


And our family Christmas party is one of my favorite times of the year. We've made it a tradition to have homemade pizza for our get together. It's fun, casual and delicious. We've done personal pizzas in the past, but this year I just made two big pizzas that we all shared. They turned out delicious!


Try out this delicious homemade French onion dip from How Sweet Eats


Merry Christmas and a blessed New Year to everyone out there! I hope your Christmas season was as wonderful as mine!

Thanksgiving 2016

Thanksgiving is over once again. It's now December and as I sit and type this the snow is falling outside, beautiful yet I'm not ready. I don't want to have to think about scraping my ice off of my windshield in the early morning, or trudging through piles of snow. But today I'm going to look back, not ahead. Back to last week Thursday. Thanksgiving 2016. This year I was even more thankful to be able to celebrate the day with my family because of my crazy work schedule. I was in the middle of an (almost) 28 day stretch of work, so when I found out that I actually did get Thanksgiving day off I was incredibly excited! That one day was very much needed. 

It was a pretty quiet holiday this year; just my immediate family went over to my Grandparents place for the big meal, only 9 of us. Since I didn't know in advance exactly how many people would be there, I went big an ordered a large turkey just in case. Well, it was quite a bit bigger than we needed, but that was okay. Plenty of leftovers is not a bad problem. 


I brought a wine from my favorite wine shop to Thanksgiving this year. It was recommended by one of the store employees and I enjoyed it quite a bit! A Spanish wine, Bodegas Juan Gil 2013 100th anniversary bottle. A commemorative  bottle blended and bottled to mark the 100th anniversary of the founding of the Juan Gil winery. A blend of 50% Mourvedre, 25% Cabernet Sauvignon, and 25% Syrah. Grandpa approved! 


The week following Thanksgiving brought my family and me something, or should I say someone, else to be thankful for. My sister-in-law gave birth to her and my brother's second child, a little girl they names Piper. She's beautiful and perfect. I'm already in love. I can't wait to get to know her in the months and years to come! 


Christmas Cookies - 2015

Almost a week later, but here it is, the last of my Christmas cookie posts, and probably the most anticipated! Every year my sister Lara pulls out the meringue powder and whips up a batch of sugar cookies beautifully decorated with royal icing. This year was no exception. And even though she had to whip these together pretty quickly this year, they still turned out just as gorgeous as ever. Enjoy!

Check out previous year's decorated Christmas cookies for ideas and recipes

2011

2012

2013

Chocolate Peppermint Cookies

I have to quick share these cookies while the sweet memories of Christmas are still not too far from everyone's minds. They were one of the cookies on the Christmas cookie platter this year, and were included in the bags I delivered to the neighbors. I do have to say that they were absolutely fantastic! A great double chocolate cookie is difficult to find. I've shared several on the blog, and while I adore my Death by Chocolate Chip Cookies, they have so much melted chocolate in them that they can be a little more expensive to make, not to mentioned incredibly rich (not that I'm complaining!). Finding a recipe with just cocoa powder has left me disappointed in the past, but these cookies are not included in that disappointment. 

These cookies are thick, soft, and super chocolatey. The addition of peppermint extract around the holidays is a wonderful touch, but they can be made without the mint flavor at any time of year. Throw in some espresso powder instead if you have it, another great combo. Dipping in some white chocolate sprinkled with candy canes was the perfect touch for Christmas, it really ups the festiveness of these already amazing cookies.

The only thing you want to make sure of when making these cookies is that you have at least a couple of hours to let the dough chill in the fridge before you shape into balls and bake. The dough is just too soft when it is first made. As long as you have the extra time these cookies are quick and easy to make. They really are a favorite of mine, a new go-to recipe when all I need is chocolate!

Chocolate Peppermint Cookies
Adapted from Sally's Baking Addiction
Ingredients

  • 1/2 cup (115g) unsalted butter, softened to room temperature
  • 1/2 cup (100g) granulated sugar
  • 1/2 cup (100g) packed light or dark brown sugar
  • 1 large egg, at room temperature
  • 1 teaspoon pure vanilla extract
  • 1 teaspoon peppermint extract
  • 1 cup (125g) all-purpose flour 
  • 1/2 cup + 2 Tablespoons (53g) unsweetened cocoa powder
  • 1 teaspoon baking soda
  • 1/8 teaspoon salt
  • 1 cup (180g) semi-sweet chocolate chips
  • 4 ounces white chocolate, coarsely chopped
  • 1-2 large candy canes, crushed

Directions
In a large bowl using a hand-held mixer or stand mixer fitted with a paddle attachment, beat the butter for 1 minute on medium speed until completely smooth and creamy. Add the granulated sugar and brown sugar and beat on medium high speed until fluffy and light in color. Beat in egg, vanilla and peppermint extracts on high speed. Scrape down the sides and bottom of the bowl as needed.

In a separate bowl, whisk the flour, cocoa powder, baking soda, and salt together until combined. On low speed, slowly mix into the wet ingredients until combined. The cookie dough will be quite thick. Switch to high speed and beat in the chocolate chips. The cookie dough will be sticky. Cover dough tightly with aluminum foil or plastic wrap and chill for at least 3 hours and up to 3 days. Chilling is mandatory for this cookie dough.

Remove cookie dough from the refrigerator and allow to sit at room temperature for 20 minutes - if the cookie dough chilled longer than 3 hours, let it sit at room temperature for about 30 minutes. This makes the cookie dough easier to scoop and roll.

Preheat oven to 350°F (177°C). Line baking sheet with parchment paper. Set aside.

Scoop dough (I liked about 25 grams of dough each, if you have a scale, I made a few larger one first at 50 grams and I actually liked the look of the smaller cookies better) and roll into balls and place on the baking sheet.

Bake the cookies for 10-12 minutes rotating once during bake time. The baked cookies will look extremely soft in the centers when you remove them from the oven. Allow to cool for 5 minutes on the cookie sheet. They will slightly deflate as you let them cool. Transfer to cooling rack to cool completely.

Melt the chopped white chocolate in a microwave: placing the chocolate in a medium heat-proof bowl. Melt in 15 second increments, stirring after each increment until completely melted and smooth. Dip each completely cooled cookie halfway into the white chocolate and place onto a parchment or silicone baking mat-lined baking sheet. Sprinkle crushed candy canes on top of the chocolate. Repeat with the rest of the cooled cookies. Place the baking sheet into the refrigerator to help the chocolate set. Once set, enjoy!