Christmas 2020
I know for a lot of people Christmas was different this year. Smaller gatherings, less travel, the inability to see everyone, etc. I am thankful that for me a whole lot didn’t change. I don’t have a huge family, and I have several family members that live out of state so every year Christmas is different. This year was just another variation. No extended family gathering.

On Christmas Eve this year, my dad actually invited Lara and I over for a prime rib dinner that he ordered from one of his favorite restaurants (The Alpen Rose in Holland. Sadly, it is closing at the end of the year so this is the last time I will eat anything from there). He ordered a 7 lb rib roast, red skin potatoes, a seasonal salad, and a charcuterie platter. It was all so lovely! I rarlely eat prime rib, but it is so good! And they did a great job with this one, it was cooked perfectly!


The four of us then headed to church for an 11:00 candlelight service. I was afraid we weren’t going to have any in-person services for Christmas because our church has been watching the COVID case trends carefully to decide which Sundays in-person services are safe. The two Sundays before Christmas we did not have in-person church, but thankfully the infection rates were looking better so we were able to have a Christmas service! I have to be honest, staying up past midnight was rough for me :) I’ve typically been in bed for hours at that point! But it was totally worth it. Beautiful music, candlelight, meditations, and being able to do this all in person - what an extra special blessing for Christmas this year.
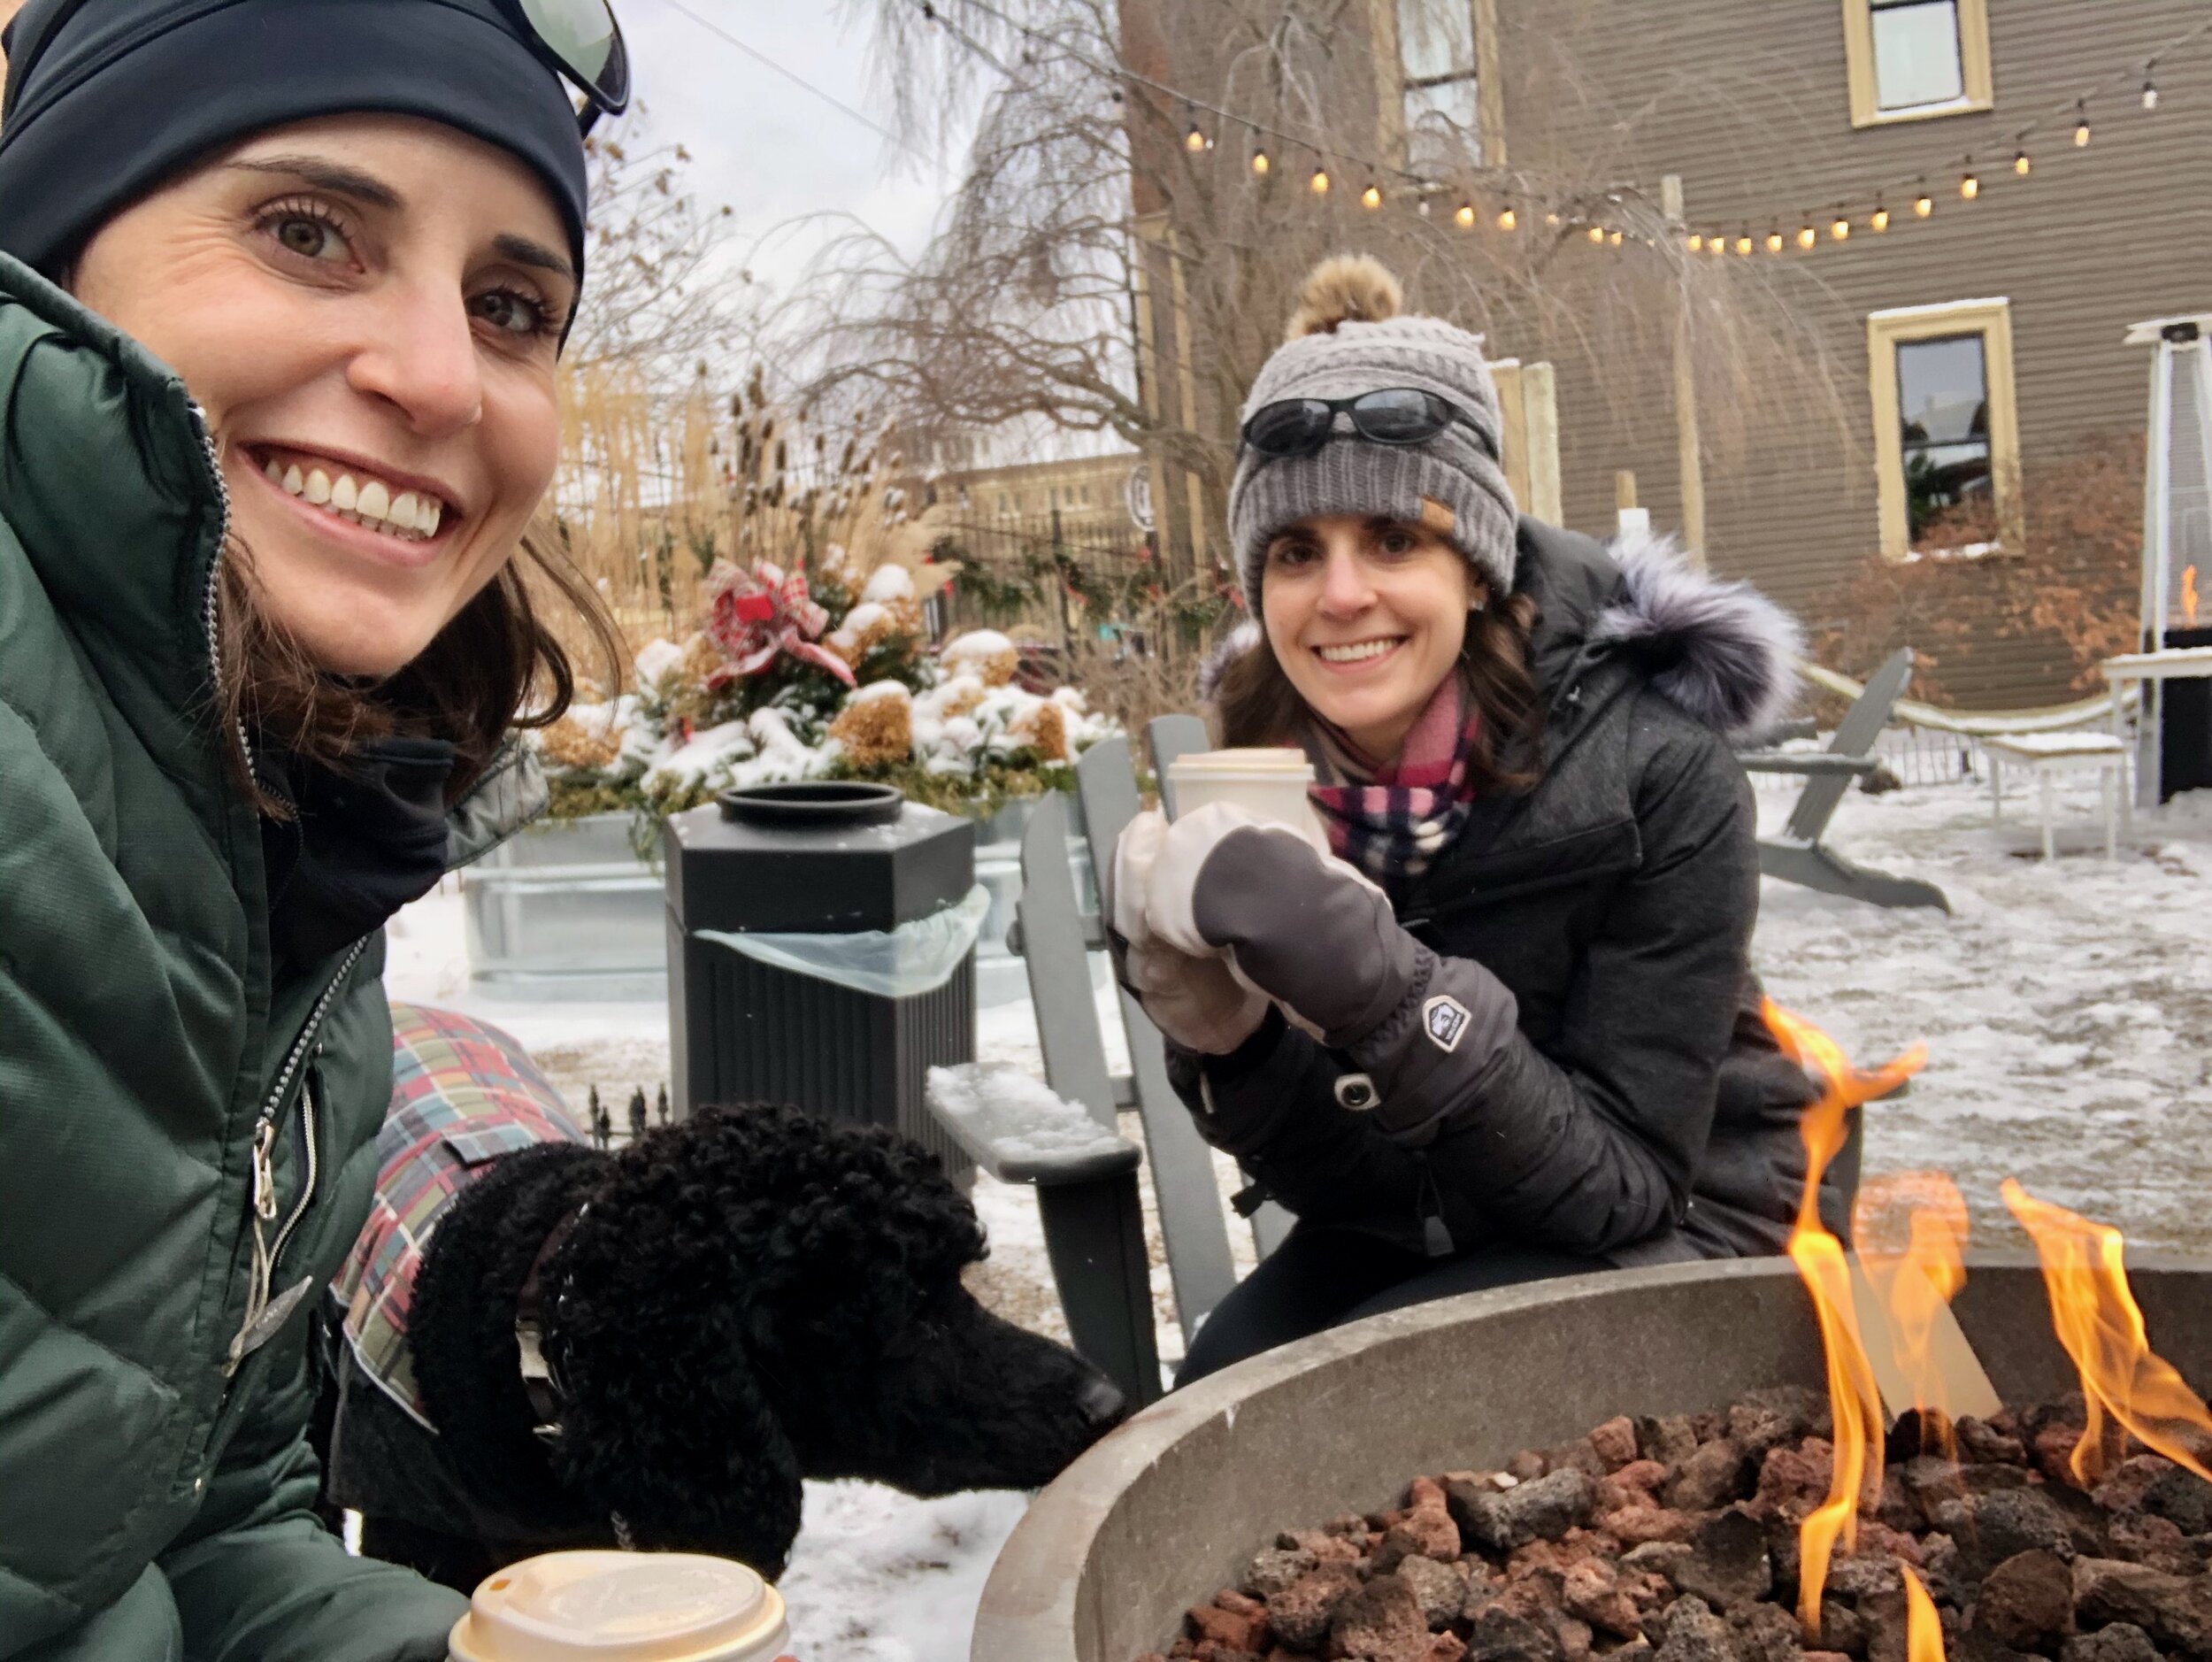
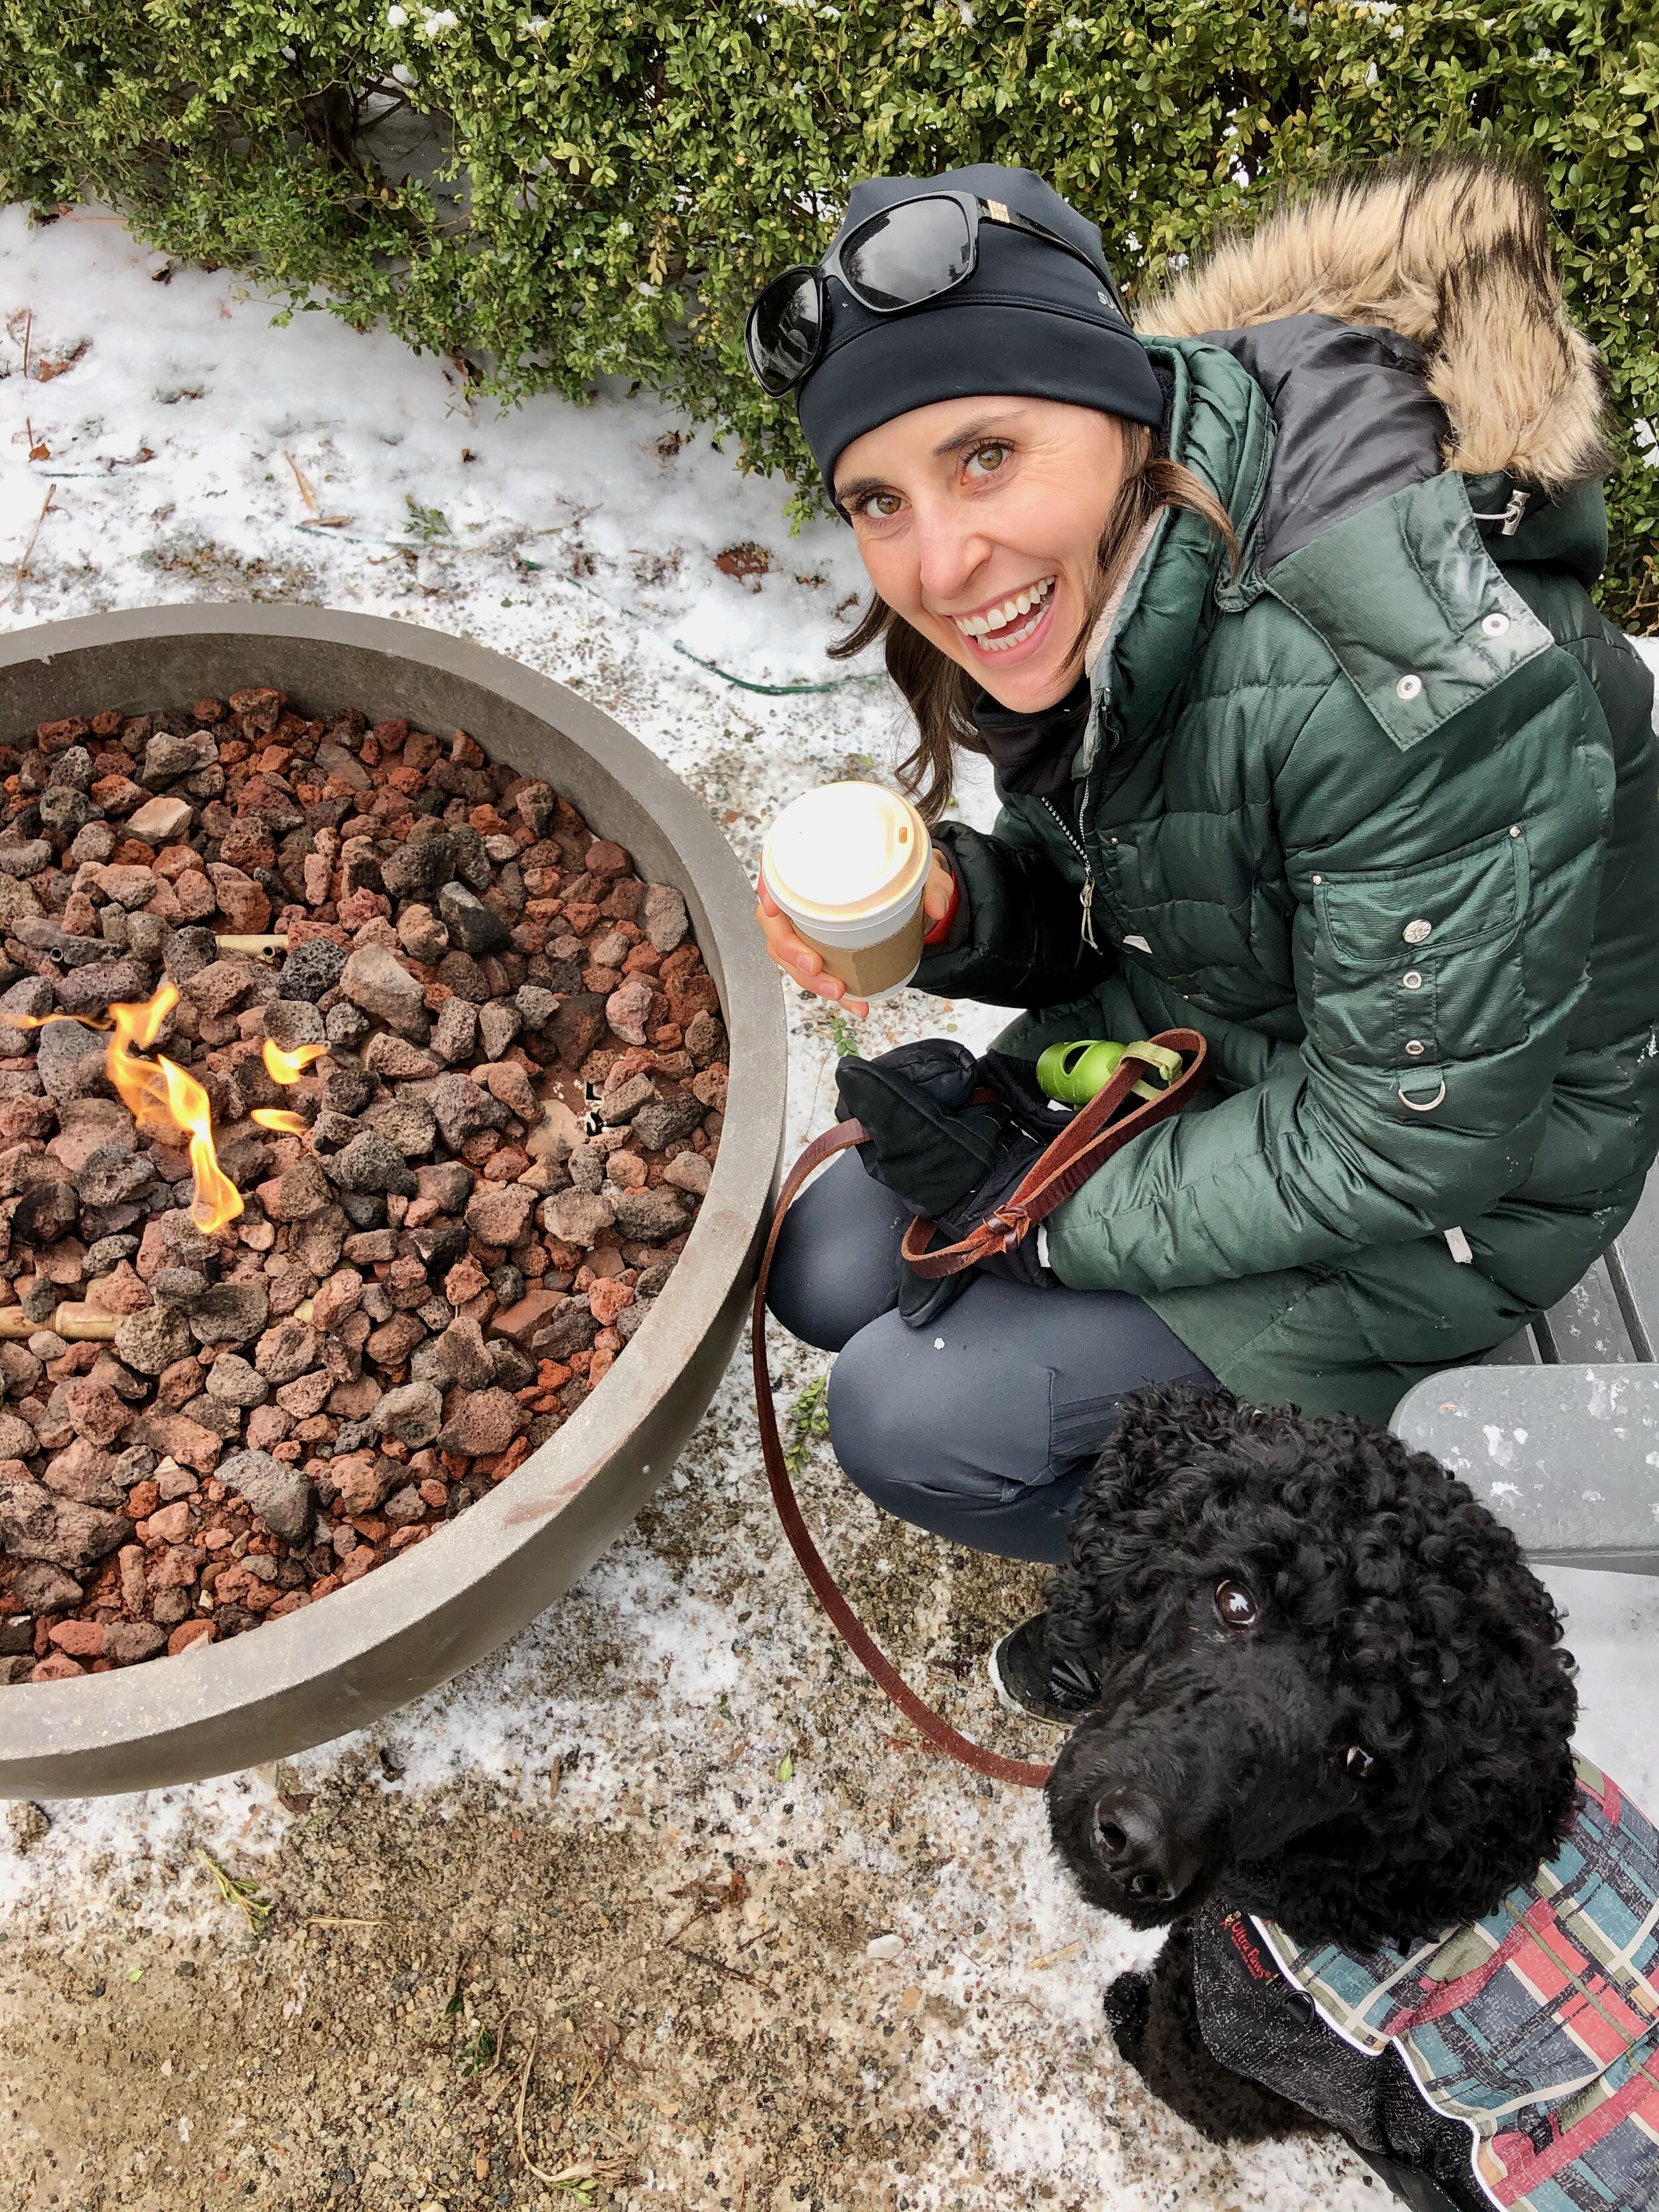
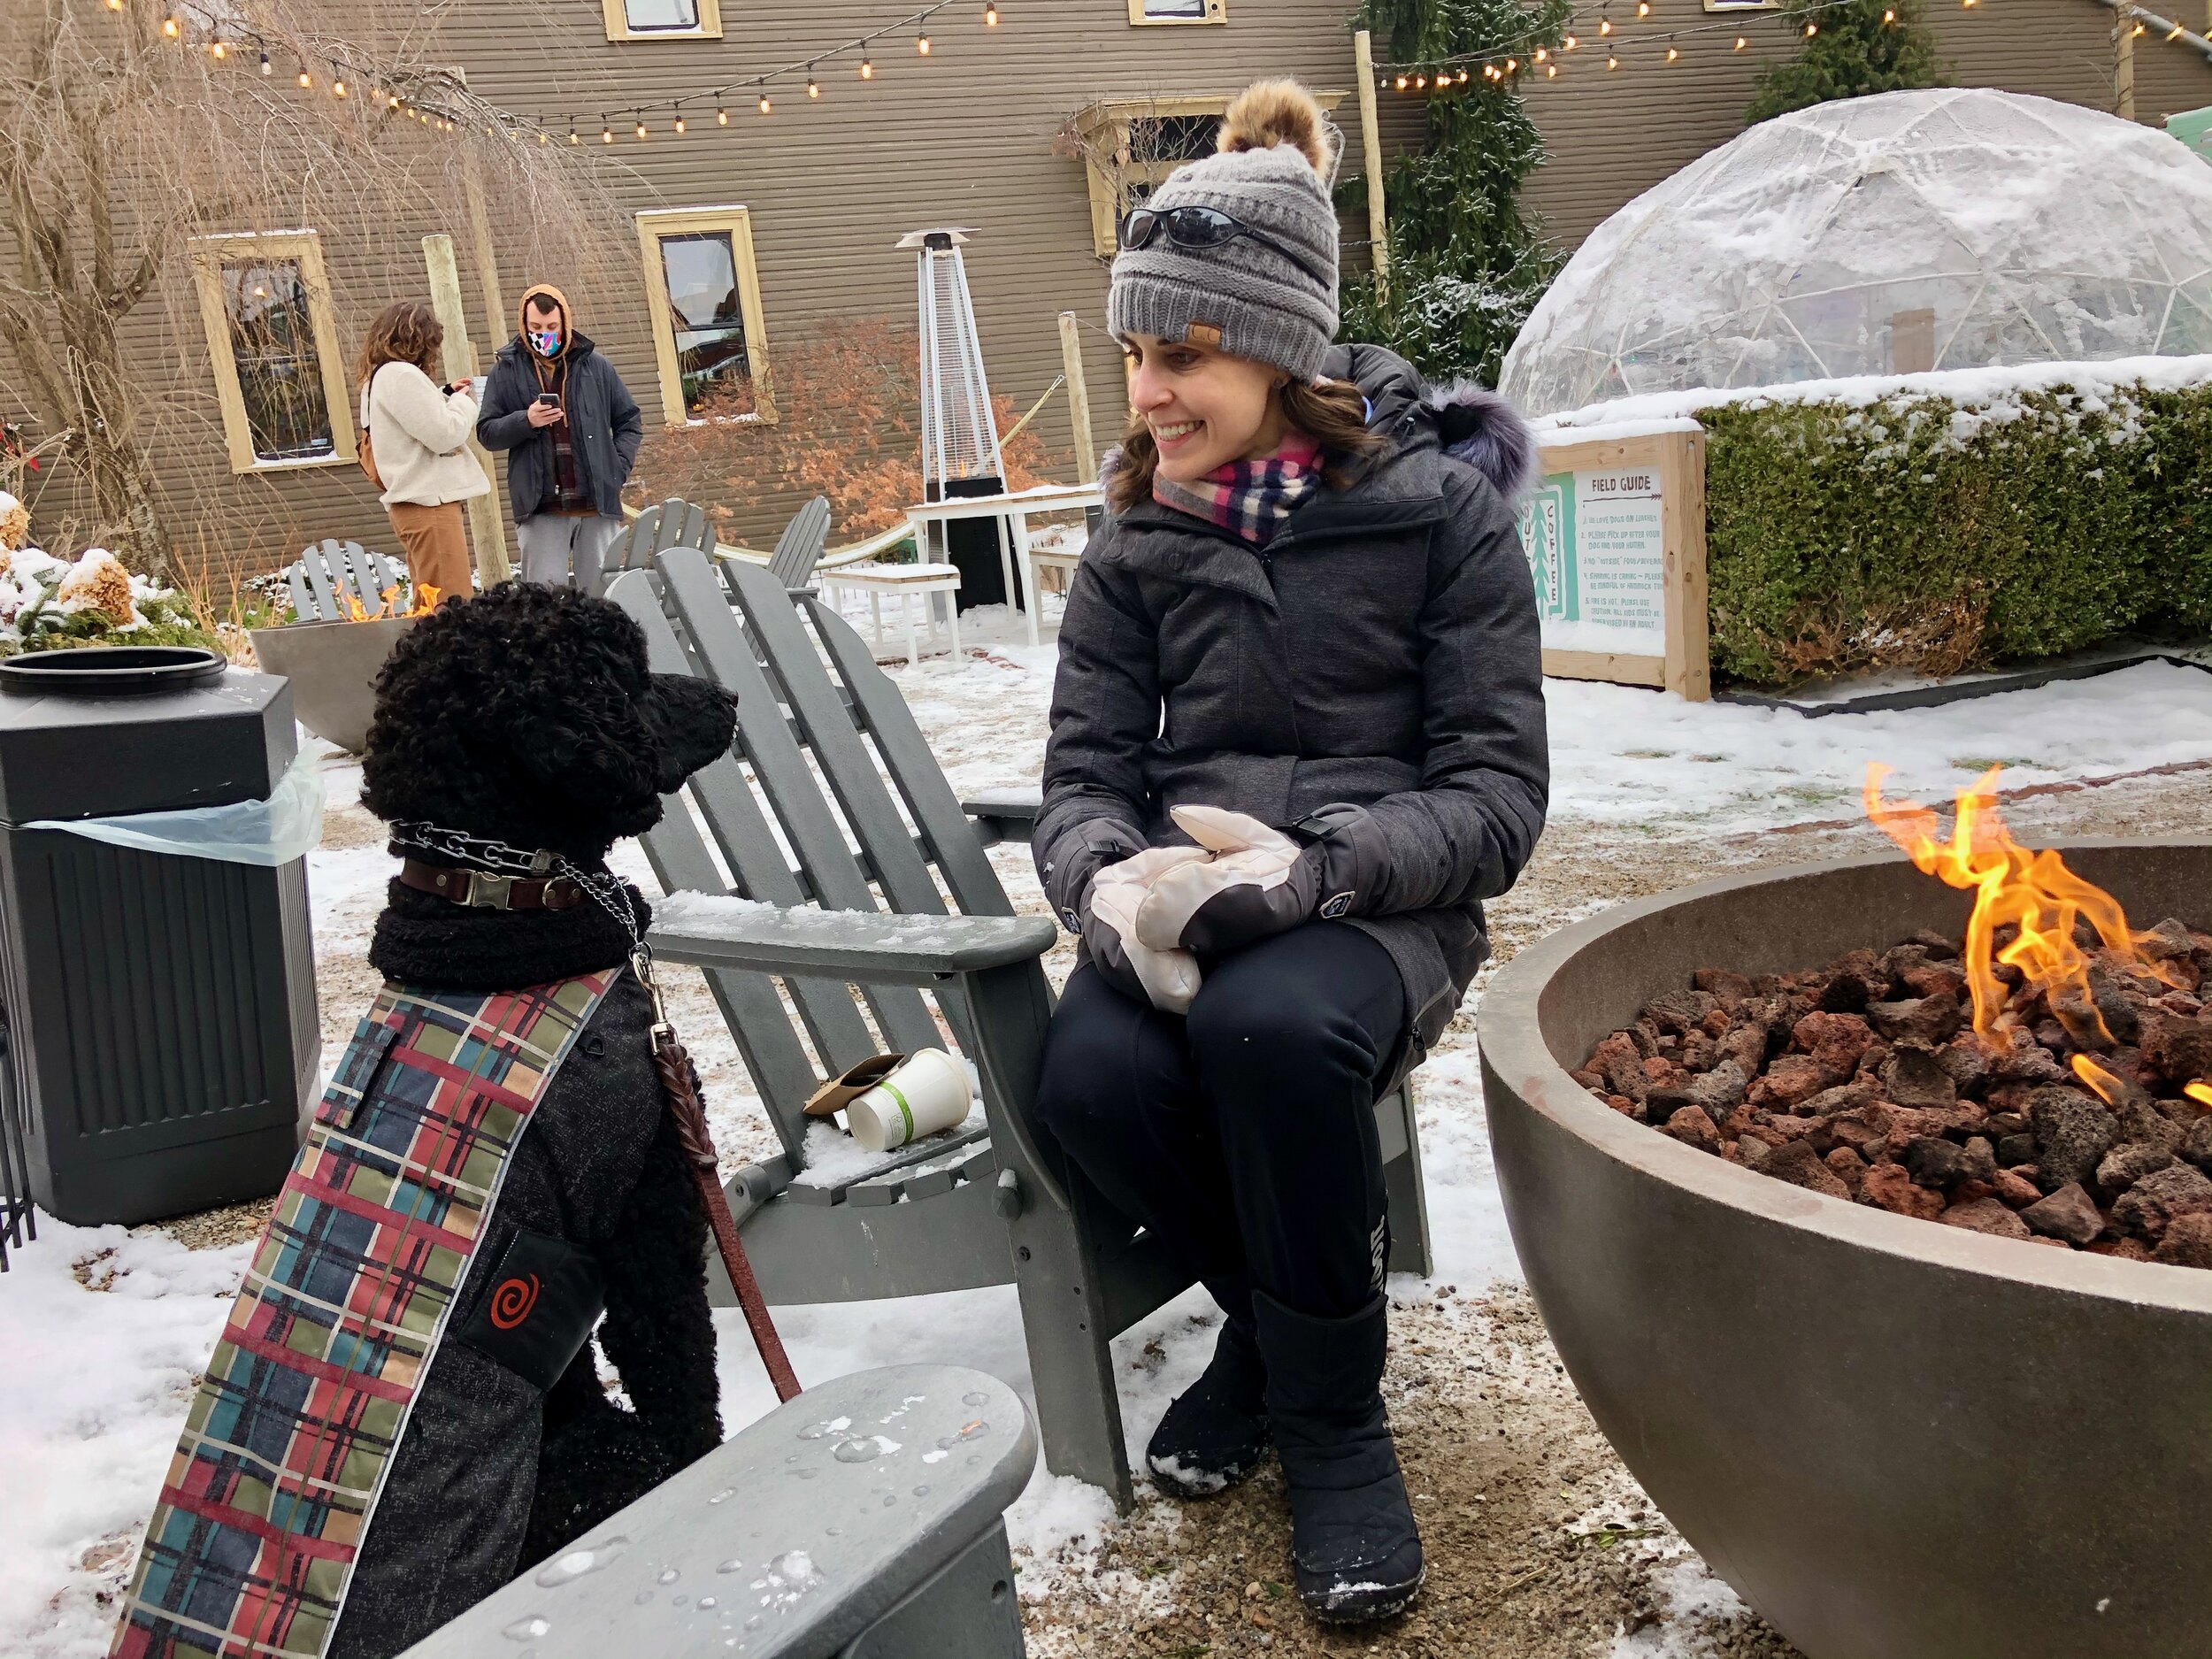
Prior to dinner at my parent’s that evening, Lara and I took a Christmas Eve walk to Outside Coffee Co (a coffee shop place that has always been all outdoor all year! They were ahead of their time. They’ve had their igloos and fire pits since opening several years ago, way before COVID) for Christmas Eve lattes. It was cold, and a little windy, but perfect! A light dusting of snow, a fire pit, and a latte. Perfect.
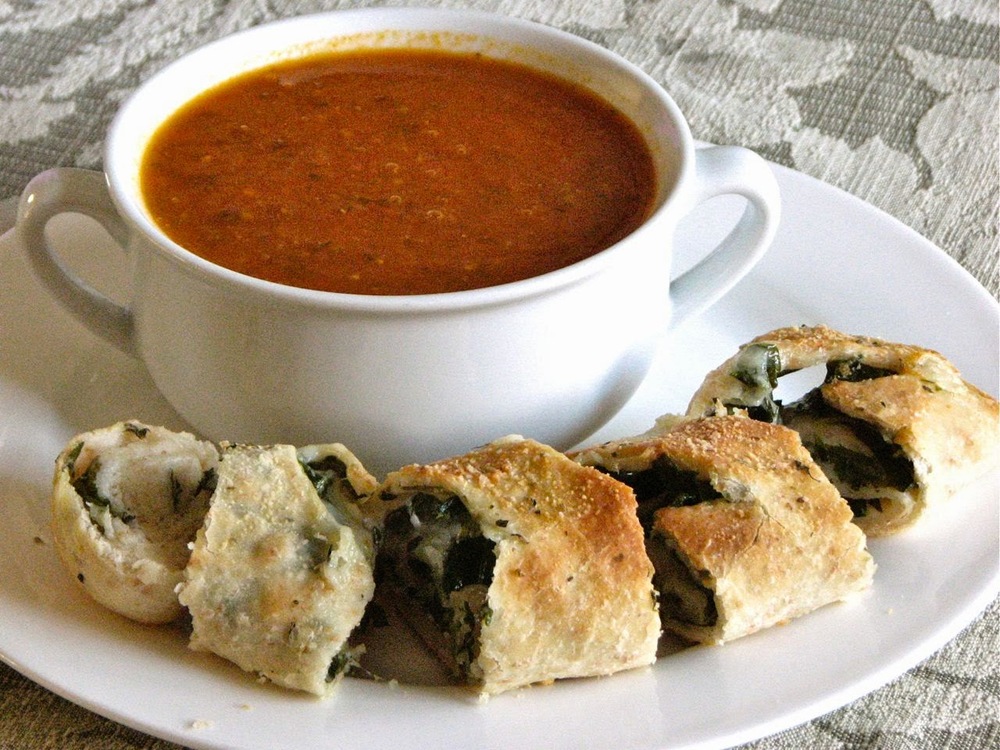
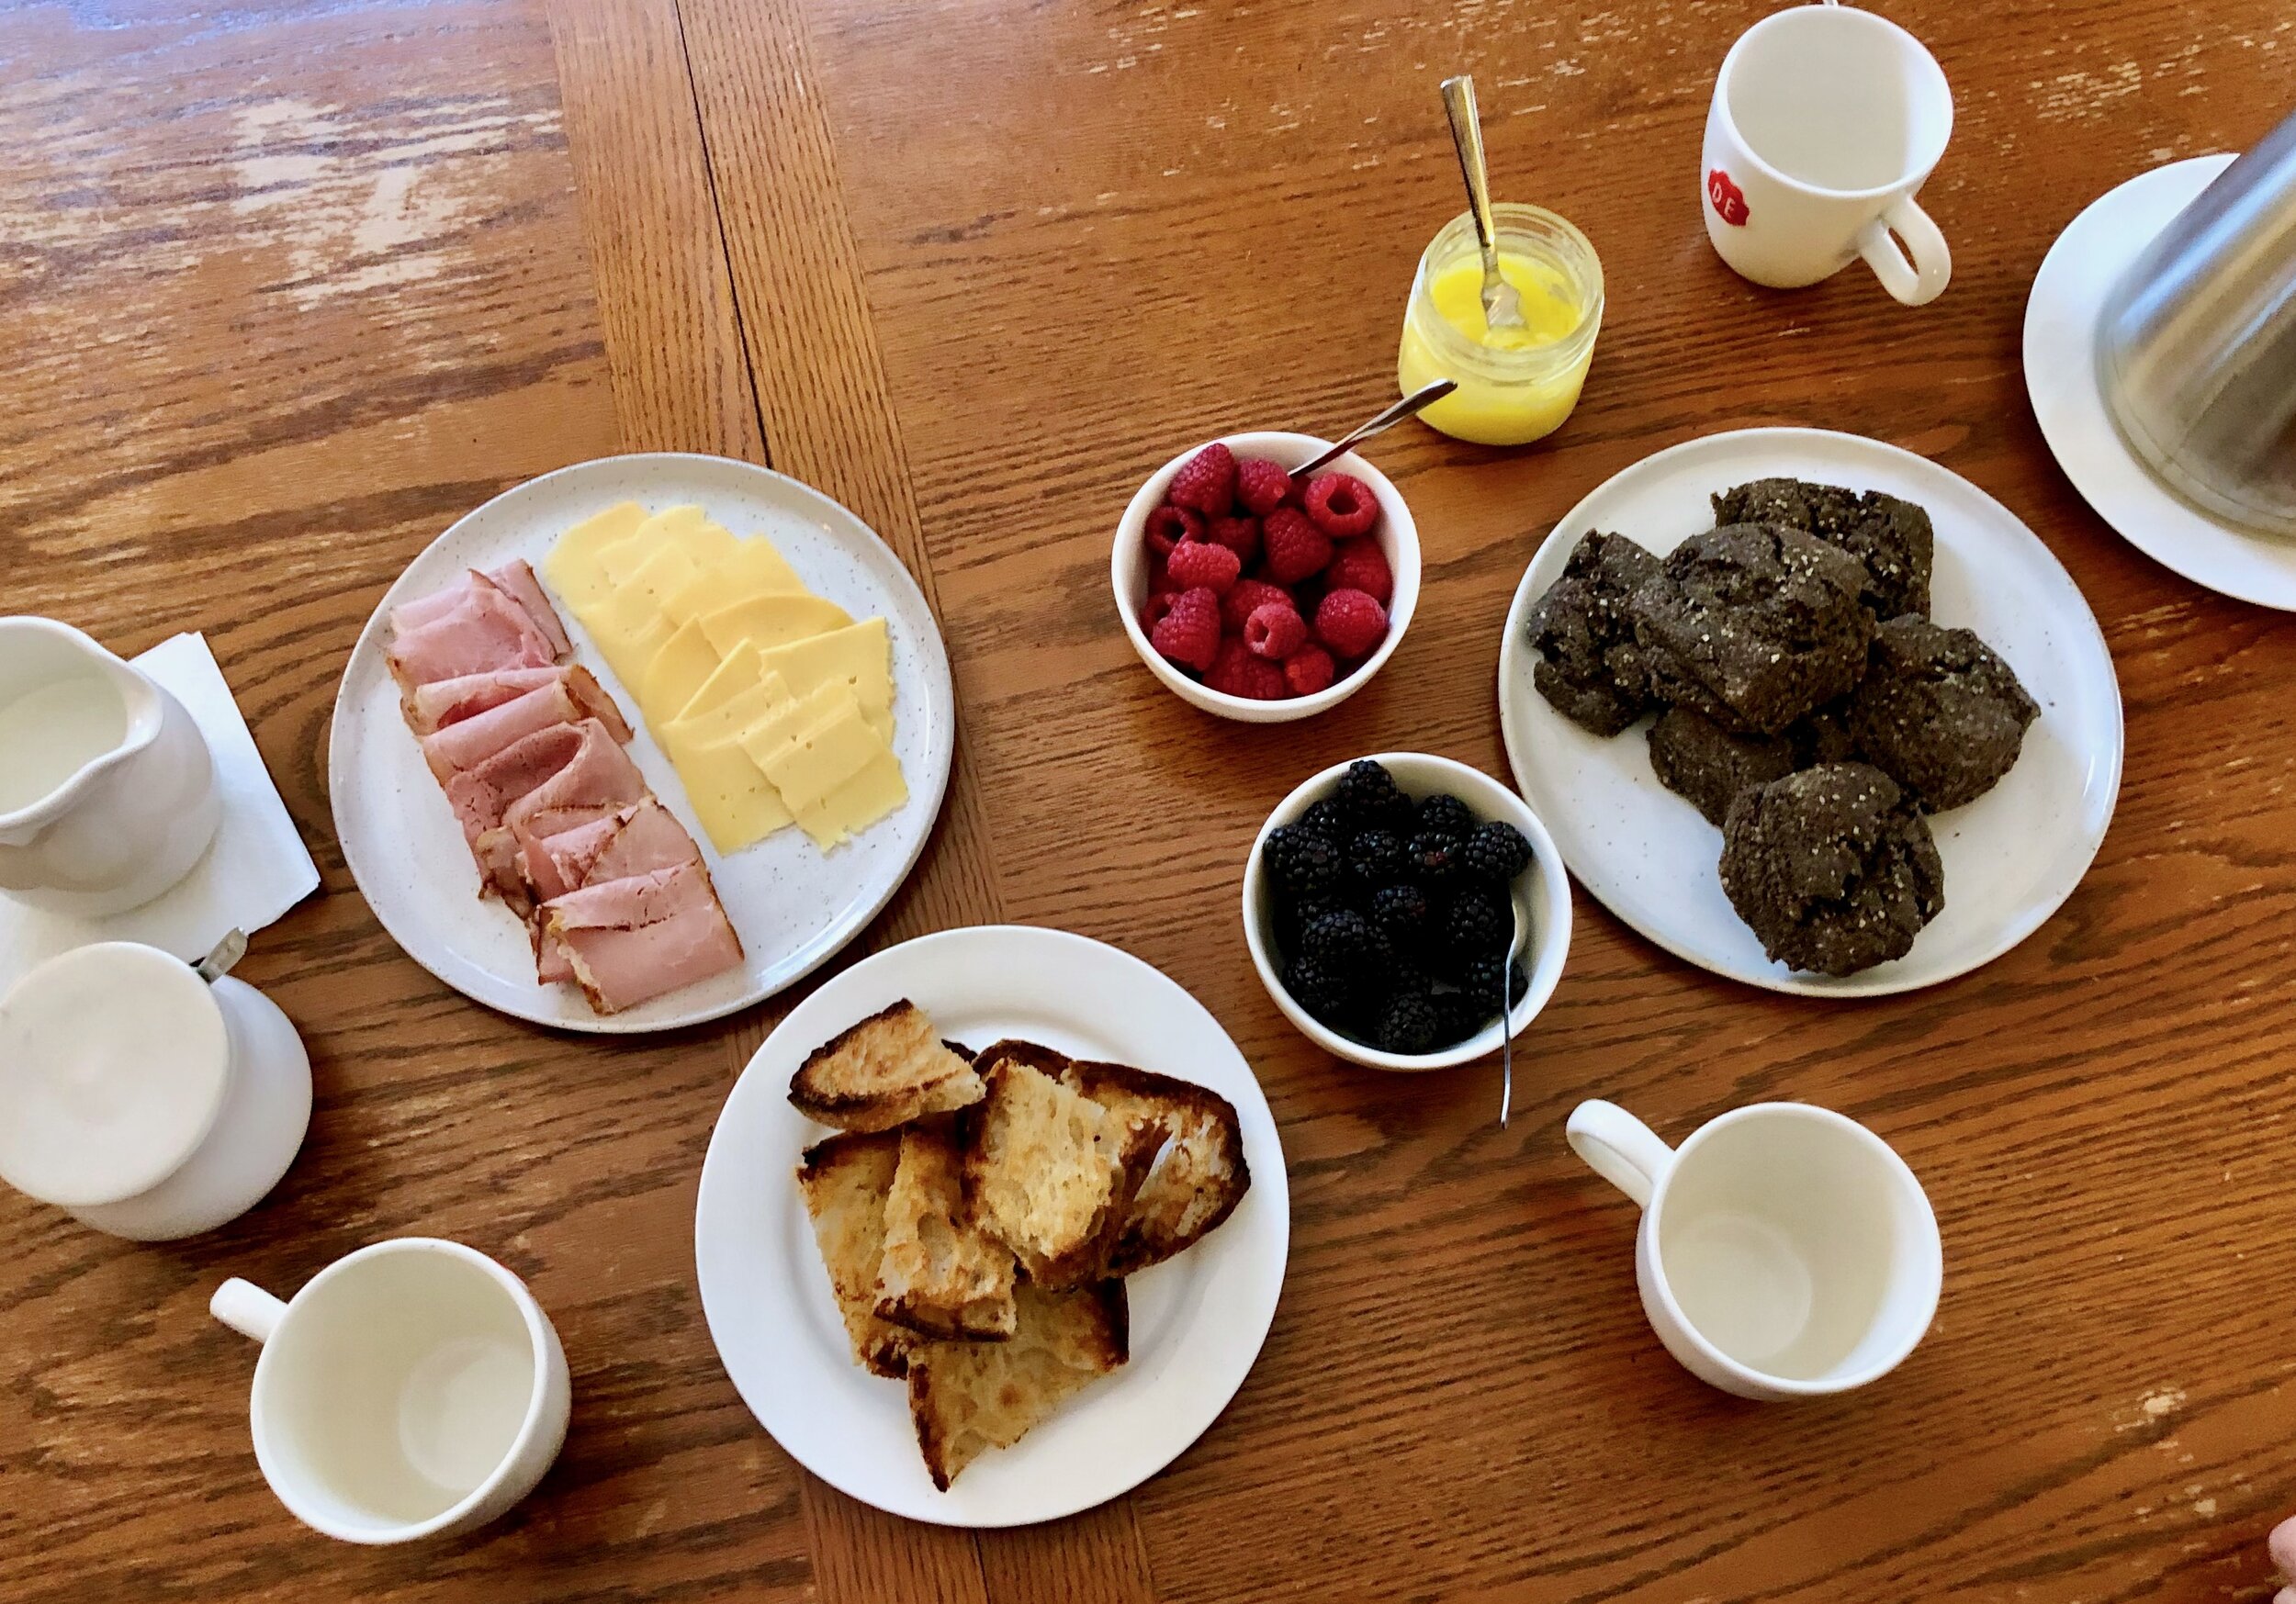
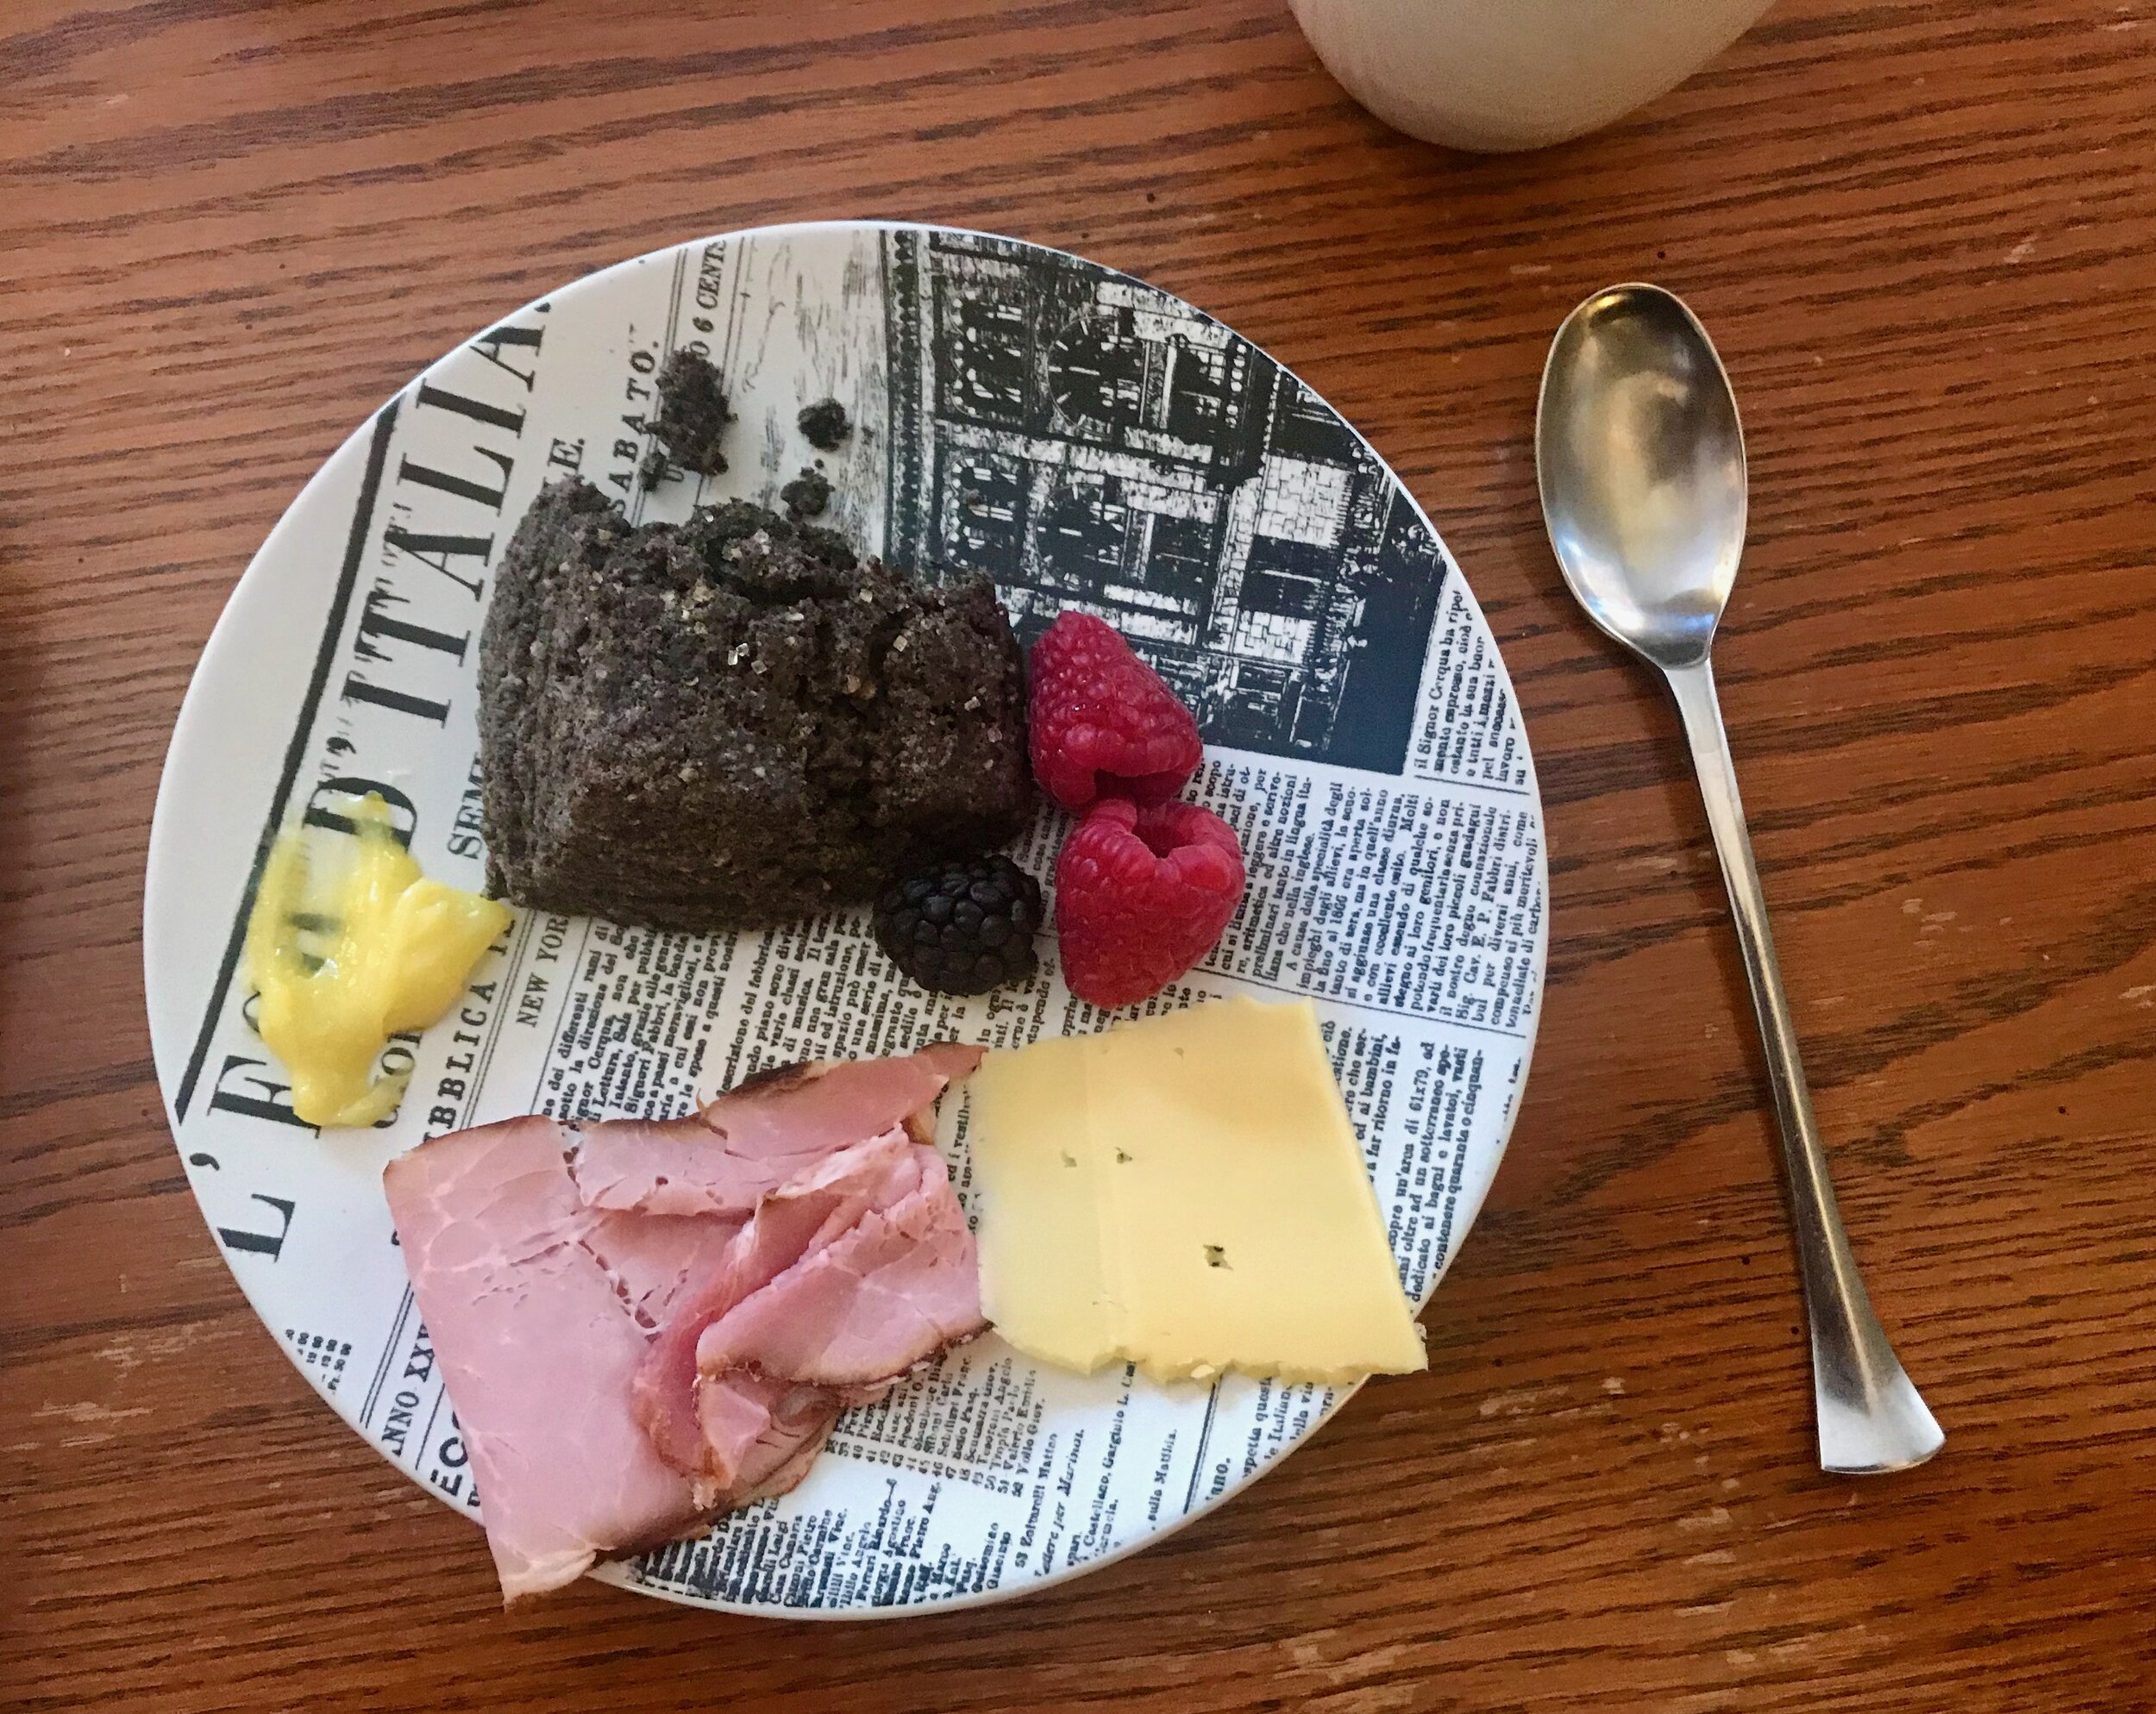
On Christmas morning Lara and I started the day with a Chirsmas Day run which is always so nice, and so quiet on the roads! We then had a friend over for a Christmas morning brunch. We served buckwheat scones with lemon curd, smoked ham with double cream gouda, and some fresh berries. It was perfect. Great conversation, great company!
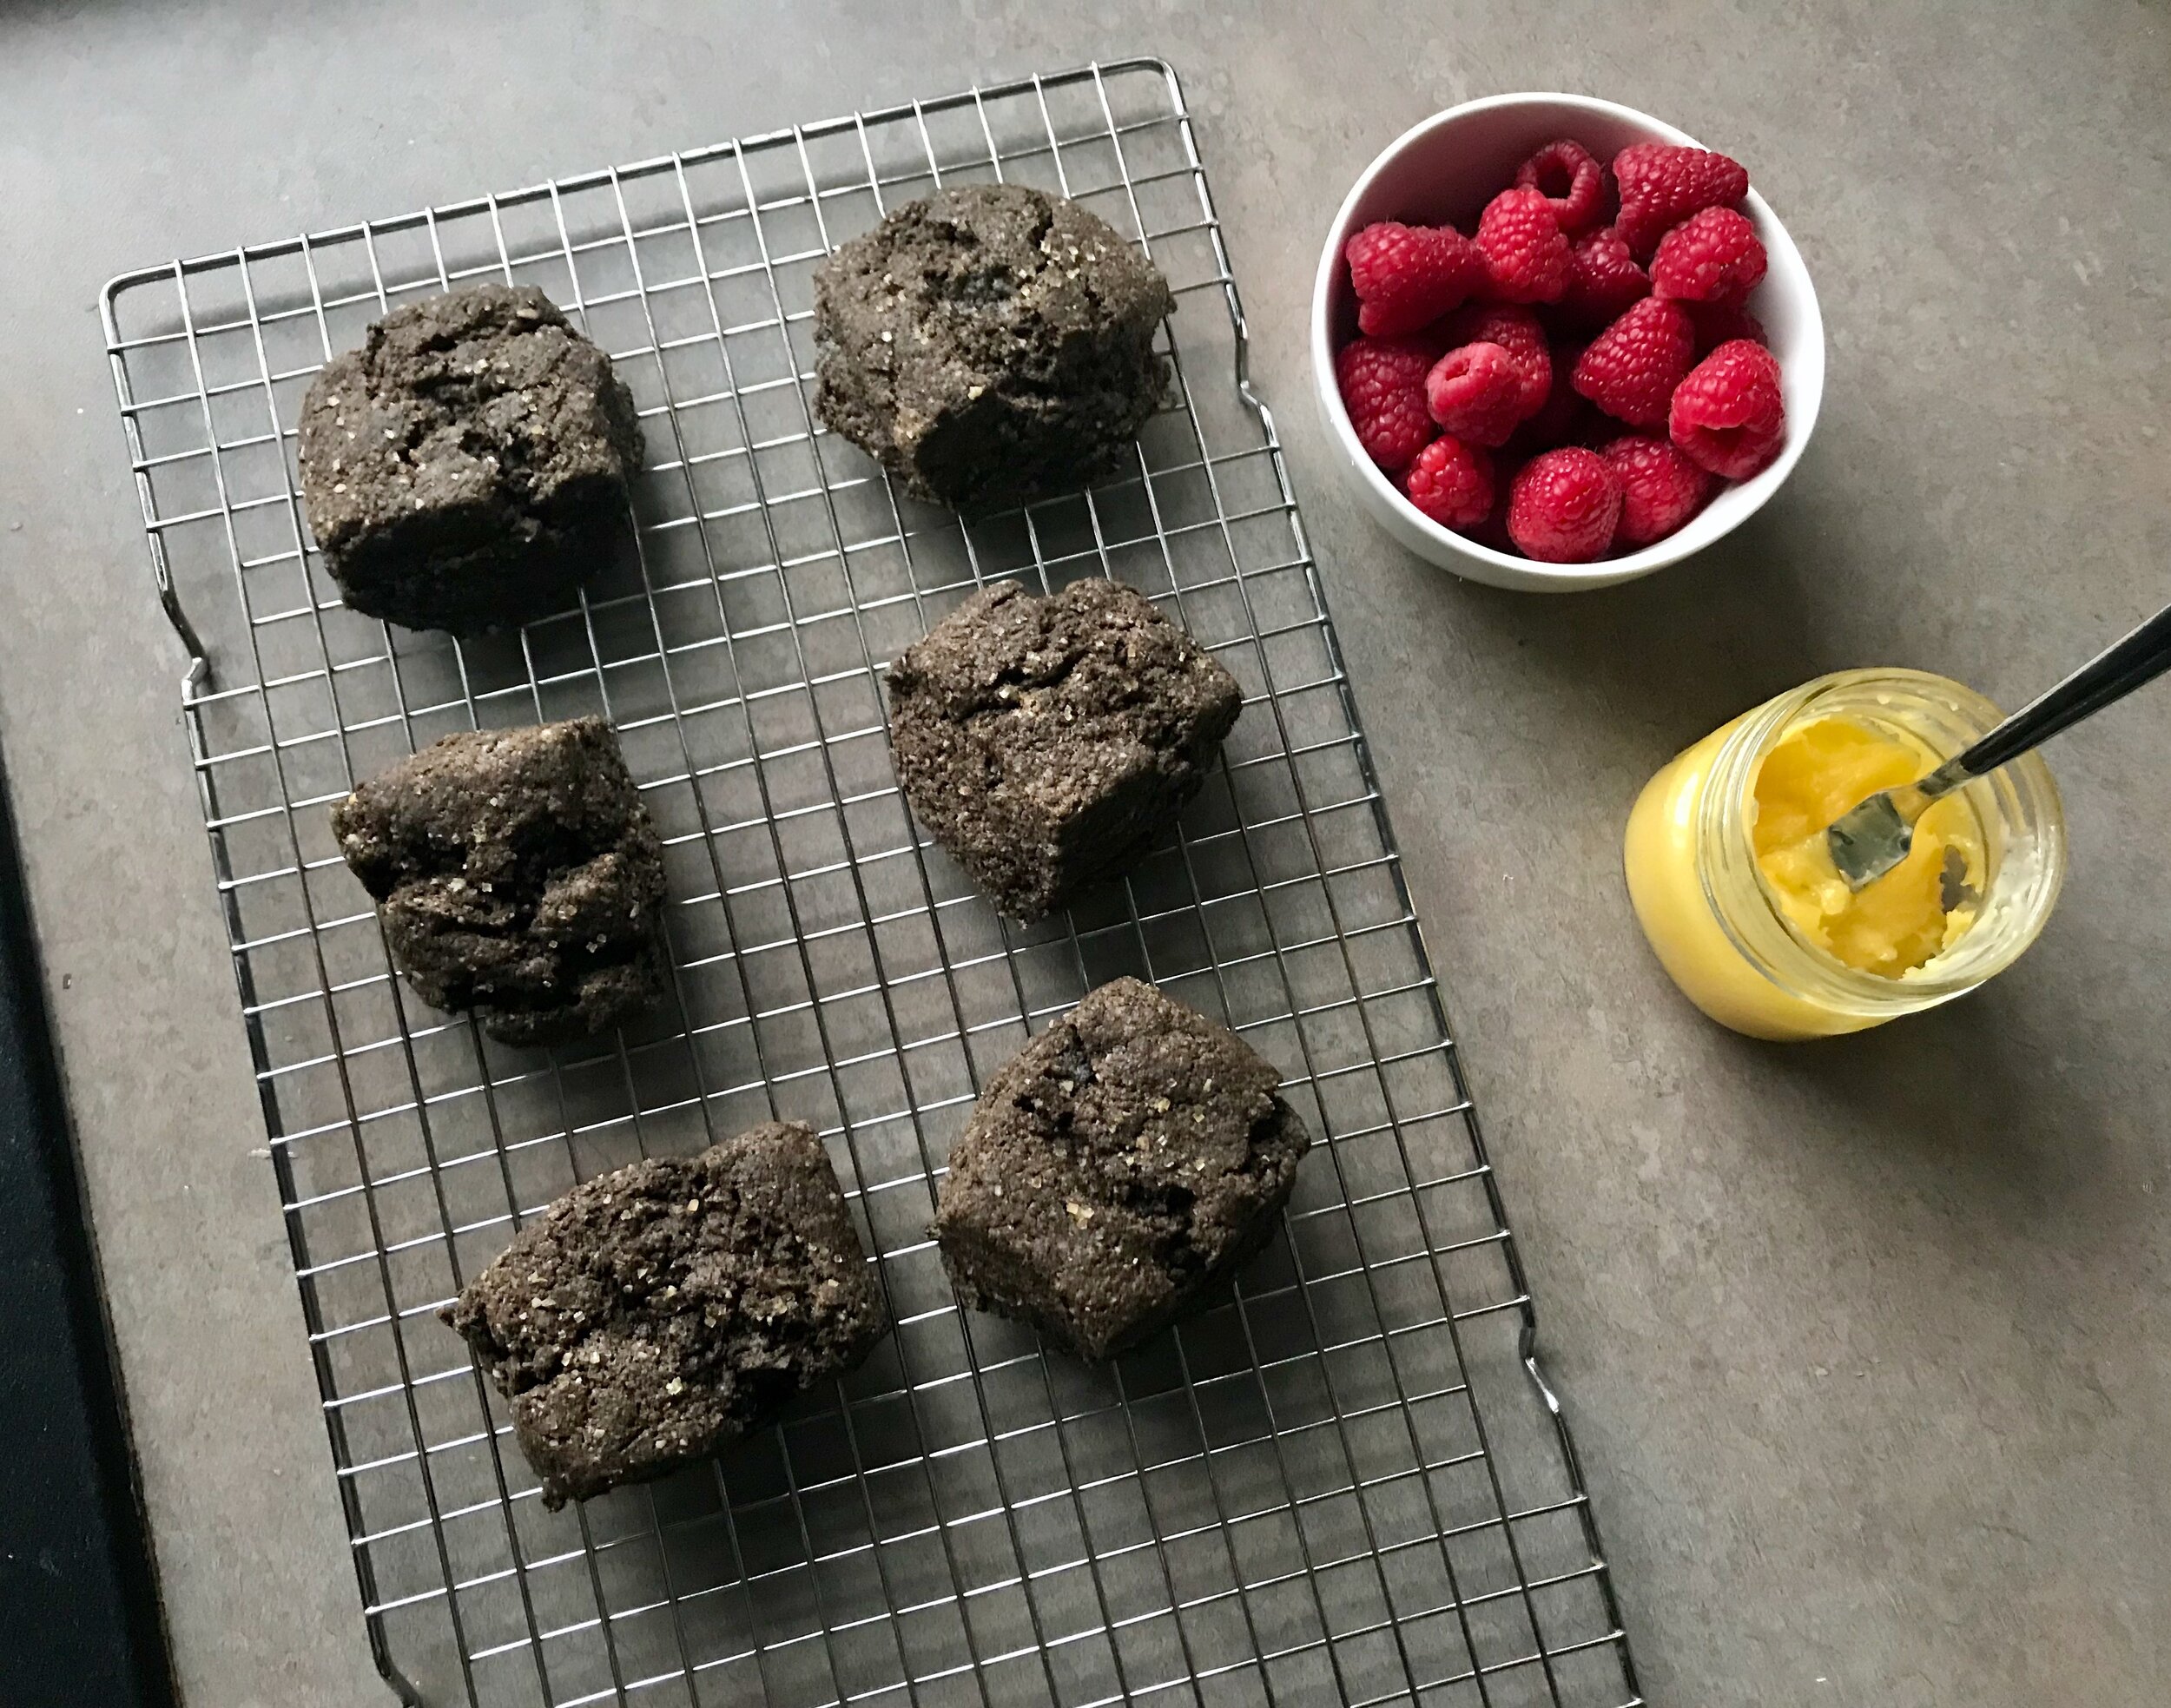
I hadn’t made these scones in a while and now I don’t know why, they are so good! A little crumbly and sandy due to the buckwheat, slightly sweet and nutty. The lemon curd was the perfect accompaniment. I hadn’t tried the combo in the past, but it was wonderful! I may always need lemon curd with these scones.

Lara and I then headed to our parent’s home, with a stop at the dog park for a short hike, for a little relaxation by the fire. Just hanging out which is so nice.
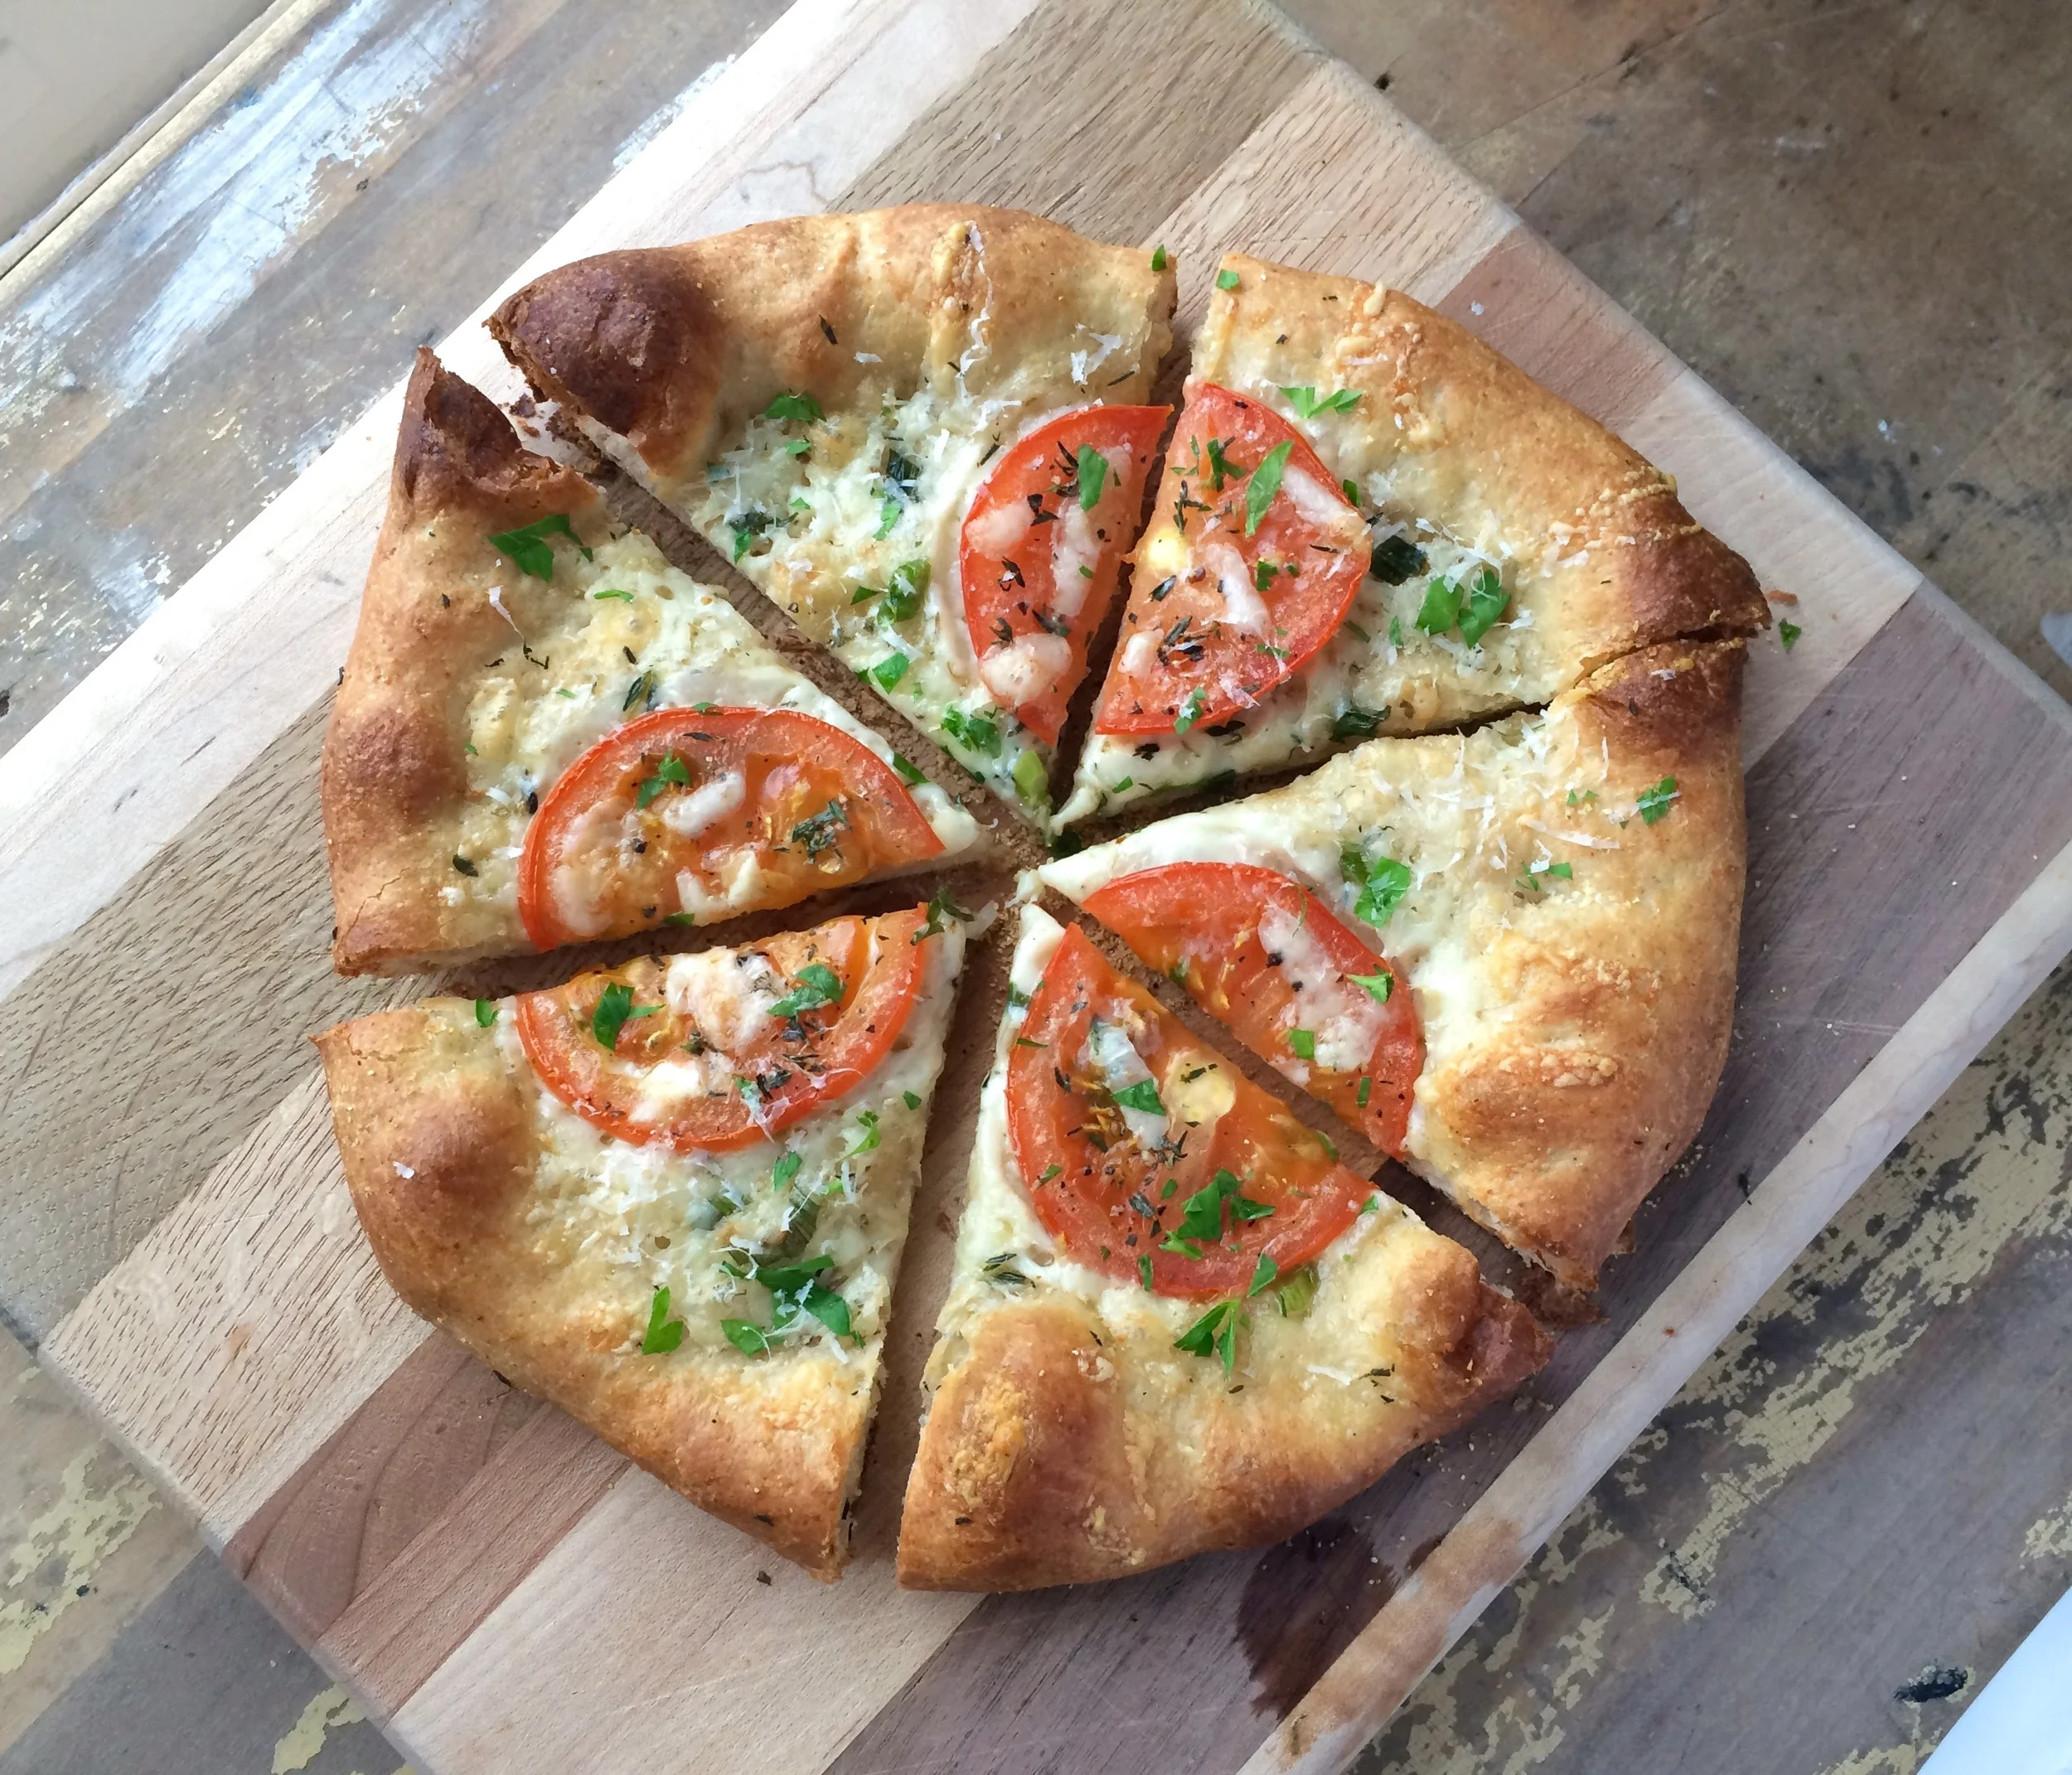
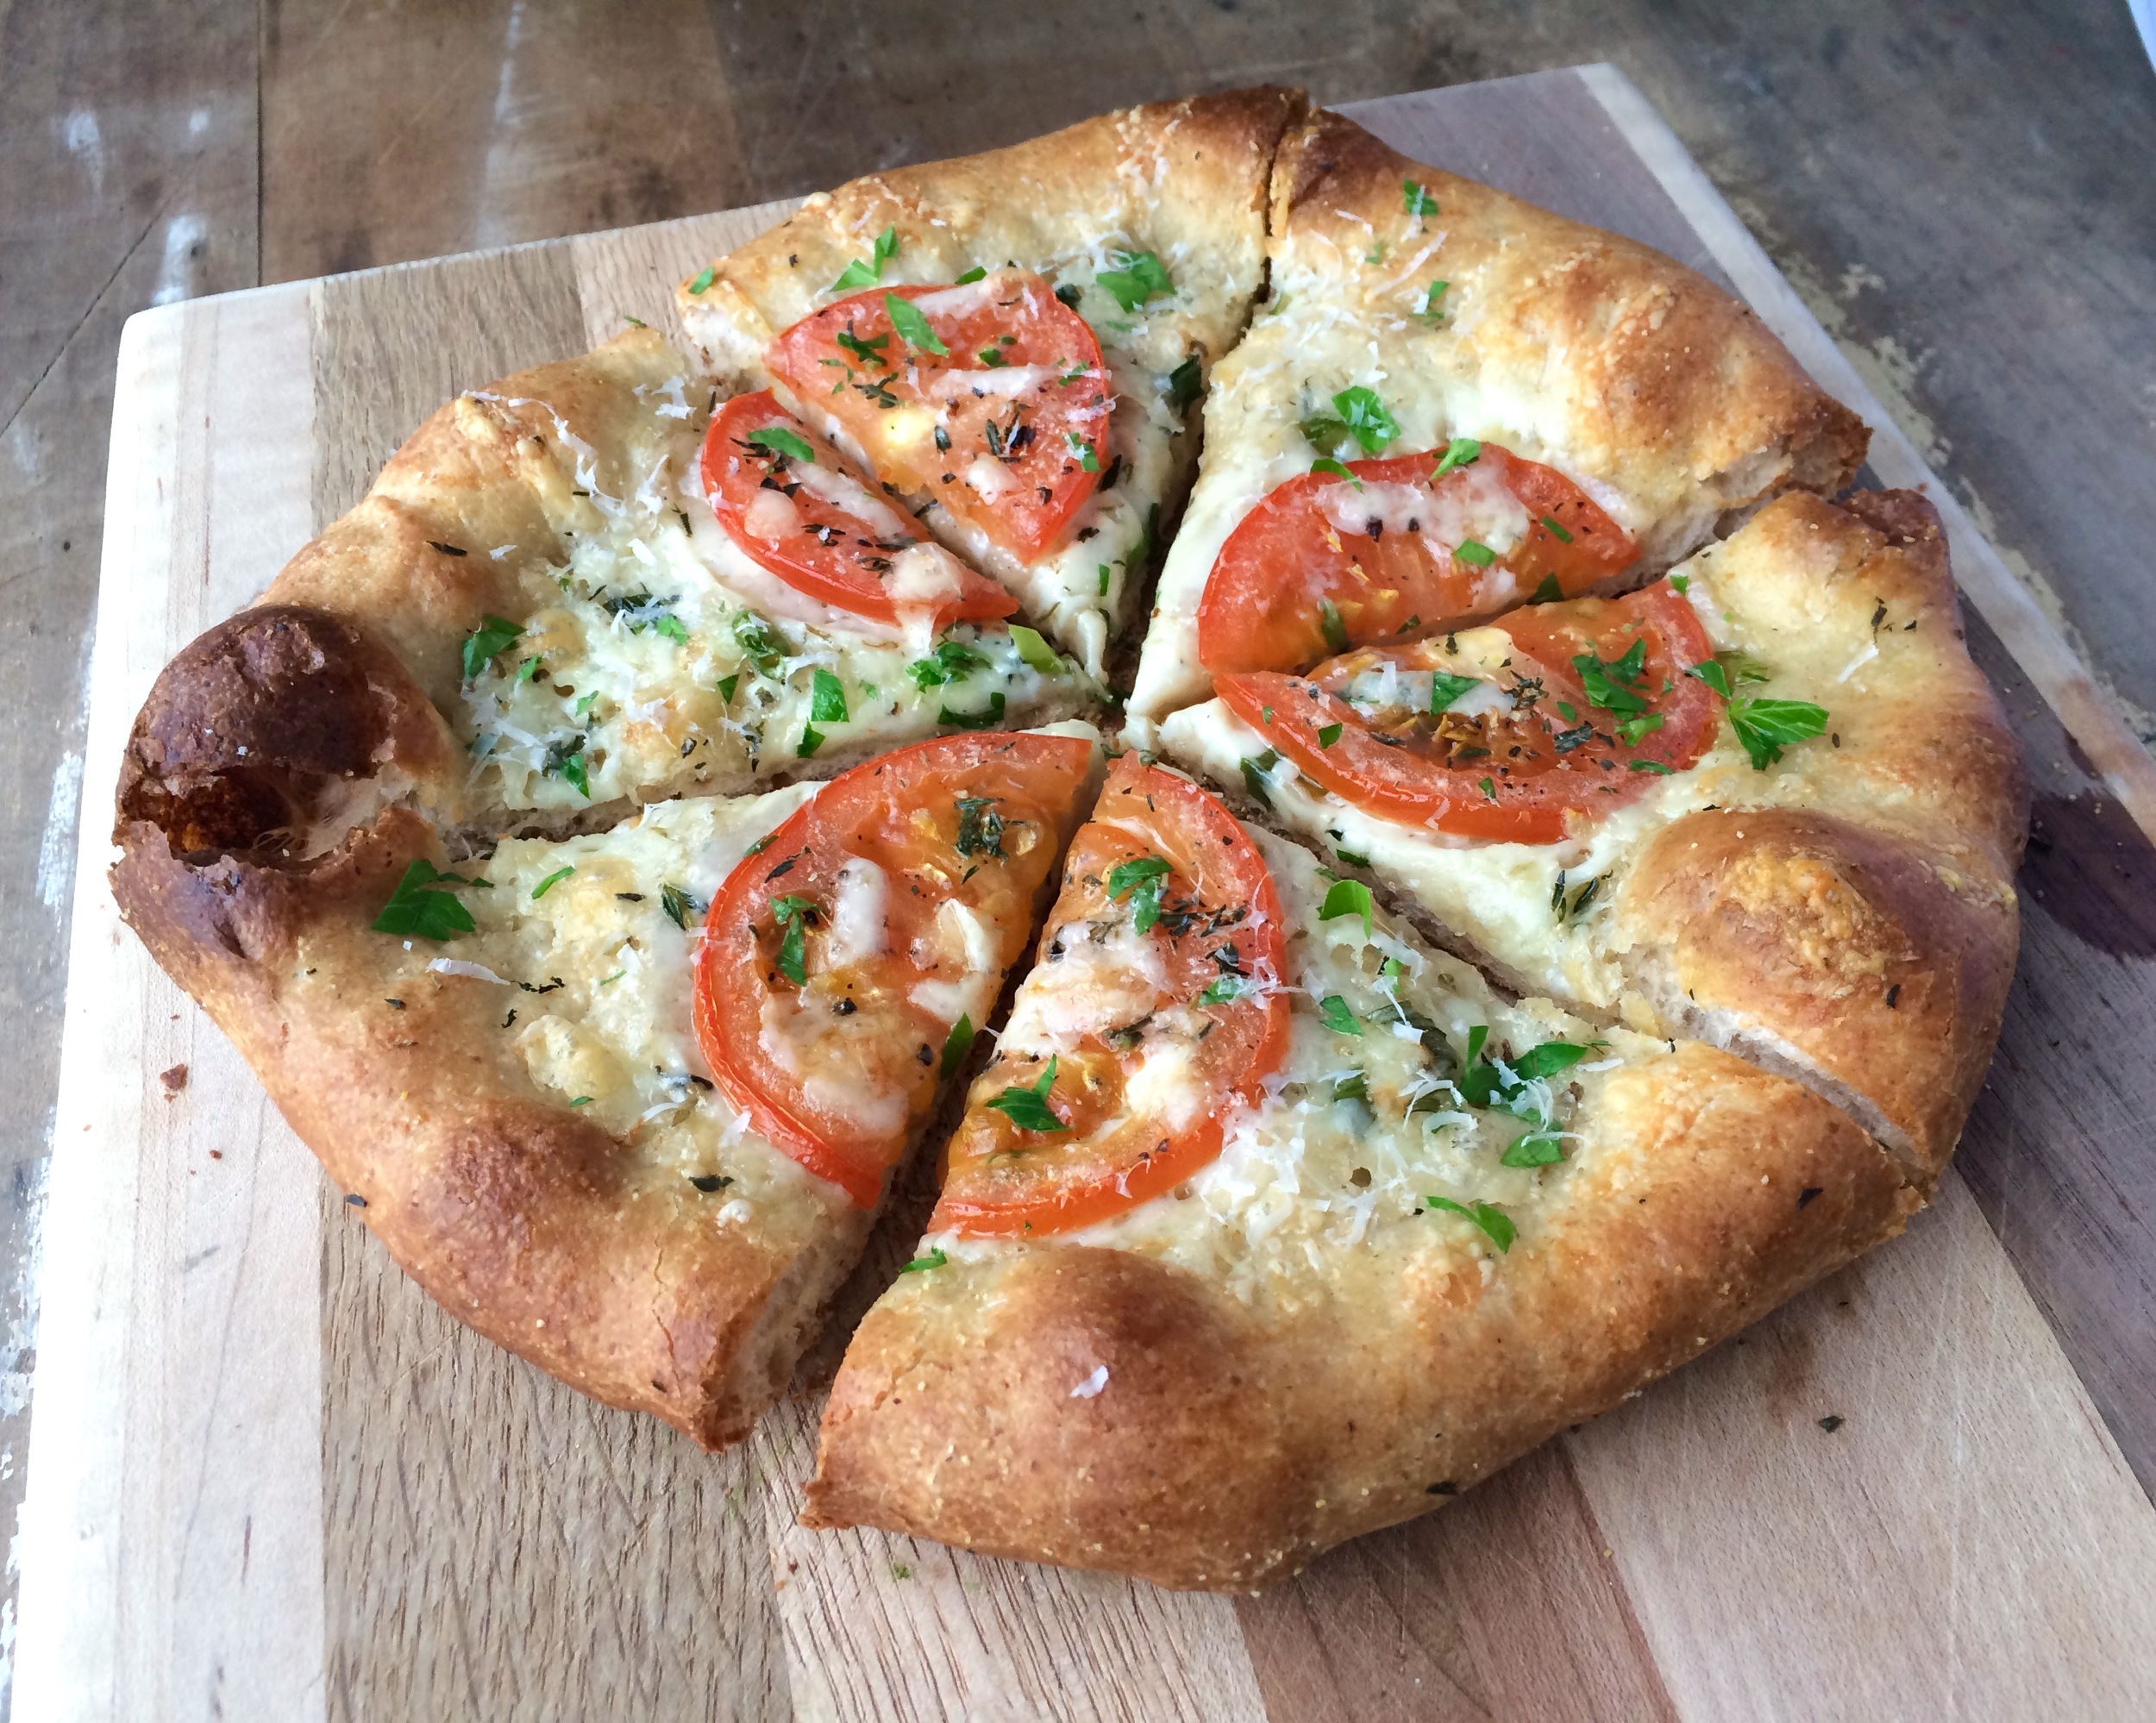
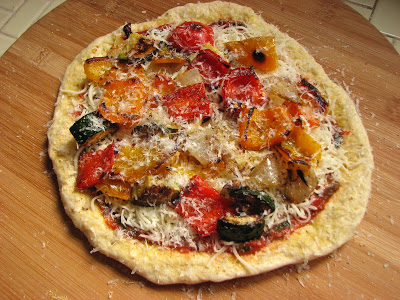
Later that afternoon my brother and his family came over for our (now traditional) homemade pizza dinner followed by presents. I love homemade pizza so this has been a great tradition over the past several years. I hope everyone else likes it too!


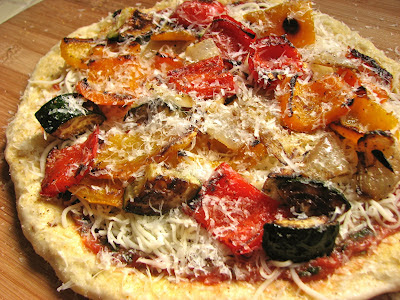
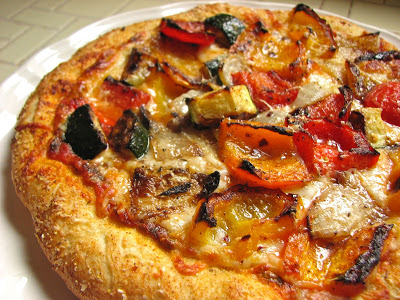
The pizzas turned out really well this year! Last year for whatever reason, I wasn’t happy with how they turned out. I tried baking them on baking sheets, and I’m not sure I even preheated the baking sheets, all I know is they were a little anemic looking and didn’t rise much in the oven. More flatbread like than puffy pizza crust. This year was completely different! I heated two baking steels for over an hour in my mom’s new oven. The dough was nice and puffy, perfectly timed to go straight into the oven after topping. If I had my choice I would let the pizza dough rest a little longer after dividing, but it didn’t really seem to matter this time.


I had people shape their dough on a flour counter, and once shaped as desired they placed the dough/crust on a square piece of parchment paper. Then they could top as desired and the pizza, parchment and all, was transferred to the hot baking steel. I was able to fit two pizzas at a time onto each steel.

We only had one casualty (see left); as I was sliding the whole rack back into the oven after placing my nephew and my brother’s pizzas on the steel, I watched my nephew’s pizza (which was in the back corner of the steel) slowly waterfall off the back of the steel and onto the bottom of the oven. Talk about smoke and burning dough! I was actually able to pick up most of the dough with a large spatula and put it back on the steel in one big blob, but most of the cheese burned in the bottom of the oven. Very sad. Thankfully we had some extra dough for my nephew so he was still able to have a nice pizza. Lara and I enjoyed the blob of pizza. Almost like a calzone! Just without a lot of filling, but the inside of the dough was very soft and fluffy!
All the rest of the pizzas turned out great thankfully! I found out that my mom’s oven seems to be significantly hotter than mine. The pizzas only baked for maybe 5-8 minutes (I didn’t really time it) which is so much less time than I do at home. And the bottoms of the first pizzas were even a little charred and burned in spots (which I loved, but my nephew wasn’t a fan of). Even though I preheat mine to 550 degrees for over an hour sometimes, it has never been as hot as hers was (and I think hers only preheats to 500 degrees). Now I’m questioning my ovens accuracy, it’s ability to actually get up to 500 or 550 degrees, or perhaps my electricity… I know for a fact the electric in my house is NOT great. So I’m super excited for my kitchen renovation! New electrical, new oven - I can’t wait to see how much better everything will work (as I anticipate it will!)!
After pizza it was time for presents. Lots of presents! This seemed to be the year of the canvas bag! I got two (one farmers market bag, and a reusable grocery bag, both from Food52), and Lara got a canvas garden bag. They’re all beautiful and will be very useful I have no doubt. I also got some great running gear, a headband and scarf from Tracksmith to add to my winter running wardrobe which has greatly improved over the past month. I finally pulled the trigger and bought myself some new winter running tops and tights and it has been glorious! The stuff I had been wearing was SO old! I was wearing some of it in college it’s that old. I’m still waiting on a new running jacket (the NDO jacket from tracksmith) which I splurged on and bought myself on boxing day, the day it was available. Should be coming this weekend and I can’t wait to try it!
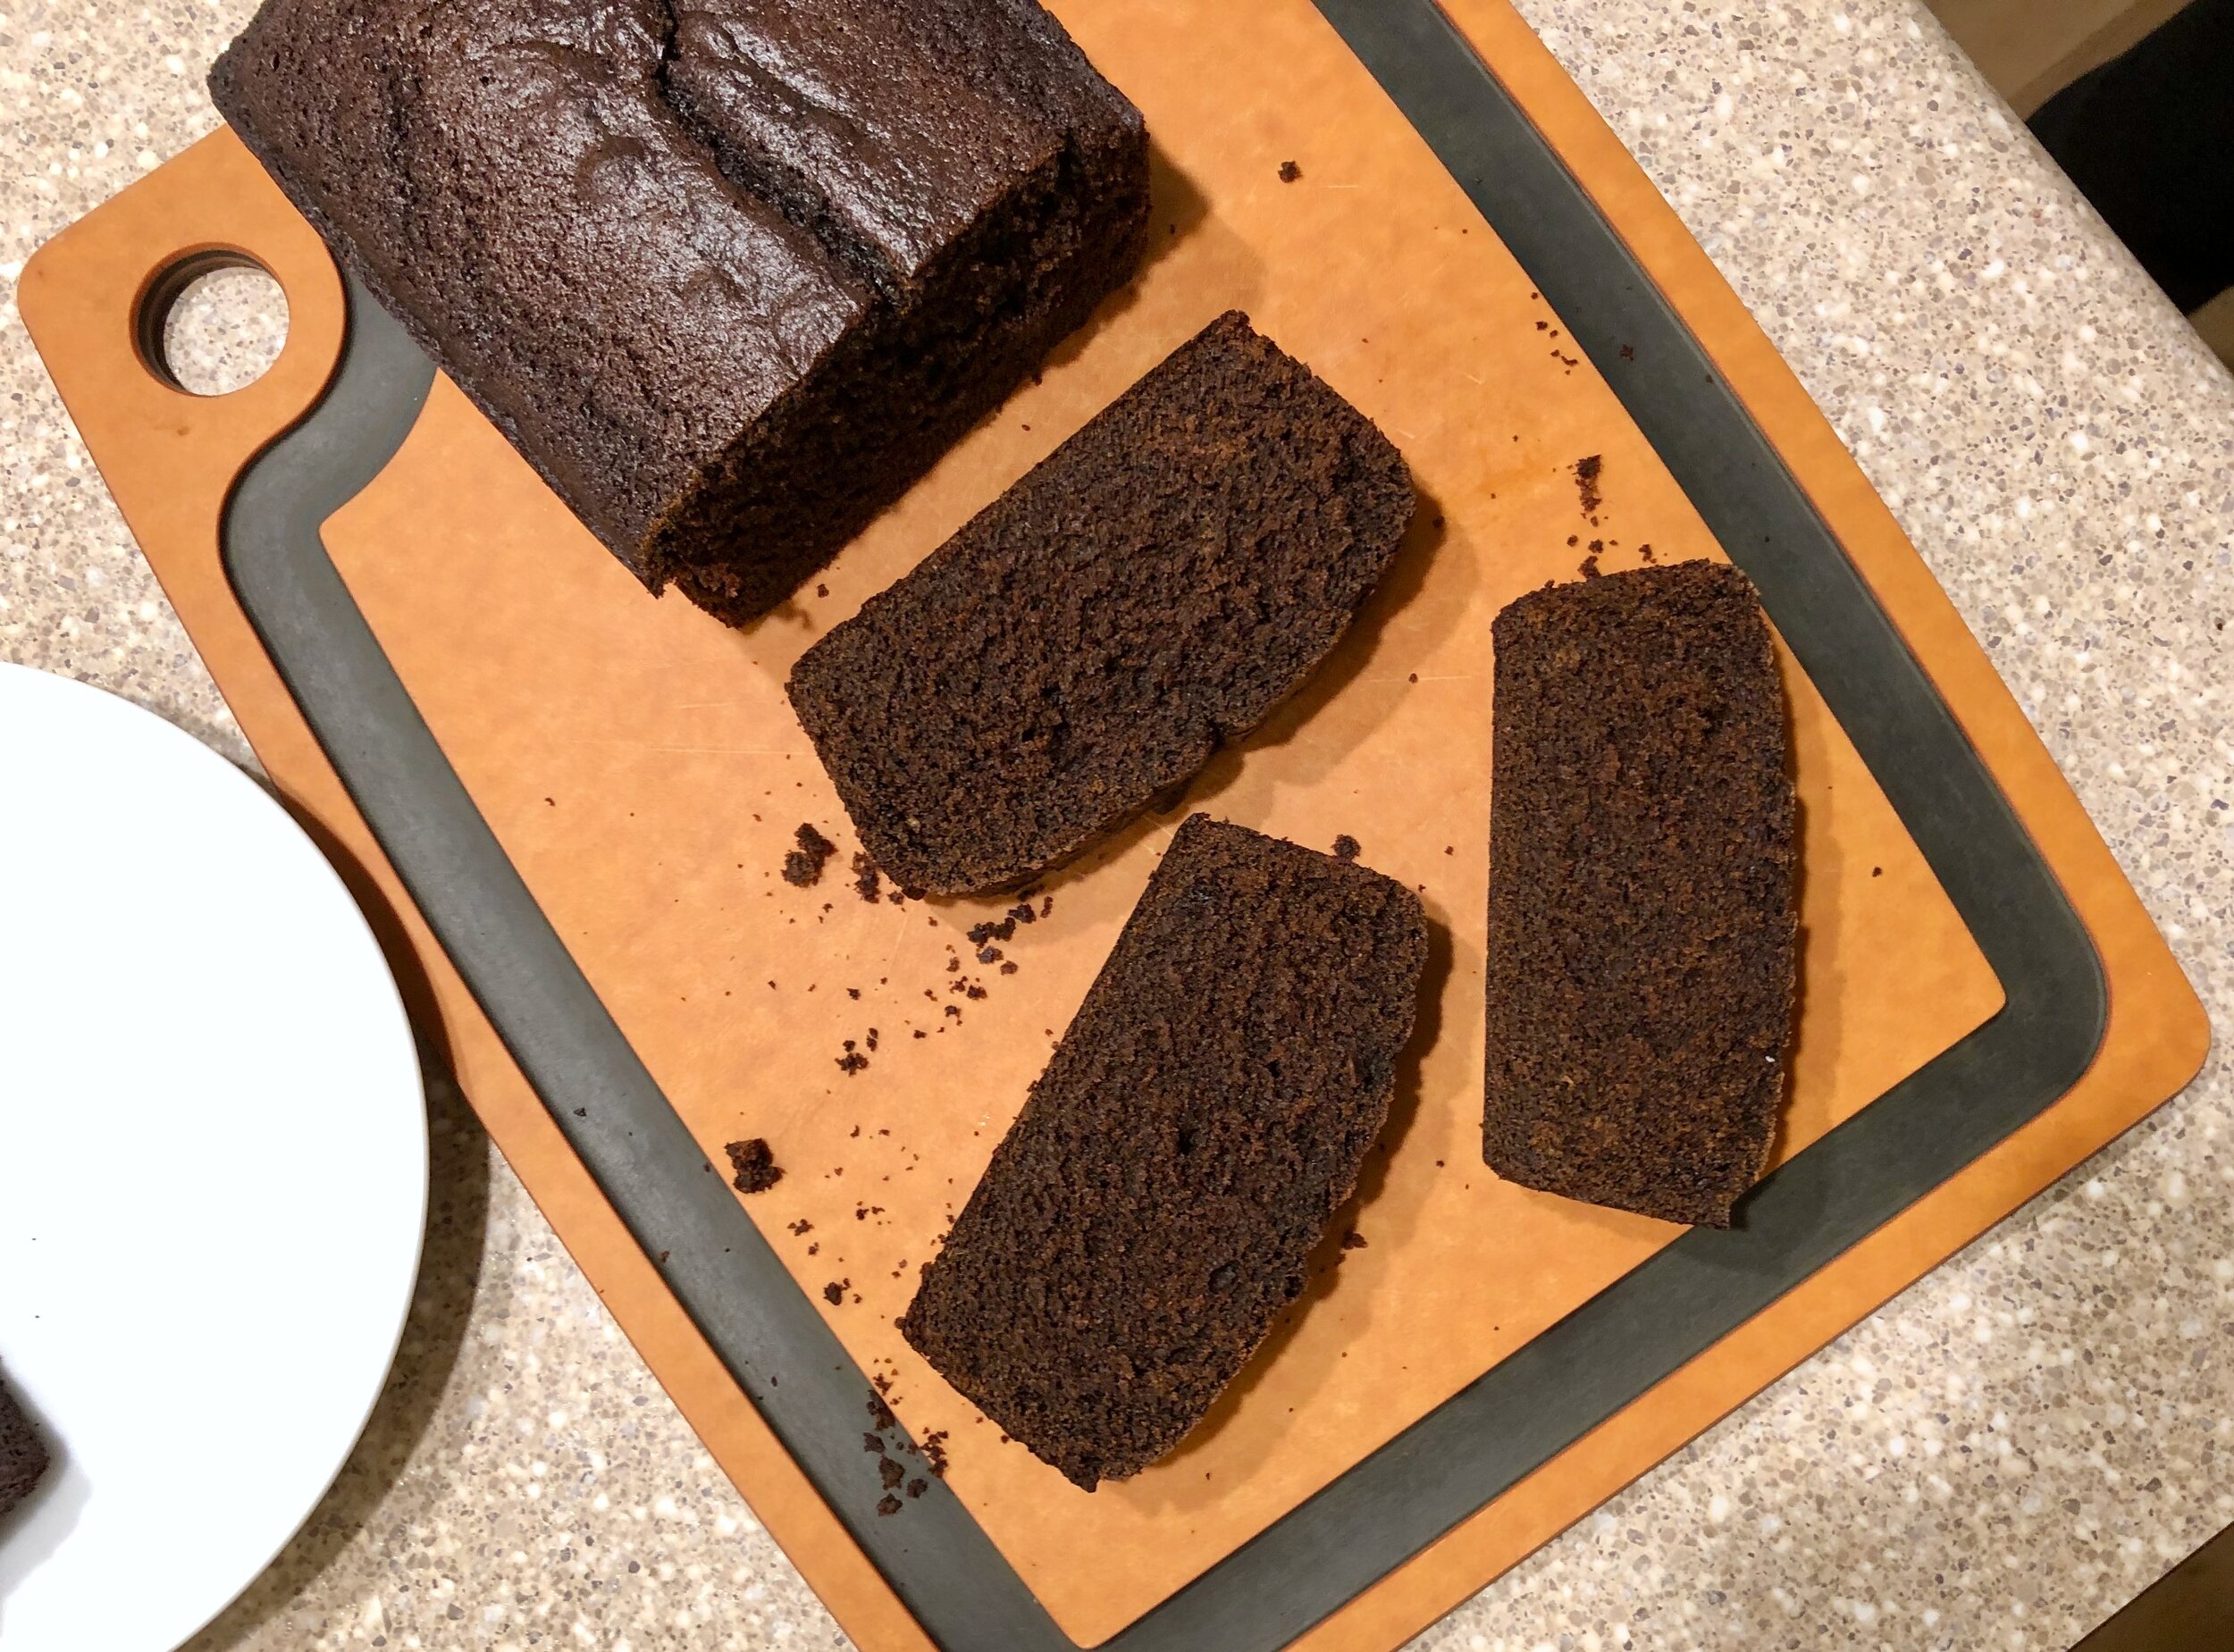
After presents we enjoyed a short dessert time before everyone headed home. Earlier in the afternoon I had felt like baking something, so Lara found a recipe for a gingerbread loaf cake that was quick and easy to throw together, and my mom had all the ingredients in the house. So we had baked that before pizza time. I loved it! I love gingerbread and this cake was perfect! We used a combo of dark, and blackstrap molasses which is what my mom had, and I thought it was great. I like using the darker molasses in baking. It just adds more flavor, and bitterness which I like. The cake was moist and rich. It would have been perfect with a little whipped cream or my personal favorite, cream cheese frosting. But it was wonderful on it’s own as well. I will definitely make this again.
Basic Pizza Crust
From Sally’s Baking Addiction
Ingredients
3 and 1/2 cups (440g) all-purpose flour
2 and 1/4 teaspoons instant yeast
1 Tablespoon (13g) granulated sugar
3/4 teaspoon salt
2 Tablespoons (1 ounce) olive oil
1 and 1/3 cups water
Directions
Prepare the dough: In the bowl of a stand mixer with the dough hook in place, whisk together the flour, yeast, sugar and salt. Add the olive oil and mix until the dry ingredients are slightly moistened and coated in the oil. Then add the water and knead for 5-6 minutes until a smooth shiny dough is formed. Form the dough into a ball and place in a lightly oiled bowl.
Cover with plastic wrap and allow the dough to rise 60-90 minutes at room temperature, or until about double in size.
Shape the dough: When the dough is ready turn it out onto a lightly floured work surface. Divide the dough into two pieces and shape each piece into a round. Let these rest on the counter for 5-10 minutes to help the dough relax.
Shape the dough: press each ball of dough into a disc and stretch and flatten the disc into a circle, approximately 12-inches in diameter. Cover dough lightly with plastic wrap or a clean kitchen towel and allow to rest for a few minutes as you prepare your pizza toppings. (You can also top immediately and bake if you don’t have the time, it will turn out either way if you’re in a pinch).
For this Christmas I made 2.5 batches of the dough above. From this I ended up making 7 pizzas initially, and then an 8th after my nephew’s initial pizza fell off the steel. After all that we still had a little dough left over. Probably a little more than one pizzas worth, but I didn't weigh it. Each pizza was 215 grams which I thought was a nice size. They were definitely not too small. More than I want to eat on my own for sure. But no one else had any trouble finishing theirs off! Everyone else ate their own whole pizza, Lara and I ate 1/3 each of ours.
Spiced Gingerbread Loaf
From Sally’s Baking Addiction
Ingredients
For the Cake:
2 cups (250g) all-purpose flour
1 teaspoon baking soda
1 and 1/2 teaspoons ground ginger
1 and 1/2 teaspoons ground cinnamon
1/4 teaspoon ground cloves
1/4 teaspoon salt
1/8 teaspoon fresh ground pepper
3/4 cup (225 grams) unsulphured or dark molasses
3/4 cup (6 ounces) hot water (about 100°F (38°C))
1/2 cup (115g; 1 stick) unsalted butter, softened to room temperature
1/3 cup (67g) packed light or dark brown sugar
1 large egg, at room temperature
1 teaspoon pure vanilla extract
For the Orange Icing:
1 cup (120g) confectioners’ sugar, sifted
2–3 Tablespoons (30-45ml) orange juice
Directions
Adjust the oven rack to the lower third position and preheat oven to 350°F. Grease a 9×5-inch loaf pan. Set aside.
In a medium bowl, whisk the flour, baking soda, ginger, cinnamon, cloves, salt and pepper together until combined. Set aside. In a separate bowl or dish, whisk the molasses and hot water together.
In a large bowl using a handheld or stand mixer fitted with a paddle attachment, beat the butter on high speed until smooth and creamy – about 1 minute. Add the brown sugar and beat on high speed for 1 minute until creamed together fairly well. Scrape down the sides and up the bottom of the bowl with a rubber spatula as needed. On medium-high speed, beat in the egg and vanilla extract until combined. Scrape down the sides and up the bottom of the bowl as needed. With the mixer on low speed, add the dry ingredients in three additions alternating with the hot water/molasses and mixing each addition just until incorporated. Avoid overmixing. Batter will be thin.
Pour batter into prepared pan. Bake for around 50-60 minutes (mine went about 47 minutes , I had to restart the timer at one point so I may have lost a few minutes, but it was perfect, so I’d probably start checking at around 45 minutes) or until baked through. All ovens are different and your loaf could take a little more or less time. To test for doneness, insert a toothpick into the center of the gingerbread loaf. If it comes out clean with only a couple moist (not wet) crumbs, it is done. Allow to cool completely in the pan set on a wire rack before removing from pan.
Make the icing: Whisk the confectioners’ sugar and orange juice together. Drizzle over cooled loaf. Tasty I’m sure, but option. Very good without the glaze.