Chocolate Stout Cake, and a Birthday!

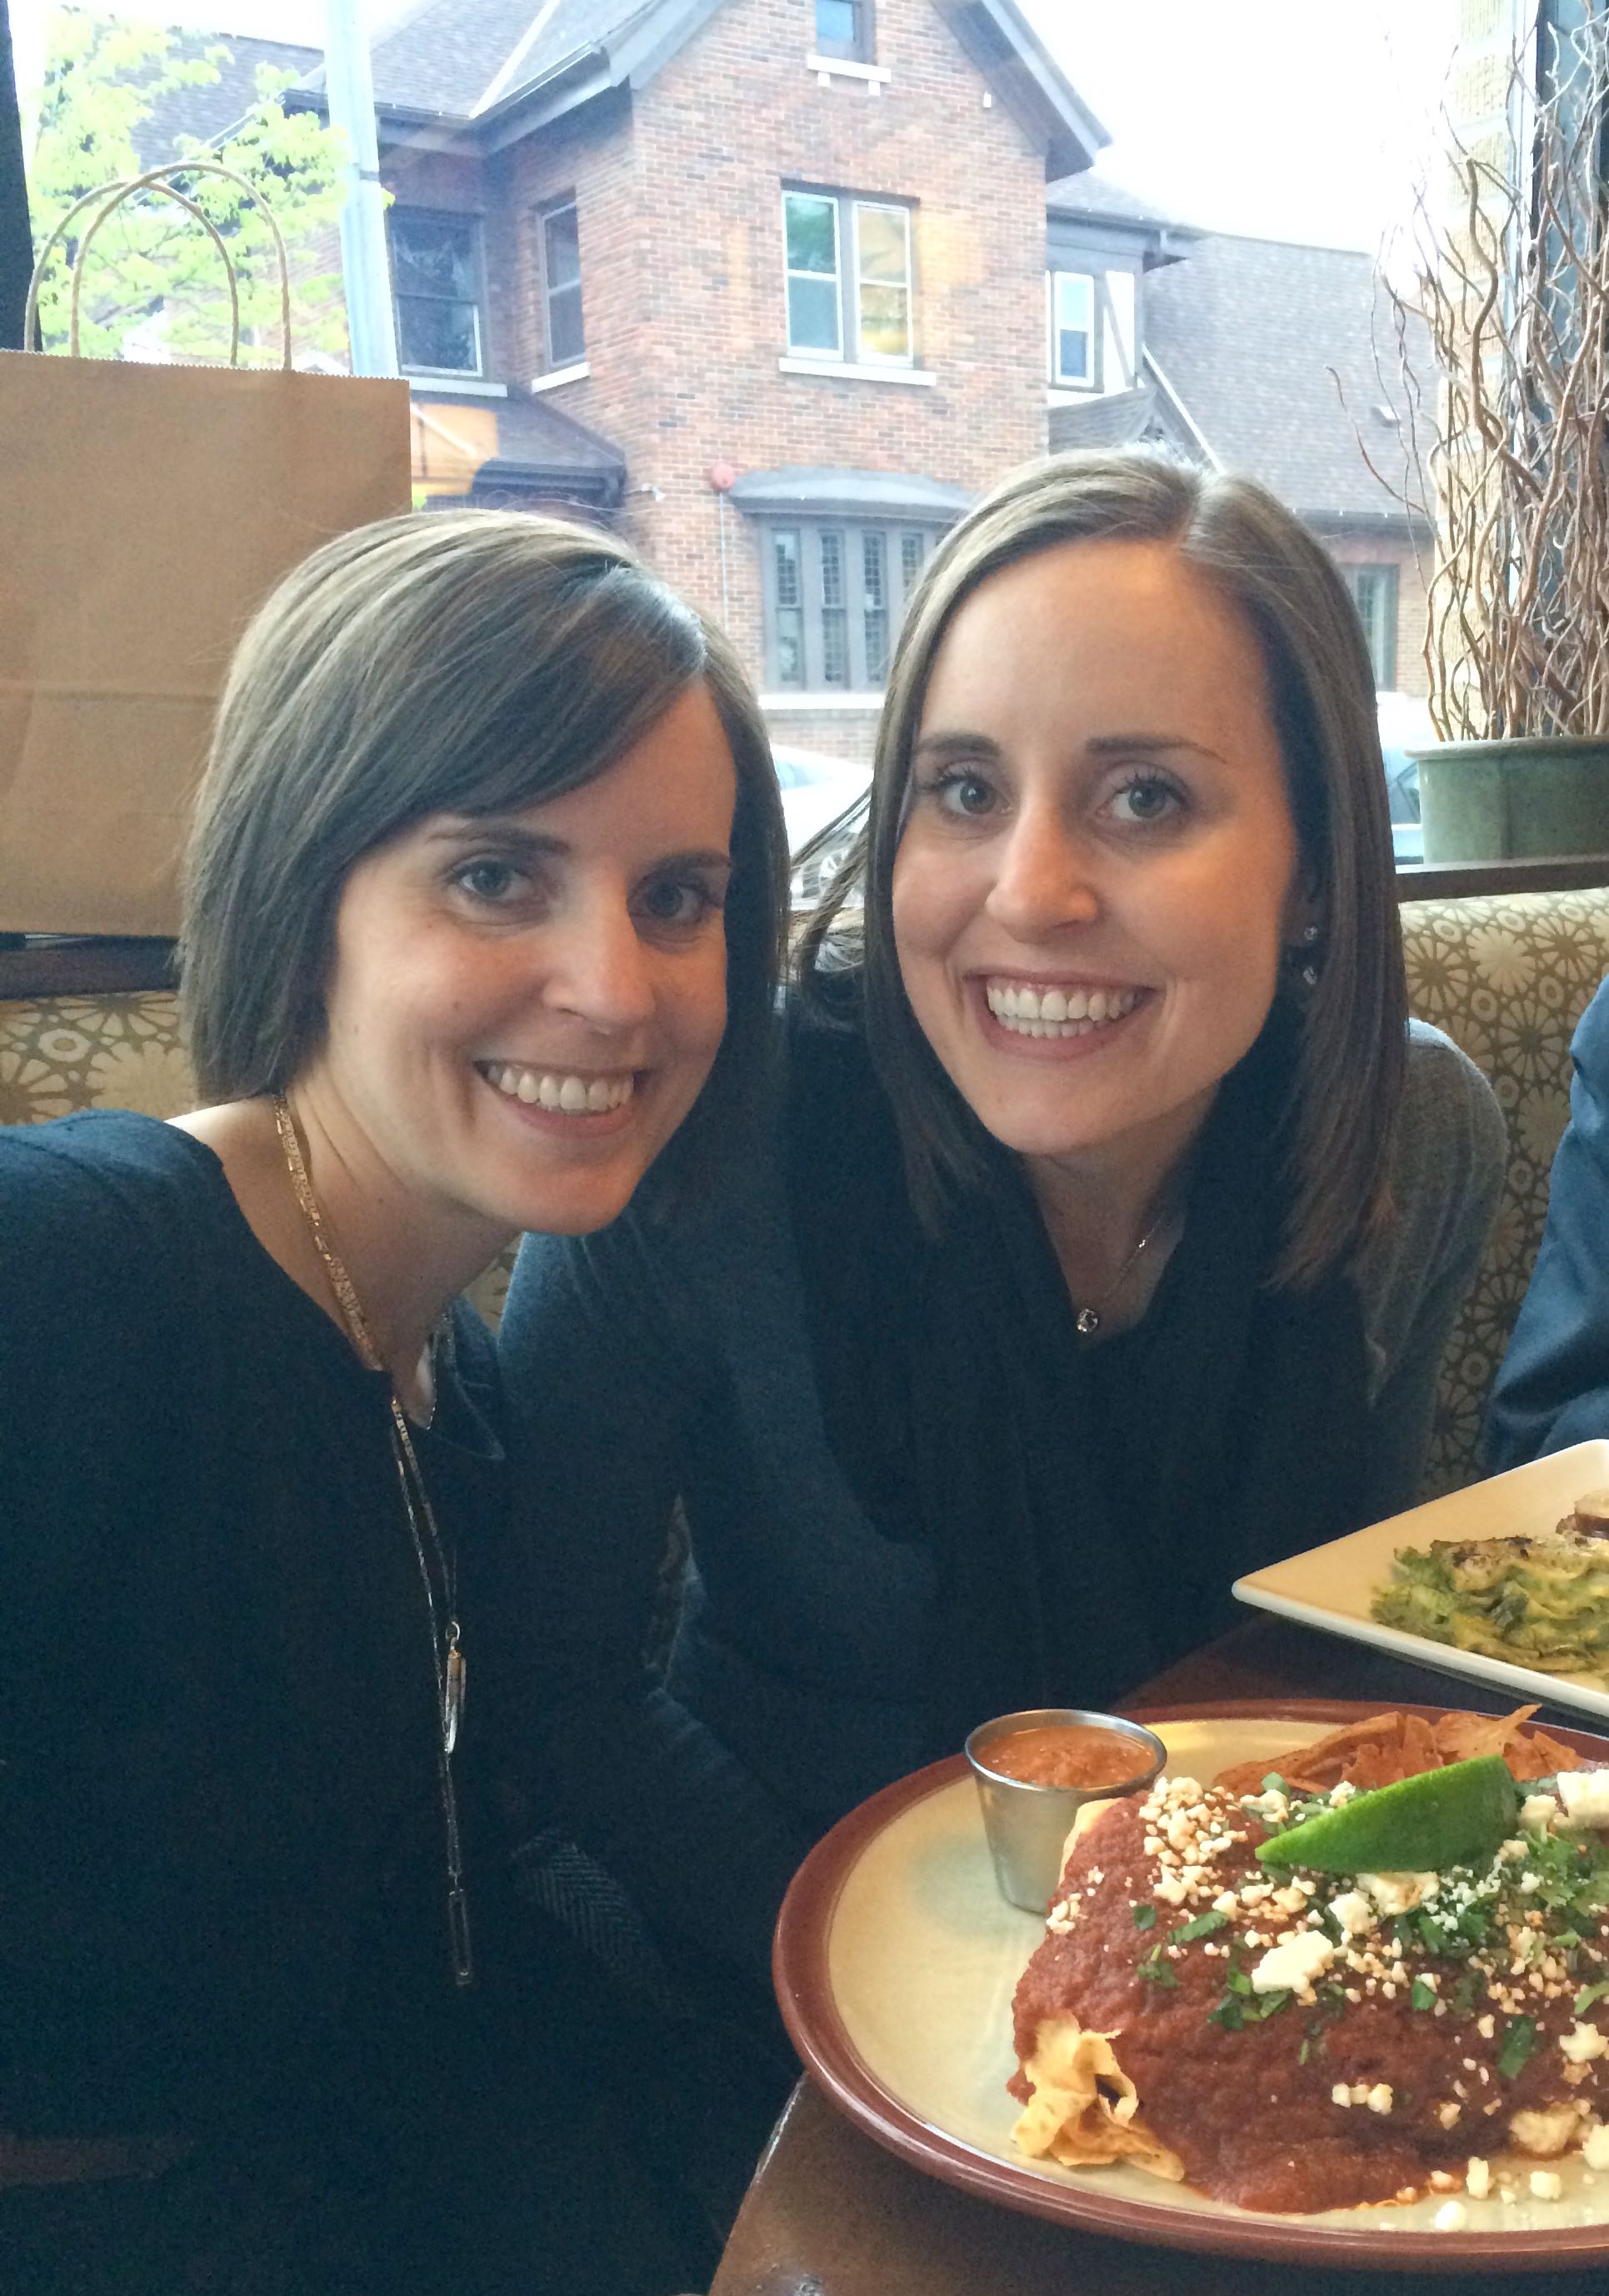
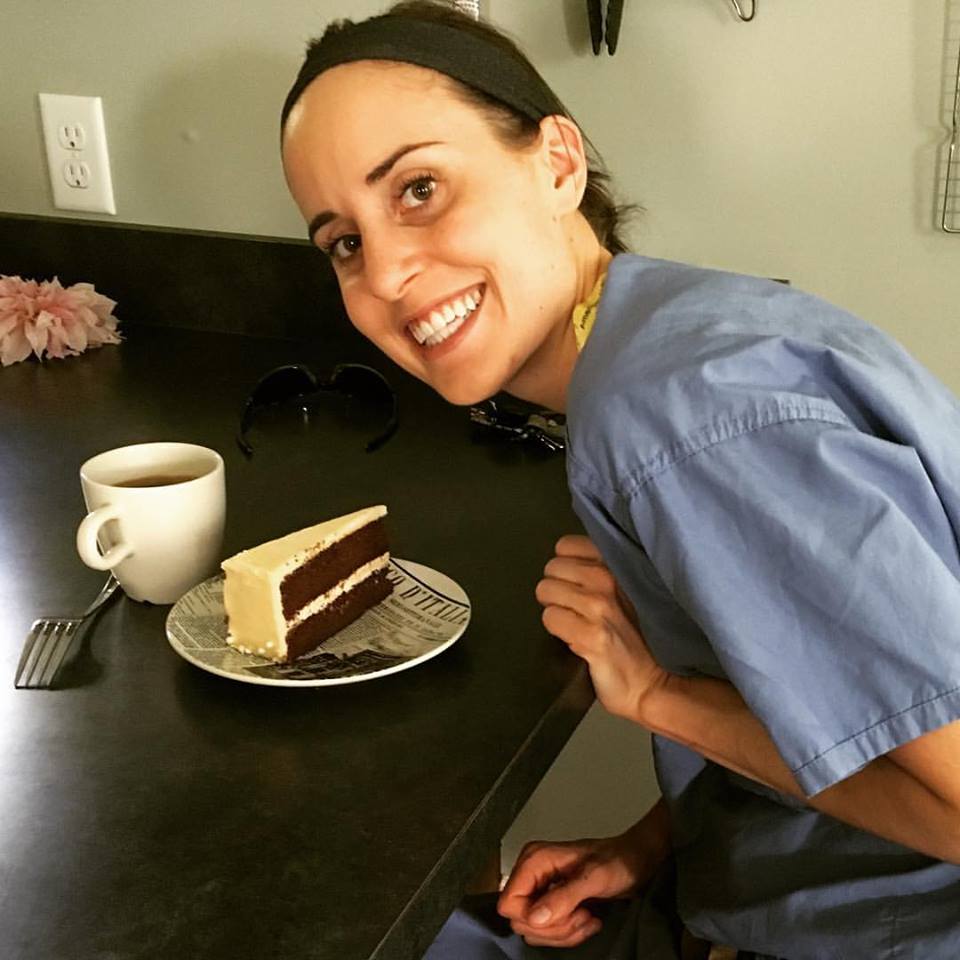
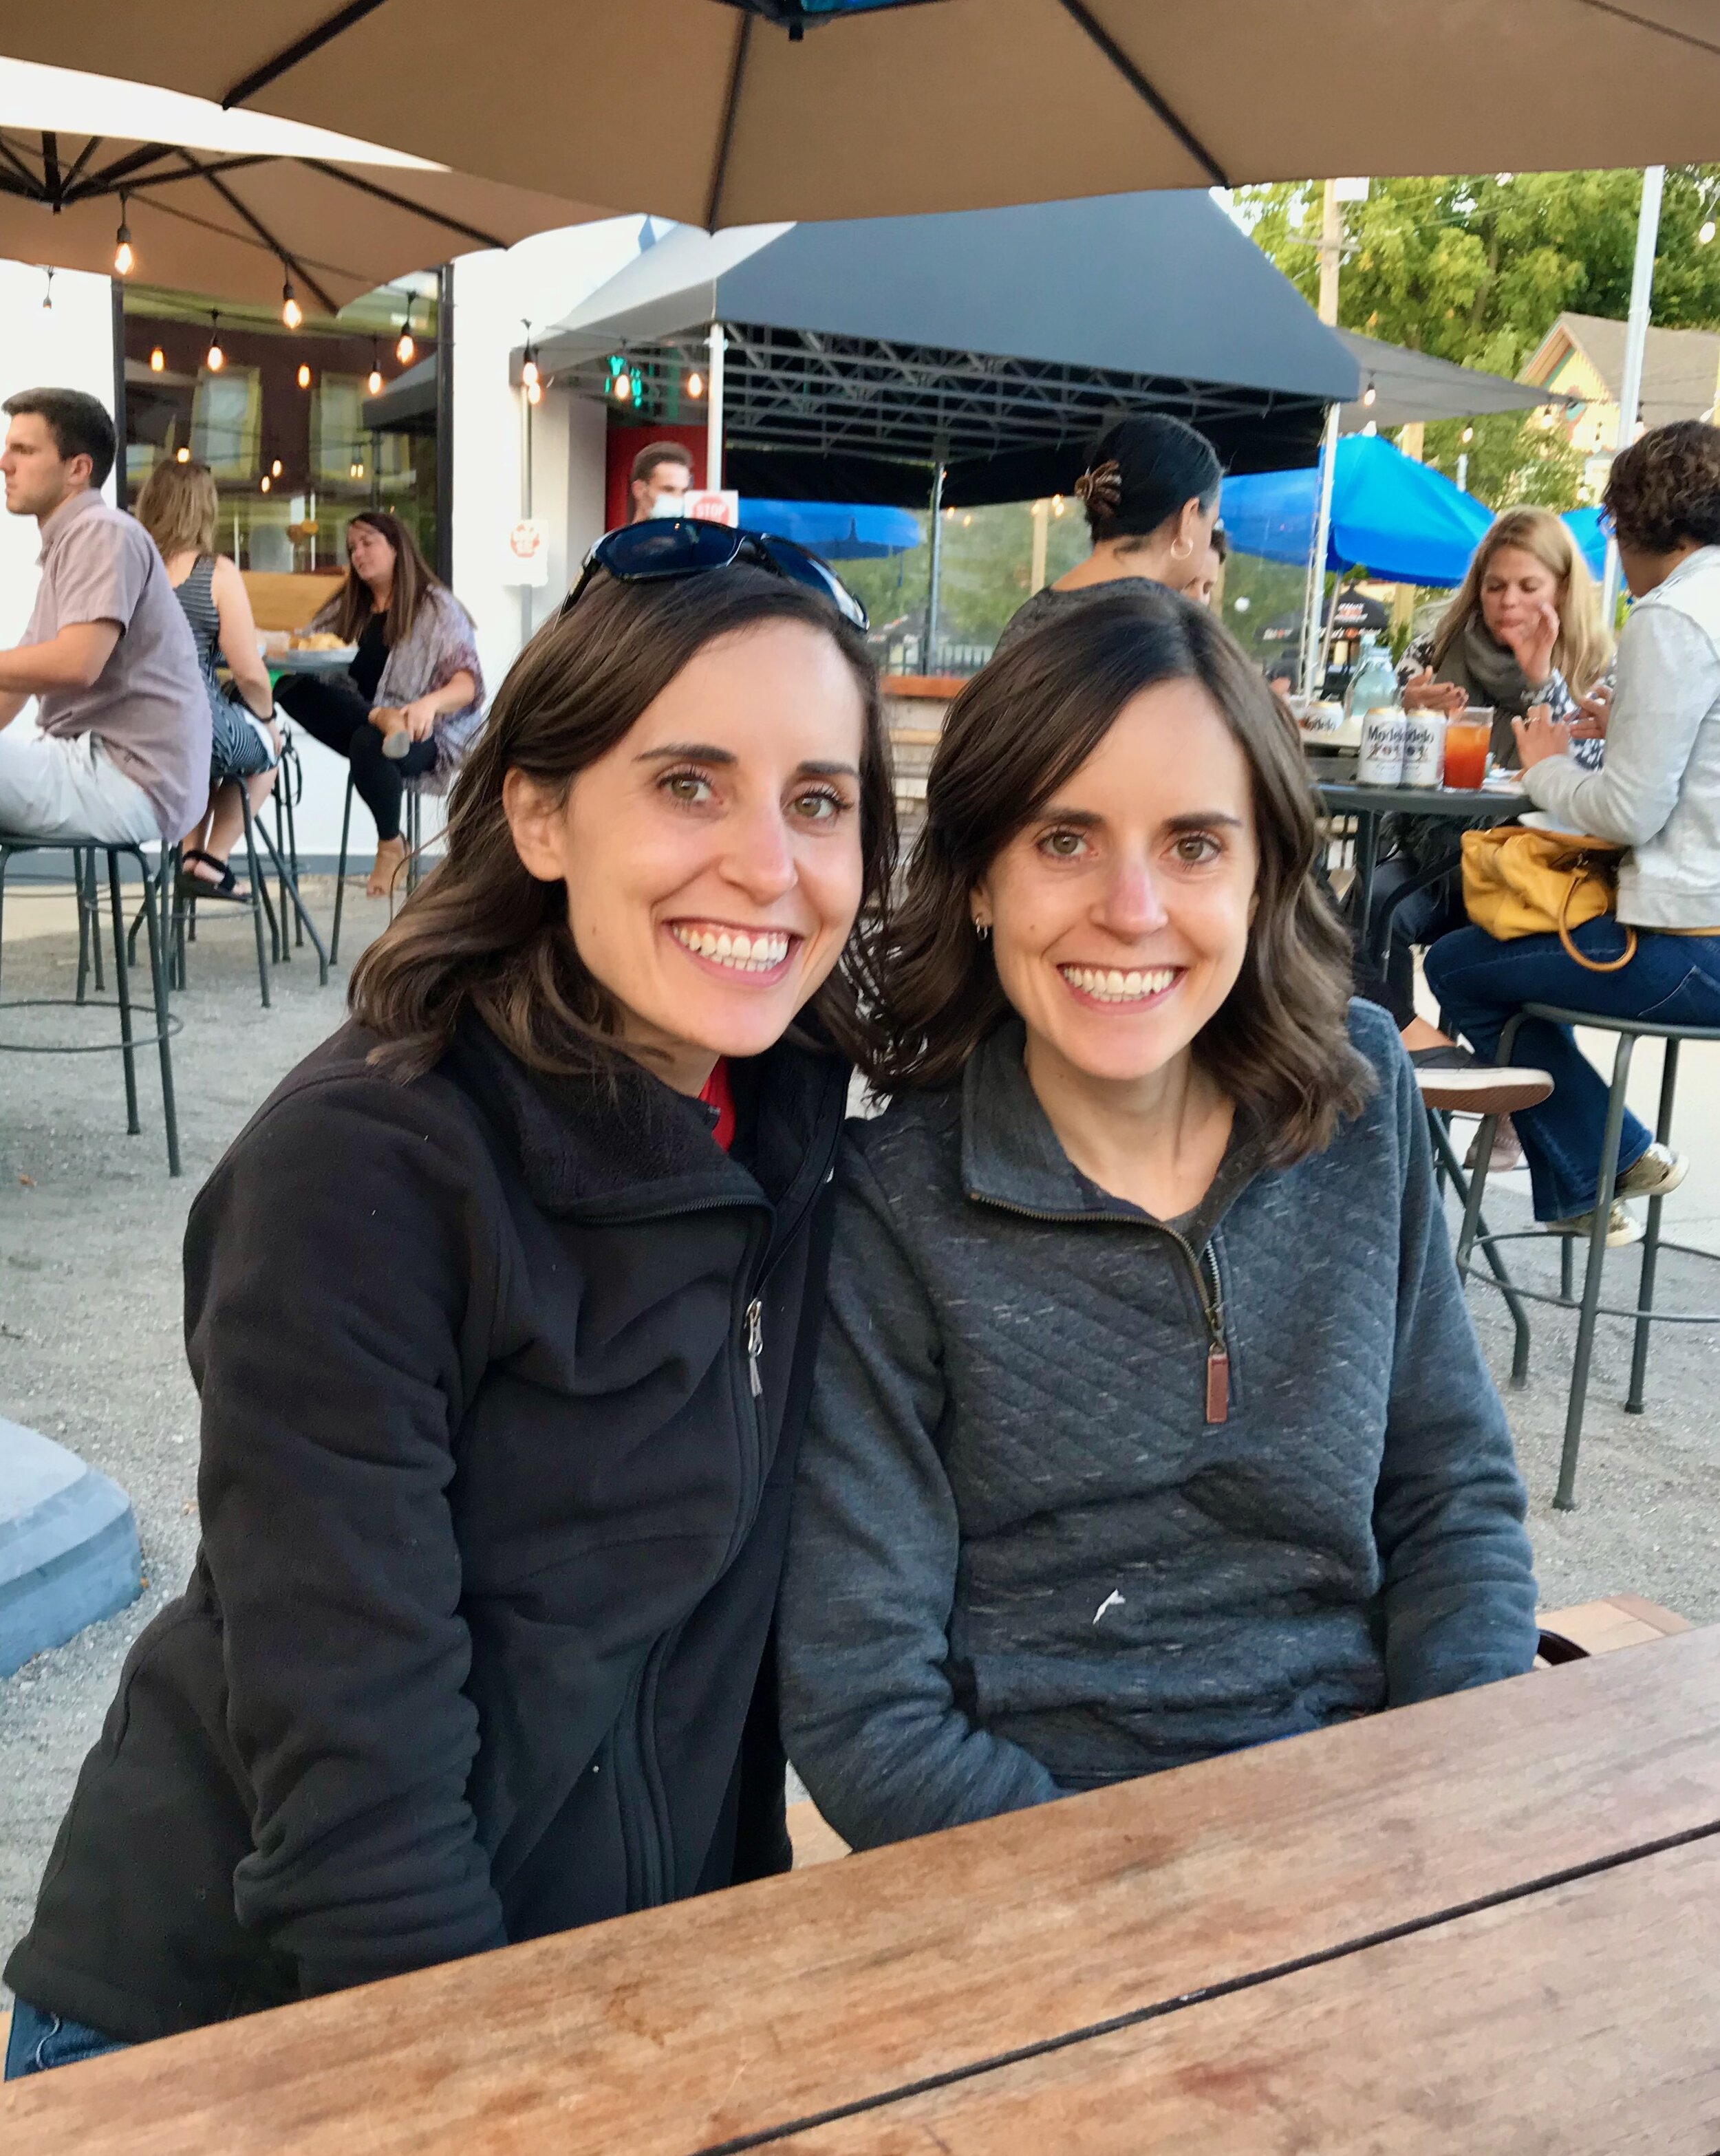
Last week Lara and I celebrated our 33rd birthday! We took a few days off of work and had an extra long weekend! It was full of relaxation, good food, good company and our course, CAKE!!!

Lara and I couldn’t decide on a birthday cake flavor. We thought about it on and off for weeks, truly, weeks. There are so many good options that it’s hard to decide! The weekend before our birthday we went to Grand Haven for a nice walk, and to have a beer at Oddside Ales. We had been wanting to go there to get a beer and truffle fries and this weekend was the perfect time. At Oddside we tried a stout called Haze'l’s Nuts Stout. This is a BBA imperial stout with coffee and hazelnut. It was delicious and I immediately thought it would make a super fun cake.

Lara had made a chocolate stout cake back in June. Just because! Well, really to kind of celebrate the “end” of COVID. We both finally got back to work and things started to settle down a little so we celebrated with cake! It was the best chocolate cake we had made, so we had both been looking for a reason to make it again. A birthday seemed like the perfect reason!

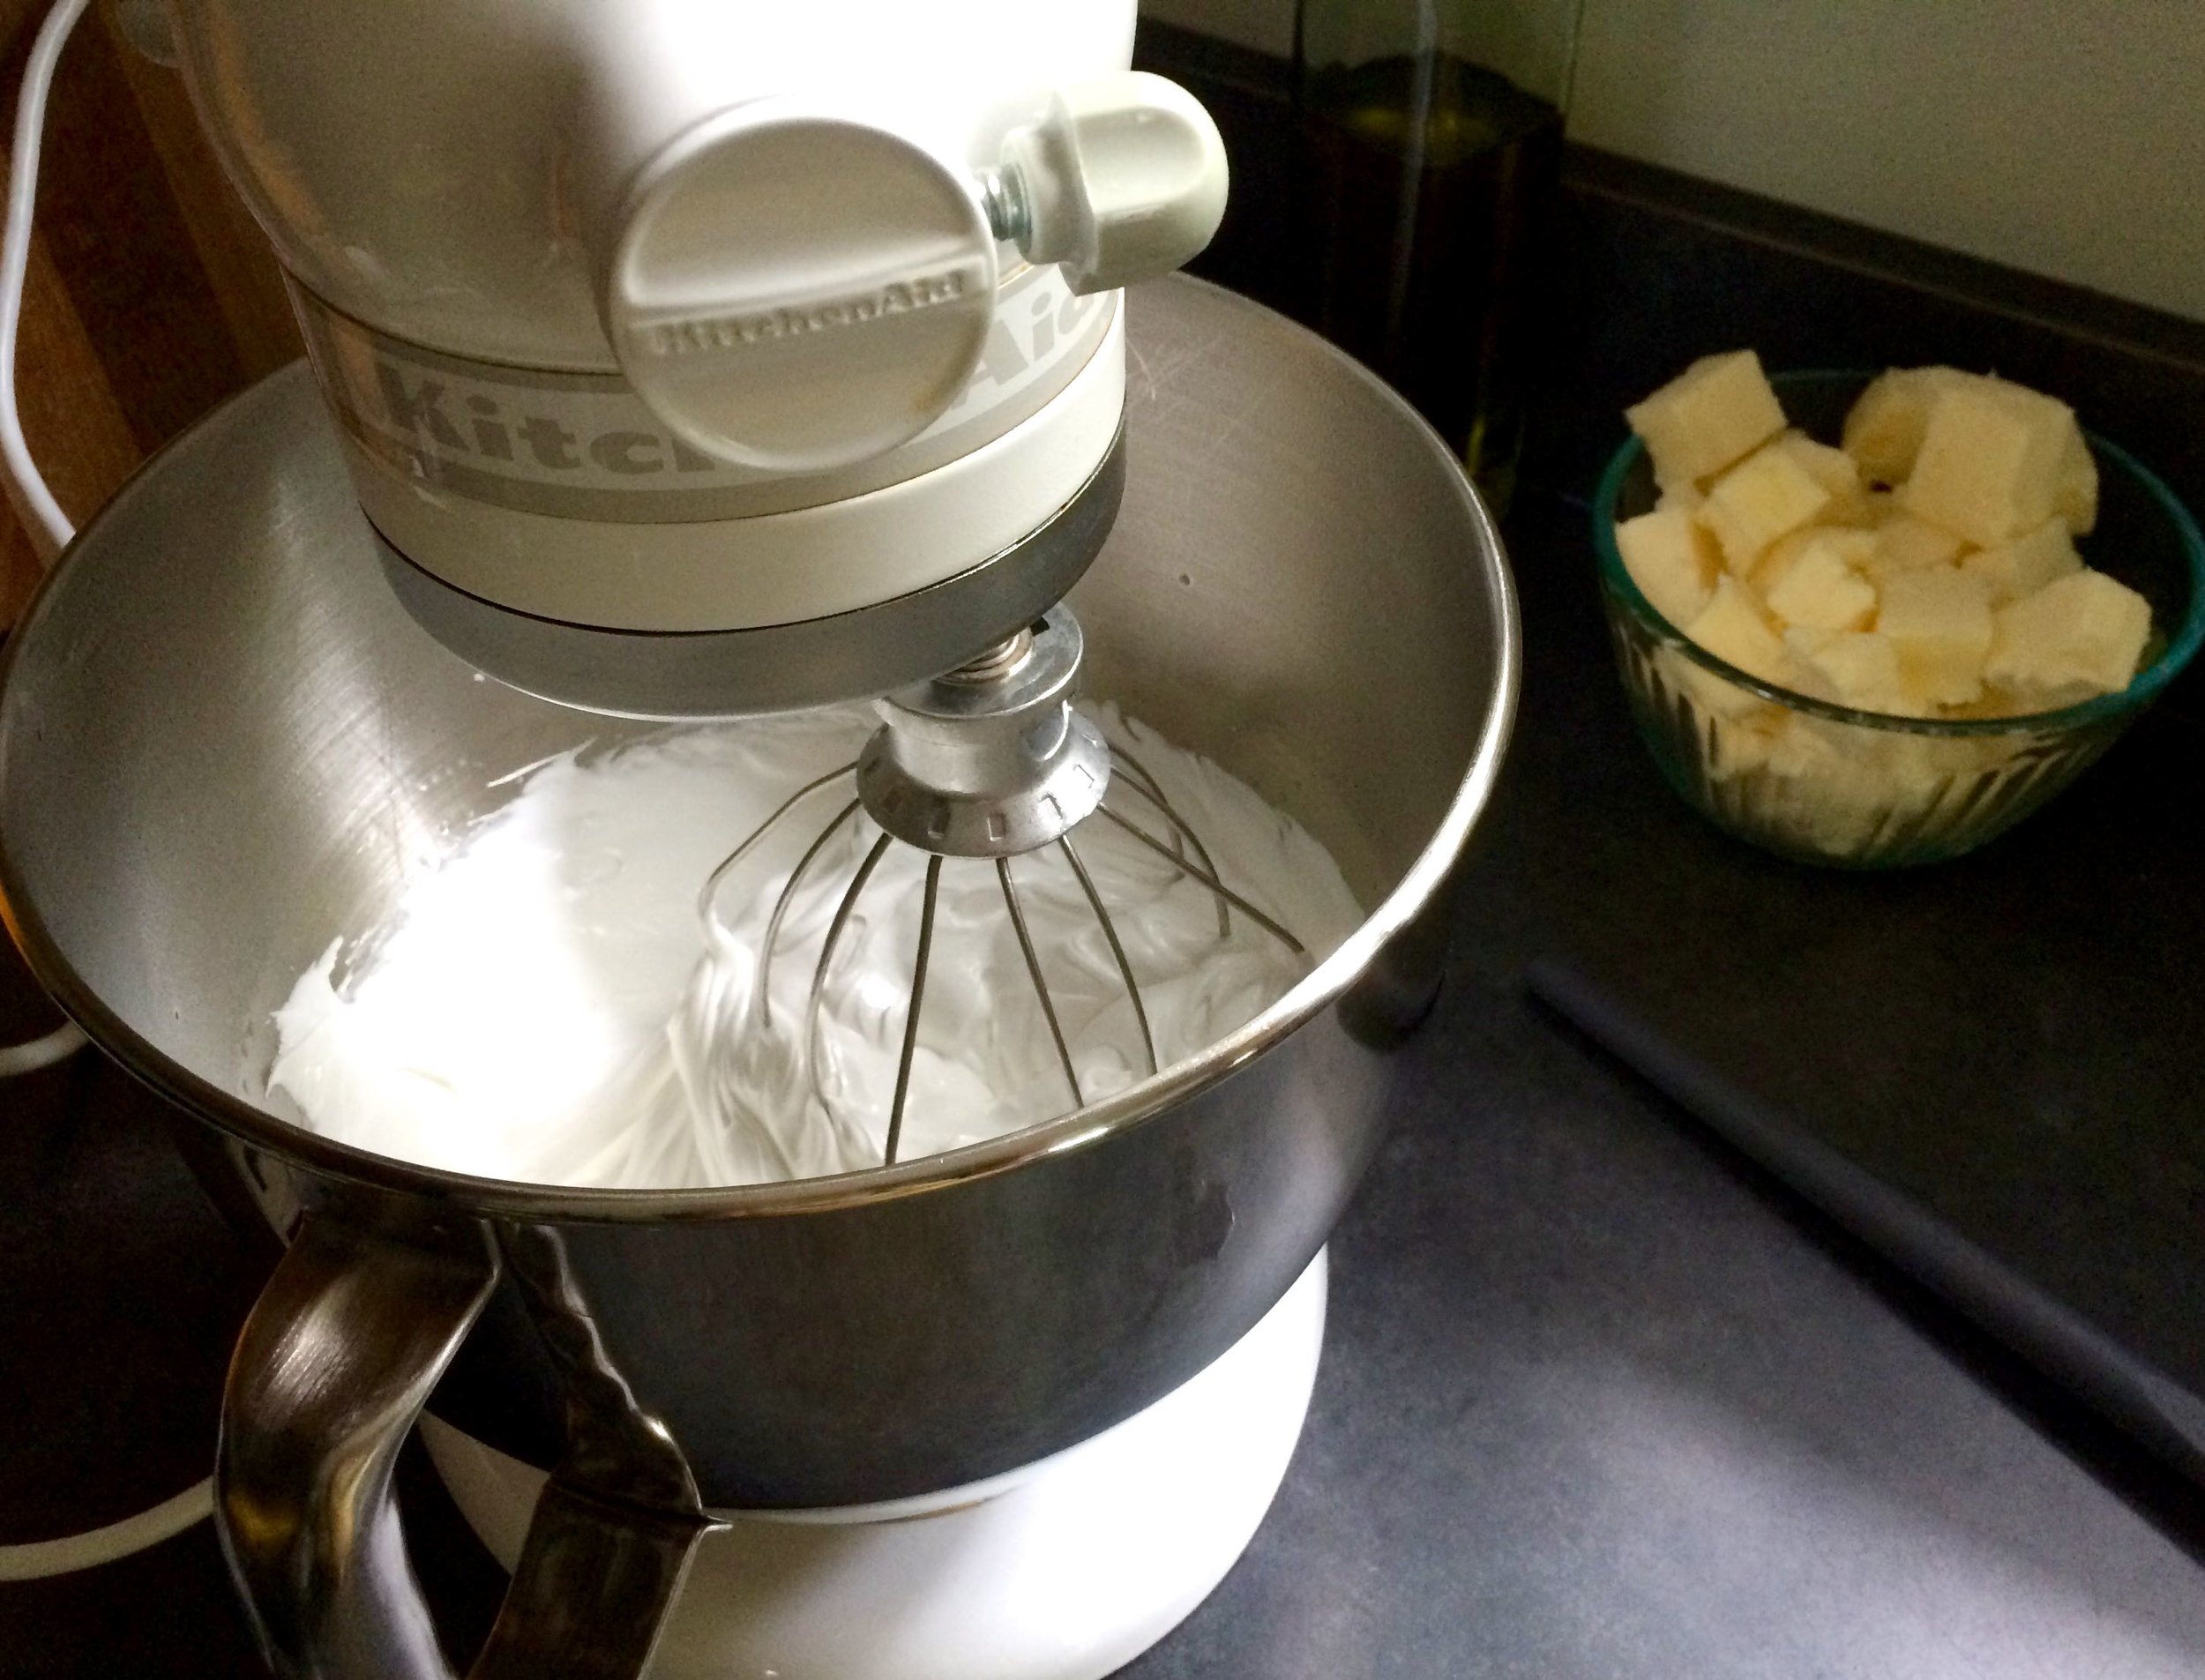
So combining the hazelnut stout, and this amazing chocolate stout cake was a no brainer! We decided to make the cake with the hazelnut stout, and then frost the cake with an Italian buttercream flavored with reduced hazelnut stout (the original cake recipe called for a ganache frosting which we did the first time and was amazing). To finish, we covered the side in crushed hazelnuts.

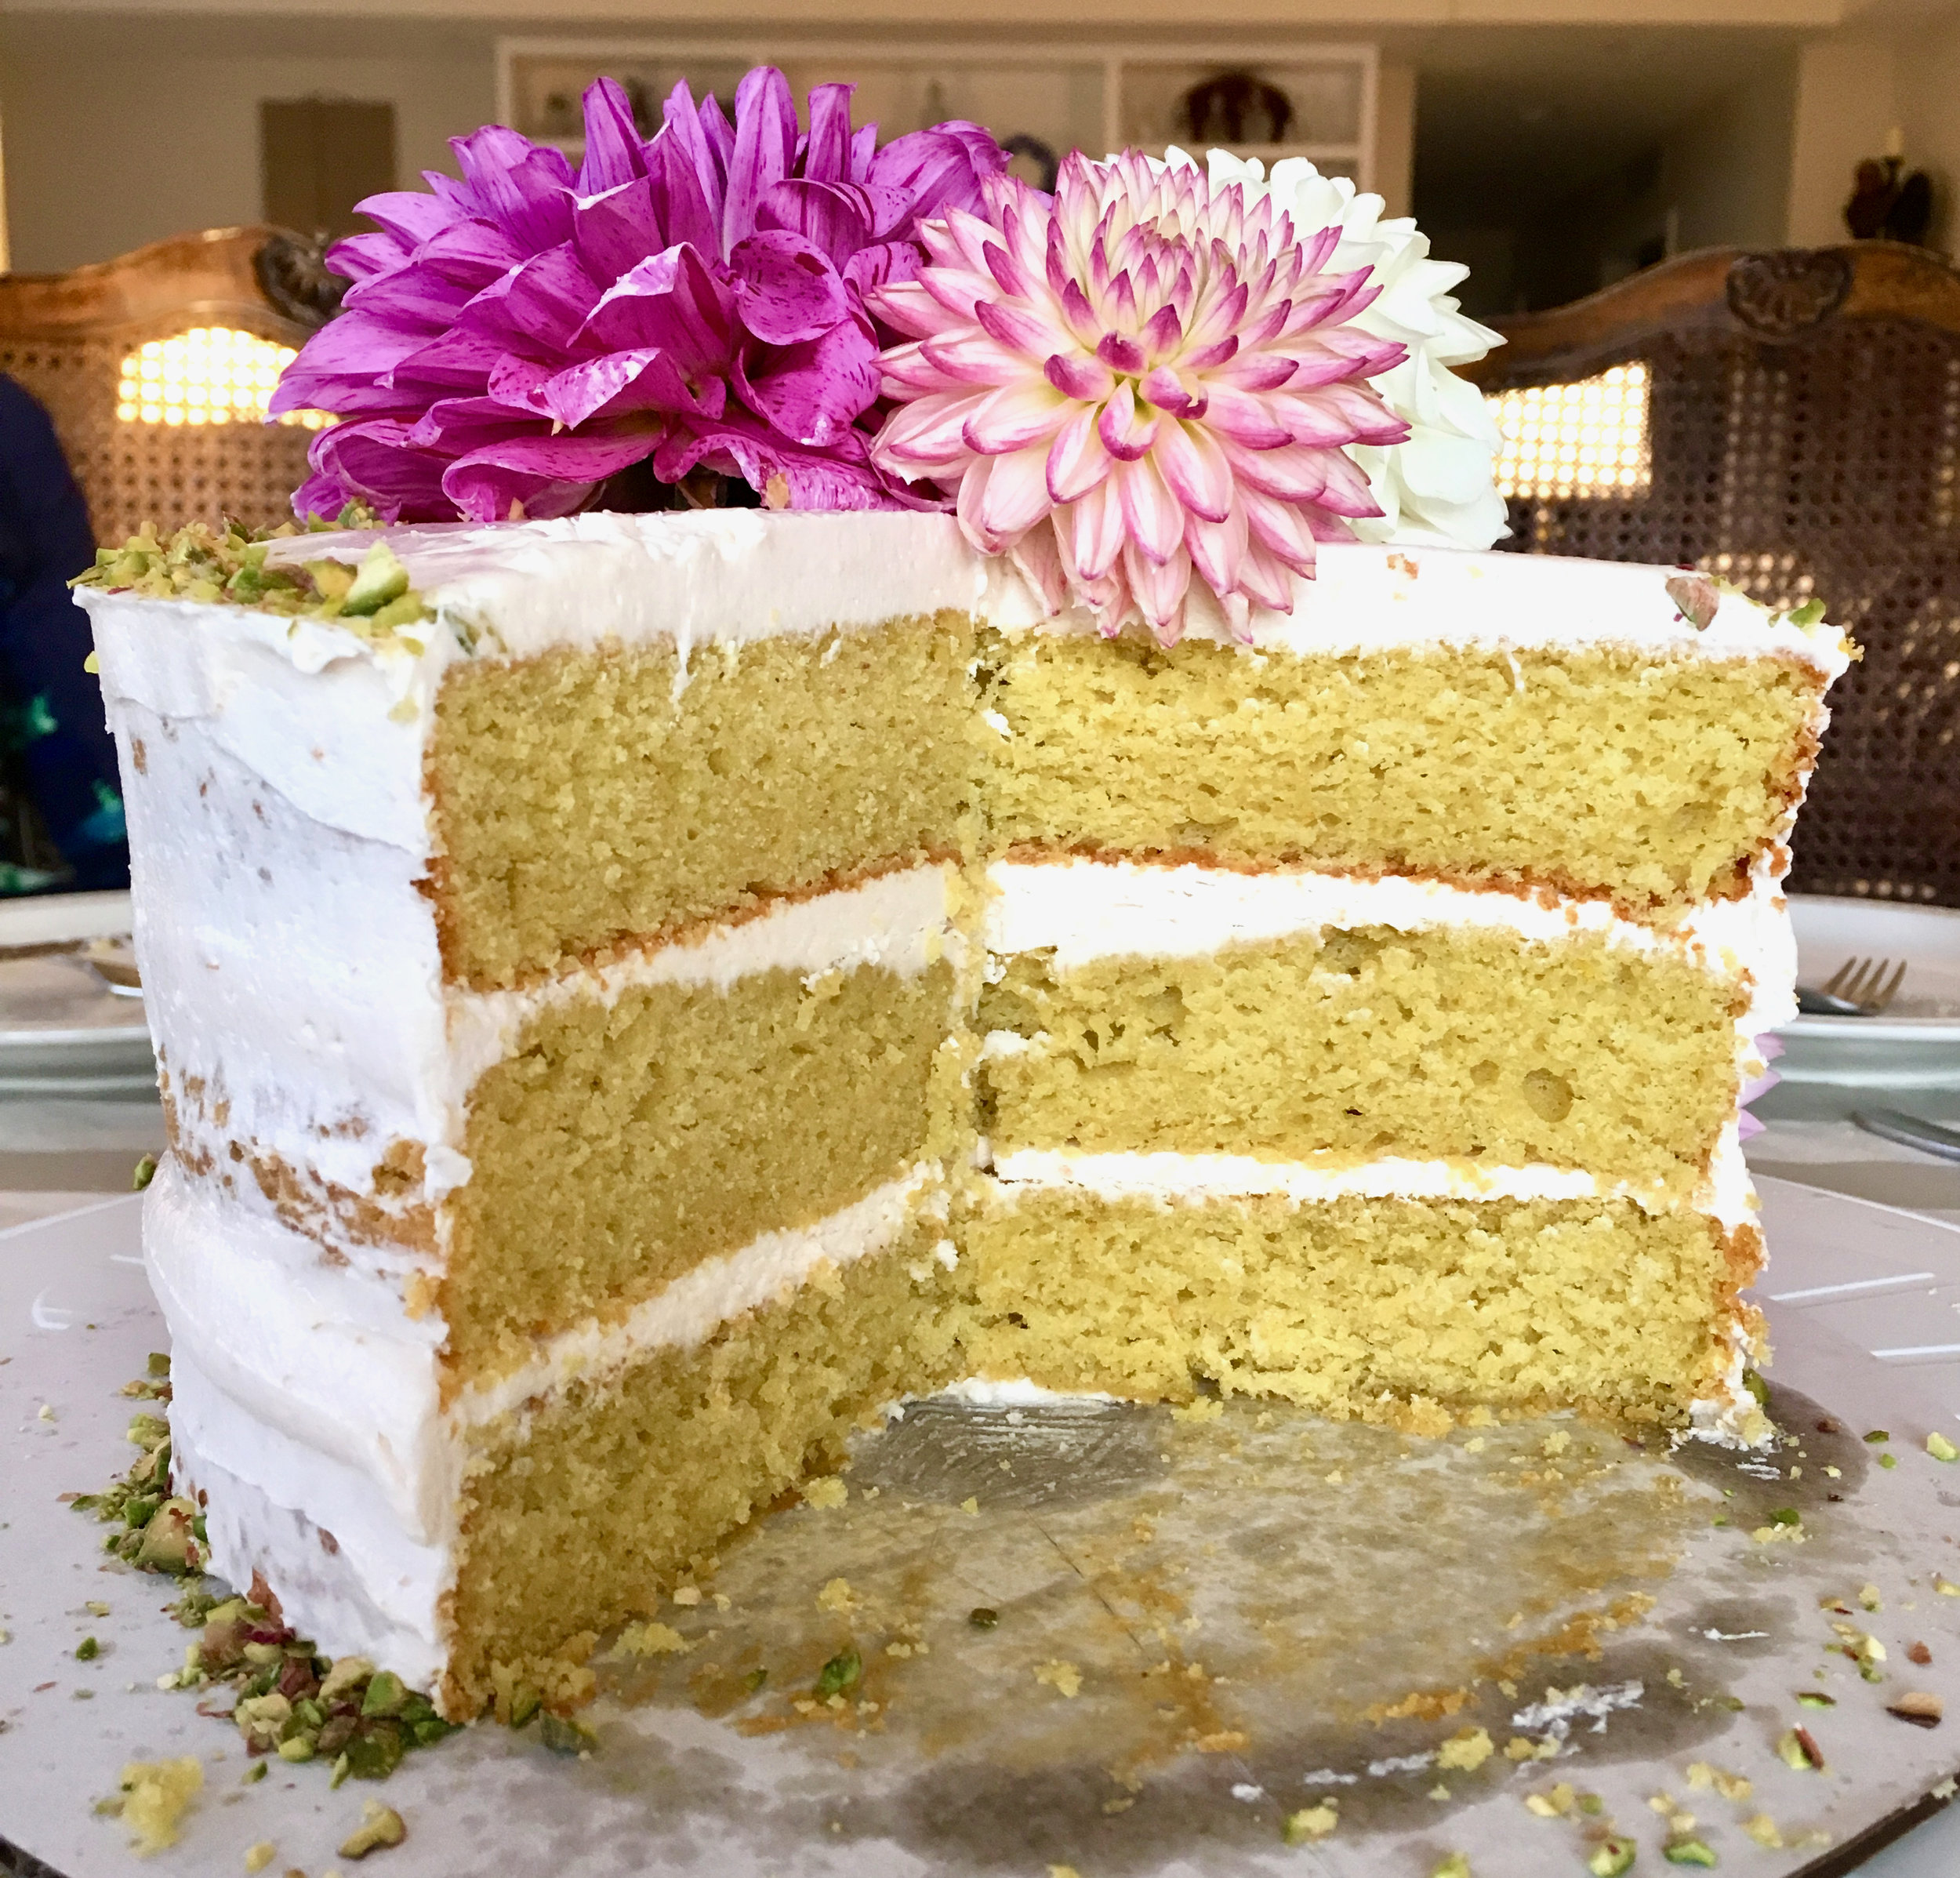
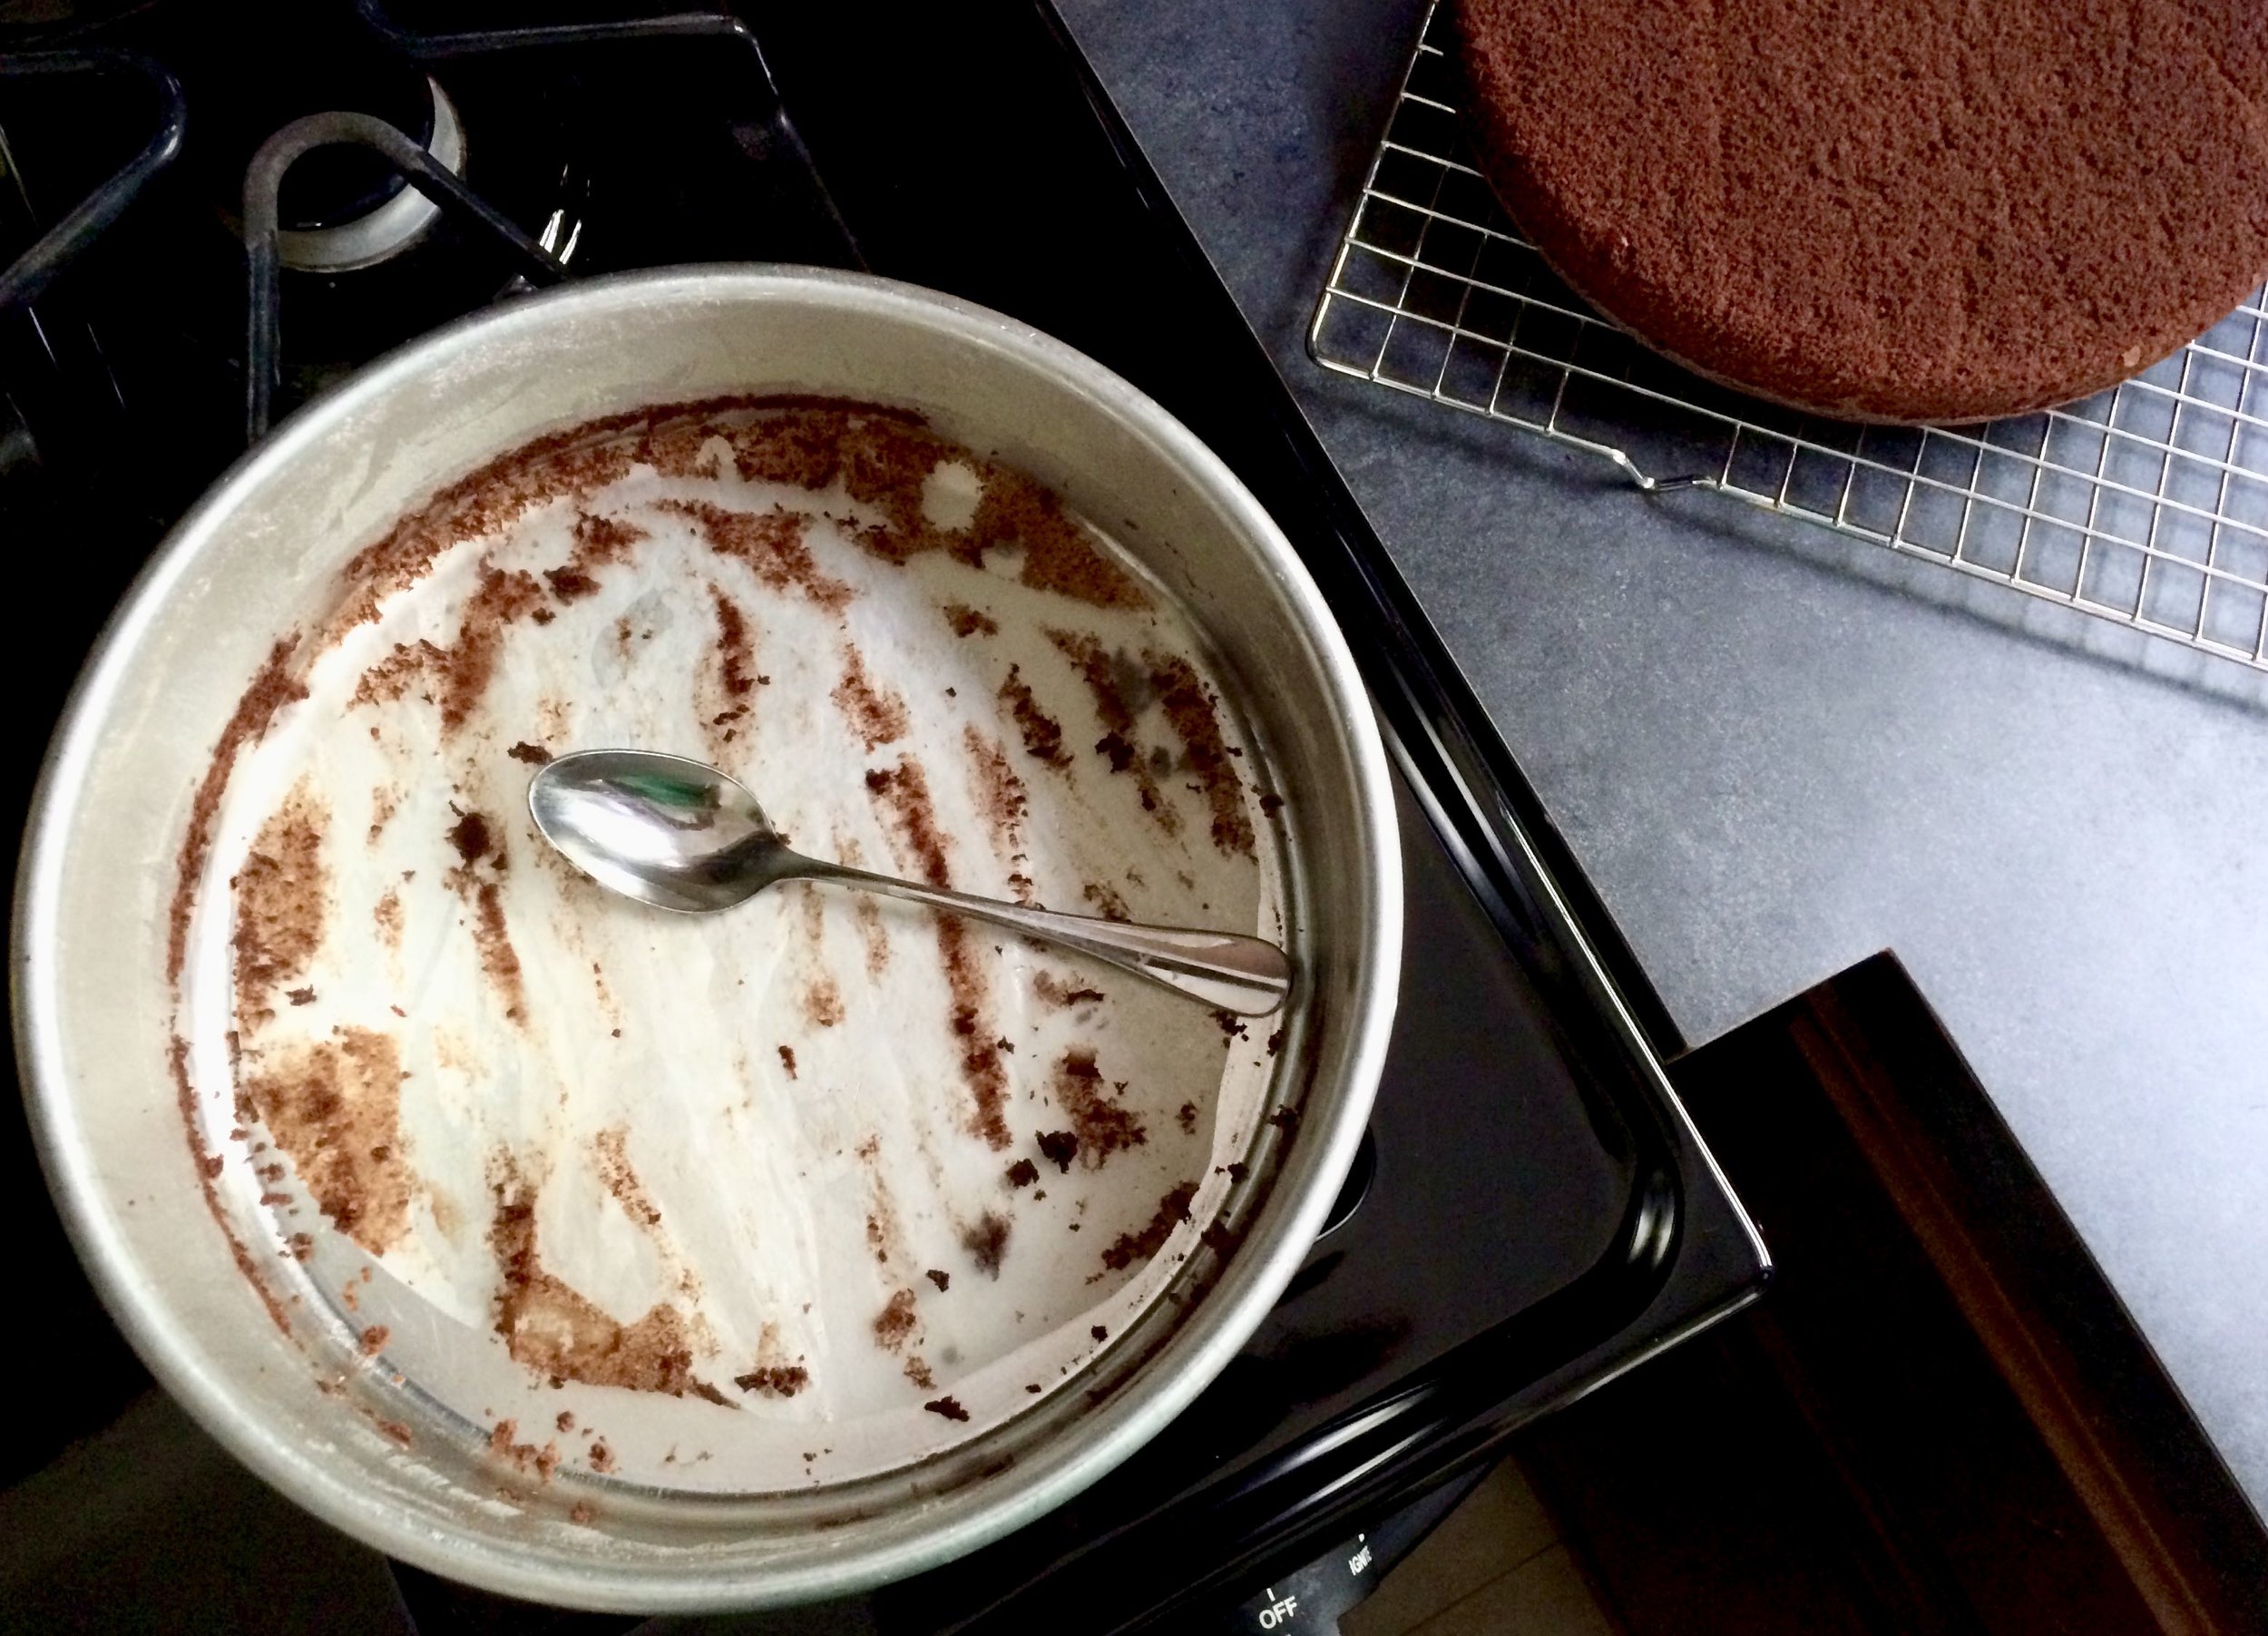
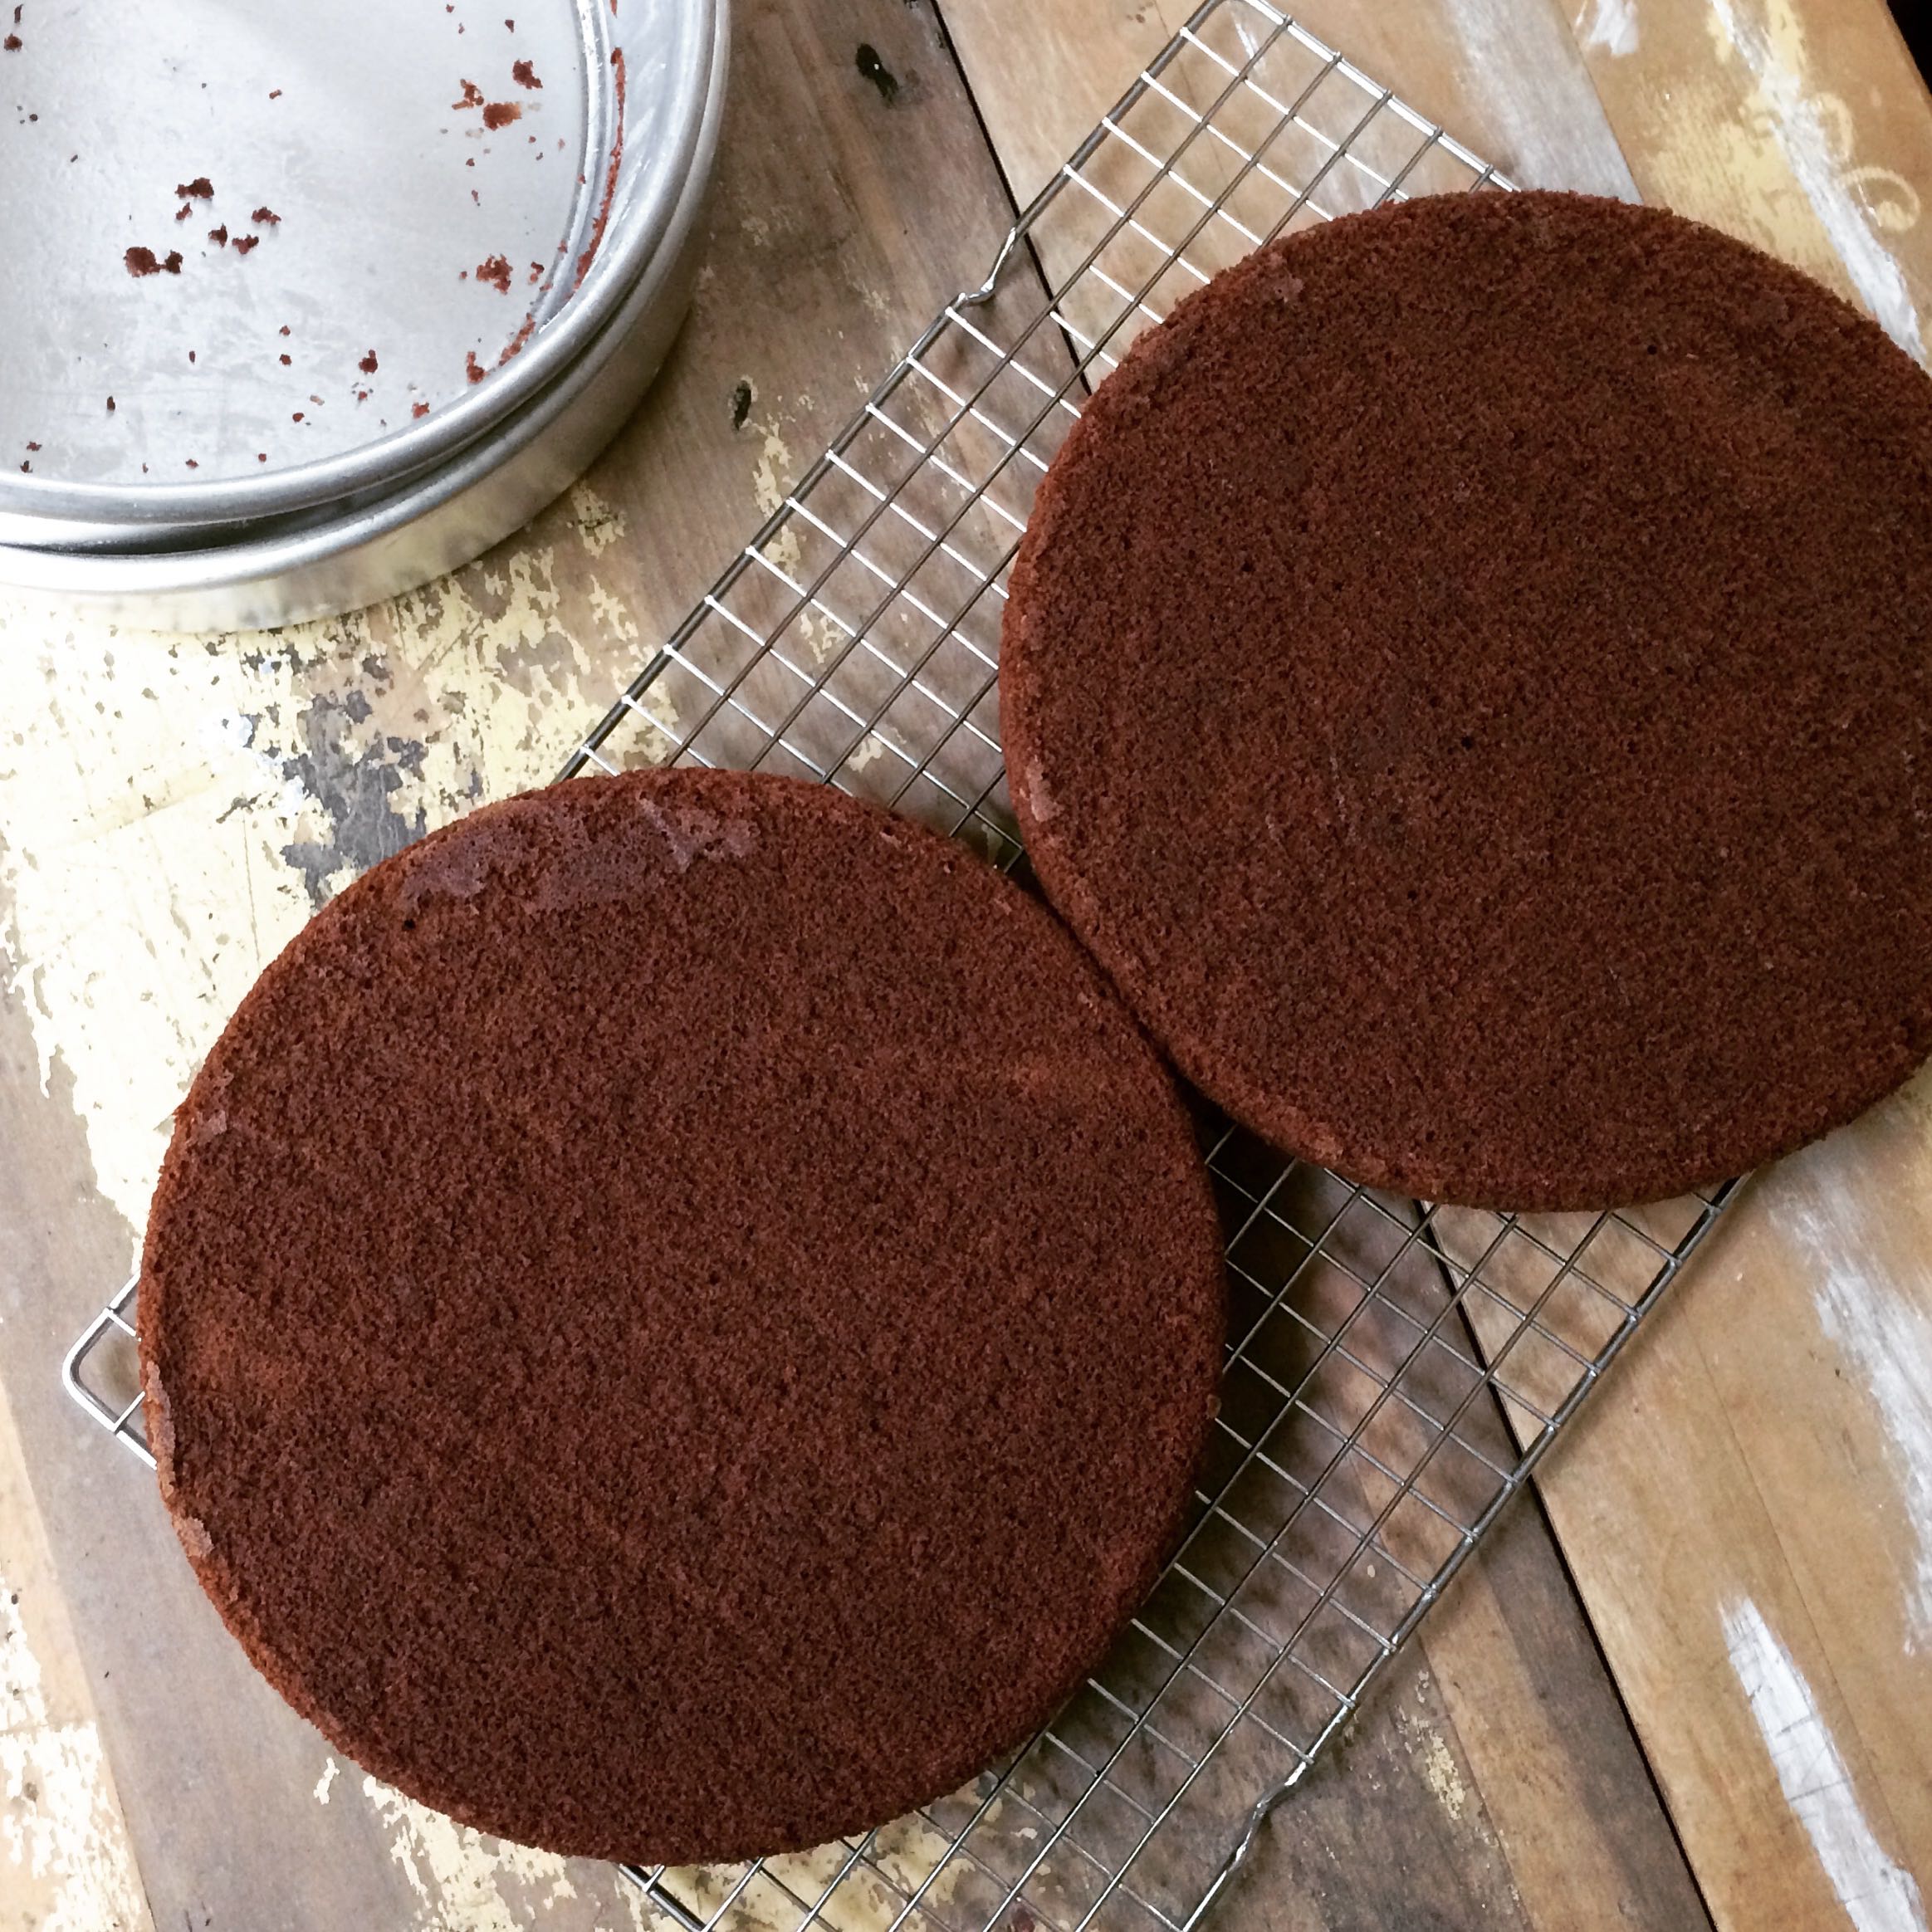
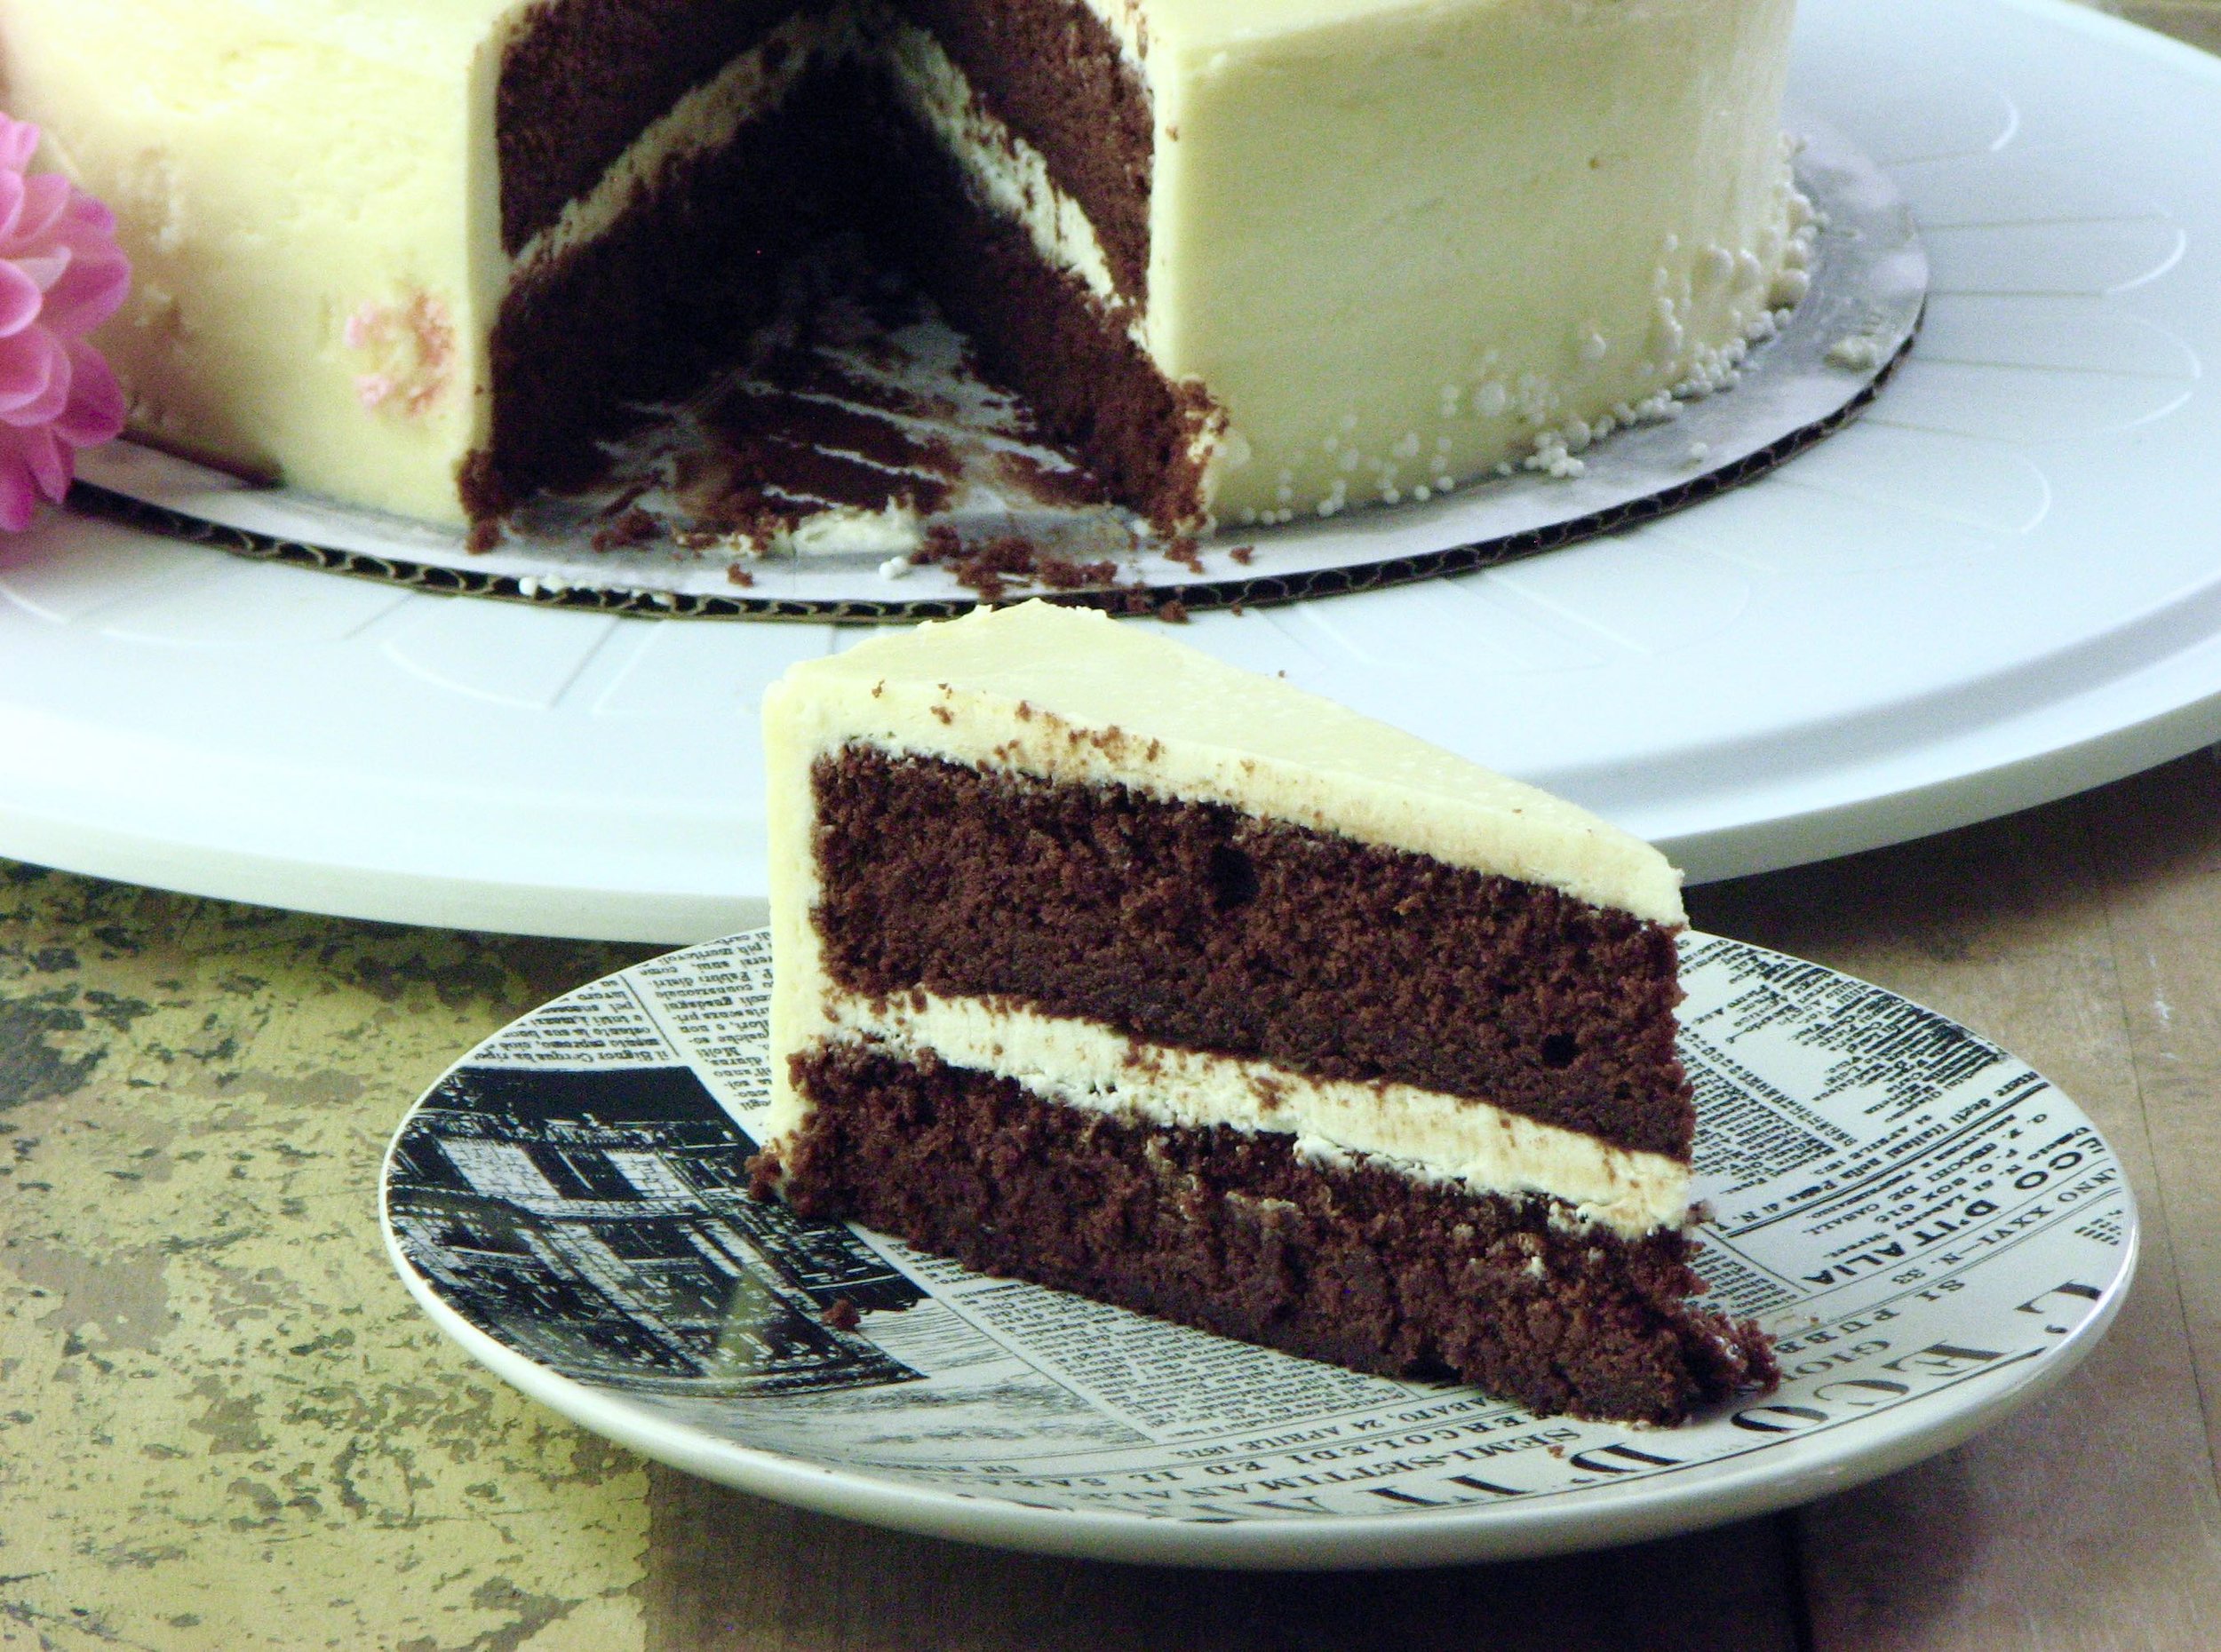
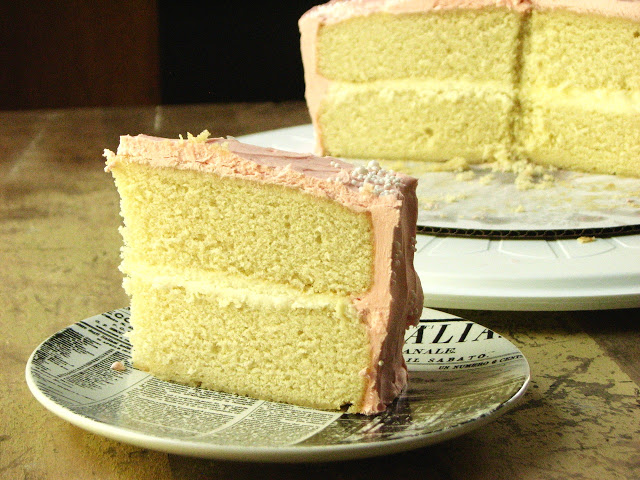
It was amazing. Again. This cake is the best chocolate cake. I will make it again and again. I would love to try it with coffee in place of the stout for another fun twist. The original cake calls for you to make a 3 layer cake. Both times we made it we cut the recipe down to 2/3 the original side and made a double layer 8-inch cake. This time around the center of the cake layers sunk a little. Not sure what happened, but it didn’t affect the final outcome in any way.

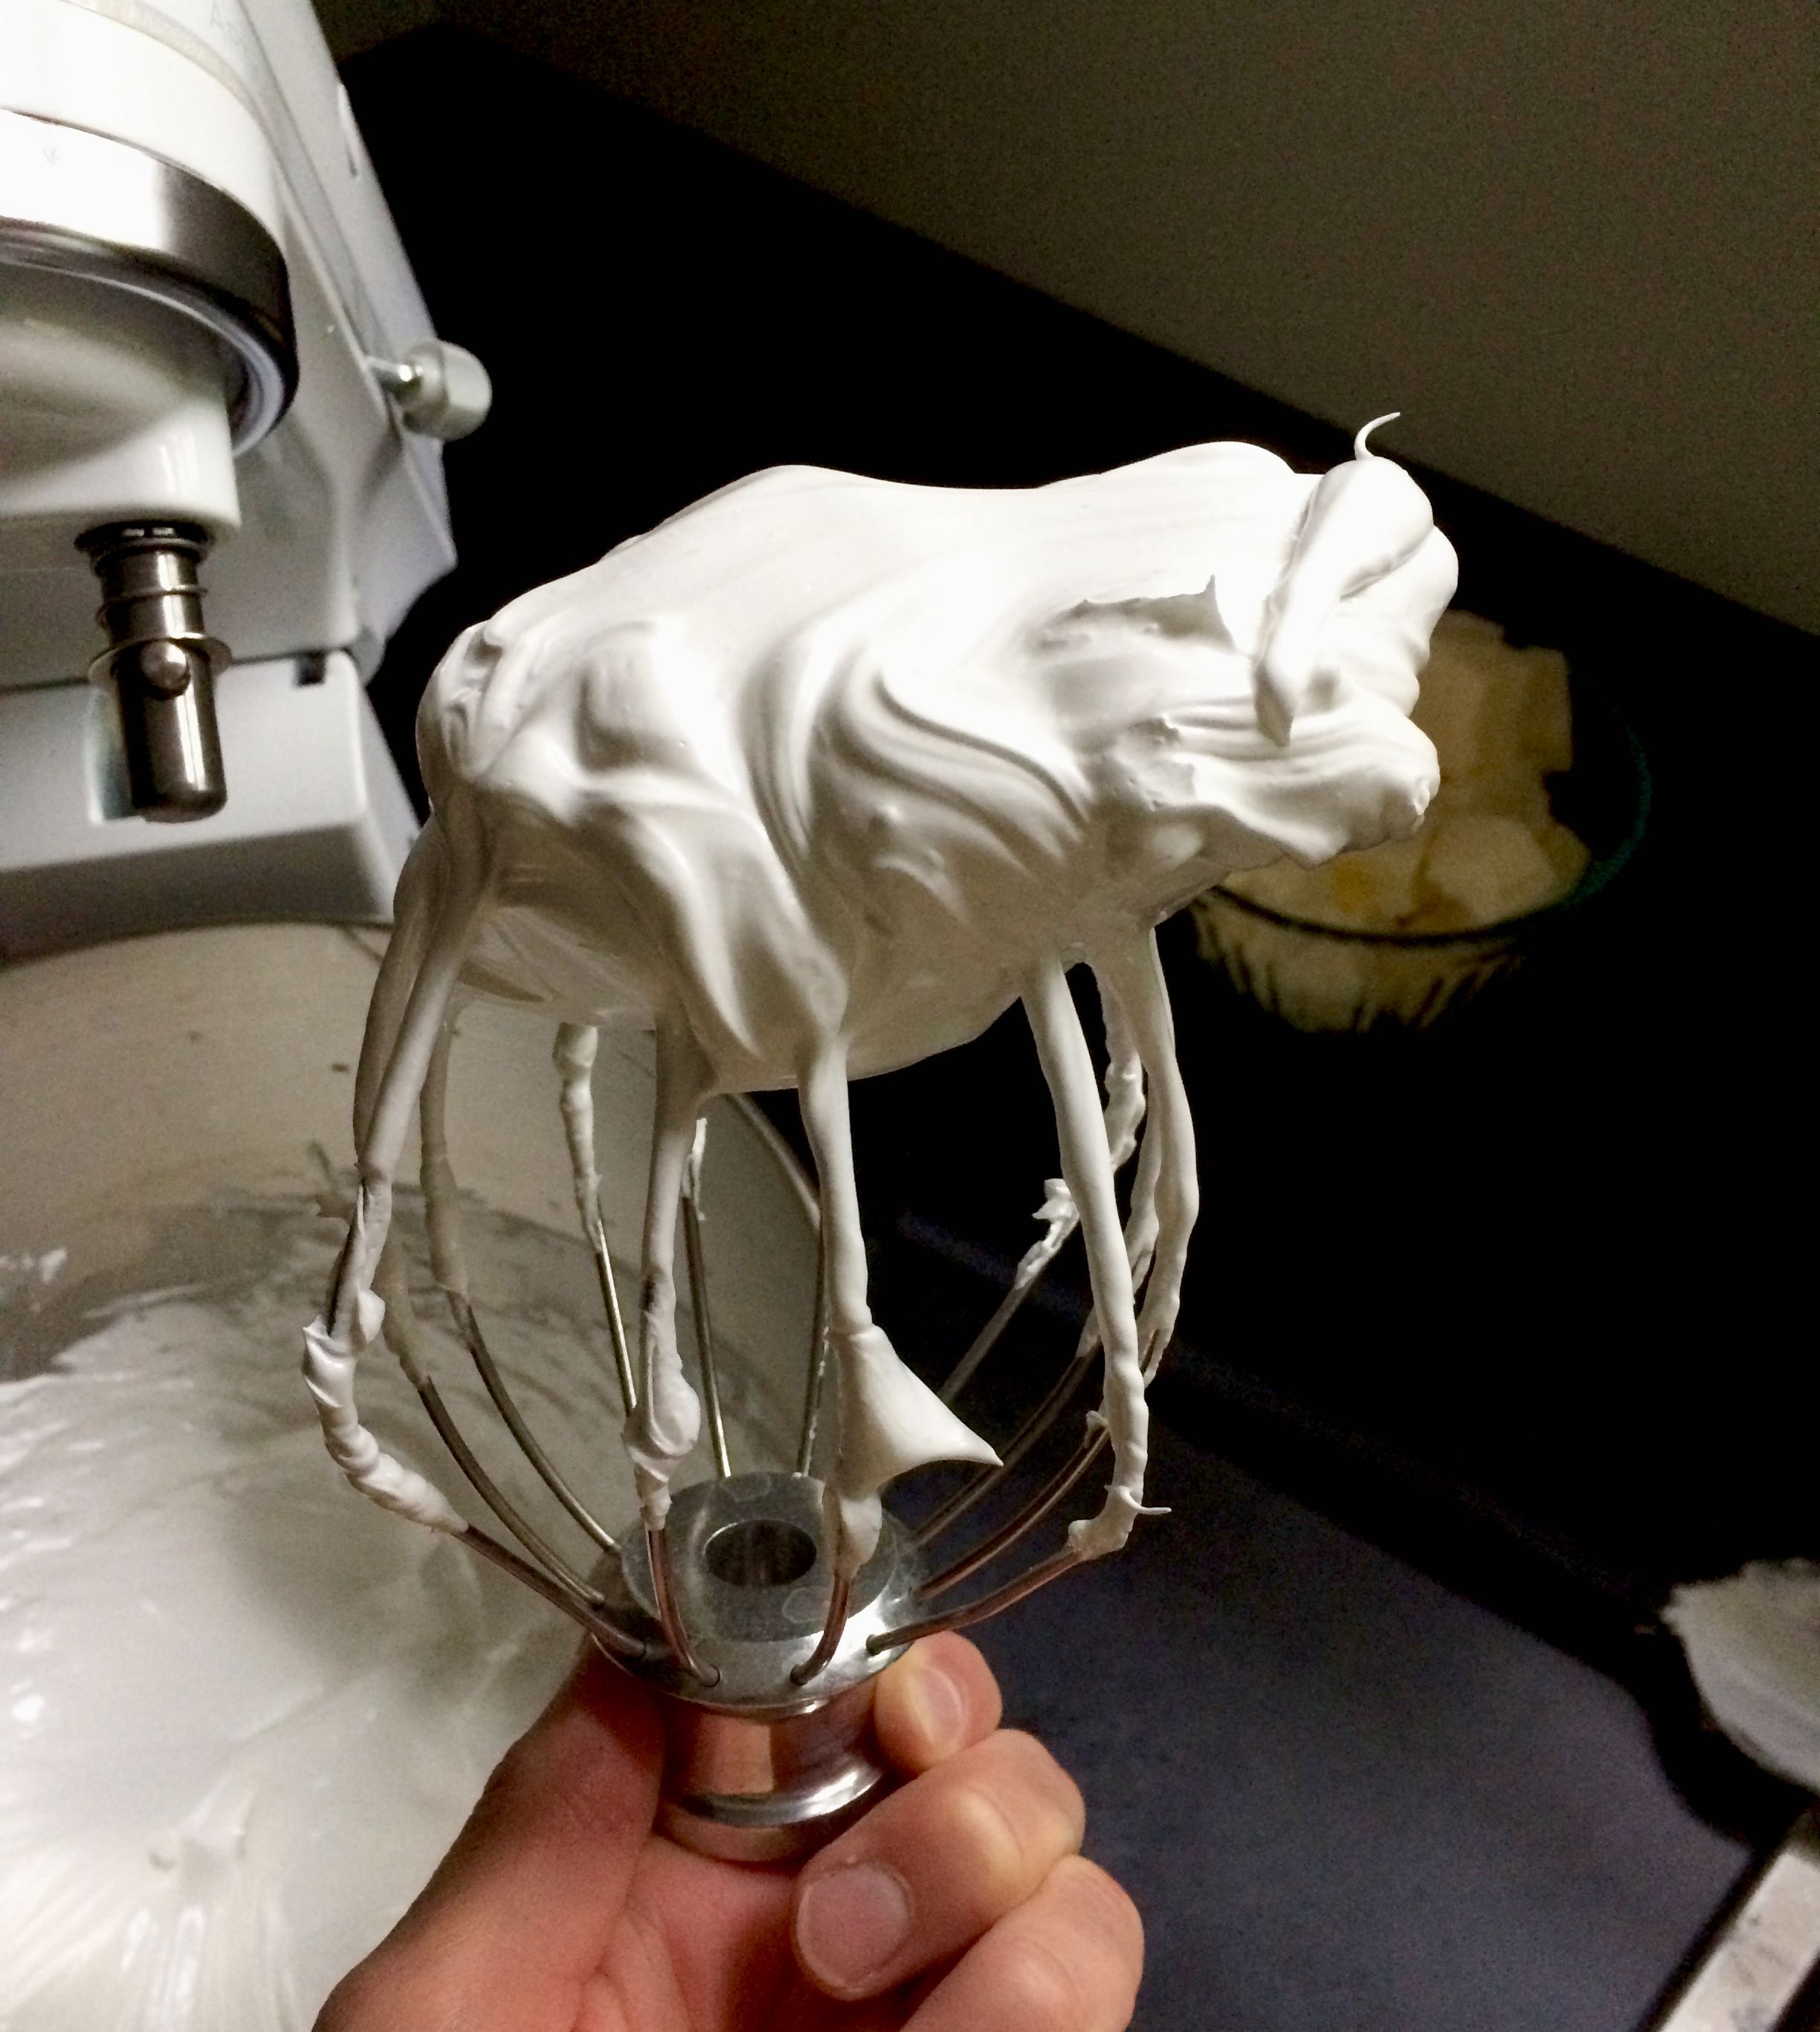
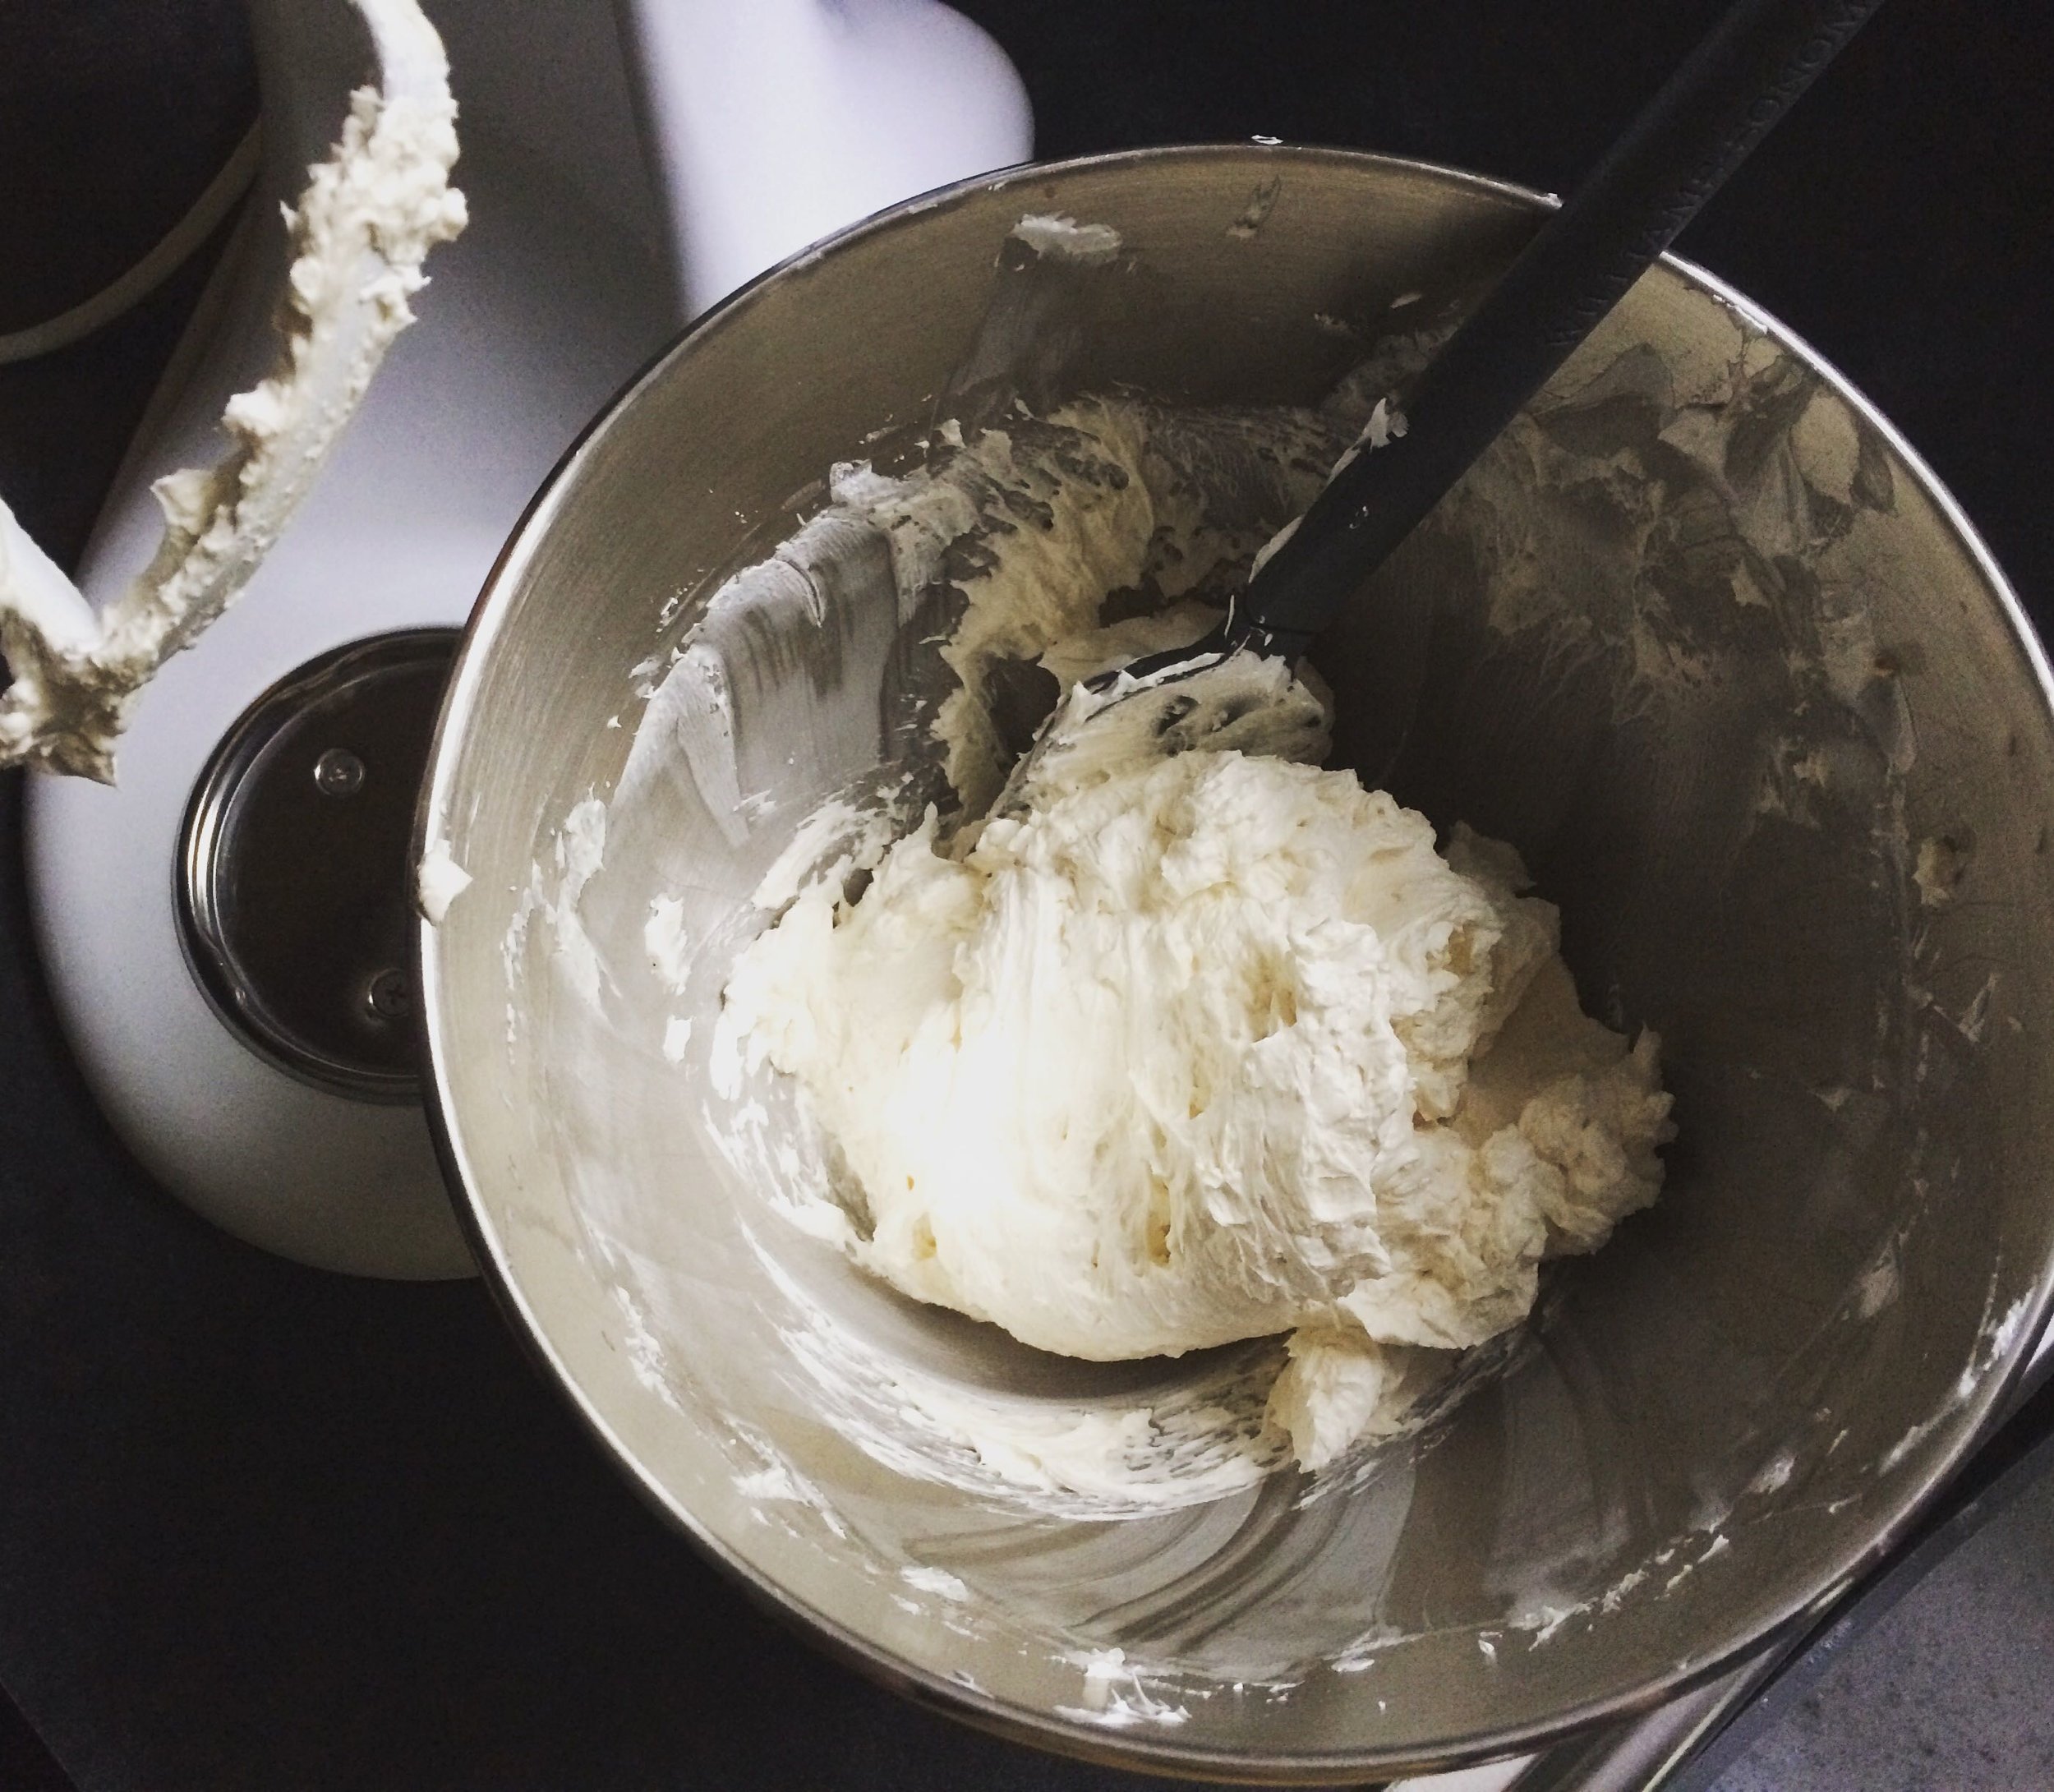
I loved both the Italian meringue, and the ganache frosting (which we did the first time as I stated above). You can’t go wrong with either!

IMG_9438.jpeg
IMG_9426.jpeg
IMG_8877.jpeg
 

I got a beautiful blanket from Lara for a present! She thought it was time for an upgrade from the sweatshirt Calvin College blanket I’ve had since the end of high school! I can’t imagine why! ;)

THE INSPIRATION!

IMG_9430.jpeg

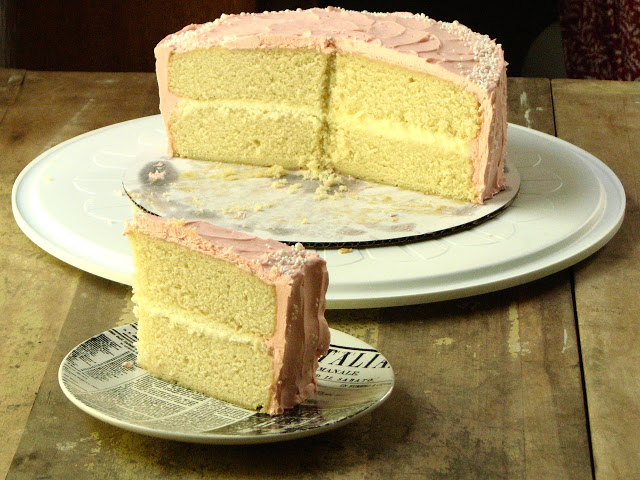
When your cake layers sink a little, that just means you get more frosting in between layers! :)

IMG_9448.jpeg

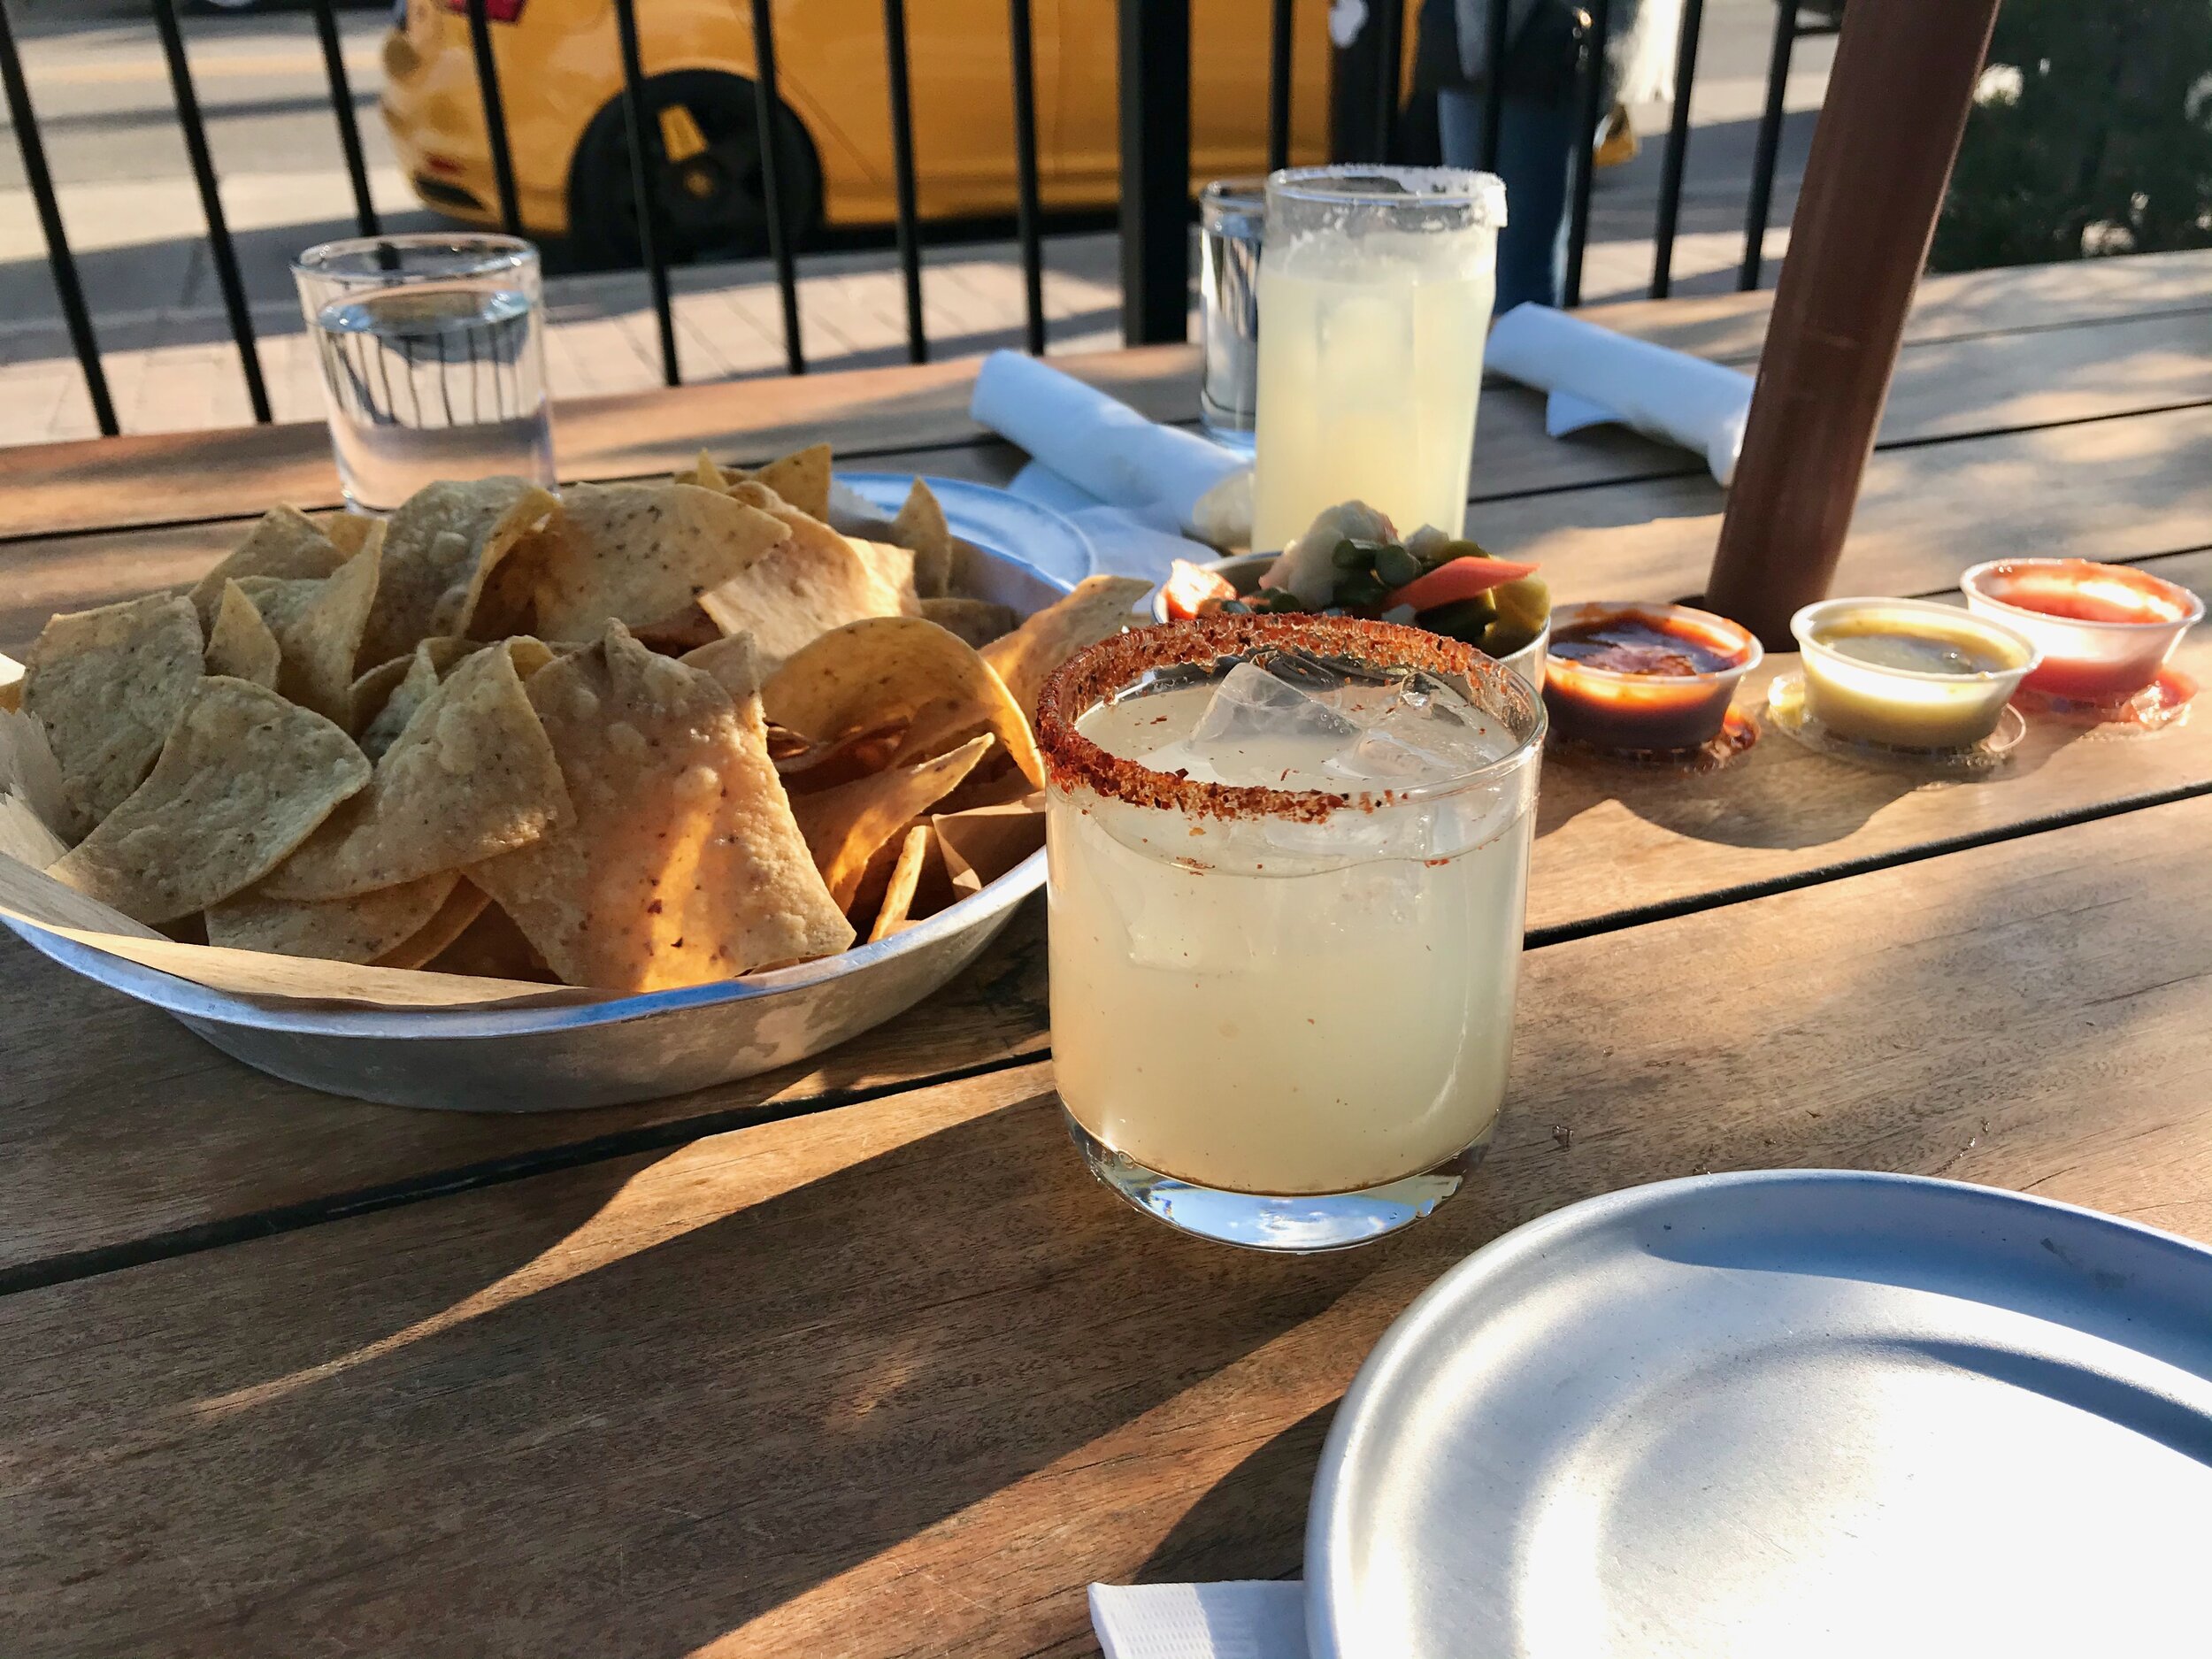
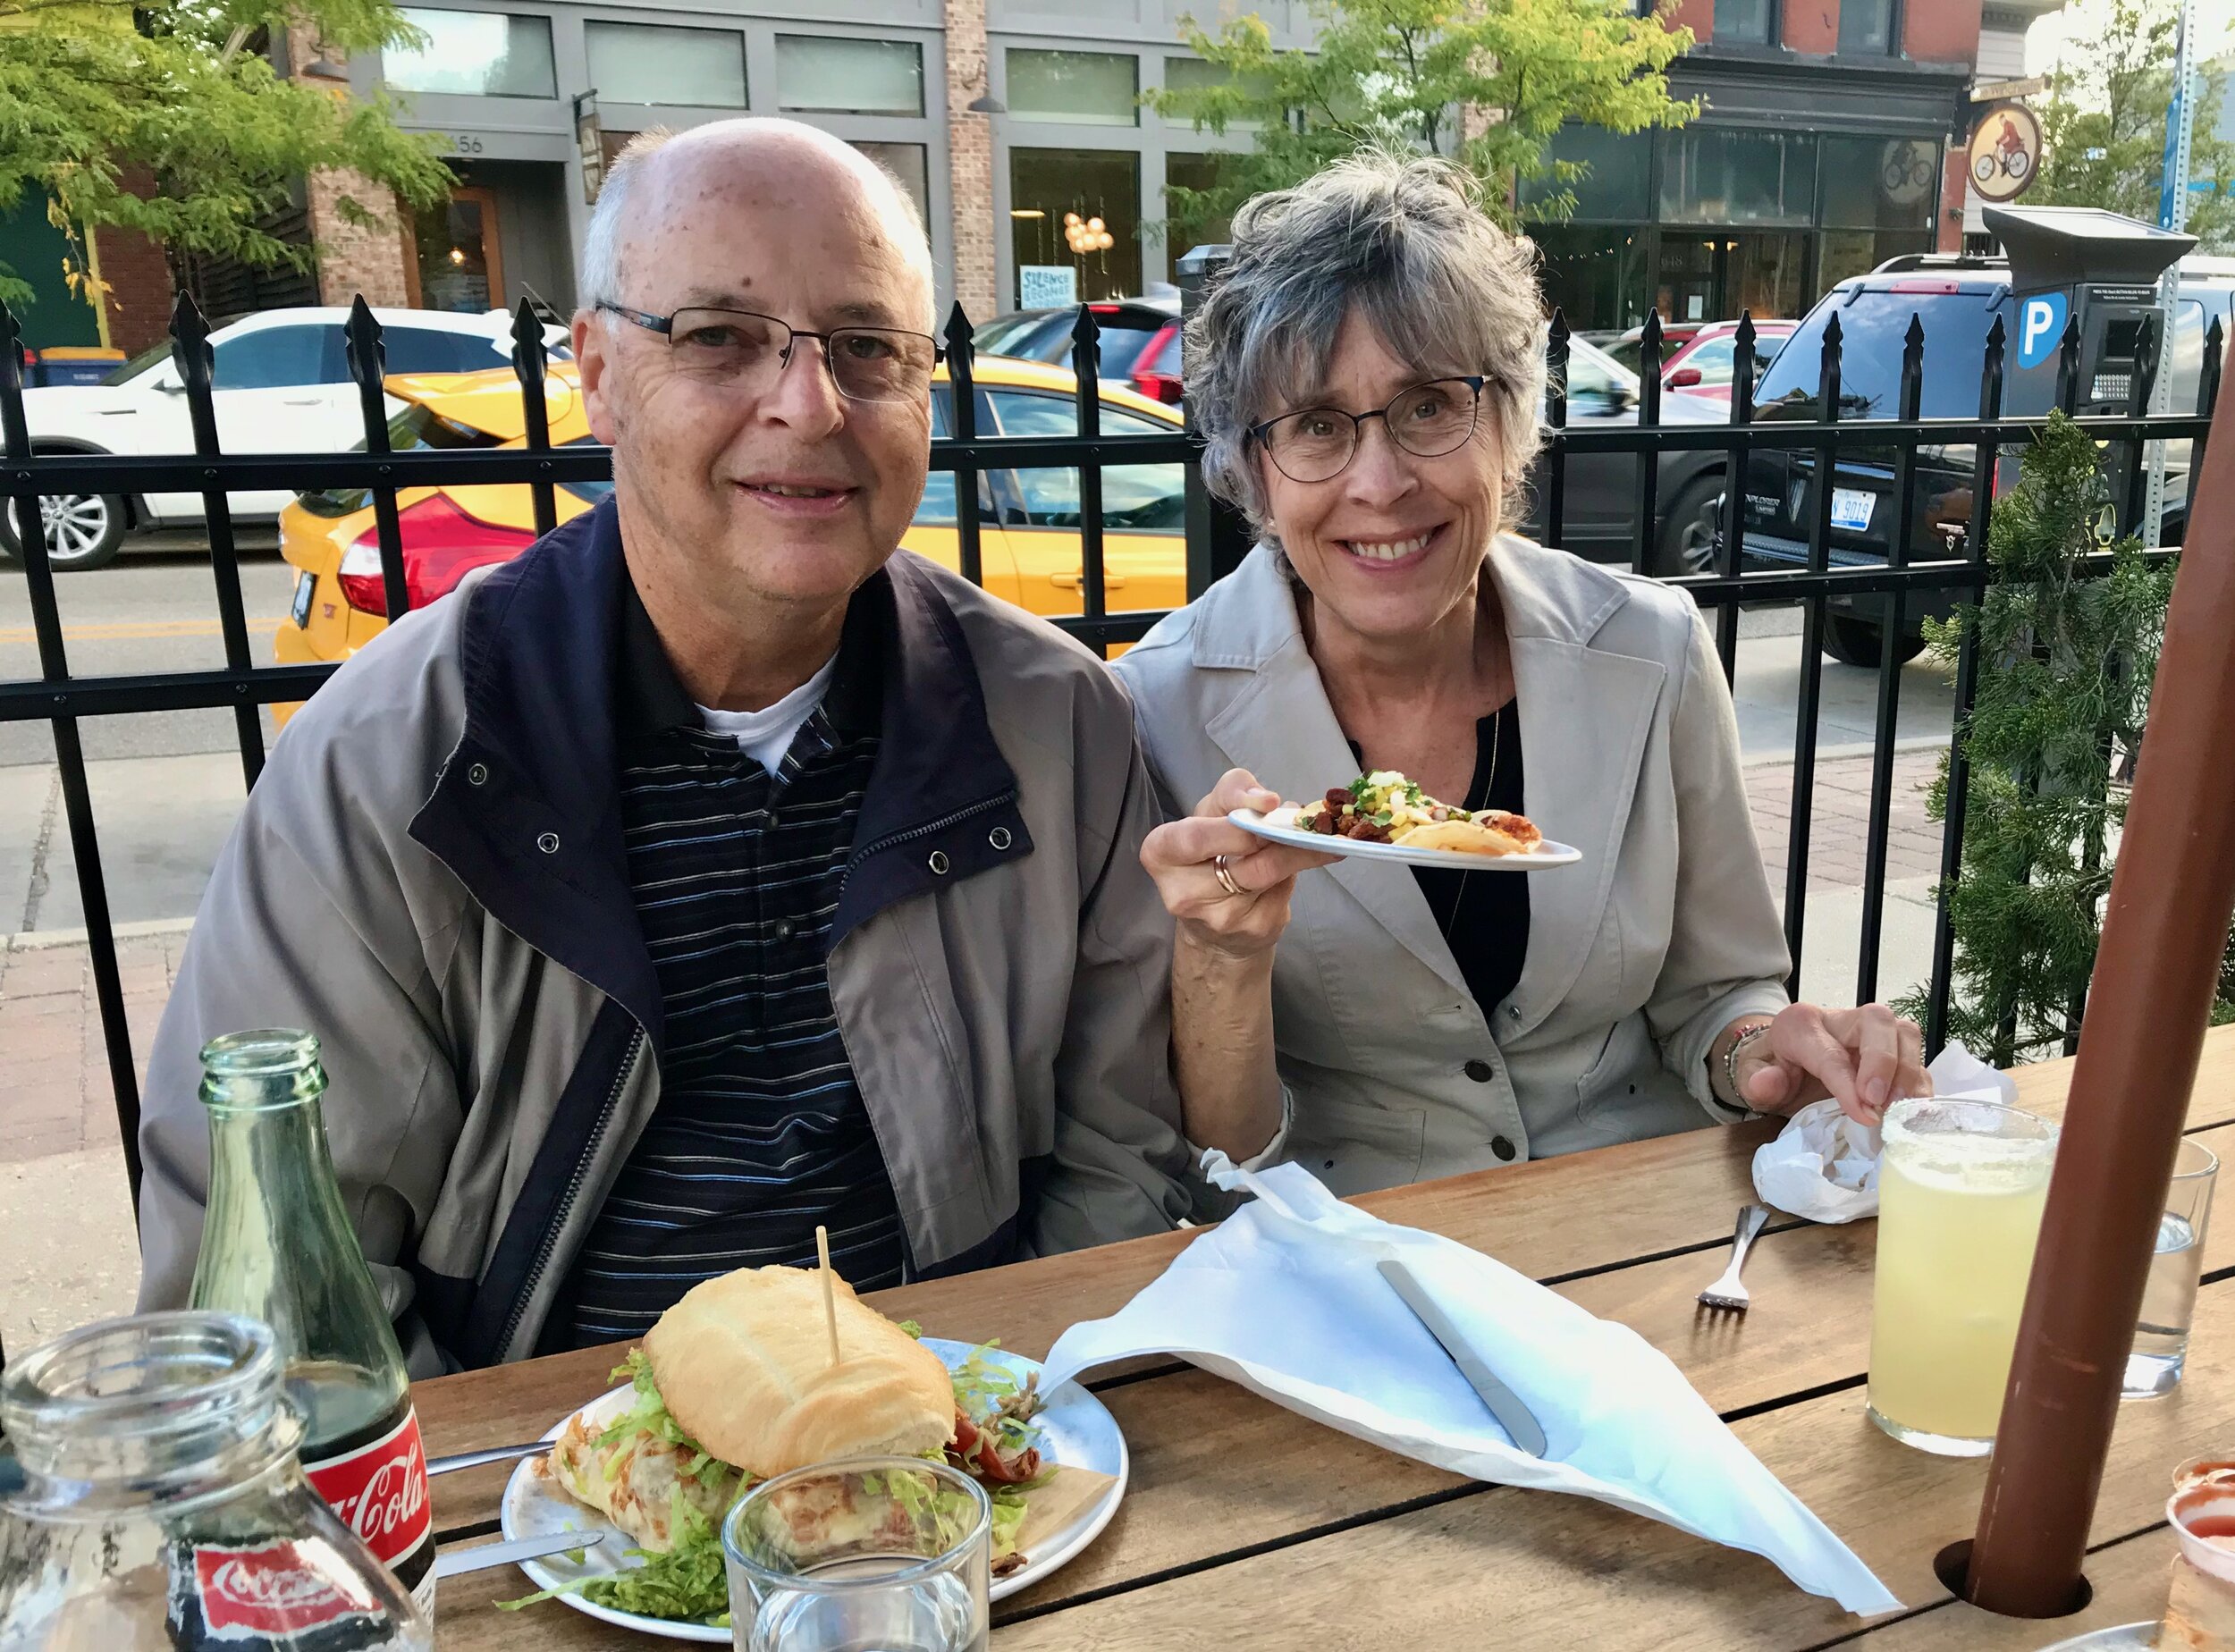
Fun birthday dinner at Donkey Taqueria. It was great! Tacos for Lara, mom and I. An amazing Torta for dad. It had smoked ham, pork carnitas, queso chihuahua, refried pinto beans, and guac. I’d never tried the torta before and thankfully my dad let me have a bite. It was amazing. And huge! The tacos were great too, as always. I also got a Mezcal Margarita with a spicy chile salt rim. So good! Chips and salsa, and house pickled vegetable were the apps of choice.

IMG_9460.jpeg

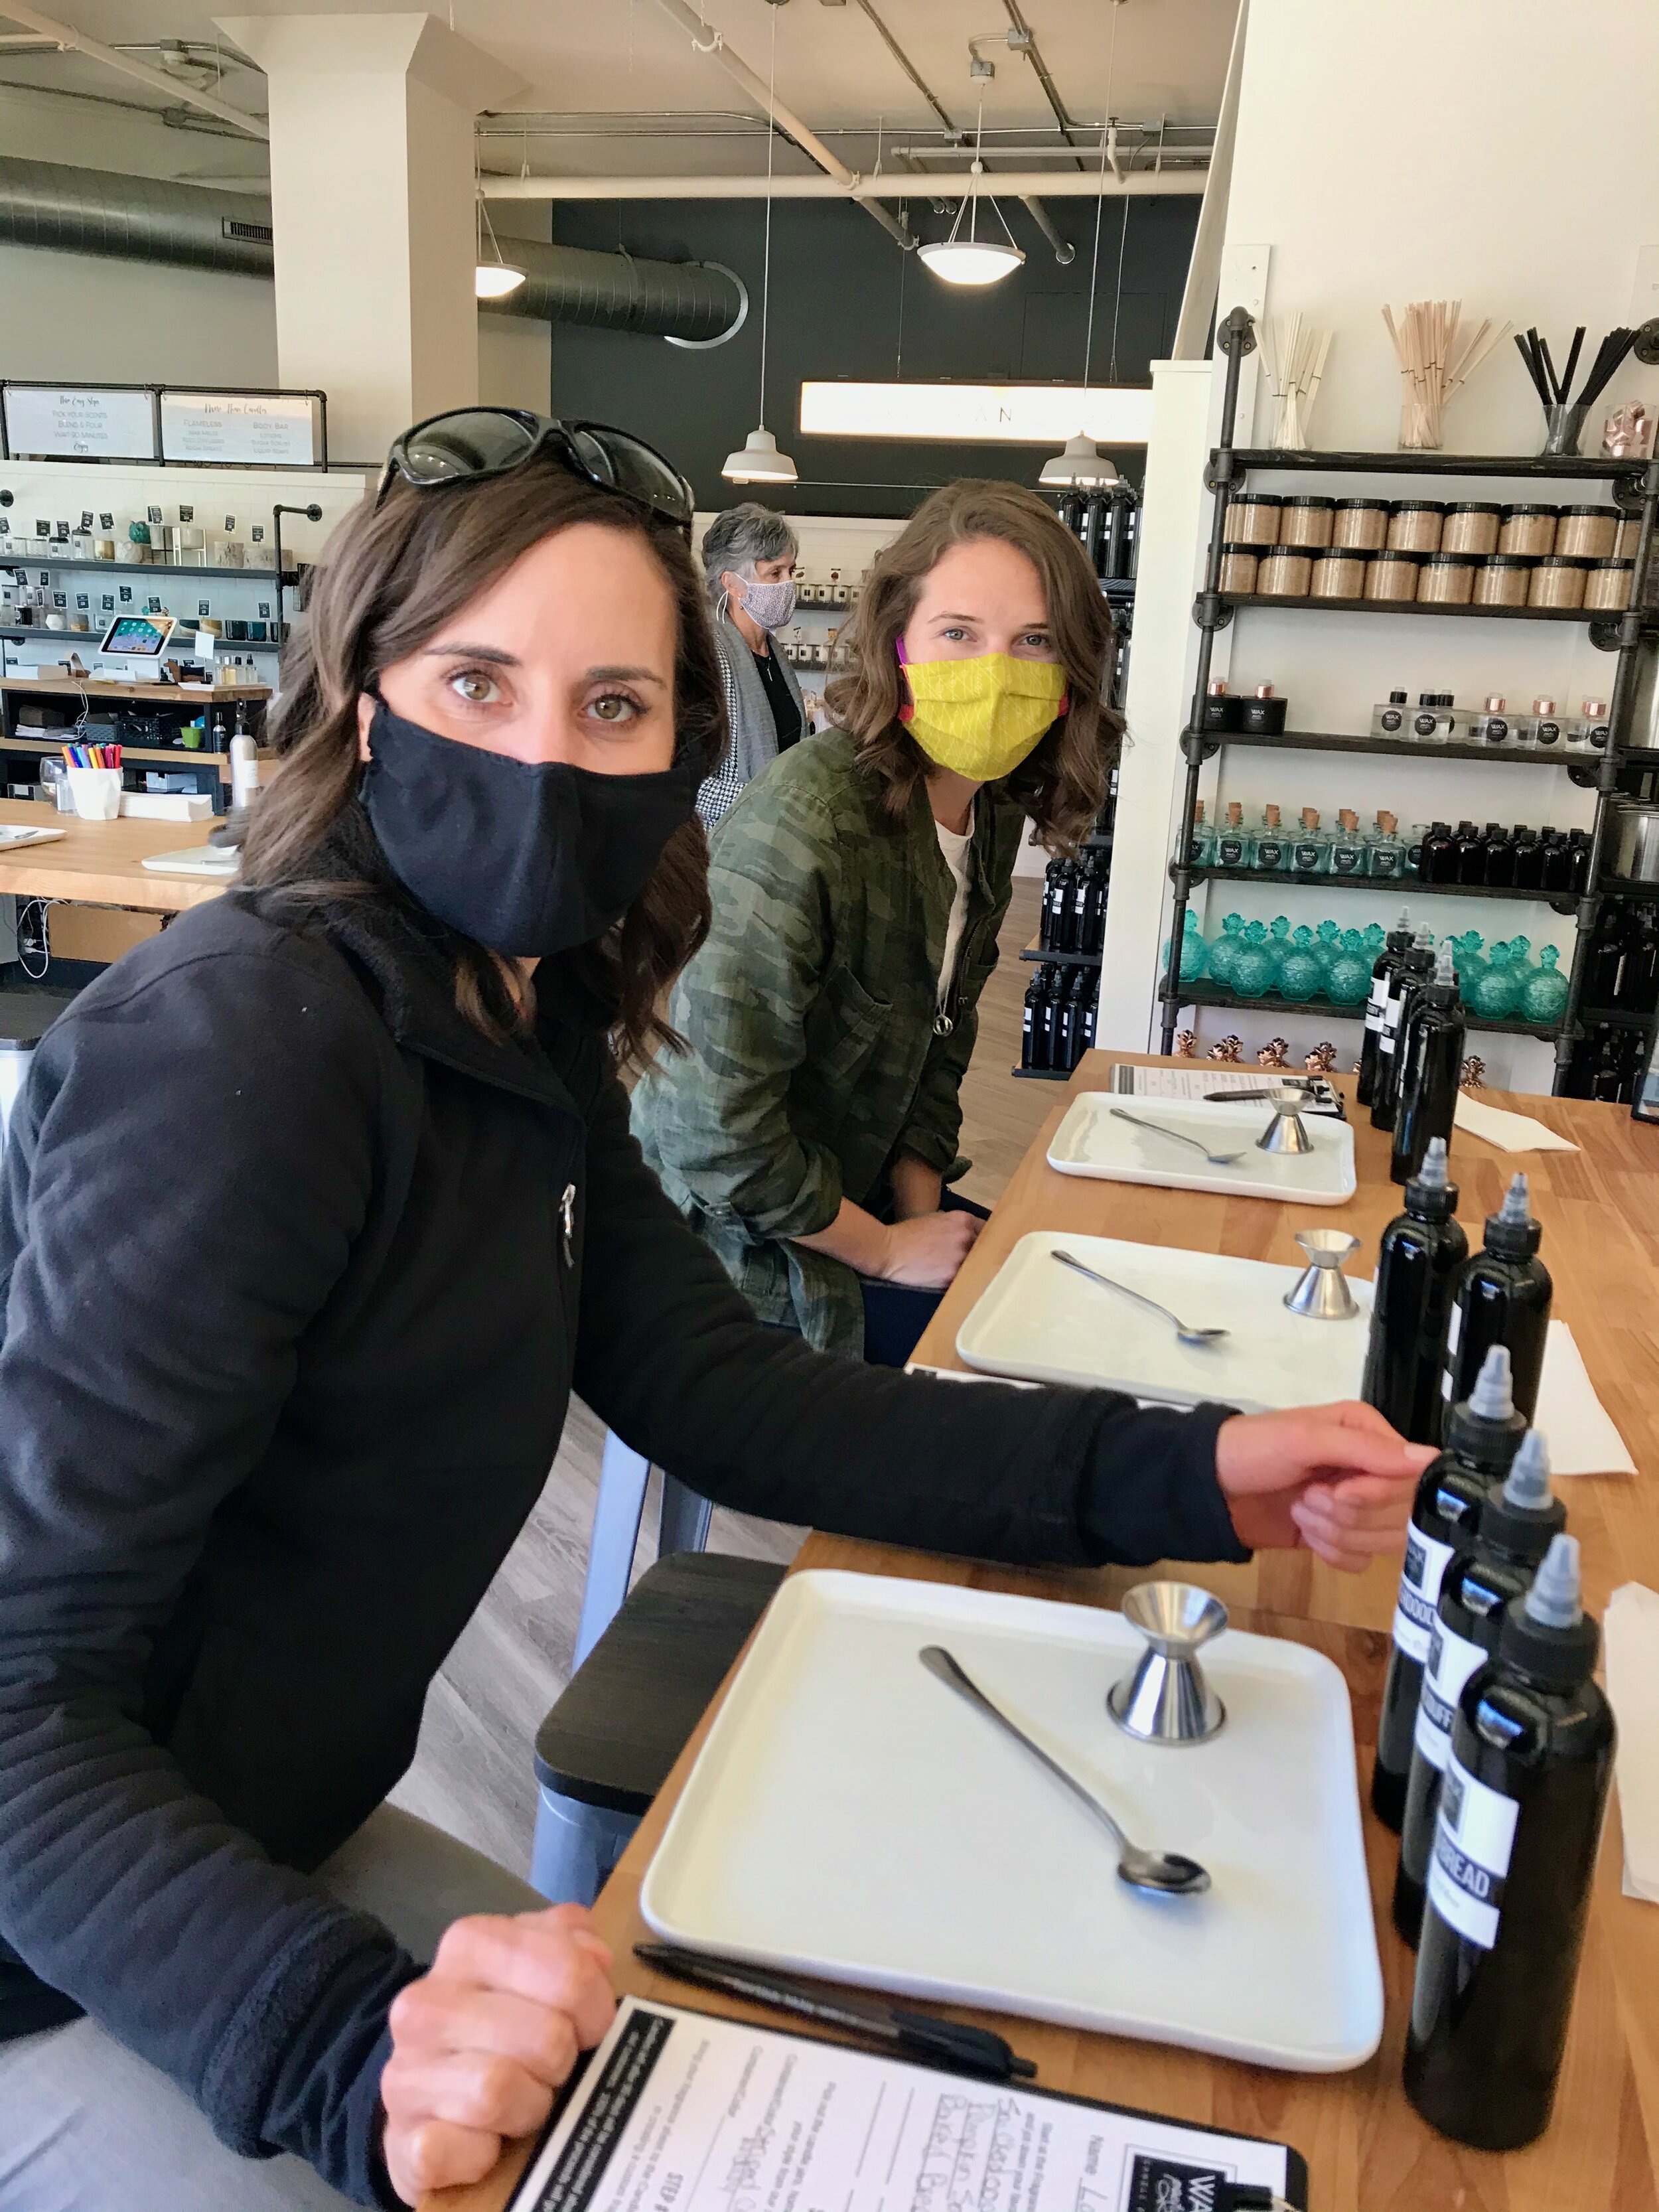
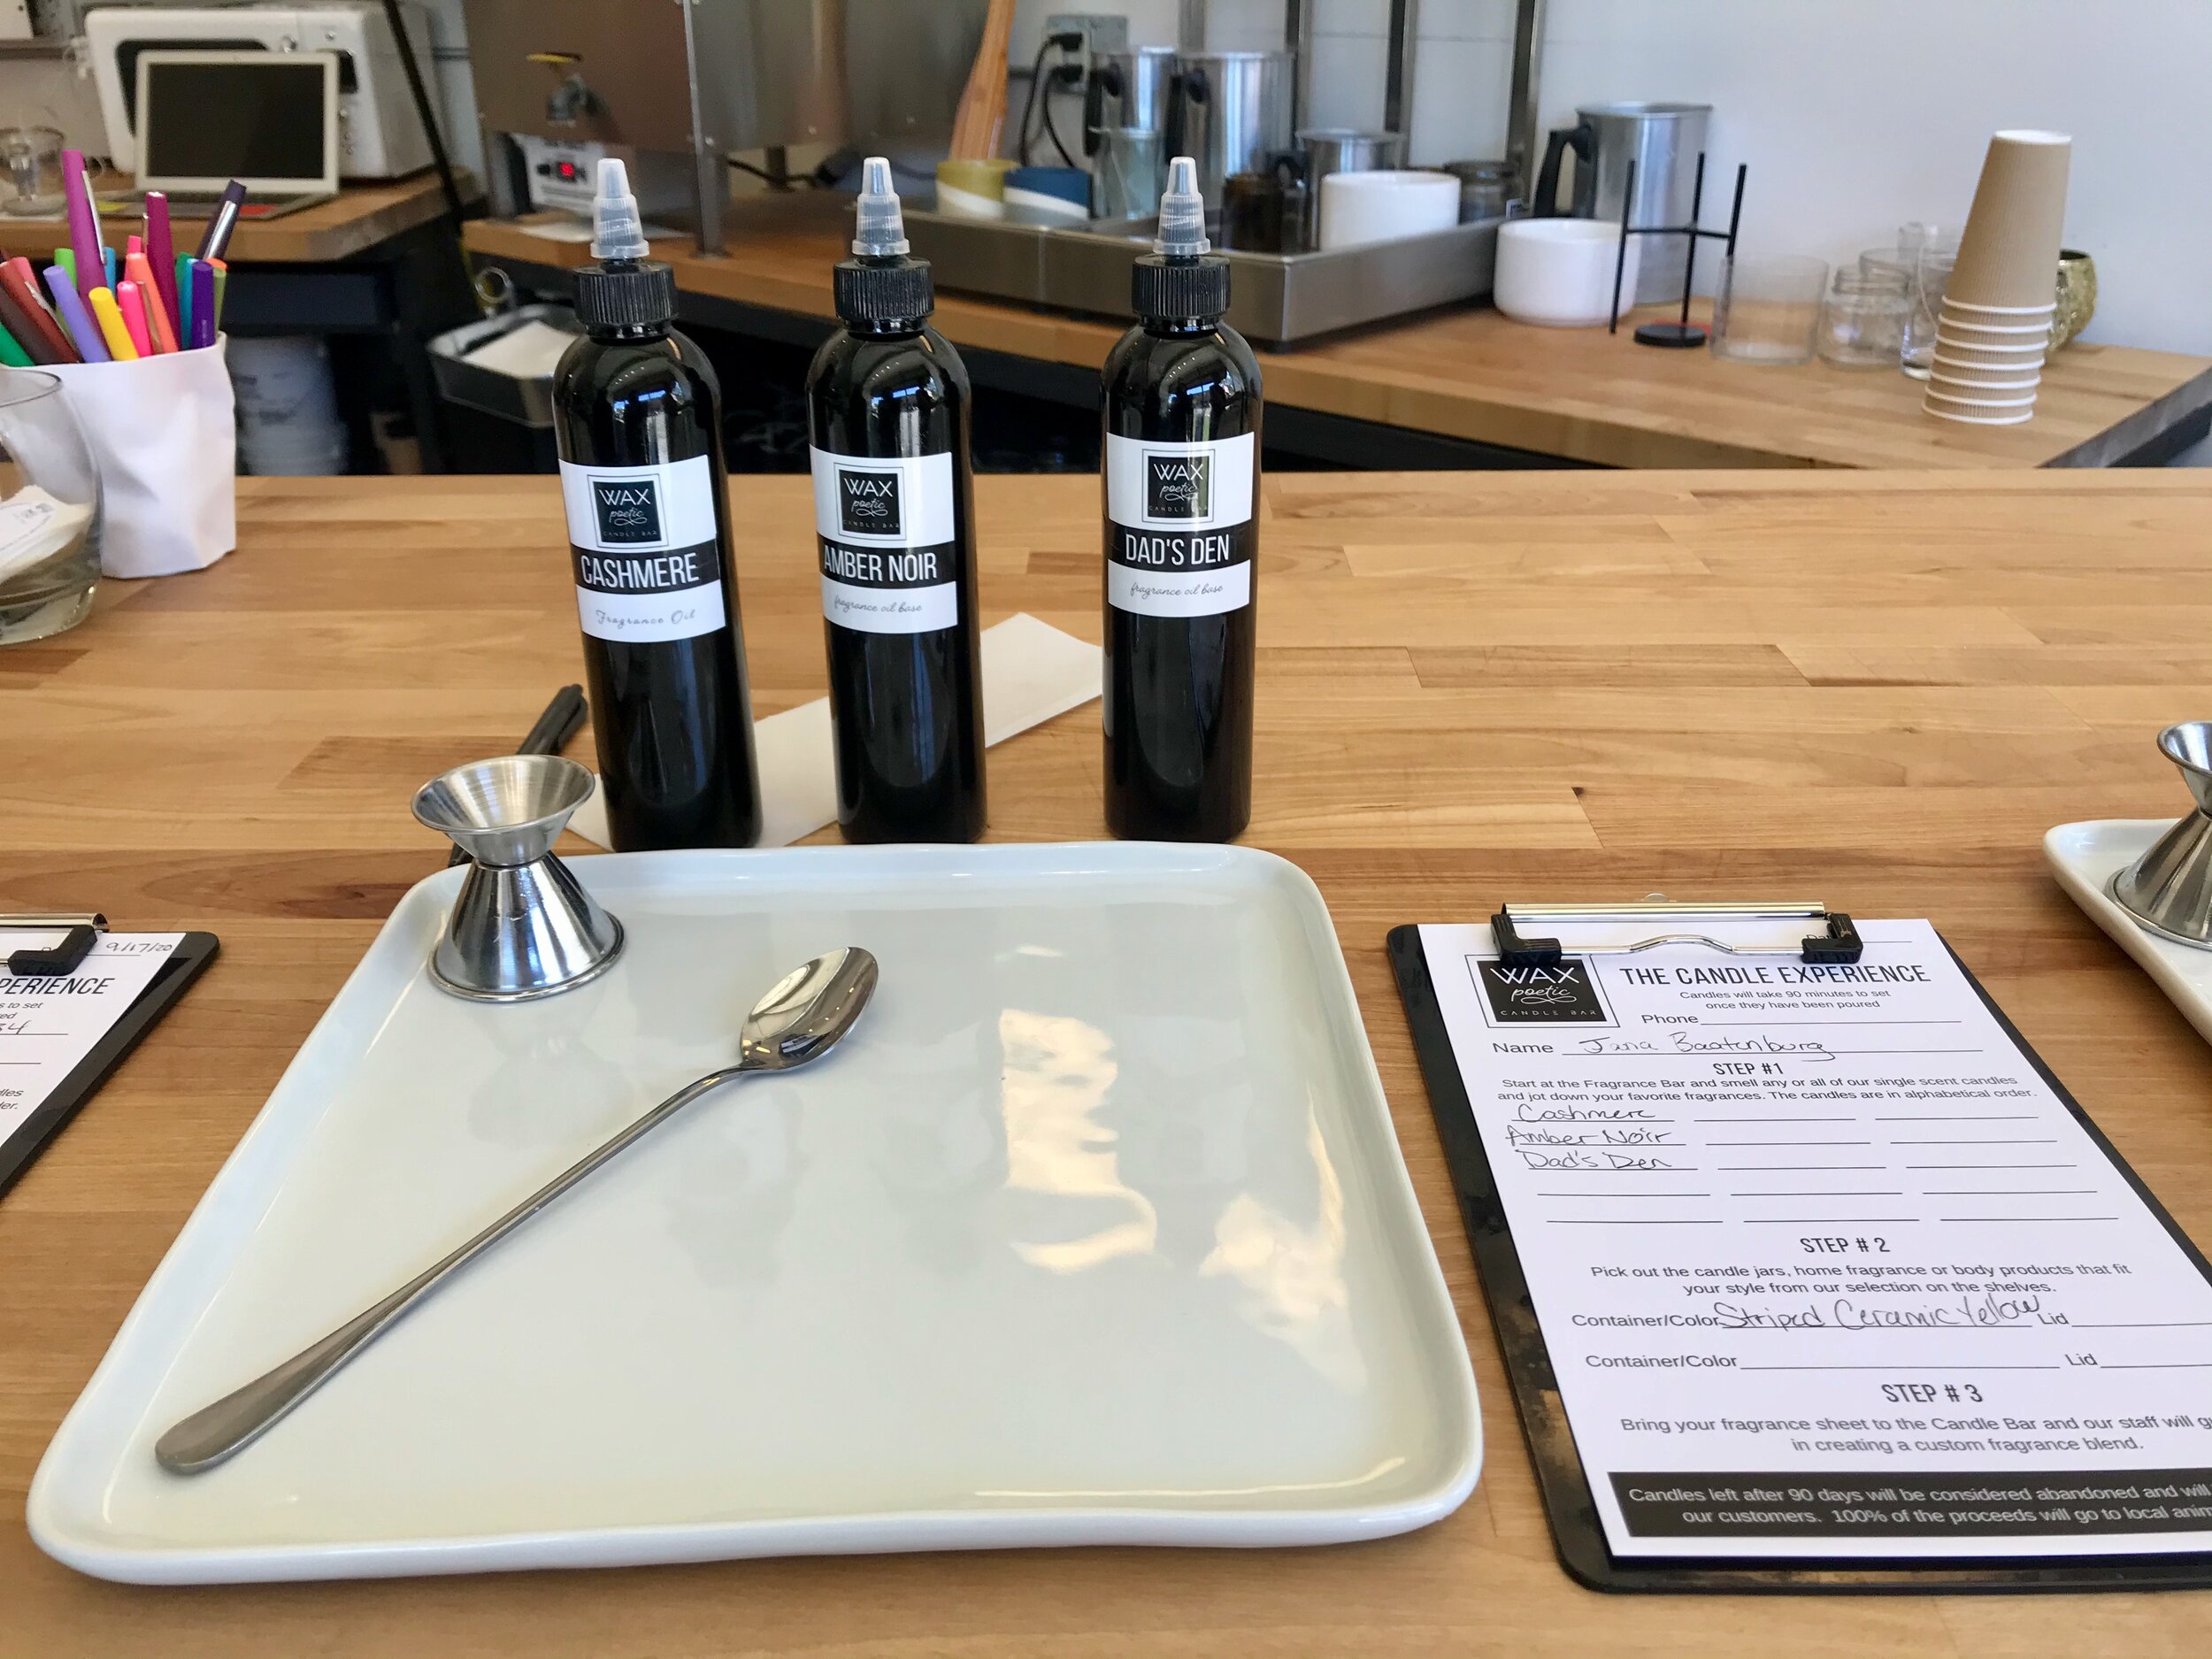
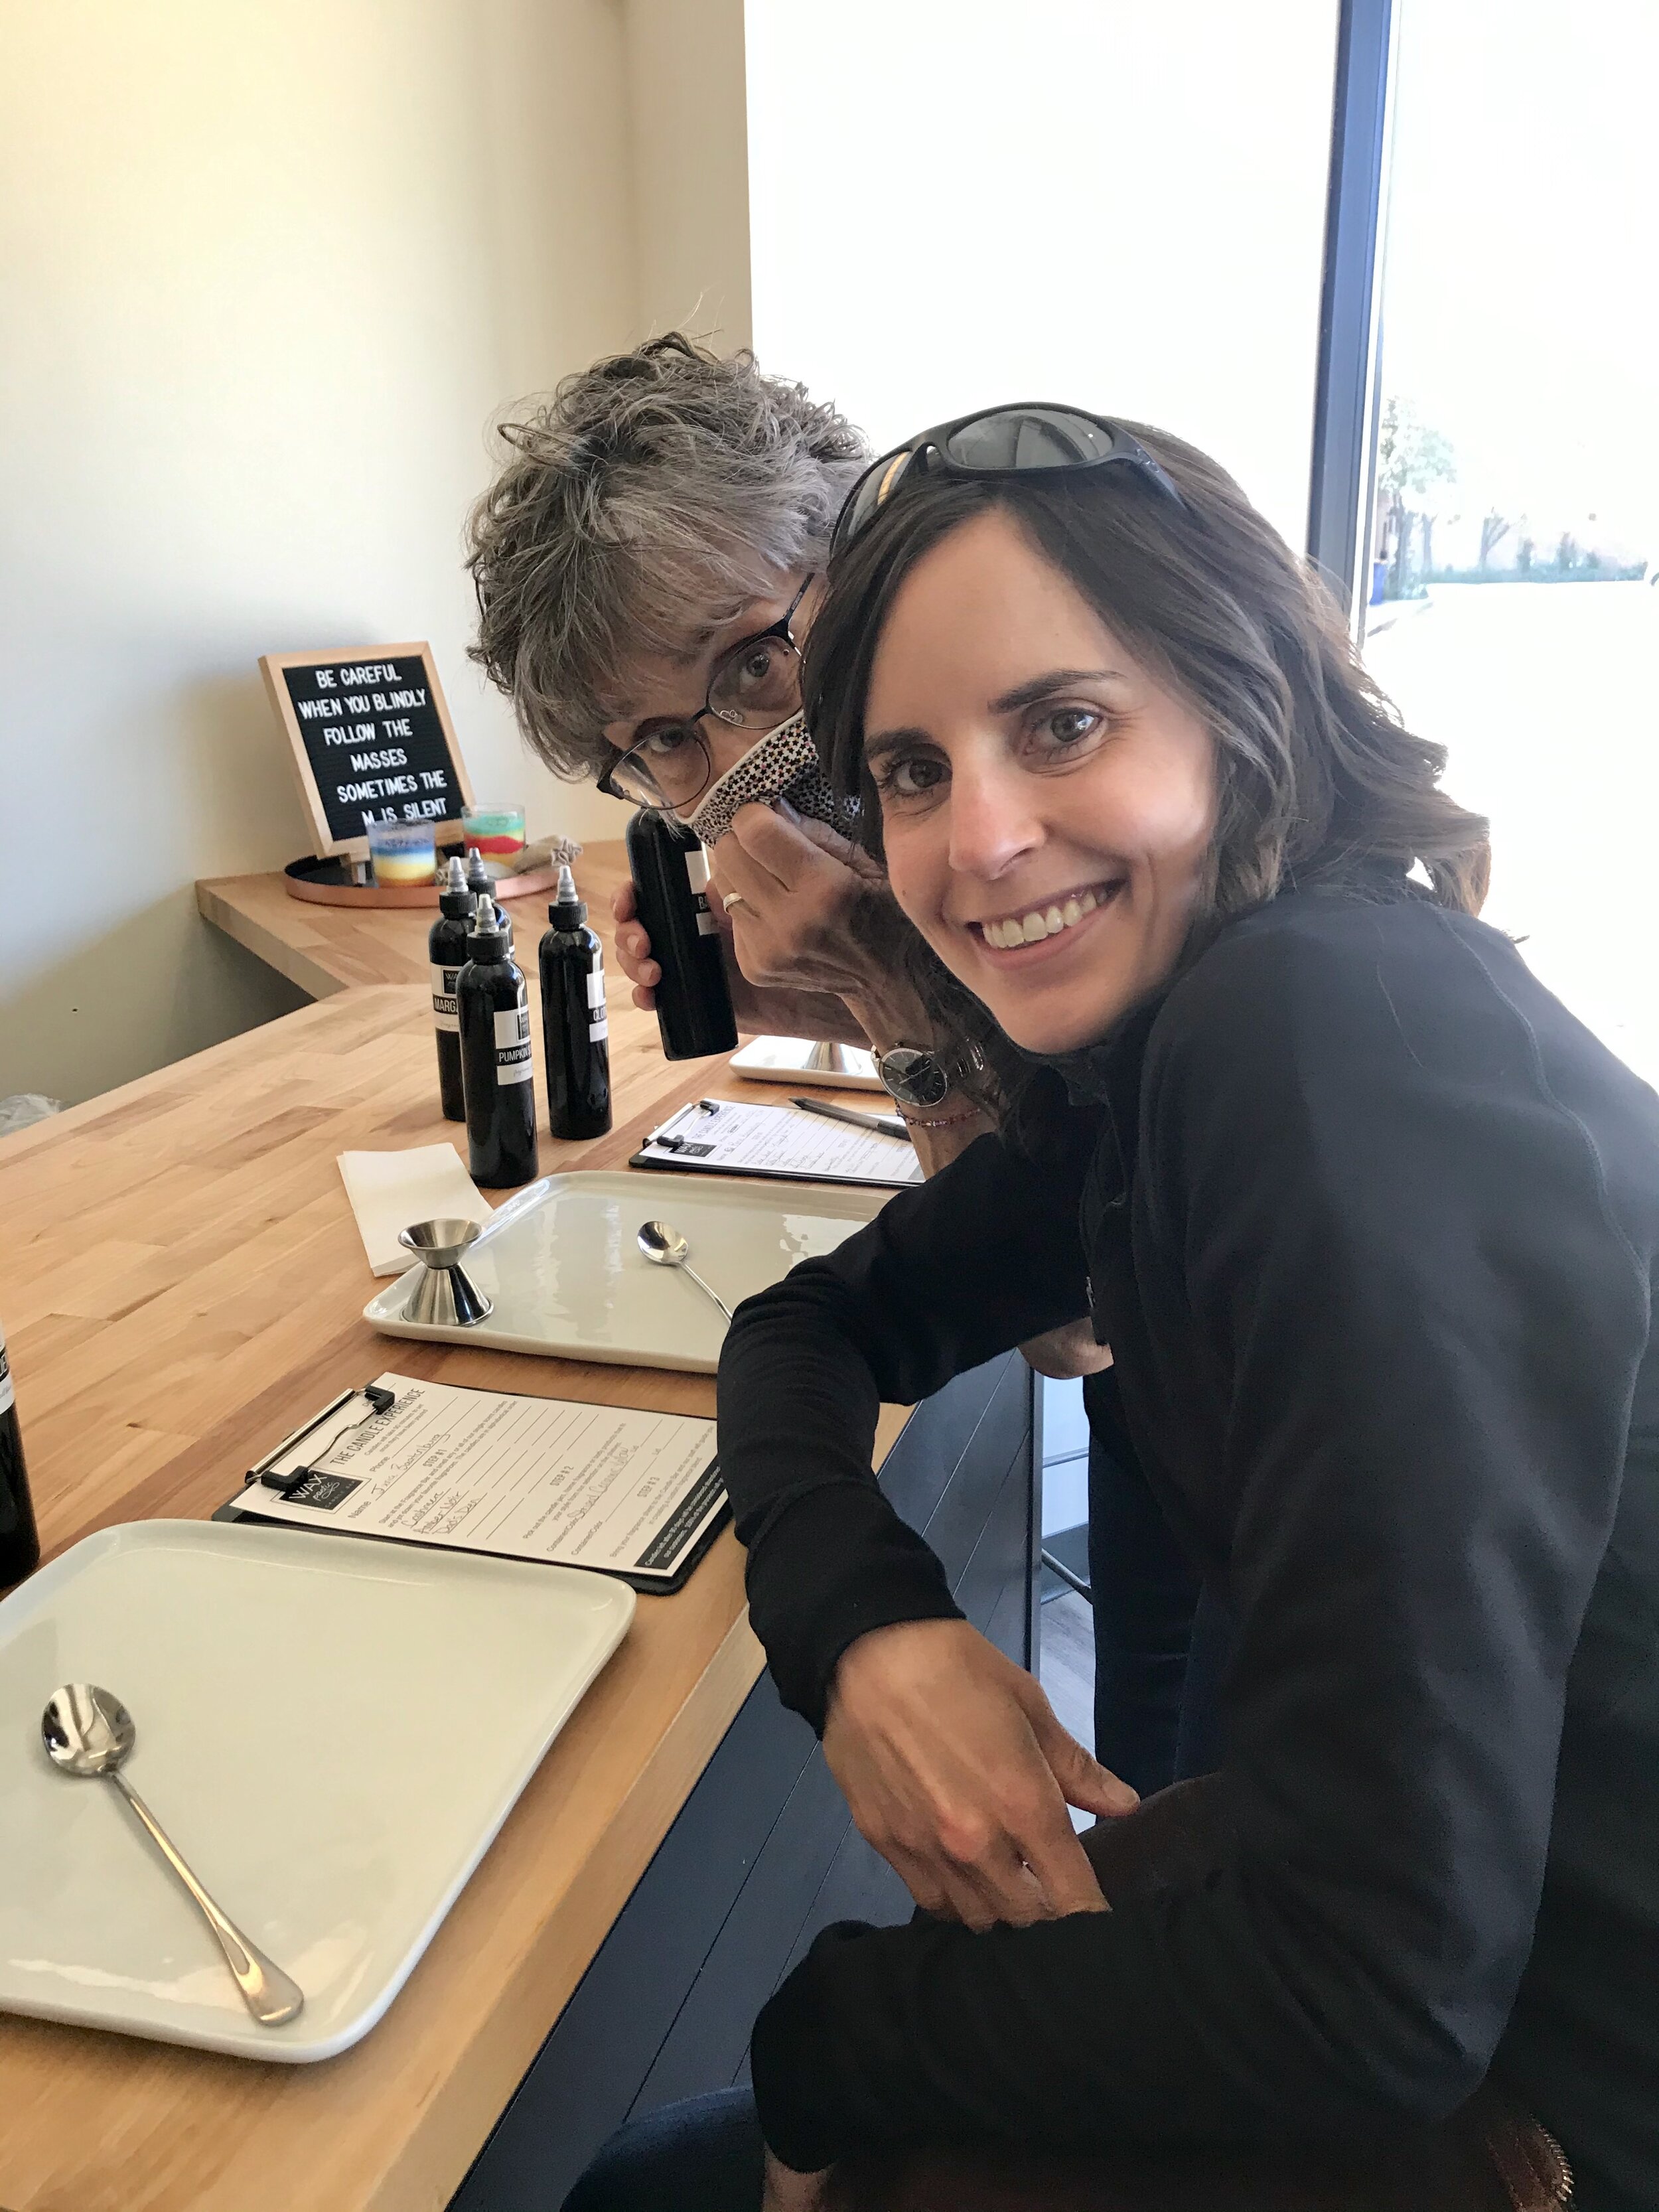
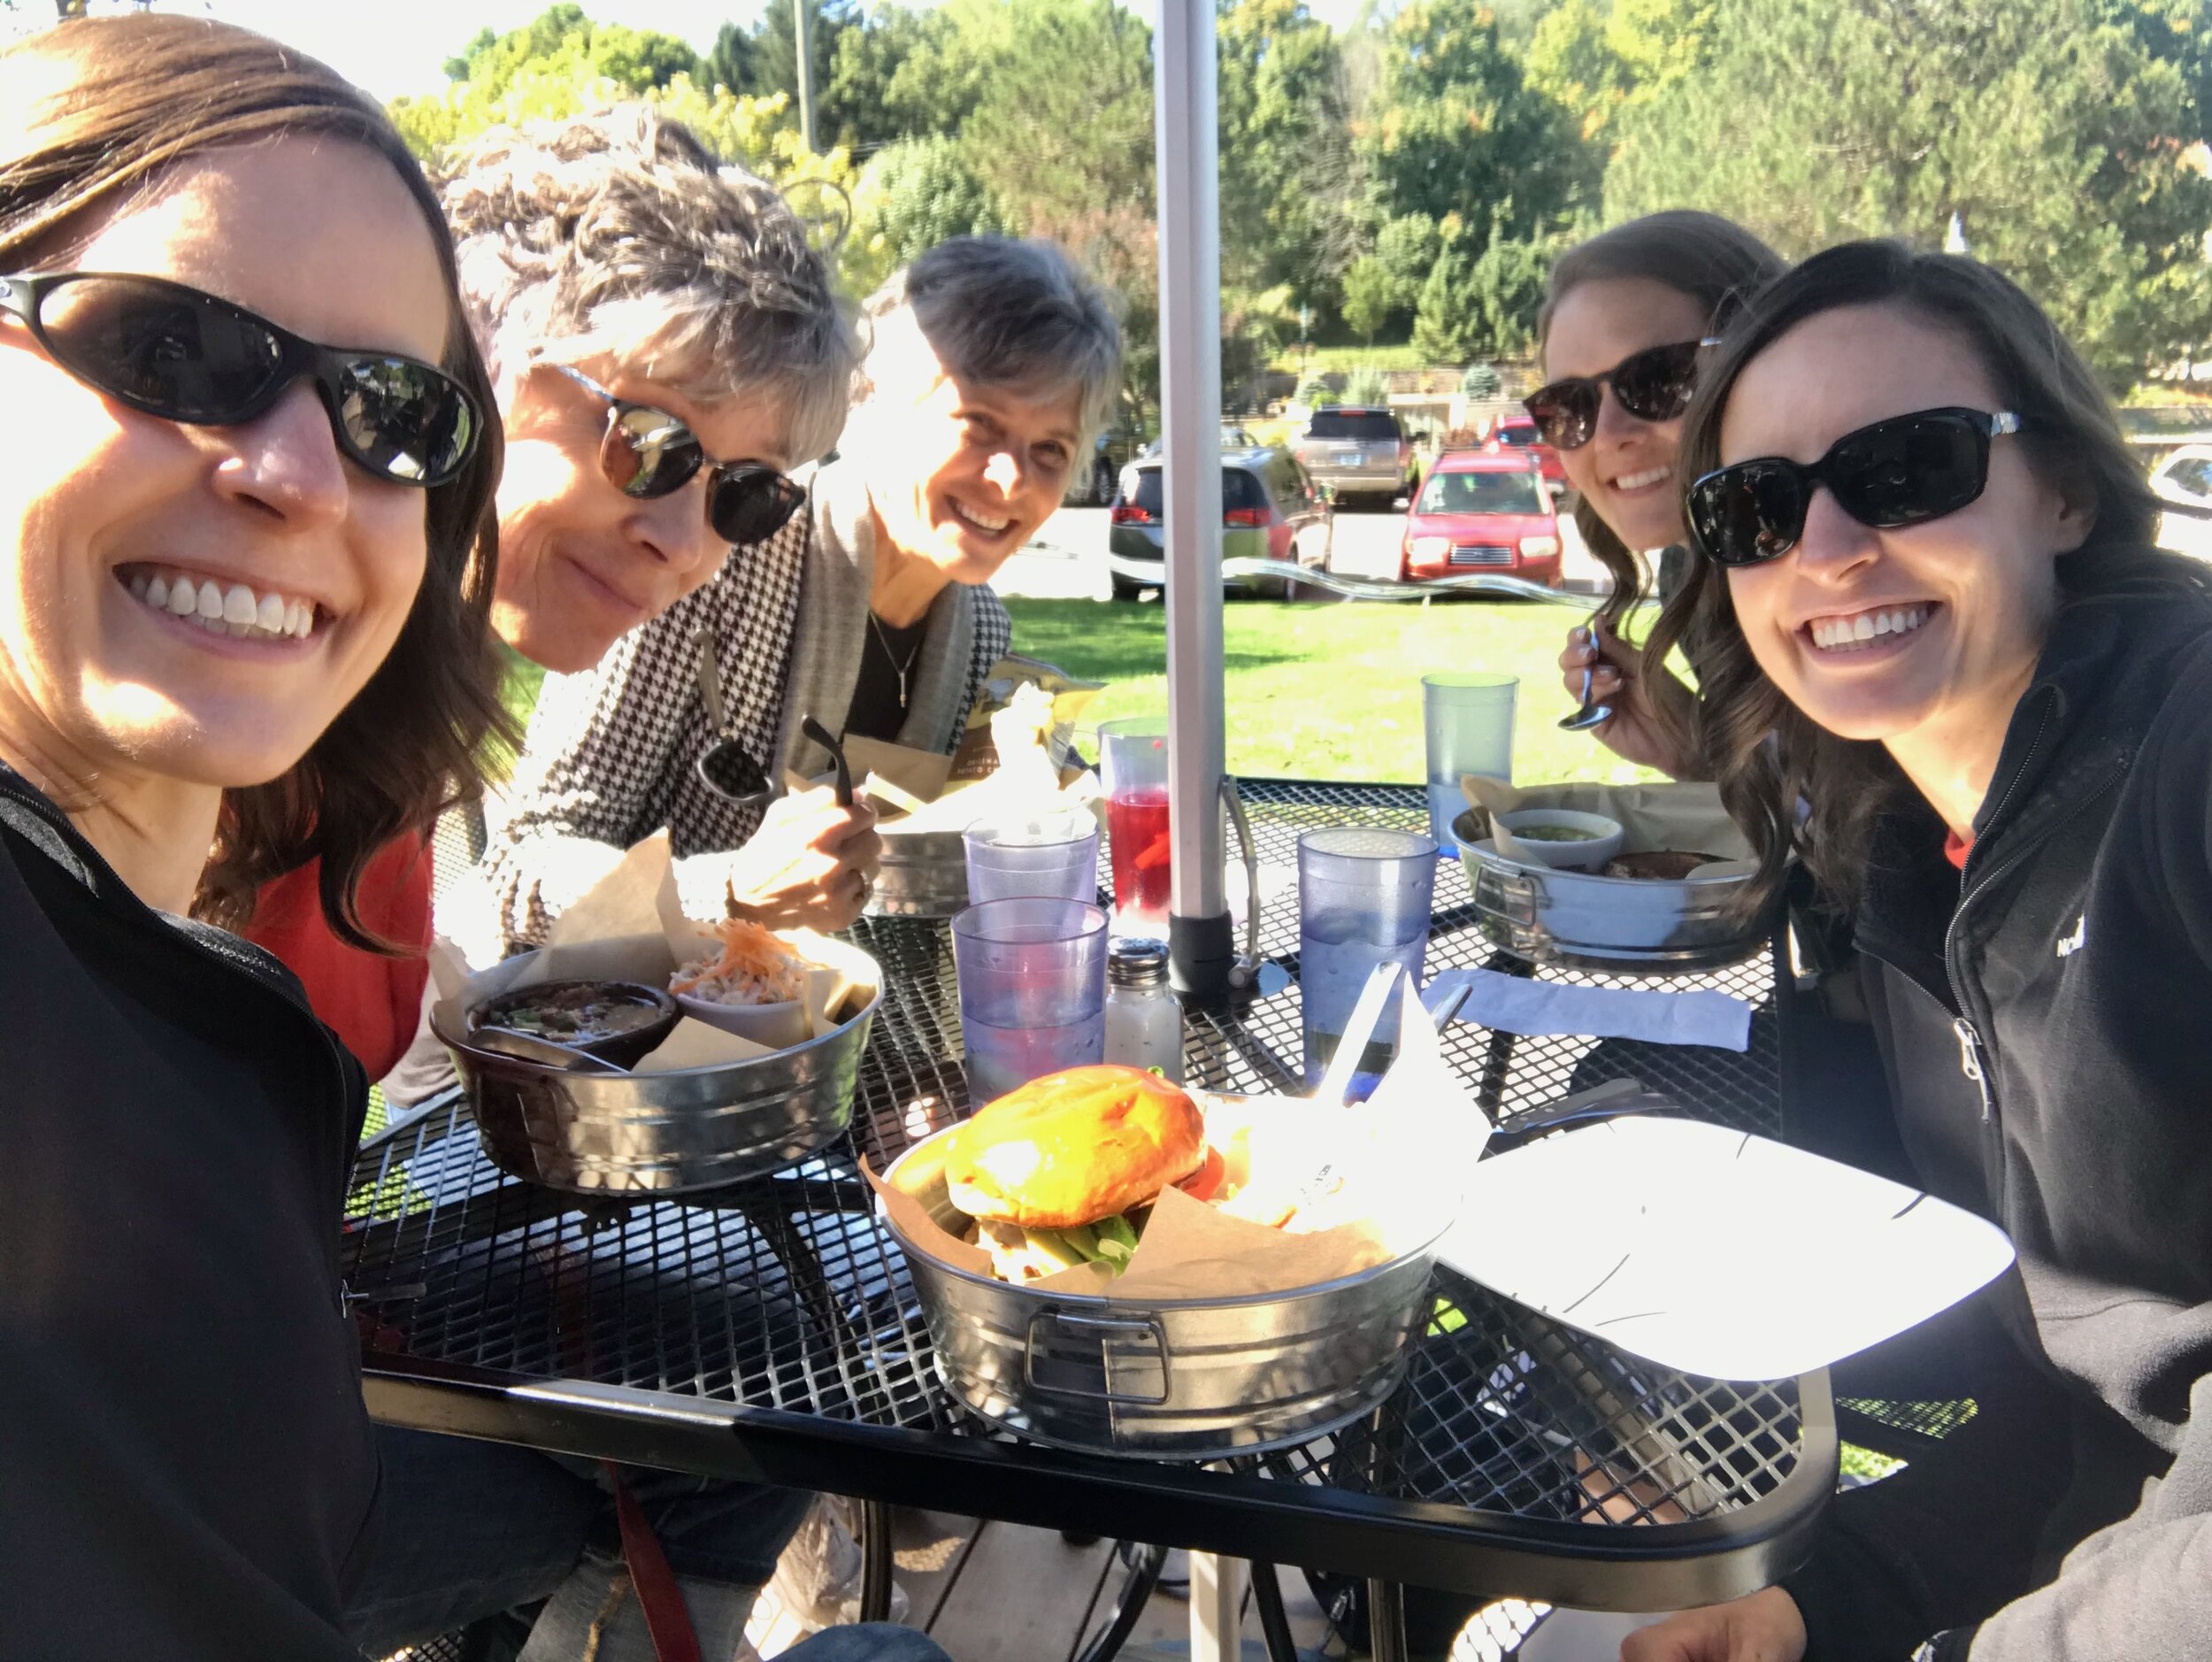
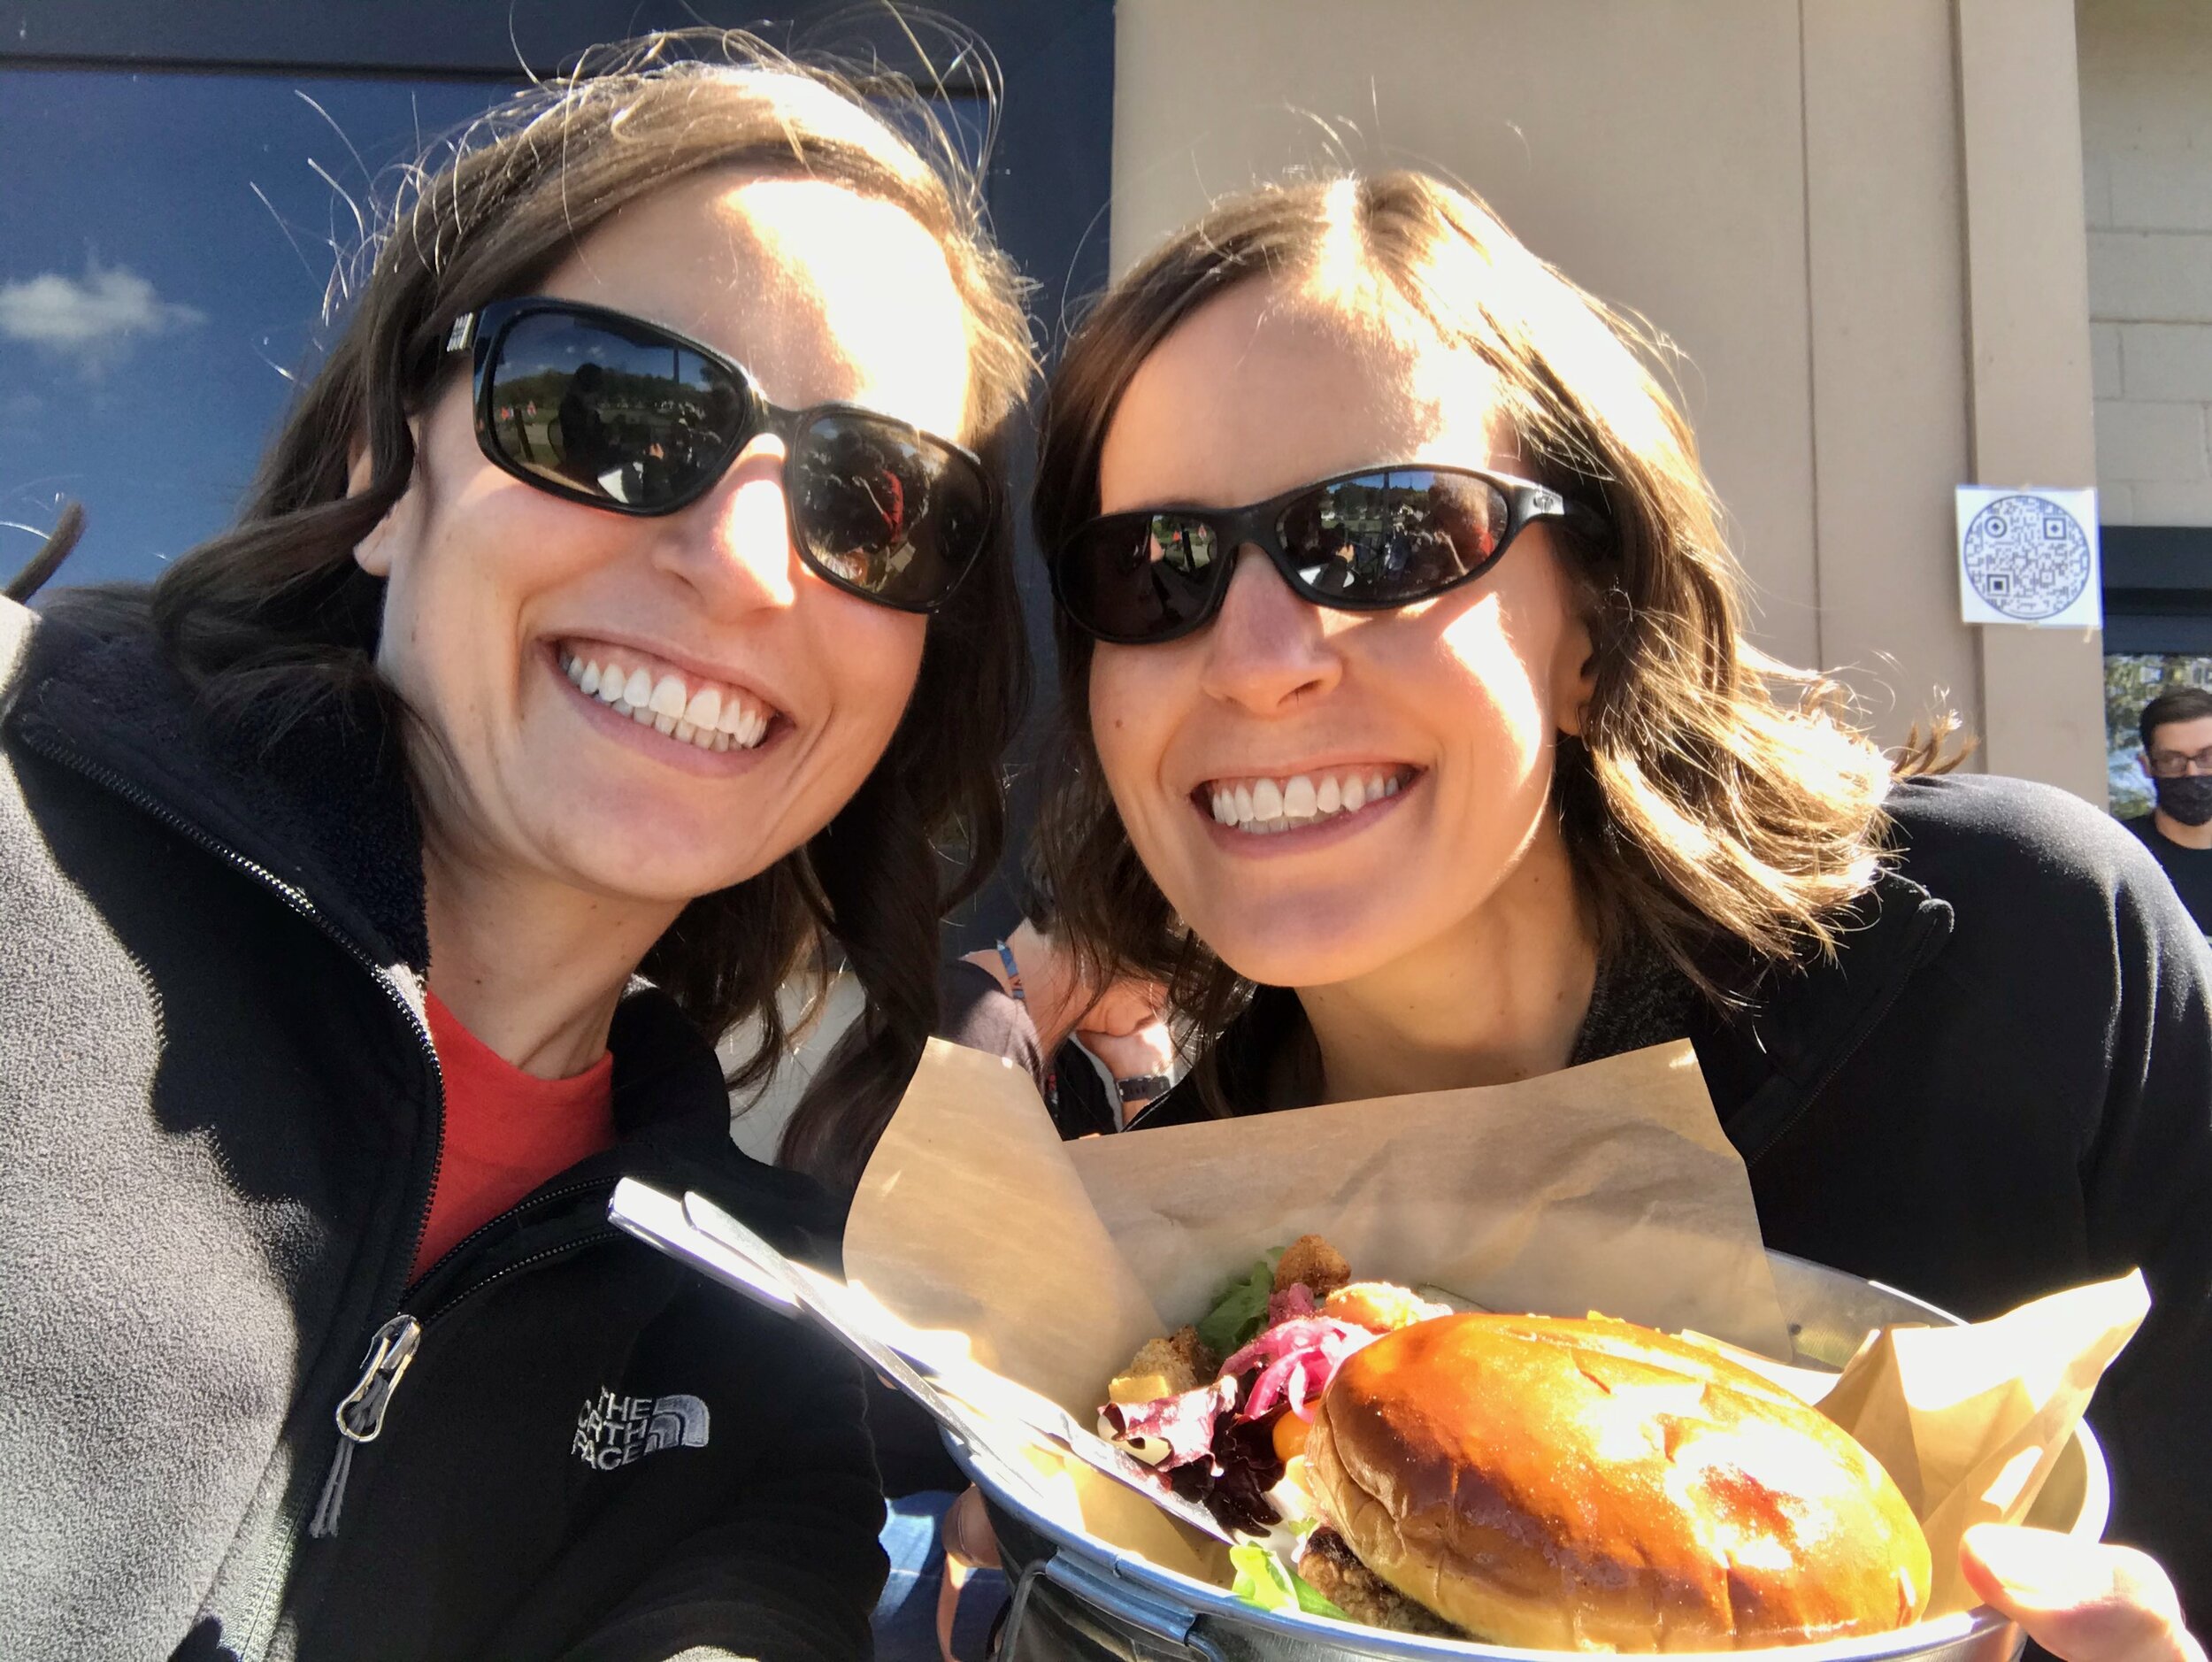
Our Aunt and Cousin wanted to celebrate our birthday too! They took us out to Wax Poetic Candle Bar where we made our own candles. It was a lot of fun! After candle making we ate a lovely lunch on the river at Ramona’s Table in Rockford. A little window shopping afterwards was the perfect way to celebrate!

IMG_8909.jpeg

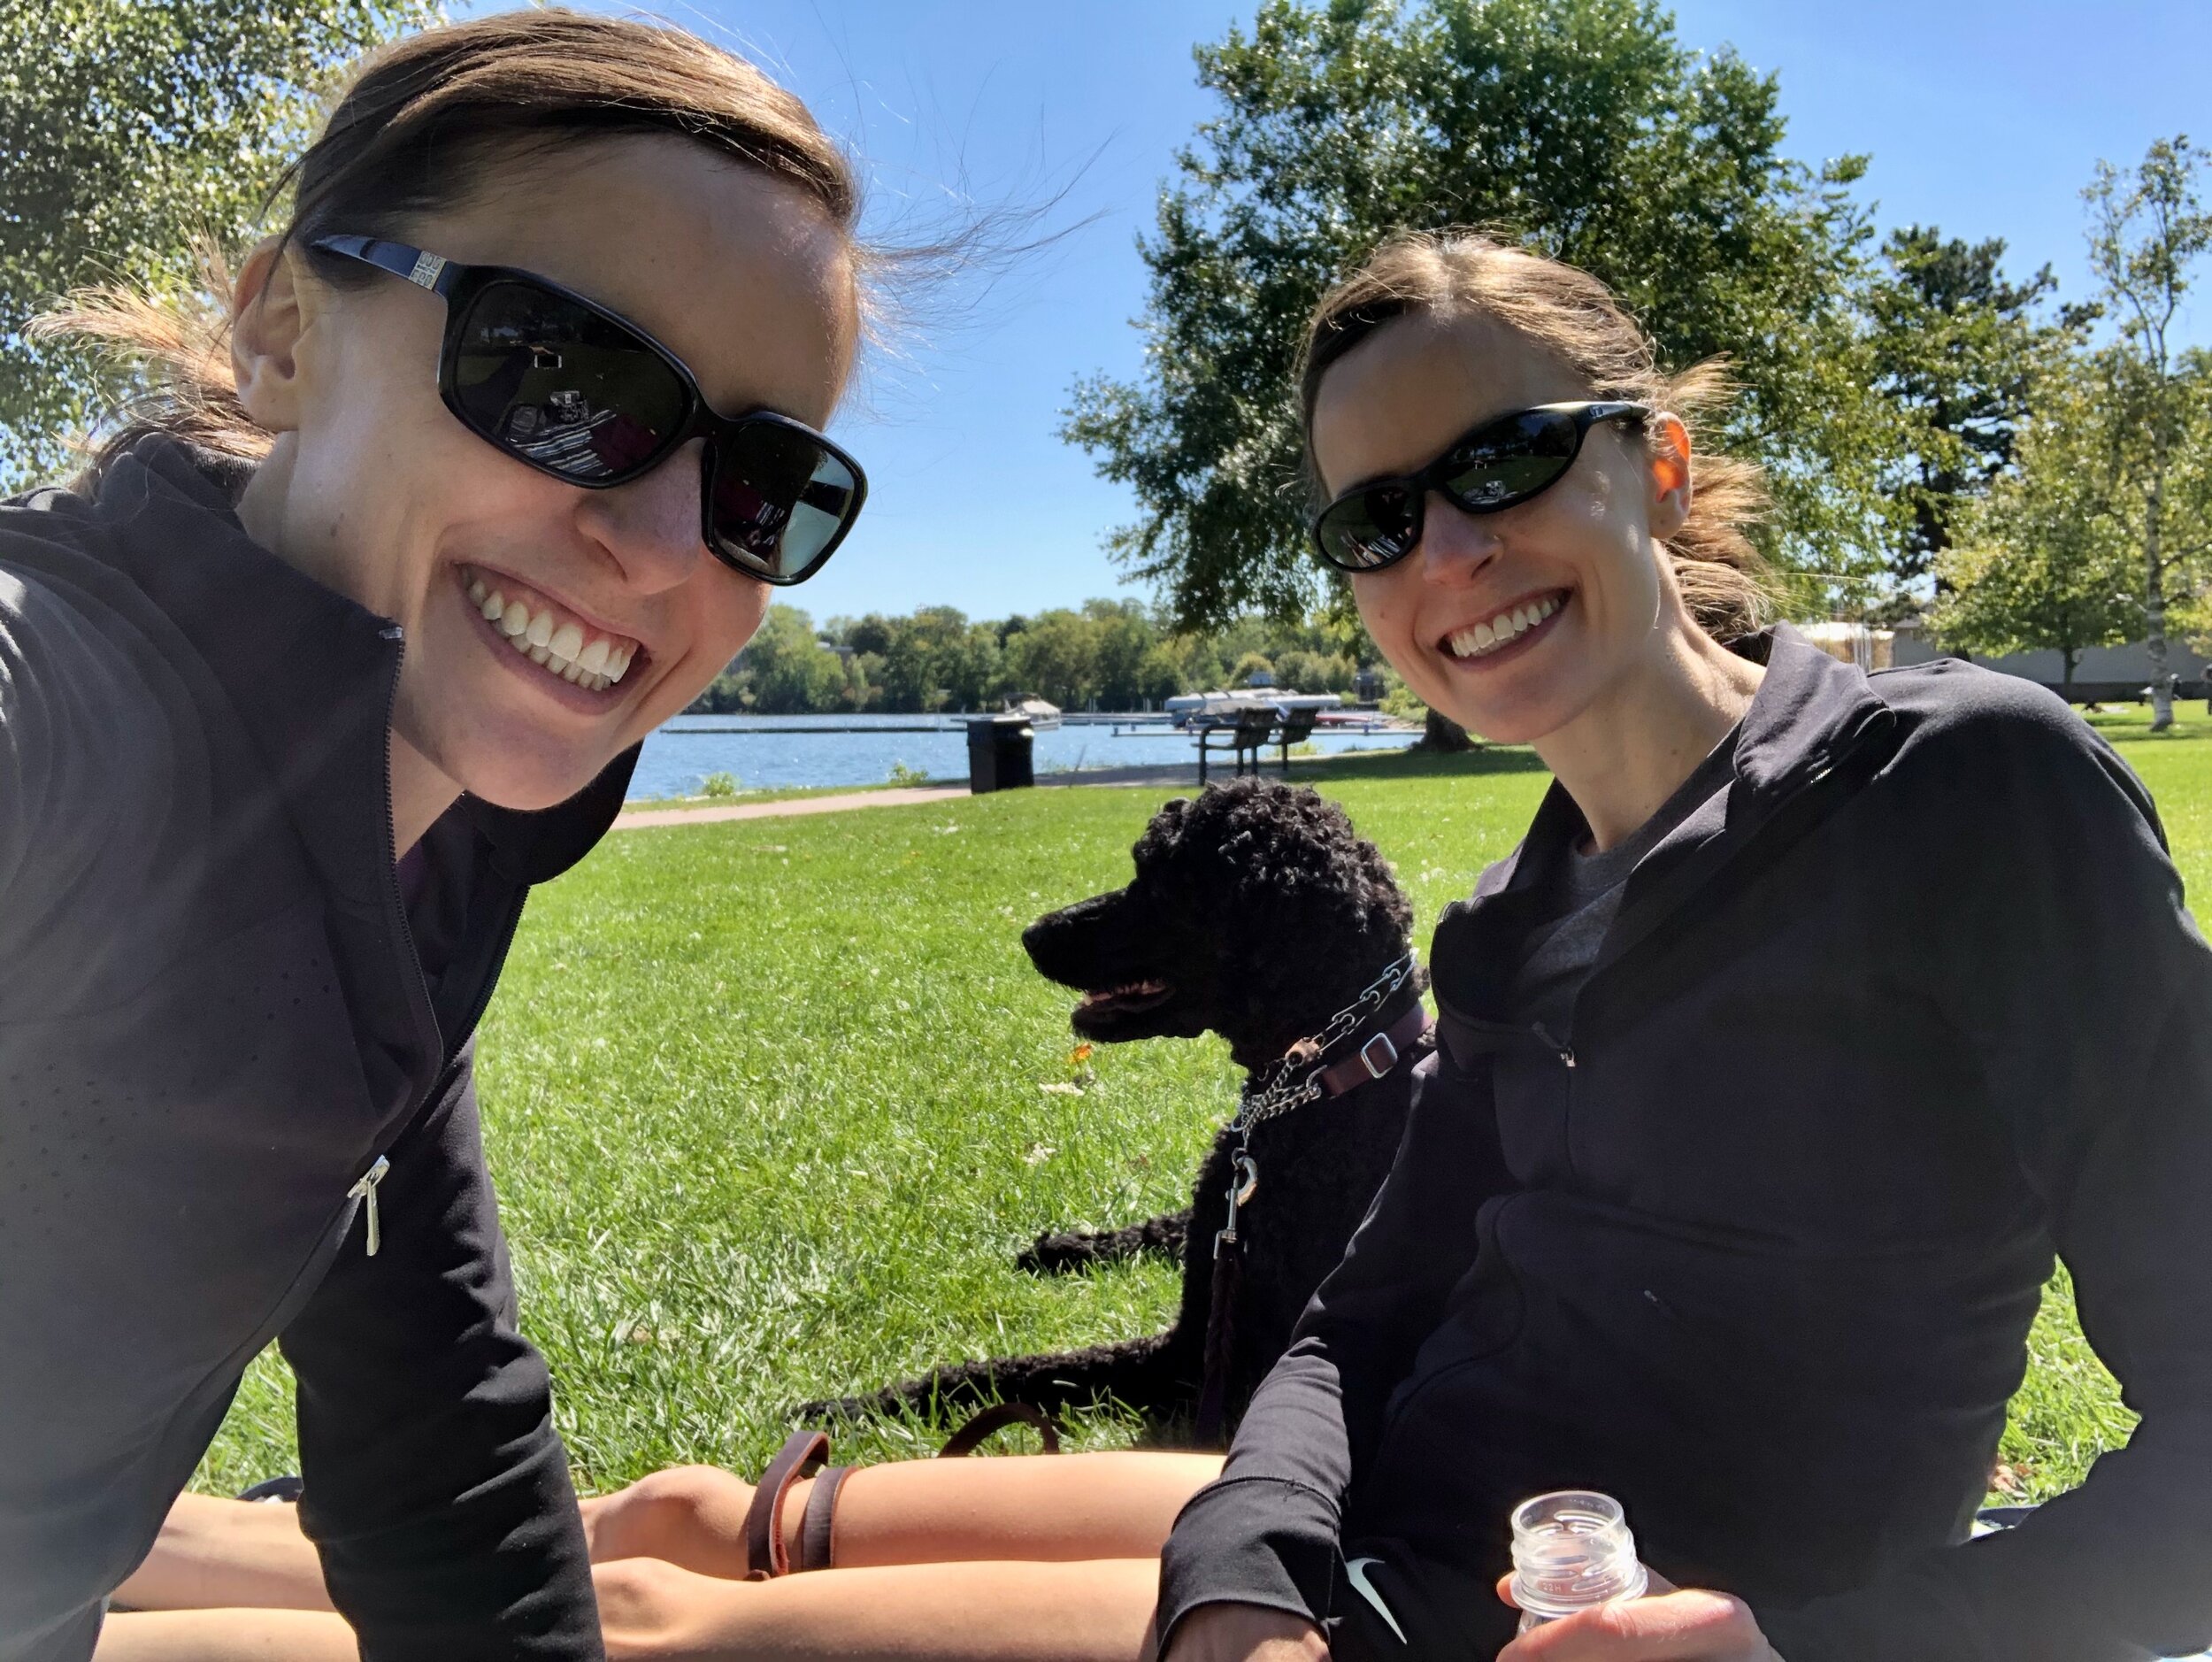
More birthday weekend. A walk around Reed’s Lake, followed by a picnic in the park.

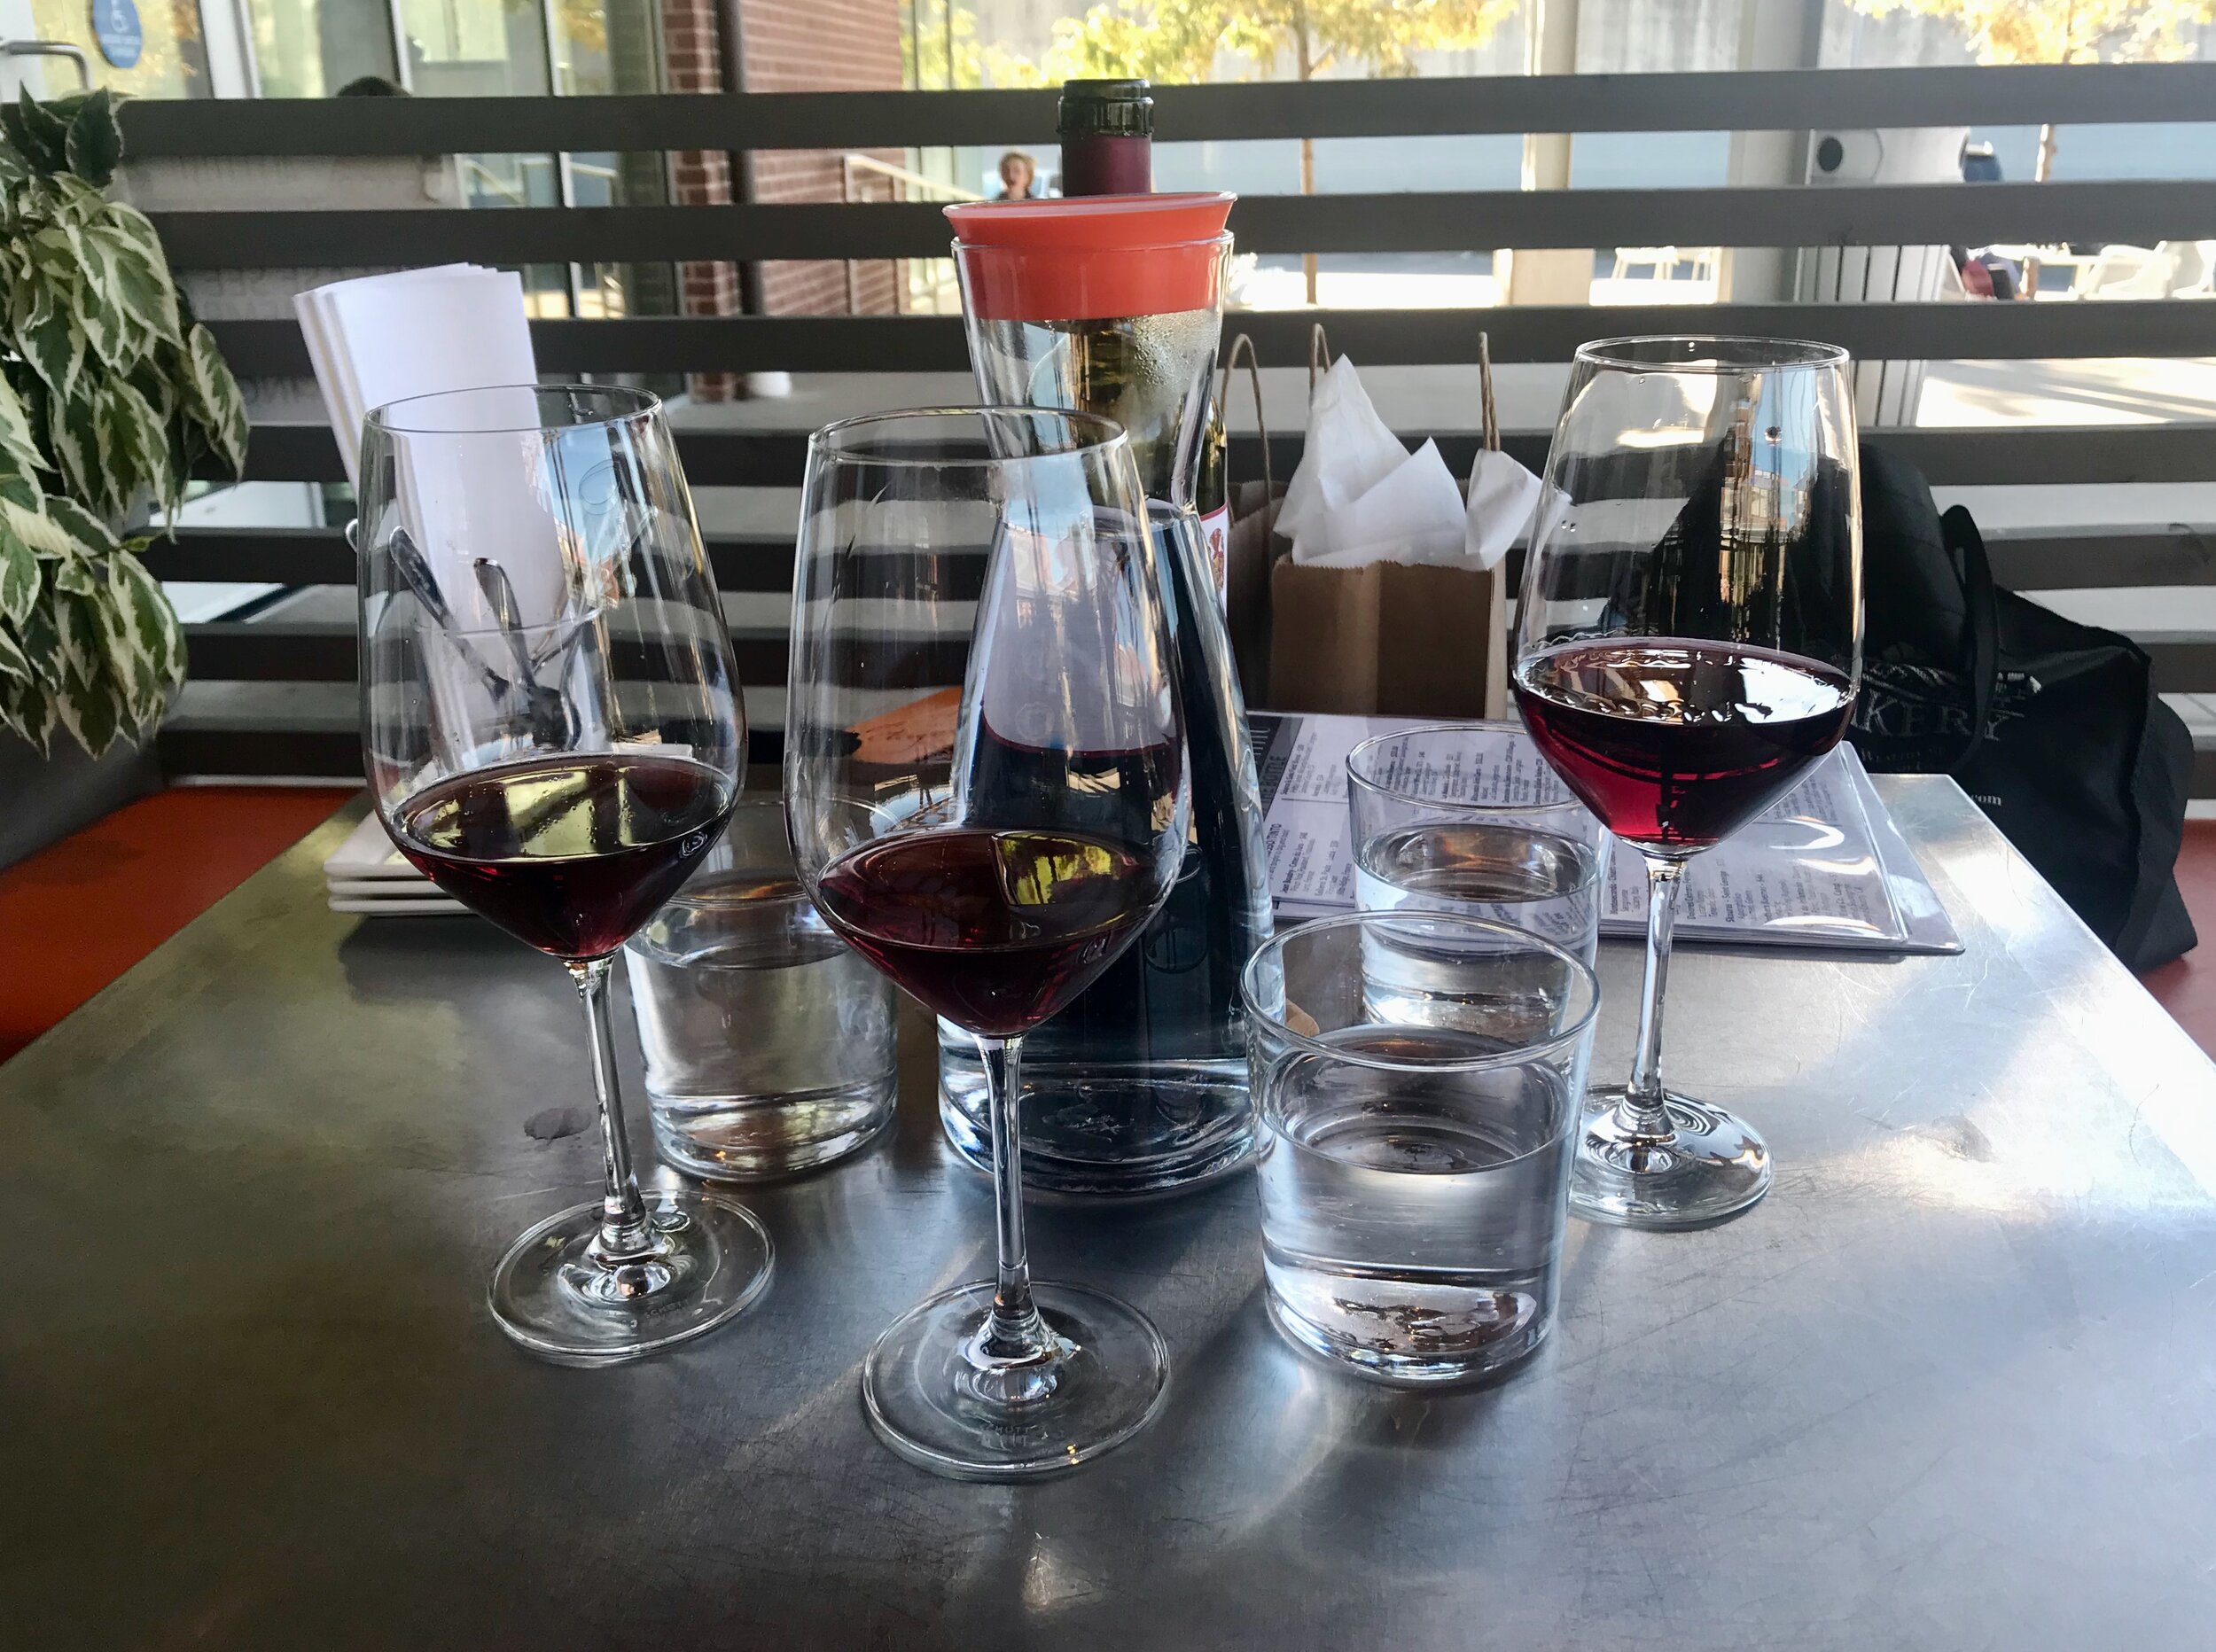
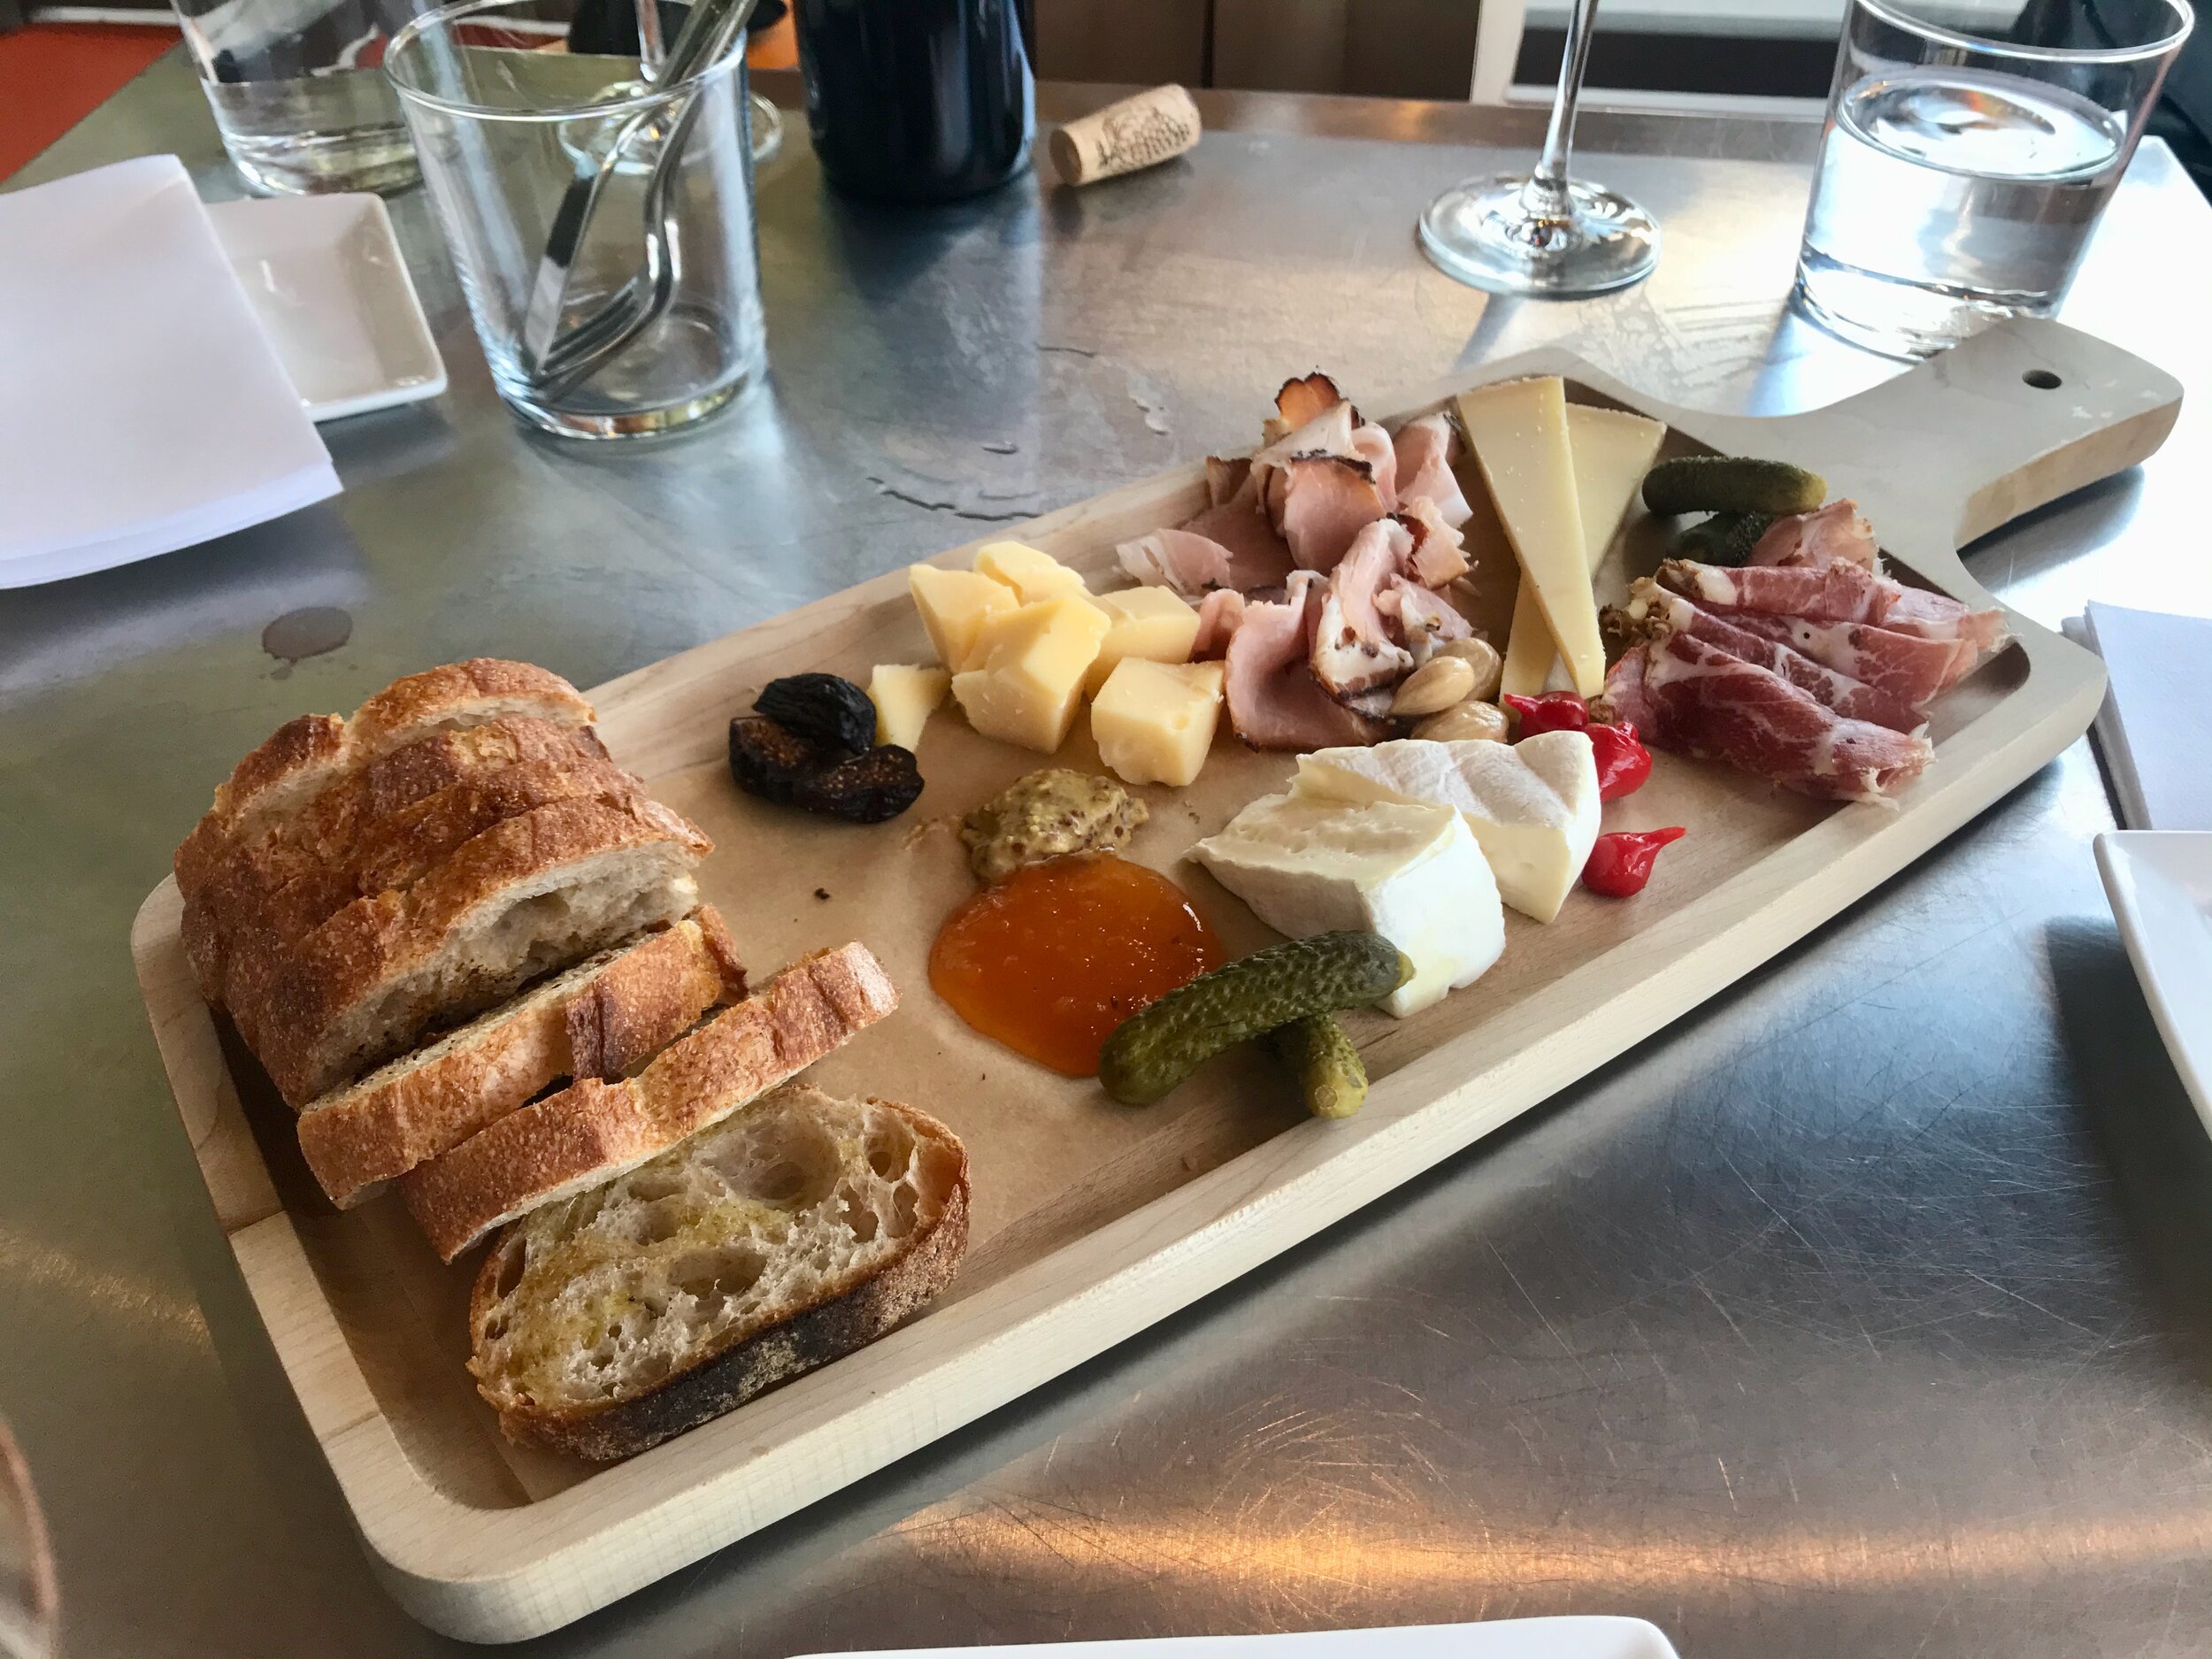
Another fun celebration with our great friend Lindsay at our favorite wine bar. Aperitivo.

IMG_9463.jpeg

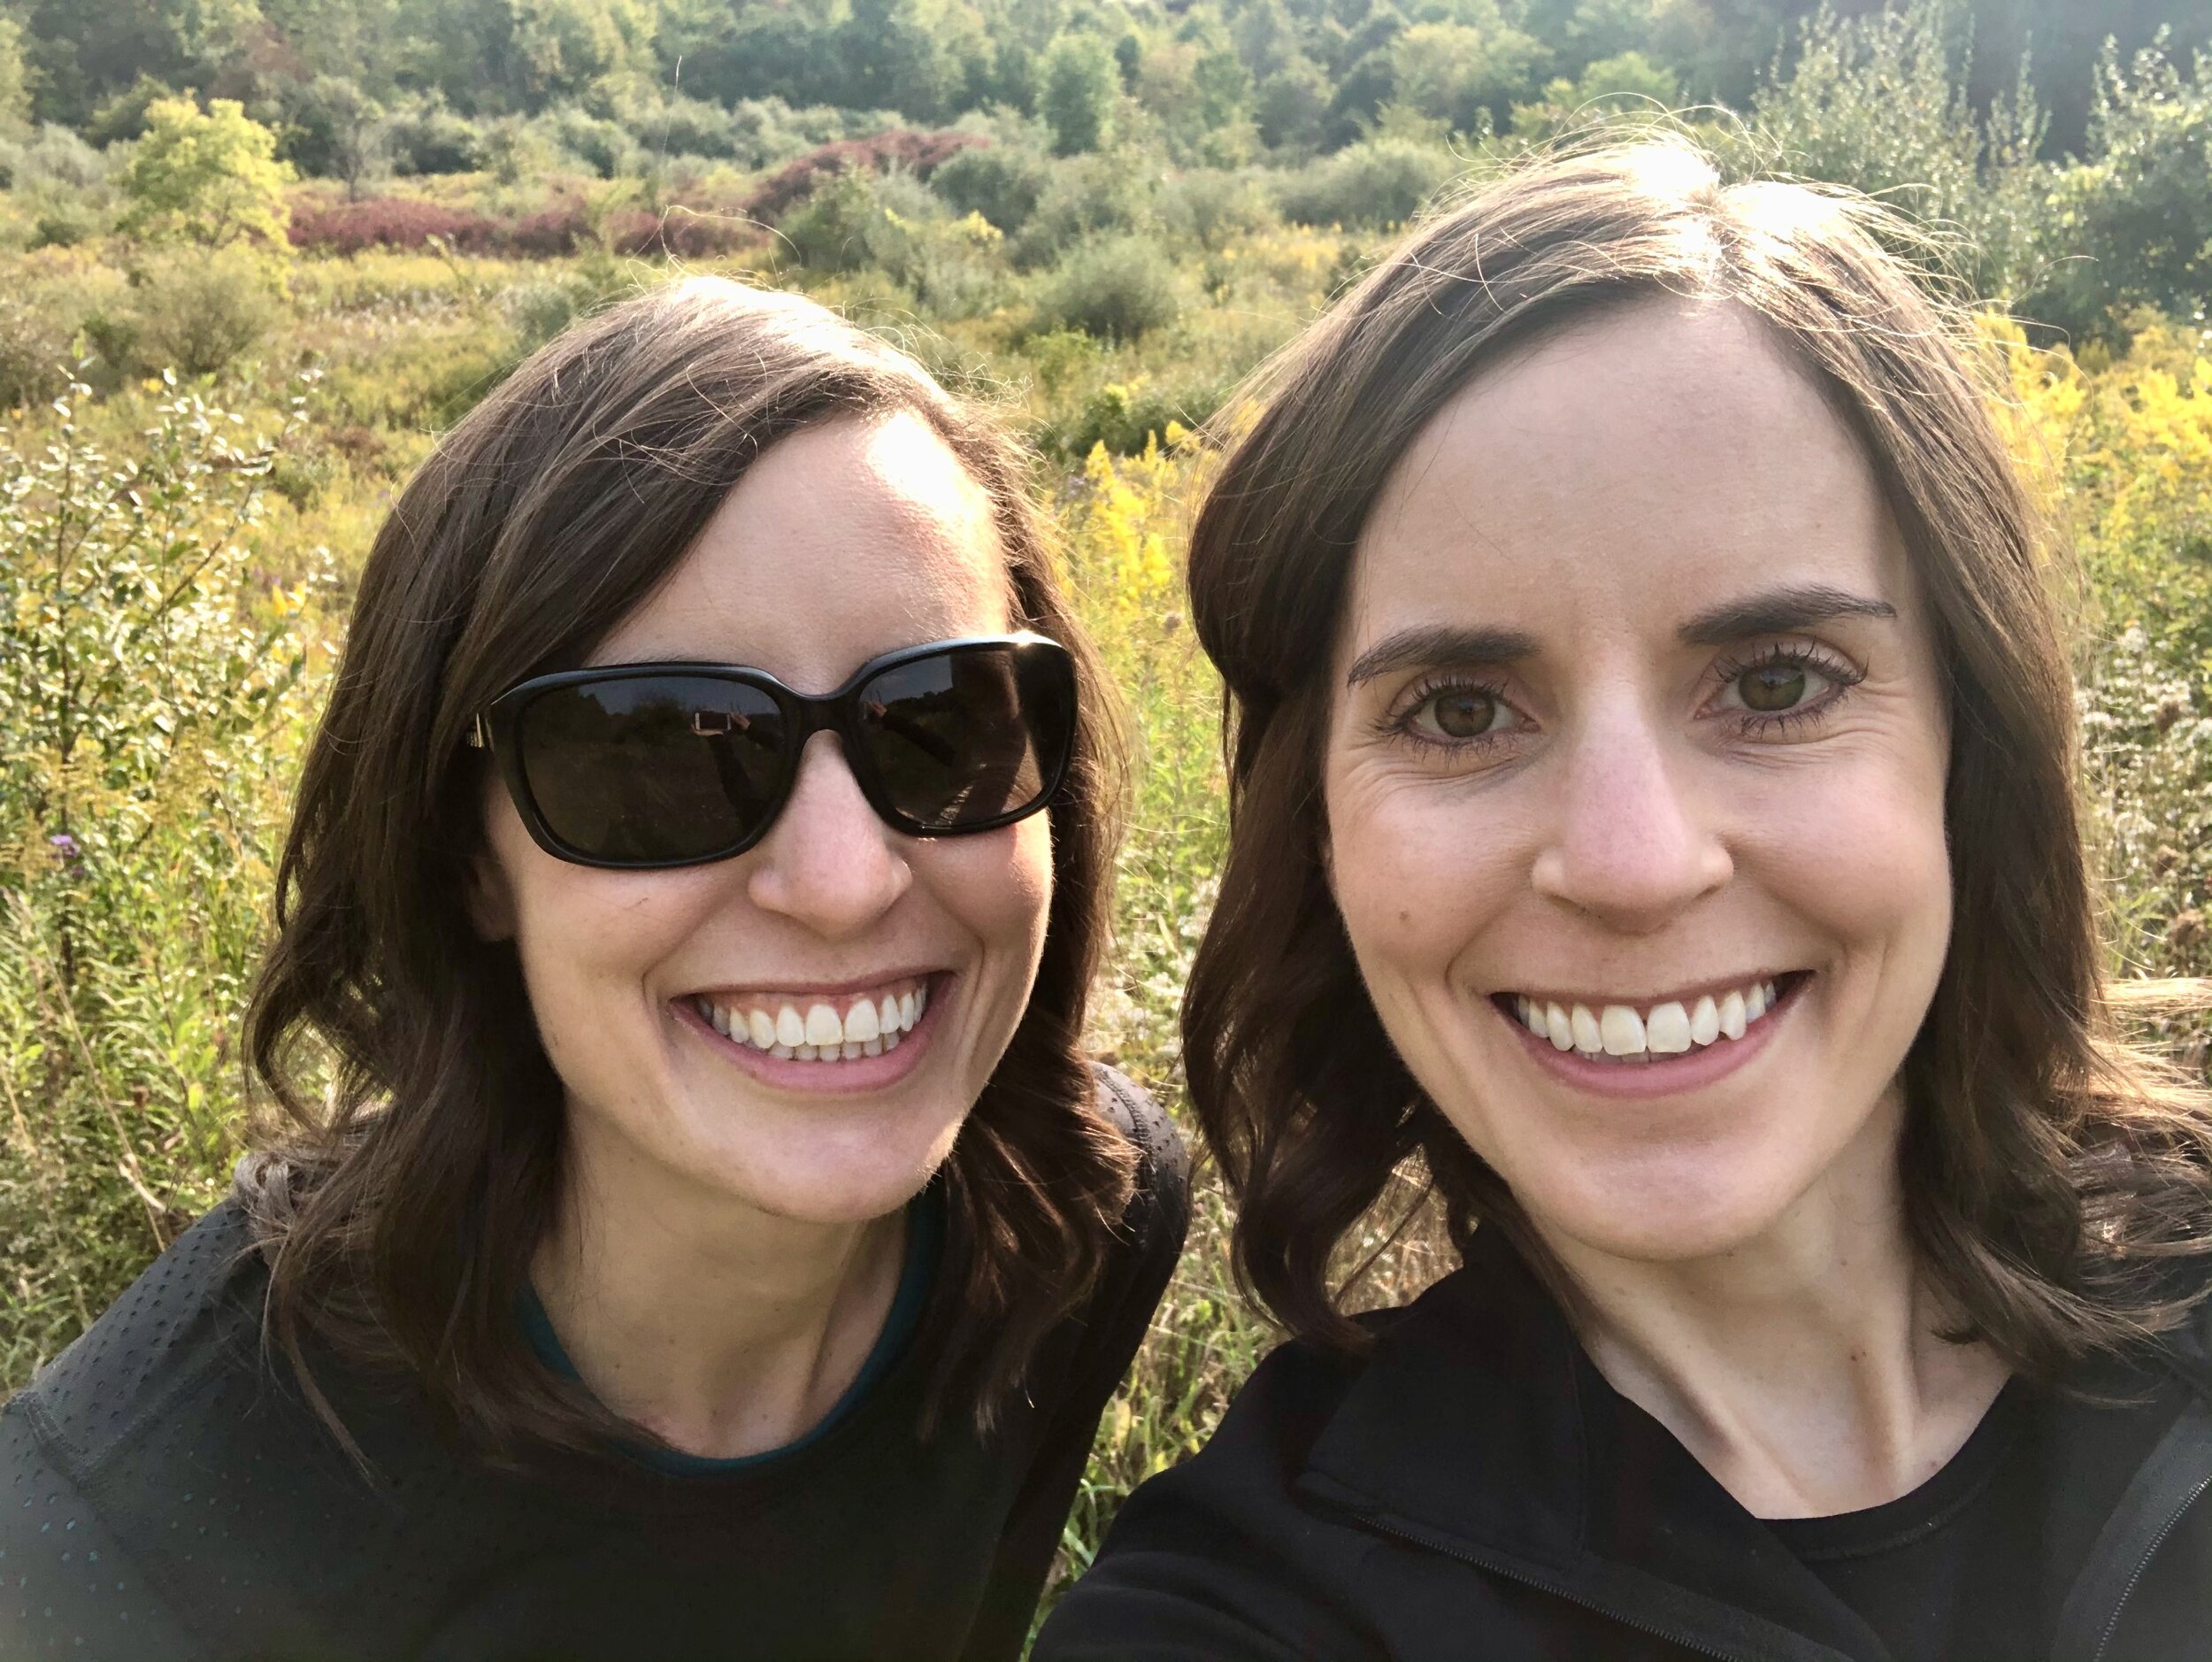
Another walk/hike at Seidman park.

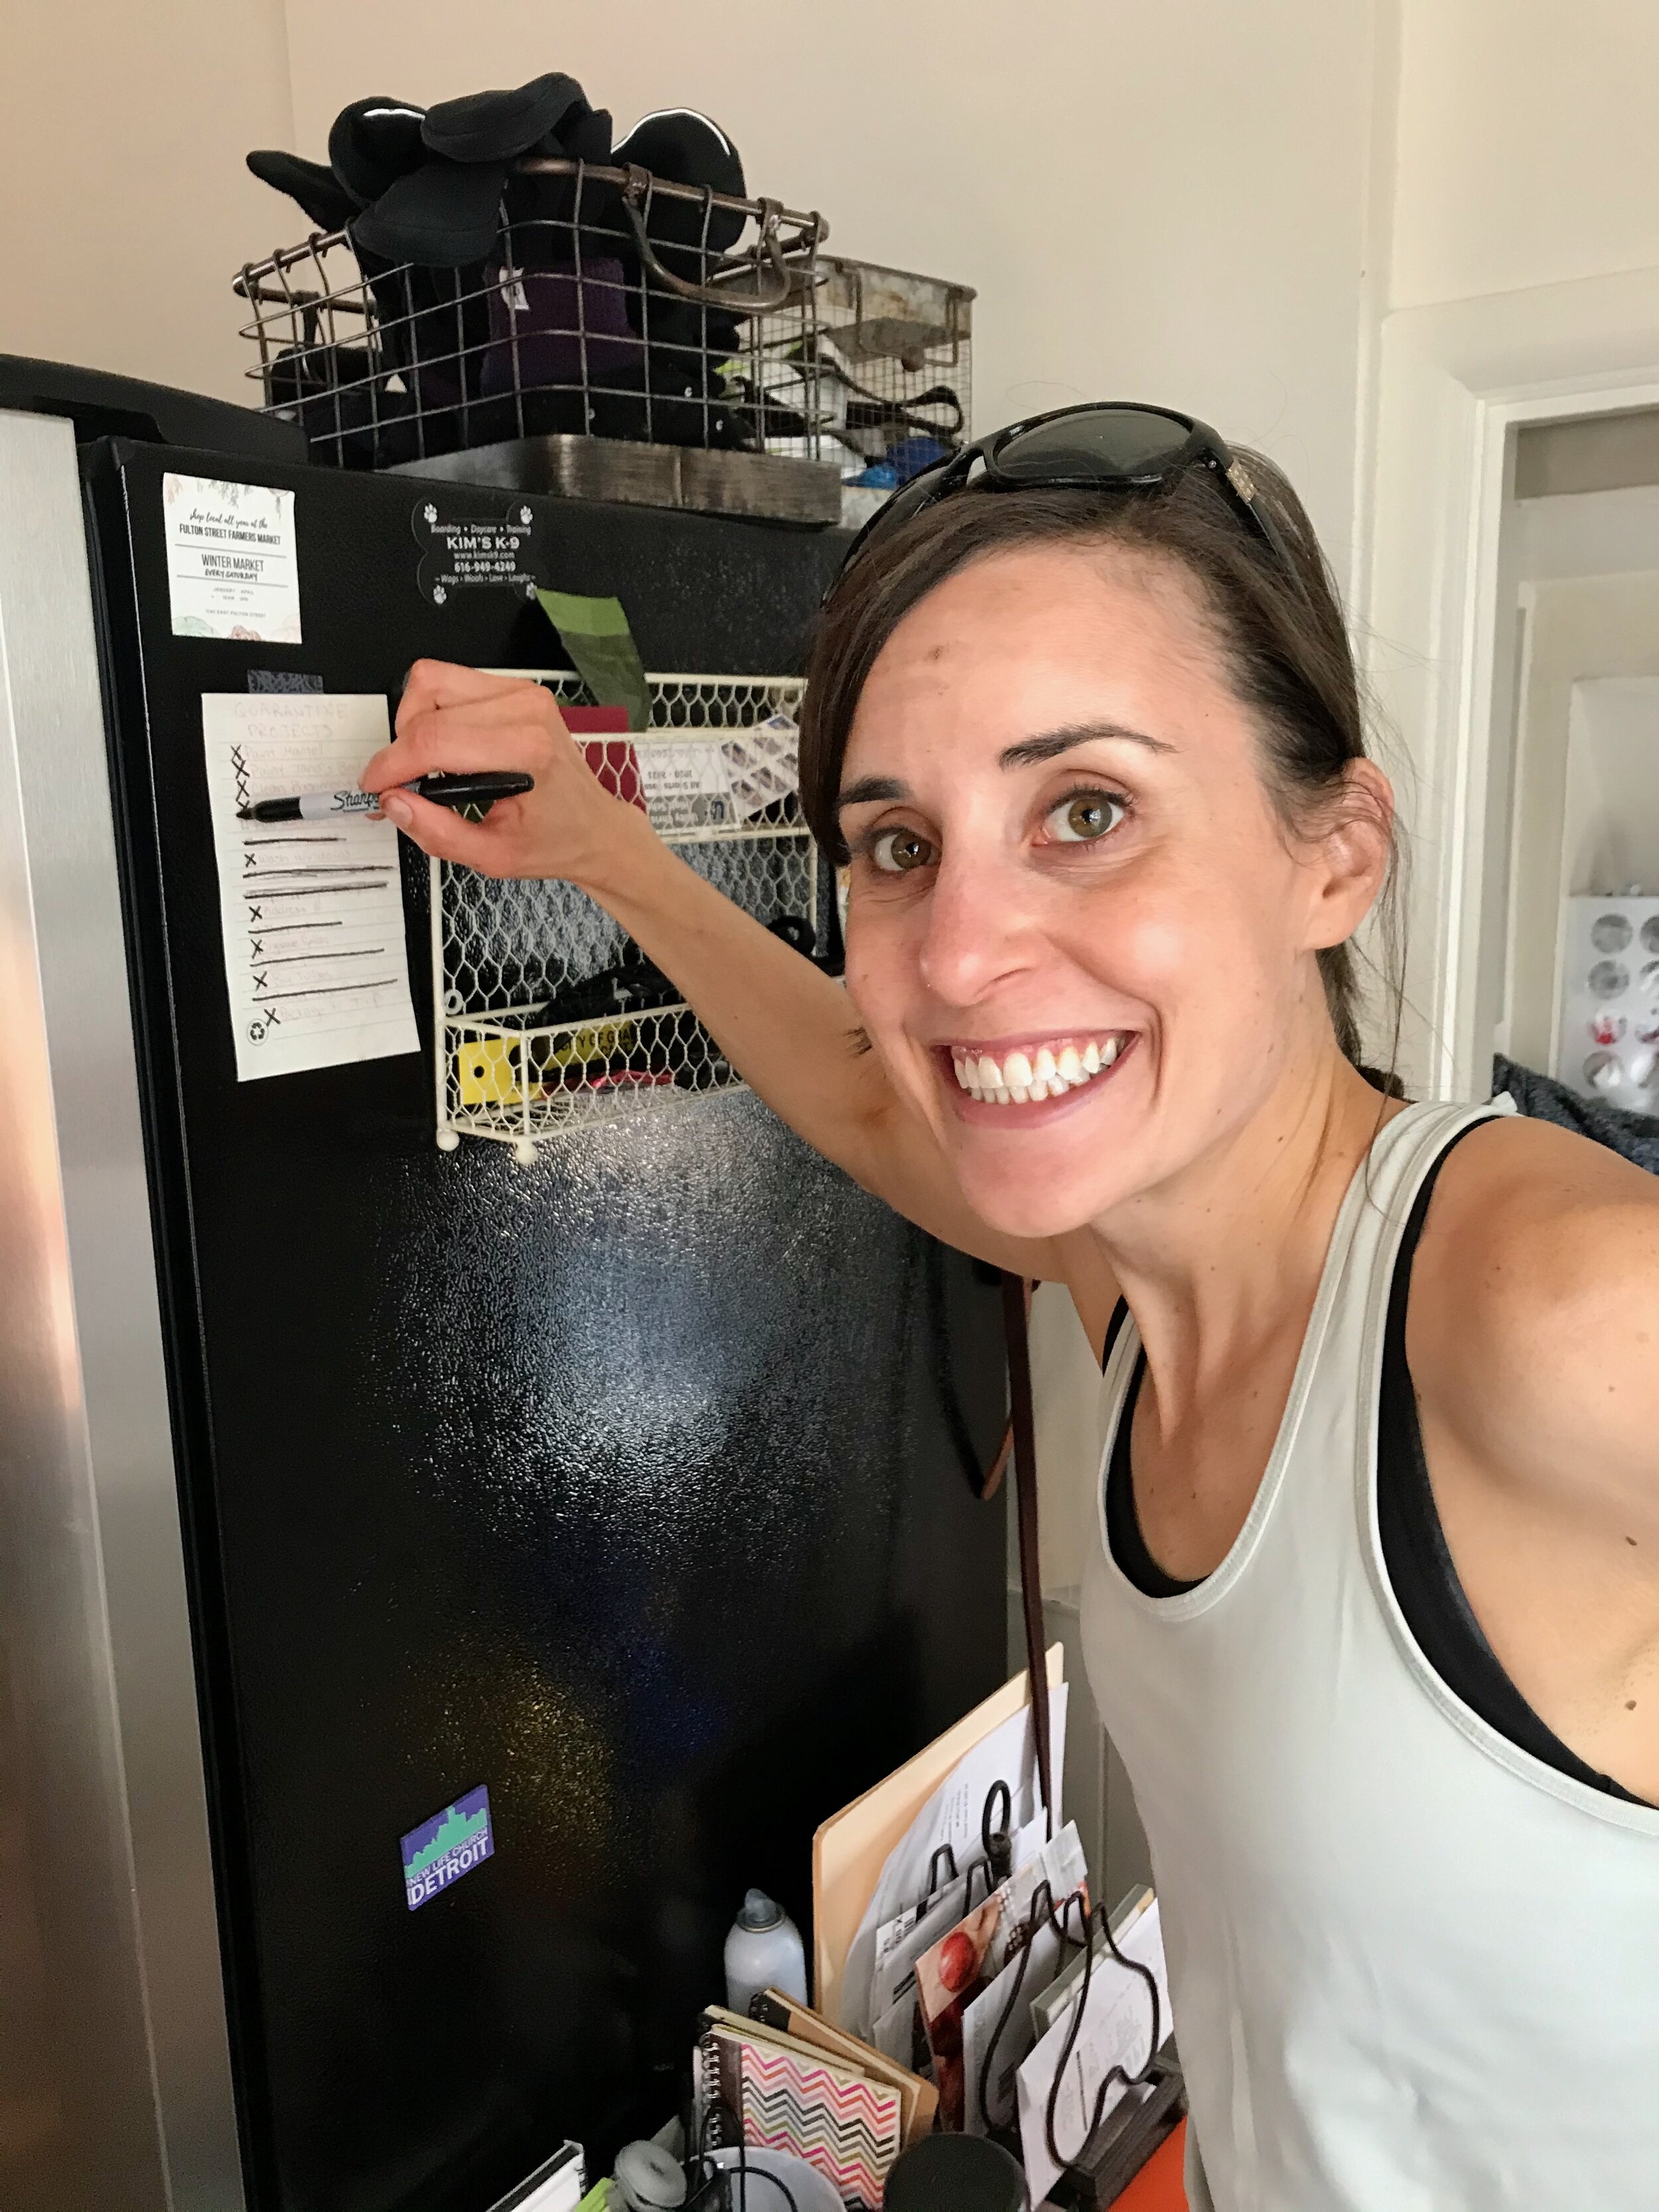
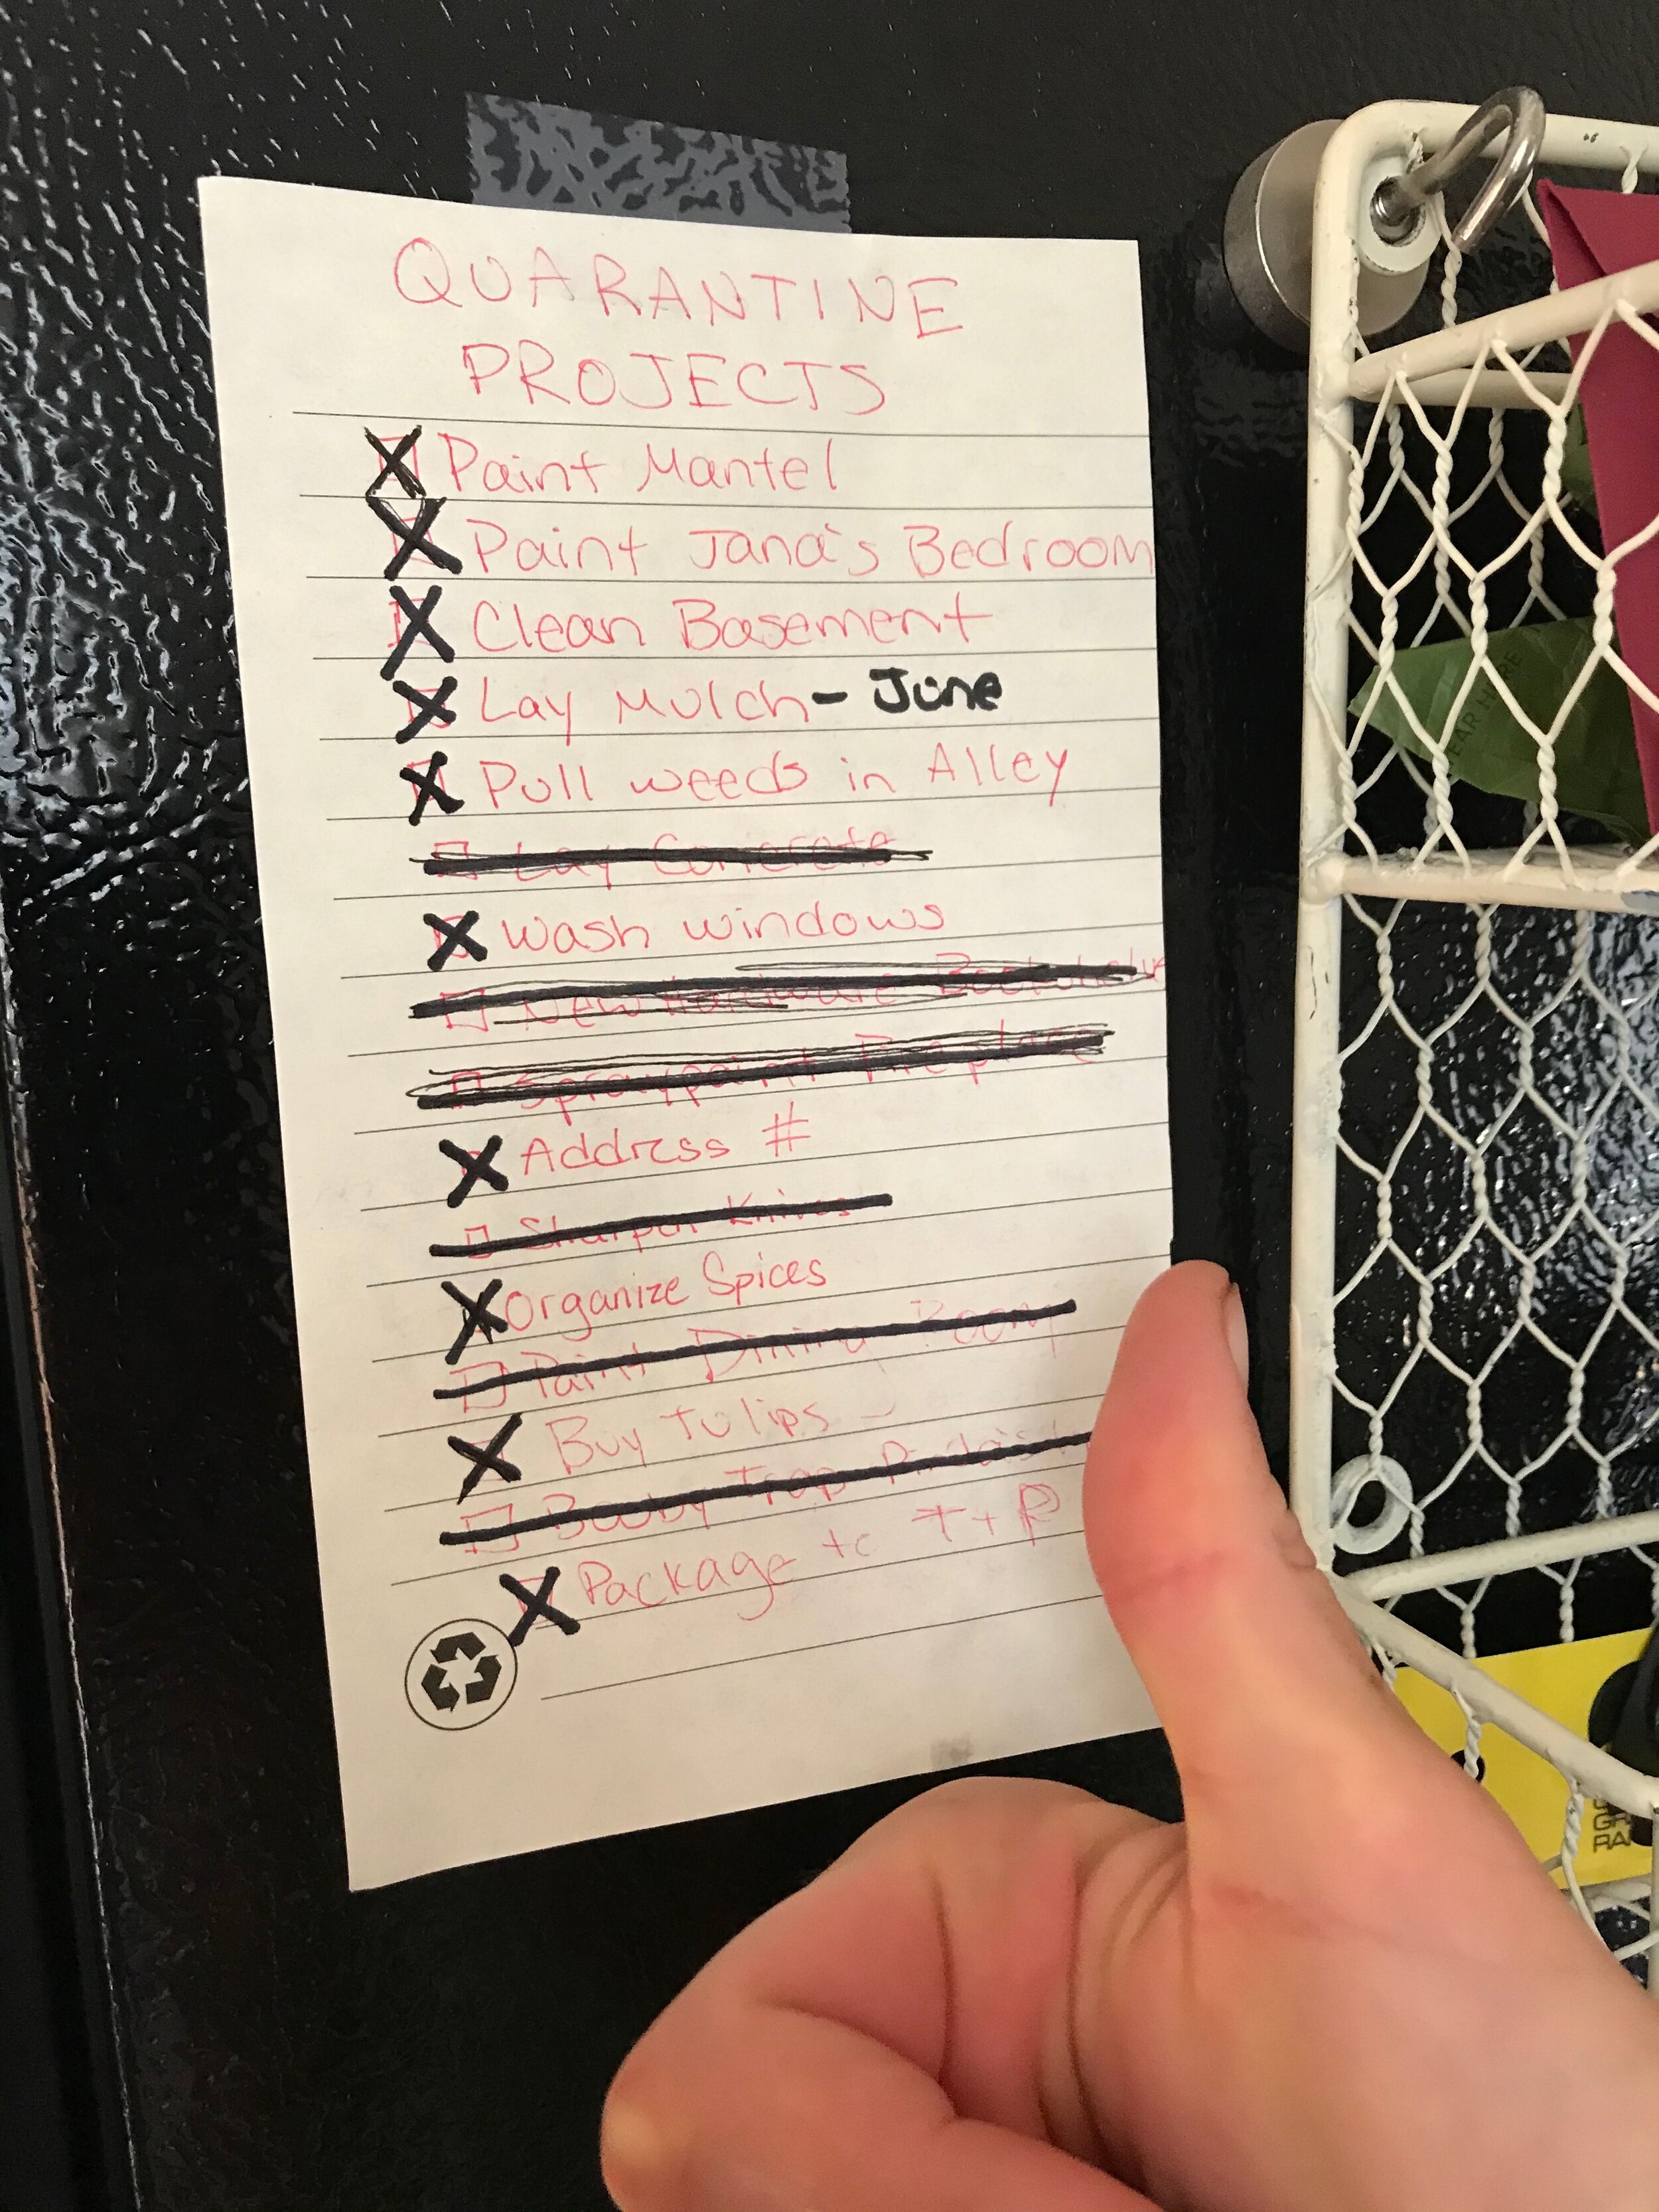
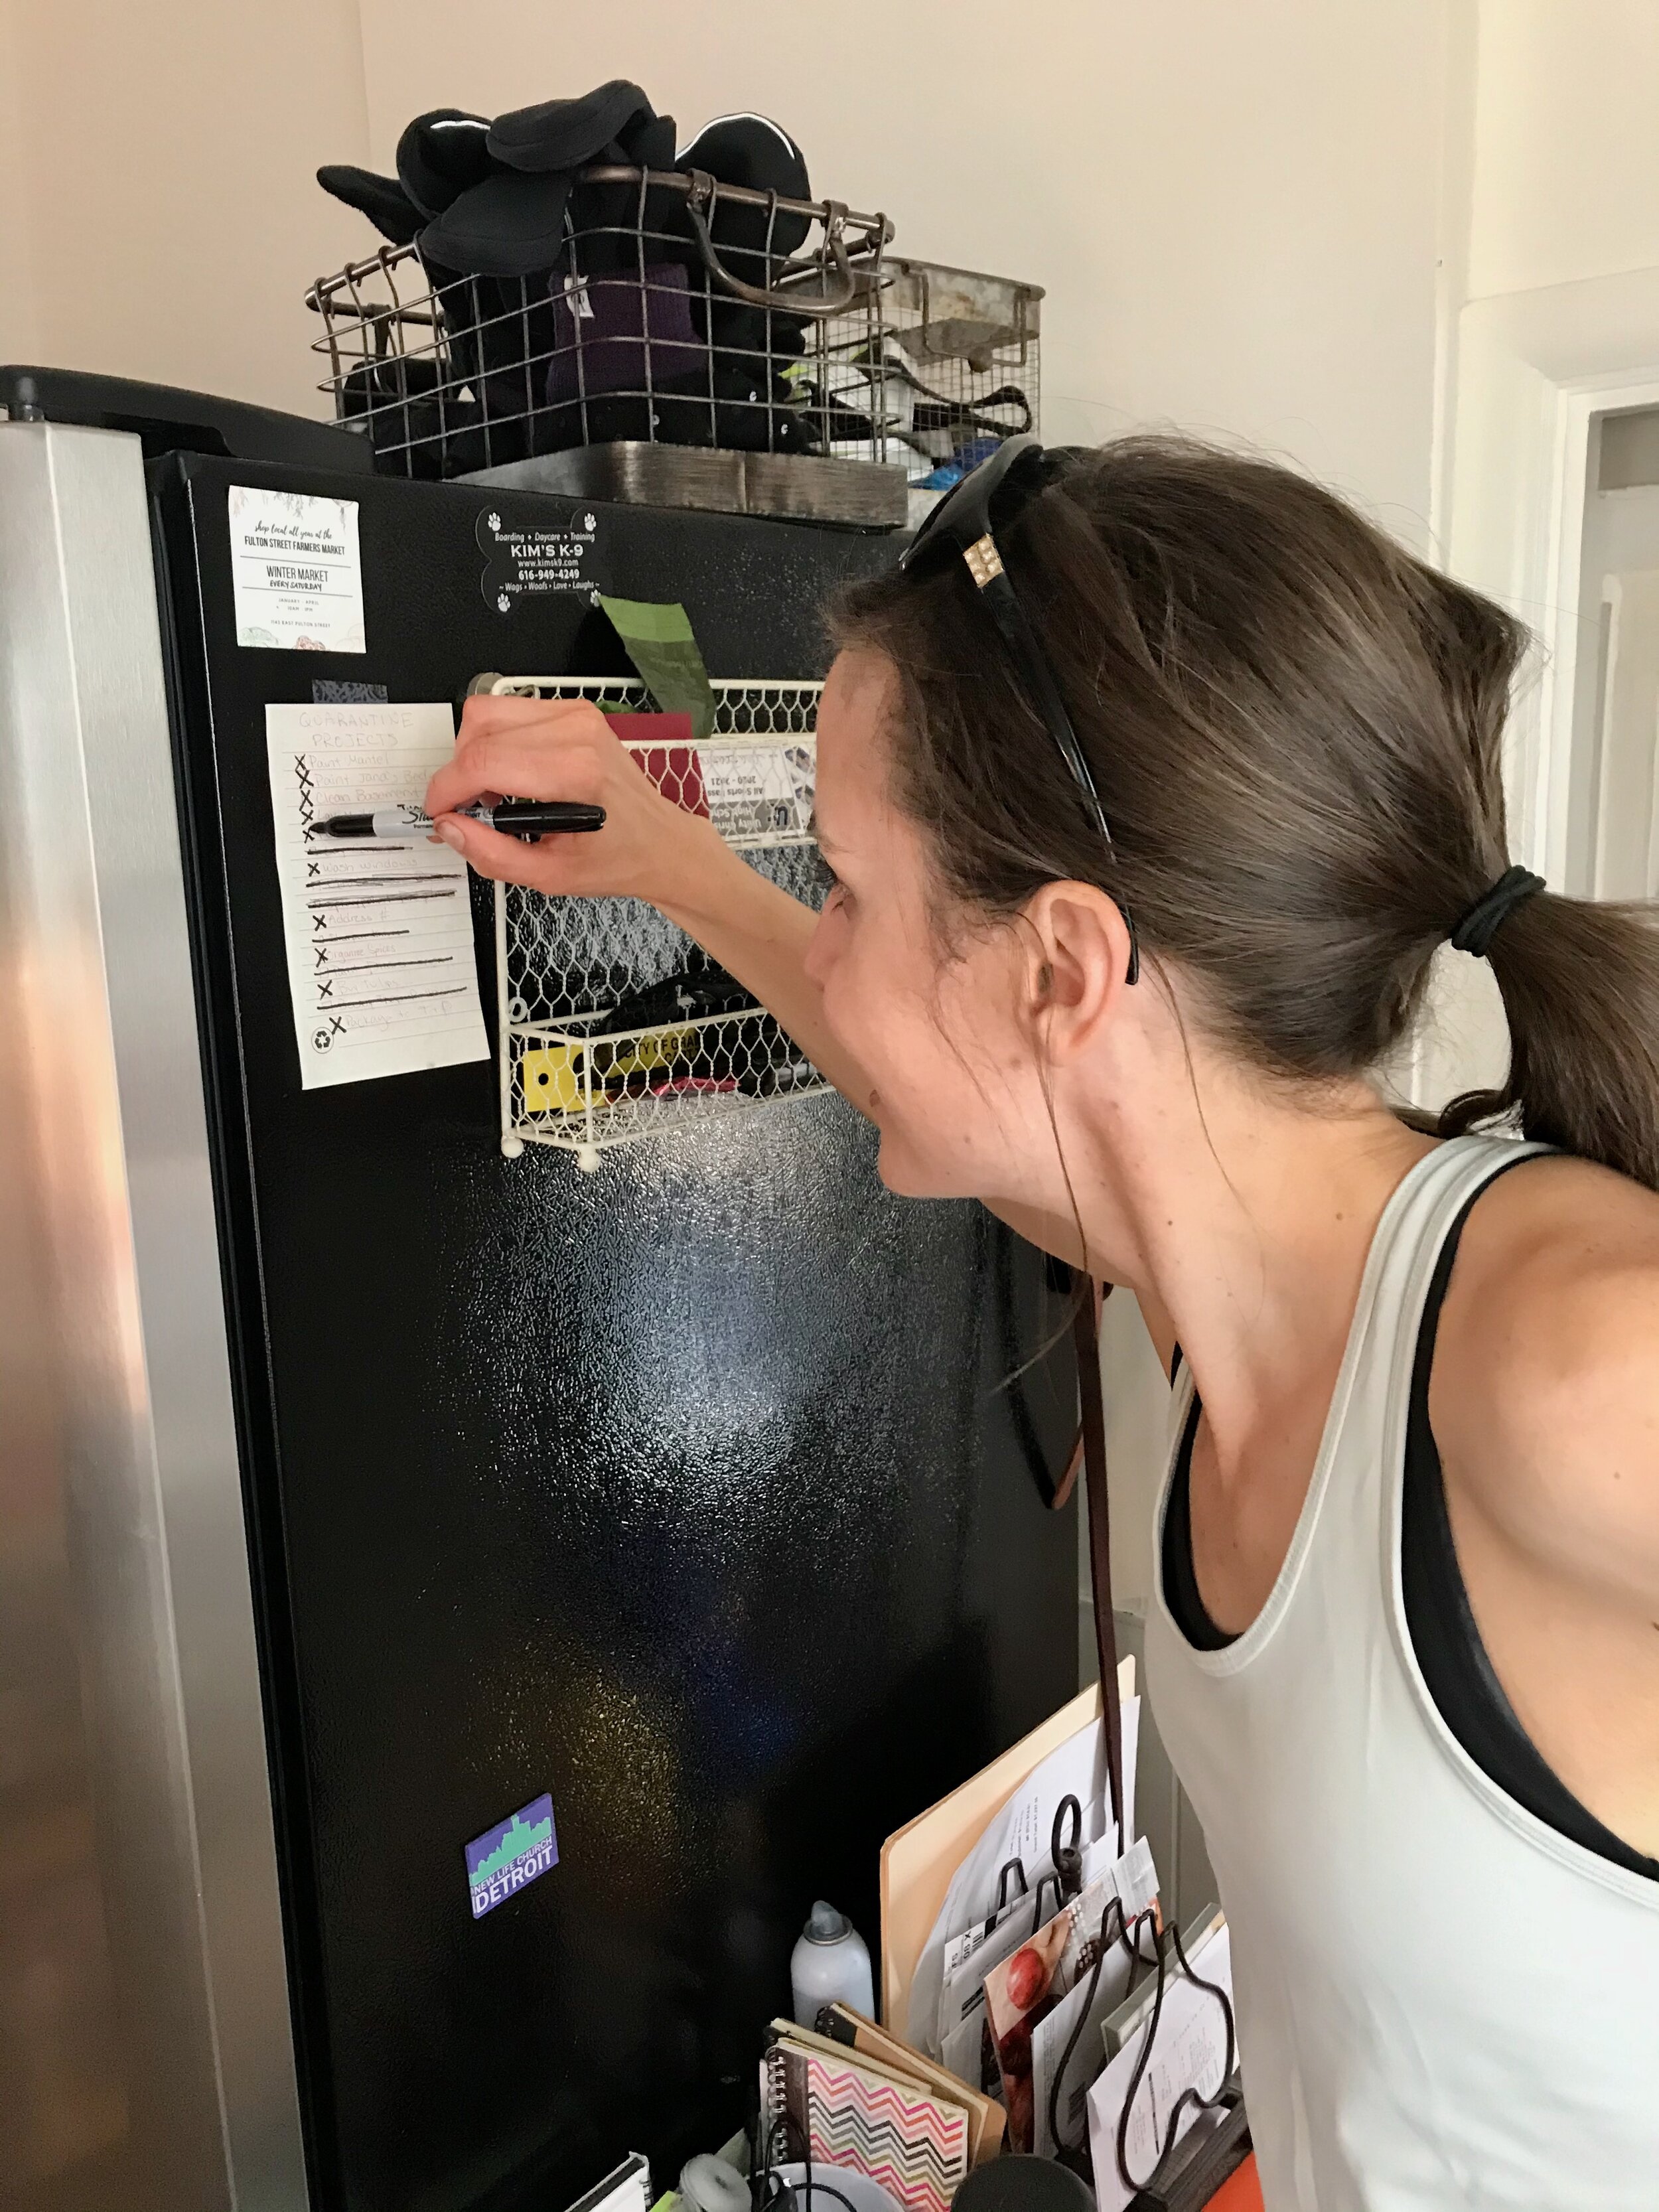
We finished up the weekend with chores! I may be weird, but it was GREAT! We had a whole list of projects for our COVID quarantine, and we finished the last one off! Cleaned up all the weeds growing in the alley around the garage. It feels so good to have that cleaned up!

Chocolate Stout Cake
From King Arthur Baking Company
Cake

  • 2 cups (454g) stout or dark beer, such as Guinness

  • 32 tablespoons (454g) unsalted butter, cold

  • 1 1/2 cups (128g) Dutch-process cocoa

  • 4 cups (482g) King Arthur Unbleached All-Purpose Flour

  • 4 cups (794 g) sugar

  • 1 tablespoon baking powder

  • 1 1/2 teaspoons salt*

  • 4 large eggs, at room temperature

  • 3/4 cup (170g) sour cream, at room temperature

    *If you use salted butter, reduce the salt to 1 teaspoon. Frosting 1 pound bittersweet or semisweet chocolate, chopped 2 cups (454g) heavy cream 1 teaspoon vanilla extract

Frosting

  • 1 pound bittersweet or semisweet chocolate, chopped

  • 2 cups (454g) heavy cream

  • 1 teaspoon vanilla extract

Directions:
Preheat the oven to 350°F. Grease and flour three 8" or two 9" cake pans, and line them with parchment paper circles. Be sure your 9" pans are at least 2" deep.

For the cake: Place the stout and butter in a large, heavy saucepan, and heat until the butter melts. Remove the pan from the heat, and add the cocoa powder. Whisk until the mixture is smooth. Set aside to cool to room temperature.

Whisk together the flour, sugar, baking powder, and salt in a large bowl; set aside.

In a large mixing bowl, beat together the eggs and sour cream. Add the stout-cocoa mixture, mixing to combine. Add the flour mixture and mix together at slow speed. Scrape the sides and bottom of the bowl, and mix again for 1 minute.

Divide the batter equally among the prepared pans. Bake the layers for 35 minutes for 8" pans, or 45 to 50 minutes for 9" pans, until a cake tester inserted into the center comes out clean. Remove the cakes from the oven and cool on a rack for 10 minutes before turning the cakes out of their pans and returning to the rack to finish cooling completely before frosting.

For the frosting: Place the chopped chocolate in a large heatproof bowl. Bring the cream to a simmer in a heavy, medium-sized saucepan. Pour the hot cream over the chocolate and stir until the mixture is completely smooth. Stir in the vanilla. Refrigerate until the icing is spreadable, stirring occasionally, about 2 hours.

To assemble: Trim the top of the cake layers to be level, if necessary (otherwise the layers will crack when they are stacked). Line the edges of a serving plate with parchment or waxed paper to keep it clean, and then place the layer upside down on top. Spread 2/3 cup of the icing over just the top of the layer. Top with another cake layer, top side down, and repeat the process. If you baked three layers, add that one also. Use the remaining frosting to cover the top and sides of the cake. Remove the parchment or waxed paper. Sprinkle with shamrock sugar decorations, if you have them.

Pistachio Cake with Roasted Plum Buttercream

Last week was big. It was a milestone. It felt a little weird. It was my 30th birthday. I am no longer a 20 year old. I have told myself that I am never going to start dreading my birthday. I'm going to enjoy it, use it as an excuse to go out for dinner, celebrate, and most importantly - eat cake. (And go on vacation! Took a few days off to head up north for some fun, more in a later post!) When I was younger I wasn't always a huge fan of sharing my birthday every single year. However, now I think it's pretty much the best thing ever. I always have someone to celebrate with, someone who is just as excited as me, and someone to help bake a cake with! 

For our 30th birthday we wanted to do something we hadn't tried before, flavor wise. Lara had recently seen a recipe for a pistachio with roasted plum frosting and when she mentioned it to me I thought it sounded wonderful. Not only is it a unique combination, it is also plum season, and I happened to have picked up a pint of black plums at the farmers market the week before and had a few left. It was meant to be!

It was the absolute right decision. The cake turned out amazingly! It was so delicious and fun to share with family and friends. Last year we came up with the idea of decorating our birthday cake with real flowers instead of spending a lot of time trying to decorate with frosting and then not liking the results. Since our birthday coincides with dahlia season, I have a feeling that dahlias are going to be making a fairly regular appearance on our birthday. They are absolutely gorgeous and come in every size and color. Why waste your time decorating a cake when God has already perfected these beautiful flowers. Win-win!

IMG_1513.jpg

For this cake I had to make a special purchase of pistachio paste. Something I have never actually seen. I found a source online (thankfully I had been looking at birthday cakes the week before my birthday, so I had time to have them ship it to me). In the original recipe, the author gives a recipe for homemade pistachio paste, but I just didn't have any desire to do that, so I "splurged" and bought it online. I was expecting it to be a lot like almond paste which I have used quite a bit and is thick and solid, you can cut it into "slices" if desired. The pistachio paste was very runny, very much like natural almond butter than you might have. It really seemed more like pistachio butter than pistachio paste, but it was sweetened. 

Other than that one ingredient, the cake was a pretty standard butter cake with a little citrus zest (I went with orange) for brightness, and yogurt for moisture. I'm sure you could do sour cream instead if desired. The original recipe called for an Italian Meringue buttercream, but I didn't feel like doing that this year so I just went with a standard American buttercream which is also very delicious. My frosting did not get as purple, or "plum" colored, as the original. Perhaps due to the change in frosting, or maybe because I peeled my plums, which was a little disappointing. I liked the pale purple of the original. But in the end it still turned out wonderful and delicious. 

I decided to try a "naked" cake look this year. Wasn't sure how I would like it, but actually found it really easy. It was nice to not have to worry about crumbs on the side of the cake, and to not have to be a perfectionist trying to get the edges perfectly smooth. A great technique for the lazy cake froster! A few flowers on top and some crushed pistachios and I was done! Another year, another successful birthday cake!

IMG_1551.jpg
IMG_1548.jpg
IMG_1546.jpg
IMG_1542.jpg

Being goofy!

IMG_1540.jpg
 
IMG_1507.jpg

Went out for dinner the night before our birthday and got to watch the sunset over the lake on an absolutely gorgeous night, followed by ice cream obviously!

IMG_1511.jpg

Birthday brunch at our favorite place! Croissants and lattes - what more could one want!

IMG_1537.jpg

So excited to finally dig in!

IMG_1534.jpg

A beautiful triple layer cake, with a subtle tinge of green. It was dense and buttery and moist and absolutely delicious, just how I like it!


Pistachio Cake with Roasted Plum Buttercream
Adapted from A Cozy Kitchen
Ingredients
Pistachio Cake:

  • 2 1/2 cups cake flour, sifted
  • 1 tablespoon baking powder
  • 1 teaspoon salt
  • 1 cup unsalted butter, room temperature
  • 1 1/2 cups white granulated sugar
  • 1/2 teaspoon lemon or orange zest (from about 1/2 orange)
  • 4 large eggs
  • 1 1/2 teaspoons pure vanilla extract
  • 1 cup plain Greek yogurt
  • 1/2 cup pistachio paste (I used this product)

Pistachio Buttercream

  • 2 black plums
  • 1/4 cup white granulated sugar
  • 1 teaspoon balsamic vinegar
  • 3 tablespoons water
  • Pinch of salt
  • 3 sticks butter
  • 5-6 cups powdered sugar (575-690grams)
  • 1 tablespoon vanilla extract

Directions
To roast the plums: Preheat your oven to 400 degrees. In a small baking dish, toss together the sliced plums, sugar, balsamic vinegar, salt and water. Roast for 15 minutes, or until the plums are super juicy and a syrup has formed. Set aside to cool slightly, about 5 minutes. Add the plums and its juices to a blender and pulse until completely pureed. Pour through a strainer, into a small bowl. You should end up with about 1/3 of a cup puree. Set aside to cool completely, ideally in the fridge. If it is warm at all when added to the frosting it may melt the butter. 

To make the frosting: In the bowl of a stand-up mixer with the paddle attachment, add the butter Beat for 30-60 seconds, until nice and creamy. Add the powdered sugar and beat for 2-3 minutes until well combined. Add the cooled plum puree and vanilla and beat until well combined. 

To bake the cake: Preheat oven to 350 degrees F. Butter and flour three 8x2-inch cake pans. Line the bottoms with a round of parchment. Set aside.

In a medium bowl, whisk together the flour, baking powder and salt. In the bowl of a stand-up mixer add the butter and sugar; cream together until light and fluffy, about 2 minutes. Add the zest and then crack in one egg at a time, adding the next egg only when the one before it has combined. Almost lastly, add in the vanilla extract. Turn the mixer down to low speed and add the yogurt and flour mixture in a few batches, alternating between the two. Lastly, add the pistachio paste and mix until properly combined.

Divide the cake batter amongst pans, smoothing out the top with a spatula (the batter will be a little thick so it'll need some help smoothing out). Transfer to the oven and bake for 30 to 35 minutes, or until a a skewer inserted into the center comes out clean. Cool the cakes in their pan for 10 minutes before removing them to cool completely on a wire rack.

To assemble: place the first layer of cake on a cake board or a cake stand. Add about 1/4 cup of frosting the top of the cake layer and smooth it out, pushing it out to the sides. Add the second layer on top and then add a second 1/4 cup to the top of that. Smooth out the top and add a nice thin layer all the way around the sides of the cake. Transfer to the freezer to chill for about 5 to 7 minutes. This is the crumb coat. Add a second even layer on the outside. Transfer to the cake to a baking sheet and decorate however you would like! Slice and serve!

Pretty in Pink Chocolate Birthday Cake

It was my birthday yesterday!! Unfortunately, Lara had to work so we couldn't spend the entire day celebrating our birthday like we wanted to. :) This did mean however, that I had plenty of time to spend on my favorite project, birthday cake!! I baked the cake on Friday and froze the layers overnight. Yesterday morning I whipped up a batch of Swiss meringue buttercream to frost the cake with and then decorated it with macarons from my local (and totally amazing) macaron shop that is right down the street (I know, how lucky is that?), and flowers from the flower shop just a few more buildings over. The combination of gorgeous pink dahlias and the corresponding macarons is stunning. I was so pleased with how it all turned out, certainly my favorite cake that I've made to date!

I looked at what felt like a gazillion chocolate cake recipes before settling on one. I went with Rose Levy Beranbaum's All American Chocolate Butter Cake. From the start, this was the recipe I was leaning to, she did literally write the Bible on cake after all, but I had to research for a while before finally deciding. Although I have a chocolate cake recipe that I've made several other times before that I just love, that recipe uses oil as the fat and for this cake I really wanted to go with butter instead. There is just something about butter in a chocolate cake that makes me happy, and it tastes so good. I'm so glad I went this route.

The cake turned out absolutely delicious. It was not a super high-riser as cakes go, but it baked up very nicely without too much of a domed top making it easier for me to frost. I just made 2 layers, but I think adding a third layer next time would be amazing. It is a delicate and tender cake, dense yet moist, and did I mention, it's nice and buttery! So, so, so delicious. I will be making this one again!

For the frosting I went with a basic Swiss meringue buttercream because you can't really go wrong with that! Because I decided to decorate it with real flowers and macarons I left the frosting simple. I smoothed it out evenly all over the cake and left it at that. I wanted to decorations to really shine. 


After looking at a lot of different cakes I knew I wanted to decorate with real flowers. I think it is the best and most beautiful way to decorate a cake. Nothing I can ever do with frosting is going to come close to competing with God's beautiful creation, so why try and compete with that? I walked down the street to my local flower shop and just picked out what spoke to me. I couldn't pass up the gorgeous local dahlias, they were just stunning.

I then headed a few doors down to grab a few macarons to finish out the decorations. (FYI I love my local macaron shop, Le Bon Macaron, they have the absolute BEST macarons, and their shop is absolutely adorable. I highly recommend them to anyone!) I knew they would add a different element and more interest (plus more deliciousness) to the cake. I picked out three different flavors totally based on their colors, just wanted them to go with the flowers I had picked. In the end it all came together beautifully in the finished cake. So much fun to put together! I would really love another excuse to make cake again, soon...! 

Happy Birthday Lara!! I wouldn't choose anyone else to share a birthday with! Even though you had to work, I'm glad we still had plenty of time to celebrate (and eat cake!)!! 


All-American Chocolate Butter Cake
Adapted from The Cake Bible by Rose Levy Beranbaum
Ingredients

  • 1/2 cup + 3 tablespoons (2.25 ounces) natural unsweetened cocoa powder
  • 1 cup (8.25 ounces) boiling water
  • 3 whole eggs (5.25 ounces)
  • 2 1/4 teaspoons vanilla extract
  • 2 1/4 cups + 2 tablespoons (8.25 ounces) all purpose flour
  • 1 1/2 cups (10.5 ounces) sugar
  • 1 tablespoon baking powder
  • 3/4 teaspoon salt
  • 1 cup (8 ounces) unsalted butter, room temperature

Directions
Whisk together the boiling water and cocoa powder until smooth, and cool to room temperature. In another bowl, combine the eggs, ¼ of the cocoa mixture, and vanilla.

In the bowl of your stand mixer, combine the remaining dry ingredients and mix on low speed with the paddle attachment to blend. Add the butter and the remaining cocoa mixture and mix on low speed until the ingredients are moistened. Increase to medium to medium-high speed and beat for 1 ½ minutes to aerate. Scrape down the sides and gradually add the egg mixture.

Pour into two prepared 9” cake pans (lined with parchment paper, buttered and floured) and bake at 350 degrees F for 25-35 minutes or until a toothpick or knife inserted into the center of the cake comes out clean.

Cool on wire racks in the pans for 10 minutes then release onto wire racks. Store tightly wrapped with plastic wrap at room temperature for 2 days, 5 days refrigerated, or 2 months frozen.


Swiss Meringue Buttercream
From Style Sweet California
Ingredients

  • 1/2 cup (125 grams) egg whites (from about 3 to 4 large eggs)
  • 1 cup (200 g) granulated sugar
  • 1 1/2 cups (3 sticks – 340 g) unsalted butter, at room temperature, cubed
  • 1 ½ teaspoons pure vanilla extract
  • ½ vanilla bean, seeds scraped out (optional)

Directions
Whisk together the sugar and egg whites:  In the bowl of an electric stand mixer, add the egg whites and granulated sugar.  Whisk them together briefly by hand, just until they are combined so that the egg whites don’t begin cooking by themselves.

Create a double-boiler:  Fill a sauce pan with a few inches of water and bring to a simmer.  Place the mixer bowl with the egg white mixture on top to create a double-boiler. The water should be kept at a simmer but should not touch the bottom of the bowl.  The double-boiler acts as indirect heat for the egg white mixture. 

Heat the egg white mixture:  Occasionally stirring, heat the egg white mixture until it reaches 155 to 160 degrees F on a candy thermometer.  The mixture should be very hot to the touch and the sugar should have dissolved. 

Make the meringue:  Once the egg white mixture is hot, carefully return the bowl to the stand mixer.  Fitted with the whisk attachment, beat the mixture on high speed for about 8 minutes.  When done, the meringue should hold shiny, medium-stiff peaks and be cooled to room temperature.  Stop the mixer and swap out the whisk for the paddle attachment.

Add the butter:  With the mixer on low, begin adding in the butter a couple tablespoons at a time.  Use the paddle attachment to mix it in.  The butter must be room temperature in order to incorporate properly with the meringue.

Add the vanilla:  Once the butter has been mixed in, add the vanilla bean seeds (if using) and the vanilla extract.

Mix until smooth:  Turn the mixer up to medium speed and mix until silky smooth.  This may take a few minutes, but centime to mix until light, creamy, and free from most air bubbles.

Note: Yields approximately 3 1/2 cups - enough to nicely frost an 8-inch double layer cake, but without any leftover for decorating with. 

Lavender Cupcakes with Blueberry Jam and Lemon Buttercream

Last week one of my cousins had a baby shower, and for this event I was asked if I would be willing to make cupcakes as one of the desserts. Always one of my favorite things to make, of course I said yes! I was so excited to have a reason to make cake, and also excited when I found out that creative liberties were being handed to me. The mother-to-be's sister, another one of my cousins, said that she didn't care what kind of cupcakes they were. All she wanted to be able to do was finish them off with some mustache cupcake toppers to match the shower theme, easy enough!

After brainstorming some ideas with Lara we came up with a game plan. I wanted to do lavender cupcakes because the lavender just popped out the last few weeks and I'm loving it! Delicious and seasonal. We thought lemon sounded like a nice combination with the lavender so lemon buttercream was decided for the frosting, and to finish them off with something a little extra special we decided to fill them with a little blackberry jam. Lavender, lemon and blackberry, how could it be bad? 

To answer the above question; it couldn't be bad, and it wasn't! If fact, this may be my favorite cupcake flavor combination yet. They turned out fabulously, the lavender flavor came through very mildly which is what I wanted - I didn't want a cupcake that smelled or tasted like perfume or potpourri. The buttercream was perfectly tart and sweet from the lemon, and the blueberry filling really put it all over the top. Could you skip it, sure, but I don't think they'll be as good!! :) 


Lavender Cupcakes with Blueberry Jam
From Delectably Mine
Ingredients

  • 3/4 cup (6 ounces) milk
  • 1-2 tablespoons fresh lavender flowers
  • 2 1/4 cups (10 1/2 ounces) all purpose flour
  • 1 1/3 cups (9 ounces) granulated sugar
  • 1 7/8 teaspoons baking powder
  • 3/4 teaspoon kosher salt
  • 3/4 cup (1 1/2 sticks) butter, softened, cut into small cubes
  • 3 eggs
  • 1 teaspoon vanilla extract
  • Blueberry jam, for filling

Directions
Preheat the oven to 350 degrees F and line cupcake pan(s) with liners.

Place the milk in a microwave safe bowl and microwave for 1-2 minutes until simmering. Remove from microwave and add the lavender flowers to the milk, stirring to combine. Let milk sit and cool for about 45 minutes. 

Meanwhile, place the flour, sugar, baking powder, and salt in a mixing bowl and stir to combine.

Add the butter and mix on low speed, until mixture resembles coarse crumbs (2-3 minutes). Add the eggs, one at a time, followed by the vanilla, and scrape the bottom of the bowl to make sure all the ingredients are well-combined. 

Once the milk has cooled to around room temperature, use a fine mesh strainer to remove the flowers. Add half of the strained milk and beat on medium speed for 1½ minutes, scrape the bottom and sides of the bowl, then add the remaining milk, and beat for another 30 seconds.

Fill prepared muffin pans ⅔ full with batter, and bake for 18-20 minutes, or until a tester inserted in the center of the cupcake comes out with a few moist crumbs. Let cool in pans for a couple of minutes, than transfer cupcakes to a wire rack to cool.

Once cool, take a sharp knife and cut out a cone shaped wedge of cake from the top of each cupcake forming a little well. Place a spoonful of blueberry jam into each well. Frost with lemon buttercream (recipe below). 

Yields: 18 cupcakes

Lemon Buttercream
From Delectably Mine
Ingredients

  • 2 1/4 sticks (10 ounces) unsalted butter, at room temperature
  • 5 cups (20 ounces) powdered sugar
  • pinch salt
  • 1/2 lemon, zested
  • 2 tablespoons fresh lemon juice

Directions
Place the butter in the bowl of an electric mixer fitted with the paddle attachment. Beat on medium-high speed until smooth, about 1 minute. Add the confectioners’ sugar, salt and lemon zest to the bowl and mix on medium-low speed just until incorporated. Continue to beat on medium-high speed until smooth, about 1-2 minutes. Mix in the lemon juice on low speed just until incorporated. Increase the mixer speed and whip on high speed until light and fluffy, scraping down the bowl as needed, about 4-5 minutes. 

* Note: I wanted a little more stable frosting since it was hot out. After a quick internet search, seemed like a lot of people use a 1:2 ratio of fat to sugar so that's what we did. Worked great, a nice stiff frosting that held up well. The final frosting is very sweet this way, so if it's not as hot I would probably not use this high of a ratio of sugar to butter, but it definitely worked great for this situation!

Funfetti Cucpakes

Last month, one of my good friends threw a golden birthday party for her husband. I offered a helping hand, and so was asked if I could make some cupcakes for the party. Funfetti was the request which got me excited, I had never made a funfetti cupcake before, but have always been a big fan of sprinkles! I used my trusty go-to butter cupcake recipe and threw in a half a cup of sprinkles. Voila, funfetti cupcakes! Super easy and super fun! I frosted them with a basic American buttercream that is always a hit. As far as cupcakes go, it doesn't get much simpler than this. So if you're looking for a fun and easy way to add homemade cakey goodness to your next party, look no further. 

I believe this is the third time I've used this cupcake recipe this fall now, and all three times it has turned out wonderfully! It's a great recipe that turns out 24 perfect cupcakes. And although I love a pure white cake, sometimes I just don't want to deal with separating egg whites and yolks and then whipping the eggs whites. This recipe just used 4 whole eggs that go straight into the batter, no separating, no whipping, nice and easy. 

Funfetti Cupcakes
Ingredients

  • 3 cups (14 ounces) all purpose flour
  • 1¾ cups (12.25 ounces) granulated sugar
  • 2½ teaspoons baking powder
  • 1 teaspoon kosher salt
  • 1 cup (2 sticks) butter, softened, cut into small cubes
  • 4 eggs
  • 1 cup (8 ounces) milk
  • 2 teaspoons vanilla extract
  • 1/2 cup colored sprinkles, plus more for decorating

Directions
Preheat the oven to 350 degrees F. Place the flour, sugar, baking powder, and salt in a mixing bowl and stir to combine.

Add the butter and mix on low speed, until mixture resembles coarse crumbs (2-3 minutes). Add the eggs, one at a time, and scrape the bottom of the bowl to make sure all the ingredients are well-combined.

Combine the milk, and vanilla extract in a measuring cup. Beat half this mixture into the flour/butter/eggs. Beat on medium speed for 1½ minutes, scrape the bottom and sides of the bowl, add the remaining milk mixture, and beat for another 30 seconds. Add the sprinkles and gently mix into the batter until well combined.

Fill paper liners ⅔ full with batter, and bake for 18-20 minutes, or until a tester inserted in the center of the cupcake comes out clean.

Cool completely before topping with buttercream frosting (recipe follows) and sprinkles. 

Yields: 24 cupcakes

Whipped Vanilla Buttercream
Ingredients

  • 1½ cups (3 sticks) butter, at room temperature
  • 3 cups confectioners’ sugar, sifted
  • Pinch of salt
  • 2 tablespoons heavy cream (or 1-2 tablespoons of milk if you don't keep cream on hand, I've done this many time)
  • 2 teaspoons vanilla extract

Directions
Place the butter in the bowl of an electric mixer fitted with the whisk attachment. Whip on medium-high speed until smooth, about 1 minute. Add the confectioners’ sugar and salt to the bowl and mix on medium-low speed just until incorporated. Continue to beat on medium-high speed until smooth, about 1-2 minutes. Mix in the heavy cream (or milk) and vanilla on low speed just until incorporated. Increase the mixer speed and whip on high speed until light and fluffy, scraping down the bowl as needed, about 4-5 minutes.

Buttery Vanilla Birthday Cake

When I think birthdays, I think 2 things; presents and cake!! Two of my favorite things! I don't think I have to say anything about presents, but I do have something to say about cake. I. Love. Cake. I know I've said it before, but I am going to state it again. I truly cannot understand anyone who says they don't like cake. I find this hard to believe. I do believe that some people have never tried a really good cake, or that some people find cake too sweet or too rich to eat much more than a bite or two. But to say they actually don't like a spectacular fresh, homemade cake, never! 

Anyway, it's my birthday today, so I had to share my birthday cake. I love making layered cakes, so my birthday is the perfect time for me to pull out the cake pans and bake myself my favorite thing. While I love all cakes, I am partial to a simple, buttery white cake with a simple American buttercream, and if it's pink, even better! 

Regardless of how anyone else feels about cake, to me this one is a winner! Enjoy!

Buttery Vanilla Birthday Cake
Adapted From Delectably Mine
Ingredients

  • 3 cups (14 ounces) all purpose flour
  • 1¾ cups (12.25 ounces) granulated sugar
  • 2½ teaspoons baking powder
  • 1 teaspoon kosher salt
  • 1 cup (2 sticks) butter, softened, cut into small cubes
  • 4 eggs
  • 1 cup (8 ounces) milk
  • 2 teaspoons vanilla extract

Directions
Preheat the oven to 350 degrees F. Grease two 8 inch cake pans and line with parchment paper, set aside.

Place the flour, sugar, baking powder, and salt in a mixing bowl and stir to combine.

Add the butter and mix on low speed, until mixture resembles coarse crumbs (2-3 minutes). Add the eggs, one at a time, and scrape the bottom of the bowl to make sure all the ingredients are well-combined.

Combine the milk, vanilla extract and almond extract (if using) in a measuring cup. Beat half this mixture into the flour/butter/eggs. Beat on medium speed for 1½ minutes, scrape the bottom and sides of the bowl, add the remaining milk mixture, and beat for another 30 seconds.

Divide the batter evenly between the two cake pans. Bake for 36-38 minutes, or until a tester inserted in the center of the cupcake comes out clean. Let cool for 5-10 minutes in the pans. Invert onto wire rack to cool completely. 

Whipped Vanilla Buttercream
From Annies Eats
Ingredients

  • 1½ cups butter, at room temperature
  • 3 cups confectioners’ sugar, sifted
  • Pinch of salt
  • 1 vanilla bean, split lengthwise (optional)
  • 2 tbsp. heavy cream
  • 1 tbsp. vanilla extract

Directions
Place the butter in the bowl of an electric mixer fitted with the whisk attachment. Whip on medium-high speed until smooth, about 1 minute. Add the confectioners’ sugar to the bowl and mix on medium-low speed just until incorporated. Scrape the seeds from the vanilla bean pod (if using) into the bowl and add in the salt. Continue to beat on medium-high speed until smooth, about 1-2 minutes. Mix in the heavy cream and vanilla on low speed just until incorporated. Increase the mixer speed and whip on high speed until light and fluffy, scraping down the bowl as needed, about 4-5 minutes.

Peaches and Cream Cupcakes

It's an extra special birthday today, my mom turns 60!! I can hardly believe it! In honor of this special occasion, Lara, my dad and I threw a little shindig for her this past Sunday. Family members and friends came over for a salad bar party. It was pretty delicious if I do say so. Today I want to share the best part of the party - the cake of course! Since it's August, and my mom absolutely LOVES peaches, I decided to make a peaches and cream cupcake for her. While I love having the opportunity to make a cake, at a party like this I decided cupcakes would be easier to serve, and would be easier for everyone to eat. 

These cupcakes turned out light and fluffy, filled with sweet and delicious peaches, topped with the perfect frosting, an airy whipped mascarpone and cream frosting. It doesn't get much better than this for an August birthday. I highly recommend both the cake and the frosting. I may never go back to buttercream again!

This cupcake recipe is definitely a keeper. It was simple, and baked up 24 perfect cupcakes. I've been looking for a go-to vanilla cupcake and I think this is it. To turn it into a peach cupcake all I did was dice up a few peaches from the farmers market, let them drain in a colander for a few minutes, tossed them with a little flour and threw them into the batter at the very end. It worked out great. Because peaches have such a gentle flavor, the cupcakes aren't overly "peachy", but they lend a hint of fruitiness to the cake, and you get a sweet surprise every few bites.

I've been wanting to try a mascarpone frosting for some time now and I decided that this was the perfect opportunity. There was no doubt that I would love this frosting, and I was not disappointed! This was the easiest, most delicious frosting I have ever tried. It took all of 2 minutes to whip together, didn't involved any sticky and messy powdered sugar, and tastes absolutely divine! I may never make another white frosting again. The only downside to it is you have to refrigerate it once made, since all that is in it is cream and mascarpone! But that's okay, it's a compromise worth making!

Happy Birthday Mom!! Lookin pretty good! Love you!

Peach Cupcakes
Adapted from Baking A Moment
Ingredients

  • 3 cups (14 ounces) all purpose flour
  • 1¾ cups (12.25 ounces) granulated sugar
  • 2½ teaspoons baking powder
  • 1 teaspoon kosher salt
  • 1 cup (2 sticks) butter, softened, cut into small cubes
  • 4 eggs
  • 1 cup (8 ounces) milk
  • 2 teaspoons vanilla extract
  • Drop or two of almond extract (optional)
  • 2-3 peaches, cut into small pieces and placed in a colander to drain

Directions
Preheat the oven to 350 degrees F. Place the flour, sugar, baking powder, and salt in a mixing bowl and stir to combine.

Add the butter and mix on low speed, until mixture resembles coarse crumbs (2-3 minutes). Add the eggs, one at a time, and scrape the bottom of the bowl to make sure all the ingredients are well-combined.

Combine the milk, vanilla extract and almond extract (if using) in a measuring cup. Beat half this mixture into the flour/butter/eggs. Beat on medium speed for 1½ minutes, scrape the bottom and sides of the bowl, add the remaining milk mixture, and beat for another 30 seconds.

Toss drained peach pieces with a small amount of flour. Gently mix into the batter until well combined.

Fill paper liners ⅔ full with batter, and bake for 18-20 minutes, or until a tester inserted in the center of the cupcake comes out clean.

Cool completely before topping with mascarpone frosting (recipe below). 

Yields: 24 cupcakes

Mascarpone Frosting

From

Epicurious

Ingredients

  • 2 8-ounce containers mascarpone cheese
  • 2 cups chilled heavy whipping cream
  • 4 tablespoons sugar
  • 1 tablespoon vanilla extract

Directions

Beat all ingredients in the bowl of a stand mixer fit with the whisk attachment just to soft peaks. You need to beat it enough so that it is firm enough to pipe onto the cupcakes, but don't overbeat or mixture will curdle. 

S'mores Cupcakes

April 1 is a special day in my family. We get to celebrate not just one, but two birthdays! My cousin Bailey and my grandpa get to share their special day with each other. In honor of their birthday's, Bailey invited us all over for a "112th birthday party" this past Sunday. Since my favorite part about birthday celebrations is the cake, I offered to make some cupcakes to bring along. In my opinion you cannot have a birthday party without cake, it just isn't right. 

For this occasion I had a few more restraints than normal. Dairy products don't agree well with Bailey so the only cake options I had were dairy free ones. This can be a challenge for me; I am partial to good old butter cakes piled high with sweet and fluffy buttercream, neither of which were an option for this party. I toyed around with a couple of different ideas before having that aha moment. Early on I had decided that a chocolate cupcake made with cocoa powder would work really well for the base. Cocoa is dairy free, and although I know you can find dairy free chocolate out there, I just wasn't going to get around to buying any in time. 

What was really stumping me was the frosting. I am not a fan of using butter substitutes, I just don't think they taste good. Even the really nice brands without trans fats and all that other junk don't taste like butter. I like butter, and there really is no replacement in my book. I toyed with the idea of using coconut cream but I'm not a huge coconut fan and I'd never tried it before so didn't know how it would work. Then I came across a recipe for marshmallow frosting, basically just a meringue, and it all came together. Marshmallow frosting on a chocolate cake, only one thing is missing.... graham crackers! Who can resist a good old s'more, especially in cupcake form? The perfect dairy free cupcake to celebrate a couple of extra special people. 

This cupcake recipe is a cinch to make, all you need is one bowl and you are good to go. The recipe said it would make 1 dozen, but I always like to make a few mini cupcakes too as testers and it worked out great. I managed to get 1 dozen regular cupcakes and 6 minis.

As for the frosting; I'd never made marshmallow frosting before, but I have made marshmallows, and it was pretty much the same thing, just without the gelatin. Pretty easy to whip together, but incredibly sticky! I thought the combination of the dark chocolate cake with the sweet and light marshmallow frosting was a winner; the two complemented each other so well. I finished the whole thing off with some homemade graham crackers (dairy free of course) and some graham cracker crumbs. 

All I have left to say is: Happy Birthday Bailey and Grandpa! Have a wonderful day!

S'mores Cupcakes

Adapted from 

King Arthur Flour

Ingredients

Cake

  • 1 cup (7 ounces) sugar
  • 1 cups (4 1/2 ounces) All-Purpose Flour
  • 1 tablespoon cornstarch
  • 3/8 cup (1 1/8 ounces) Dutch-process cocoa
  • 1 teaspoons baking powder
  • 1/4 teaspoon baking soda
  • 1/2 teaspoon salt
  • 2 large eggs
  • 3/8 cup (2 5/8 ounces) vegetable oil
  • 1 teaspoons vanilla extract
  • 1/2 cup plus 2 tablespoons (5 ounces) coffee

Frosting

  • 2 large egg whites
  • 1 cup sugar
  • 1/4 teaspoon cream of tartar (I actually didn't have any and it worked fine without, cream of tarter just helps stabilize the egg whites, but you can go without if you have to)
  • 1/3 cup water
  • 1/8 teaspoon salt
  • 1 teaspoon vanilla extract

Directions

Preheat the oven to 350°F. Line cupcake or muffin pans with papers.

Prepare the cake batter. Whisk together the sugar, flour, cornstarch, cocoa, baking powder, baking soda and salt. Add the eggs, oil, and vanilla, beating until smooth. Gradually add the coffee, beating until smooth. 

Divide the batter evenly among the cupcake cups; you'll pour a scant 1/4 cup batter (about 58g) into each cup. Bake the cupcakes for about 20-22 minutes, until a cake tester or toothpick inserted into the center of one of the cakes in the middle of the pan comes out clean. Remove the cupcakes from the oven. In about 5 minutes, or as soon as you can handle them, remove them from the pan, and place them on a rack to cool.

When the cupcakes are cool, make the frosting. Place the 2 egg whites in a large mixing bowl or the bowl of your stand mixer. Beat until the egg whites are foamy and thick; they should mound in the bowl, without holding a peak. Set them aside while you prepare the sugar syrup.

Combine the sugar, cream of tartar, water, and salt in a saucepan. Bring to a boil, stirring frequently; the sugar should be dissolved. If the sugar hasn't dissolved, cook and stir a bit more, until it has. Once the sugar has dissolved, boil the syrup, undisturbed, for 2 minutes, or until the syrup registers 240°F on a candy thermometer or instant-read thermometer.

Begin to beat the egg whites, and immediately pour the boiling sugar syrup into the egg whites in a slow stream, beating all the while. As you beat, the mixture will thicken. Once all the syrup is added, stir in the vanilla, and continue to beat until the frosting is thick and will hold a peak.

Spoon the hot frosting atop the cooled cupcakes, swirling it decoratively.

Decorate while the frosting is still warm with graham crackers crumbs. You can also toast the edges of the frosting with a kitchen blow torch, or how I did it, using the flame on your gas stove. Just watch your fingers!

Yield: 1 dozen cupcakes + 6 mini cupcakes