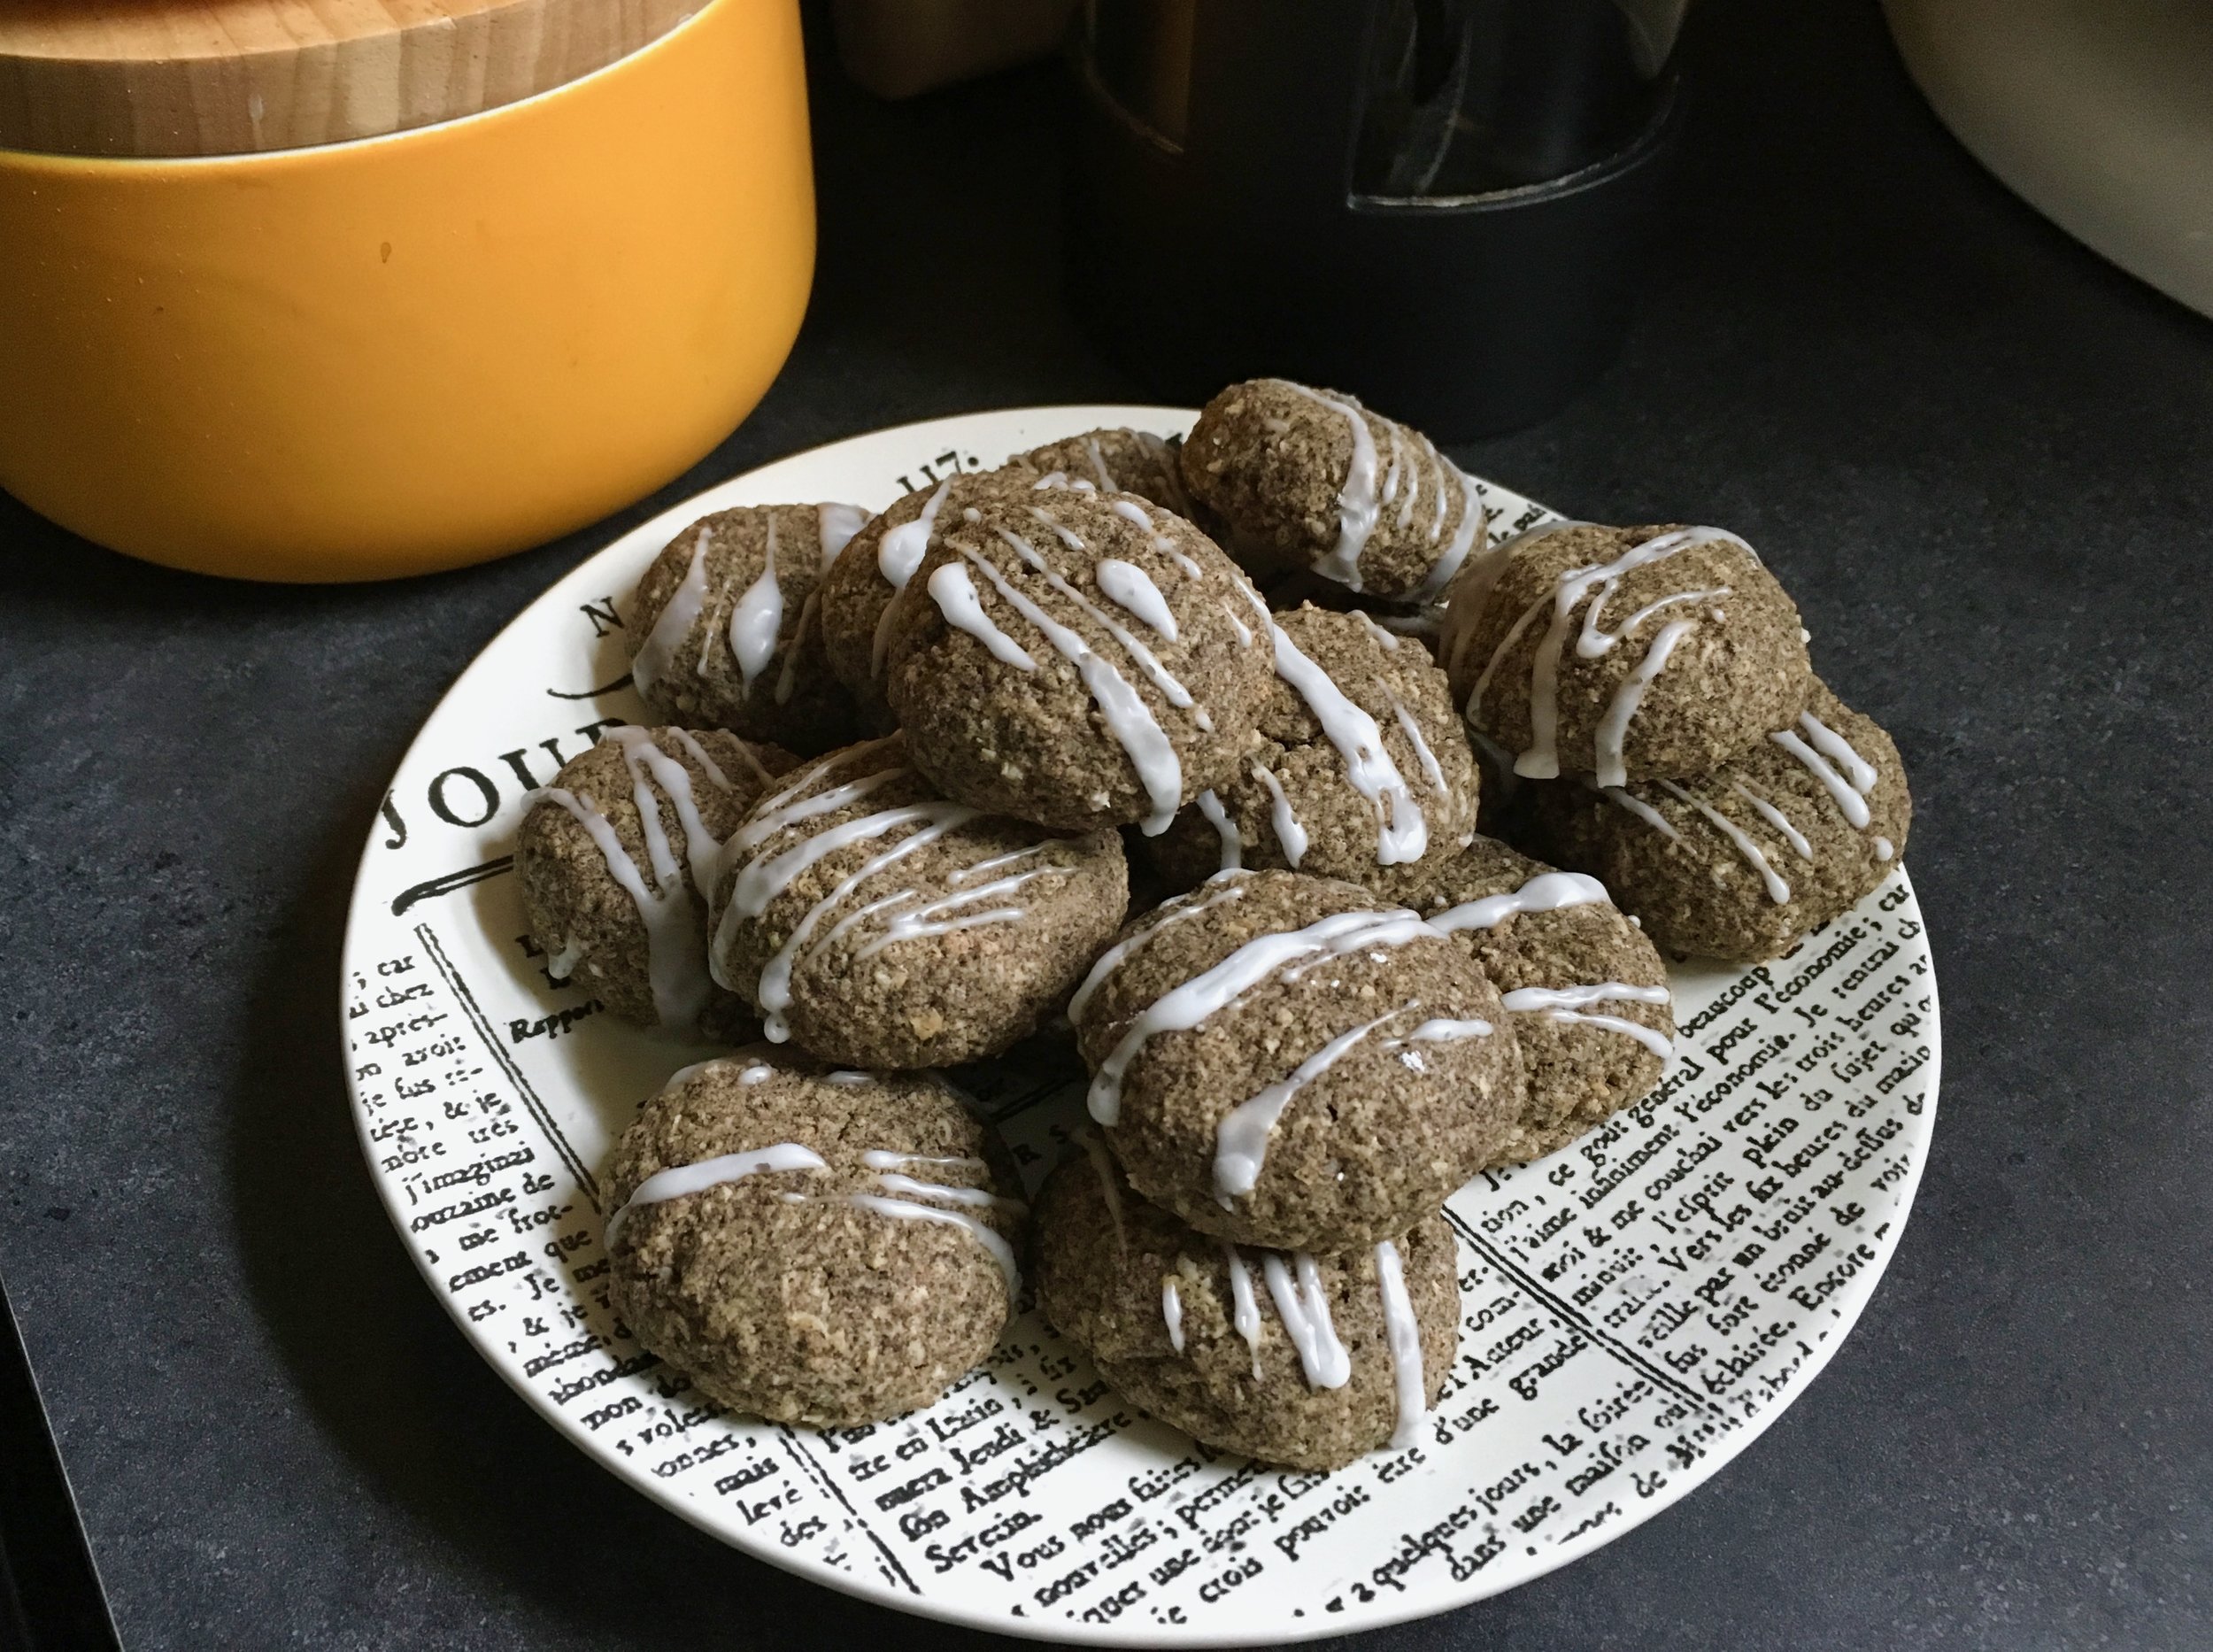
Lavender Honey Buckwheat Cookies
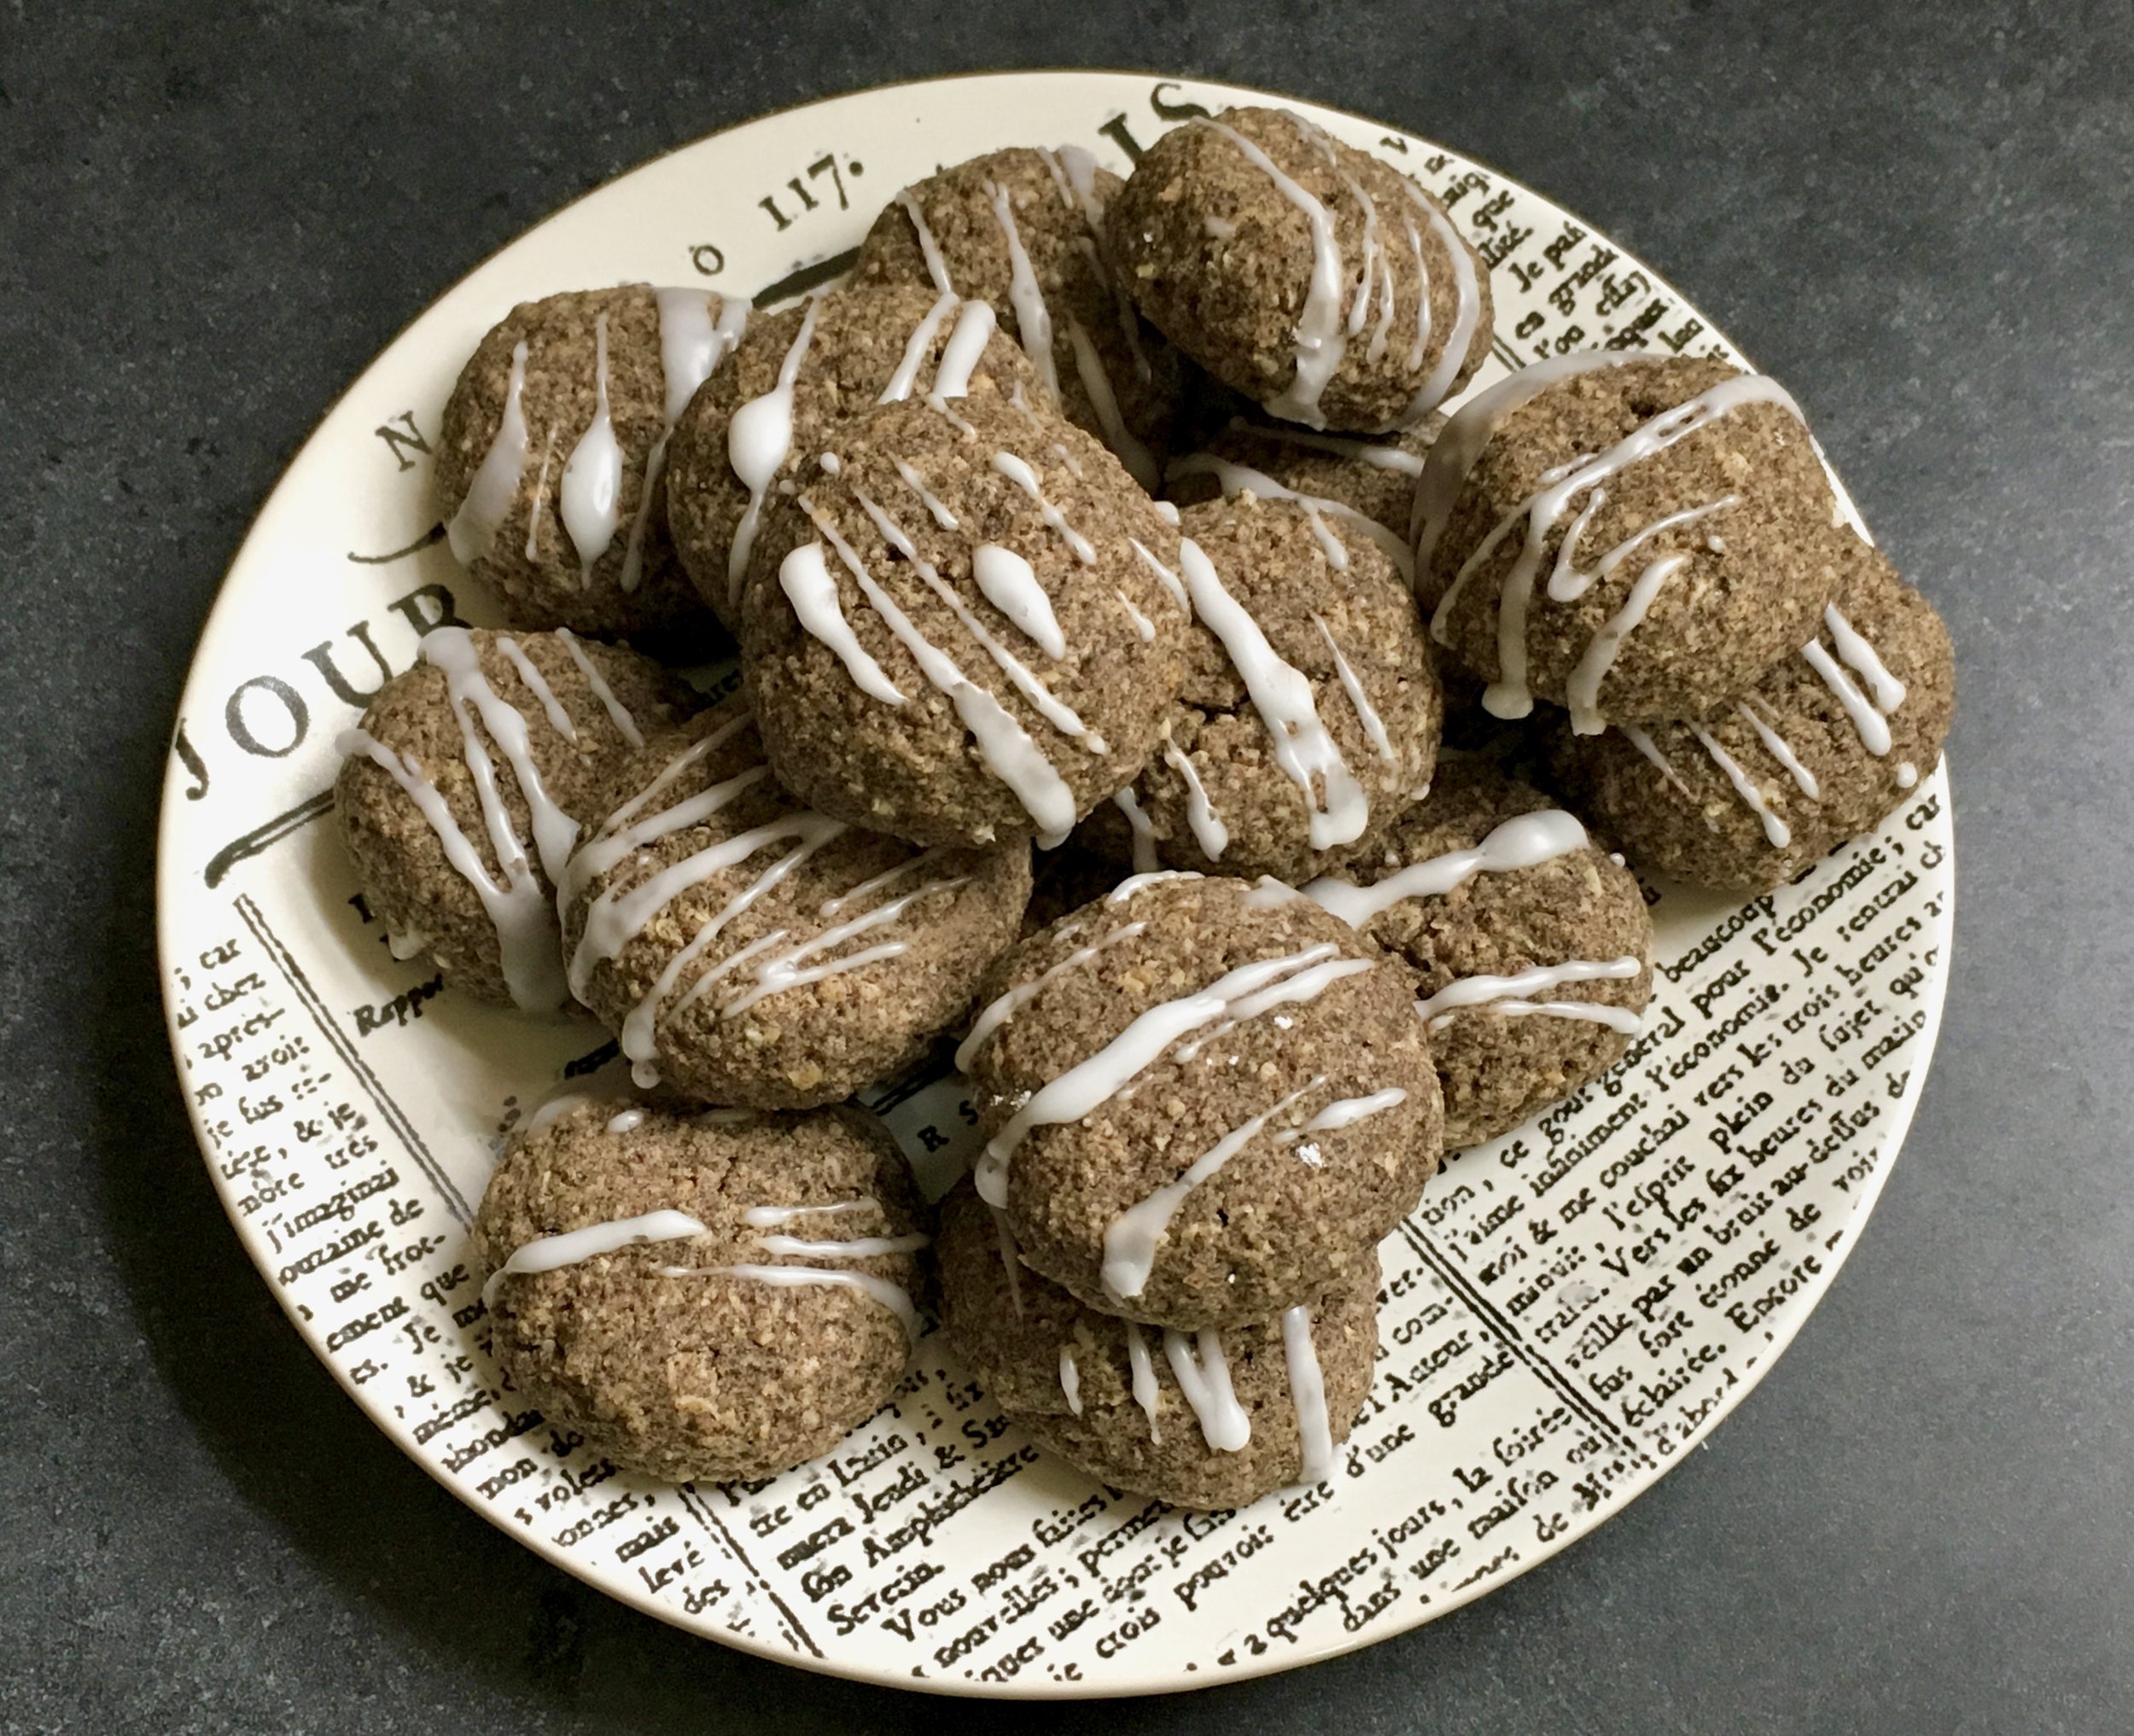
Once again it's one of my favorite seasons; lavender season! I love lavender so much, the sight of the elegant little purple flowers, the fragrance that heralds early summer, and of course, the delicate floral notes that add a little extra something special to baking when lavender buds are part of the mix. Of course, you don't want to go overboard and add too much lavender which can make you feel like you're eating a mouthful of potpourri, but in just the right amount in the right thing, lavender can really make your baking a little extra special; especially when using your own home-grown or home-foraged lavender. Last year I made some fantastic lavender cupcakes. This year one of my projects was these yummy little buckwheat cookies. A perfect couple of bites of sweetness balanced with the bitterness of the buckwheat and the floral lavender, a perfect combination.
If going gluten or wheat free is something you're into, these cookies are a great option. In case you're wondering, buckwheat is actually not wheat, they're not even related. Buckwheat is the seed of a flowering plant that is related to rhubarb and sorrel. It has an unique flavor, somewhat bitter, but in a good way. I personally have no problem with wheat in any shape or form, but I still love these cookies. They use oat and buckwheat flours, softened butter, a little sugar and an egg. And of course, lavender. Because, tis the season!!

Lavender Honey Buckwheat Cookies
Adapted from Dishing Up The Dirt
Ingredients
- 1/2 cup (60 grams) oat flour
- 1/3 cup (2 1/2 ounces) butter, softened
- 2 1/2 tablespoons sugar
- 1 teaspoon dried lavender leaves
- 2 Tablespoons (42 grams) honey
- 1 egg
- 3/4 cup (90 grams) buckwheat flour
- pinch of kosher salt
Directions
Preheat the oven to 325 degrees. Line a baking sheet with parchment paper, set aside.
Beat the butter and sugar together for a couple of minutes, until creamy and light. Add the lavender and honey and beat until well combined. Add the egg and mix well.
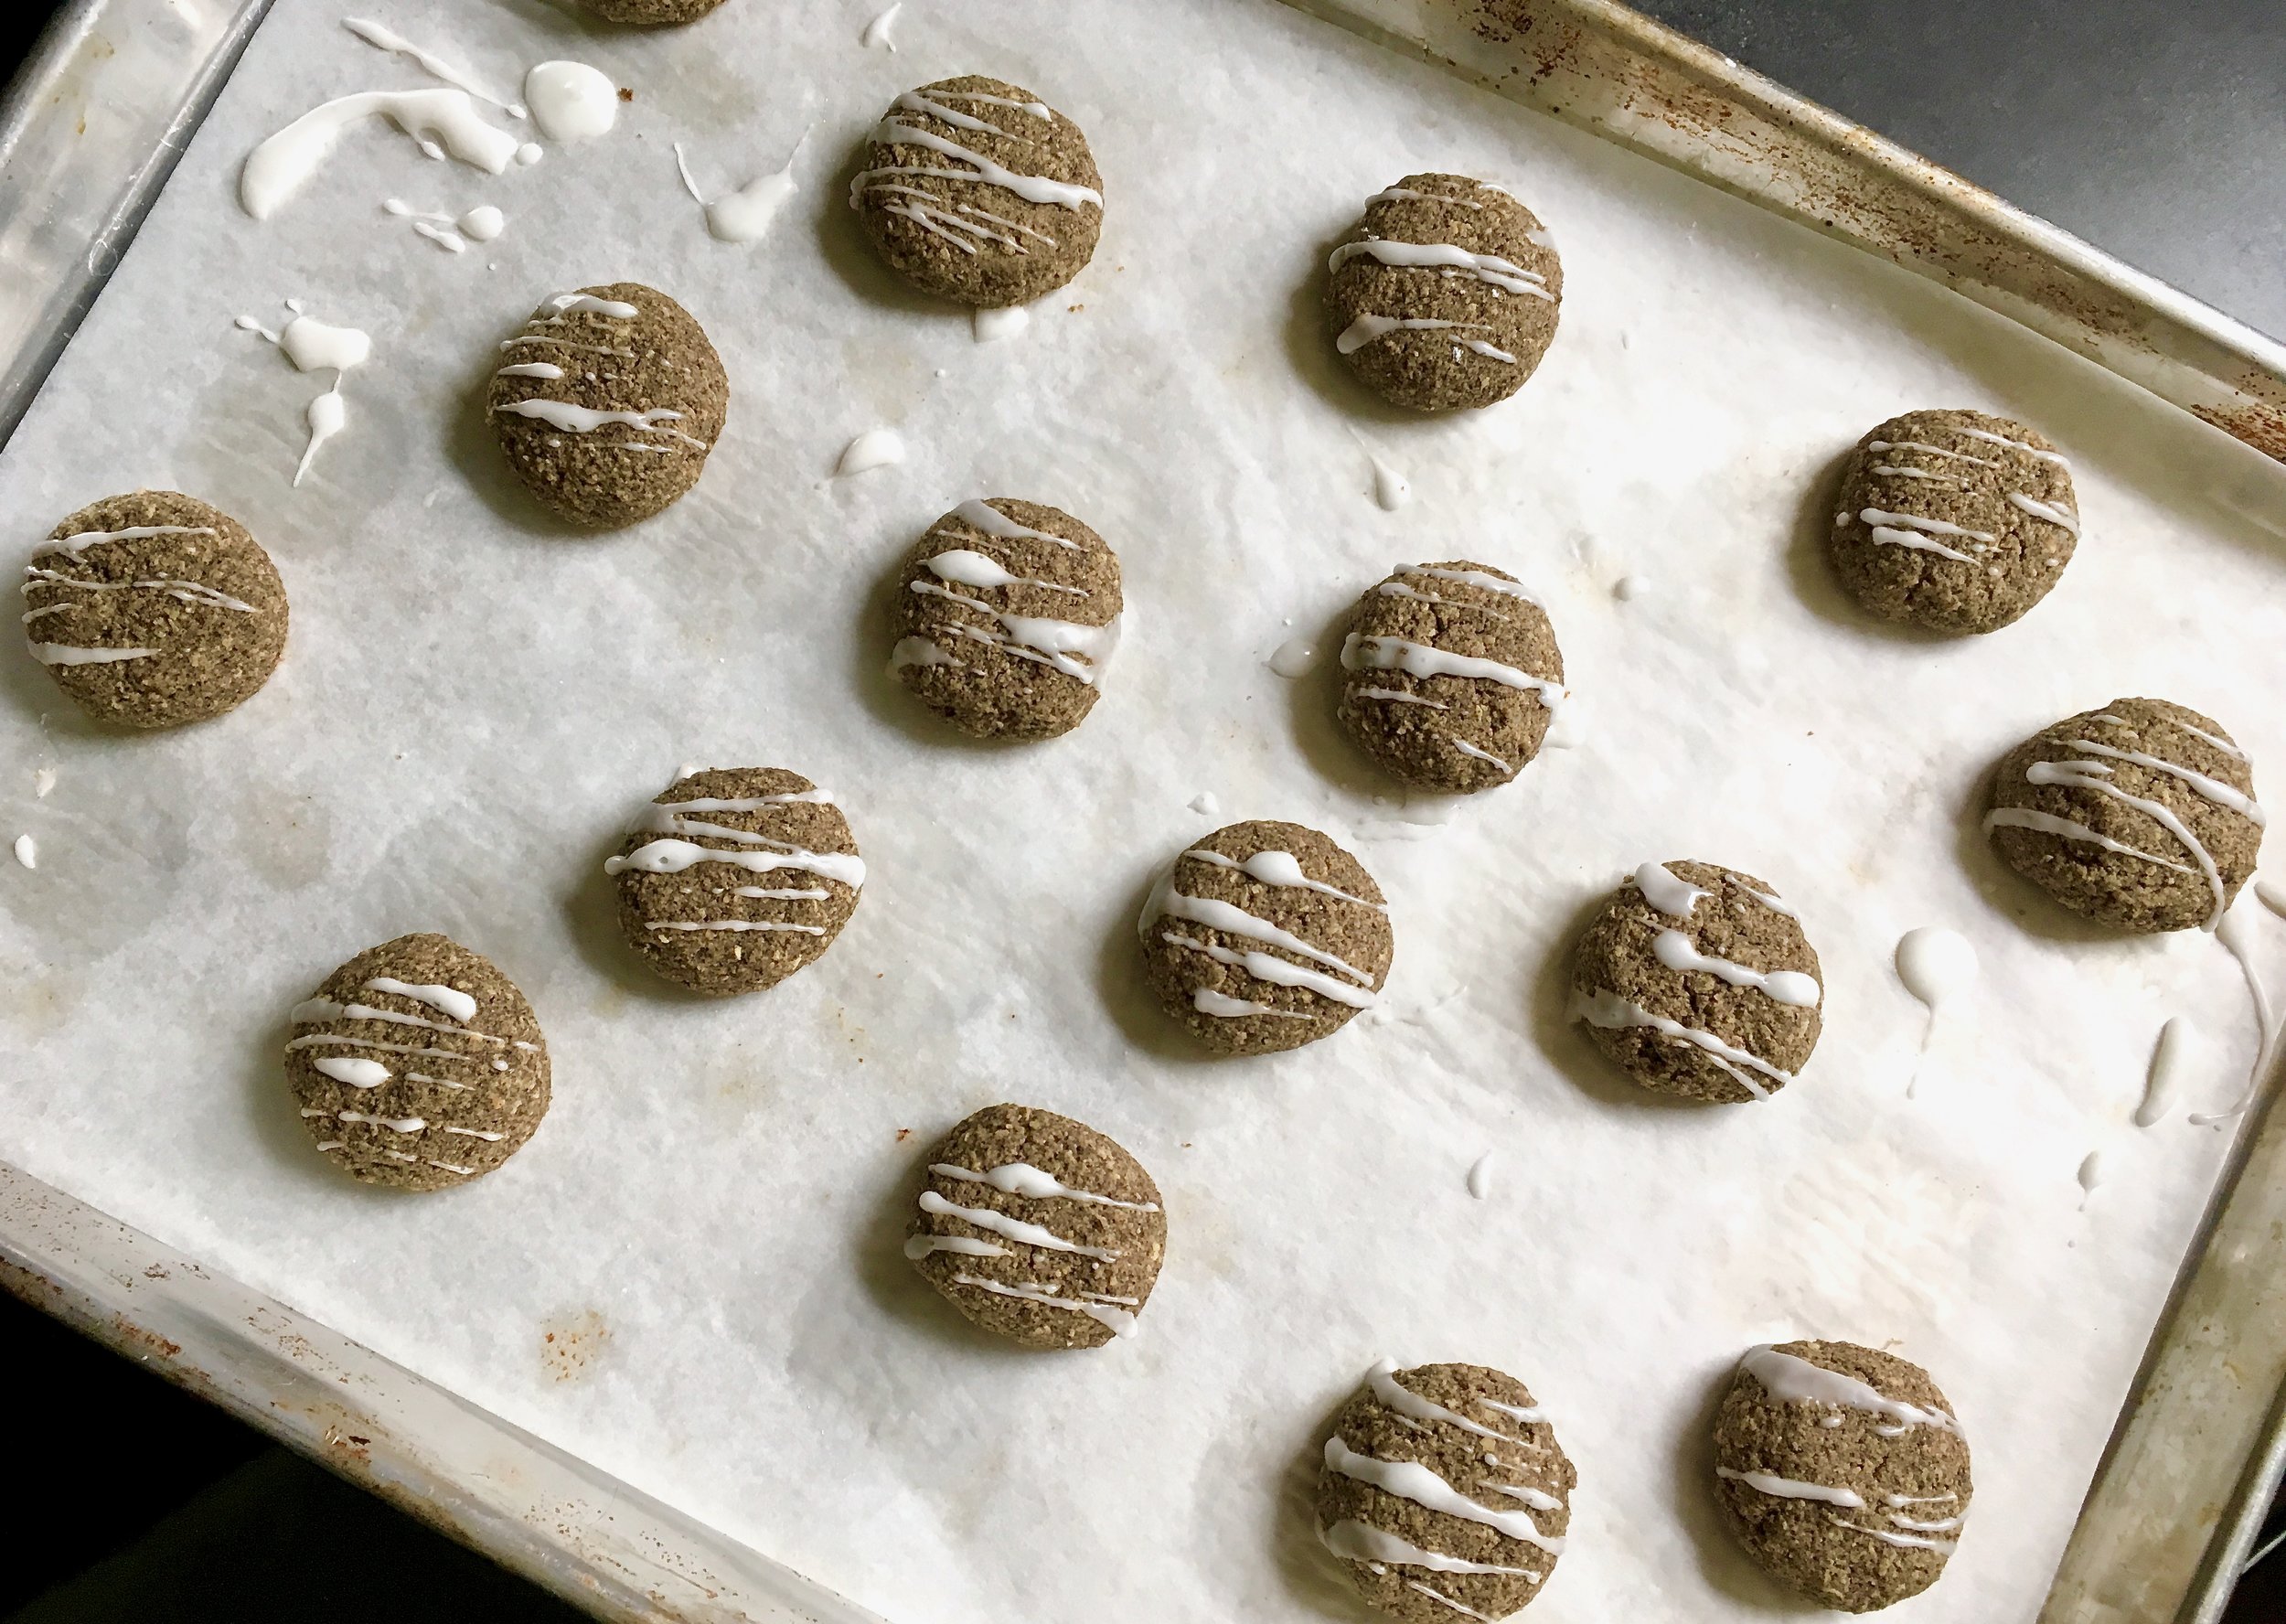
Add the oats, flour, and salt to the butter mixture. Mix until it forms a cohesive mixture. Divide the dough into 10-12 equal size balls. Place on baking sheet and press down gently with your fingers, or the bottom of a glass. (The cookies will not spread a lot when you bake them, so flattened them to the thickness you would like the finished product to be.)
Bake the cookies for 15-20 minutes. Rotate the pan halfway through baking. Transfer to a wire rack to cool.
Yields 12-14 small cookies, depending on how big you make them