Chocolate Chunk and Walnut Cookies

IMG_1249-preview.jpeg

Lara and I were looking for a bakery style chocolate chip cookie recently. I’m always on the hunt for this type of cookie, but I haven’t actually made that many cookies recently. That all changed when I found this recipe!

While I love a “bakery style” cookie, they are always HUGE! This is great, other than the fact that I don’t need to eat a cookie this big. I realized though, that the times I do go to a bakery and share a cookie, I have a couple bites and share the rest with someone else, or take it home for later. Why can’t I just do this with my own cookies?

So I stopped trying to make a mini version of a bakery style cookie. This doesn’t work. With a smaller cookie you just don’t get the contrast between the crispy edges and the chewy, gooey center. Small cookies bake for less time so while the center may be a little gooey, the edges don’t have time to crisp up. If you instead aim for crispy edges, the center is cooked all the way through. In other words, you can’t win.

IMG_2039.jpeg

So, for this new recipe, I told myself to just GO BIG! No matter how wrong it felt! Portioning out the dough I kept thinking, this is too big, this can’t be right. But it wasn’t, and it is! I portioned these into 100 gram (3.5 ounces) balls of dough which was perfect! They baked up beautifully! Super thick, gooey and underbaked in the center, golden brown and crispy on the edges.

IMG_2040.jpeg

I baked some of them freshly made, and they baked for about 10 minutes I think. I also baked some straight from the freezer and these went closer to 12 minutes. They don’t spread a lot, especially the frozen dough, so I tried two different methods to finish them off. For the non-frozen dough, I took a round cookie cutter and spun it around the cookies immediately after they came out of the oven. This made them perfectly round, and helped them sink a little bit. For the frozen dough, I actually took a small glass mixing bowl and gently pressed down on the top of the cookie immediately after they came out of the oven. You can press them down as much or as little as you like to make them the perfect size/diameter for you. It sounds weird I know, but I think the final cookie turned out gorgeous either way. This is just my preference. You don’t have to do any of this, but just some options.

Definitley a Go-To cookie recipe for the future! (When writing this I’ve already made them another two times!)

I followed the original recipe exactly except for adding in 65 grams walnuts. I was also out of vanilla so skipped that.I did use the espresso powder.


IMG_2050 2.jpeg

Chocolate Chunk and Walnut Cookies
From Butter and Brioche
Ingredients

  • 150 grams (2/3 cup) Butter, cubed

  • 200 grams (3/4 cup + 2 1/2 tablespoons) brown sugar

  • 70 grams (1/3 cup) white sugar

  • 1 large egg

  • 2 teaspoons vanilla extract

  • 280 g (2 1/4 cups) all-purpose flour

  • 1 teaspoon baking powder

  • 1/2 teaspoon baking soda

  • 1/2 teaspoon of salt

  • 1 teaspoon espresso powder, optional

  • dark chocolate (70%), roughly chopped - 170 g (1 cup)

  • flaked salt, for finishing

Directions
Position racks in the lower and upper thirds of an oven. Pre-heat it to 350 F. Line a large baking sheets with parchment paper.

Put the butter in a medium saucepan set over low heat. Heat, stirring often, until melted. Pour it into a large mixing bowl, then add the sugars, and whisk until combined. Whisk in the egg, followed by the vanilla extract, until smooth and glossy.

In a separate bowl, whisk together the flour, baking powder, soda, salt, and espresso, if using.

Tip the dry ingredients into the bowl with the wet ingredients. Beat, with a wooden spoon, until a soft dough has begun to form. Beat in the chocolate until just distributed. Do not overwork the dough.

Using a medium cookie scoop or tablespoon as a measure, portion out even-sized amounts of the dough. If you’re using a spoon, shape them into balls with your hands. Divide between the sheets, leaving a few inches space apart for spreading. You should fit 8 to 10 per sheet. You can set left-over dough balls aside to be baked off later, or, store them in an airtight container and freeze for up to two months. Allow to stand at room temperature for fifteen minutes, before baking. Sprinkle with salt.

Bake for 10 to 12 minutes. Halfway through, open the oven door and lift the sheet by a few inches. With a little force, tap it against the oven rack, so that the cookies de-flate slightly. The chocolate should run, too. Close the oven door and continue to bake for another minute. Again, repeat this lifting and tapping process, for a total of 3 more times. The cookies will be golden brown and crisp around the edges, but the middles still soft, when they’re done.

Remove and let stand on the sheet for a few minutes, before transferring the cookies off and onto a wire rack to cool further, before serving.

Cardamom Cake

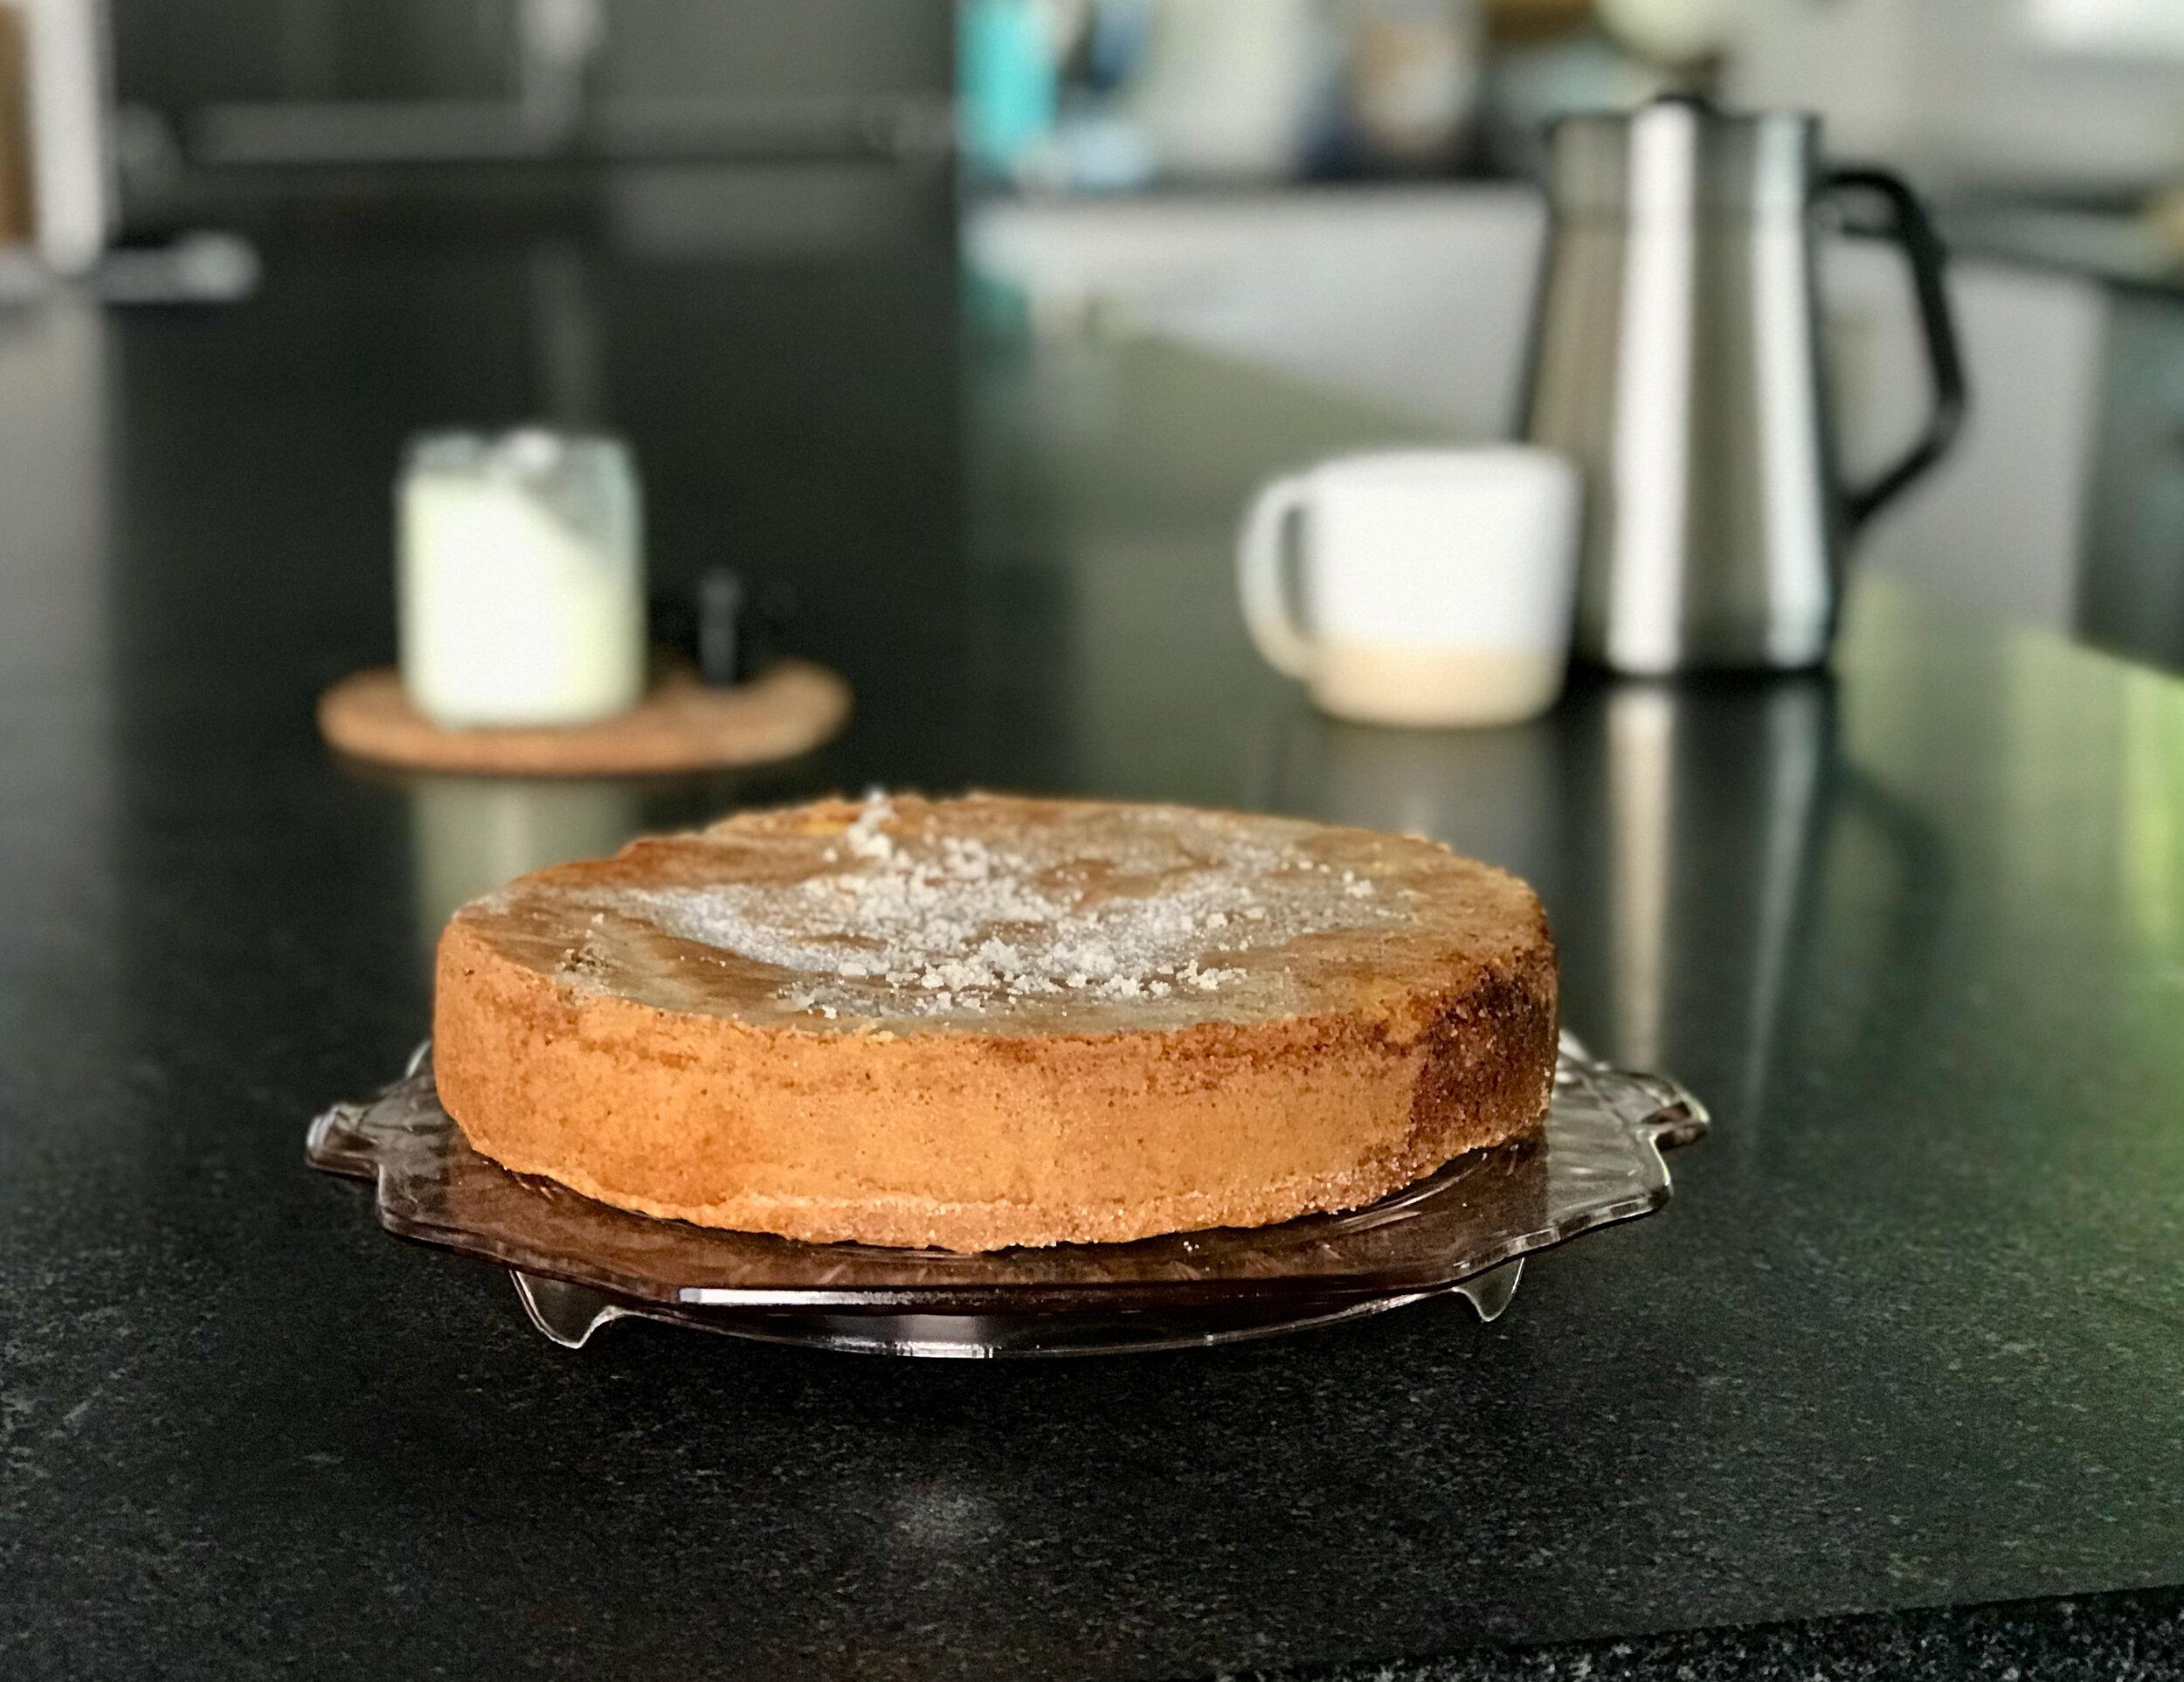
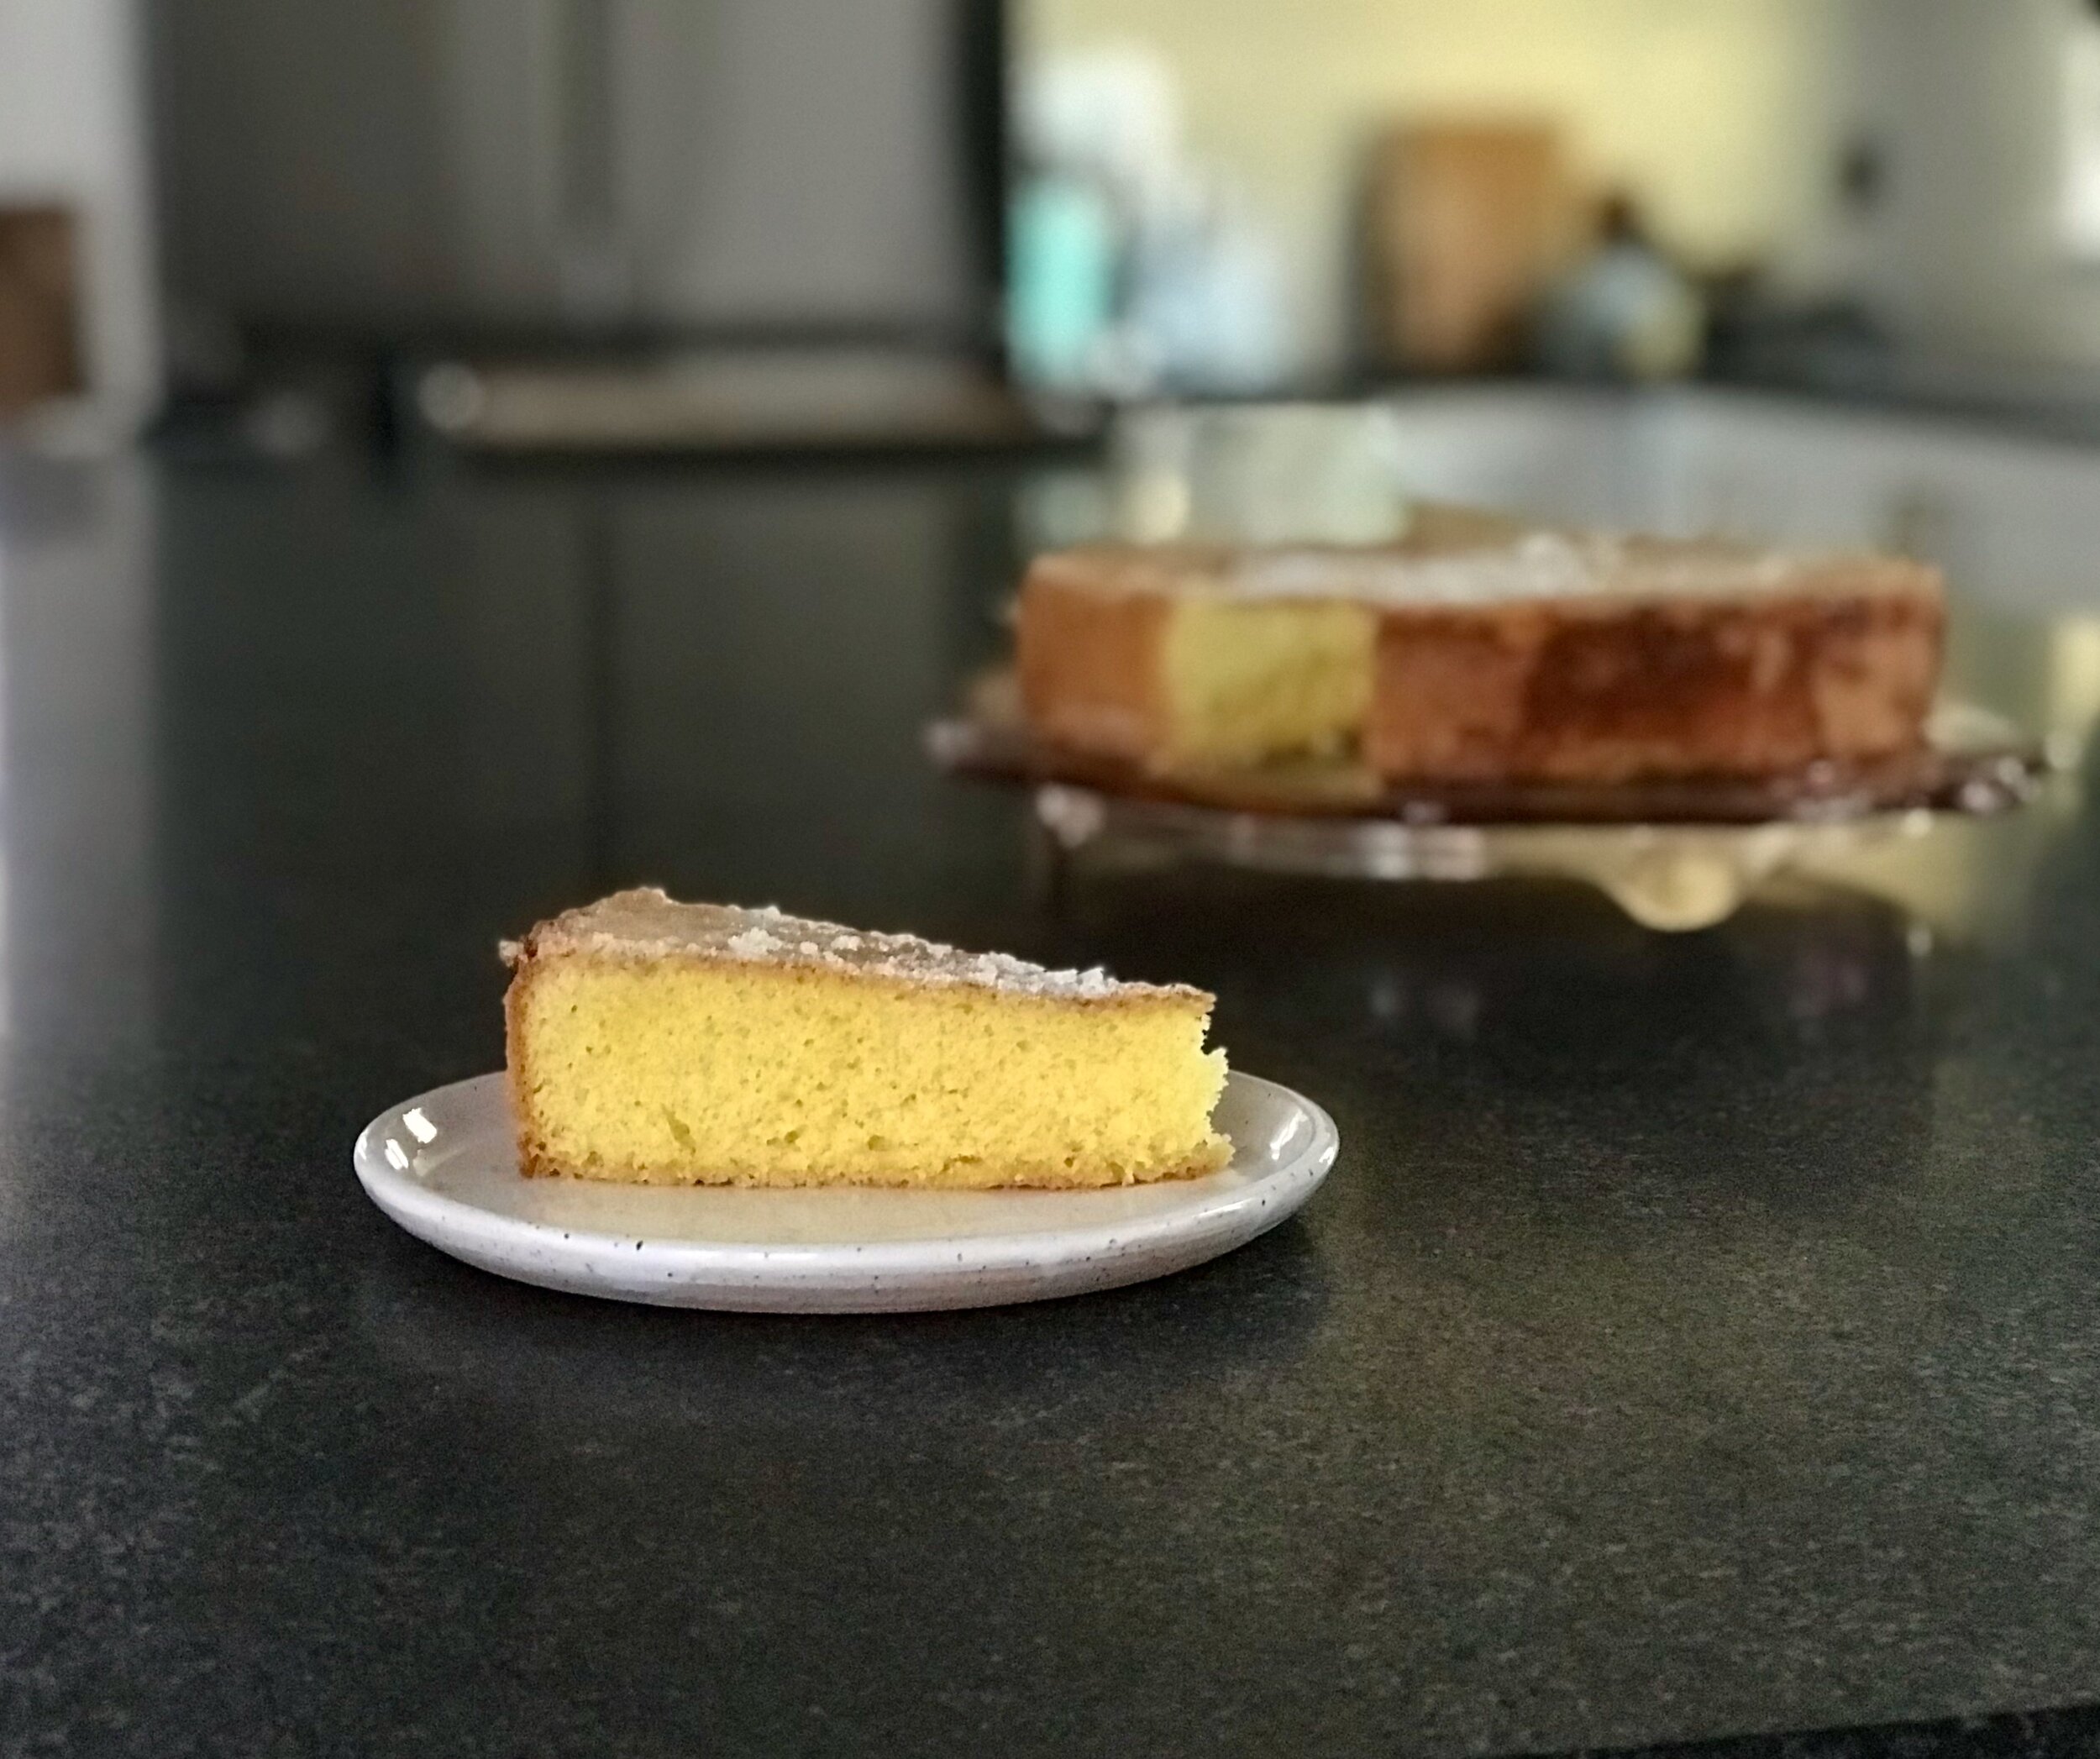
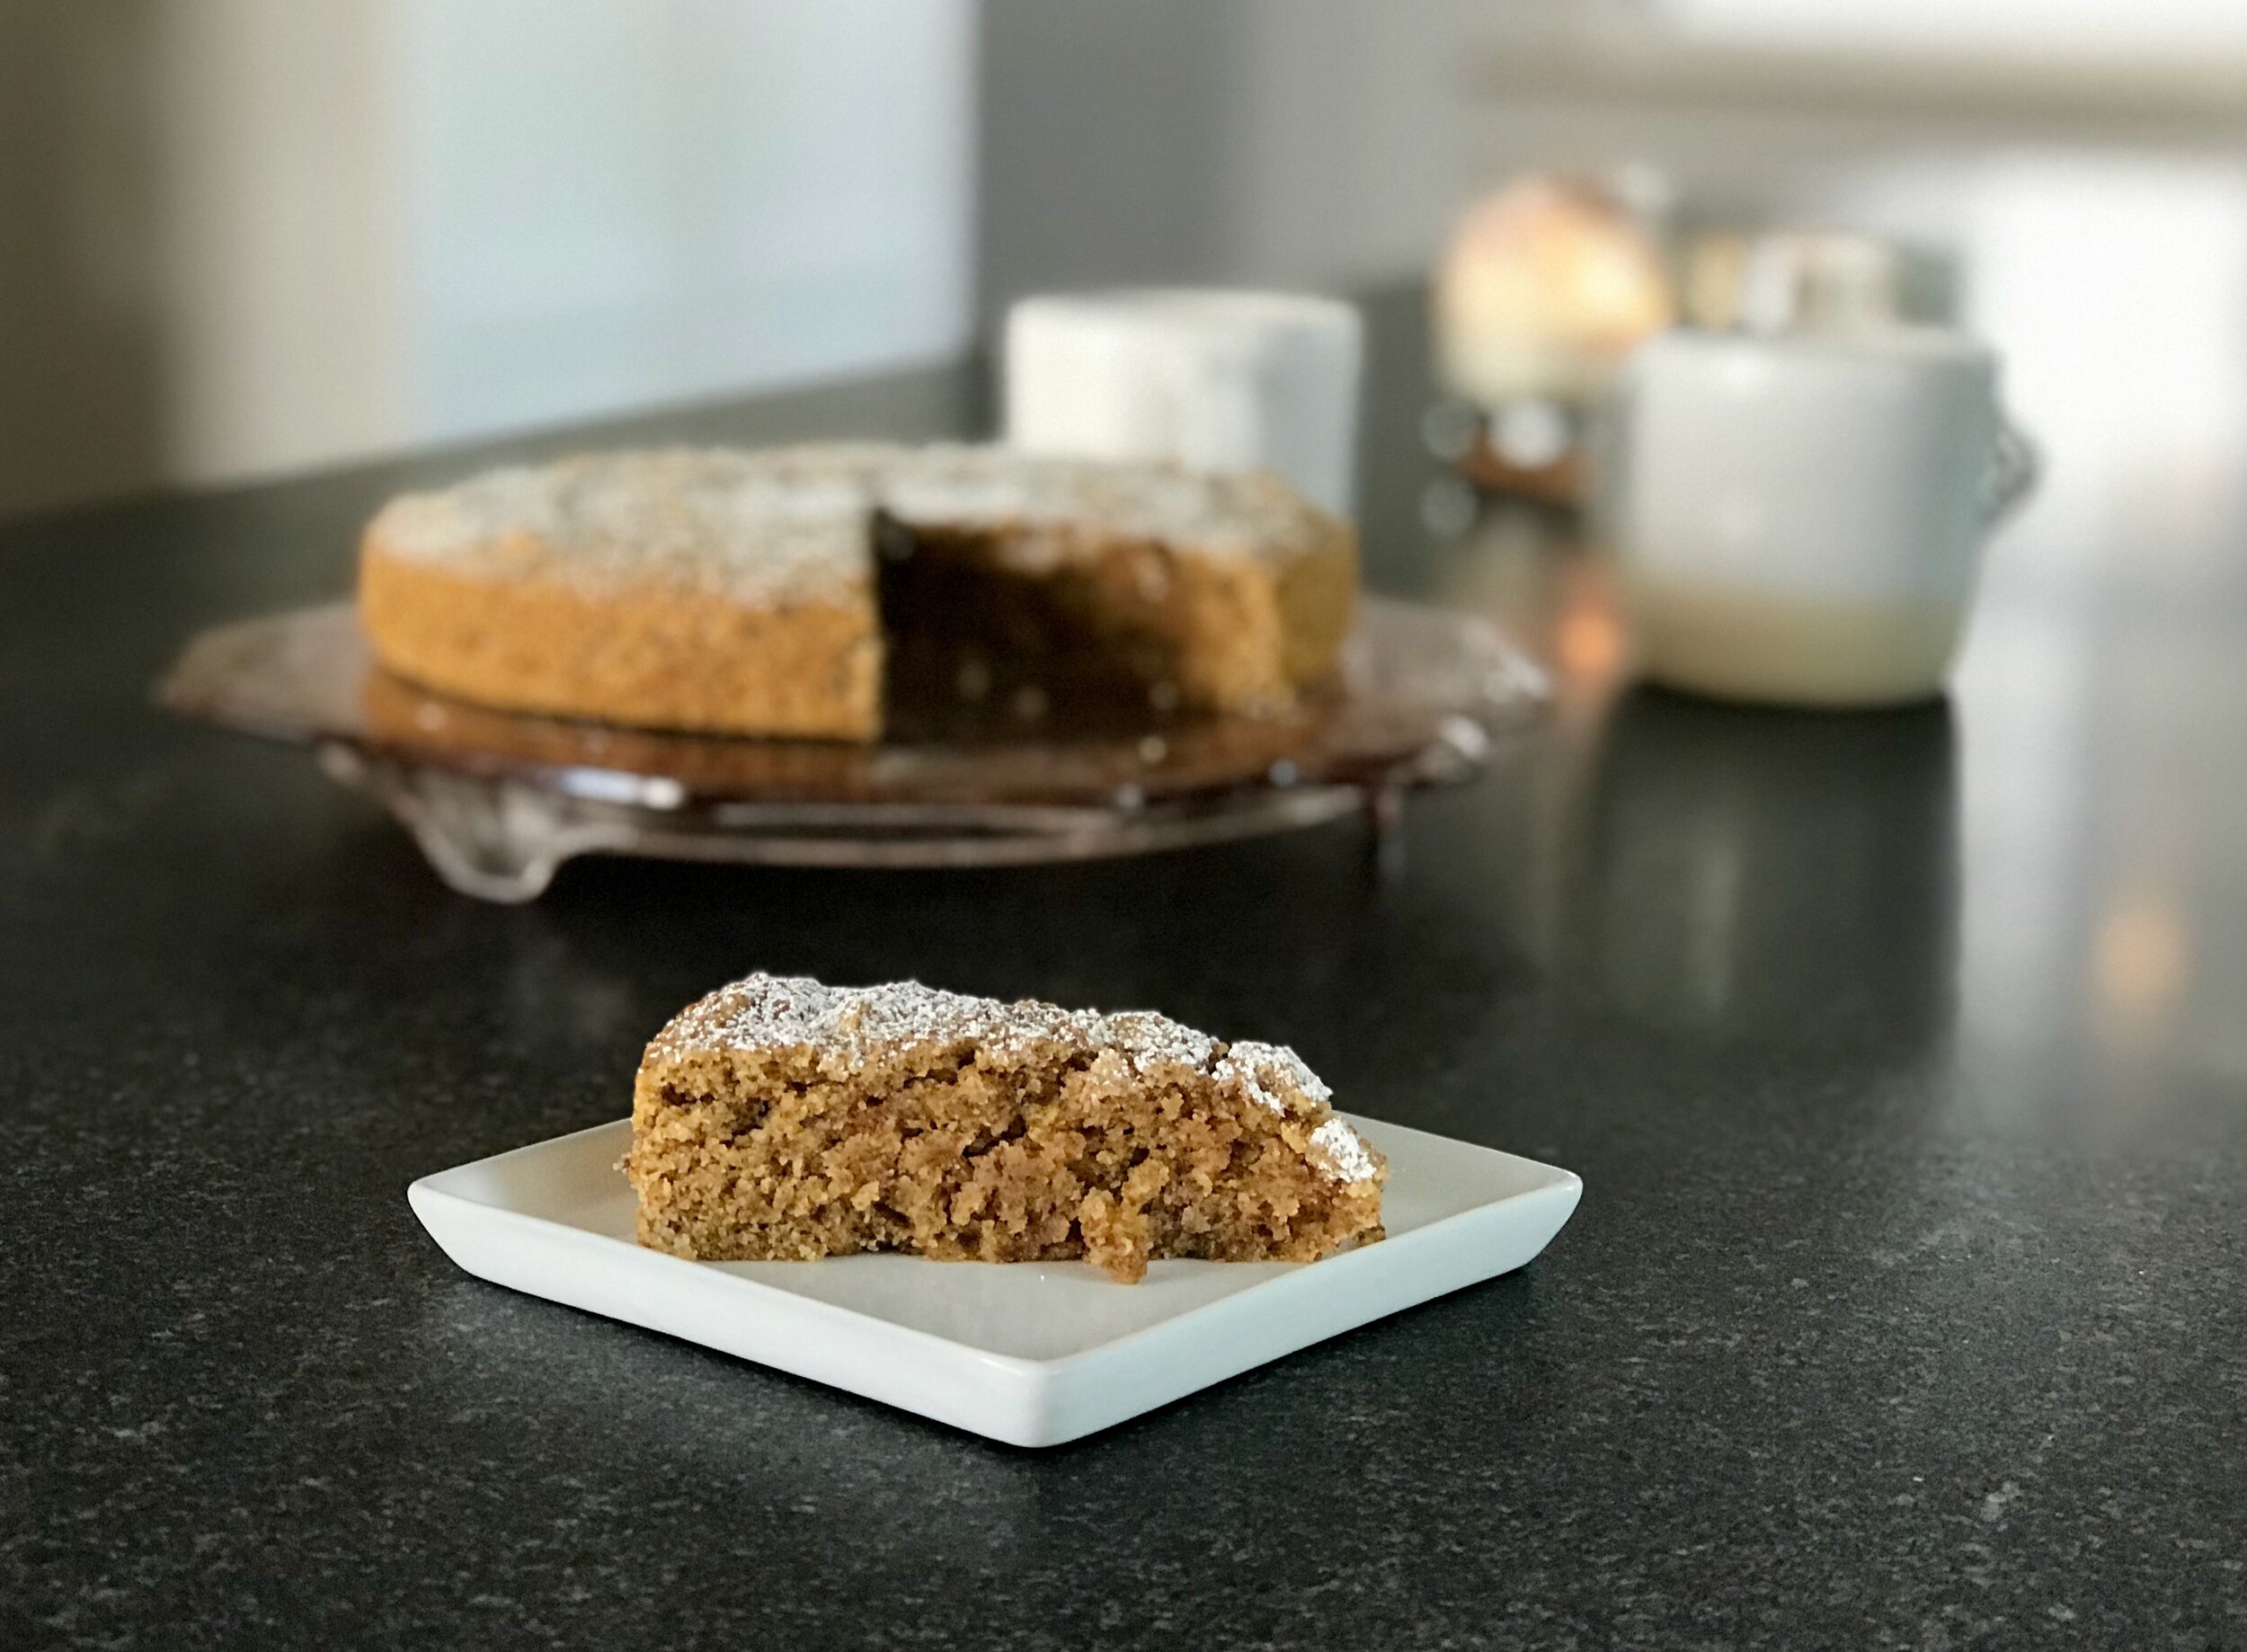
I saw this recipe pop up on Instagram last week, and independently Lara heard the Food52 Genius Recipe podcast about it as well. We both thought it sounded perfect. Simple, elegant, easy. So on my day off (a cool, blustery, kind of wet spring day) I decided to give it a go, and I am very happy that I did! It is super easy, and uses just a few simple ingredients. The final product is gorgeous as well as delicious! The buttery spice from the cardamom (and cinnamon in my version, see changes below) was perfectly balanced. The crunchy topping is a game changer. Don’t skip it.

IMG_2122 2.jpeg
IMG_2120 2.jpeg

A nice recipe to keep in the repertoire when you want something elegant, but easy and fast!

IMG_2135 2.jpeg

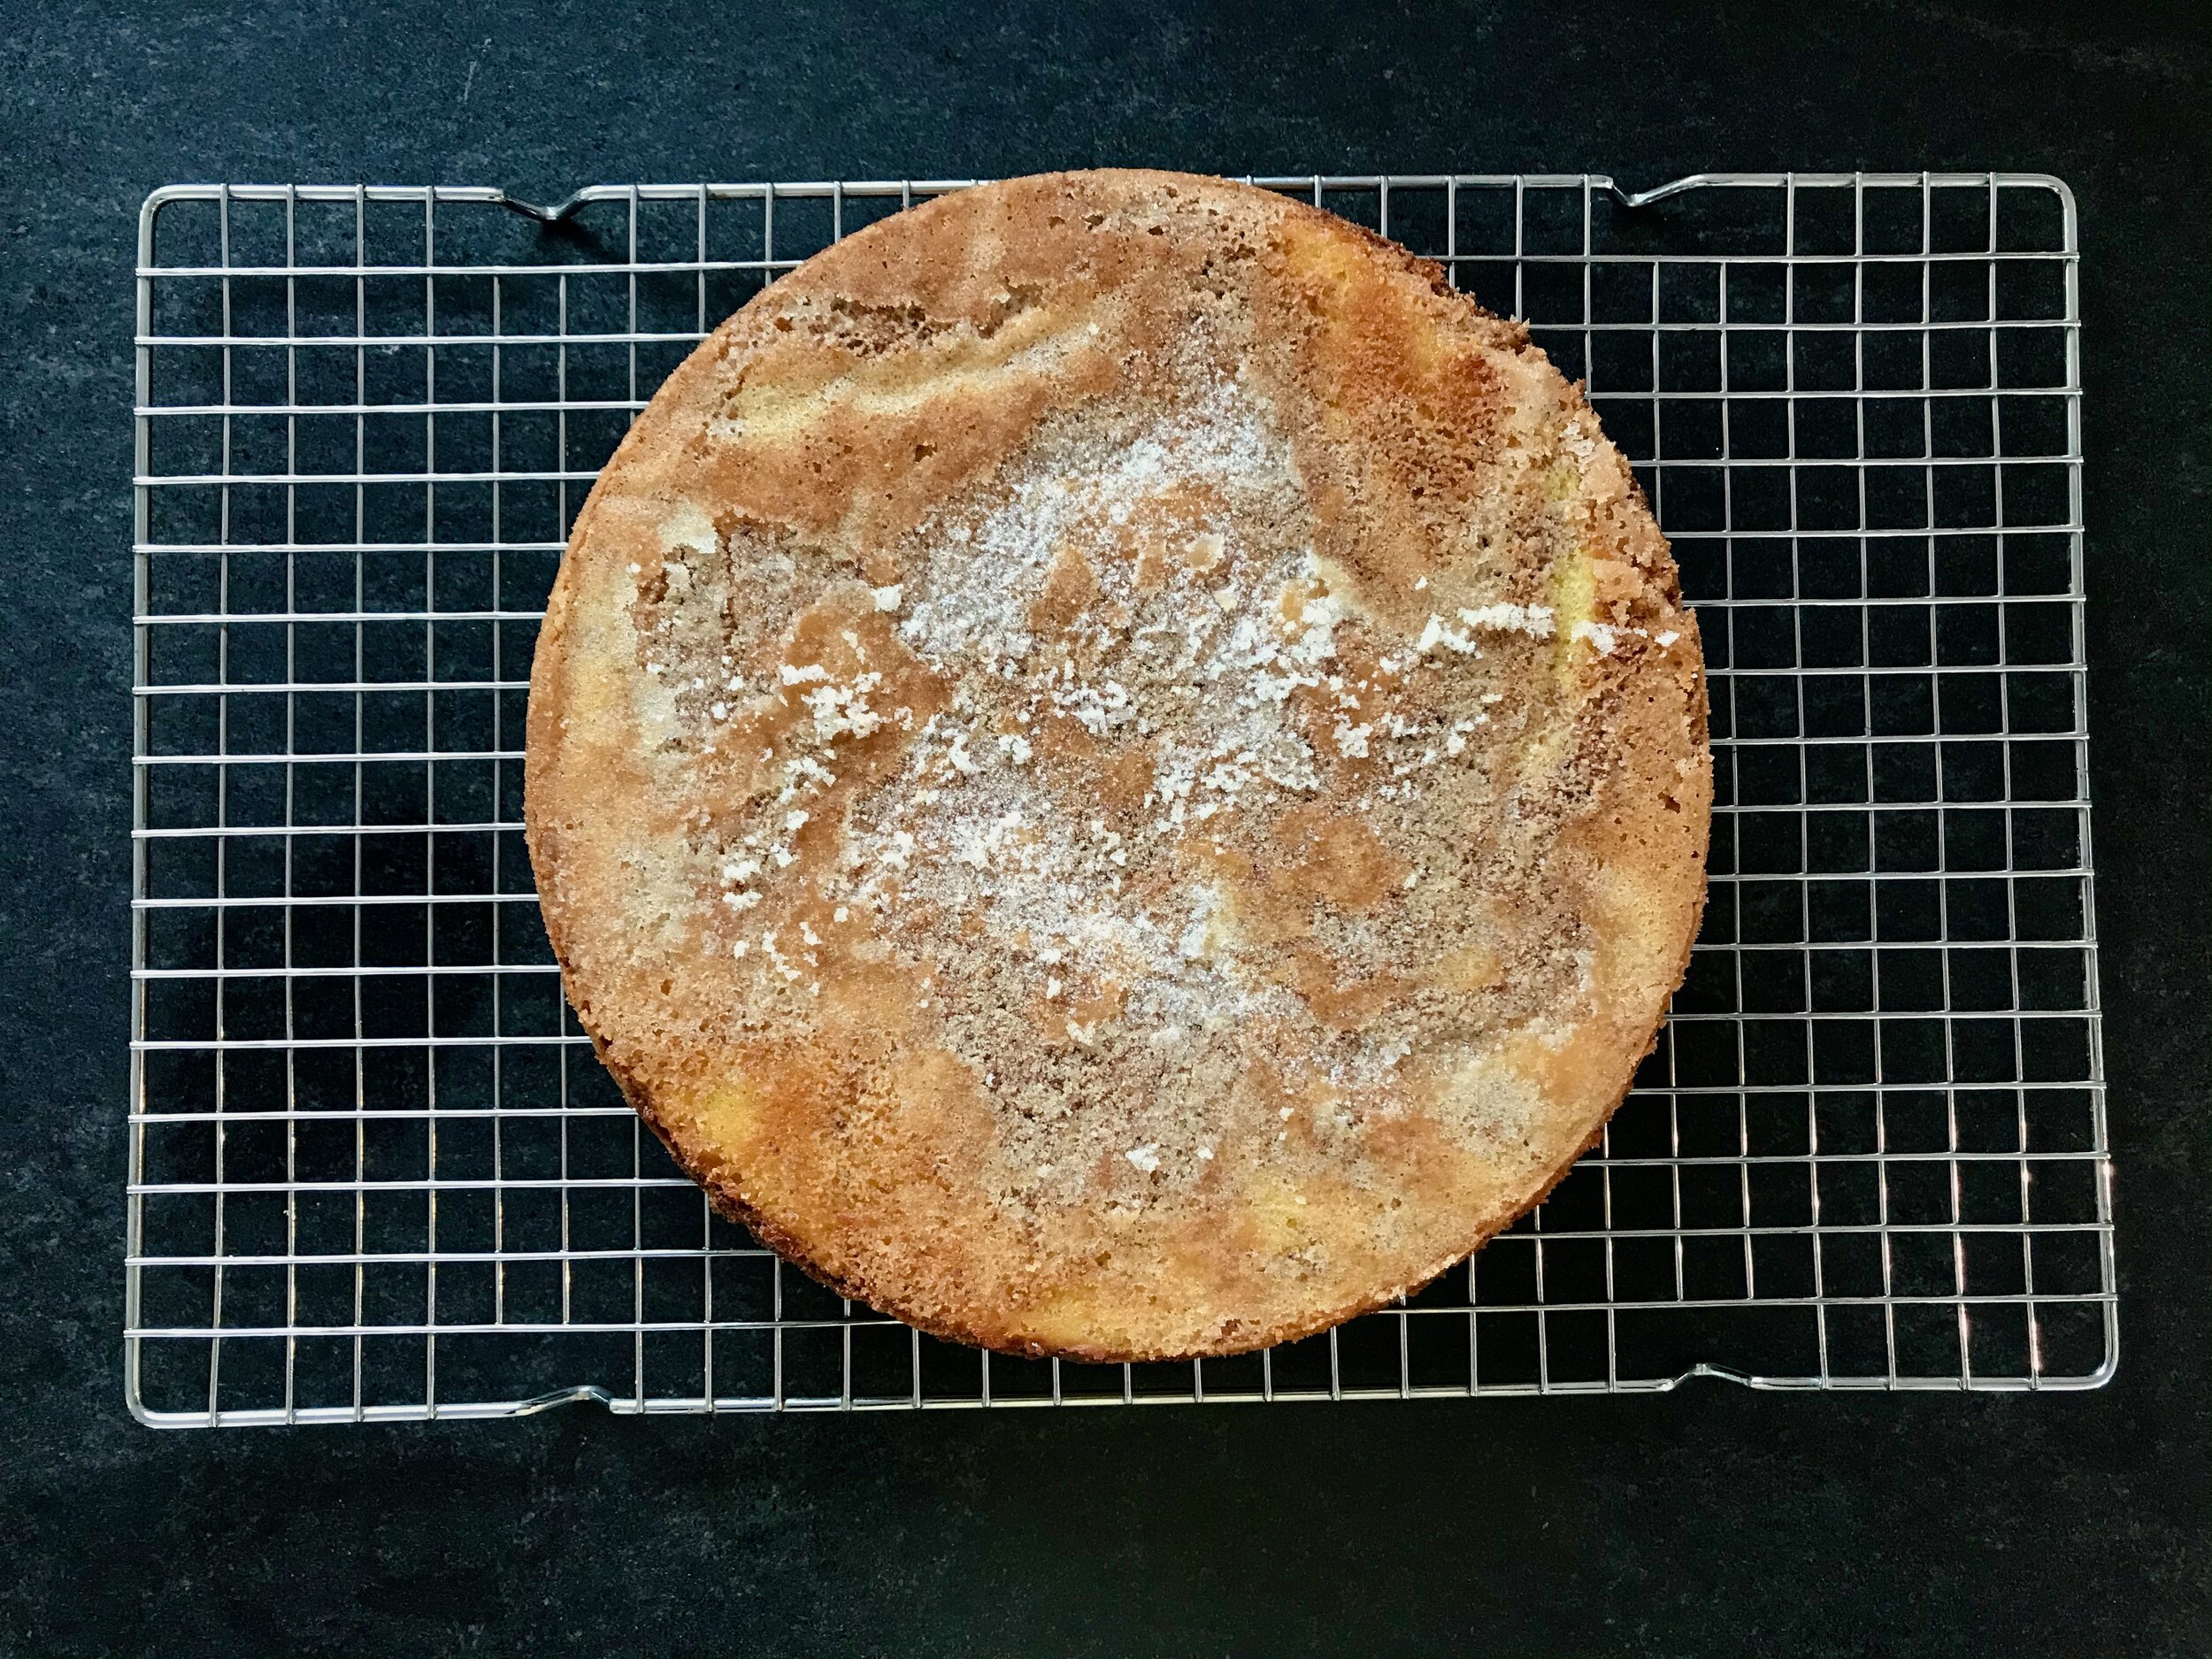
I used a 9-inch springform pan as the recipe called for. The instant I put it in the oven the butter started dripping through onto the bottom of the oven. Ended up smelling nice and toasty, but a bit smoky and messy. So although I can’t say it would work well, next time I would probably just use a 9-inch cake pan lined with parchment (I would probably not skip the parchment if going this route. I wouldn’t skip it in the springform pan either to be honest) and see how it goes. The final cake did not stick to the sides of the pan too badly so I think a cake pan would work just fine.

IMG_2105.jpeg

My notes: I substituted 1/4 tsp ground cardamom + 1/8 tsp cinnamon for the cardamom seeds. Measured out the salt and used 1/4 tsp (wasn’t too salty). Added 1/4 tsp almond extract in with the butter because I love almond flavor. I use approximately 2.5 Tbs sugar for the pan. You could certainly do a little more or a little less. I would lean on the heavy side myself… I also used about 3-4 Tbs ground almonds in addition to the sugar to line the pan. I’m not sure how much of a difference this made, since I didn’t have anything to compare it to. Since the almond flour is so fine it may have just melted into the batter, but who knows. Without the almond flour it may have been a little less crunchy. I certainly would like to try sliced almonds next time (for texture, flavor, and for the look) but I didn’t have any. You certainly could just skip them altogether.

This cake has plenty of fat and sugar so it will last on the counter for several days without any issues! Enjoy!


Cardamom Cake
From Food52
Ingredients

  • 1 1/3 cups (264 grams) granulated sugar, plus more for the pan

  • 3/4 cup (65 grams) sliced unblanched almonds, for topping (optional)

  • 4 large eggs

  • 1 1/3 sticks (150 grams) unsalted butter

  • 1 tablespoon (9 grams) cardamom seeds [I didn’t have any so I used 1/4 tsp ground cardamom + 1/8 tsp cinnamon instead]

  • 1 1/3 cups (160 grams) all-purpose flour

  • 2 pinches salt [I used 1/4 tsp and it definitely wasn’t too salty]

  • [I also added in 1/4 tsp almond extract which wasn’t in the original recipe. I thought this was a lovely addition for those who really want some more almond flavor. So really nice, but not necessary.]

Directions
Heat the oven to 350°F. Prepare a 9-inch springform pan: Use parchment paper to line the bottom of the pan. Then butter the pan liberally and sprinkle in 2 to 3 tablespoons of sugar, and shake and tap the pan until the bottom and sides are coated with sugar. Don’t worry about extra sugar on the bottom. Cover the bottom with sliced almonds if you want a particularly crunchy topping—or, as an alternative you can also use ground almonds or bread crumbs. [I didn’t have sliced almonds so I used some almond flour. The almond flour may have been too fine to add a lot to the crunchy topping. I’d love to try sliced almonds next time.]

Using a stand mixer, cream the eggs and sugar until thick and pale and tripled in volume, about 5 minutes. Meanwhile, melt the butter. Bruise the cardamom seeds in a mortar. With a rubber spatula, quickly fold the flour and salt into the egg and sugar mixture, followed by the butter and the cardamom. Give the batter a thorough stir before tipping it into the prepared pan. Thump the pan on the counter to settle the batter.

Bake the cake until the top feels dry to the touch and springs back when lightly pressed, and a skewer or knife inserted into the center comes out dry, 30 to 35 minutes [Mine took exactly 35 minutes and was perfectly cooked.]. Remove from the oven and leave in the pan for about 5 minutes. Run a knife around the sides of the pan before inverting the cake onto a rack to cool. Remove the bottom of the pan carefully while the cake is still very warm. Let cool before serving.

Small Batch Blueberry Muffins

It has been a long several months since I’ve baked myself a Sunday morning breakfast. It’s one of my favorite things to do so I am so glad to be able to do it again! Last week I saw a yummy looking small-batch muffin recipe pop up on Instagram that looked like the perfect thing to try in the new kitchen. The original recipe is for blueberry muffins. I didn’t have fresh blueberries, and while the author of the recipe doesn’t recommend substituting, I did anyways with great success! I looked through the pantry and settled on dried cherries with white chocolate chunks and thought it was delicious. I am excited for blueberry season though. I’m going to find the best blueberries I can and make this recipe again with them. Can’t wait!

IMG_2077 2.jpeg

The original blog post on Hummingbird high has TONS of tips, tricks and recommendations regarding these muffins. If you want to get into the nitty gritty then follow the link to her blog. I’m not going to recap it here.

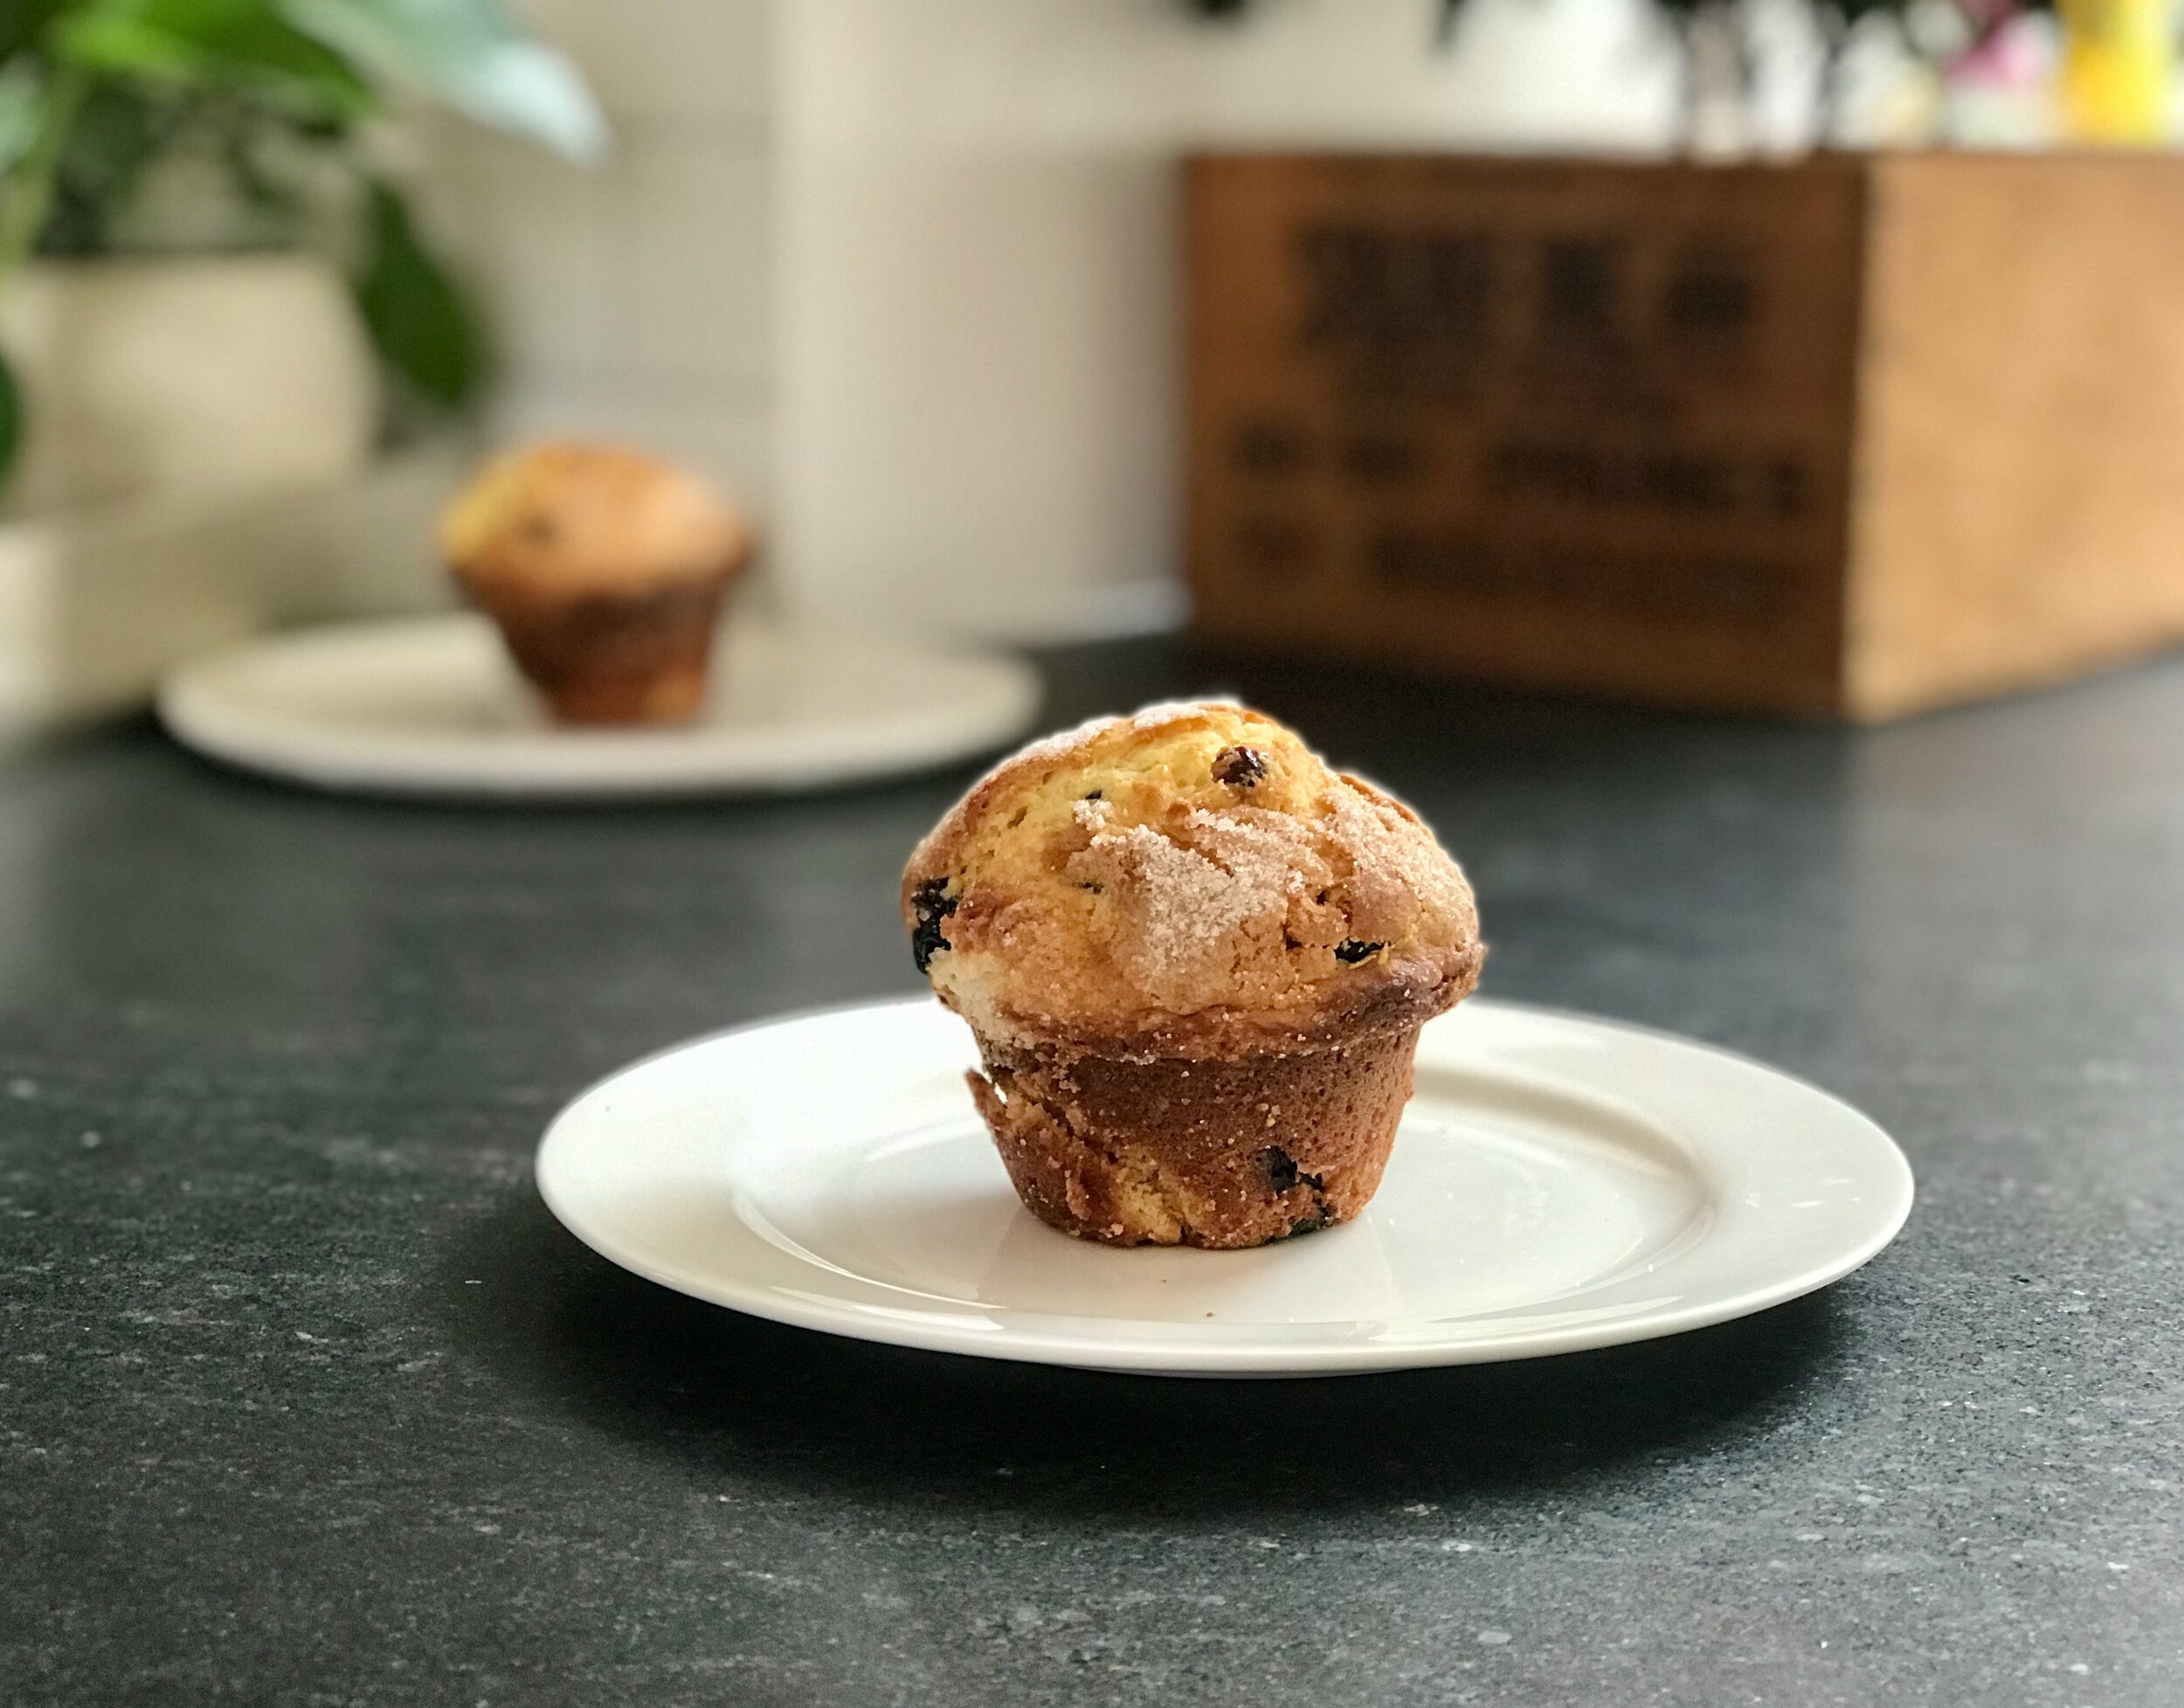
These muffins baked up so beautifully! I love a huge, bakery style muffin, and this is it. I like the small batch aspect as that works better for my life. Hummingbird high also has this recipe in a non-small batch form if interested. In the full batch version she does call for a small amount of almond flour (1/2 cup total, with 2 cups all purpose flour). She doesn’t call for that in this small-batch recipe, but states that you can replace 1/4 cup of the all purpose flour with almond flour which would be a nice alternative. I may do this the next time I make these muffins.

IMG_2056.jpeg

I did use a different type of muffin tin that I’ve had for quite a while. It makes slightly larger muffins than usual, and it has a special well for a perfect muffin top. It worked great, although the muffin tops did stick a bit as the muffins cooled. I had to be very, very careful getting them out of the pan (and did have on casualty… see the photo). So make sure to oil/grease/butter your pans super well. And although the recipe developer specifically states that you shouldn’t line the muffin tins with liners, I probably will next time just so I don’t have to worry about sticking as much. The sugar you sprinkle on top of the batter makes everything even stickier than normal. You will still need to worry about the muffin tops sticking to the top of the pan however, so make sure to great the top of the muffin tins as well.

The author recommends making 4 muffins with this recipe, but I wanted HUGE, bakery style muffins so I only made 3 and they turned out great. I had to bake them just a few extra minutes. So although I haven’t tried them all, you can likely make 3, or 4, or even 6 (I actually saw someone make 6 on the Instagram post which initially inspired me) without any problem. Just adjust the baking time accordingly.

IMG_2083 2.jpeg

The final muffins are super tender and buttery. The interior is divine. The edges are all crispy and sugary thanks to the sprinkling of sugar on top. It is an amazing combination of contrasts and is absolutely delicious! I thought these were some of the best muffins I have ever made and and happy to have them in my repertoire for the future.

Highly recommended!


Small Batch Blueberry Muffins
From Hummingbird High
Ingredients

  • 1 ¼ cups (5.65 ounces or 160 grams) all-purpose flour

  • 1 teaspoon baking powder

  • ¼ teaspoon kosher salt

  • ¼ cup (2 ounces or 57 grams) whole milk, at room temperature

  • ¼ teaspoon pure vanilla extract

  • ½ cup (3.5 ounces or 99 grams) granulated sugar

  • 4 Tablespoons (2 ounces or 57 grams) unsalted butter, at room temperature

  • 1 large egg, at room temperature

  • 1 ¼ cups (6.5 ounces or 184 grams) fresh blueberries, at room temperature

  • 4 teaspoons granulated white sugar, for topping

Directions
Make the muffin batter
: In a medium bowl, whisk together the flour, baking powder, and salt. In a small liquid measuring cup, whisk together the milk and the vanilla.

In the bowl of a stand mixer fitted with the paddle attachment, combine the sugar and butter. Beat on medium-high until light, fluffy, and doubled in volume, 2 to 3 minutes, using a rubber spatula to scrape down the bottom and sides of the bowl as necessary. Reduce the mixer to low and add the egg.

With the mixer still on low, add the the dry ingredients in three equal parts, alternating with the wet ingredients in two parts. Beat until just combined, then scrape down the bottom and sides of the bowl once more, then beat on low for an additional 30 seconds. Take half of the blueberries and crush them with your hands so they are juicy; add to the batter and increase the mixer speed to high for 5 to 10 seconds to encourage the berries to release their juices even more. Immediately reduce the mixer to low and add the rest of the berries, mixing until incorporated evenly throughout the batter, another 30 seconds.

Rest the muffin batter: Cover the bowl with plastic wrap and let the batter rest at room temperature for 1 hour.

Prep your oven and pans: While the batter rests, position a rack in the center of the oven and preheat the oven to 400°F using the convect setting (if possible). Prepare a muffin tin by spraying the inside and border of every other cavity in the muffin tin, a total of 4 cavities, generously with cooking spray. If you’re using a standard muffin tin, position the pan so that its short side faces you and prep the center cavity of the top row, the outer two cavities of the second row, and the center cavity of the third row. [note, I wanted even BIGGER muffins, so I actually only prepped 3 cavities for a total of 3 muffins]

Use a 1-tablespoon or 3-tablespoon cookie dough scoop to fill each sprayed cavity with 6 tablespoons of the batter. Sprinkle the top of each cavity, aiming for the batter and avoiding the pan, with 1 teaspoon of granulated sugar each. Pour warm water into the outer cavities of the muffin tin’s final row, filling them at least ⅔ of the way up.

Bake the muffins. Bake for 22 to 24 minutes [since I made 3 muffins, instead of the 4 called for in the recipe, I had to bake mine a little longer. I can’t remember exactly how long, but somewhere in the 26-28 minute range. So if you make bigger muffins like I did, start checking around the 22-24 minute mark, and keep adding an additional 1-2 minutes at a time until they are done], or until the muffins are domed and golden brown around the edges. A skewer inserted into the center of a muffin should come out with a few moist crumbs attached. Cool the muffins in their muffin tin on a wire rack for 15 minutes, then use an offset spatula to run underneath the edges of the blueberry muffin tops to prevent them from sticking in the pan. Be careful to just run the offset spatula under the edges—you don't want to accidentally cut into the muffin bottom and decapitate the muffin from its top!

After unsticking the muffin tops, keep cooling the muffins in the tins completely to room temperature. DO NOT TRY AND TURN THE MUFFINS OUT WHILE THEY ARE STILL WARM. Because these muffins are so top-heavy, you’ll run the risk of accidentally pulling the tops and bottoms apart if the cake is still warm! Wait until they are cooled completely before turning them out of the pan. Run the offset spatula underneath each muffin top once more and gently tilt the muffin upwards to turn it out of the pan, lifting each one from its base.

Serve and store. Serve warm, or at room temperature. The muffins are best on the day that they’re made,

Vanilla Sheet Cake

A co-worker at work asked if I could make a farewell cake for another one of our co-workers. I was honored to be ale to do this. I can’t remember the last time I’ve made a sheet cake, and honestly don’t know if I’ve ever made one from scratch! I like making layer cakes, but for this occasion a sheet cake was the perfect choice!

I found a good looking recipe on Sally’s Baking Addiction. I trust her recipes quite a lot so I figured it was a good choice. I liked that the recipe uses the reverse creaming method (I’ve had good success with this in the past) and included sour cream which is always nice in a cake. It was a pretty basic recipe I through together while the HVAC guys were at my house. Such a joy.

IMG_1982.jpeg

The frosting is a pretty standard buttercream. I always like adding a little cream to my American buttercream which is also what this recipe calls for so that was nice. It came together without issue and was easy to use to decorate.

I have never actually decorated a sheet cake so this was my first go at it. I was aiming for some pale spring colors with the frosting but apparently added way too much food coloring (it was only a few drops! That stuff is potent!) so it ended up being very bright. Not quite the look I was going for, but that is ok.

All I got!

All I got!

For the piping, I really didn’t know where to start and so just went for it without a plan. I think it turned out okay. I would probably add more rosettes and stars next time, but I didn’t want to go overboard and guild the lily. I was afraid I would add too much and not be able to go back so I just stopped at the point you see in the pictures. The added dragees really helped finish off the decorating. It definitely did not look at all finished utnil I added those so I recommend the combo of frosting and sprinkles/dragess for decorating if you’re like me and don’t know how to finish off the decorating with frosting.

Final Verdict: I would for sure make this recipe again if looking for a simple vanilla/butter cake for a crowd. A good one to keep in the recipe box!

Baked up well. I started checking at 28 minutes and definitely wasn’t done yet. I believe it ended up going 34 minutes total, I kept checking every 2 minutes until done.


Vanilla Sheet Cake with American Buttercream
From Sally’s Baking Addiction
Ingredients

  • 3 cups (354g) cake flour (spoon & leveled)

    • You can “make” your own cake flour if you don’t have any on hand. I rarely do. For this recipe, whisk together 327 grams all purpose flour with 48 grams of corn starch and use that in place of the 354 grams cake flour that is listed above

  • 1 and 1/2 cups (300g) granulated sugar

  • 1 teaspoon baking powder

  • 1/2 teaspoon baking soda

  • 1/2 teaspoon salt

  • 1 cup (2 sticks; 230g) unsalted butter, cubed and softened to room temperature

  • 1 Tablespoon pure vanilla extract

  • 1 cup (240ml) whole milk, at room temperature and divided

  • 1/3 cup (80g) sour cream, at room temperature

  • 3 large eggs, at room temperature

Whipped Vanilla Buttercream

  • 1 cup (230g) unsalted butter, softened to room temperature

  • 4 and 1/2 cups (540g) confectioners’ sugar

  • 1/3 cup (80ml) heavy cream

  • 2 teaspoons pure vanilla extract

  • salt, to taste

  • optional: sprinkles for garnish

Instructions
Make the cake: Preheat the oven to 350°F (177°C). Generously grease a 9×13 inch cake pan.

Sift the cake flour, sugar, baking powder, baking soda, and salt in the bowl of a stand mixer. (Or if using a handheld mixer, any large mixing bowl.) With the paddle attachment, beat the ingredients together on low speed for a few seconds to gently combine. Add the butter, vanilla, and 1/2 cup of milk. Mix on medium speed until the dry ingredients are moistened, about 1 minute. Stop the mixer and scrape down the sides and up the bottom of the bowl. The mixture will resemble a thick dough.

Whisk the remaining milk, the sour cream, and eggs together in a medium bowl. With the mixer running on medium speed, add the egg mixture in 3 additions, mixing for about 15 seconds after each addition. Stop the mixer and scrape down the sides and up the bottom of the bowl, then mix for about 15 more seconds until batter is completely combined. Avoid over-mixing. Some small lumps are OK.

Pour and spread batter evenly into prepared pan. Bake for around 32-35 minutes or until the cake is baked through. Begin checking doneness at 28 minutes. To test for doneness, insert a toothpick into the center of the cake. If it comes out clean, it’s done. Allow cake to cool completely in the pan set on a wire rack. The cake must be completely cool before frosting.

Make the buttercream: With a handheld or stand mixer fitted with a paddle attachment, beat the butter on medium speed until creamy, about 2 minutes. Add confectioners’ sugar, heavy cream, and vanilla extract. Beat on low speed for 30 seconds, then increase to medium-high speed and beat for 4 full minutes. Add up to 1/4 cup more confectioners’ sugar if frosting is too thin or another Tablespoon of cream if frosting is too thick. Add a pinch of salt if frosting is too sweet. (I add 1/8 teaspoon salt.) Frosting should be extra fluffy.

Spread frosting in a thick layer on cooled cake. I use and recommend an offset spatula. If desired, use a piping tip to pipe some frosting and/or garnish with sprinkles. Slice and serve.

Cover leftover cake tightly and store in the refrigerator for up to 5 days.


My Notes: Baked up well. I started checking at 28 minutes and definitely wasn’t done yet. I believe it ended up going 34 minutes total, I kept checking every 2 minutes until done. End result was good. Baked through and moist. No raw parts or dry pieces.

Dark Chocolate and Walnut Tahini Banana Bread

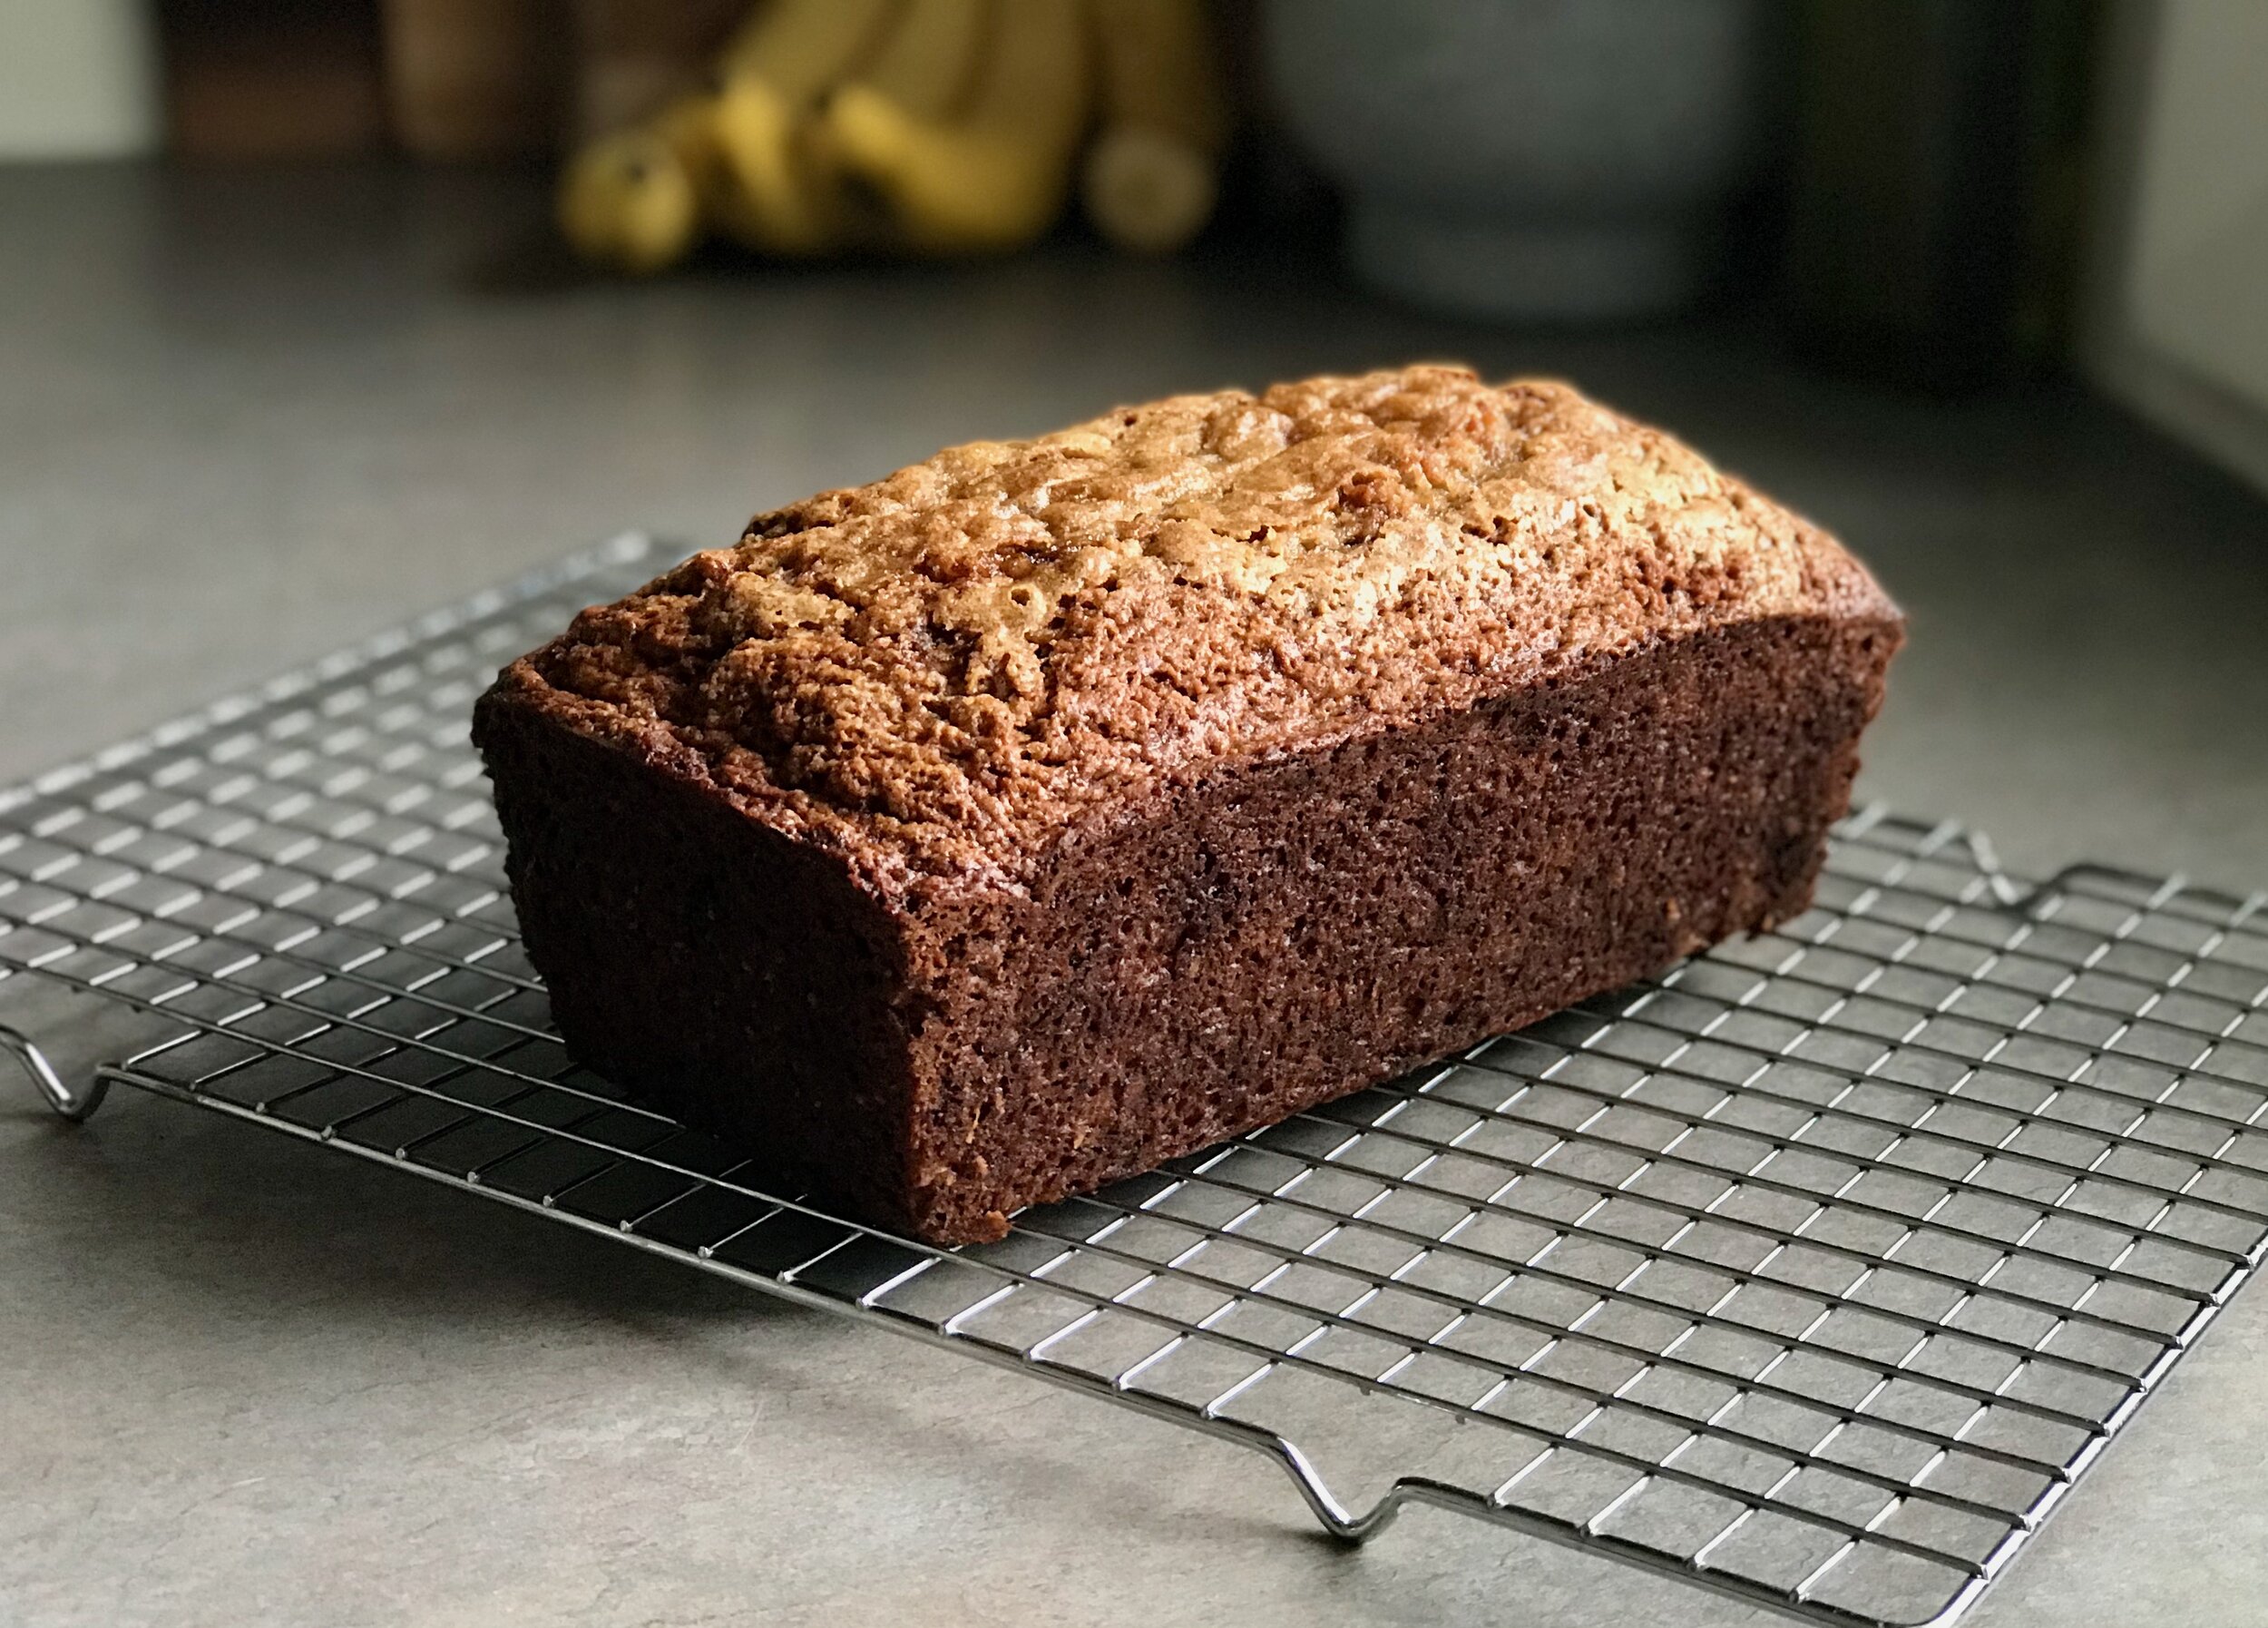
It’s quite fitting that one of the first things I made in my functioning kitchen was a loaf of banana bread, since it was the last thing I made in the old kitchen! The photos I saw of this recipe looked so yummy - a little gooey with big chunks of dark chocolate! I love baking with butter, but a good-old oil based banana bread is classic, and good to have a go-to version which I did not. This may be it! It uses vegetable oil, but also adds a little tahini for more fat which I love. The flavor of the tahini is super strong. The recipe did call for adding 1/2 teaspoon of sesame oil as well which would be lovely and I’m sure would bring out the tahini/sesame flavor. I did’t have any though so I just skipped it. Next time!

IMG_1935.jpeg

Brown sugar, buttermilk, a couple of eggs, round out the main ingredients. She calls for dark chocolate as the mix in. I used a combo of dark chocolate and walnuts which I think was great, but I would probably add a bit more chocolate next time. I used about 1/2 of the amount called for, and substituted the other 1/2 with the walnuts. I think next time I will leave the amount of walnuts the same, but amp up the chocolate.

IMG_1932 2.jpeg

Mine baked a little longer (I think!) than the recipe said, and it was fairly well cooked other than the very center of the top which was still a bit gooey. I like that part the best so I’m always okay with that in banana bread! The rest was well cooked but not dry which is nice. I think my pan was a bit smaller than what the original recipe calls for so that may be why.

Final verdict: Recommended!


Dark Chocolate and Walnut Tahini Banana Bread
From Butter and Brioche
Ingredients

  • 2 cups (240 grams) all-purpose flour

  • 1 ¼ teaspoons baking powder

  • ¾ teaspoon baking soda

  • ½ teaspoon salt

  • 350 grams ripe bananas

  • 1 cup (200 grams) brown sugar - I used 150 grams, 3/4 cup

  • 100 ml neutral vegetable oil

  • 70 g tahini

  • 1 teaspoon vanilla bean extract

  • ½ teaspoon sesame oil - I didn’t have any so I just skipped it

  • 2 large eggs, at room temperature

  • 190 ml buttermilk, at room temperature

  • 125 g dark chocolate, roughly chopped - I used about 65 grams dark chocolate and 65 grams chopped walnuts

  • 2 tablespoons granulated sugar, for sprinkling on top

Directions
Pre-heat the oven to 350 degrees Fahrenheit. Grease and line a 9 x 5 1/2 inch loaf tin with non-stick spray and line with parchment paper. Let the paper slightly over-hang the sides.

In a medium-size mixing bowl, sift together the flour, powder, soda, and salt. Set aside until needed.

Add the bananas into the bowl of a stand mixer fitted with the beater attachment. Beat until roughly mashed, about 30 seconds. Pause mixing and add in the light brown sugar and vegetable oil. Beat, on medium speed, until light in color and well combined, 3 more minutes. Add in the tahini, vanilla bean extract and sesame oil until incorporated. Add in the eggs, one at a time, beating well after each addition. Set the mixer speed to low and slowly stream in the buttermilk. Add in the dry ingredients and mix until just incorporated, no more than 15 seconds. Some dry flour pockets should remain throughout the batter. Add in the dark chocolate chunks (and walnuts if using), then, using a large wooden spoon, gently fold them throughout the batter until evenly incorporated.

Pour the batter into the prepared loaf pan. Scatter the granulated sugar on top.

Bake for 50 minutes, or until risen, golden brown, and fragrant (I believe mine took a little long, 55-60 minutes or so, although I can’t remember for sure!). A skewer inserted into the middle should come out with a few moist crumbs attached. Remove from the oven and leave the bread to cool in its pan for 15 minutes before transferring it out and onto a wire rack to cool further before slicing and serving.

Lemon Almond Flour Cake

BIG NEWS! After over 2 months I finally got my kitchen back! It’s not done yet, there are still a lot of things to get done (paint, tile, lighting, hardware, finish some trim) but I have appliances, and a sink which means I have a FUNCTIONING kitchen again!! I can cook and bake again after weeks and weeks of long, boring nights and weekends. It’s been wonderful!

Lara and I have slowly been moving pantry items, small appliances, dishes, and pans upstairs from the (very dusty) basement. It’s so much more fun to move stuff back upstairs than it was to move it all downstairs back in January.

To celebrate this weekend we made a cake for ourselves. Just because! This recipe had come across Lara’s Instagram feed earlier in the week and we both thought it looked simple and lovely. It’s a grain free, dairy free cake. I have fun experimenting with new types of recipes, different ingredients than the typical. This recipe uses all almond flour as the base, gets richness from coconut oil, and is sweetened with maple syrup. A couple of eggs hold it all together, and it is mildly flavored with lemon juice.

IMG_1895 2.jpeg
IMG_1897.jpeg

It’s a simple recipe, very easy to throw together without any special equipment. And although the recipe tells you to mix the dry ingredients in a separate bowl, I have no doubt you can do it all in one bowl.

As I was writing this post I realized that I accidentally used baking powder instead of baking soda. Not sure how big of a difference this might have made in the final product (I would like to try it again soon and use soda instead, but we’ll see if I get to that).

Despite that little snafu, this cake turned out excellently. The almond flour has quite an assertive flavor, so the lemon was not overpowering, I would add a little more if I really wanted lemon flavor, along with a little zest. The texture was “mooshy” but not underbaked, dense but not heavy. These are all good things in my book! I like a “mooshy” cake! I find different (ie more interesting) textures a lot of fun to eat. So many people tell me they have a “texture” thing, and can’t eat anything “weird” in texture. I’m the complete opposite! I like these different textures! I would make this cake again for sure. Recommended!

IMG_1904 2.jpeg

Lemon Almond Flour Cake
From Sweet Laurel
Ingredients

  • 2 1/2 cups (260 grams) almond flour

  • 1 tsp baking soda

  • 1/2 tsp salt

  • 2 eggs

  • 1/4 cup (56 grams) coconut oil, melted, plus extra for greasing

  • 1/2 cup (156 grams) maple syrup

  • 1/4 cup (56 grams) freshly squeezed lemon juice

Directions
Preheat oven to 350°F. Prepare one 8 inch pan by greasing it with coconut oil, then lining it with a circular piece of parchment paper, cut to fit.

In a bowl, mix together the almond flour, baking soda and salt. Set aside. In a larger bowl, whisk together the eggs, coconut oil, maple syrup, lemon juice and zest. Slowly add the almond flour mixture and stir until batter is blended well.

Pour the batter into prepared pans and bake for 30-35 minutes, or until a tooth pick inserted comes out clean. Allow to cool completely.

Using a sifter, sift powdered sugar over cooled cake.

FullSizeRender 3.jpeg

Sourdough Banana Bread

IMG_1126.jpeg
IMG_1125.jpeg

Last week I made my last baked good in my old kitchen. The day I was baking it was the first day of demo for my kitchen reno! That’s right, Lara and I are renovating our kitchen/dining room! We started thinking about this in June of last year. It was something we thought about doing “someday”, but then in June we decided to just go for it. Not sure exactly why the light switch flipped, but definitely think COVID had a lot to do with it, being stuck at home all the time. It also helped so much that the federal government changed the interest rate on all federal student loans to 0%. Yes, 0%. No interest has been collecting on my loans for months and months now. That has been so nice to see.

Anyway, I knew I had only a few days left in my kitchen so I did some baking and cooking. I had quite a bit of leftover sourdough starter in the fridge that I wanted to use up. I wanted a recipe that used a lot of it, but wasn’t difficult or didn’t take too long.

I wasn’t really even searching for a recipe that morning, but this sourdough banana bread recipe just popped up on my Instagram feed. I knew it was meant to be. I was able to get it whipped together and baked before the demolition crew showed up. Used up almost all of my leftover starter which was great.

It smelled amazing, as banana bread does, while baking. I heard the demo crew immediately comment that it smelled really good! Later in the day as they were heading out, the final loaf was still sitting on the counter and they commented again, “it’s the banana bread!”. :) When I cut it later that night I just had to set aside a few pieces for the guys the next day. I heard later that they really appreciated it!

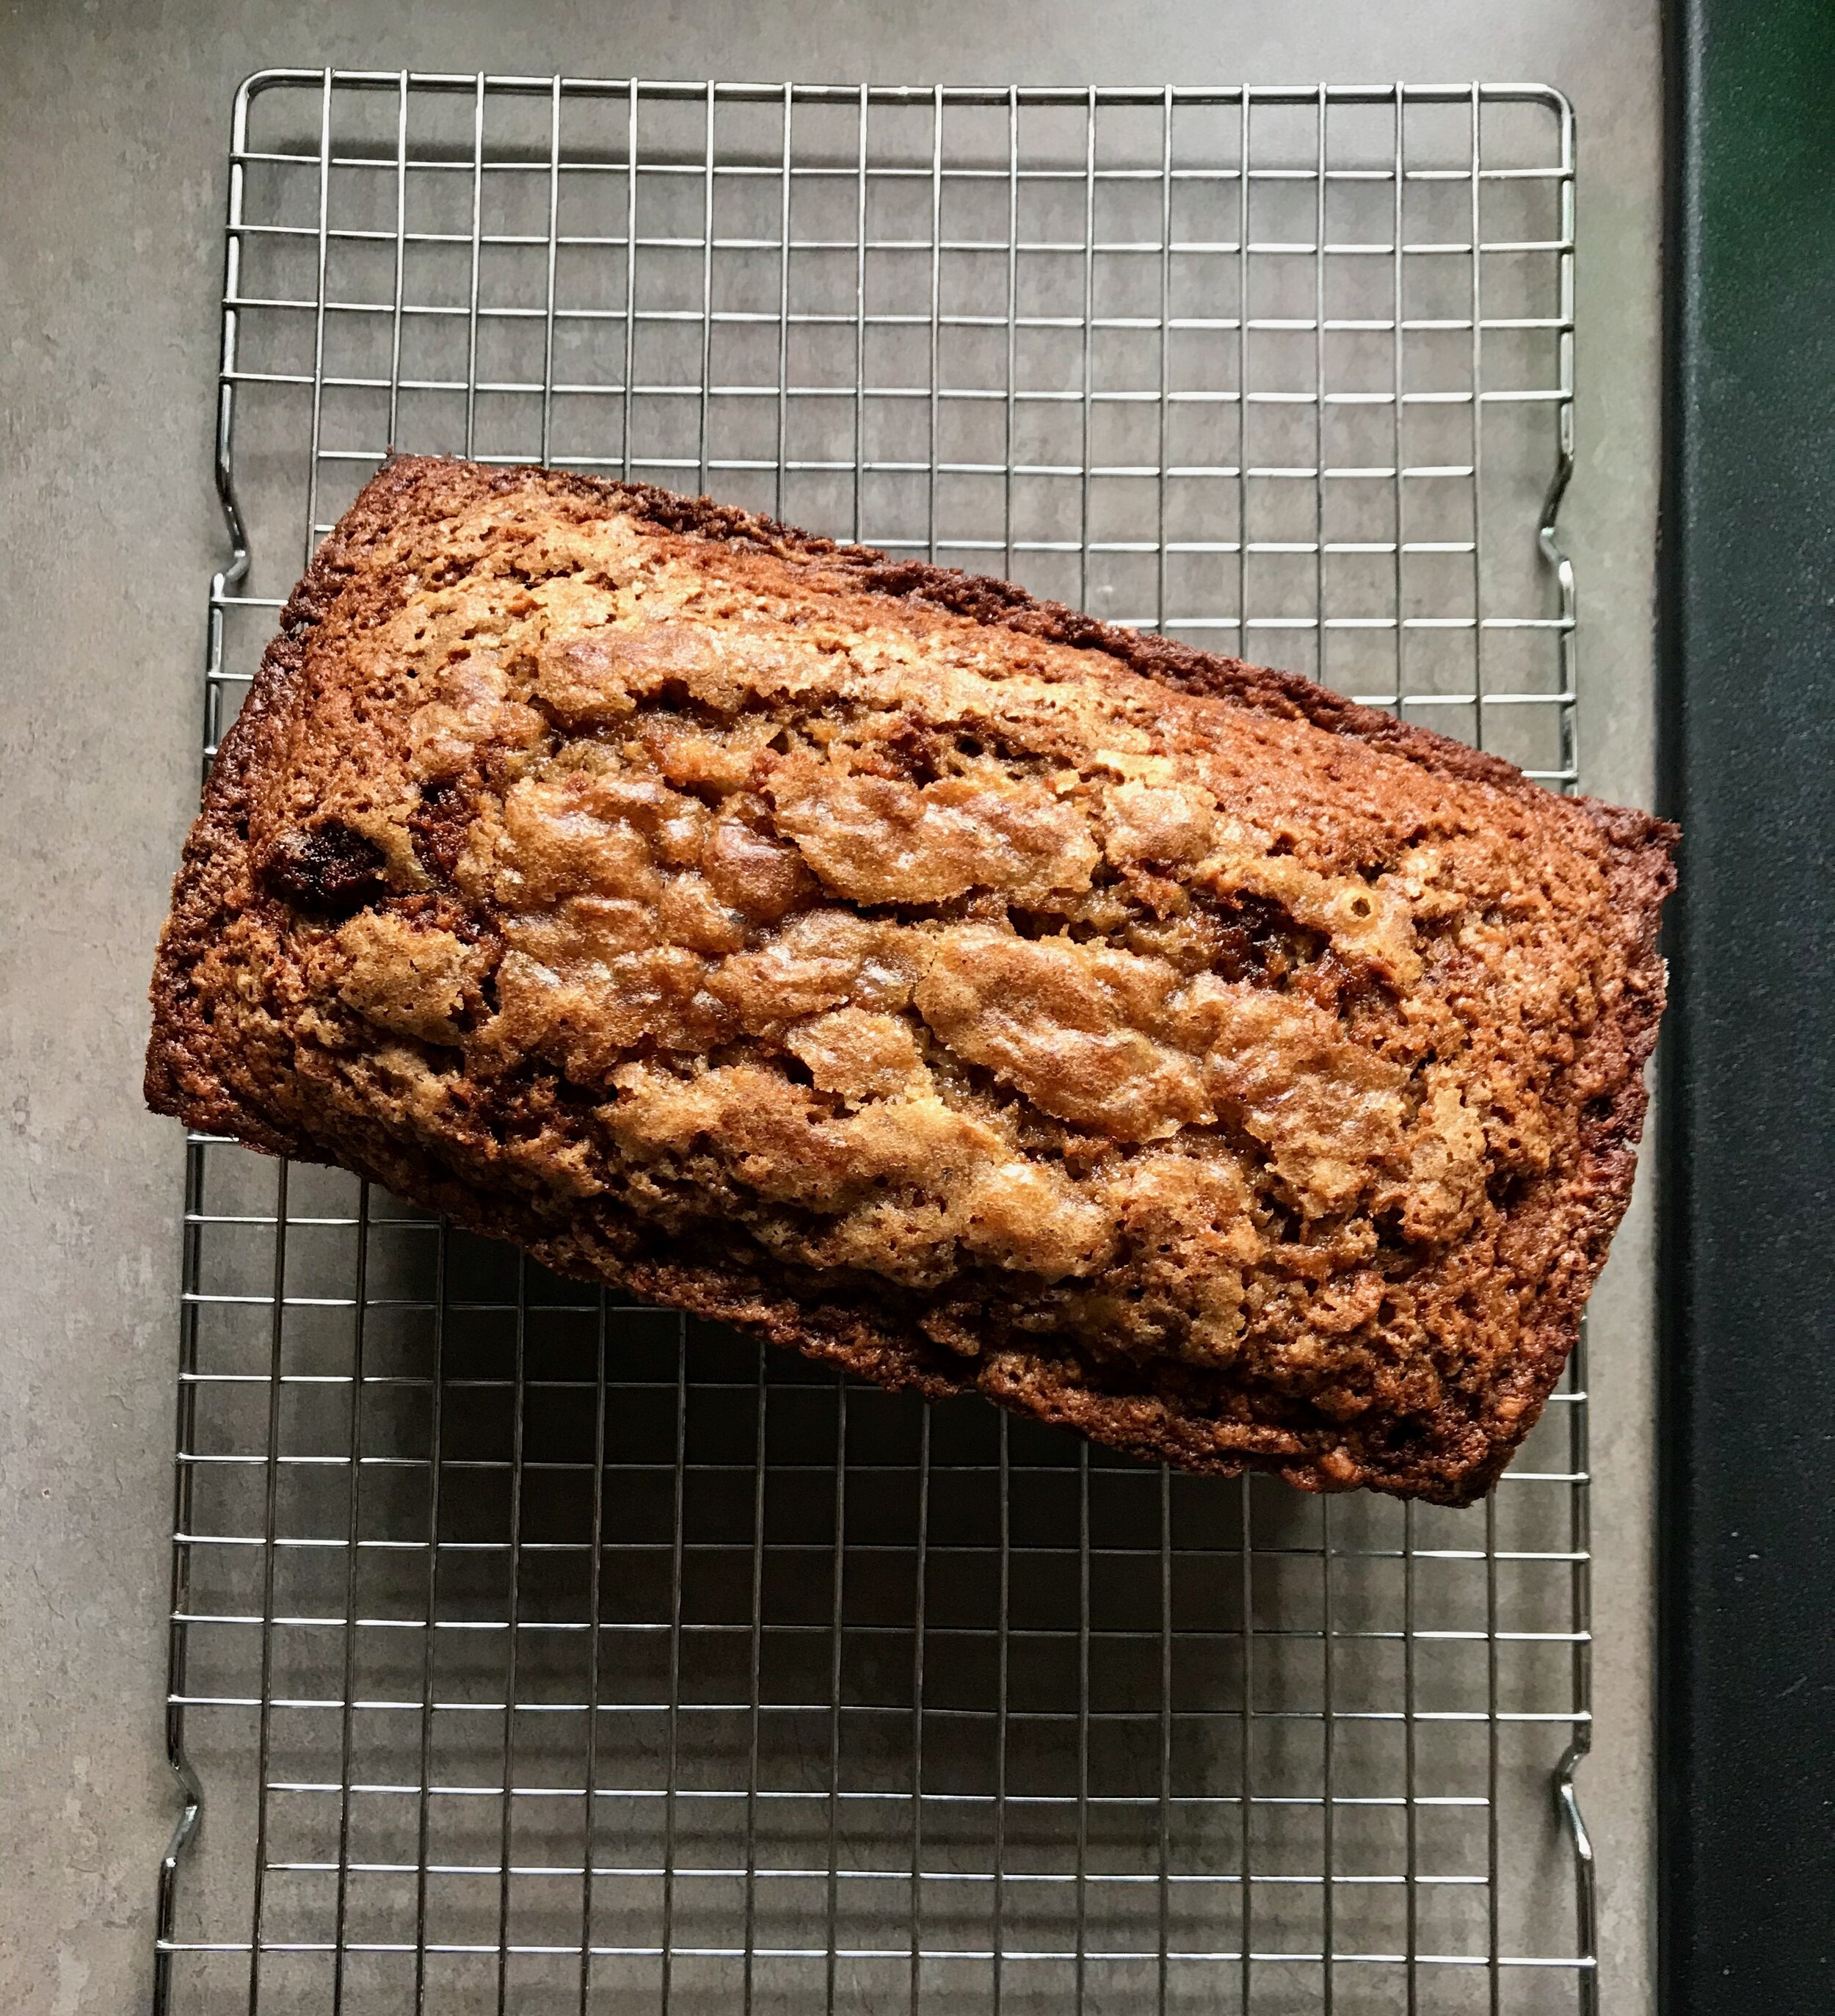
Other than having the sourdough starter, this was a pretty basic banana bread. It was quick and easy to put together and it baked up beautifully. The baking time was actually pretty accurate, it rose well, and developed a lovely rounded and crackly crust. I am a big fan. It also taste delicious. I would probably up the cinnamon and other spices next time just because I like more of them in my banana bread, as written the spices are quite subtle.

A few specifics on what I did; I used 1/2 cup (100 grams) brown sugar instead of 2/3 cup as stated in the recipe. Since there is also 1/4 cup honey I thought this would be fine, and it was. I didn’t notice any missing sugar/sweetness. I also added a few additional spices, just a pinch of allspice and cloves. But as stated above I would probably add more spices next time, if nothing else I would increase the cinnamon. I used about 3 + 1/3 medium/average sized bananas to get to 397 grams required in the recipe. I also added a little whole wheat flour, using a little under a cup of home ground white winter wheat that I ground before the kitchen was gone and am storing in the freezer. I also added in walnuts, about half of what the recipe recommends, I threw in about 45-50 grams. It was a nice addition. I could definitely add more next time.

All in all this one is a keeper. I will be using this to use up sourdough starter in the future I have no doubt!


Sourdough Banana Bread
From King Arthur Baking Company
Ingredients

  • 8 tablespoons (113g) unsalted butter, at cool room temperature

  • 2/3 cup (142g) brown sugar, packed

  • 1 teaspoon vanilla extract

  • 1 teaspoon cinnamon

  • 1/4 teaspoon nutmeg

  • 1 teaspoon baking soda

  • 1 teaspoon baking powder

  • 1 teaspoon salt

  • 1 3/4 cups (397g) mashed ripe banana (from about 1 3/4 pounds unpeeled bananas) - I was too lazy to actually mash up the bananas, so I just chopped them up and through them in in chunks. They never really smoothed out in the batter, they stayed chunky, but once it was baked up it didn’t seem to matter. No chunks or weird spots in the final bread - Yay for lazy success!

  • 1/4 cup (85g) honey

  • 2 large eggs

  • 1/2 cup (113g) sourdough starter, unfed/discard

  • 2 cups (240g) Unbleached All-Purpose Flour - I used some whole wheat, a little under a cup

  • 3/4 cup (85g) chopped nuts, optional

Directions
Preheat the oven to 325°F. Lightly grease a 9" x 5" loaf pan, set aside.

In a large bowl, combine the butter, sugar, vanilla, cinnamon, nutmeg, baking soda, baking powder, and salt, beating until smooth. Add the mashed bananas, honey, eggs, and sourdough starter, again beating until smooth. Add the flour then the nuts, stirring just until smooth.

Transfer the batter to the prepared loaf pan, smoothing the top. Let it rest at room temperature for 10 minutes.

Bake the bread for 45 minutes, then gently lay a piece of aluminum foil across the top to prevent over-browning.

Bake for an additional 20-25 minutes. Remove the bread from the oven; a long toothpick or thin paring knife inserted into the center should come out clean, with a few wet crumbs clinging to it.

Allow the bread to cool for 10 minutes in the pan. Remove it from the pan and cool completely on a rack.

50% Whole Wheat Sourdough (with flax and sunflower seed)

IMG_9899.jpeg

Back in October I felt like I was in a rut with my sourdough bread. I had been working on trying to improve a basic sourdough bread recipe, making the same bread every 1-2 weeks for months. My bread would turn out good, but my goal was to achieve a beautiful “open crumb”, instagram style. Week after week I would be some level of disappointed (just in the crumb, never with the flavor! A tighter crumb is still delicious!). I finally decided to just try something different. Instead of doing the same thing over and over again I decided to switch it up and try a different recipe.

I’m a fan of whole wheat bread, the higher the percentage of whole grains the better, but they can be tricky for sure. I admire my local bakery’s 100% whole wheat breads. I’m not sure I’ll ever get to that point, but I decided to go for a 50/50 loaf, 50% whole grains, 50% refined grains.

IMG_9909.jpeg

I used The Perfect Loaf’s Fifty Fifty Whole Wheat Sourdough Bread recipe as my base recipe, but tweaked the technique a little, using Fullproof Baking’s instructions for her Open Crumb Sourdough Bread instead (laminating the dough, coil folds, etc).

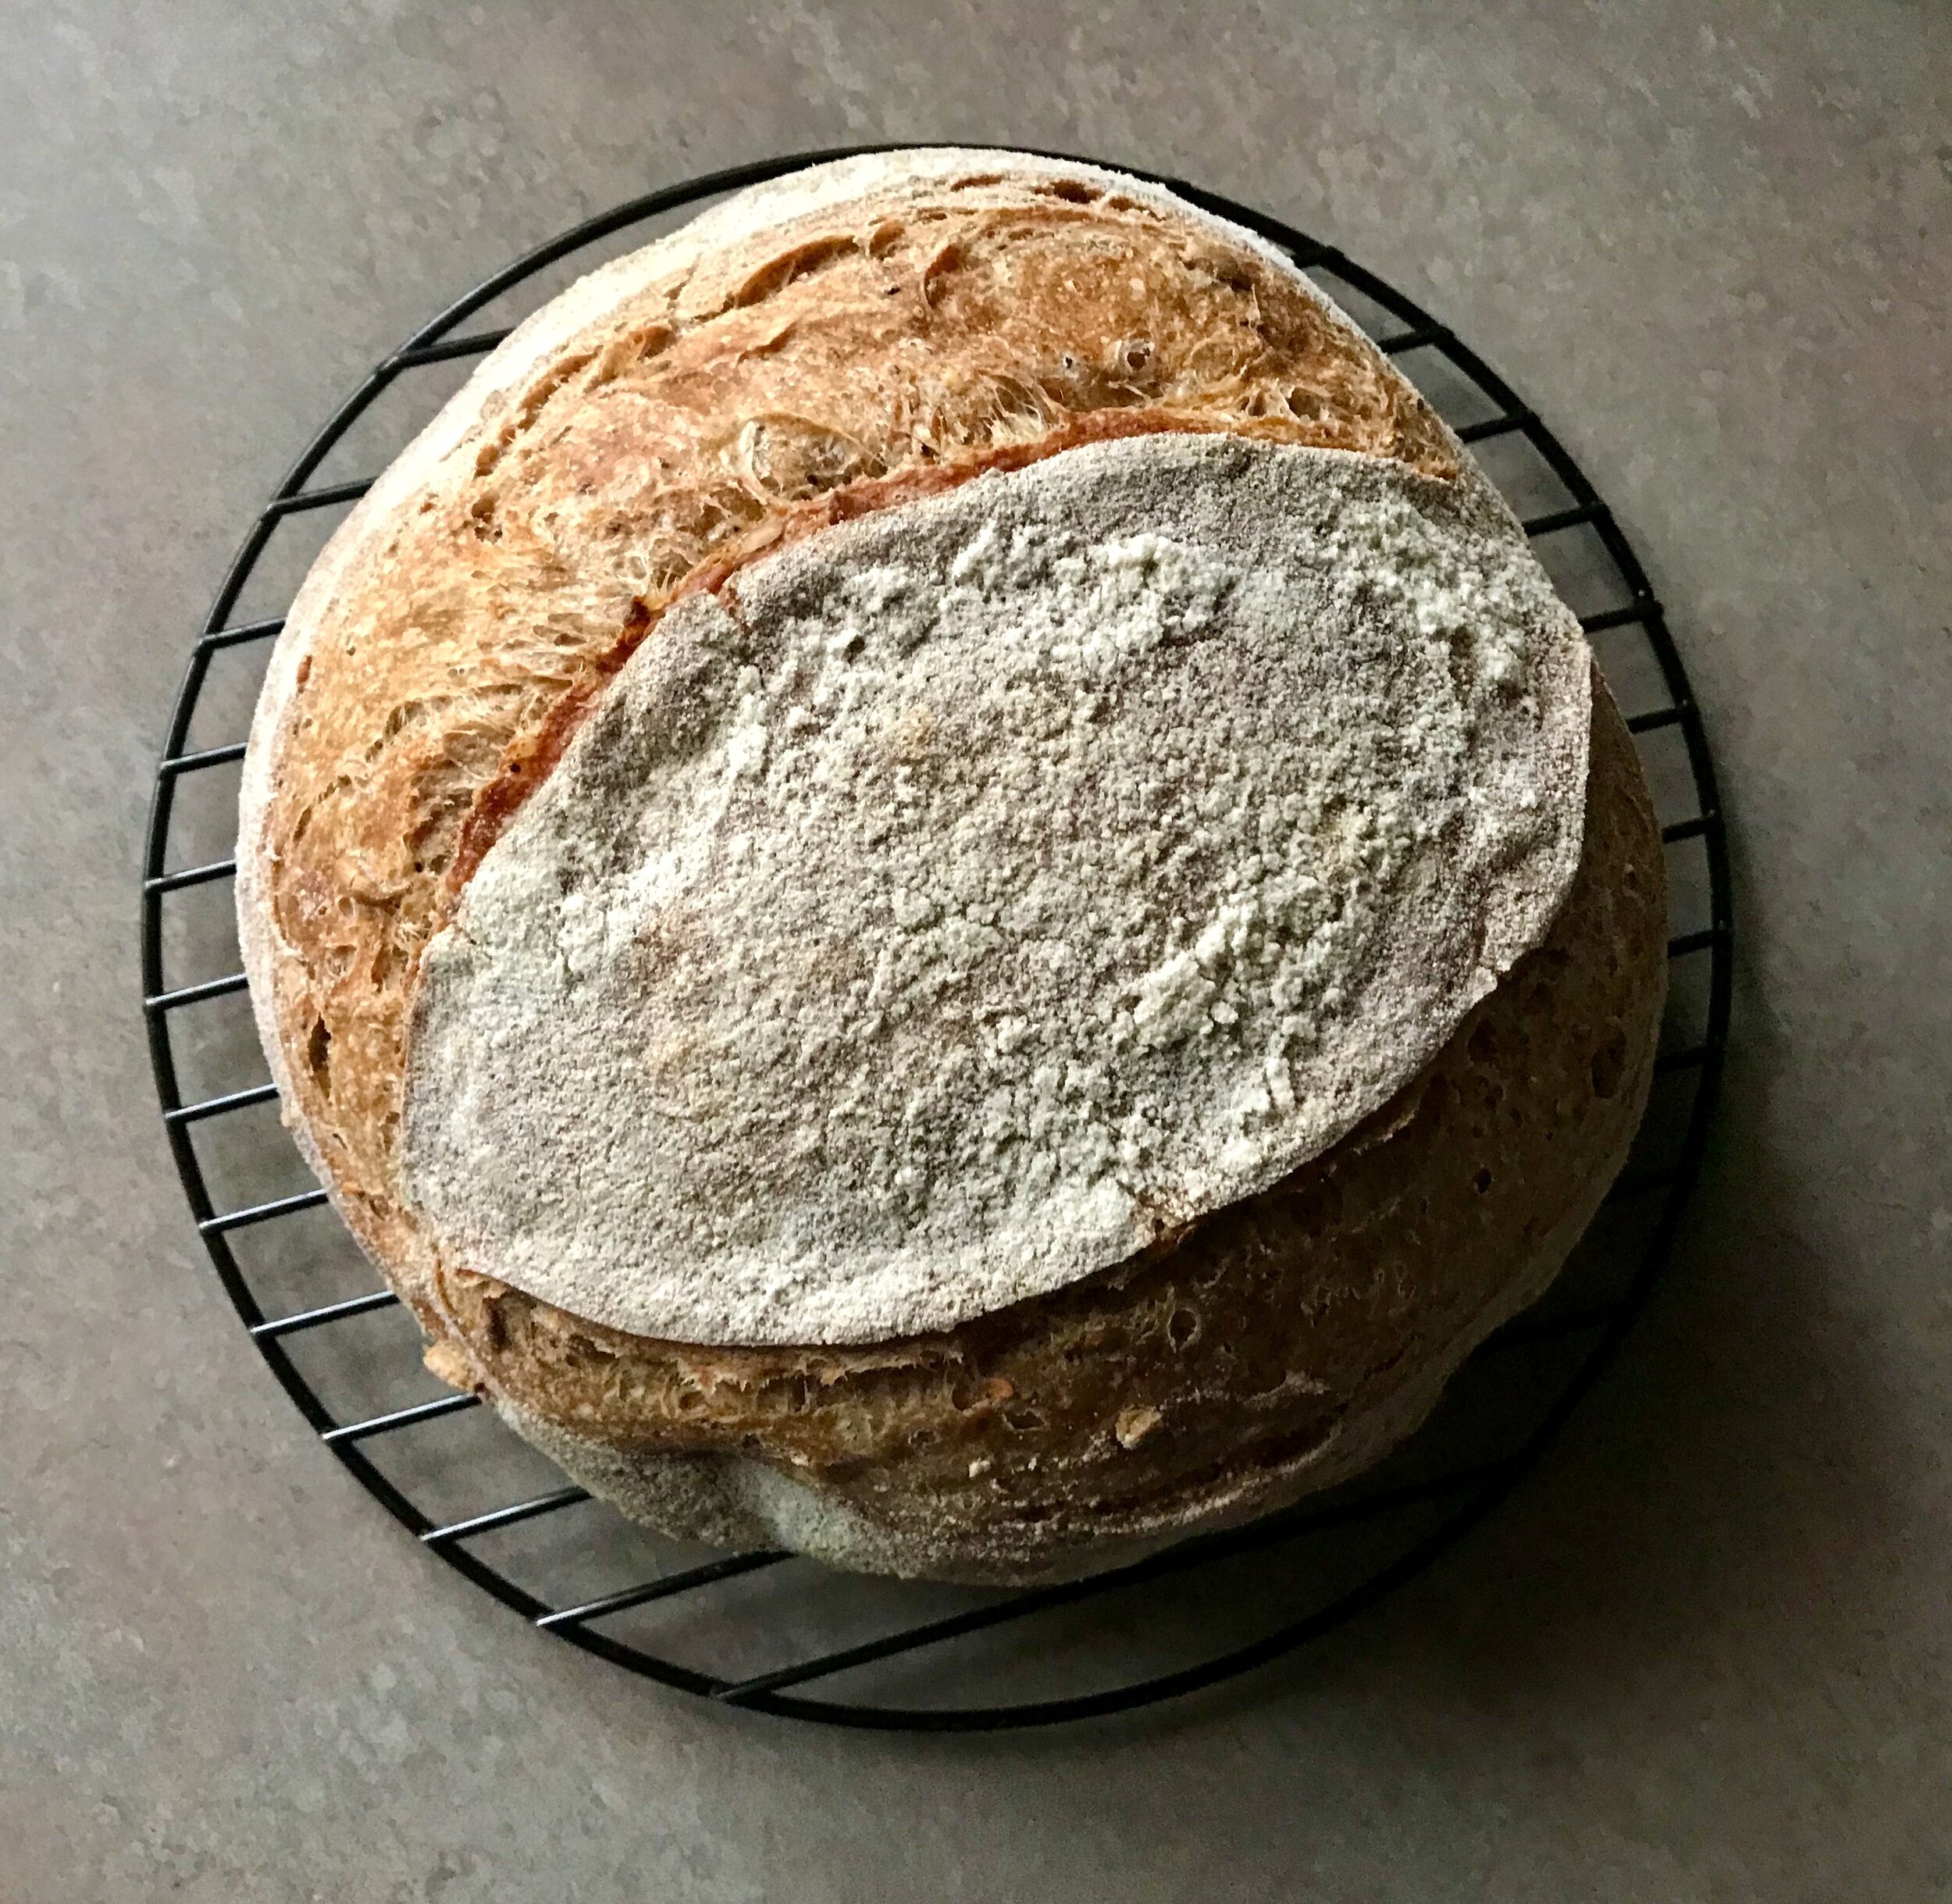
Verdict? I’ve really like this recipe and method. I’ve made it 5 or 6 times now and it has turned out really well each time. I like the increased percentage of whole grains for nuttiness, chew, and a touch more nutrition. It rises well and the crumb is lovely. No, it’s not a super “open crumb”, but I didn’t expect that, and there is nothing wrong with a little tighter crumb. And, as per usual, I haven’t followed this exact recipe each time. I’ve replaced some of the whole wheat flour with spelt flour, I’ve replaced some of the whole wheat flour with fresh ground whole wheat, I’ve added flax, and sunflower seeds, I’ve added walnuts and dates. They’ve all been delicious! Can’t wait to see what happens next!

My 50/50 Whole Wheat Bread
Ingredients
Levain

  • 26 grams active sourdough starter

  • 13 grams bread flour

  • 13 grams whole wheat flour

  • 26 grams water

Dough

  • 226 grams whole wheat flour

  • 226 grams bread flour

  • 367 grams water

  • 8.5 grams salt (1 1/8-1 1/4 teaspoon)

  • 71 grams Levain (from above)

Directions:
Build the liquid levain by mixing the starter, flours, and water in a small bowl and until everything is hydrated. Let sit somewhere around 78°F for about 5-6 hours, or until about tripled in volume.

Autolyse: Mix the flour and water from the “dough” section above, reserving 50 g water for later, in a bowl until all dry bits are hydrated. Cover the bowl and store somewhere nice and warm (around 80) for 2-3 hours.

When the levain is ready, add the called for ripe levain to your autolysed dough along with about half of the reserved 50g of water and mix thoroughly with your hands. Mix/knead the dough for about 4 minutes in the bowl just until the dough started to show signs of a smooth surface. Cover and let sit at room temperature for about 20-30 minutes. Next, spread the salt on top of the dough with the remaining water to help dissolve. Pinch through the dough thoroughly and fold the dough over itself to help incorporate and absorb the remaining water. Let rest 30 minutes.

Next perform a fold: Lightly mist the counter with water. Wet your hands with water and flip the dough out onto the counter. Using a bench scraper, pull the dough from the top down folding the dough onto itself. Repeat this process on all four sides of the dough. Flip the dough over, round it up and return to the bowl. Cover and let rest 30 minutes.

Lamination: Mist the counter with water again. Transfer dough to counter. Lift and gently stretch the dough out from the center with wet hands. Form a large, thin rectangle of dough. Pick up one edge of the dough and fold into the center approximately ⅓ of the way across, then fold the other side into the center over the first section. Finish by folding the top down halfway and then the bottom over the top forming a square in the end. Move your dough to a small square Pyrex-type dish. Let rest 45 minutes.

Stretch and Folds: For each stretch and fold, use wet hands to reach under the dough and pull it up slowly and evenly, detaching the dough on the side farther away from you. The dough will naturally wrap itself under. Rotate the dish and perform the same coil fold again on the other three sides. The top part of the dough is the part detaching from the dish and coiling under. 4 total coil folds. While doing this be sure to pop and large air pockets as these are not signs of fermentation, they are pockets introduced during mixing and lamination. Cover and let rest until time for the next stretch and fold.

The number and frequency of the folds is dependent on the length of bulk as well as your dough’s extensibility and how the dough develops over the course of the bulk. For this recipe I did 4 stretch and folds separated by about 45 minutes each and around 72 degrees F.  My total bulk fermentation was about 6-6.5 hours this time.

Shaping: 
When the dough is ready to shape it should appear puffy and somewhat light, with some roundness at the edges. Flour the counter top with flour. Release dough from top of dish and flip the dish over and allow it to release from the dish onto the counter. Use a bench scraper to tuck flour under the edges of the dough. Then remove the excess flour from the workspace. 

Use the scraper to help pick up the side (top) flap of your dough and gently pull out just a bit before folding up on top of the center of the dough (about ⅓ of the way in, like a letter). Gently pat the dough during this stage to remove any large air bubbles to ensure a more even crumb. Repeat the fold with the other side of the dough, folding it into the center. Then lift the top of the dough and begin to roll down onto itself. Use your thumbs to gently but firmly tuck the dough in creating a more taught surface on top of the dough. Once you roll fully up and get to the seam, seal the edge using your fingers. The use your fingers to pinch the edges to seal.

Dust the top of your dough with brown rice flour (this is ideal to prevent sticking to your banneton) and keeps the dough dry and prevents the surface from getting tacky. Use your scraper to flip over the dough so the seam side is up and the top of the dough is facing down. Gently lift and transfer the dough to the banneton. Cover and move on to the proofing stage. 

Proof: 
Let the dough sit at room temperature for an initial short proof (15-20 mins), then move to the fridge for an overnight retard for approximately 12-16 hours.

Bake: 
The next day it’s time to bake. Preheat oven with Dutch Oven in it for 1 hour at 450 degrees. Transfer dough, cold from fridge, to piece of parchment paper. Score at 45 degree angle. Transfer to preheated Dutch oven and put the lid on. Place in oven and bake, covered, for 20 minutes. Remove the lid and return the bread to the oven and continue baking another 30 minutes, or until the internal temperature reaches 206-210 degrees F. Remove from oven and cool on a wire rack.