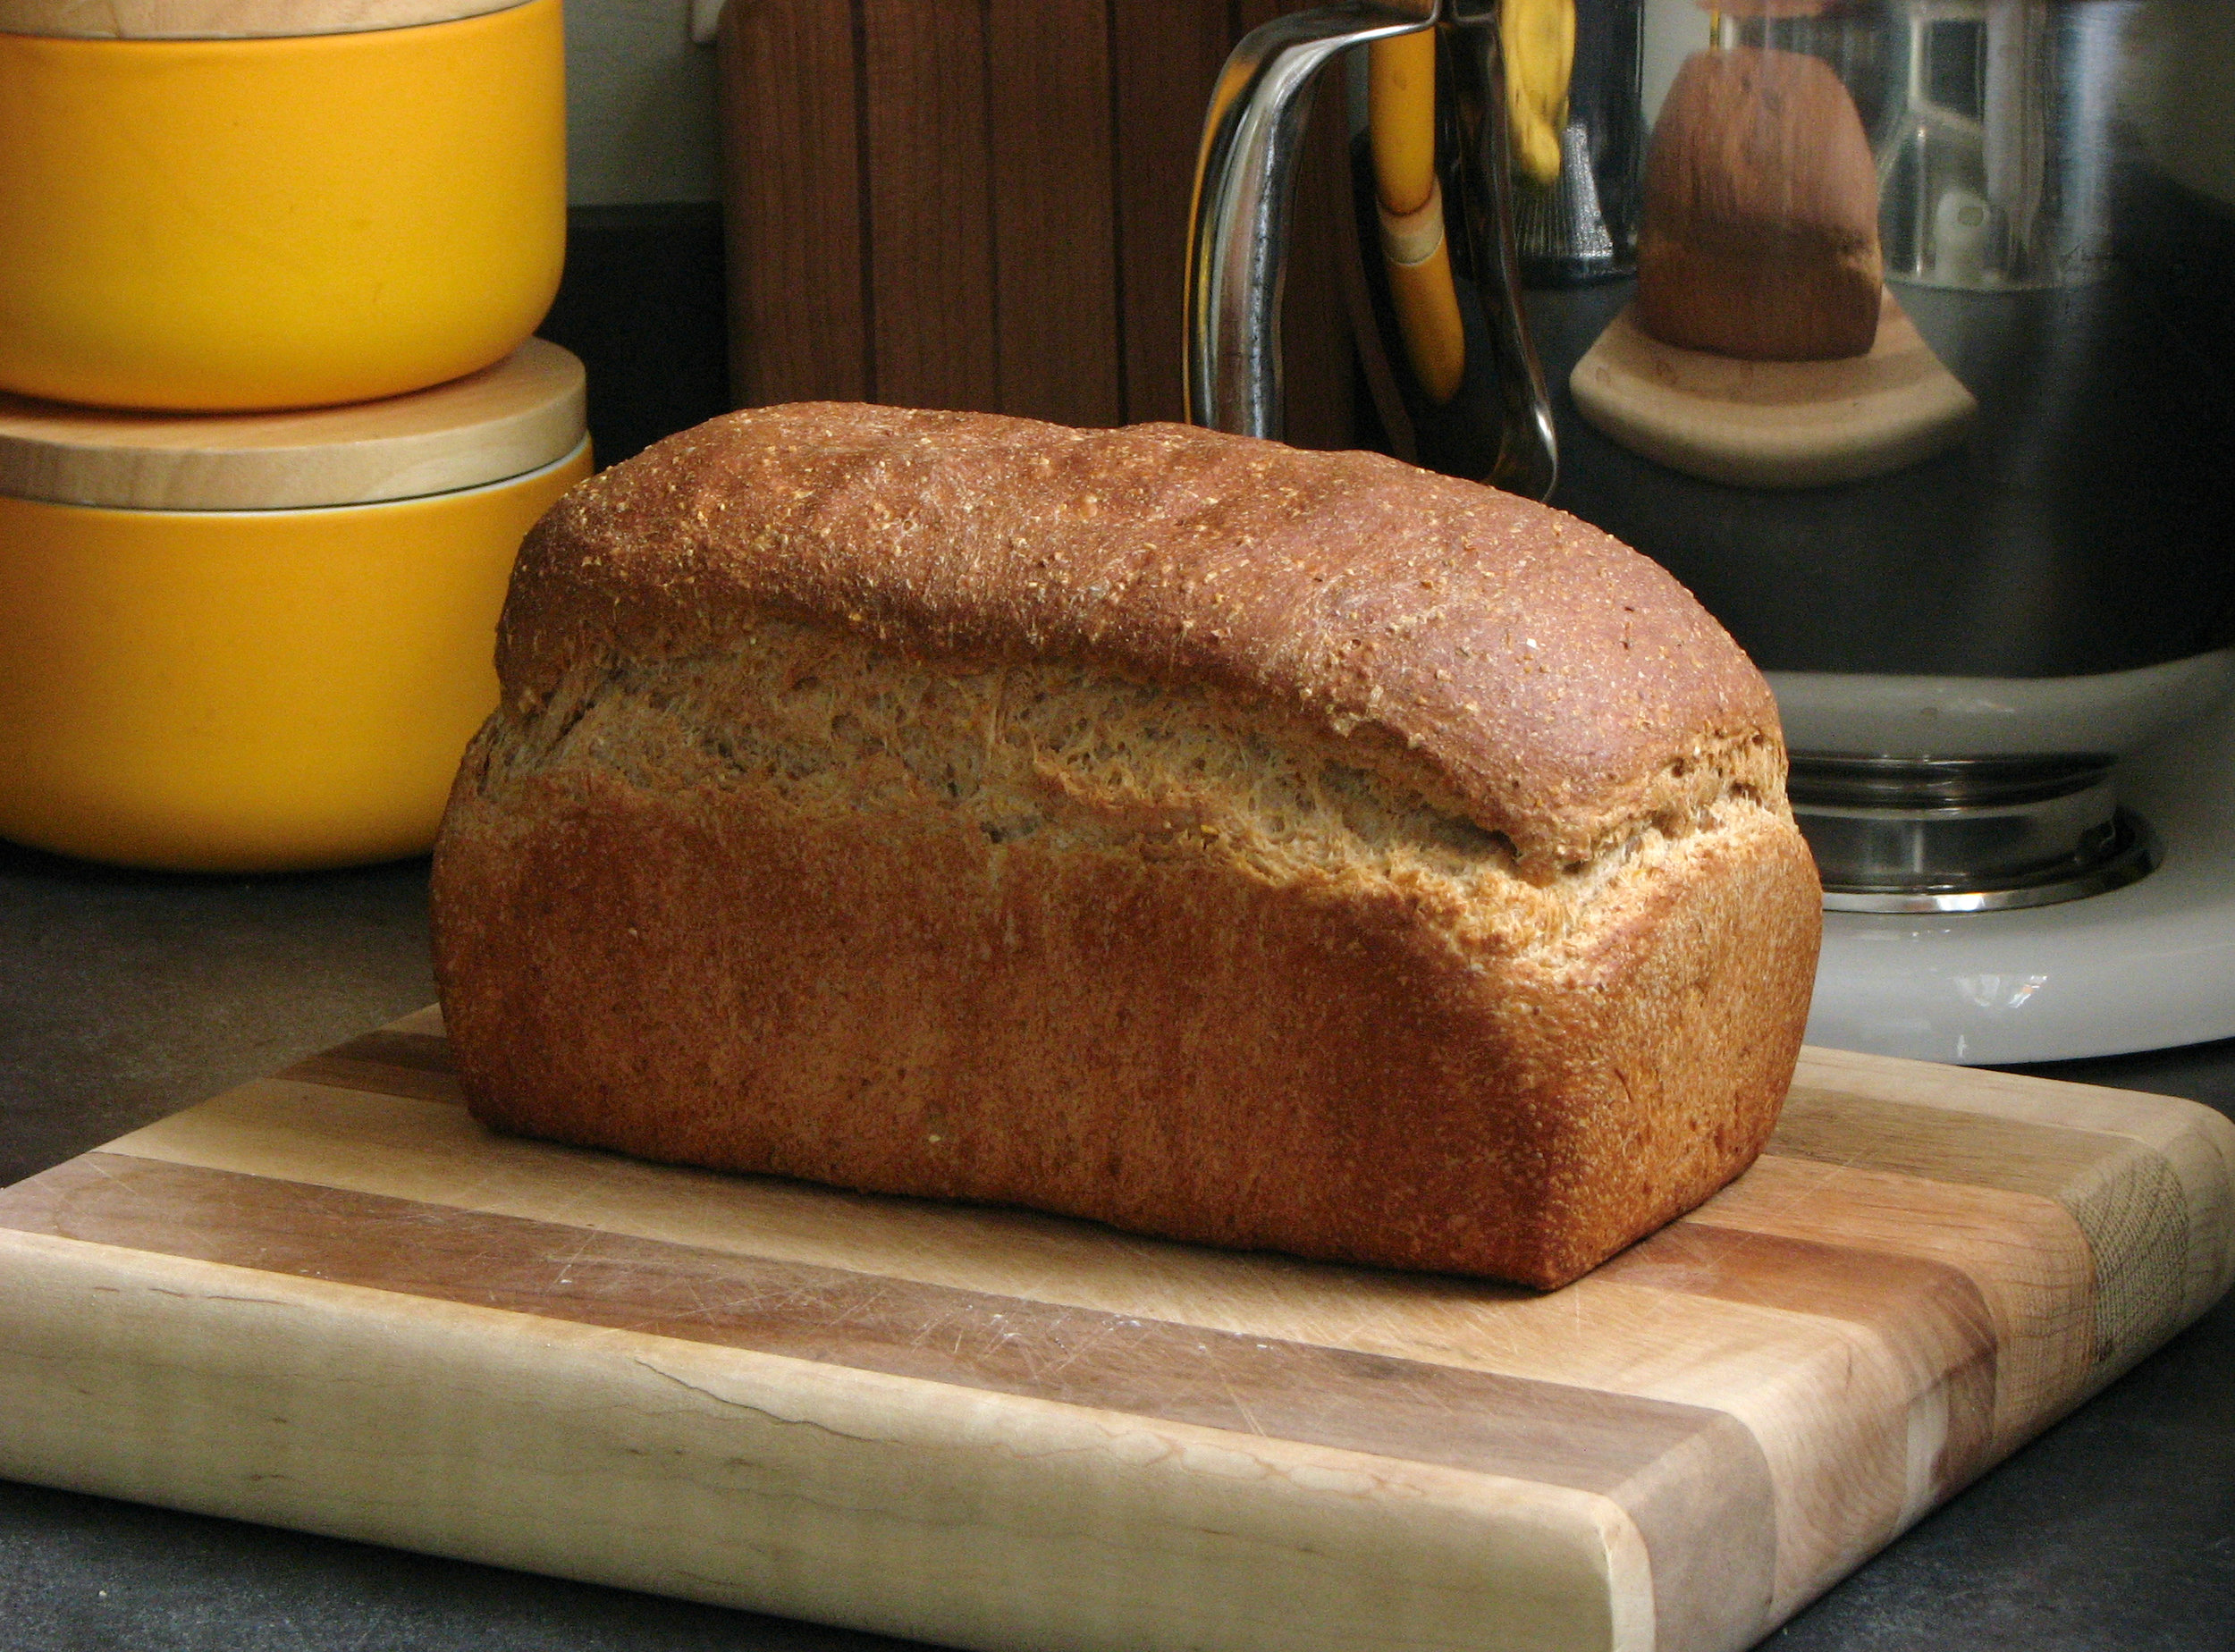
50% Whole Wheat Sourdough (with flax and sunflower seed)

IMG_9899.jpeg

Back in October I felt like I was in a rut with my sourdough bread. I had been working on trying to improve a basic sourdough bread recipe, making the same bread every 1-2 weeks for months. My bread would turn out good, but my goal was to achieve a beautiful “open crumb”, instagram style. Week after week I would be some level of disappointed (just in the crumb, never with the flavor! A tighter crumb is still delicious!). I finally decided to just try something different. Instead of doing the same thing over and over again I decided to switch it up and try a different recipe.

I’m a fan of whole wheat bread, the higher the percentage of whole grains the better, but they can be tricky for sure. I admire my local bakery’s 100% whole wheat breads. I’m not sure I’ll ever get to that point, but I decided to go for a 50/50 loaf, 50% whole grains, 50% refined grains.

IMG_9909.jpeg

I used The Perfect Loaf’s Fifty Fifty Whole Wheat Sourdough Bread recipe as my base recipe, but tweaked the technique a little, using Fullproof Baking’s instructions for her Open Crumb Sourdough Bread instead (laminating the dough, coil folds, etc).

Verdict? I’ve really like this recipe and method. I’ve made it 5 or 6 times now and it has turned out really well each time. I like the increased percentage of whole grains for nuttiness, chew, and a touch more nutrition. It rises well and the crumb is lovely. No, it’s not a super “open crumb”, but I didn’t expect that, and there is nothing wrong with a little tighter crumb. And, as per usual, I haven’t followed this exact recipe each time. I’ve replaced some of the whole wheat flour with spelt flour, I’ve replaced some of the whole wheat flour with fresh ground whole wheat, I’ve added flax, and sunflower seeds, I’ve added walnuts and dates. They’ve all been delicious! Can’t wait to see what happens next!

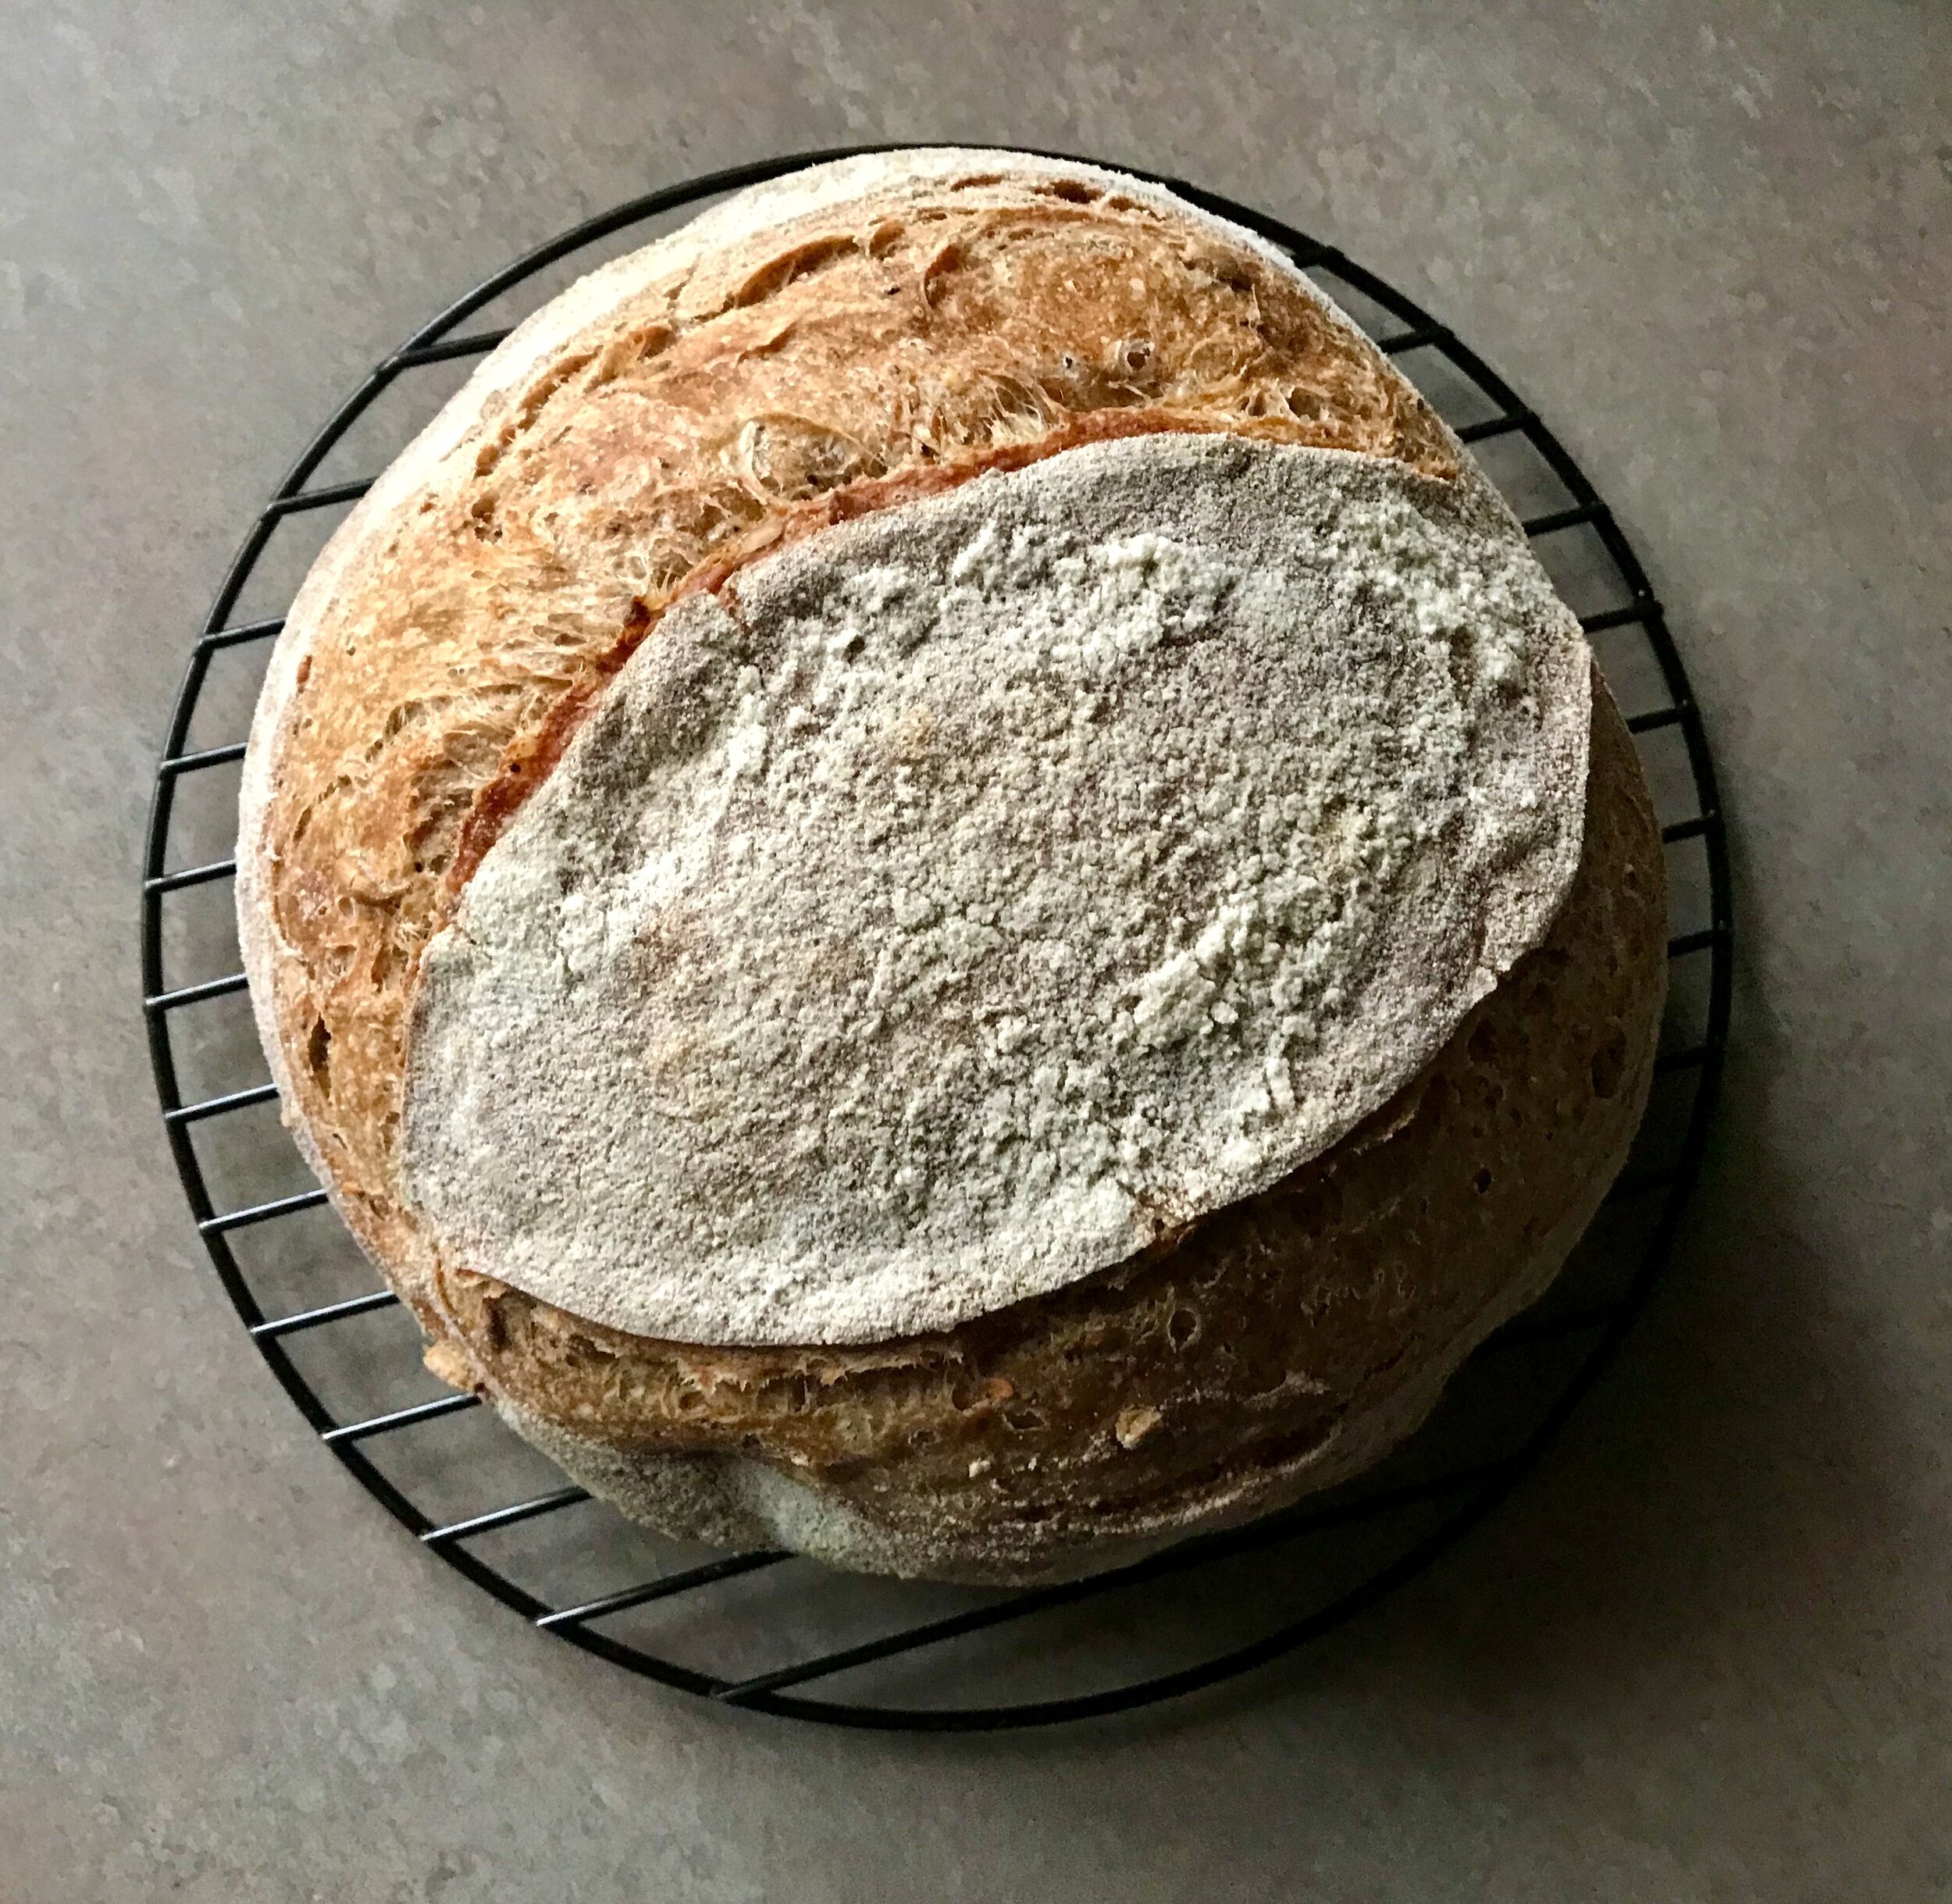
My 50/50 Whole Wheat Bread
Ingredients
Levain

  • 26 grams active sourdough starter

  • 13 grams bread flour

  • 13 grams whole wheat flour

  • 26 grams water

Dough

  • 226 grams whole wheat flour

  • 226 grams bread flour

  • 367 grams water

  • 8.5 grams salt (1 1/8-1 1/4 teaspoon)

  • 71 grams Levain (from above)

Directions:
Build the liquid levain by mixing the starter, flours, and water in a small bowl and until everything is hydrated. Let sit somewhere around 78°F for about 5-6 hours, or until about tripled in volume.

Autolyse: Mix the flour and water from the “dough” section above, reserving 50 g water for later, in a bowl until all dry bits are hydrated. Cover the bowl and store somewhere nice and warm (around 80) for 2-3 hours.

When the levain is ready, add the called for ripe levain to your autolysed dough along with about half of the reserved 50g of water and mix thoroughly with your hands. Mix/knead the dough for about 4 minutes in the bowl just until the dough started to show signs of a smooth surface. Cover and let sit at room temperature for about 20-30 minutes. Next, spread the salt on top of the dough with the remaining water to help dissolve. Pinch through the dough thoroughly and fold the dough over itself to help incorporate and absorb the remaining water. Let rest 30 minutes.

Next perform a fold: Lightly mist the counter with water. Wet your hands with water and flip the dough out onto the counter. Using a bench scraper, pull the dough from the top down folding the dough onto itself. Repeat this process on all four sides of the dough. Flip the dough over, round it up and return to the bowl. Cover and let rest 30 minutes.

Lamination: Mist the counter with water again. Transfer dough to counter. Lift and gently stretch the dough out from the center with wet hands. Form a large, thin rectangle of dough. Pick up one edge of the dough and fold into the center approximately ⅓ of the way across, then fold the other side into the center over the first section. Finish by folding the top down halfway and then the bottom over the top forming a square in the end. Move your dough to a small square Pyrex-type dish. Let rest 45 minutes.

Stretch and Folds: For each stretch and fold, use wet hands to reach under the dough and pull it up slowly and evenly, detaching the dough on the side farther away from you. The dough will naturally wrap itself under. Rotate the dish and perform the same coil fold again on the other three sides. The top part of the dough is the part detaching from the dish and coiling under. 4 total coil folds. While doing this be sure to pop and large air pockets as these are not signs of fermentation, they are pockets introduced during mixing and lamination. Cover and let rest until time for the next stretch and fold.

The number and frequency of the folds is dependent on the length of bulk as well as your dough’s extensibility and how the dough develops over the course of the bulk. For this recipe I did 4 stretch and folds separated by about 45 minutes each and around 72 degrees F.  My total bulk fermentation was about 6-6.5 hours this time.

Shaping: 
When the dough is ready to shape it should appear puffy and somewhat light, with some roundness at the edges. Flour the counter top with flour. Release dough from top of dish and flip the dish over and allow it to release from the dish onto the counter. Use a bench scraper to tuck flour under the edges of the dough. Then remove the excess flour from the workspace. 

Use the scraper to help pick up the side (top) flap of your dough and gently pull out just a bit before folding up on top of the center of the dough (about ⅓ of the way in, like a letter). Gently pat the dough during this stage to remove any large air bubbles to ensure a more even crumb. Repeat the fold with the other side of the dough, folding it into the center. Then lift the top of the dough and begin to roll down onto itself. Use your thumbs to gently but firmly tuck the dough in creating a more taught surface on top of the dough. Once you roll fully up and get to the seam, seal the edge using your fingers. The use your fingers to pinch the edges to seal.

Dust the top of your dough with brown rice flour (this is ideal to prevent sticking to your banneton) and keeps the dough dry and prevents the surface from getting tacky. Use your scraper to flip over the dough so the seam side is up and the top of the dough is facing down. Gently lift and transfer the dough to the banneton. Cover and move on to the proofing stage. 

Proof: 
Let the dough sit at room temperature for an initial short proof (15-20 mins), then move to the fridge for an overnight retard for approximately 12-16 hours.

Bake: 
The next day it’s time to bake. Preheat oven with Dutch Oven in it for 1 hour at 450 degrees. Transfer dough, cold from fridge, to piece of parchment paper. Score at 45 degree angle. Transfer to preheated Dutch oven and put the lid on. Place in oven and bake, covered, for 20 minutes. Remove the lid and return the bread to the oven and continue baking another 30 minutes, or until the internal temperature reaches 206-210 degrees F. Remove from oven and cool on a wire rack.

Pumpkin Bundt Cake

I have fallen off the posting train! But I’m trying to get back on board. It’s been a busy and fun fall, which means I have neglected this little hobby of mine. But this cake was too good not to share! I had a fun Oktober fest at a new friends house. It was outdoors on the perfect chilly, but lovely October night. They had grilled up two whole lambs, and brewed some homemade beer, and then invited a bunch of people over to share.

I decided to try out a new cake recipe. It’s pumpkin season and this cake did not disappoint. It has a mix of butter and oil for flavor and moisture with the perfect amount of fall spices. It baked up beautifully and came out of the pan easily. I topped with a simple yogurt glaze which had just enough tang to perfectly compliment the rich and sweet cake. Happy Fall!

IMG_3306.jpg

The original recipe had a cream cheese glaze. I didn’t have any cream cheese so I ended up making something up on my own. I didn’t measure anything so I can’t tell you exactly, but I used melted butter, milk, powdered sugar and plain Greek yogurt. I turned out great, but if you’re looking for exact measurements, follow the link to the original recipe and try hers out, I’m sure it’s great!

 
IMG_3303.jpg
IMG_3301.jpg
IMG_3300.jpg
IMG_3297.jpg
 

Pumpkin Bundt Cake
From Style Sweet CA
Ingredients

  • 3 cups all-purpose flour

  • 2 teaspoons baking powder

  • 1 teaspoon baking soda

  • 1 teaspoon salt

  • 2 teaspoons cinnamon

  • 1 teaspoon cardamom

  • 1 teaspoon ginger

  • ¼ teaspoon clove

  • pinch black pepper

  • ¾ cup Land O Lakes® European Style Unsalted Butter, softened

  • 1 cup brown sugar

  • 1 cup white sugar

  • ¼ cup flavorless oil, like grapeseed or canola

  • 3 large eggs

  • 2 teaspoons pure vanilla extract

  • 1/3 cup buttermilk

  • 14 ounces pumpkin puree

Directions
Pre-heat oven to 350°F. Generously brush the inside of a Bundt pan with very soft butter, sprinkle with flour, and tap out the excess. Set aside.

Sift together the flour, baking powder, baking soda, salt, and spices. Set aside.

In the bowl of an electric mixer, beat the butter on medium-low speed with the paddle attachment until smooth. Add in both sugars and mix on medium until light and fluffy, 3 to 5 minutes. Add the oil and vanilla. Mix until combined.

With the mixer on low, add in the eggs, one at a time. Stop the mixer and scrape down the sides and bottom of the bowl.

With the mixer on low, add in half of the flour mixture and mix until just combined. Add in the buttermilk and mix until combined. Add in the remaining half of the flour mixture and mix until just incorporated and few streaks of flour remain visible. Add in the pumpkin puree and mix until smooth. The batter will be thick.

Spoon the cake batter into the prepared pan. Tap the bottom of the filled pan on a hard work surface to release any air bubbles. Bake for 45 to 55 minutes, or until a long wooden skewer or thin paring knife inserted into the center of the cake comes out clean. Cool on a wire rack for about 15 minutes. Gently loosen the edges of the cake with a flexible rubber spatula. Place a wire rack or cutting board on top of the cake. Holding on to the edges of the pan and rack, carefully invert everything. Remove the cake pan and continue to completely cool the cake before adding the glaze.

Cornmeal Sourdough Bread

I've got another great sourdough bread recipe today. It's a super simple loaf that comes together very quickly and bakes up beautifully. This bread slices up well and makes the best sandwiches. Made with a majority whole wheat flour for nutrition, but with a little white flour for optimal texture, it's just the right combination. I included a little butter for additional tenderness and flavor, and a little honey for just a hint of sweet, just how I like it. This recipe is great for me, allowing me to use up some sourdough starter without even thinking ahead since I used the cold starter straight from the fridge. Maybe sourdough purists would be appalled, but it works for me in my life and kitchen. If this sounds appealing to you, I encourage you to give this recipe a try.    

IMG_0624.jpg

I got some GREAT oven spring out of this bread! It's always exciting to take that first peek into the oven about halfway into baking and see how beautifully tall the bread has risen above the top of the pan. It makes me so happy! This bread has a nice dark brown crust, with a fluffy and light interior, just fantastic. And it's a really easy and quick recipe as yeasted bread goes. I've managed to get it all done in 4.5 hours start to finish. You'll need about another 2 hours to let it cool before slicing, but overall pretty simple and quick. 

 
IMG_0628.jpg
IMG_0626.jpg
IMG_0631.jpg
IMG_0633.jpg
 

Cornmeal Sourdough Bread
Adapted from Easy Sourdough Loaf
Ingredients

  • 110 grams sourdough starter; cold, unfed from the fridge
  • 250 grams whole wheat flour
  • 100 grams all purpose flour
  • 30 grams coarse grind cornmeal
  • 8 grams salt
  • 1 1/4 teaspoons yeast
  • 30 grams butter, softened
  • 15 grams honey
  • 180 grams water

Directions
In the bowl of a stand mixer fitted with a dough hook, combine all of the ingredients. Mix in low speed until the ingredients are incorporated, adjusting the water as needed to achieve a medium dough consistency (you may need additional water). Continue mixing to in medium speed to a medium-high level of gluten development.

Transfer the dough to a lightly oiled container. Cover and let rise until doubled in size, about 1 1/2 hours. 

Turn the dough into a lightly floured counter and shape into a tight loaf. Generously butter a 8.5 x 4.5-inch loaf pan. Place the dough, seam-side-down, into the prepared pan. Proof, covered, for 1 hour, or until the top of the dough has risen to about 1.5 inches above the edge of the pan.

Meanwhile, preheat the oven, with baking stone on the bottom rack, to 425F. Once you are ready to bake, place loaves in the oven, reduce the temperature to 400 degrees and bake for 25 minutes. Take the loaf out of the oven, remove the loaf from the pan, and place it directly on the baking stone, and bake for approximately another 15 minutes, until the crust is a deep golden brown. Remove from oven and place on a cooling rack. Let bread cool completely before slicing. 

Simple Buttermilk Cornbread

Yesterday was an absolutely amazing day here in west Michigan, almost 60 degrees and sunny in January - what?? Crazy, but simply wonderful! It felt like late spring which I am a big fan of. I took a walk with a light jacket and sunglasses and loved every minute of it! However, this is definitely NOT normal for late January and today it's back to reality. Wet, cloudy and cold. Sigh. 

One of my favorite parts of winter are all the stews and soups and braises that are the perfect thing for cold, damp days such as today. I think my favorite of all is a thick and jammy chili with ground beef and beans, peppers and spices and lots of tomato. Mmmm. I don't like my chili thin and soupy, I want it nice and thick, sweet and spicy and covered in melted cheddar cheese! And what is chili without cornbread? Sad is what it is. There is no question in my book that when chili is on the menu, cornbread is going in the oven.

I have several cornbread recipes on this site already and I love them all. Recently however I was looking for a very simple cornbread recipe that wasn't quite as rich and sweet as most of these other recipes. Just a good, basic cornbread that was full of corn flavor and more rustic than some. More on the "Southern cornbread" side of things. This recipe that I adapted from Bon Appetit was perfect. A little richness from the buttermilk and egg with a little bit of butter, and just a hint of sweetness from one tablespoon of brown sugar. This is a chili lover's cornbread for sure. 

I adapted the original recipe to fit a 6-inch cake pan. This is the perfect size for me when I'm baking for myself, but if you want to use a standard pan check out the original recipe. I used locally ground coarse cornmeal in my bread which is sweet and slightly crunchy and delicious. I highly recommend seeking out some good quality cornmeal, it's worth the effort. Now head into the kitchen and get that chili started, you have cornbread to make!


Simple Buttermilk Cornbread
Adapted from Bon Appetit
Ingredients

  • 1 1/2 tablespoons unsalted butter, melted and cooled
  • 2/3 cup (80 grams) all-purpose flour
  • 2/3 cup (105 grams) stone-ground cornmeal
  • 1 tablespoons (12 grams) brown sugar
  • 1 1/2 teaspoons baking powder
  • 1/2 teaspoon kosher salt
  • 3/8 teaspoon baking soda
  • 1 large egg, beaten 
  • 3/4 cup buttermilk

Directions
Preheat oven to 350°. Butter 6-inch round pan. Whisk flour, cornmeal, sugar, baking powder, salt, and baking soda in a large bowl. Whisk together egg, and buttermilk in a medium bowl. Whisk egg mixture into dry ingredients until just combined (batter will be slightly lumpy). Mix in butter.

Scrape batter into baking dish and bake cornbread until a tester inserted into the center comes out clean, 25–30 minutes.