Cardamom Cake

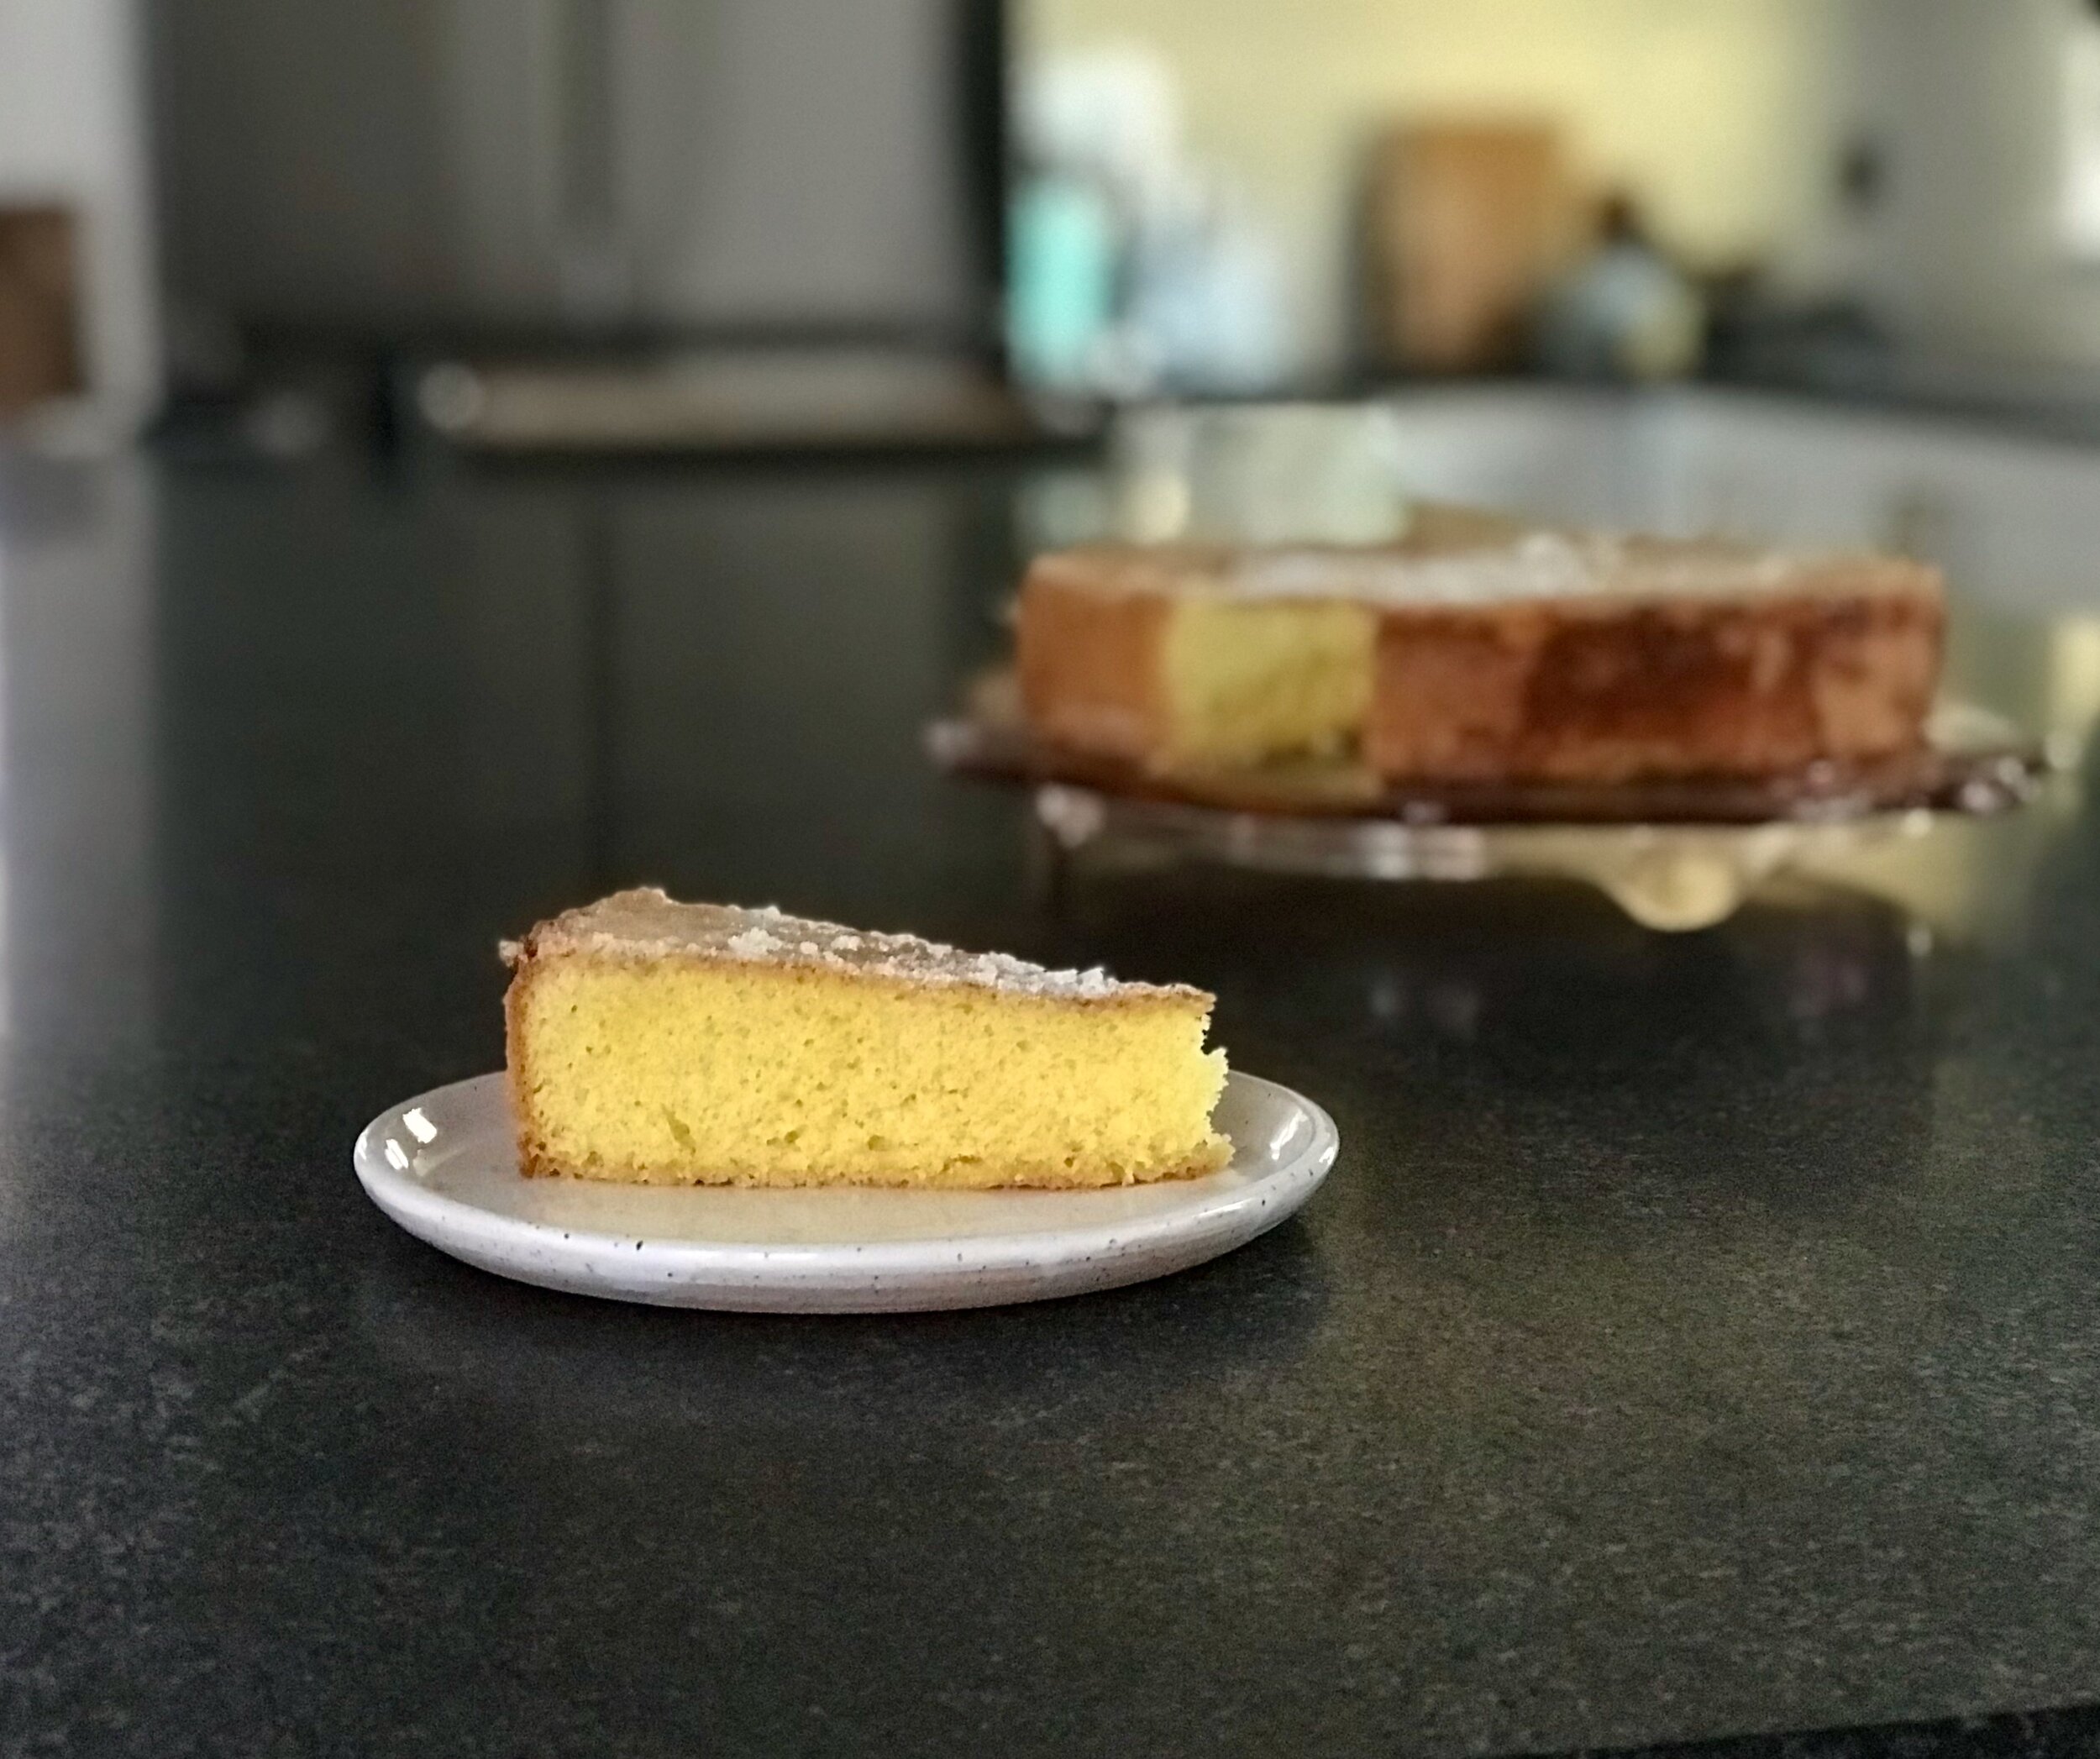
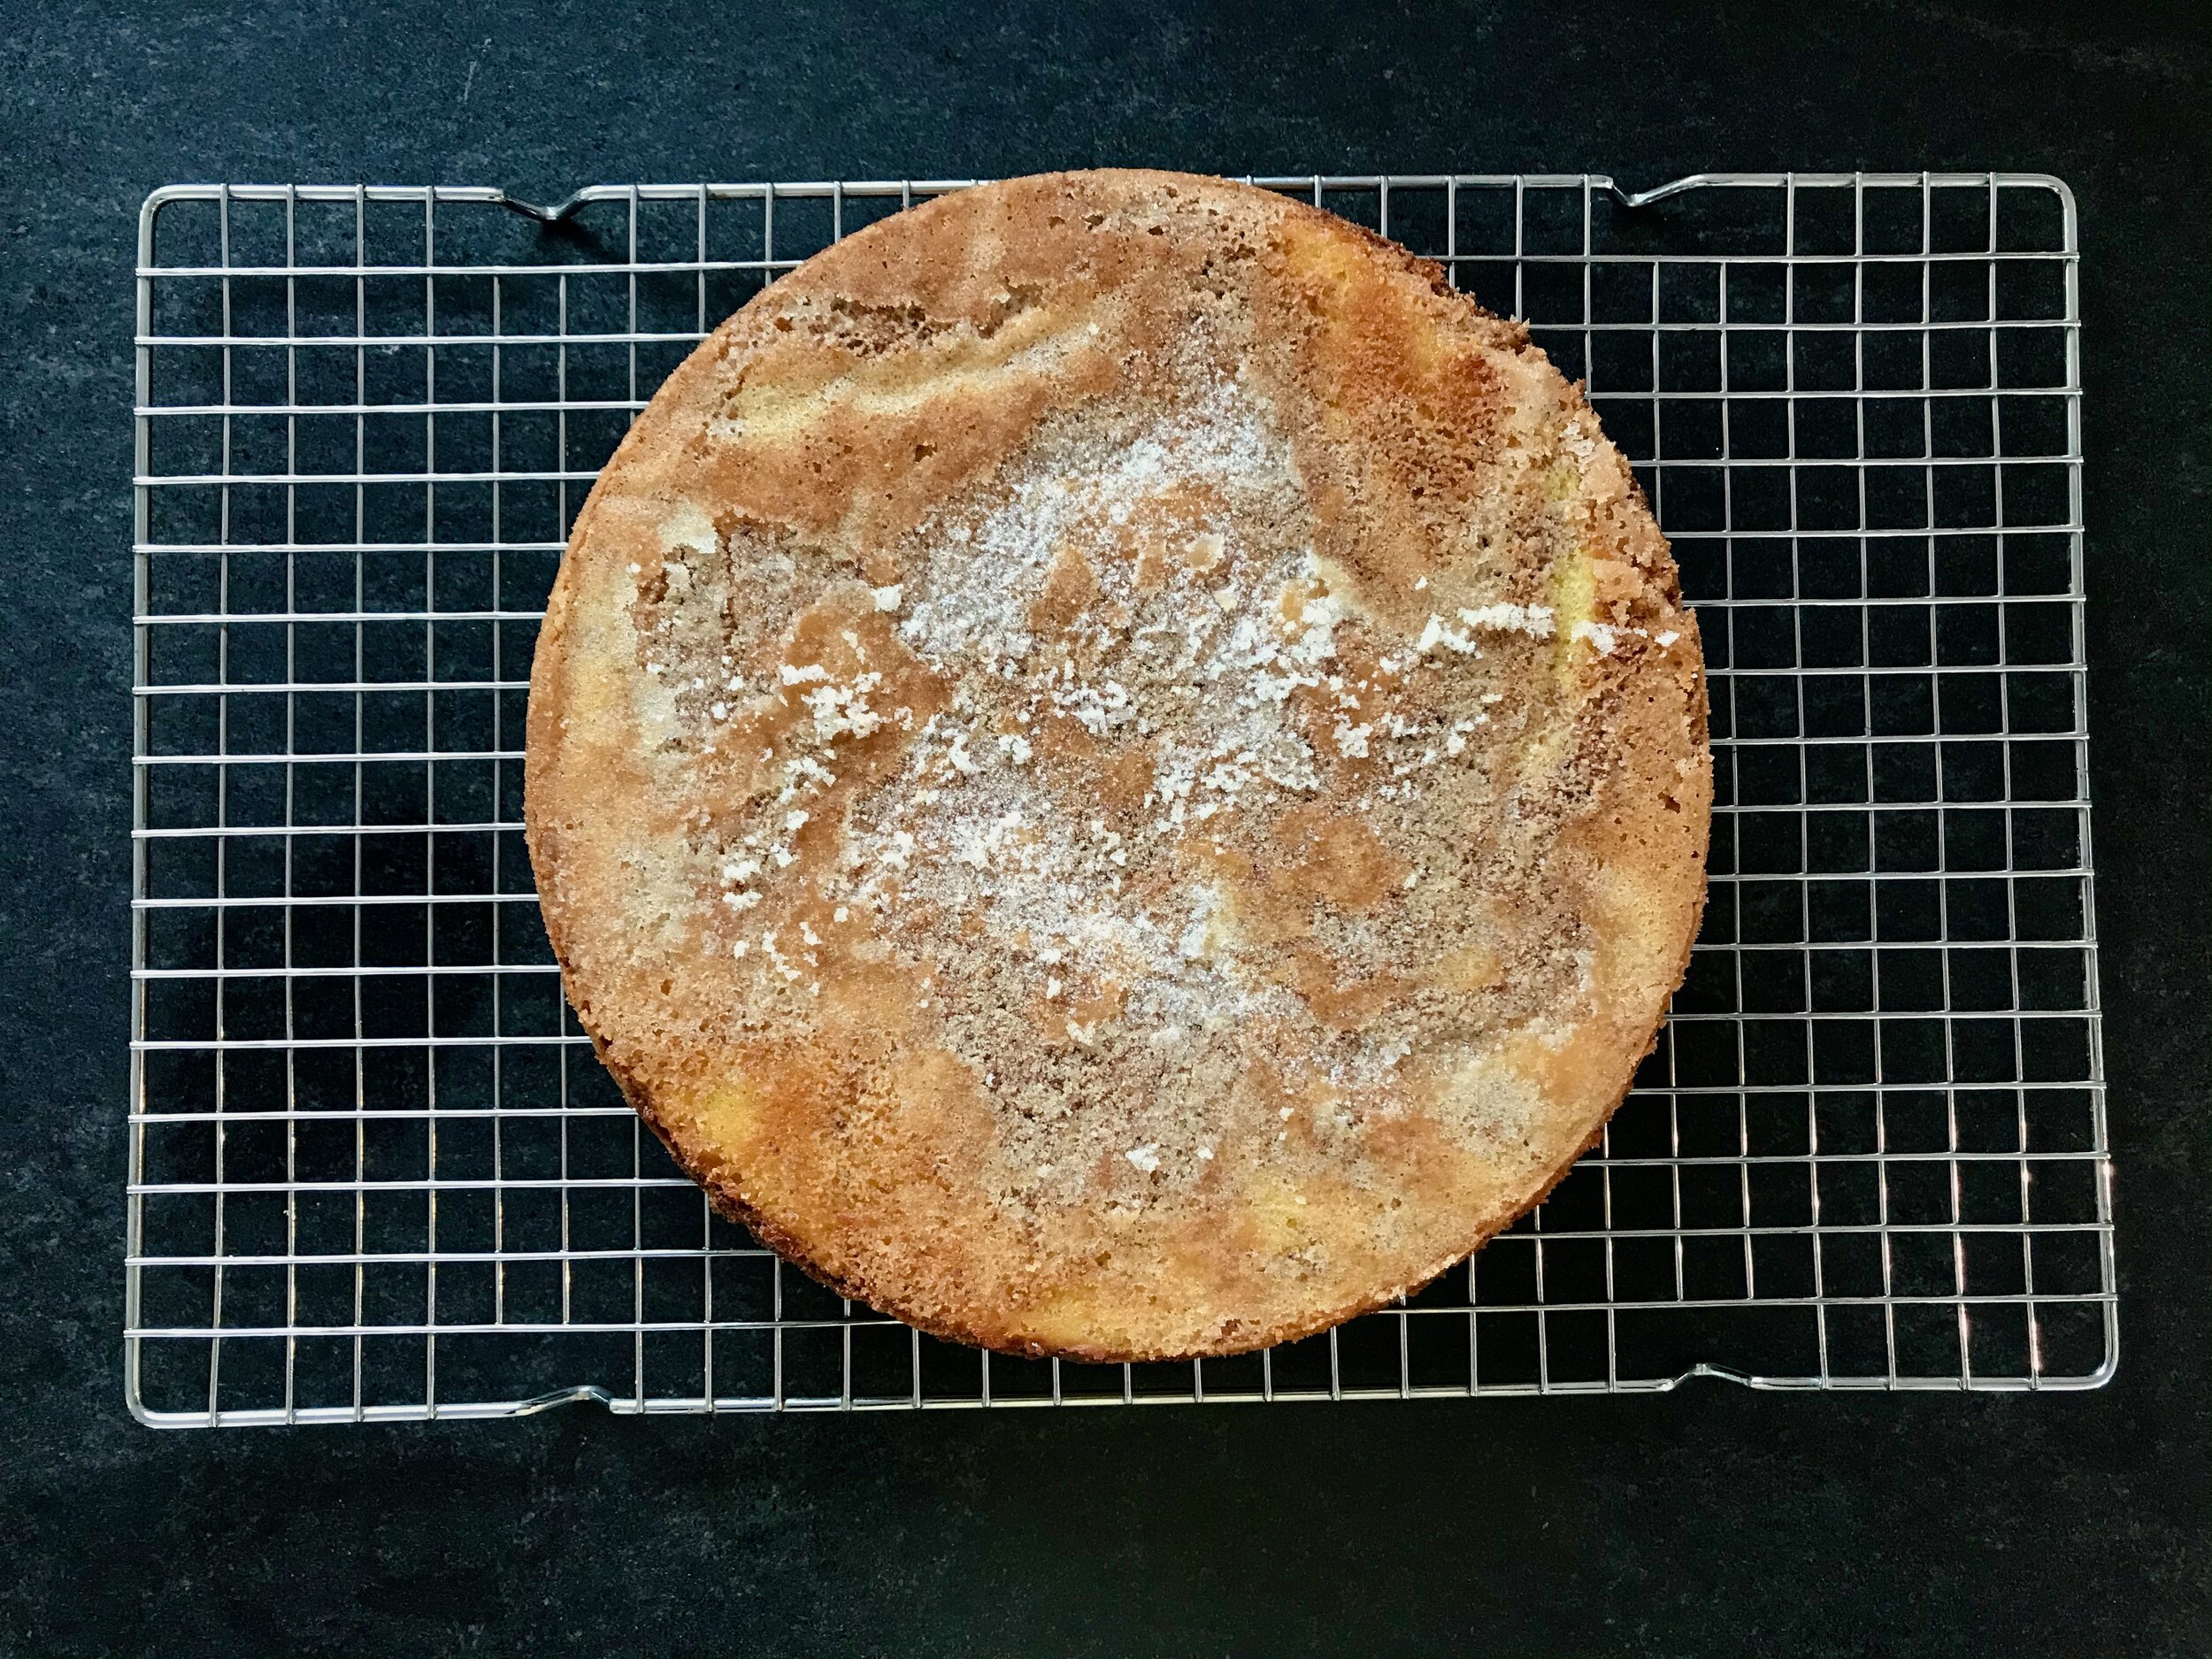
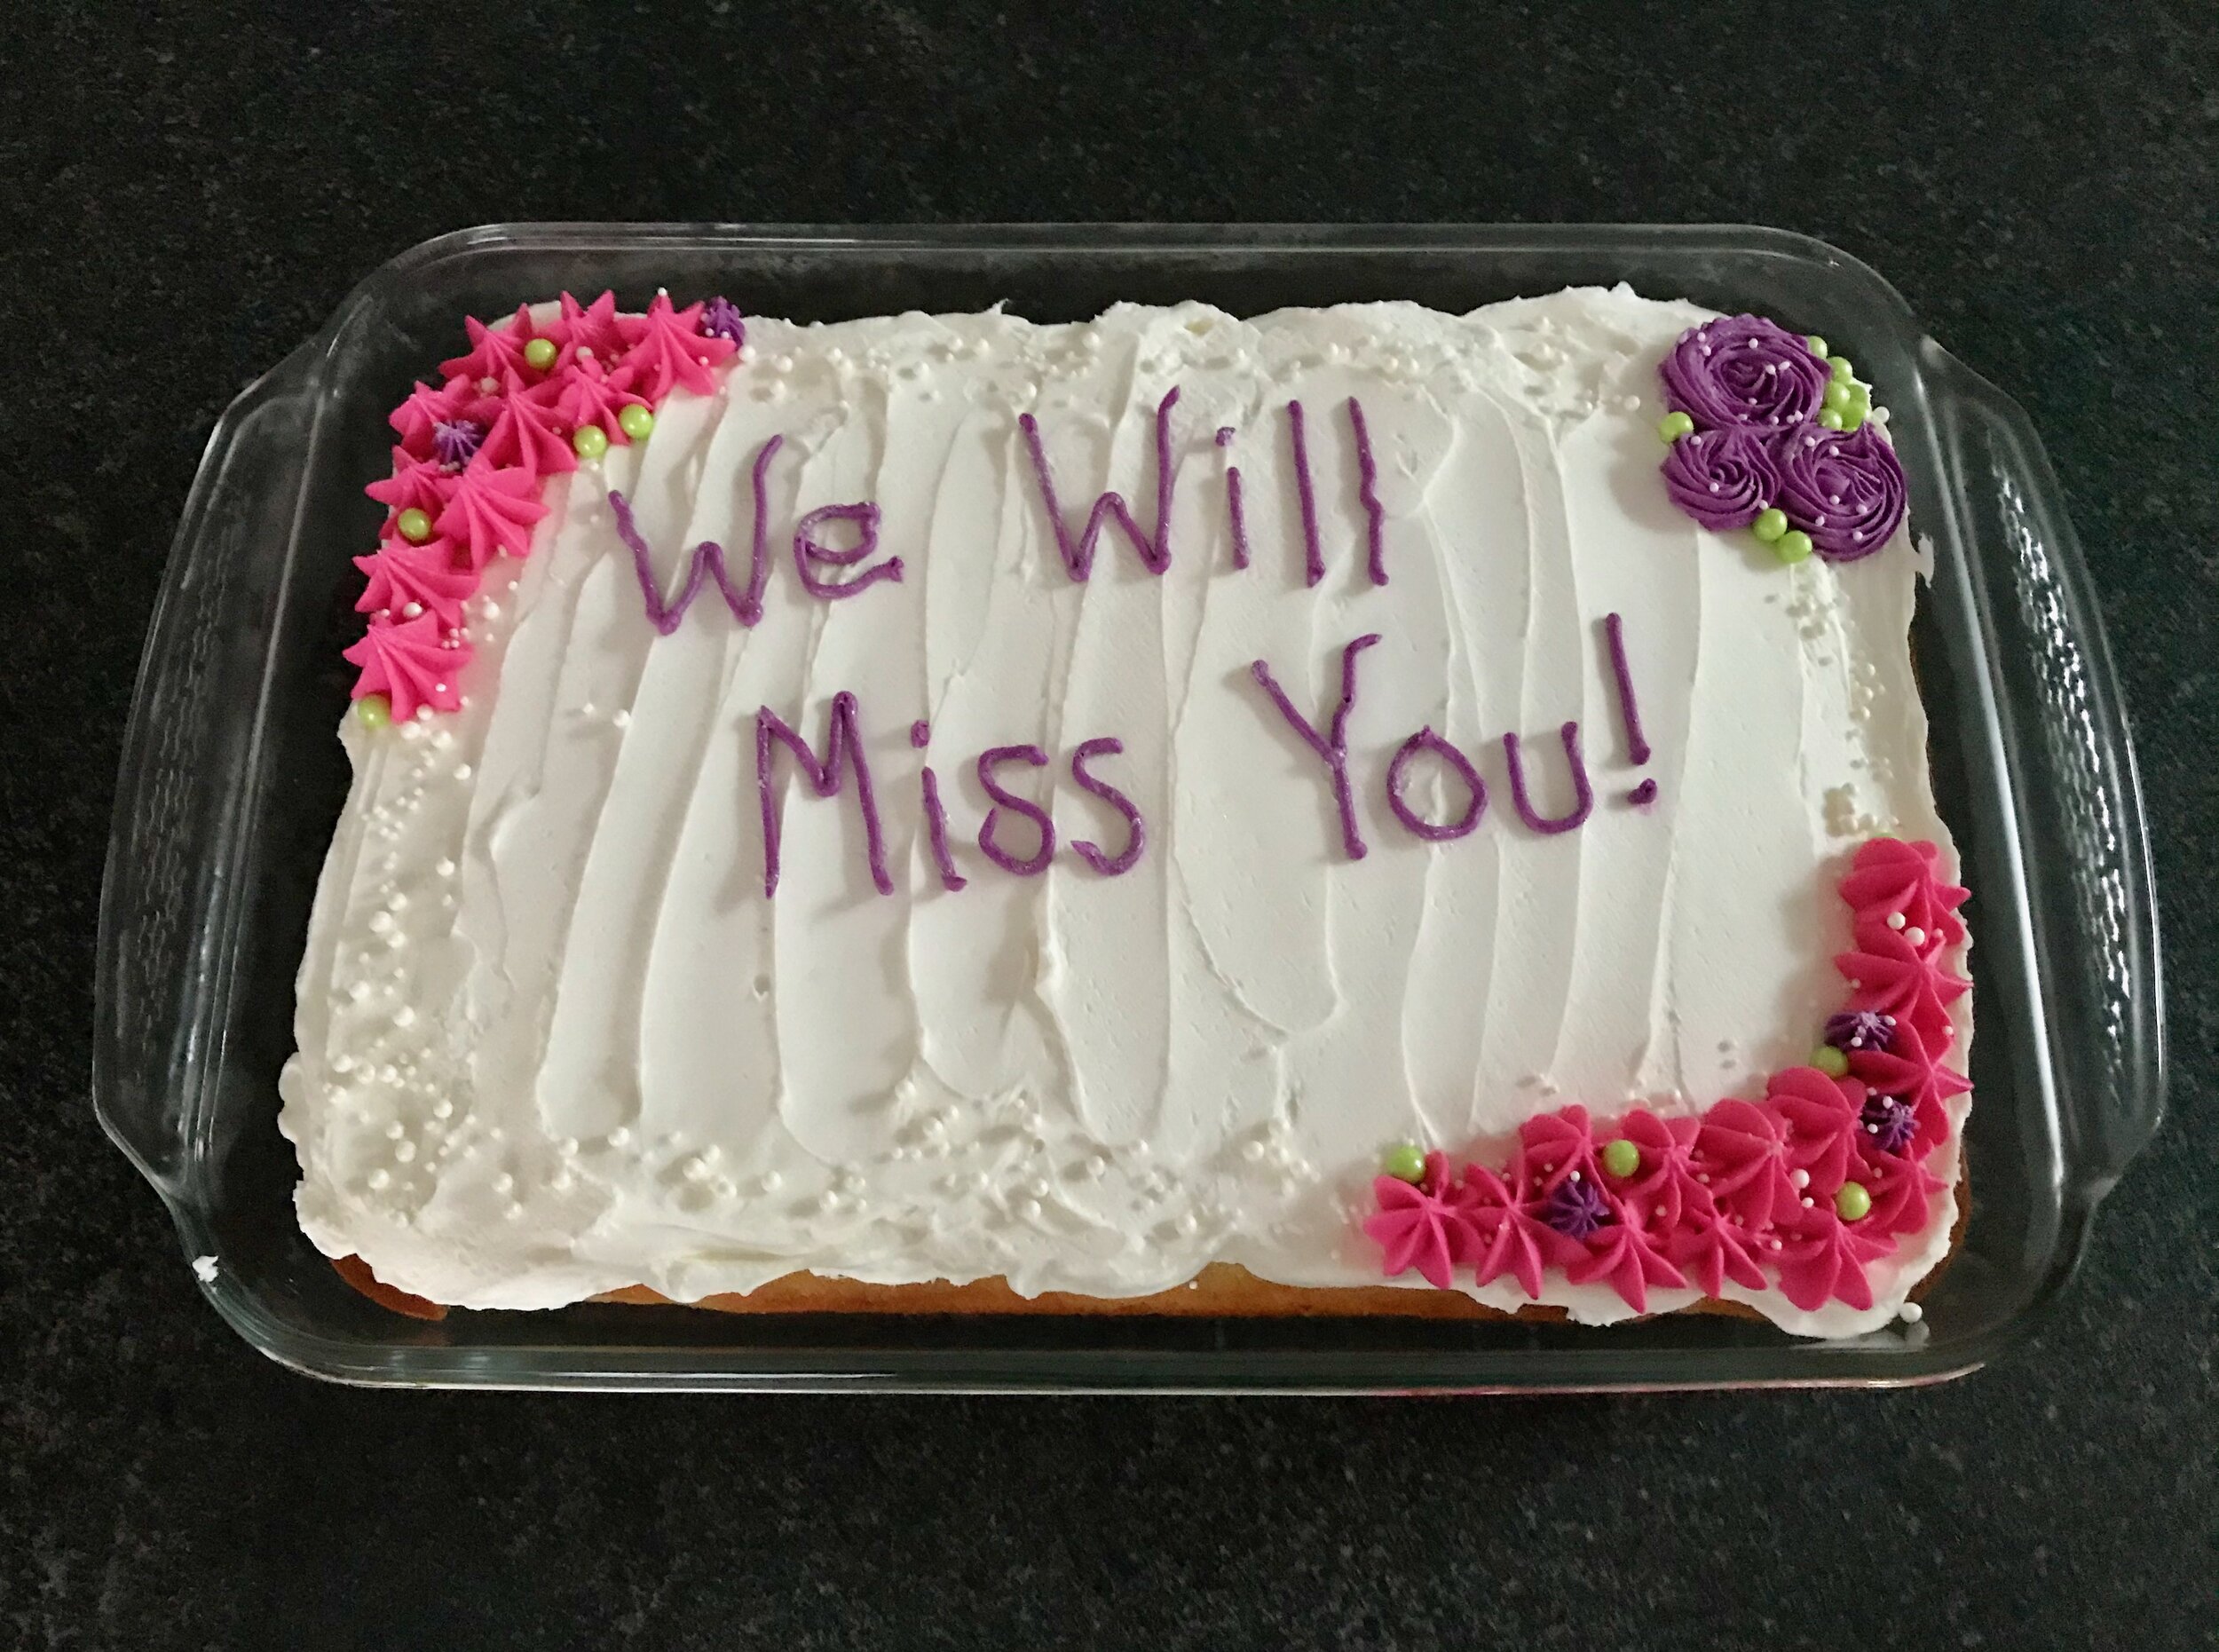
I saw this recipe pop up on Instagram last week, and independently Lara heard the Food52 Genius Recipe podcast about it as well. We both thought it sounded perfect. Simple, elegant, easy. So on my day off (a cool, blustery, kind of wet spring day) I decided to give it a go, and I am very happy that I did! It is super easy, and uses just a few simple ingredients. The final product is gorgeous as well as delicious! The buttery spice from the cardamom (and cinnamon in my version, see changes below) was perfectly balanced. The crunchy topping is a game changer. Don’t skip it.

IMG_2122 2.jpeg
IMG_2120 2.jpeg

A nice recipe to keep in the repertoire when you want something elegant, but easy and fast!

IMG_2135 2.jpeg

I used a 9-inch springform pan as the recipe called for. The instant I put it in the oven the butter started dripping through onto the bottom of the oven. Ended up smelling nice and toasty, but a bit smoky and messy. So although I can’t say it would work well, next time I would probably just use a 9-inch cake pan lined with parchment (I would probably not skip the parchment if going this route. I wouldn’t skip it in the springform pan either to be honest) and see how it goes. The final cake did not stick to the sides of the pan too badly so I think a cake pan would work just fine.

IMG_2105.jpeg

My notes: I substituted 1/4 tsp ground cardamom + 1/8 tsp cinnamon for the cardamom seeds. Measured out the salt and used 1/4 tsp (wasn’t too salty). Added 1/4 tsp almond extract in with the butter because I love almond flavor. I use approximately 2.5 Tbs sugar for the pan. You could certainly do a little more or a little less. I would lean on the heavy side myself… I also used about 3-4 Tbs ground almonds in addition to the sugar to line the pan. I’m not sure how much of a difference this made, since I didn’t have anything to compare it to. Since the almond flour is so fine it may have just melted into the batter, but who knows. Without the almond flour it may have been a little less crunchy. I certainly would like to try sliced almonds next time (for texture, flavor, and for the look) but I didn’t have any. You certainly could just skip them altogether.

This cake has plenty of fat and sugar so it will last on the counter for several days without any issues! Enjoy!


Cardamom Cake
From Food52
Ingredients

  • 1 1/3 cups (264 grams) granulated sugar, plus more for the pan

  • 3/4 cup (65 grams) sliced unblanched almonds, for topping (optional)

  • 4 large eggs

  • 1 1/3 sticks (150 grams) unsalted butter

  • 1 tablespoon (9 grams) cardamom seeds [I didn’t have any so I used 1/4 tsp ground cardamom + 1/8 tsp cinnamon instead]

  • 1 1/3 cups (160 grams) all-purpose flour

  • 2 pinches salt [I used 1/4 tsp and it definitely wasn’t too salty]

  • [I also added in 1/4 tsp almond extract which wasn’t in the original recipe. I thought this was a lovely addition for those who really want some more almond flavor. So really nice, but not necessary.]

Directions
Heat the oven to 350°F. Prepare a 9-inch springform pan: Use parchment paper to line the bottom of the pan. Then butter the pan liberally and sprinkle in 2 to 3 tablespoons of sugar, and shake and tap the pan until the bottom and sides are coated with sugar. Don’t worry about extra sugar on the bottom. Cover the bottom with sliced almonds if you want a particularly crunchy topping—or, as an alternative you can also use ground almonds or bread crumbs. [I didn’t have sliced almonds so I used some almond flour. The almond flour may have been too fine to add a lot to the crunchy topping. I’d love to try sliced almonds next time.]

Using a stand mixer, cream the eggs and sugar until thick and pale and tripled in volume, about 5 minutes. Meanwhile, melt the butter. Bruise the cardamom seeds in a mortar. With a rubber spatula, quickly fold the flour and salt into the egg and sugar mixture, followed by the butter and the cardamom. Give the batter a thorough stir before tipping it into the prepared pan. Thump the pan on the counter to settle the batter.

Bake the cake until the top feels dry to the touch and springs back when lightly pressed, and a skewer or knife inserted into the center comes out dry, 30 to 35 minutes [Mine took exactly 35 minutes and was perfectly cooked.]. Remove from the oven and leave in the pan for about 5 minutes. Run a knife around the sides of the pan before inverting the cake onto a rack to cool. Remove the bottom of the pan carefully while the cake is still very warm. Let cool before serving.

Vanilla Sheet Cake

A co-worker at work asked if I could make a farewell cake for another one of our co-workers. I was honored to be ale to do this. I can’t remember the last time I’ve made a sheet cake, and honestly don’t know if I’ve ever made one from scratch! I like making layer cakes, but for this occasion a sheet cake was the perfect choice!

I found a good looking recipe on Sally’s Baking Addiction. I trust her recipes quite a lot so I figured it was a good choice. I liked that the recipe uses the reverse creaming method (I’ve had good success with this in the past) and included sour cream which is always nice in a cake. It was a pretty basic recipe I through together while the HVAC guys were at my house. Such a joy.

IMG_1982.jpeg

The frosting is a pretty standard buttercream. I always like adding a little cream to my American buttercream which is also what this recipe calls for so that was nice. It came together without issue and was easy to use to decorate.

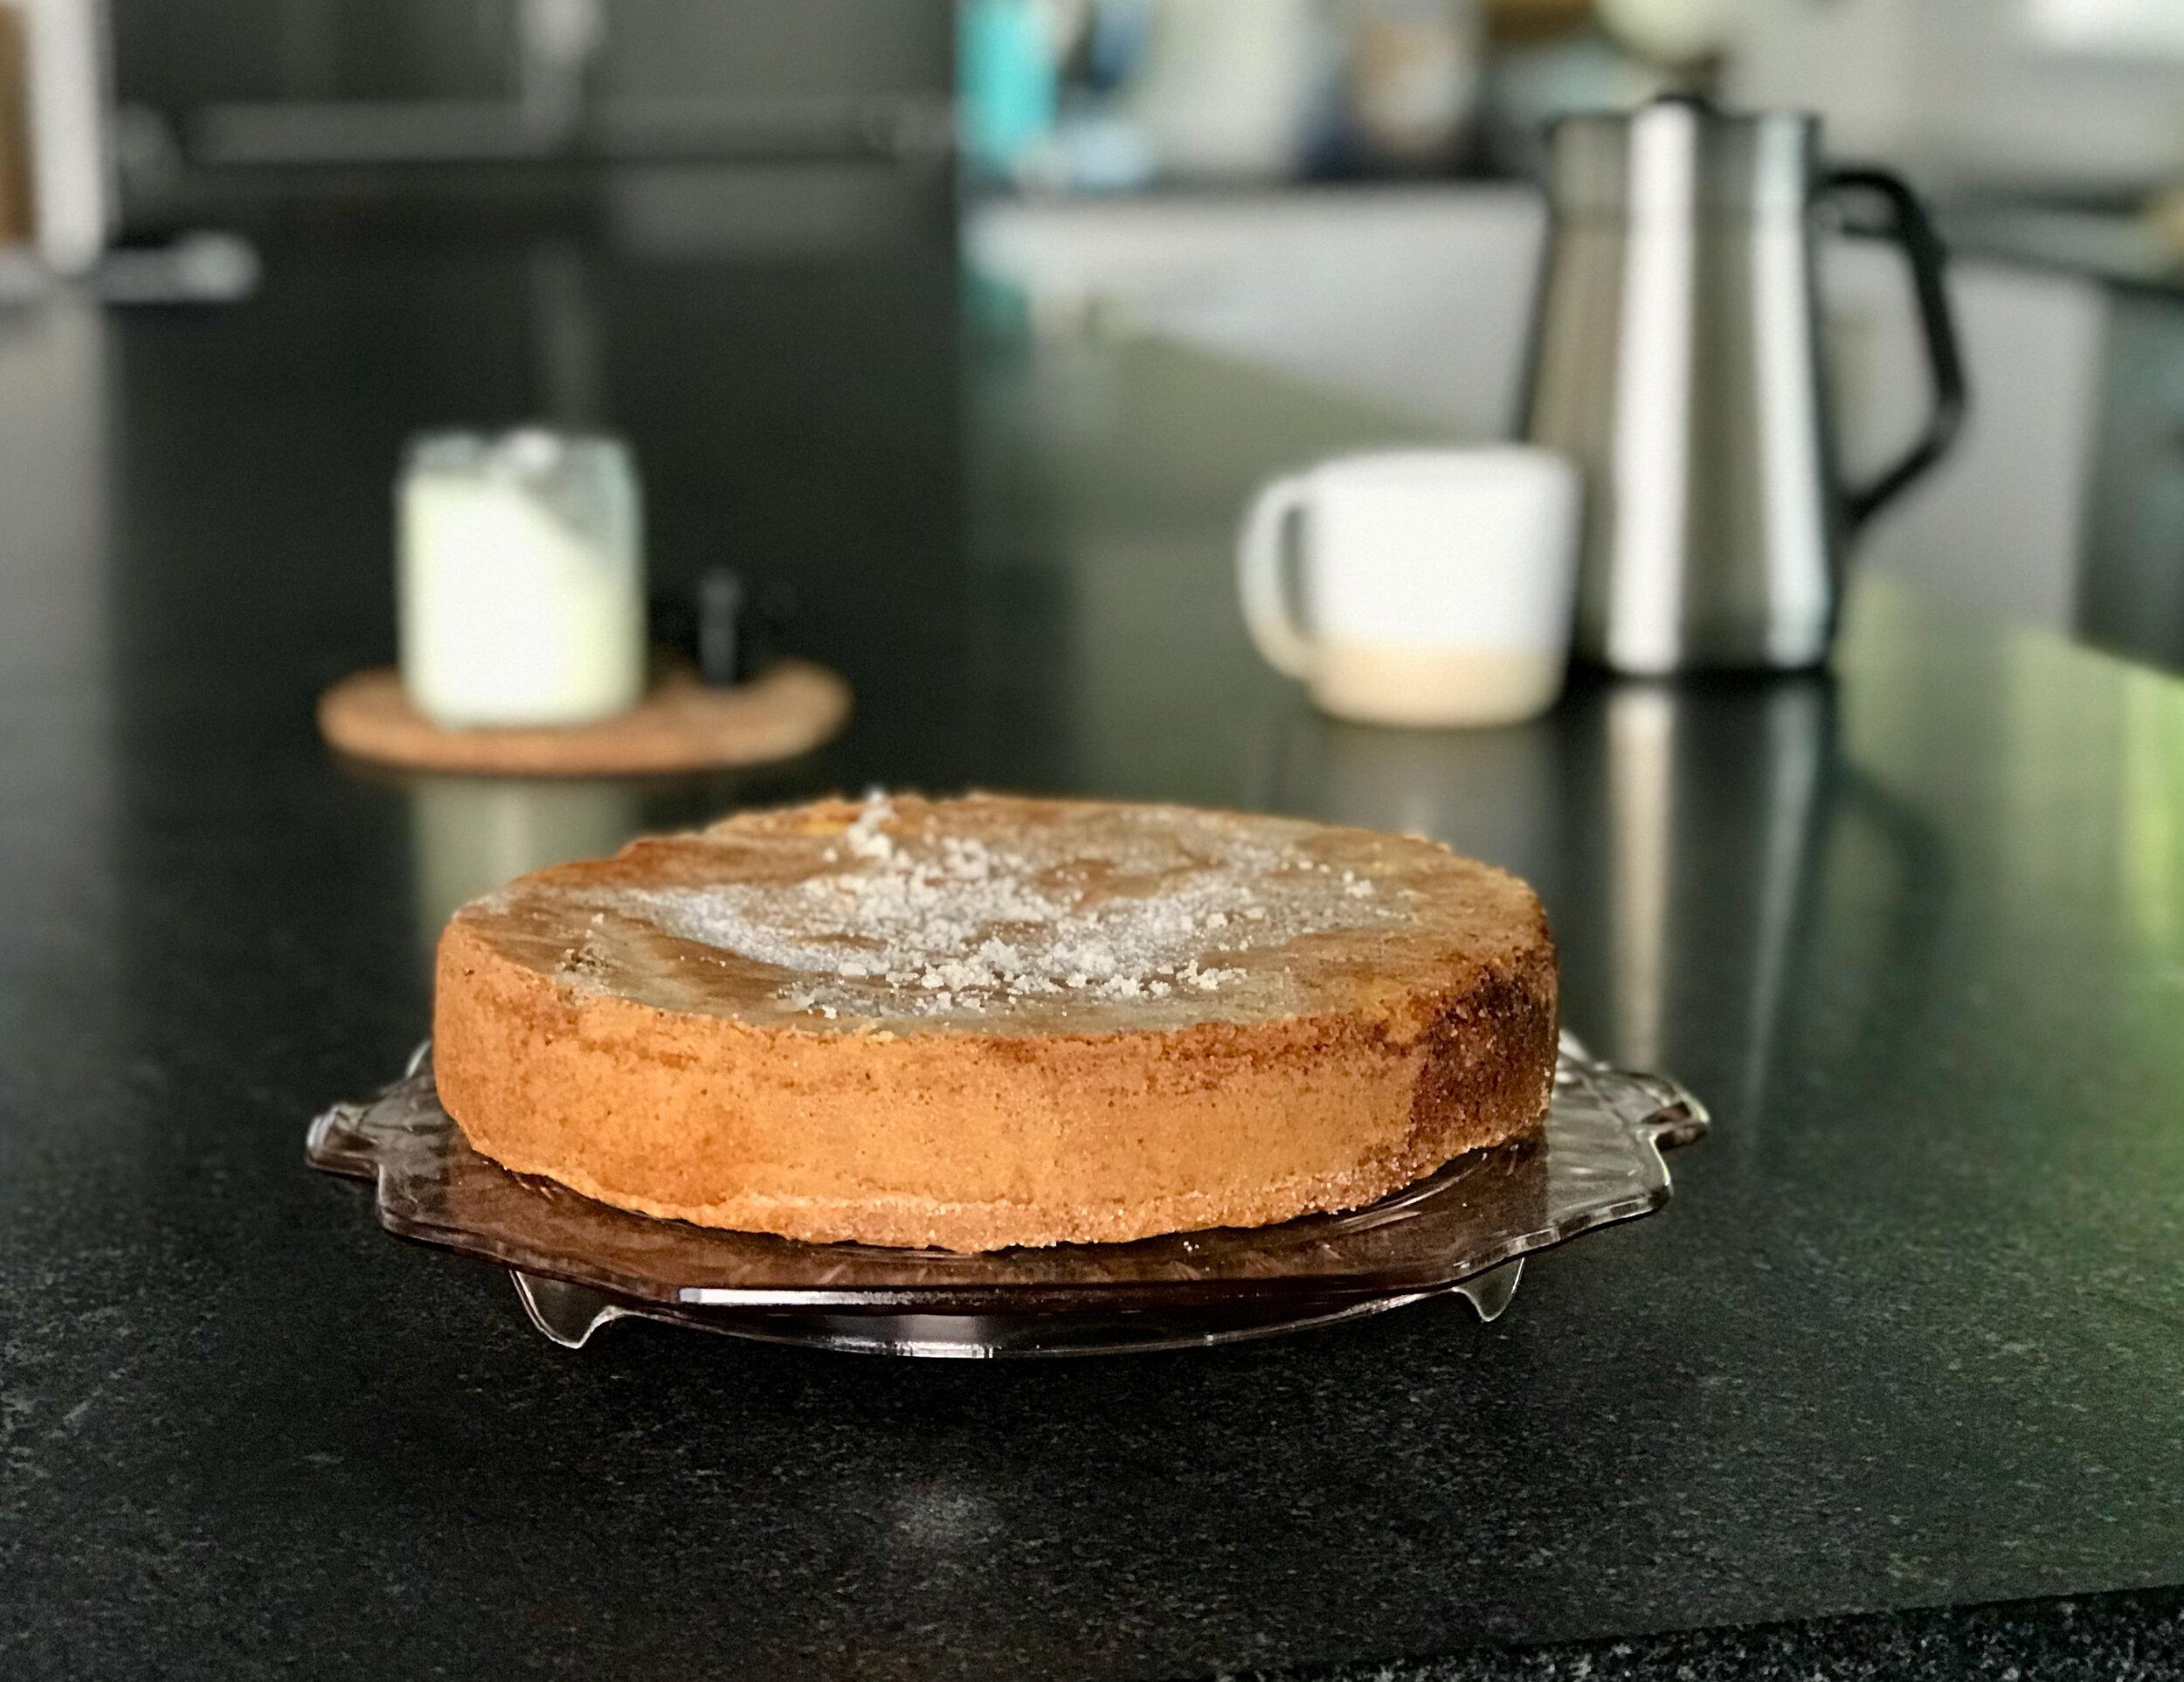
I have never actually decorated a sheet cake so this was my first go at it. I was aiming for some pale spring colors with the frosting but apparently added way too much food coloring (it was only a few drops! That stuff is potent!) so it ended up being very bright. Not quite the look I was going for, but that is ok.

All I got!

All I got!

For the piping, I really didn’t know where to start and so just went for it without a plan. I think it turned out okay. I would probably add more rosettes and stars next time, but I didn’t want to go overboard and guild the lily. I was afraid I would add too much and not be able to go back so I just stopped at the point you see in the pictures. The added dragees really helped finish off the decorating. It definitely did not look at all finished utnil I added those so I recommend the combo of frosting and sprinkles/dragess for decorating if you’re like me and don’t know how to finish off the decorating with frosting.

Final Verdict: I would for sure make this recipe again if looking for a simple vanilla/butter cake for a crowd. A good one to keep in the recipe box!

Baked up well. I started checking at 28 minutes and definitely wasn’t done yet. I believe it ended up going 34 minutes total, I kept checking every 2 minutes until done.


Vanilla Sheet Cake with American Buttercream
From Sally’s Baking Addiction
Ingredients

  • 3 cups (354g) cake flour (spoon & leveled)

    • You can “make” your own cake flour if you don’t have any on hand. I rarely do. For this recipe, whisk together 327 grams all purpose flour with 48 grams of corn starch and use that in place of the 354 grams cake flour that is listed above

  • 1 and 1/2 cups (300g) granulated sugar

  • 1 teaspoon baking powder

  • 1/2 teaspoon baking soda

  • 1/2 teaspoon salt

  • 1 cup (2 sticks; 230g) unsalted butter, cubed and softened to room temperature

  • 1 Tablespoon pure vanilla extract

  • 1 cup (240ml) whole milk, at room temperature and divided

  • 1/3 cup (80g) sour cream, at room temperature

  • 3 large eggs, at room temperature

Whipped Vanilla Buttercream

  • 1 cup (230g) unsalted butter, softened to room temperature

  • 4 and 1/2 cups (540g) confectioners’ sugar

  • 1/3 cup (80ml) heavy cream

  • 2 teaspoons pure vanilla extract

  • salt, to taste

  • optional: sprinkles for garnish

Instructions
Make the cake: Preheat the oven to 350°F (177°C). Generously grease a 9×13 inch cake pan.

Sift the cake flour, sugar, baking powder, baking soda, and salt in the bowl of a stand mixer. (Or if using a handheld mixer, any large mixing bowl.) With the paddle attachment, beat the ingredients together on low speed for a few seconds to gently combine. Add the butter, vanilla, and 1/2 cup of milk. Mix on medium speed until the dry ingredients are moistened, about 1 minute. Stop the mixer and scrape down the sides and up the bottom of the bowl. The mixture will resemble a thick dough.

Whisk the remaining milk, the sour cream, and eggs together in a medium bowl. With the mixer running on medium speed, add the egg mixture in 3 additions, mixing for about 15 seconds after each addition. Stop the mixer and scrape down the sides and up the bottom of the bowl, then mix for about 15 more seconds until batter is completely combined. Avoid over-mixing. Some small lumps are OK.

Pour and spread batter evenly into prepared pan. Bake for around 32-35 minutes or until the cake is baked through. Begin checking doneness at 28 minutes. To test for doneness, insert a toothpick into the center of the cake. If it comes out clean, it’s done. Allow cake to cool completely in the pan set on a wire rack. The cake must be completely cool before frosting.

Make the buttercream: With a handheld or stand mixer fitted with a paddle attachment, beat the butter on medium speed until creamy, about 2 minutes. Add confectioners’ sugar, heavy cream, and vanilla extract. Beat on low speed for 30 seconds, then increase to medium-high speed and beat for 4 full minutes. Add up to 1/4 cup more confectioners’ sugar if frosting is too thin or another Tablespoon of cream if frosting is too thick. Add a pinch of salt if frosting is too sweet. (I add 1/8 teaspoon salt.) Frosting should be extra fluffy.

Spread frosting in a thick layer on cooled cake. I use and recommend an offset spatula. If desired, use a piping tip to pipe some frosting and/or garnish with sprinkles. Slice and serve.

Cover leftover cake tightly and store in the refrigerator for up to 5 days.


My Notes: Baked up well. I started checking at 28 minutes and definitely wasn’t done yet. I believe it ended up going 34 minutes total, I kept checking every 2 minutes until done. End result was good. Baked through and moist. No raw parts or dry pieces.

Autumn Rose Wedding Cake

I had a fabulous night last night celebrating the wedding of my friend Corrie and her now (new) husband Jon. I have known Corrie for my entire life and am so glad that I still count her as a good friend. Our families have so made so many memories together, camping at Lake Michigan, swimming in her family's pool on many hot summer days, family vacations to Iowa, Kentucky and Florida together, and so much more. I was so excited when she asked if I would be willing to make a small cake for her and Jon to cut at their wedding. This was the perfect way for me to be a part of her special day!

It was so much fun to put this delicious cake together. If you've been following my blog, you might notice that this cake looks similar to the cake I made for my birthday last month. That was by design! On my birthday I decided to do a little test run of the cake I was thinking of making for her wedding. Happily my birthday cake turned out so well that I wasn't too nervous about how the wedding cake would turn out. I made the exact same recipe for the cake and frosting this time, but multiplied them both by 1.5 because I wanted three layers instead of two. It worked great! A beautiful triple layer chocolate cake covered it stunning fresh flowers. A fabulous cake to celebrate a fabulous couple!

Find the recipe for the cake and frosting HERE. If you want a triple layer cake like you see here, multiply all the ingredients by 1.5, use 3 cake pans instead of two and you'll be good to go!