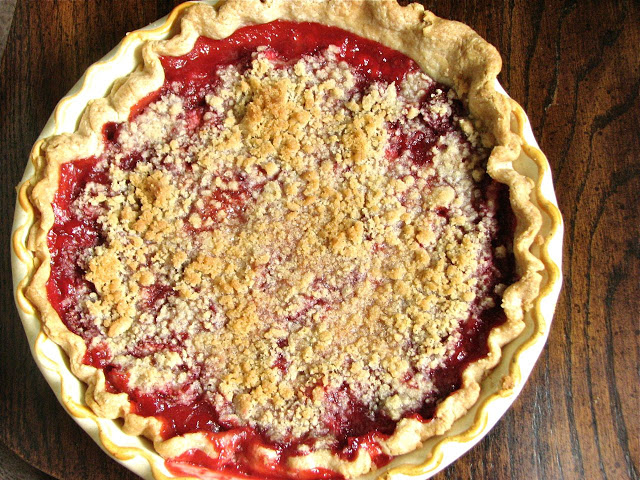
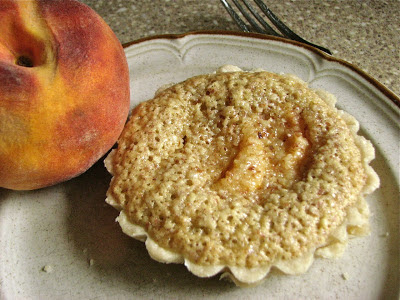
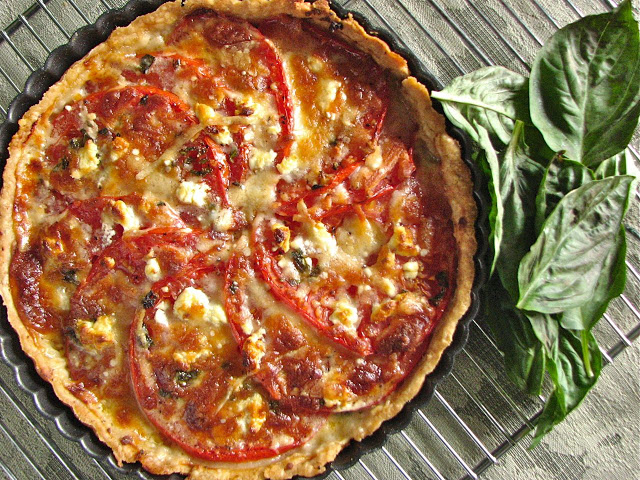
Strawberry Rhubarb Bakewell Tart
Happy Memorial Day a week late! For pretty much my entire life, this holiday has included the local Memorial Day parade which is nothing amazing, but it's tradition and I enjoy it. A lot of local businesses, schools, churches, organizations make up this event which is basically a huge ad. But I love it! And they throw candy!! :) After the parade, my family and I have been getting together with a group of good family friends for brunch which typically includes homemade waffles and whatever else people want to bring. This is usually a good time to try out a new recipe, see how it goes over with a crowd. This year I decided to go seasonal and picked a rhubarb recipe; a strawberry rhubarb Bakewell tart. A Bakewell tart is an English pastry made up of a shortcrust pastry shell with jam and frangipane. This one used strawberry jam and then topped everything with fresh rhubarb, the best combination!
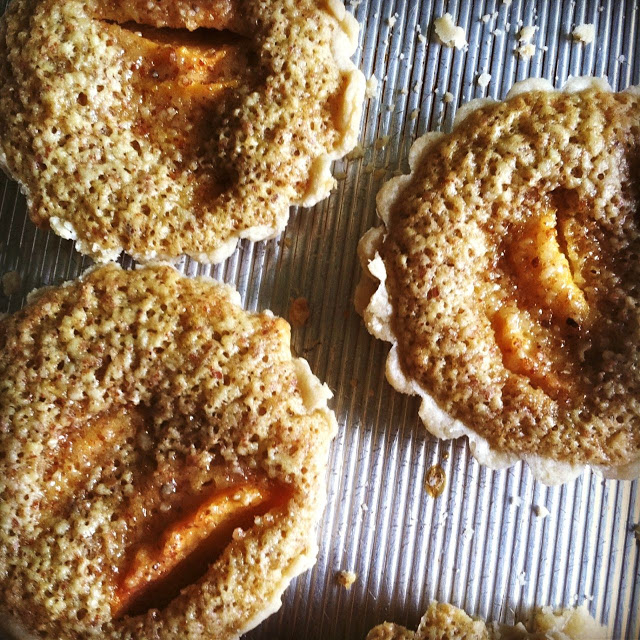
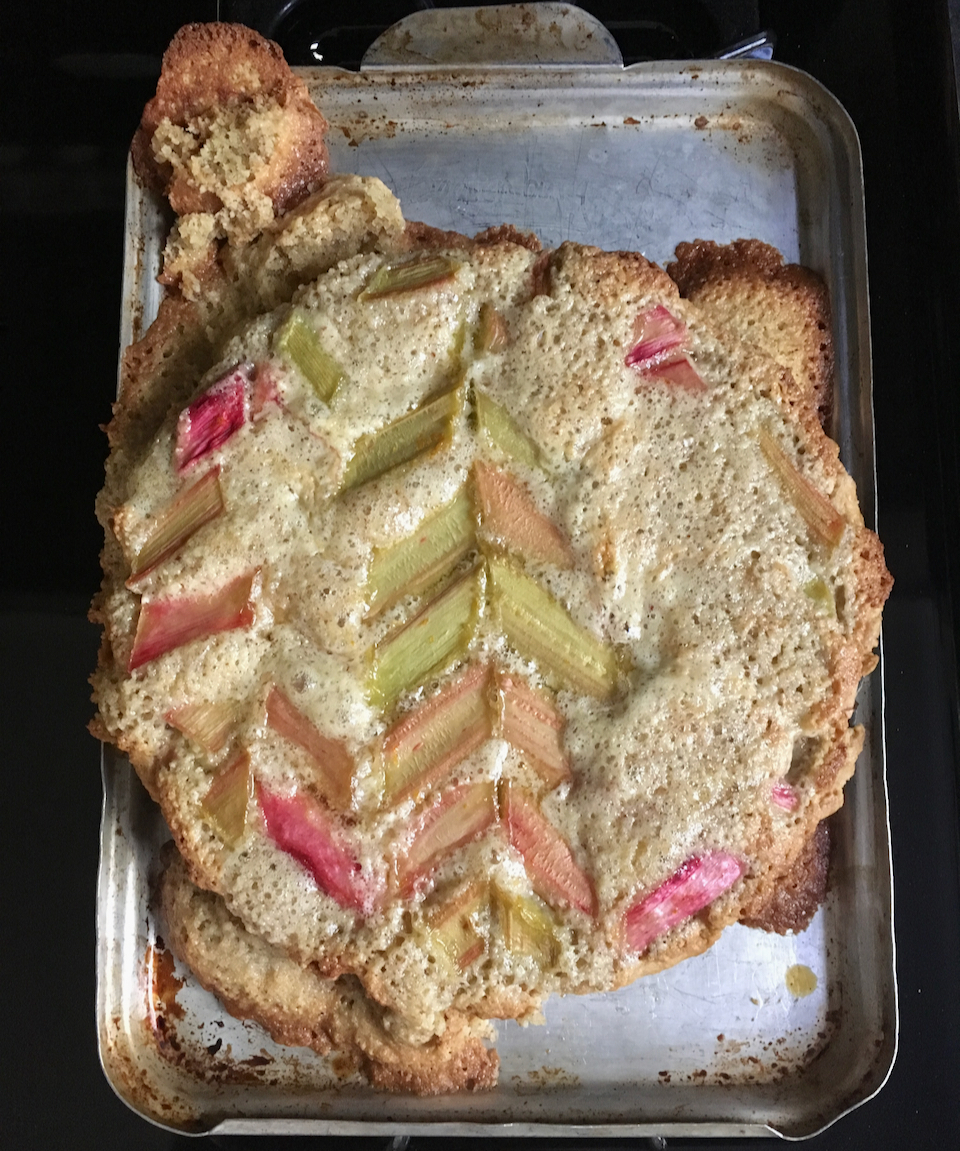
I had such a fun time making this tart. I loved layering the beautiful pink rhubarb in a herringbone pattern on top of the delicious frangipane. There are quite a few different components to this dish. None of them are especially difficult, but it does take some time to put together. I found that the amount of frangipane that this recipe made was too much from my tart pan. When making this again, I would probably cut back to 3/4 of the frangipane recipe, or even 2/3, as my frangipane overflowed all over the place. Good thing I had a baking sheet underneath the tart pan! You can see the explosion in the pictures below! It still turned out well after a little bit of clean up, no problem, just a little messy!


The saddest part of this whole Memorial Day party post is the fact that I didn't even make it to any of the festivities. I drove to my parents house in the morning to watch the parade, but as soon as I got there I was contacted by the hospital. I was on call on Memorial Day and had to turn right around and go to the hospital where I spent the next 5 hours. Sigh. I missed the parade and brunch. My sister brought my tart to lunch so everyone else could enjoy, but I did not get to join in the party. I was super bummed. But such is life. At least I got to have a fun time putting it all together!

Strawberry Rhubarb Bakewell Tart
Adapted from Broma Bakery
Ingredients
For the Tart Shell (pate sucree)
- 6 tablespoons butter, room temperature
- 1/4 cup granulated sugar
- 3 egg yolks, room temperature
- 1 1/2 cups all purpose flour
For the rhubarb
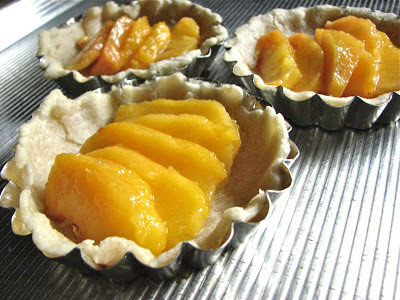
- 500 grams rhubarb, cut into short lengths (bias cut if using “herringbone” pattern on top)
- 1 cup granulated sugar
- 1 small orange, zested and 2 tablespoons juice
- 8 ounces Strawberry preserves
For the frangipane
- 12 tablespoons butter, softened
- 3/4 cup granulated sugar
- 1 cup (100 grams) ground almonds
- 2 large eggs
- 1 teaspoon almond extract
- 1 teaspoon baking powder
- 1/2 teaspoon salt
- 6 tablespoons all purpose flour
Directions
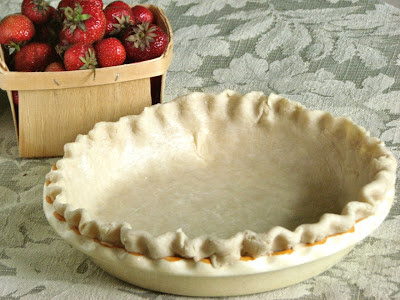
For the pate sucree: With paddle attachment cream the butter and sugar together in a bowl until fluffy then beat in the egg yolks, one at a time, until fully incorporated into the mixture. Mix in the flour until it comes together as a ball of dough being careful not to overmix and then, by hand finish incorporating flour remaining at bottom of bowl.|
Form into a dis and wrap the pastry then chill for 30 minutes, but up to 1 day.
When ready to bake: Roll out, between cling wrap and fit into standard sized tart shell. Prick the dough (and rechill if it has warmed up too much) and then using baking beads or rice, blind bake at 350°F until the dough is golden brown (about 20 min).
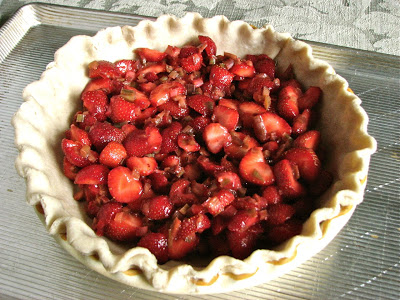
Toss the rhubarb with sugar, orange juice, and orange zest. Let sit in fridge (up to overnight).
Spread strawberry jam over bottom of par cooked shell.
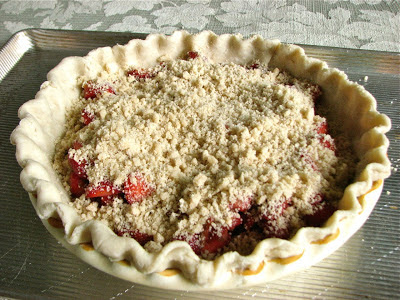
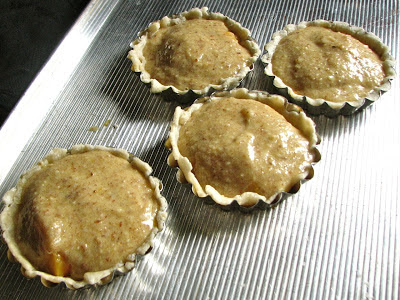
For the Frangipane: Beat together the sugar, butter, almonds, eggs, almond extract, baking powder, salt and flour until creamy. Spoon the mixture over the strawberry-rhubarb purée.
Arrange the rhubarb on top of the frangipane. If using the herringbone method, place rhubarb accordingly. Bake for 50-55 minutes, or until golden and risen. Cool in the tin until warm.