Cornmeal Sourdough Bread

I've got another great sourdough bread recipe today. It's a super simple loaf that comes together very quickly and bakes up beautifully. This bread slices up well and makes the best sandwiches. Made with a majority whole wheat flour for nutrition, but with a little white flour for optimal texture, it's just the right combination. I included a little butter for additional tenderness and flavor, and a little honey for just a hint of sweet, just how I like it. This recipe is great for me, allowing me to use up some sourdough starter without even thinking ahead since I used the cold starter straight from the fridge. Maybe sourdough purists would be appalled, but it works for me in my life and kitchen. If this sounds appealing to you, I encourage you to give this recipe a try.    

IMG_0624.jpg

I got some GREAT oven spring out of this bread! It's always exciting to take that first peek into the oven about halfway into baking and see how beautifully tall the bread has risen above the top of the pan. It makes me so happy! This bread has a nice dark brown crust, with a fluffy and light interior, just fantastic. And it's a really easy and quick recipe as yeasted bread goes. I've managed to get it all done in 4.5 hours start to finish. You'll need about another 2 hours to let it cool before slicing, but overall pretty simple and quick. 

 
IMG_0628.jpg
IMG_0626.jpg
IMG_0631.jpg
IMG_0633.jpg
 

Cornmeal Sourdough Bread
Adapted from Easy Sourdough Loaf
Ingredients

  • 110 grams sourdough starter; cold, unfed from the fridge
  • 250 grams whole wheat flour
  • 100 grams all purpose flour
  • 30 grams coarse grind cornmeal
  • 8 grams salt
  • 1 1/4 teaspoons yeast
  • 30 grams butter, softened
  • 15 grams honey
  • 180 grams water

Directions
In the bowl of a stand mixer fitted with a dough hook, combine all of the ingredients. Mix in low speed until the ingredients are incorporated, adjusting the water as needed to achieve a medium dough consistency (you may need additional water). Continue mixing to in medium speed to a medium-high level of gluten development.

Transfer the dough to a lightly oiled container. Cover and let rise until doubled in size, about 1 1/2 hours. 

Turn the dough into a lightly floured counter and shape into a tight loaf. Generously butter a 8.5 x 4.5-inch loaf pan. Place the dough, seam-side-down, into the prepared pan. Proof, covered, for 1 hour, or until the top of the dough has risen to about 1.5 inches above the edge of the pan.

Meanwhile, preheat the oven, with baking stone on the bottom rack, to 425F. Once you are ready to bake, place loaves in the oven, reduce the temperature to 400 degrees and bake for 25 minutes. Take the loaf out of the oven, remove the loaf from the pan, and place it directly on the baking stone, and bake for approximately another 15 minutes, until the crust is a deep golden brown. Remove from oven and place on a cooling rack. Let bread cool completely before slicing. 

Simple Buttermilk Cornbread

Yesterday was an absolutely amazing day here in west Michigan, almost 60 degrees and sunny in January - what?? Crazy, but simply wonderful! It felt like late spring which I am a big fan of. I took a walk with a light jacket and sunglasses and loved every minute of it! However, this is definitely NOT normal for late January and today it's back to reality. Wet, cloudy and cold. Sigh. 

One of my favorite parts of winter are all the stews and soups and braises that are the perfect thing for cold, damp days such as today. I think my favorite of all is a thick and jammy chili with ground beef and beans, peppers and spices and lots of tomato. Mmmm. I don't like my chili thin and soupy, I want it nice and thick, sweet and spicy and covered in melted cheddar cheese! And what is chili without cornbread? Sad is what it is. There is no question in my book that when chili is on the menu, cornbread is going in the oven.

I have several cornbread recipes on this site already and I love them all. Recently however I was looking for a very simple cornbread recipe that wasn't quite as rich and sweet as most of these other recipes. Just a good, basic cornbread that was full of corn flavor and more rustic than some. More on the "Southern cornbread" side of things. This recipe that I adapted from Bon Appetit was perfect. A little richness from the buttermilk and egg with a little bit of butter, and just a hint of sweetness from one tablespoon of brown sugar. This is a chili lover's cornbread for sure. 

I adapted the original recipe to fit a 6-inch cake pan. This is the perfect size for me when I'm baking for myself, but if you want to use a standard pan check out the original recipe. I used locally ground coarse cornmeal in my bread which is sweet and slightly crunchy and delicious. I highly recommend seeking out some good quality cornmeal, it's worth the effort. Now head into the kitchen and get that chili started, you have cornbread to make!


Simple Buttermilk Cornbread
Adapted from Bon Appetit
Ingredients

  • 1 1/2 tablespoons unsalted butter, melted and cooled
  • 2/3 cup (80 grams) all-purpose flour
  • 2/3 cup (105 grams) stone-ground cornmeal
  • 1 tablespoons (12 grams) brown sugar
  • 1 1/2 teaspoons baking powder
  • 1/2 teaspoon kosher salt
  • 3/8 teaspoon baking soda
  • 1 large egg, beaten 
  • 3/4 cup buttermilk

Directions
Preheat oven to 350°. Butter 6-inch round pan. Whisk flour, cornmeal, sugar, baking powder, salt, and baking soda in a large bowl. Whisk together egg, and buttermilk in a medium bowl. Whisk egg mixture into dry ingredients until just combined (batter will be slightly lumpy). Mix in butter.

Scrape batter into baking dish and bake cornbread until a tester inserted into the center comes out clean, 25–30 minutes.

Lime Cornmeal Cookies

I first made these cornmeal cookies 5 years ago when I was living in Dearborn. So much has happened since that time, but one thing that has not changed is how delicious these cookies are. That first batch was back in the early years of this blog and the photos on that first post were not so hot (if you're interested in taking a look you can see it here). I thoughts it was time to revisit this recipe and give it the photos it deserves. 

It had been a little while since I'd made a batch of these cookies, but I was having some friends over for a Bible study and the food I was making was full of Mexican flavors so I thought these cookies would be the perfect dessert to finish off the night with. They are buttery and tart with a wonderful crunchy texture from the cornmeal. The lime glaze on top really finishes them off nicely. All around a great cookie that's just a little bit different than the usual. Everyone I served them to loved them, so I'm sure anyone you serve them to will love them too! 

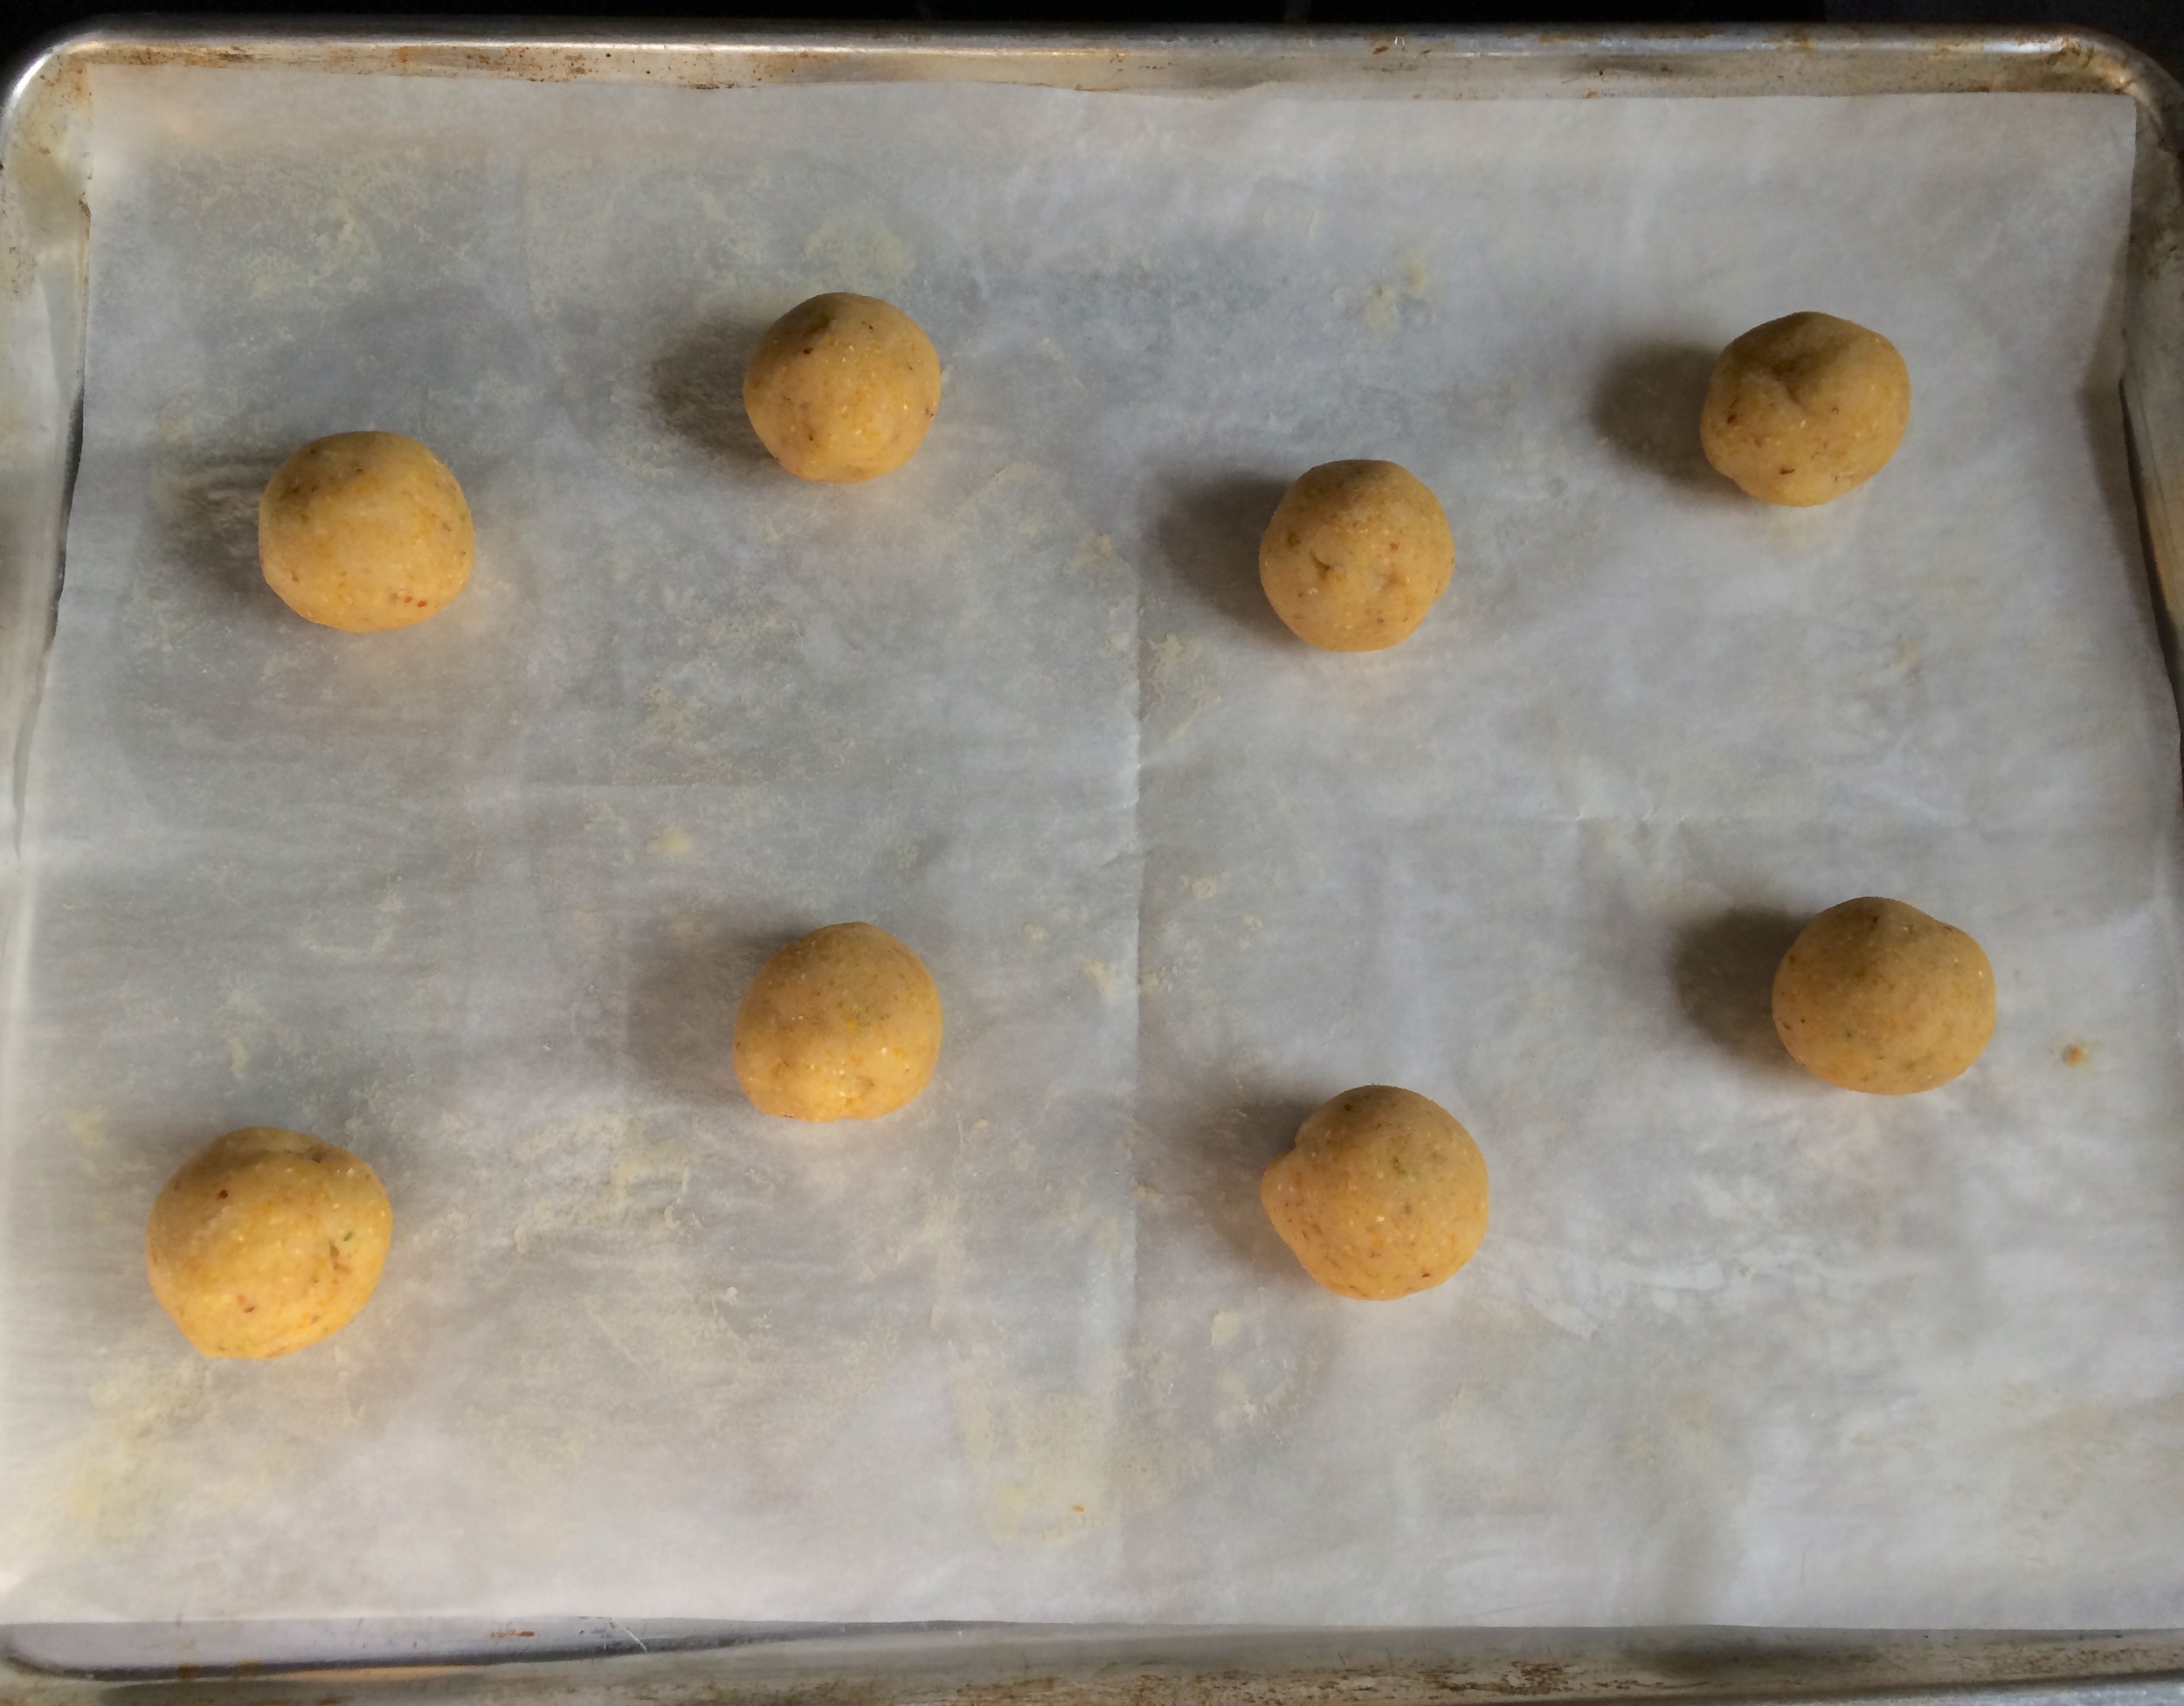
I halved the original recipe this time, the full batch makes quite a few cookies and I didn't need that many on this occasion. When shaping them I used my scale and made each cookie 30 grams, this yielded 17 cookies that were the perfect size in my opinion. The recipe calls for 90 grams cookies but that is just massive. I'm sure they'd be awesome, but I didn't feel the need to make mine this big. I ended up chilling the dough overnight before baking which is not called for in the original recipe, but the dough was fairly soft, and I had the time to throw it in the fridge before I needed to bake. The cookies might spread a little more if you don't chill the dough, but I haven't tested this. They did spread a bit regardless of the chilling, so just make sure there is enough space between each ball of dough before putting in the oven. And if you're feeling tempted to skip the lime glaze as I was...don't! It really finishes off the cookies perfectly - the sweet and tart glaze complements the crunchy and buttery cookie and brings them up a notch. Plus, it just looks so cute! 


Lime Cornmeal Cookies
Adapted from The Sweeter Side of Amy's Bread by Toy Kim Dupree and Amy Scherber

  • 3/4 cup (3 1/2 ounces) all purpose flour
  • 1/2 cup (3 ounces) coarse cornmeal or fine grits
  • Scant 1/2 cup (2 ounces) bread flour
  • 7/8 teaspoon kosher salt
  • 1/2 teaspoon baking soda
  • 1/2 cup plus 2 tablespoons (4 3/8 ounces) granulated sugar
  • 1/2 cup (4 ounces) butter, slightly softened
  • 3/4 ime zest, finely minced
  • 1 egg
  • 1 egg yolk
  • 1 cup powdered sugar
  • 1 1/2 tablesppons lime juice

Directions
Preheat the oven to 350 degrees. Line a cookie sheet with parchment paper.

In a bowl, add the all-purpose flour, cornmeal, bread flour, salt and baking soda and whisk together. Set aside. 

In another bowl, using an electric mixer with a paddle attachment, cream the sugar, butter and lime zest together on medium speed for 2 minutes, or until light and fluffy, scraping the sides and bottom of the bowl frequently. Add the egg and egg yolk, mixing until every thing is well combined.

With the mixer on medium-low speed, add the dry ingredients in stages. Mix only until everything is well combined, scraping the sides and bottom of the bowl frequently. There should not be any pockets of dry flour left in the dough. At this point, you can refrigerate the dough overnight, or move on immediately to the next step. 

Portion the dough into individual balls, rolling them between your hands to make them uniform. Place them on the cookie sheet with an inch or two between each cookie. They will spread during baking. (The original recipe calls for you to make giant cookies, 90 grams/3.2 ounces of dough each, which is huge and wonderful. However, I made my balls of dough a little more reasonably sized at 30 grams, 1-2 tablespoons, each.) This dough will be soft, so don't flatten the dough balls at all before baking. Bake the cookies for 16-18 minutes, rotating the cookie sheet halfway through the baking time. The cookies should be lightly browned on the edges and baked all the way into the center. They should be soft, but be careful not to underbake them or the centers will collapse and be doughy.

Cool the cookies on the sheets for 5 minutes, then move them to a rack and cool completely before glazing.

Whisk together the confectioner's sugar and the lime juice to make a loose glaze. Use a 2 inch pastry brush to frost the top of each cookie, leaving an unfrosted 1/4 inch border around the edge. Let the glaze dry completely before storing the cookies in an airtight container.

Sweet Honey Cornbread

It's been officially fall now for about a week. This is always a bittersweet time for me. I love summer, and I'm sad to see it go, but I do also love watching the changing seasons. My least favorite part of this time of year is the cooler weather because I am pretty much cold all the time, so it only gets worse as winter comes. However, one of my favorite parts of fall is the warm, comforting foods, the soups, stews and braises, the pumpkin bars and other tasty fall treats. These can help warm me up on a cold fall or winter night.

One of my favorite cooler weather dishes is chili, and what goes better with chili than some delicious corn bread. Corn bread is one of my favorite quick breads, I really need to make it more often! I'm partial to a sweeter and richer cornbread. For anyone who likes a coarser, Southern style cornbread this probably won't be what you're looking for, but for me it is perfect. Nice and moist due to a good amount of butter as well as some buttermilk, and sweetened with a little honey mixed with some brown sugar. It's the perfect combination in my opinion, perfect for the cooler fall weather, or anytime really!

This is a nice, simple recipe that is easy to whip together, and freezes well. I just cut it into squares and throw them in the freezer. When I need a little cornbread to complete my meal, I just pull out a square or two and let them thaw for a few minutes on the counter. Or, if you're in a hurry, pop them in the microwave for a few seconds on the defrost setting. Voila! A slice of perfectly delicious cornbread!

Sweet Honey Cornbread
Adapted from Sally's Baking Addiction
Ingredients

  • 1 cup (120g) cornmeal
  • 1 cup (125g) all-purpose flour
  • 1 teaspoon baking powder
  • 1/2 teaspoon baking soda
  • 1/8 teaspoon salt
  • 1/2 cup (115g) butter, melted and slightly cooled
  • 1/4 cup (50g) packed light brown sugar
  • 2 Tablespoons (42 grams) honey
  • 1 large egg
  • 1 cup (about 8 ounces) buttermilk

Directions
Preheat oven to 400°F (204°C). Grease and lightly flour an 8 or 9-inch square baking pan. Set aside.

Whisk together the cornmeal, flour, baking powder, baking soda, and salt in a large bowl. Set aside. In a medium bowl, whisk the cooled melted butter, brown sugar, and honey together until completely smooth and thick. There should be no brown sugar lumps. Then, whisk in the egg until combined. Finally, whisk in the buttermilk. Pour the wet ingredients into the dry ingredients and whisk until combined. Avoid over-mixing.

Pour batter into prepared baking pan. Bake for 20 minutes or until golden brown on top and the center is cooked through. Use a toothpick to test. Edges should be crispy at this point! Allow to slightly cool before slicing and serving. Serve cornbread with butter, honey, jam, whatever you like. Wrap leftovers up tightly and store at room temperature for up to 1 week.

Pumpkin Cornbread

I think every good meal should have a starch of some kind, whether that's some kind of bread, pasta, rice, potato, you know what I mean. When I had my brother and sister-in-law over for lunch a few weeks ago I decided to make chicken fajitas and even though I had already made some soft flour tortillas, that was more of the main dish and I decided that we needed something else on the side, some kind of starch. I have had this pumpkin cornbread pinned for a while now, and since it is fall and I'm in the pumpkin spirit it sounded like the perfect thing. 

It was the perfect thing. I thought this cornbread was absolutely delicious. I'm a big cornbread fan in general so it wasn't too big of a jump for me to love this recipe too. I was pleasantly surprised by the fact that it is fairly healthy as cornbread goes. I like my cornbread sweet and moist, I am not a big fan of the leaner, dry and crumbly cornbread that some people like. A lot of recipes (my favorite Cornbread Muffins included) are nice and rich, full of butter, milk and sugar. All good things but sometimes I want something a little leaner and this recipe fit the bill. 1/4 cup oil is the main fat, and I think next time I'll see what happens if I replace some of the oil with yogurt. Some sugar and a few eggs round out the main ingredients, and the pumpkin too of course, a nice amount of it for a good amount of moisture. They all come together to create this perfectly delicious, and beautifully golden cornbread, good as a simple side dish with any meal all year long. 

If you are worried about adding pumpkin to cornbread, don't be. I couldn't at all tell that it was there. The only thing I noticed was the beautiful golden color that it added to the bread, the flavor wasn't affected in the least bit. A good way to sneak a little vegetable into your meal without even trying. Like most cornbread, this recipe is a synch. Mix together the dry ingredients, then mix together the wet ingredients. Combine the two and throw the whole thing into the oven. Couldn't be simpler, and really couldn't be more delicious. If you like cornbread at all I highly recommend you give this recipe a try, I think you'll be pleasantly surprised. 

The perfect side to a wonderful lunch of chicken fajitas

Pumpkin Cornbread

Adapted from 

Deliciously Yum

Ingredients

  • 1 cup flour
  • 1 tablespoon baking powder
  • 1 teaspoon salt
  • 1/3 cup brown sugar
  • 1 cup cornmeal
  • 2 eggs
  • 1 cup pumpkin purée
  • 1/4 cup canola oil

Directions

Preheat oven to 400 degrees F. Grease an 8 x 8 baking dish and set aside. Whisk together the flour, baking powder, salt, brown sugar, and cornmeal.

In another bowl, beat 2 eggs and add pumpkin purée, oil and honey. Mix until well combined and slowly stir into the dry cornmeal mixture. Stir until well incorporated and pour into baking dish. Even out the surface of the cornbread mixture and put into oven. Bake for 25-30 minutes or until a toothpick inserted in the middle comes out clean. Let cool for at least 15 minutes before cutting.

Olive Oil Cornmeal Cake

This cake actually made its appearance a couple of months ago, but I kind of forgot about it. Not because it wasn't memorable, but because I forgot I took any picture of it. I'm happy to share it today because it brings back some wonderful memories of the end of summer, spending time with friends, and eating outdoors on a beautiful late summer night. This simple cake is an elegant ending to any meal. The flavors of the olive oil and the wine really shine through, but in a subtle and wonderful way. They add such a unique flavor that, combined with the slightly gritty texture of the cornmeal, perfectly finish off a relaxing evening. 

I really enjoyed the wine in this cake, but I'd like to also try it with the orange juice. I didn't end up using the orange zest when I made it, but if I ever make it with orange juice instead of the wine I would definitely add the zest. I also wondered if buttermilk would work instead of the wine or orange juice, just as something different. I might give that a shot some time. But then again, I liked the wine so much, I might not try anything else!

Olive Oil Cornmeal Cake
From Martha Stewart
Ingredients

  • 1/2 cup olive oil
  • 2 eggs
  • 1 cup sugar, plus 1/3 cup for topping
  • 1/2 cup dry white wine (or orange juice)
  • 1 1/4 cup flour
  • 1/2 cup cornmeal
  • 2 teaspoons baking powder
  • 1 teaspoon salt
  • Finely grated zest of 1 orange (optional)

Directions

Preheat oven to 375 degrees. Brush bottom and sides of an 8-inch round cake pan with oil; line bottom with a round of wax or parchment paper, and brush paper with oil.

In a large bowl, whisk together oil, eggs, 1 cup sugar, and wine until smooth. Add flour, cornmeal, baking powder, salt, and orange zest; whisk gently to combine.

Pour batter into prepared pan; sprinkle top evenly with remaining 1/3 cup sugar (topping will be thick). Bake until cake begins to pull away from sides of pan and a tester inserted in center comes out clean, 35 to 40 minutes.

Cool in pan 20 minutes. Run a knife around edge of cake; invert cake gently onto a plate, and remove parchment paper. Reinvert cake onto a rack to cool completely. Serve with orange segments, if desired.

Chickpea Pot Pie

I found this recipe last fall and the idea stuck with me for a while until I couldn't resist any longer. A potpie with chickpeas instead of chicken intrigued me. Since I love chickpeas I know it just had to be a great idea. I've played around with the recipe just a little bit, tweaking it for my tastes, and while I may make a couple more minor alterations in the future, I had to share this recipe now because I think it's so yummy! Chickpeas, sweet potatoes, onions, carrots and peas, all mixed together in a slightly thickened stock and covered with a healthy layer of cornbread. It's a modern day pot pie, and that's just how I like it.

The only thing I might do differently in the future for this recipe is increase the filling. It's such a good filling, and with the amount of cornbread that's on top, I found myself wanting more. Other than that I don't think I'd change a thing. The filling is so colorful and delicious, and the cornbread is an amazing idea for a topping. So much easier than pie dough! This is a recipe I'll be coming back to again and again.

Chickpea Potpie with Cornbread Crust
Adapted from Eats Well With Others
Ingredients
Veggie Base

  • 2 cups chopped sweet potatoes

  • 1/2 cup chopped carrots

  • 1 tbsp olive oil

  • 1 medium onion, chopped

  • 2 cloves garlic, minced

  • 1/4 white wine

  • 1/4 cup AP flour

  • 2 cups vegetable broth

  • 2 cups cooked chickpeas

  • 3/4 cup frozen baby peas

  • 1 tsp kosher salt

  • cracked pepper

  • dash of Sriracha

Topping

  • 3/4 cup cornmeal

  • 3/4 cup AP flour

  • 1 tbsp baking powder

  • 1 1/2 tbsp sugar

  • 1/2 tsp salt

  • 3/4 cup milk

  • 2 tbsp vegetable oil

  • 1 large egg yolk, slightly beaten

Directions
Boil the potatoes and carrots until tender but not soft and set aside, or alternately, toss with olive oil, salt and pepper and roast at 400° until tender, 20-25 minutes. 

Spray a 2-quart casserole with cooking spray. Preheat oven to 400° if you aren't already using it for the carrots and potatoes. 

For the filling, heat a large saucepan until hot. Add the oil and onions. Saute onions until they are soft, about 5 minutes. Add the garlic and sauté for about 30 seconds more. Add the wine and cook until it has mostly evaporated. Sprinkle in the 1/4 cup flour and cook for about 1 minute, until no longer raw. Slowly pour in the vegetable stock whisking well with a wire whisk. Still using the whisk, cook the mixture over medium heat until thickened and bubbly, about 2 to 3 minutes. Add the chickpeas, peas, cooked potatoes and carrots, salt, pepper to taste, and Sriracha. Cook on medium heat until the mixture is heated through, about 2 to 3 minutes. turn into the prepared casserole dish, spreading evenly. 

For the crust, in a bowl combine the cornmeal, 3/4 cup flour, baking powder, sugar, and salt. In a small bowl, combine the milk, oil and egg yolk. Add to the dry ingredients and mix until uniform but a bit lumpy. Spoon the batter evenly over the filling. It might not look like a lot, but it will poof up nicely while cooking and cover all the filling.

Bake until the top is golden brown, about 22 to 25 minutes. Let cool 5-10 minutes before digging in. 

Bagels

In case you haven't noticed, I have a rather large sweet tooth and enjoy having a nice sweet for breakfast on a regular basis. Hence, a lot of my baking tends to lean towards the sugar filled finished product. This does not mean however, that I always need to have something sweet in the morning, this recipe proves that. I've been wanting to make both bagels and English muffins for some time now, and I can finally cross one of those off my baking to-do list. Who doesn't love a fat, chewy bagel, covered in butter, cream cheese or my personal favorite, topped with a couple of slices of swiss cheese and then toasted in the toaster oven. Savory and delicious and oh so delectable, even if they aren't loaded with sugar.

These bagels were fun to make, but they definitely aren't quick to put together. They take two days to complete, with most of the work done on day 1. Making the dough, letting it rise, and shaping are all done on this first day, and then the shaped bagels are left to sit in the fridge overnight and develop a lot of yummy flavor. Day two is just for boiling and baking, the fun part!

I ended up making 10 bagels from this recipe but the recipe says it makes 12 large or 24 mini bagels, so you can really make however many you want. However many you end up making, you won't be disappointed. These bagels ended up full off flavor, chewy and not at all dry; they toasted up beautifully and were perfect for breakfast, finished off with your favorite topping. I would for sure make these again, they really were wonderful. As fresh as you'll find anywhere, and just as good, if not better.

Getting the sponge ready

Mix it together and let it do its magic for 2 hours

2 hours later, nice and poofy

Add in the rest of the dough ingredients

Knead it up until smooth

Divide the dough

Shape into bagels, aren't they cute?

Into the fridge for an overnight retard

The next day, time to boil

All done swimming and ready for the oven

Out of the oven and ready to eat!

Yum, ready for toasting and buttering

Bagels
From The Bread Baker's Apprentice by Peter Reinhart
Ingredients
Sponge

  • 1 teaspoon instant yeast 
  • 4 cups bread flour 
  • 2 1/2 cups water 

Dough

  • 1/2 teaspoon instant yeast 
  • 3 3/4 cups bread flour 
  • 2 3/4 teaspoons salt 
  • 2 teaspoons malt powder or 1 tablespoon brown sugar 

To Finish

  • 1 tablespoon baking soda 
  • cornmeal for dusting 
  • Any toppings of your choosing (sesame seeds, poppy seeds, kosher salt etc.) 

Directions
Start by making the sponge: mix together the yeast and flour in the bowl of a stand mixer. Add the water and stir only until it forms a smooth batter (like pancake batter). Cover the bowl and let sit for about 2 hours at room temperature until the mixture is bubbly and foamy and swells to about double the original size.

Make the dough: int eh same bowl, add the additional yeast to the sponge and stir to combine. Add 3 cups of flour and all of the salt and malt or brown sugar. Mix on low speed until the ingredients form a ball, all the while mixing in the additional 3/4 cup of flour.

Knead the dough for about 6 minutes in the mixer until firm and stiff but still pliable and smooth with no traces of flour remaining. Add more water or flour as needed. The dough should be satiny and pliable but not tacky. Immediately divide the dough into equal size pieces and form them into rolls. Cover the rolls and allow them to rest for about 20 minutes.

Line 2 sheet pans with parchment and mist with oil. Shape the bagels either by poking a hole in the dough and rotating you thumb around inside the hole to widen it to about 2 1/2 inches in diameter (try to stretch the dough as evenly as possible) or by rolling the dough into a 8 inch rope and wrapping the rope around the palm of your hand, overlapping the ends and pressing the ends into the counter, rocking your hand back and forth to seal.

Place each shaped bagel onto the parchment lined pans. Mist them lightly with oil and cover with plastic wrap. Let the pans sit at room temperature for about 20 minutes.

Use the float test to see if the bagels are ready to go into the fridge to be retarded. Fill a bowl with cool water. Drop the bagels into the water. If they float within 10 seconds they are ready for the fridge. If they don't float, return the bagel to the pan, dry it off, and check again in 10 to 20 minutes. Once the bagels pass the float test place the covered pans in the fridge overnight (or up to 2 days).

The next day, or whenever you are ready to make the bagels, preheat the oven to 500 degrees. Bring a large pot of water to boil and add the baking soda. Remove the bagels from the fridge and gently drop them into the water, don't overcrowd the pot. After 1 minute, turn them over and boil for another minute (if you like really chewy bagels, let them boil for 2 minutes a side). While the bagels are boiling, sprinkle cornmeal on the parchment paper. Return the boiled bagels to the cornmeal lined parchment paper and repeat with remaining bagels. If you want to top your bagels, do so right after they come out of the water.

When all the bagels have been boiled, place the pans in the middle of the oven and bake for 5 minutes. Rotate the pans and switch shelves and lower the oven to 450 degrees and continue baking for about 5 minutes, or a little longer if you prefer them darker.

Remove pans from oven and let bagels rest for at least 15 minutes before serving.