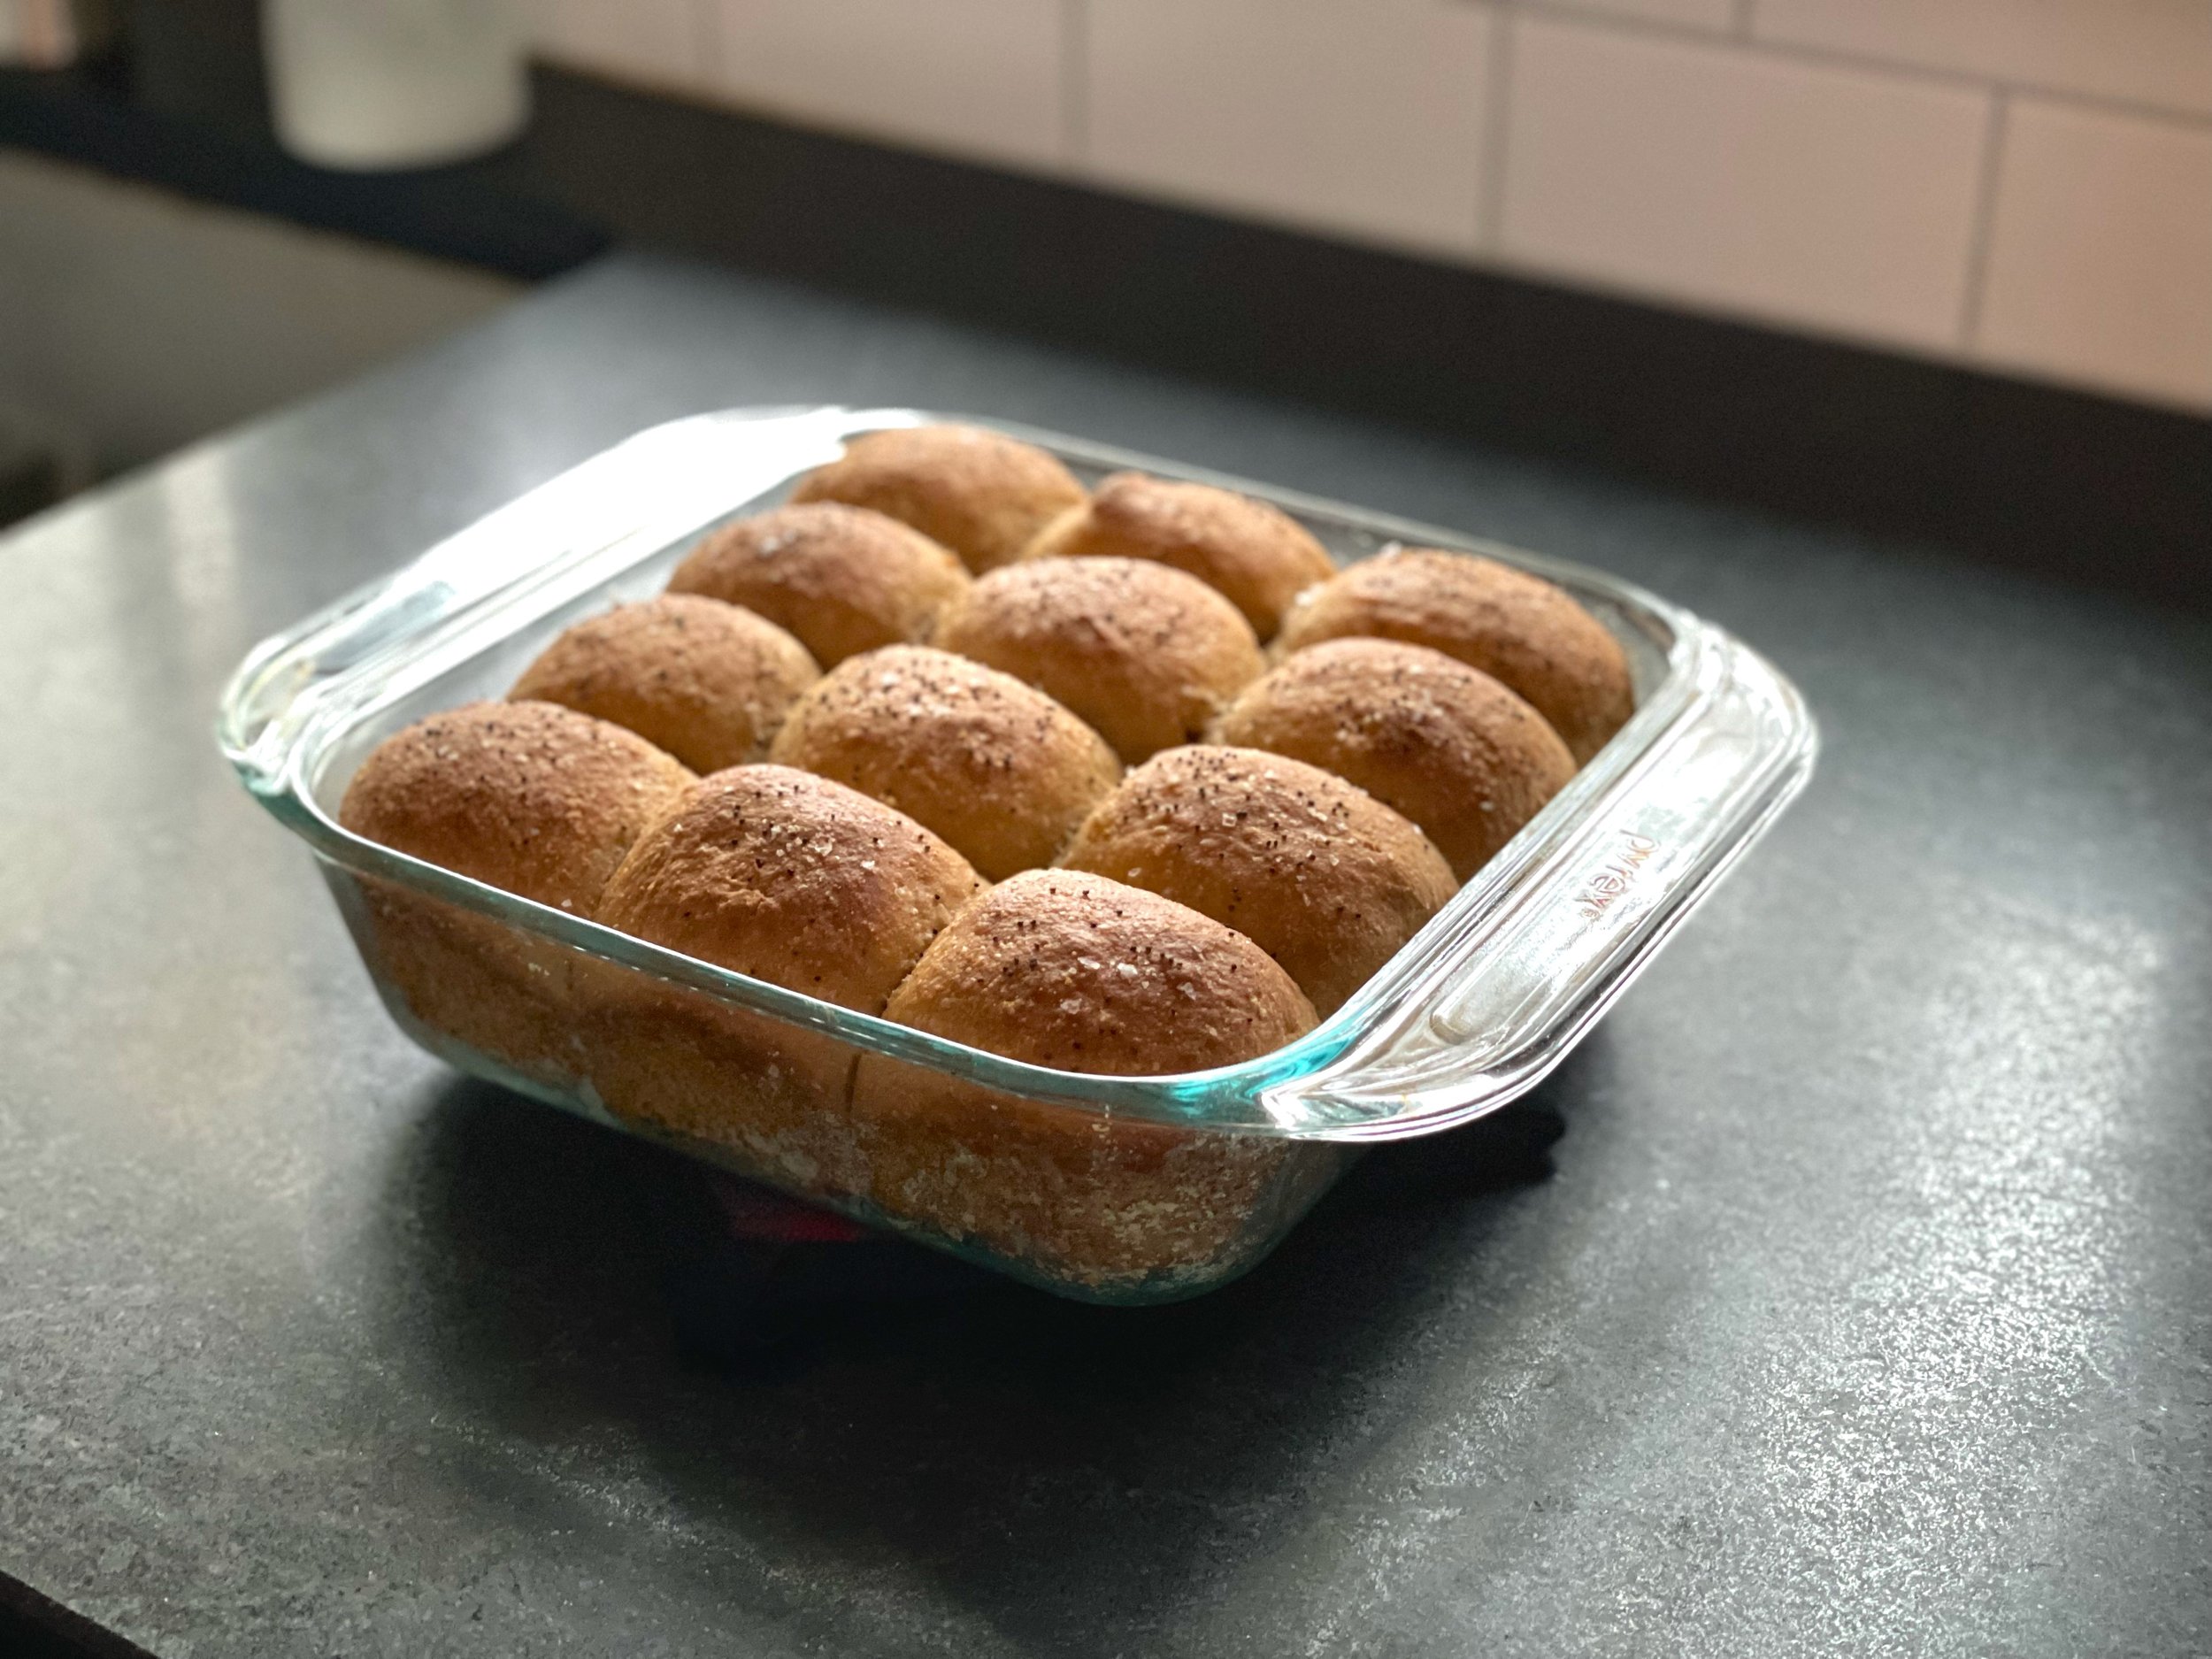
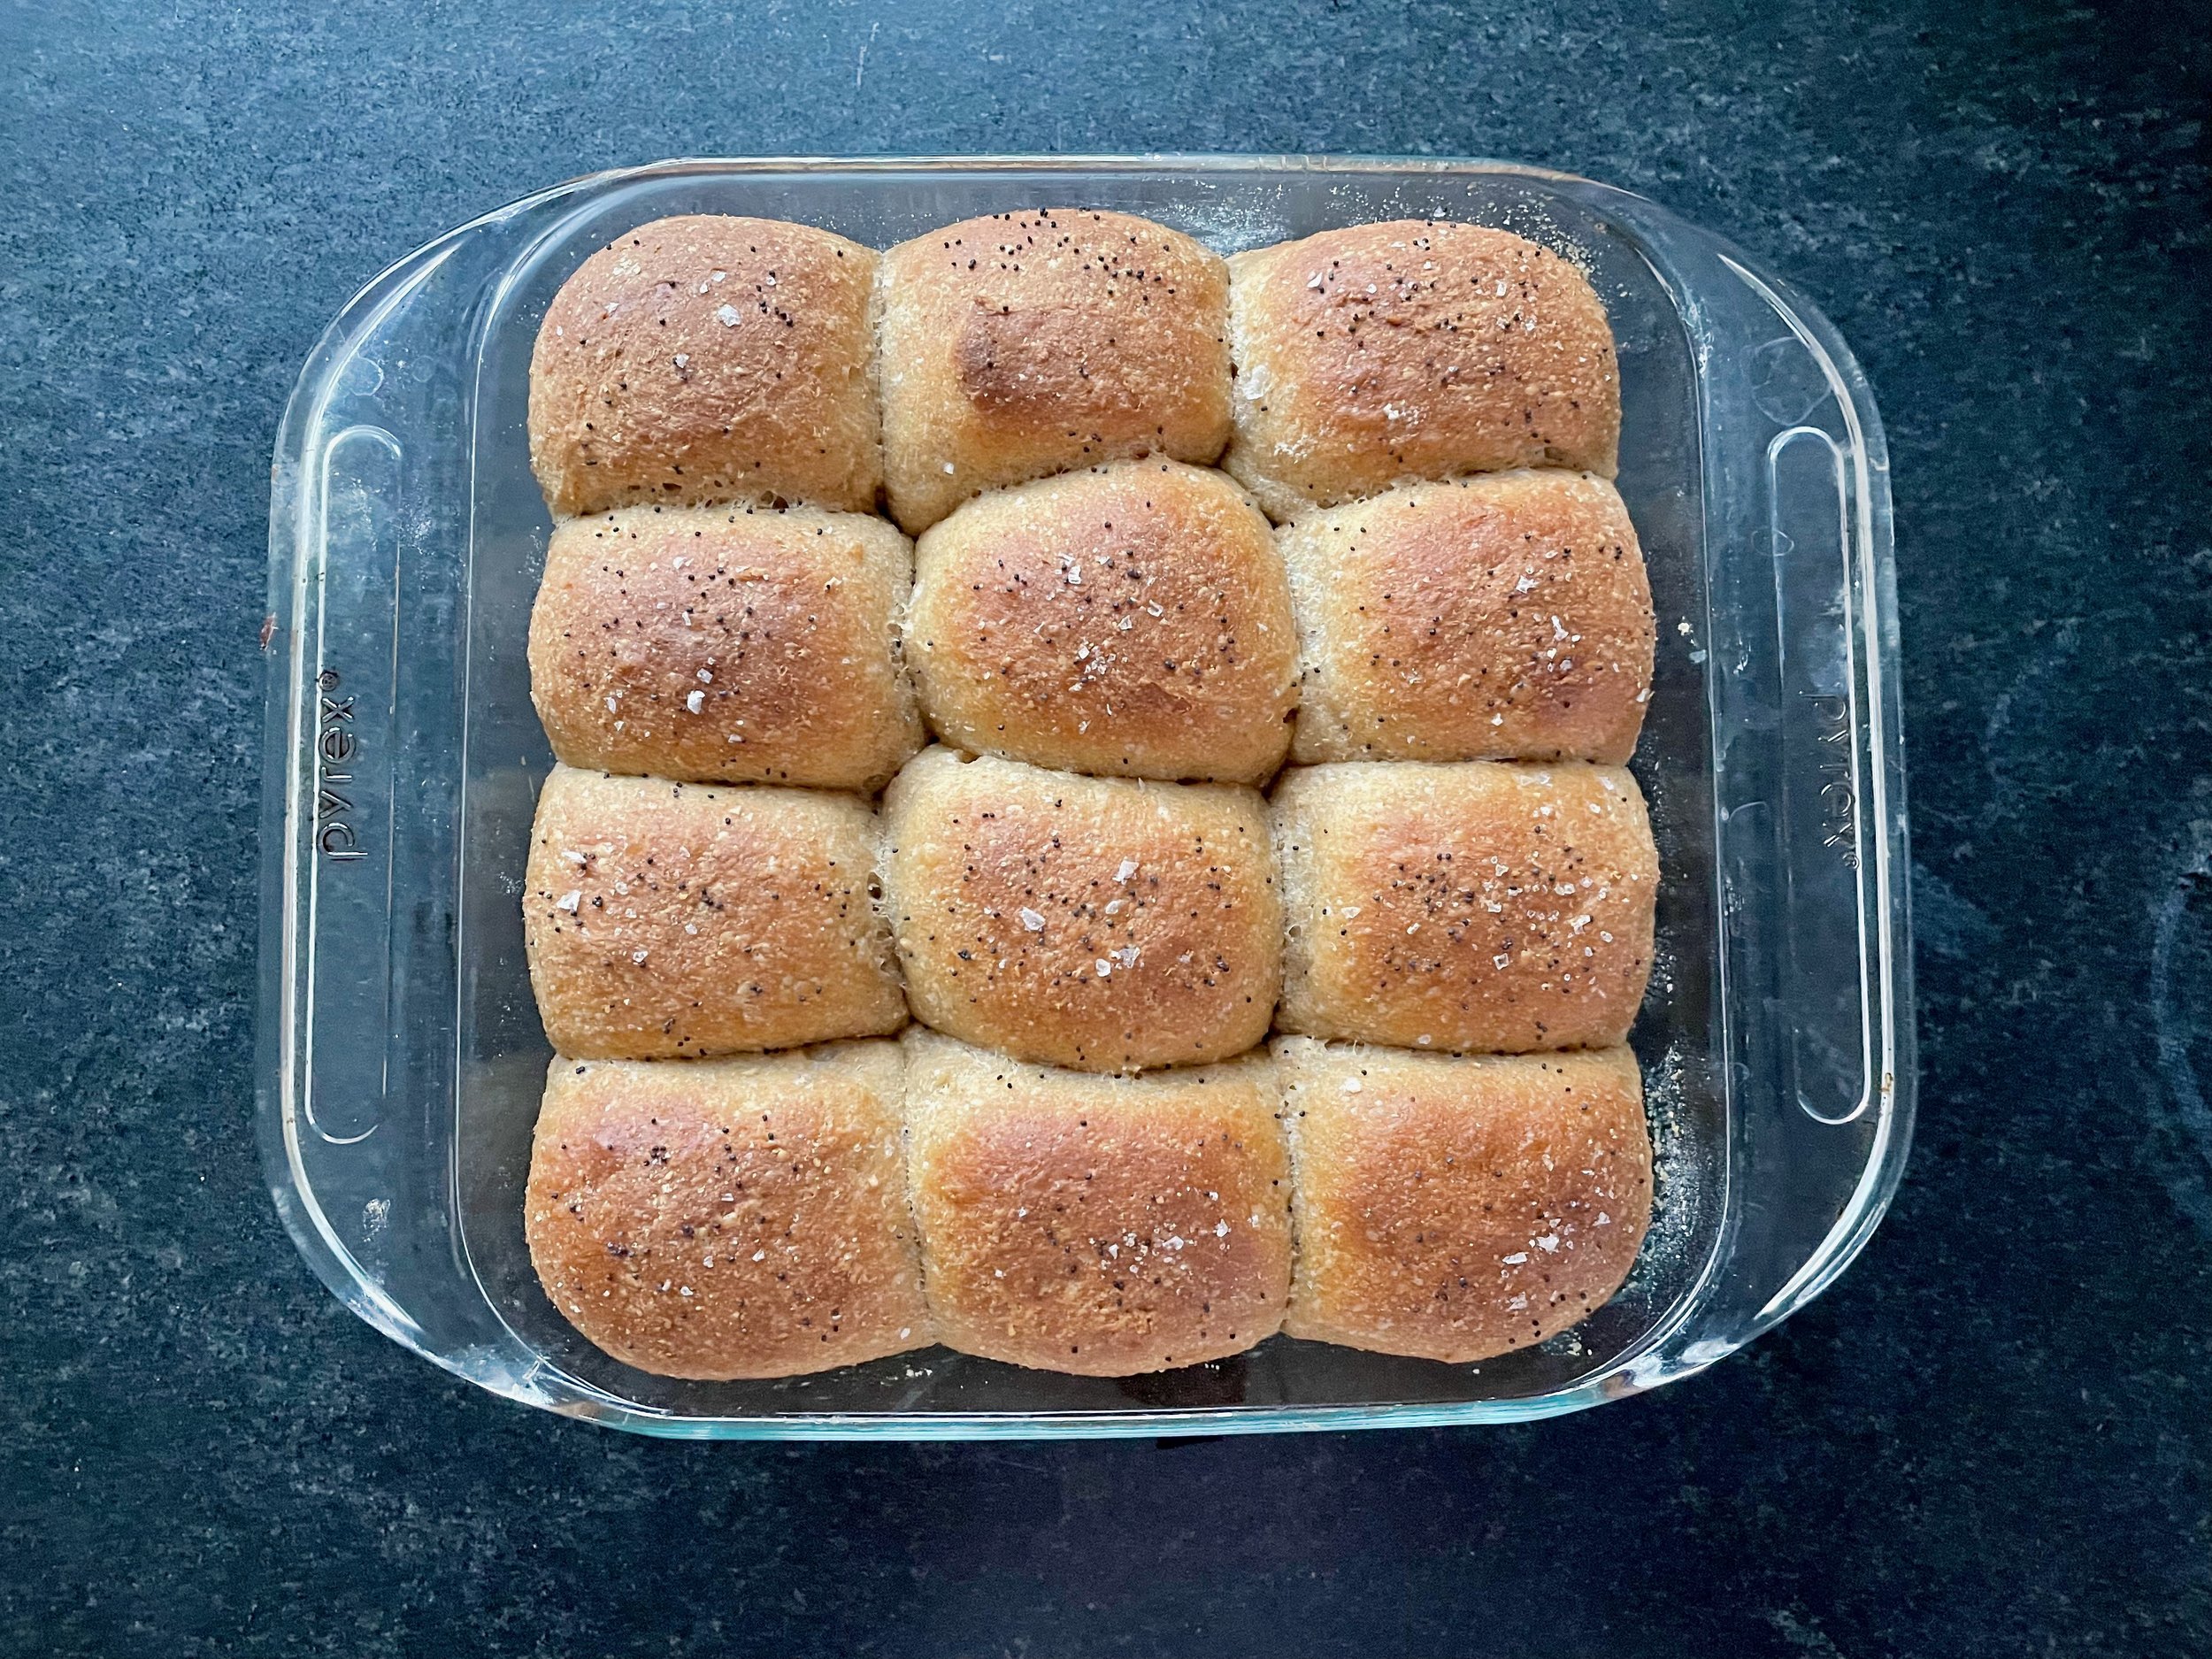
100% Whole Wheat Dinner Rolls with Tanzhong Starter

I haven’t been making all that much bread recently. Once the kitchen reno commenced in Jan I didn’t bake bread for months. Once the kitchen was done I just didn’t get back into it. There were so many other things to do in the kitchen! I’ve also just been eating less bread for various reasons. I don’t think bread is bad or evil, but I try not to eat too much of it, even though I love it so much!

I was thinking ahead to Thanksgiving next week though and stumbled across this recipe. I like a nice dinner roll on Thanksgiving, but I do try to stay away from white squishy bread, so when I saw this recipe for 100% whole wheat rolls I wanted to give it a try. 100% whole wheat anything is tricky, and especially in a yeasted bread. This recipe used the Tanzhong method which I have wanted to try for years so I thought I’d give it a go and see how it went. I’ve heard that using a Tangzhog started can help keep bread softer and moister which sounded ideal for 100% whole wheat.

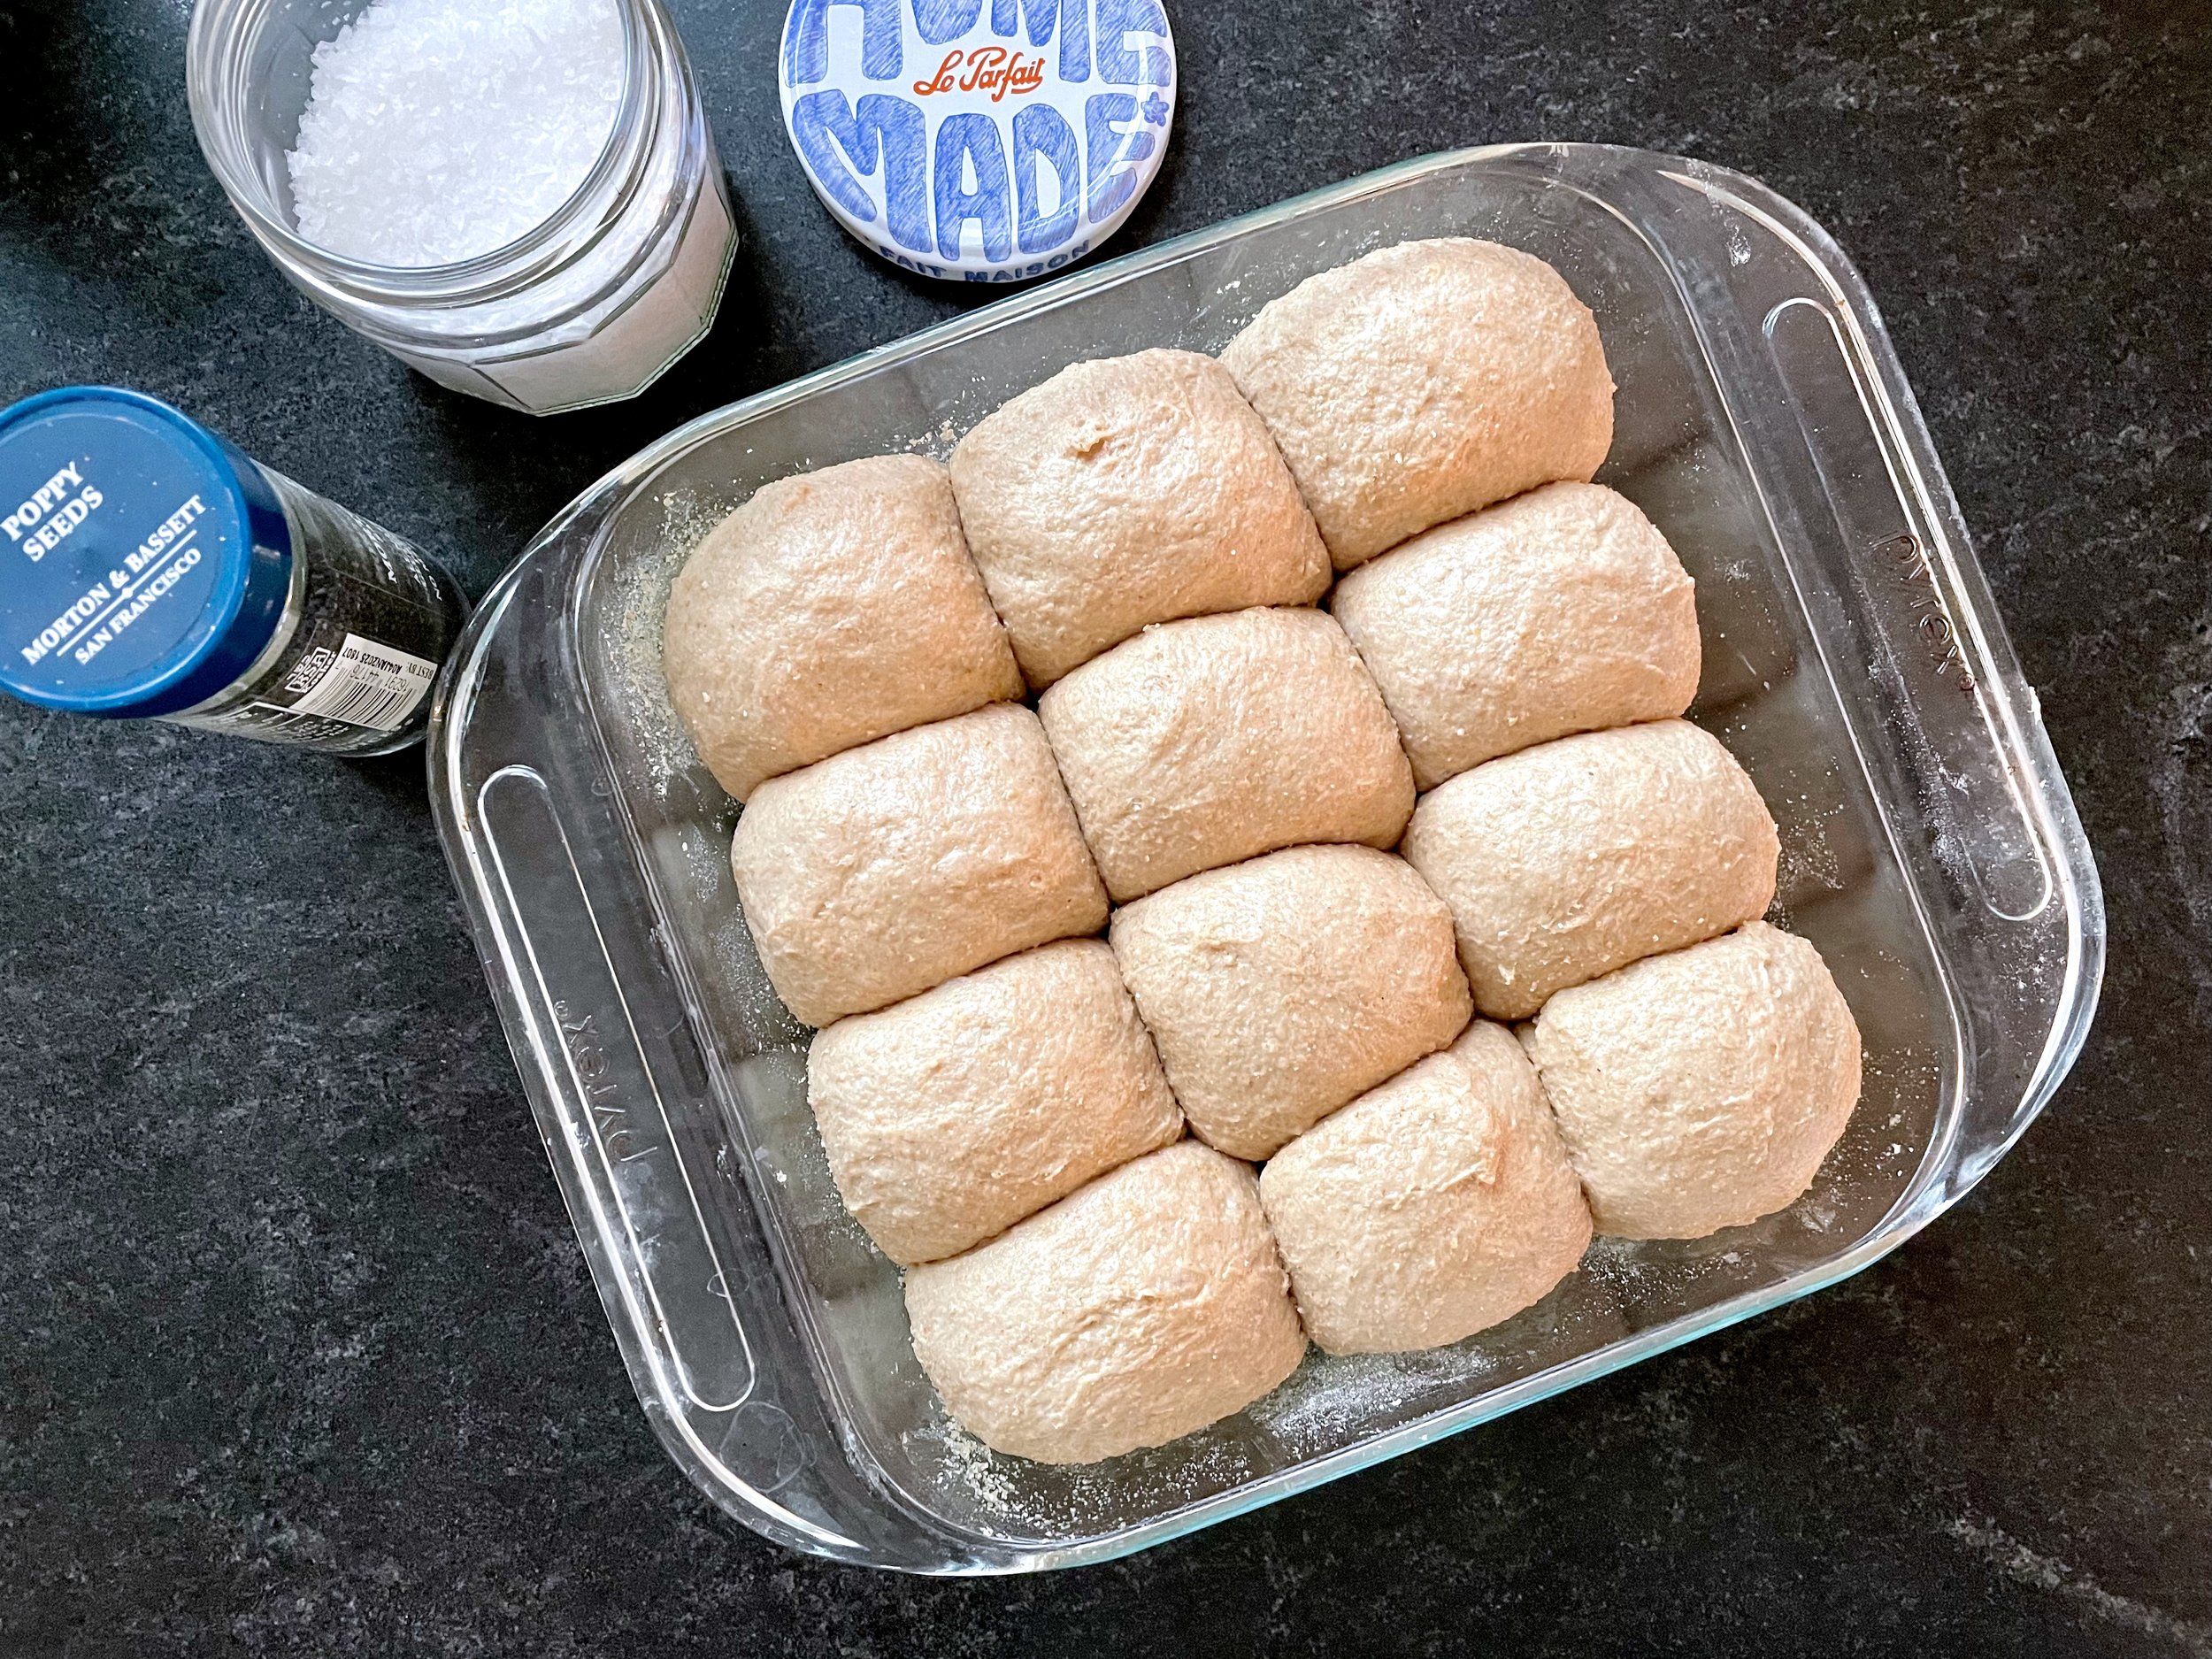
The recipe was super simple and came together from start to finish in less than an afternoon. You can start these after lunch and have them done at dinner! I found them to be fun to make, they came together well although I did have to add significantly more flour than the recipe called for when kneading so be forewarned. Otherwise no issues. They rose well, were easy to shape, and had good oven spring.

I did end up baking them quite a bit longer than the recipe called for as well. Closer to 35-40 minutes (recipe said 20-22 minutes). I did this because of the internal temperature of the bread. I’ve heard that 100% whole wheat bread should be closer to 200 degrees, and it wasn’t even close to this after 22 minutes. I think they definitely needed more than 22 minutes, but maybe not quite 35-40? I’ll have to test it again to see!

The final product was very nice! Soft and tender. Slightly dry (as in 100% whole wheat “dry”) but overall really lovely for 100% whole wheat rolls. They are definitely “wheat'-y” in flavor so use good quailty flour for the best flavor. I think I may add a little more salt next time just for a little additional flavor.

100% Whole Wheat Dinner Rolls with Tanzhong Starter
From Vegan Richa
Ingredients

Tangzhong:

  • 1/4 (0.25 ) scant cup whole wheat flour a bit less than 1/4 cup

  • 1/2 cup (125 ml) water

Sponge:

  • 1 cup (120 g) whole wheat flour

  • 1 cup (250 ml) warm water

  • 2.5 tbsp maple syrup or other sweetener of choice

  • 1 tbsp/3 tsp active yeast

Bread:

  • 2 cups (240 g) whole wheat flour or 1 cup whole wheat and 1 cup whole spelt flour [I used 1 cup whole wheat and 1 cup some soft white wheat that I ground myself!]

  • 1 tsp salt [maybe try 1.5 tsp?]

  • 3 tbsp extra virgin olive oil

  • 1 tsp lemon juice

  • 1/4 tsp (0.25 tsp) almond extract optional, adds nice bakery like smell [did not try, interesting idea though…]

Directions
In a small saucepan combine 1/4 cup flour and 1/2 cup water over medium heat. mix well and cook until gel like, smooth and starting to get shiny, stirring frequently. Set this tangzhong starter lump aside.

Mix all the Sponge ingredients in a bowl. Mix with a large spoon for 2 minutes until the batter is very smooth and starting to get gluten-ny.

Let the bowl sit covered for 1 hour in a warm place. (Use a large bowl as the sponge will triple).

In a stand mixer, add the sponge and tangzhong. Mix the salt into the 2 cups flour and add the flour to the stand mixer. Start kneading. Add in the oil, lemon juice and continue to knead for 5 minutes. Let the dough rest for 2 minutes. Check the dough to see if it needs more flour or water (it should be soft and smooth. not stiff and not sticky). Add more flour 1 tbsp at a time if needed. The dough should be soft and slightly tacky, but not overly sticky or not too stiff.

Knead for another 5 to 7 minutes. The dough should not break immediately when a small portion is pulled out.

Divide the dough in 12 equal balls and form into rolls. Place seam side down in the baking pan. They will be fairly close together and that’s okay.

Cover the pan with plastic wrap and let rise for 25 to 40 minutes or until the rolls double in size.

Pre-heat the oven to 375 degrees F/ 190ºc. Bake the bread for 20 to 22 minutes. [mine definitely took closer to 35-40 minutes. I don’t remember exactly how long, but I didn’t want to underbake these rolls because they are 100% whole wheat. I baked them until the internal temperature was 200 degrees.]

Remove the pan from the oven and brush oil or butter on top. Remove the bread from the pan after 10 minutes. Wait for another 5 before serving. Or cool to room temperature before storing in an airtight container.
50% Whole Wheat Sourdough (with flax and sunflower seed)

IMG_9899.jpeg

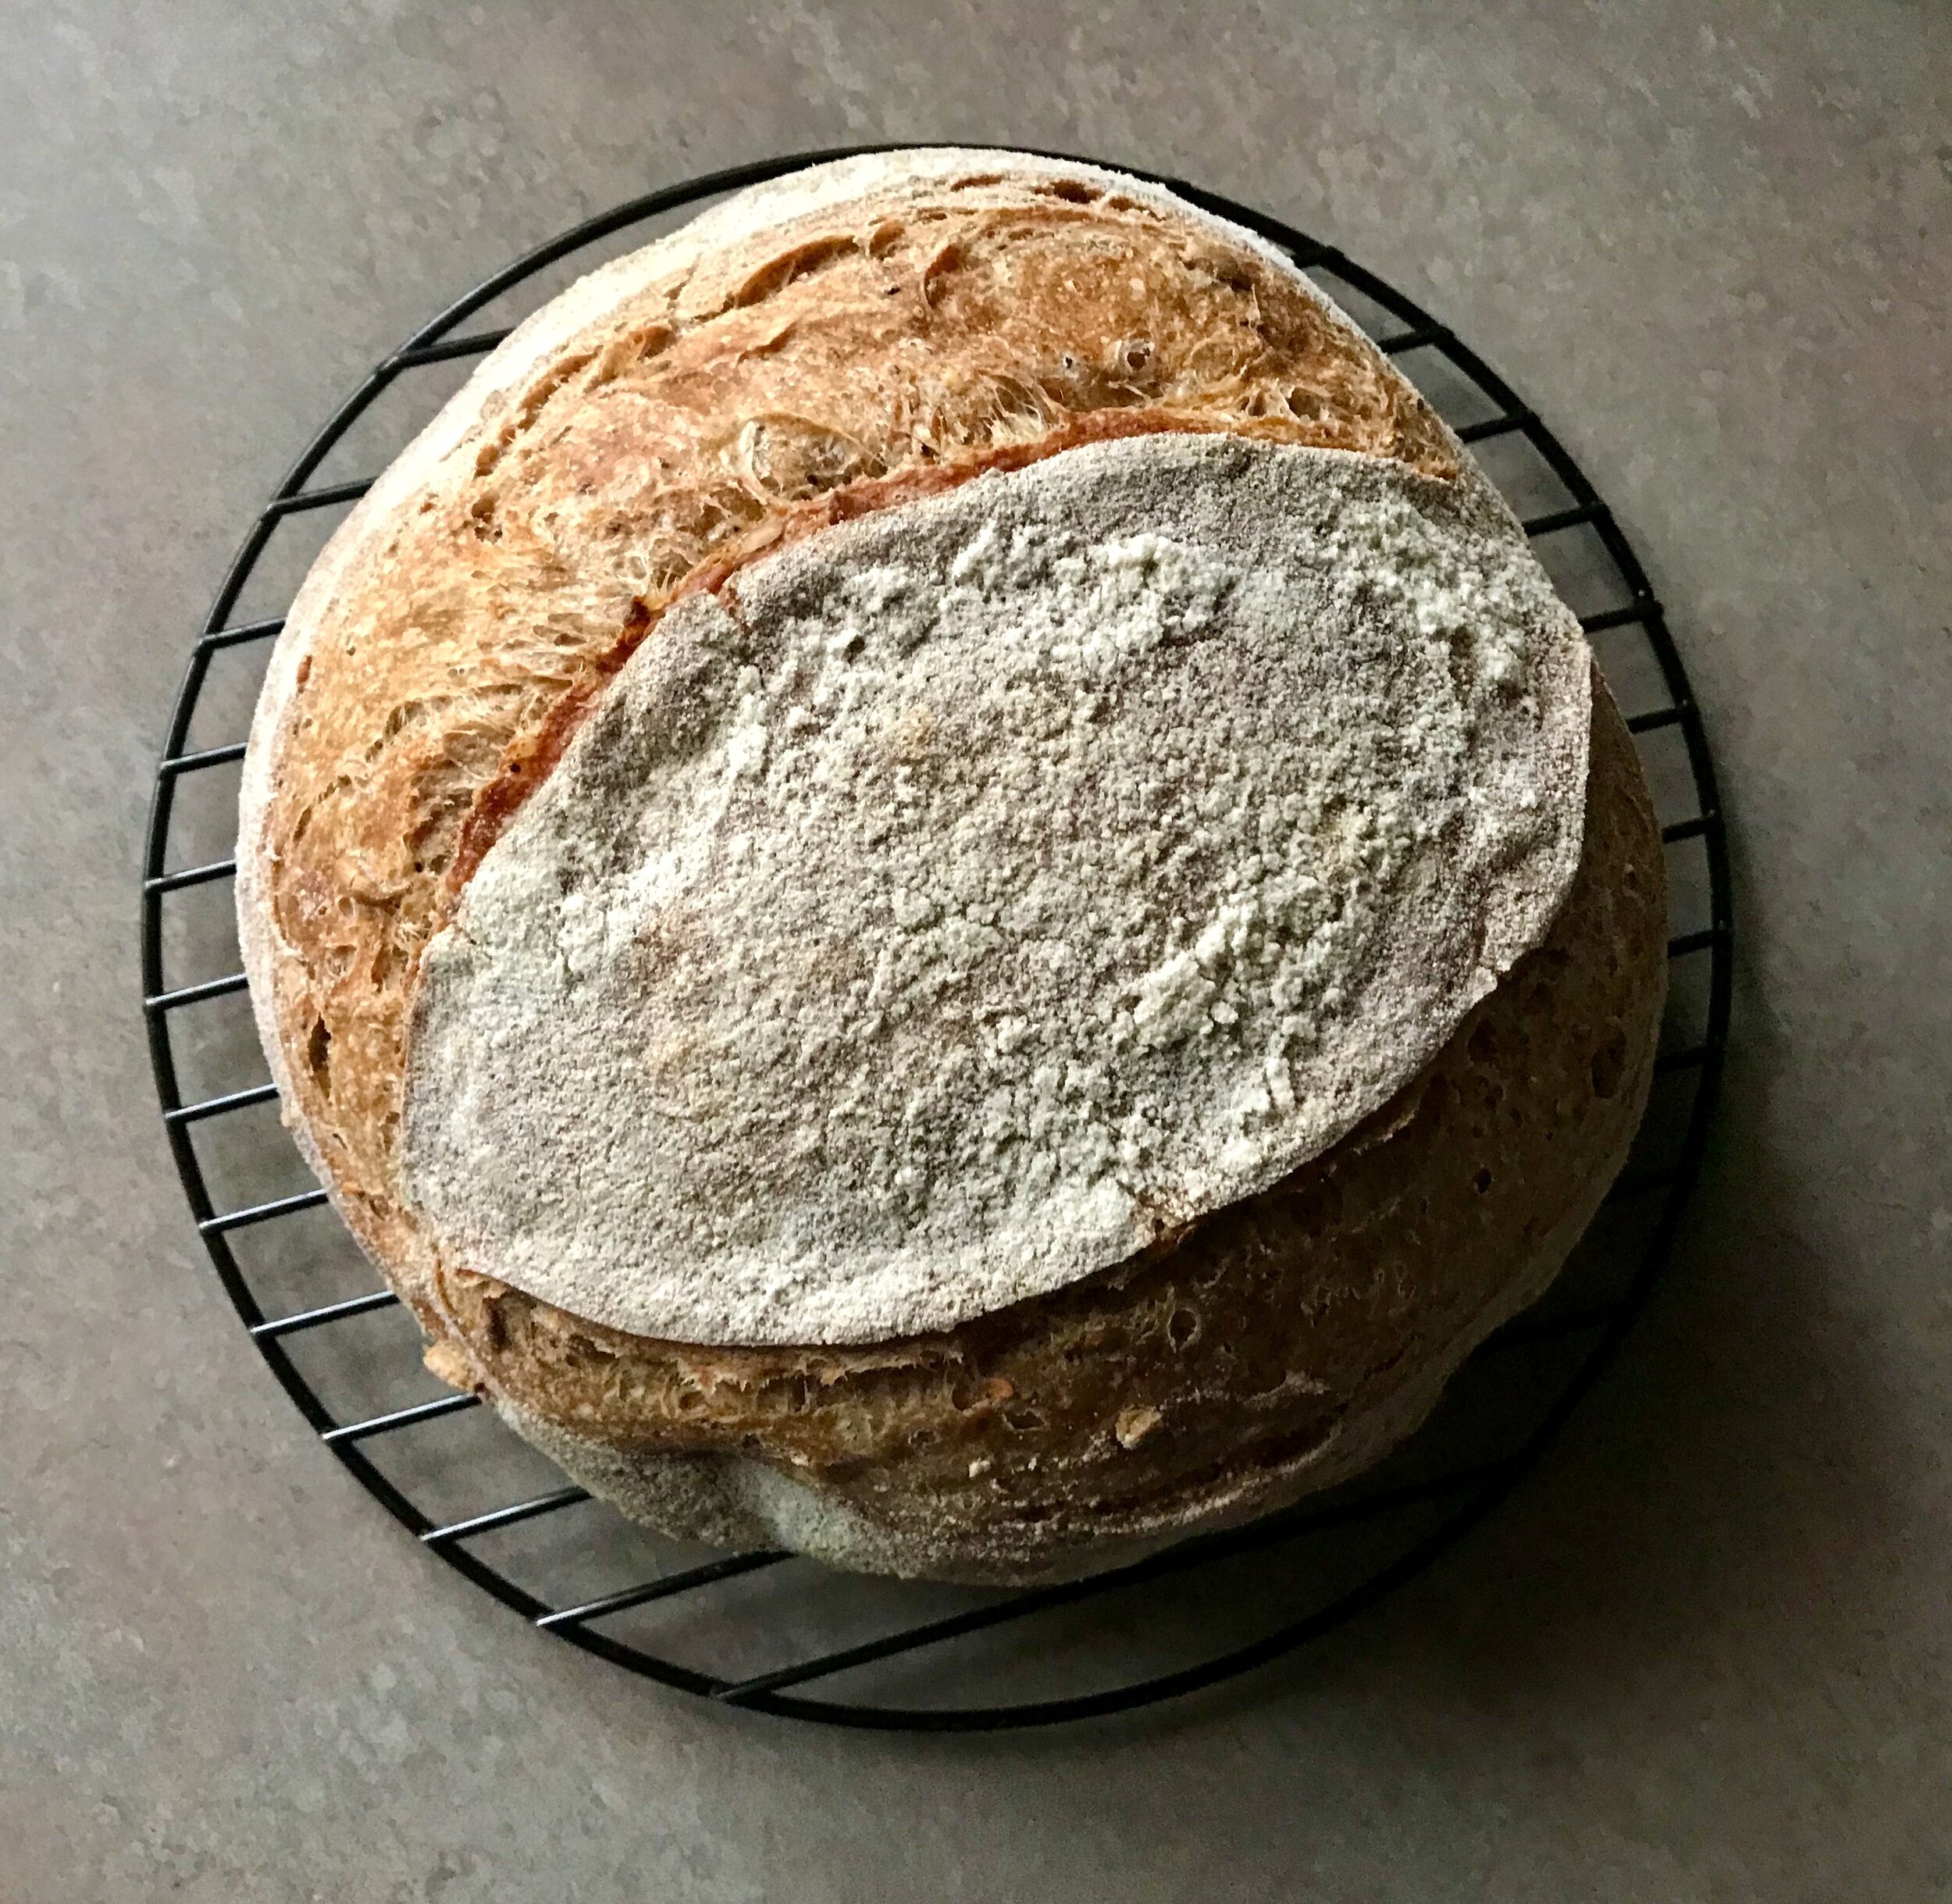
Back in October I felt like I was in a rut with my sourdough bread. I had been working on trying to improve a basic sourdough bread recipe, making the same bread every 1-2 weeks for months. My bread would turn out good, but my goal was to achieve a beautiful “open crumb”, instagram style. Week after week I would be some level of disappointed (just in the crumb, never with the flavor! A tighter crumb is still delicious!). I finally decided to just try something different. Instead of doing the same thing over and over again I decided to switch it up and try a different recipe.

I’m a fan of whole wheat bread, the higher the percentage of whole grains the better, but they can be tricky for sure. I admire my local bakery’s 100% whole wheat breads. I’m not sure I’ll ever get to that point, but I decided to go for a 50/50 loaf, 50% whole grains, 50% refined grains.

IMG_9909.jpeg

I used The Perfect Loaf’s Fifty Fifty Whole Wheat Sourdough Bread recipe as my base recipe, but tweaked the technique a little, using Fullproof Baking’s instructions for her Open Crumb Sourdough Bread instead (laminating the dough, coil folds, etc).

Verdict? I’ve really like this recipe and method. I’ve made it 5 or 6 times now and it has turned out really well each time. I like the increased percentage of whole grains for nuttiness, chew, and a touch more nutrition. It rises well and the crumb is lovely. No, it’s not a super “open crumb”, but I didn’t expect that, and there is nothing wrong with a little tighter crumb. And, as per usual, I haven’t followed this exact recipe each time. I’ve replaced some of the whole wheat flour with spelt flour, I’ve replaced some of the whole wheat flour with fresh ground whole wheat, I’ve added flax, and sunflower seeds, I’ve added walnuts and dates. They’ve all been delicious! Can’t wait to see what happens next!

My 50/50 Whole Wheat Bread
Ingredients
Levain

  • 26 grams active sourdough starter

  • 13 grams bread flour

  • 13 grams whole wheat flour

  • 26 grams water

Dough

  • 226 grams whole wheat flour

  • 226 grams bread flour

  • 367 grams water

  • 8.5 grams salt (1 1/8-1 1/4 teaspoon)

  • 71 grams Levain (from above)

Directions:
Build the liquid levain by mixing the starter, flours, and water in a small bowl and until everything is hydrated. Let sit somewhere around 78°F for about 5-6 hours, or until about tripled in volume.

Autolyse: Mix the flour and water from the “dough” section above, reserving 50 g water for later, in a bowl until all dry bits are hydrated. Cover the bowl and store somewhere nice and warm (around 80) for 2-3 hours.

When the levain is ready, add the called for ripe levain to your autolysed dough along with about half of the reserved 50g of water and mix thoroughly with your hands. Mix/knead the dough for about 4 minutes in the bowl just until the dough started to show signs of a smooth surface. Cover and let sit at room temperature for about 20-30 minutes. Next, spread the salt on top of the dough with the remaining water to help dissolve. Pinch through the dough thoroughly and fold the dough over itself to help incorporate and absorb the remaining water. Let rest 30 minutes.

Next perform a fold: Lightly mist the counter with water. Wet your hands with water and flip the dough out onto the counter. Using a bench scraper, pull the dough from the top down folding the dough onto itself. Repeat this process on all four sides of the dough. Flip the dough over, round it up and return to the bowl. Cover and let rest 30 minutes.

Lamination: Mist the counter with water again. Transfer dough to counter. Lift and gently stretch the dough out from the center with wet hands. Form a large, thin rectangle of dough. Pick up one edge of the dough and fold into the center approximately ⅓ of the way across, then fold the other side into the center over the first section. Finish by folding the top down halfway and then the bottom over the top forming a square in the end. Move your dough to a small square Pyrex-type dish. Let rest 45 minutes.

Stretch and Folds: For each stretch and fold, use wet hands to reach under the dough and pull it up slowly and evenly, detaching the dough on the side farther away from you. The dough will naturally wrap itself under. Rotate the dish and perform the same coil fold again on the other three sides. The top part of the dough is the part detaching from the dish and coiling under. 4 total coil folds. While doing this be sure to pop and large air pockets as these are not signs of fermentation, they are pockets introduced during mixing and lamination. Cover and let rest until time for the next stretch and fold.

The number and frequency of the folds is dependent on the length of bulk as well as your dough’s extensibility and how the dough develops over the course of the bulk. For this recipe I did 4 stretch and folds separated by about 45 minutes each and around 72 degrees F.  My total bulk fermentation was about 6-6.5 hours this time.

Shaping: 
When the dough is ready to shape it should appear puffy and somewhat light, with some roundness at the edges. Flour the counter top with flour. Release dough from top of dish and flip the dish over and allow it to release from the dish onto the counter. Use a bench scraper to tuck flour under the edges of the dough. Then remove the excess flour from the workspace. 

Use the scraper to help pick up the side (top) flap of your dough and gently pull out just a bit before folding up on top of the center of the dough (about ⅓ of the way in, like a letter). Gently pat the dough during this stage to remove any large air bubbles to ensure a more even crumb. Repeat the fold with the other side of the dough, folding it into the center. Then lift the top of the dough and begin to roll down onto itself. Use your thumbs to gently but firmly tuck the dough in creating a more taught surface on top of the dough. Once you roll fully up and get to the seam, seal the edge using your fingers. The use your fingers to pinch the edges to seal.

Dust the top of your dough with brown rice flour (this is ideal to prevent sticking to your banneton) and keeps the dough dry and prevents the surface from getting tacky. Use your scraper to flip over the dough so the seam side is up and the top of the dough is facing down. Gently lift and transfer the dough to the banneton. Cover and move on to the proofing stage. 

Proof: 
Let the dough sit at room temperature for an initial short proof (15-20 mins), then move to the fridge for an overnight retard for approximately 12-16 hours.

Bake: 
The next day it’s time to bake. Preheat oven with Dutch Oven in it for 1 hour at 450 degrees. Transfer dough, cold from fridge, to piece of parchment paper. Score at 45 degree angle. Transfer to preheated Dutch oven and put the lid on. Place in oven and bake, covered, for 20 minutes. Remove the lid and return the bread to the oven and continue baking another 30 minutes, or until the internal temperature reaches 206-210 degrees F. Remove from oven and cool on a wire rack.

Braided Challah Ring

Is homemade bread ever a bad idea? I don’t think so! Judging from the success of this lovely braided challah that I recently brought to a potluck, I don’t think most other people think it’s a bad idea either! This is a quick and simple homemade bread. If you’ve never thought to bring fresh bread to a potluck, trust me, it’ll go over well. Especially if you bring a little jam and/or butter to go with it. Something different, and impressive, especially if you decide to go for the braided ring like I did here. You can just do a simple braid and leave it in a loaf shape if you prefer, but it’s fun to try something different. Any jam will go well with this rich and eggy bread. Trust me, you won’t be disappointed!

43913885_724297907949307_7234707295875747461_n.jpg

Braided Challah Ring
Adapted from King Arthur Flour
Ingredients
Quick Starter

  • 1 cup (120 grams) All-Purpose Flour

  • 1 cup (227 grams) lukewarm water

  • 2 teaspoons instant yeast

Dough

  • All of the starter

  • 3 1/2 cups (420 grams) All-Purpose Flour

  • 1 3/4 teaspoons salt

  • 1/4 cup (50 grams) sugar

  • 1/4 cup (50 grams) vegetable oil

  • 2 large eggs + 1 yolk (save 1 egg white for the glaze, below)

Glaze

  • 1 egg white, saved from above

  • 1 teaspoon sugar

  • 1 tablespoon water

Instructions
To make the starter: Mix the 1 cup flour, 1 cup water and yeast together in a large bowl or the bucket of a bread machine. Let the mixture sit for about 45 minutes. See "tips," below, for instructions using SAF Gold yeast.

To make the dough: Add the dough ingredients to the starter and mix and knead together — by hand, mixer or bread machine — until a smooth, supple dough is formed. This dough is a pleasure to work with; smooth and silky, it almost feels like you're rubbing your hands with lotion.

Place the dough in a greased bowl, turning it over once to coat it lightly with oil. Cover it and let it rise for 1 1/2 hours, or until it's not quite doubled in size.

To shape the dough: Turn the dough out onto a lightly floured surface and fold it over once or twice, to expel the carbon dioxide. Divide the dough into four pieces, and roll each into a snake about 18" long.

On the lightly greased or parchment-lined baking sheet, braid a four-strand braid (see instructions at King Arthur Flour) or fashion a simpler three-strand braid. Form the braid into a circle, pinching the two ends together.

In a small bowl, make the glaze by mixing together the reserved egg white, sugar, and water. Brush the loaf, reserving some for a second application.

Cover the loaf with lightly greased plastic wrap and allow it to rise for 45 minutes to 1 hour, or until it's almost doubled in size. Towards the end of the rising time, preheat the oven to 375°F.

To bake the loaf: Brush the loaf with the remaining glaze (this will give the finished loaf a beautiful, shiny crust, as well as provide "glue" for the seeds), sprinkle with poppy seeds, if desired, and bake for 35 to 40 minutes, or until the challah is golden brown, slightly firm to the touch, and the internal temperature is 195°F.

Remove the bread from the oven, and cool completely before slicing.

Cornmeal Sourdough Bread

I've got another great sourdough bread recipe today. It's a super simple loaf that comes together very quickly and bakes up beautifully. This bread slices up well and makes the best sandwiches. Made with a majority whole wheat flour for nutrition, but with a little white flour for optimal texture, it's just the right combination. I included a little butter for additional tenderness and flavor, and a little honey for just a hint of sweet, just how I like it. This recipe is great for me, allowing me to use up some sourdough starter without even thinking ahead since I used the cold starter straight from the fridge. Maybe sourdough purists would be appalled, but it works for me in my life and kitchen. If this sounds appealing to you, I encourage you to give this recipe a try.    

IMG_0624.jpg

I got some GREAT oven spring out of this bread! It's always exciting to take that first peek into the oven about halfway into baking and see how beautifully tall the bread has risen above the top of the pan. It makes me so happy! This bread has a nice dark brown crust, with a fluffy and light interior, just fantastic. And it's a really easy and quick recipe as yeasted bread goes. I've managed to get it all done in 4.5 hours start to finish. You'll need about another 2 hours to let it cool before slicing, but overall pretty simple and quick. 

 
IMG_0628.jpg
IMG_0626.jpg
IMG_0631.jpg
IMG_0633.jpg
 

Cornmeal Sourdough Bread
Adapted from Easy Sourdough Loaf
Ingredients

  • 110 grams sourdough starter; cold, unfed from the fridge
  • 250 grams whole wheat flour
  • 100 grams all purpose flour
  • 30 grams coarse grind cornmeal
  • 8 grams salt
  • 1 1/4 teaspoons yeast
  • 30 grams butter, softened
  • 15 grams honey
  • 180 grams water

Directions
In the bowl of a stand mixer fitted with a dough hook, combine all of the ingredients. Mix in low speed until the ingredients are incorporated, adjusting the water as needed to achieve a medium dough consistency (you may need additional water). Continue mixing to in medium speed to a medium-high level of gluten development.

Transfer the dough to a lightly oiled container. Cover and let rise until doubled in size, about 1 1/2 hours. 

Turn the dough into a lightly floured counter and shape into a tight loaf. Generously butter a 8.5 x 4.5-inch loaf pan. Place the dough, seam-side-down, into the prepared pan. Proof, covered, for 1 hour, or until the top of the dough has risen to about 1.5 inches above the edge of the pan.

Meanwhile, preheat the oven, with baking stone on the bottom rack, to 425F. Once you are ready to bake, place loaves in the oven, reduce the temperature to 400 degrees and bake for 25 minutes. Take the loaf out of the oven, remove the loaf from the pan, and place it directly on the baking stone, and bake for approximately another 15 minutes, until the crust is a deep golden brown. Remove from oven and place on a cooling rack. Let bread cool completely before slicing. 

Easy Sourdough Loaf

With the craziness of the holidays now pretty much over (after tonight anyway), it's back to real normal, everyday life. For me, this includes getting back to the basics with simple, wholesome food. I've had my fair share of sugar over the past many weeks and I'm ready to reset and restart in 2018. 

It's been a cold couple of weeks here in West Michigan. As I write this it's 4 degrees out and snow continues to fall. It's beautiful. In this kind of weather a thick slice of hearty toast topped with soft scrambled eggs, a few thick slices of melted cheese, or a generous helping of peanut or almond butter sounds just about perfect. A slice of this bread is just the right for this type of occasion. It's made with simple and basic ingredients, nothing crazy, nothing strange, just good food. It doesn't get much better than that. 

For this recipe, I adapted another sourdough recipe that's also posted on my blog; just changing it a little to make it a more useful recipe for me on a daily basis. I added commercial yeast instead of relying solely on wild yeast for the rise, and cut the recipe in half because as a single person, it takes me quite a while to go through two full loaves of bread. These adaptations worked beautifully and gave me a tall and fluffy loaf, perfect for just about everything. 


Easy Sourdough Loaf
Adapted from Soft Sandwich Sourdough
Ingredients

  • 311 grams flour
  • 160 grams water
  • 8 grams salt
  • 32.5 grams butter, room temperature
  • 15 grams honey
  • 205 grams starter
  • 1.25 teaspoons instant yeast

Directions
In the bowl of a stand mixer fitted with a dough hook, combine all of the ingredients except about 10% of the water. Mix in low speed until the ingredients are incorporated, adjusting the water as needed to achieve a medium dough consistency (you may need additional water). Continue mixing to in medium speed to a medium-high level of gluten development.

Transfer the dough to a lightly oiled container. Cover and let rise until doubled in size, about 1 1/2 hours. 

Turn the dough into a lightly floured counter. Shape into a cylinder and let rest, covered, for about 25 minutes. Generously butter a 8.5 x 4.5-inch loaf pan. Shape the dough tightly into blunt batards and place it, seam-side-down, into the prepared pan. Proof, covered, for 1 hour, or until the top of the dough has risen to about 1.5 inches above the edge of the pan.

Meanwhile, preheat the oven, with baking stone, to 425F. Once you are ready to bake, place loaves in the oven, reduce the temperature to 400F. Bake for 25 minutes. Then remove the loaf from the pan, place directly on the stone, and bake for another 15 minutes or so, until the crust is a deep golden brown. Cool completely on a wire rack before cutting.

Simple Buttermilk Cornbread

Yesterday was an absolutely amazing day here in west Michigan, almost 60 degrees and sunny in January - what?? Crazy, but simply wonderful! It felt like late spring which I am a big fan of. I took a walk with a light jacket and sunglasses and loved every minute of it! However, this is definitely NOT normal for late January and today it's back to reality. Wet, cloudy and cold. Sigh. 

One of my favorite parts of winter are all the stews and soups and braises that are the perfect thing for cold, damp days such as today. I think my favorite of all is a thick and jammy chili with ground beef and beans, peppers and spices and lots of tomato. Mmmm. I don't like my chili thin and soupy, I want it nice and thick, sweet and spicy and covered in melted cheddar cheese! And what is chili without cornbread? Sad is what it is. There is no question in my book that when chili is on the menu, cornbread is going in the oven.

I have several cornbread recipes on this site already and I love them all. Recently however I was looking for a very simple cornbread recipe that wasn't quite as rich and sweet as most of these other recipes. Just a good, basic cornbread that was full of corn flavor and more rustic than some. More on the "Southern cornbread" side of things. This recipe that I adapted from Bon Appetit was perfect. A little richness from the buttermilk and egg with a little bit of butter, and just a hint of sweetness from one tablespoon of brown sugar. This is a chili lover's cornbread for sure. 

I adapted the original recipe to fit a 6-inch cake pan. This is the perfect size for me when I'm baking for myself, but if you want to use a standard pan check out the original recipe. I used locally ground coarse cornmeal in my bread which is sweet and slightly crunchy and delicious. I highly recommend seeking out some good quality cornmeal, it's worth the effort. Now head into the kitchen and get that chili started, you have cornbread to make!


Simple Buttermilk Cornbread
Adapted from Bon Appetit
Ingredients

  • 1 1/2 tablespoons unsalted butter, melted and cooled
  • 2/3 cup (80 grams) all-purpose flour
  • 2/3 cup (105 grams) stone-ground cornmeal
  • 1 tablespoons (12 grams) brown sugar
  • 1 1/2 teaspoons baking powder
  • 1/2 teaspoon kosher salt
  • 3/8 teaspoon baking soda
  • 1 large egg, beaten 
  • 3/4 cup buttermilk

Directions
Preheat oven to 350°. Butter 6-inch round pan. Whisk flour, cornmeal, sugar, baking powder, salt, and baking soda in a large bowl. Whisk together egg, and buttermilk in a medium bowl. Whisk egg mixture into dry ingredients until just combined (batter will be slightly lumpy). Mix in butter.

Scrape batter into baking dish and bake cornbread until a tester inserted into the center comes out clean, 25–30 minutes.

Chocolate Chip Banana Muffins

As I type this, the sun is streaming in the window, blinding me as I sit. I love spring. :) The birds are singing, the buds are just starting to burst out in light green leaves, and the flowering trees are gracing gardens and yards with fragrant and beautiful blooms. Morning runs are warming up, making it easier for me to haul myself out of bed and out the door into the not quite as frigid conditions. Thankfully I can stop worrying about sliding around on icy sidewalks for many months. 

While I'm on the topic of things I love, I also love banana bread; almost as exciting as spring! For these banana muffins I adapted my favorite Greek yogurt banana bread , turning them into muffins with the scrumptious addition of some nice dark chocolate chips.  They baked up tall and fluffy with a moist and tender crumb. Easy to whip up on a lovely spring morning to enjoy with a cup of steaming coffee on your sunny porch. Happy baking!

Like I said, I took one of my favorite banana bread recipes and turned them into muffins. I started by cutting the recipe in half because I just wanted a small batch, so the final recipe makes 6 nice muffins. I increased the oven temperature to 375 degrees and baked them for 18 minutes. For a little extra flavor and fun I added some cardamom along with the chocolate chips, but you could also try adding a little cinnamon for that extra spice. A light and delicious breakfast muffin, perfect for spring!


Chocolate Chip Banana Muffins
Adapted from Greek Yogurt Banana Bread
Ingredients

  • 1 1/2 very ripe bananas (approximately 7.5 ounces)
  • 1 1/2 tablespoons (3/4 ounce) butter, room temperature
  • 1/4 cup (2 1/4 ounces) plain Greek yogurt
  • 2-3 tablespoons (about 1 ounce) sugar 
  • 1/2 teaspoon vanilla
  • 1 egg
  • 1/4 teaspoon salt
  • 3/8 teaspoon baking soda
  • 1/2 teaspoon cinnamon
  • 1/8 teaspoon cardamom
  • 1 cup (4 1/2 ounces) all purpose flour, or a mix of all purpose and whole wheat flours
  • 1/4 cup chocolate chips (I did 35 grams, but you can do a bit more if you like your muffins bursting with chocolate!)

Directions
In a large bowl, mash bananas with a whisk. Add butter, yogurt and sugar and whisk until combined and somewhat smooth. If it's still a little chunky, don't worry. Add the vanilla and egg and stir until combined.

Add salt, baking soda, cinnamon, cardamom and flour and stir just until almost combined. Add the chocolate chips mix until just combined (don’t overmix).

Spoon batter evenly into 6 muffin cups that are either greased or lined with muffin liners. Bake in a preheated oven at 375 degrees for 16-18 minutes or until a toothpick inserted into the center of a muffin comes out almost clean with a few moist crumbs. Remove muffins from pan and let cool on a wire rack. 

Cinnamon Swirl Sourdough

There is almost nothing better than the smell of cinnamon and sugar and yeasty goodness spilling from the kitchen. It is comforting and warming, so delicious, making my mouth water every time. I recently came across this recipe for cinnamon swirl bread that uses some sourdough starter as well. Since I'm always looking for new things to do with my starter, and cinnamon bread is one of my favorite things of all time, giving this recipe a try was a no brainer. I was not disappointed. The crumb is tender and soft, buttery with a hint of sweet. A fragrant cinnamon sugar filling is rolled up inside this delicious package. A recipe to come back to for sure. 

I unfortunately didn't end up getting a picture of the sliced up bread. I cut it up and froze it fairly late at night and it was far to dark to get anything close to a good picture. You'll just have to take my word for it that it produces beautiful slices of bread.

Since the original recipe called for a 9 x 5 inch bread pan, but I only have 8 1/2 x 4 1/2 inch pans, I decided to pinch off a piece of the dough and make a mini loaf with it, just for fun. It turned out pretty cute! A delicious loaf that I highly recommend.

Cinnamon Swirl Sourdough
Adapted from King Arthur Flour
Ingredients
Dough

  • 1 cup sourdough starter, fed or unfed
  • 2 1/3 cups (10 3/4 ounce) cups all-purpose flour (I used about 3 ounces of whole wheat flour and the rest all purpose)
  • 2 teaspoons instant yeast
  • 1 tablespoon sugar
  • 1 1/4 teaspoons salt
  • 1 large egg
  • 4 tablespoons soft butter
  • 1/2 cup lukewarm water

Filling

  • 1/4 cup sugar
  • 1 1/2 teaspoons ground cinnamon
  • 2 teaspoons King Arthur Unbleached All-Purpose Flour
  • 2 teaspoons melted butter
  • 1/2 cup raisins (optional)

Directions
To make the dough: Combine all of the dough ingredients, and mix and knead — using your hands, a stand mixer, or a bread machine set on the dough cycle — to make a soft, smooth dough.

Place the dough in a lightly greased container, and allow it to rise for 1 1/2 to 2 hours, until it's just about doubled in bulk.

While the dough is rising, make the filling by stirring together the sugar, cinnamon, flour and butter.

Gently deflate the dough, and transfer it to a lightly greased work surface. Roll and pat the dough into a rough rectangle approximately 6" x 20". Sprinkle the dough evenly with the filling and raisins, if using.

Starting with a short end, roll the dough into a log. Pinch the ends to seal, and pinch the long seam closed.

Transfer the log, seam-side down, to a lightly greased 9" x 5" loaf pan. Cover and allow the bread to rise until it's crested about 1" over the rim of the pan, about 1 hour.

While the dough is rising, preheat the oven to 350°F.

Bake the bread for 40 to 45 minutes, tenting it lightly with aluminum foil after the first 15 to 20 minutes. The bread's crust will be golden brown, and the interior of the finished loaf should measure 190°F on a digital thermometer.

Remove the bread from the oven, and gently loosen the edges. Turn it out of the pan, and brush the top surface with butter, if desired; this will give it a soft, satiny crust. Allow the bread to cool completely before slicing.