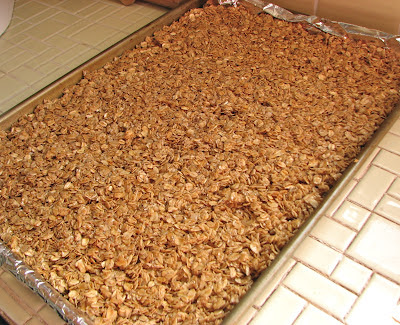
Peanut Butter Chocolate Chip Granola Bars
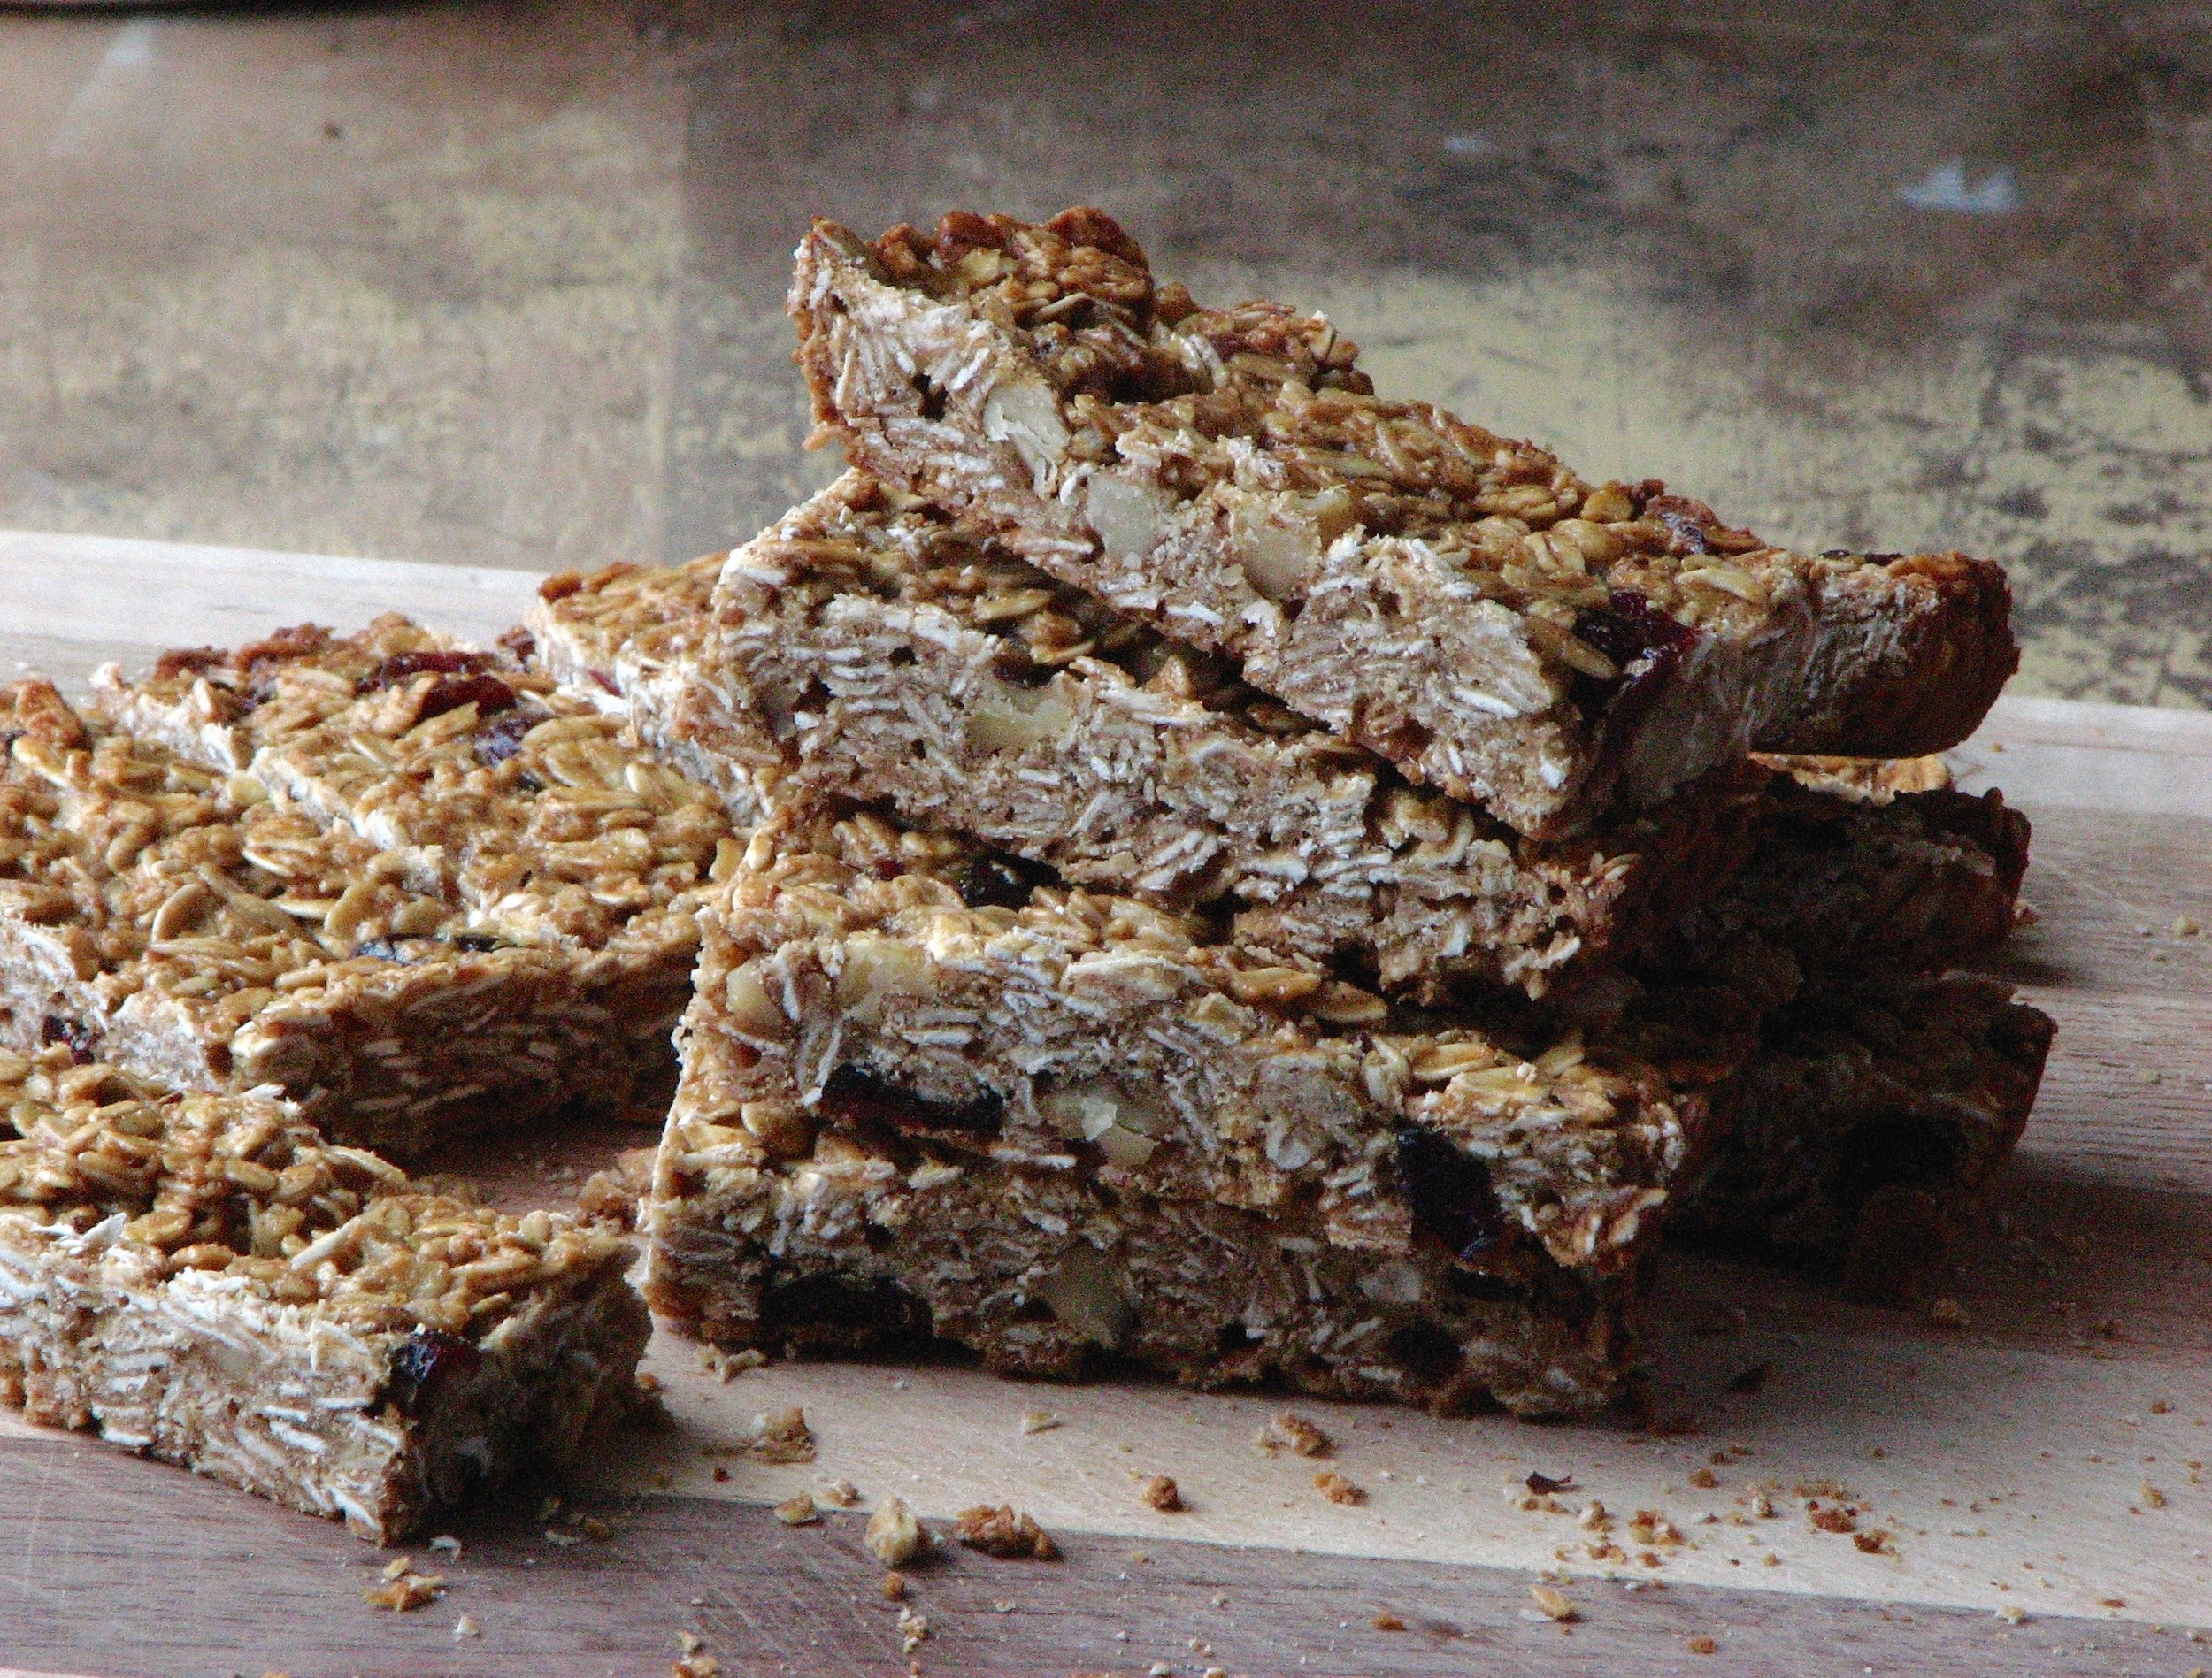
Homemade granola bars. You can never have too many recipes. I'm always trying out new variations, and new renditions. They're all yummy and wonderful to have on hand for (healthy-ish) snacks. This version is a winner because Chocolate!! When I add some nice dried fruit, or delicious nuts or seeds to a granola bar, they're always delicious, but I always want chocolate. Always. :)

This bar is a version of my cranberry walnut granola bars, but I replaced the almond butter with peanut butter, and then obviously used chocolate chips instead of the cranberries and walnuts. Both good options, but when that chocolate craving hits there's only one option!


Peanut Butter Chocolate Chip Granola Bars
Adapted from Delectably Mine
Ingredients
- 2 tablespoons (28 grams) butter
- 2 tablespoons (28 grams) peanut butter
- 1/3 cup (112 grams) honey
- 1 teaspoon vanilla
- 1/2 teaspoon salt
- 1 egg
- 2 cups (160 grams) old fashion oats
- 1/3 cup (38 grams) whole wheat flour
- 1/4 cup chocolate chips
Directions
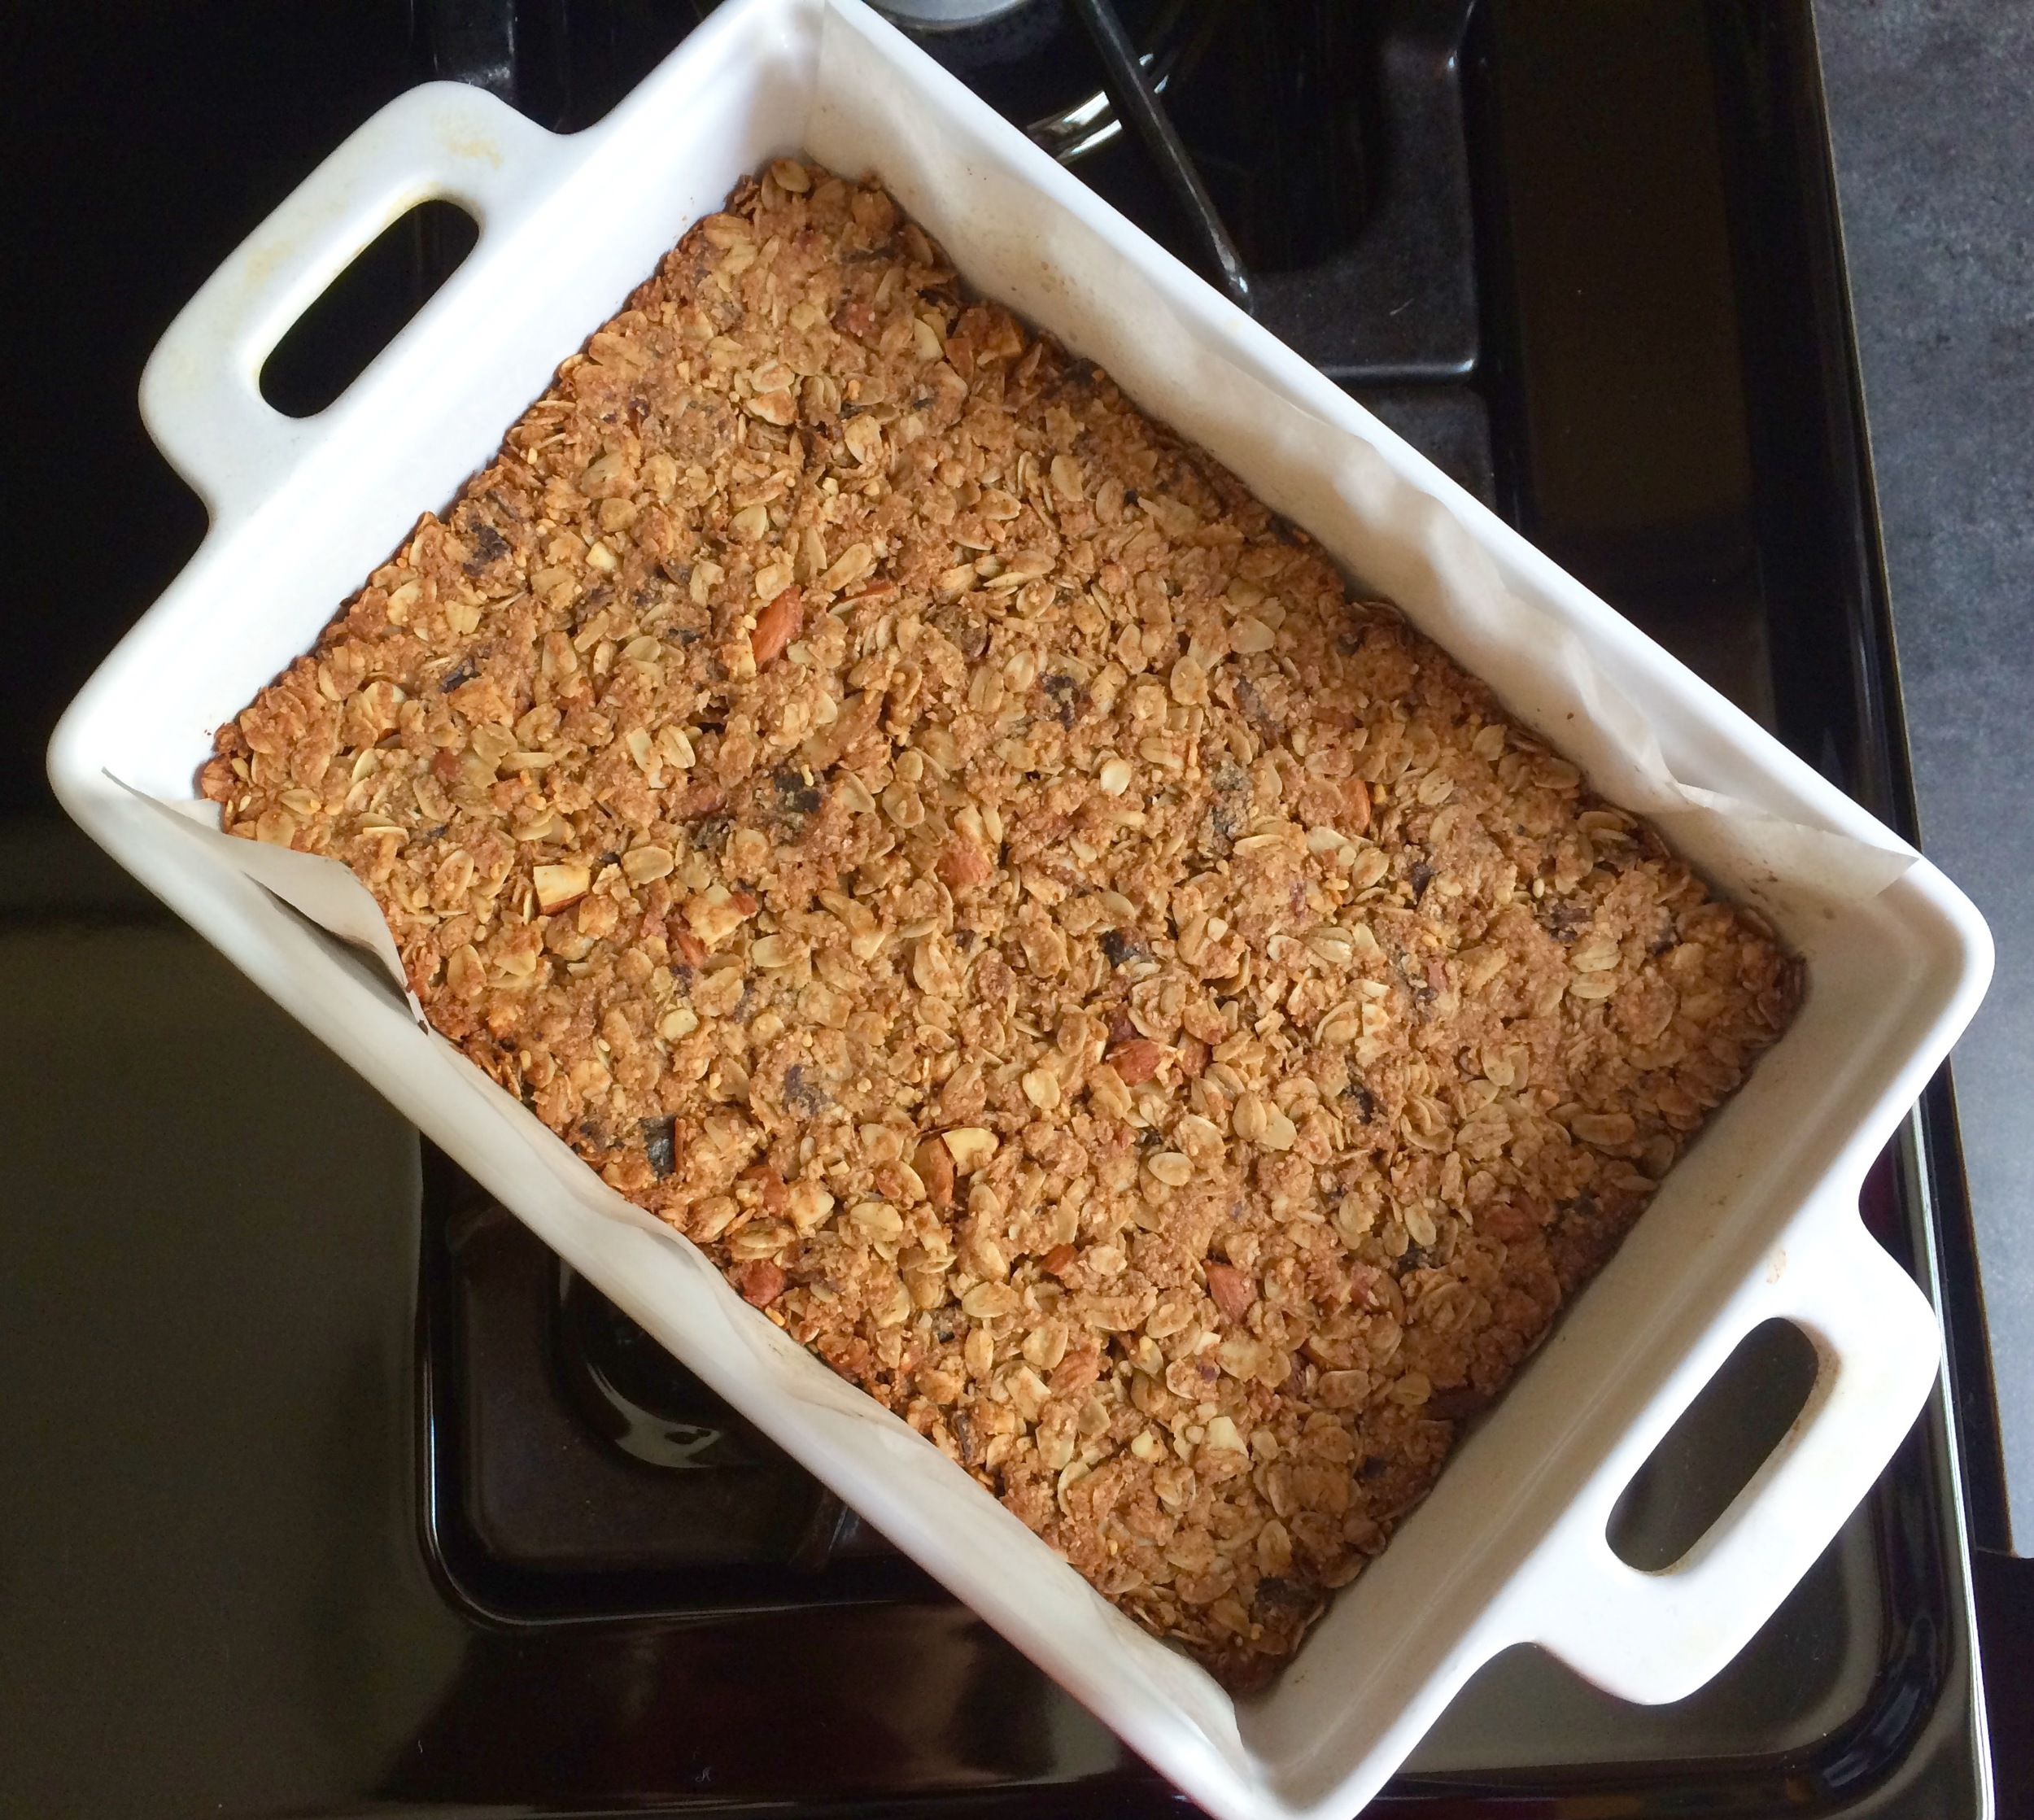
Preheat the oven to 350 degrees. Butter a 12x9 inch or 8x8 inch pan, or line with a parchment paper sling, and set aside.
Place the butter, and peanut butter in a large microwave safe bowl and microwave until the butter melts. Stir until the well combined. Mix in the honey, vanilla and salt and give a good stir. Add the egg and stir the whole mixture until smooth and combined.
Add the oats, whole wheat flour, and chocolate and stir everything together until well combined and there are no more dry pockets of flour.
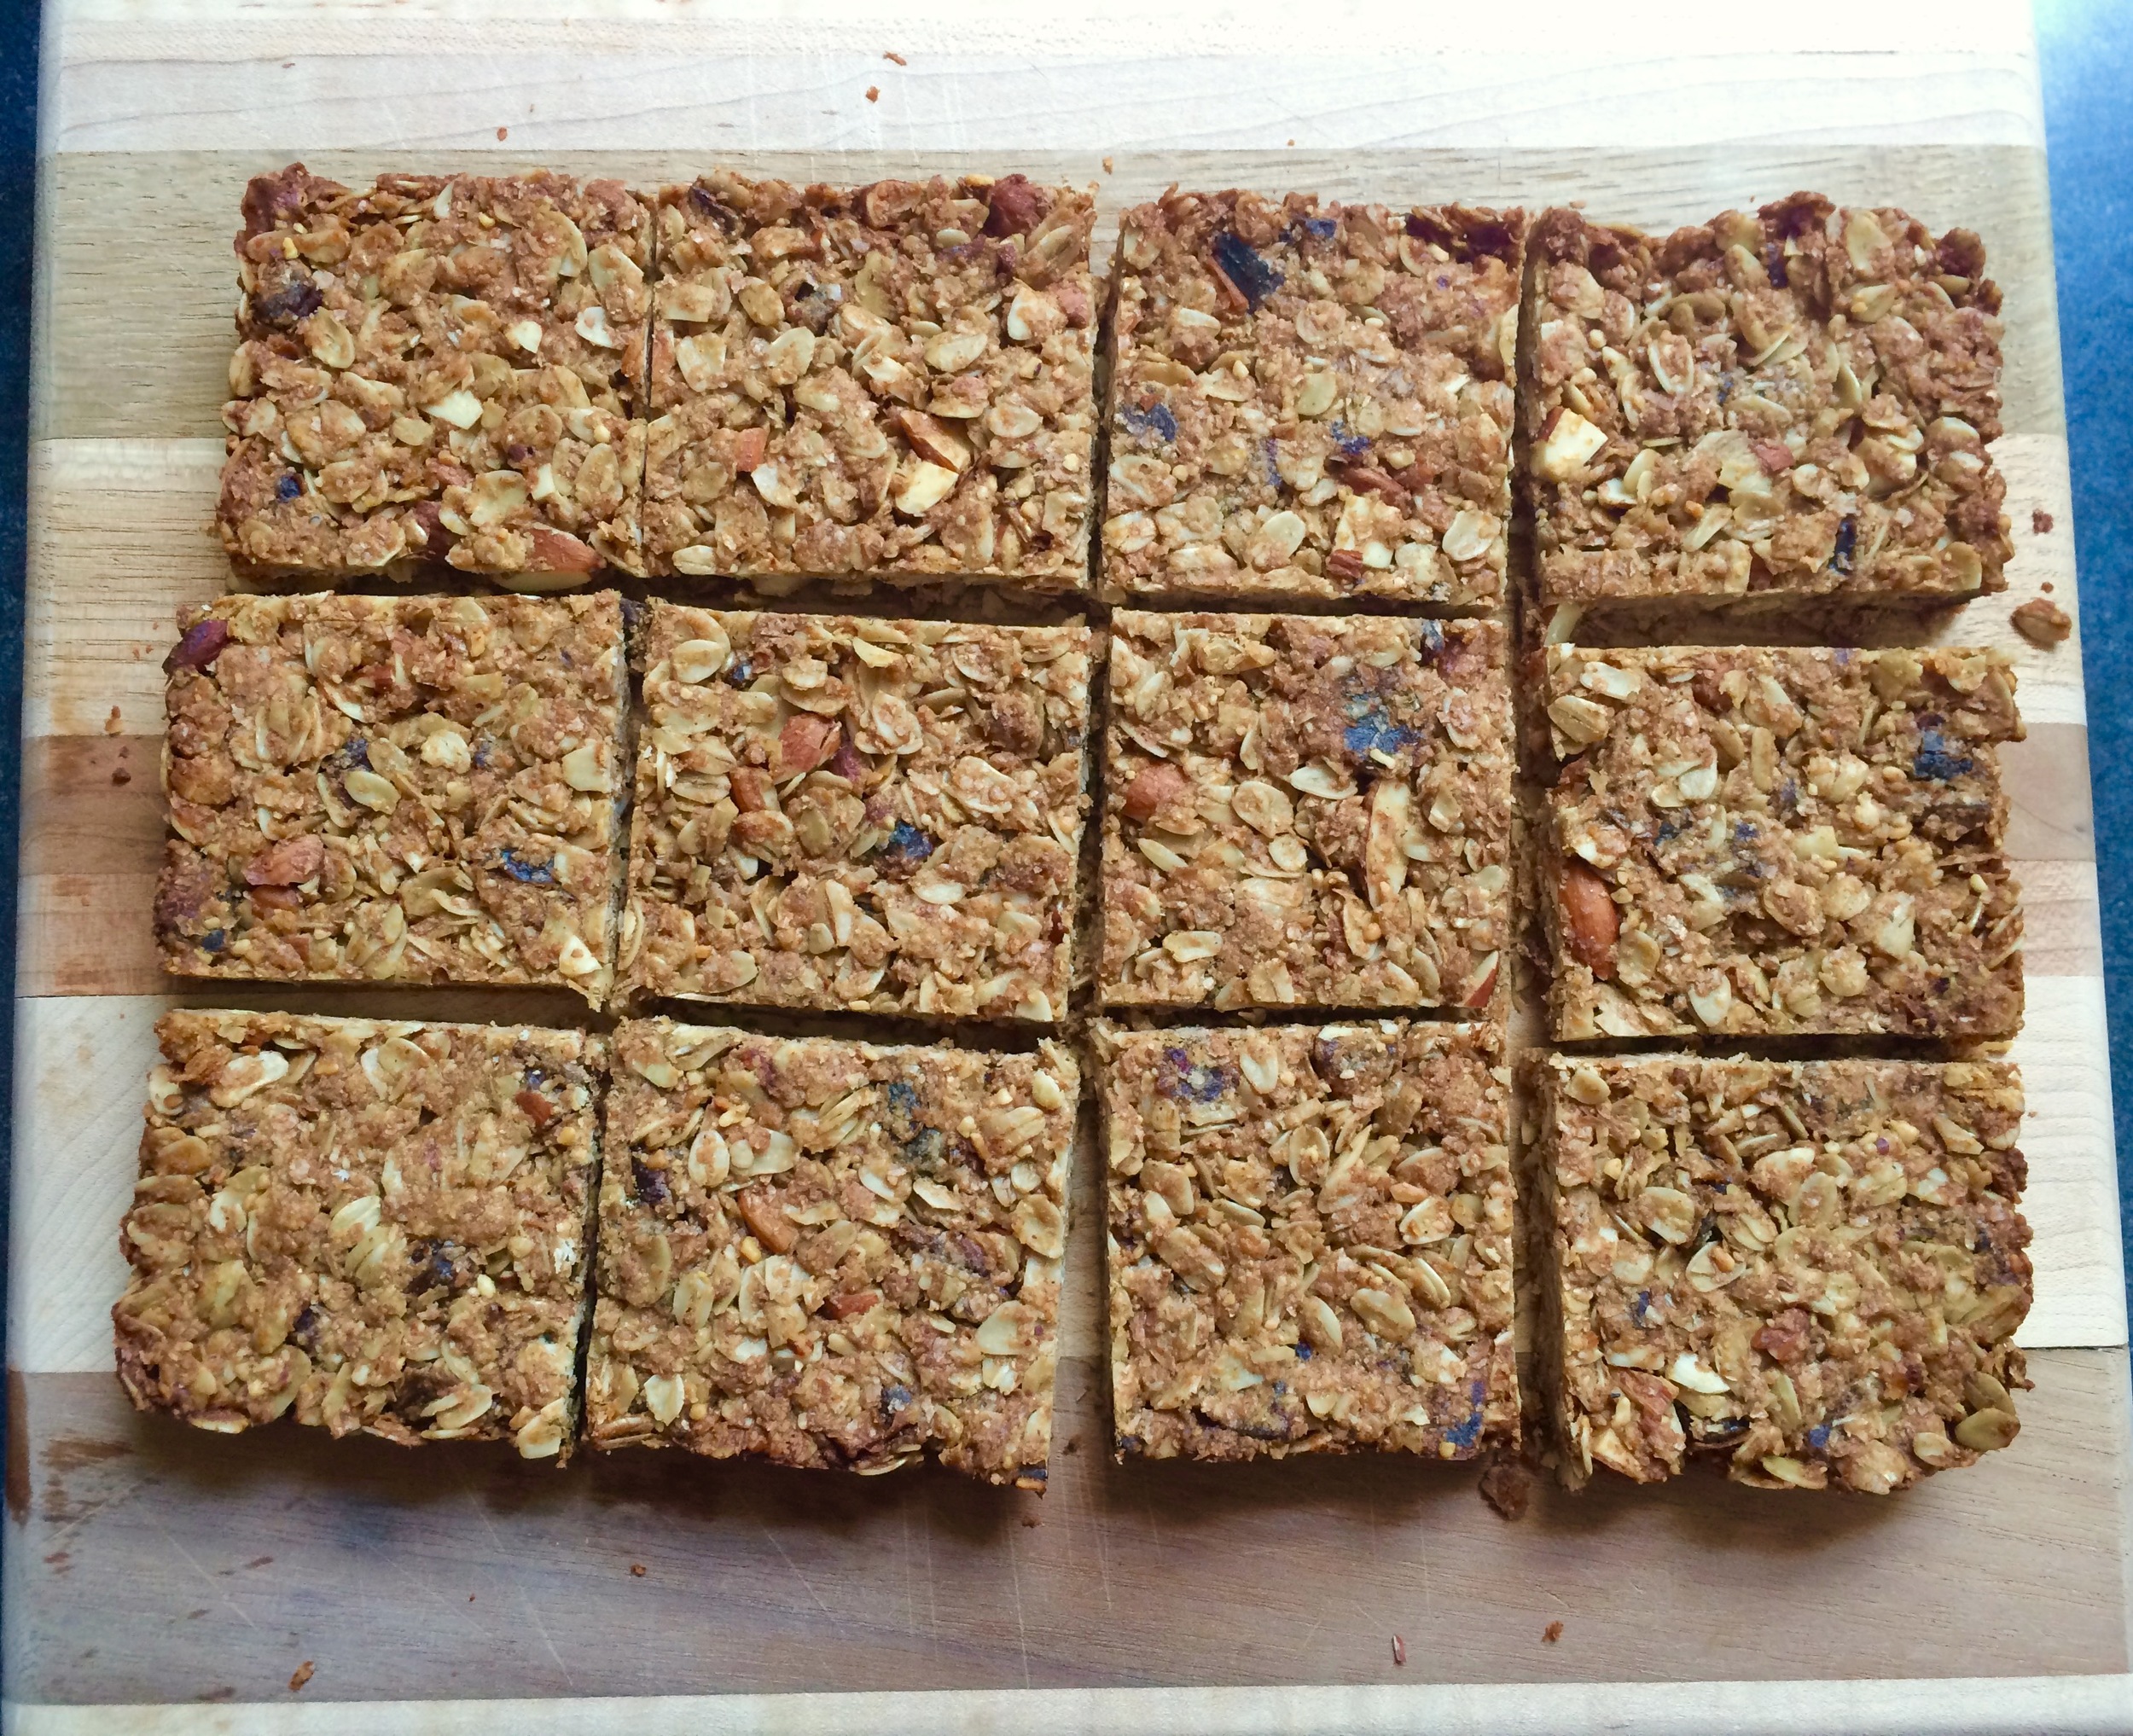
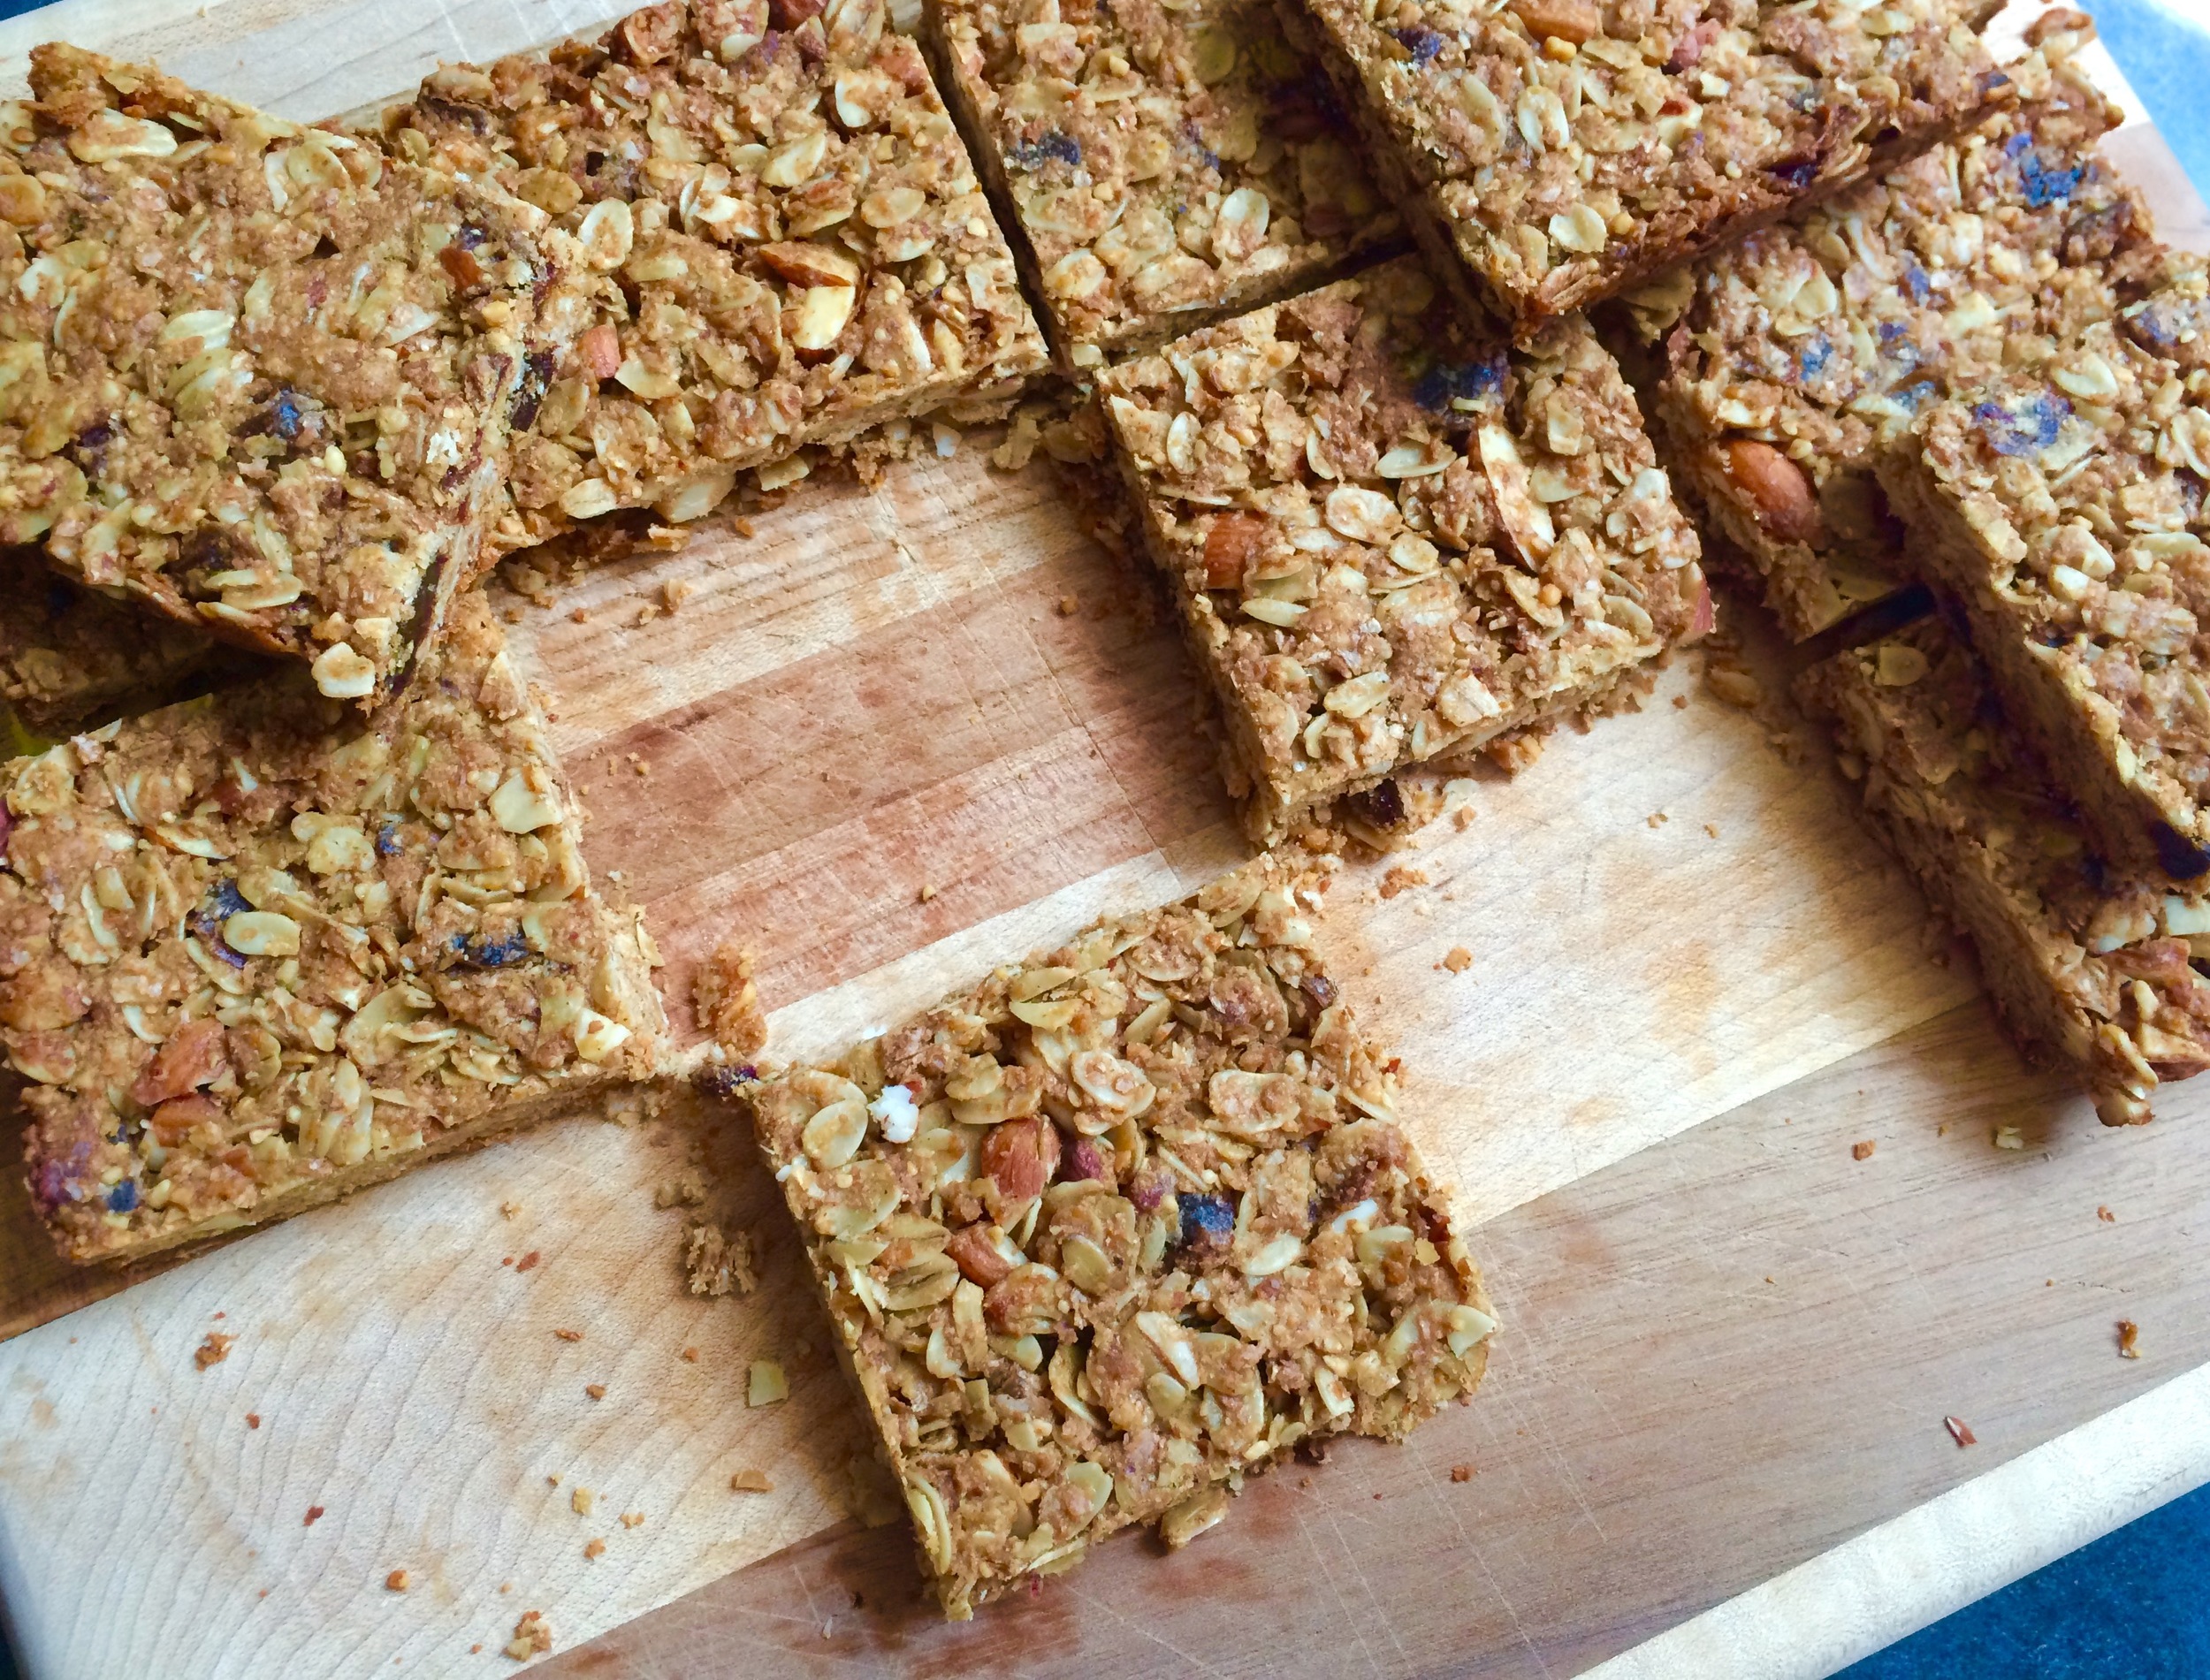
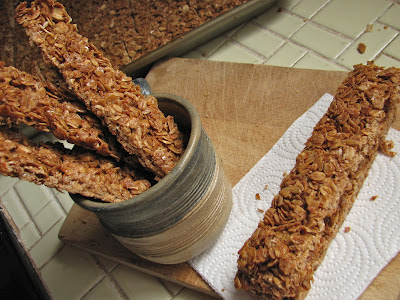
Transfer the mixture into the prepared pan and pat down firmly into an even layer. Bake at 350 degrees for 25-30 minutes or until the top is golden brown. Allow to cool completely before cutting.
Yields: 14-16 granola bars