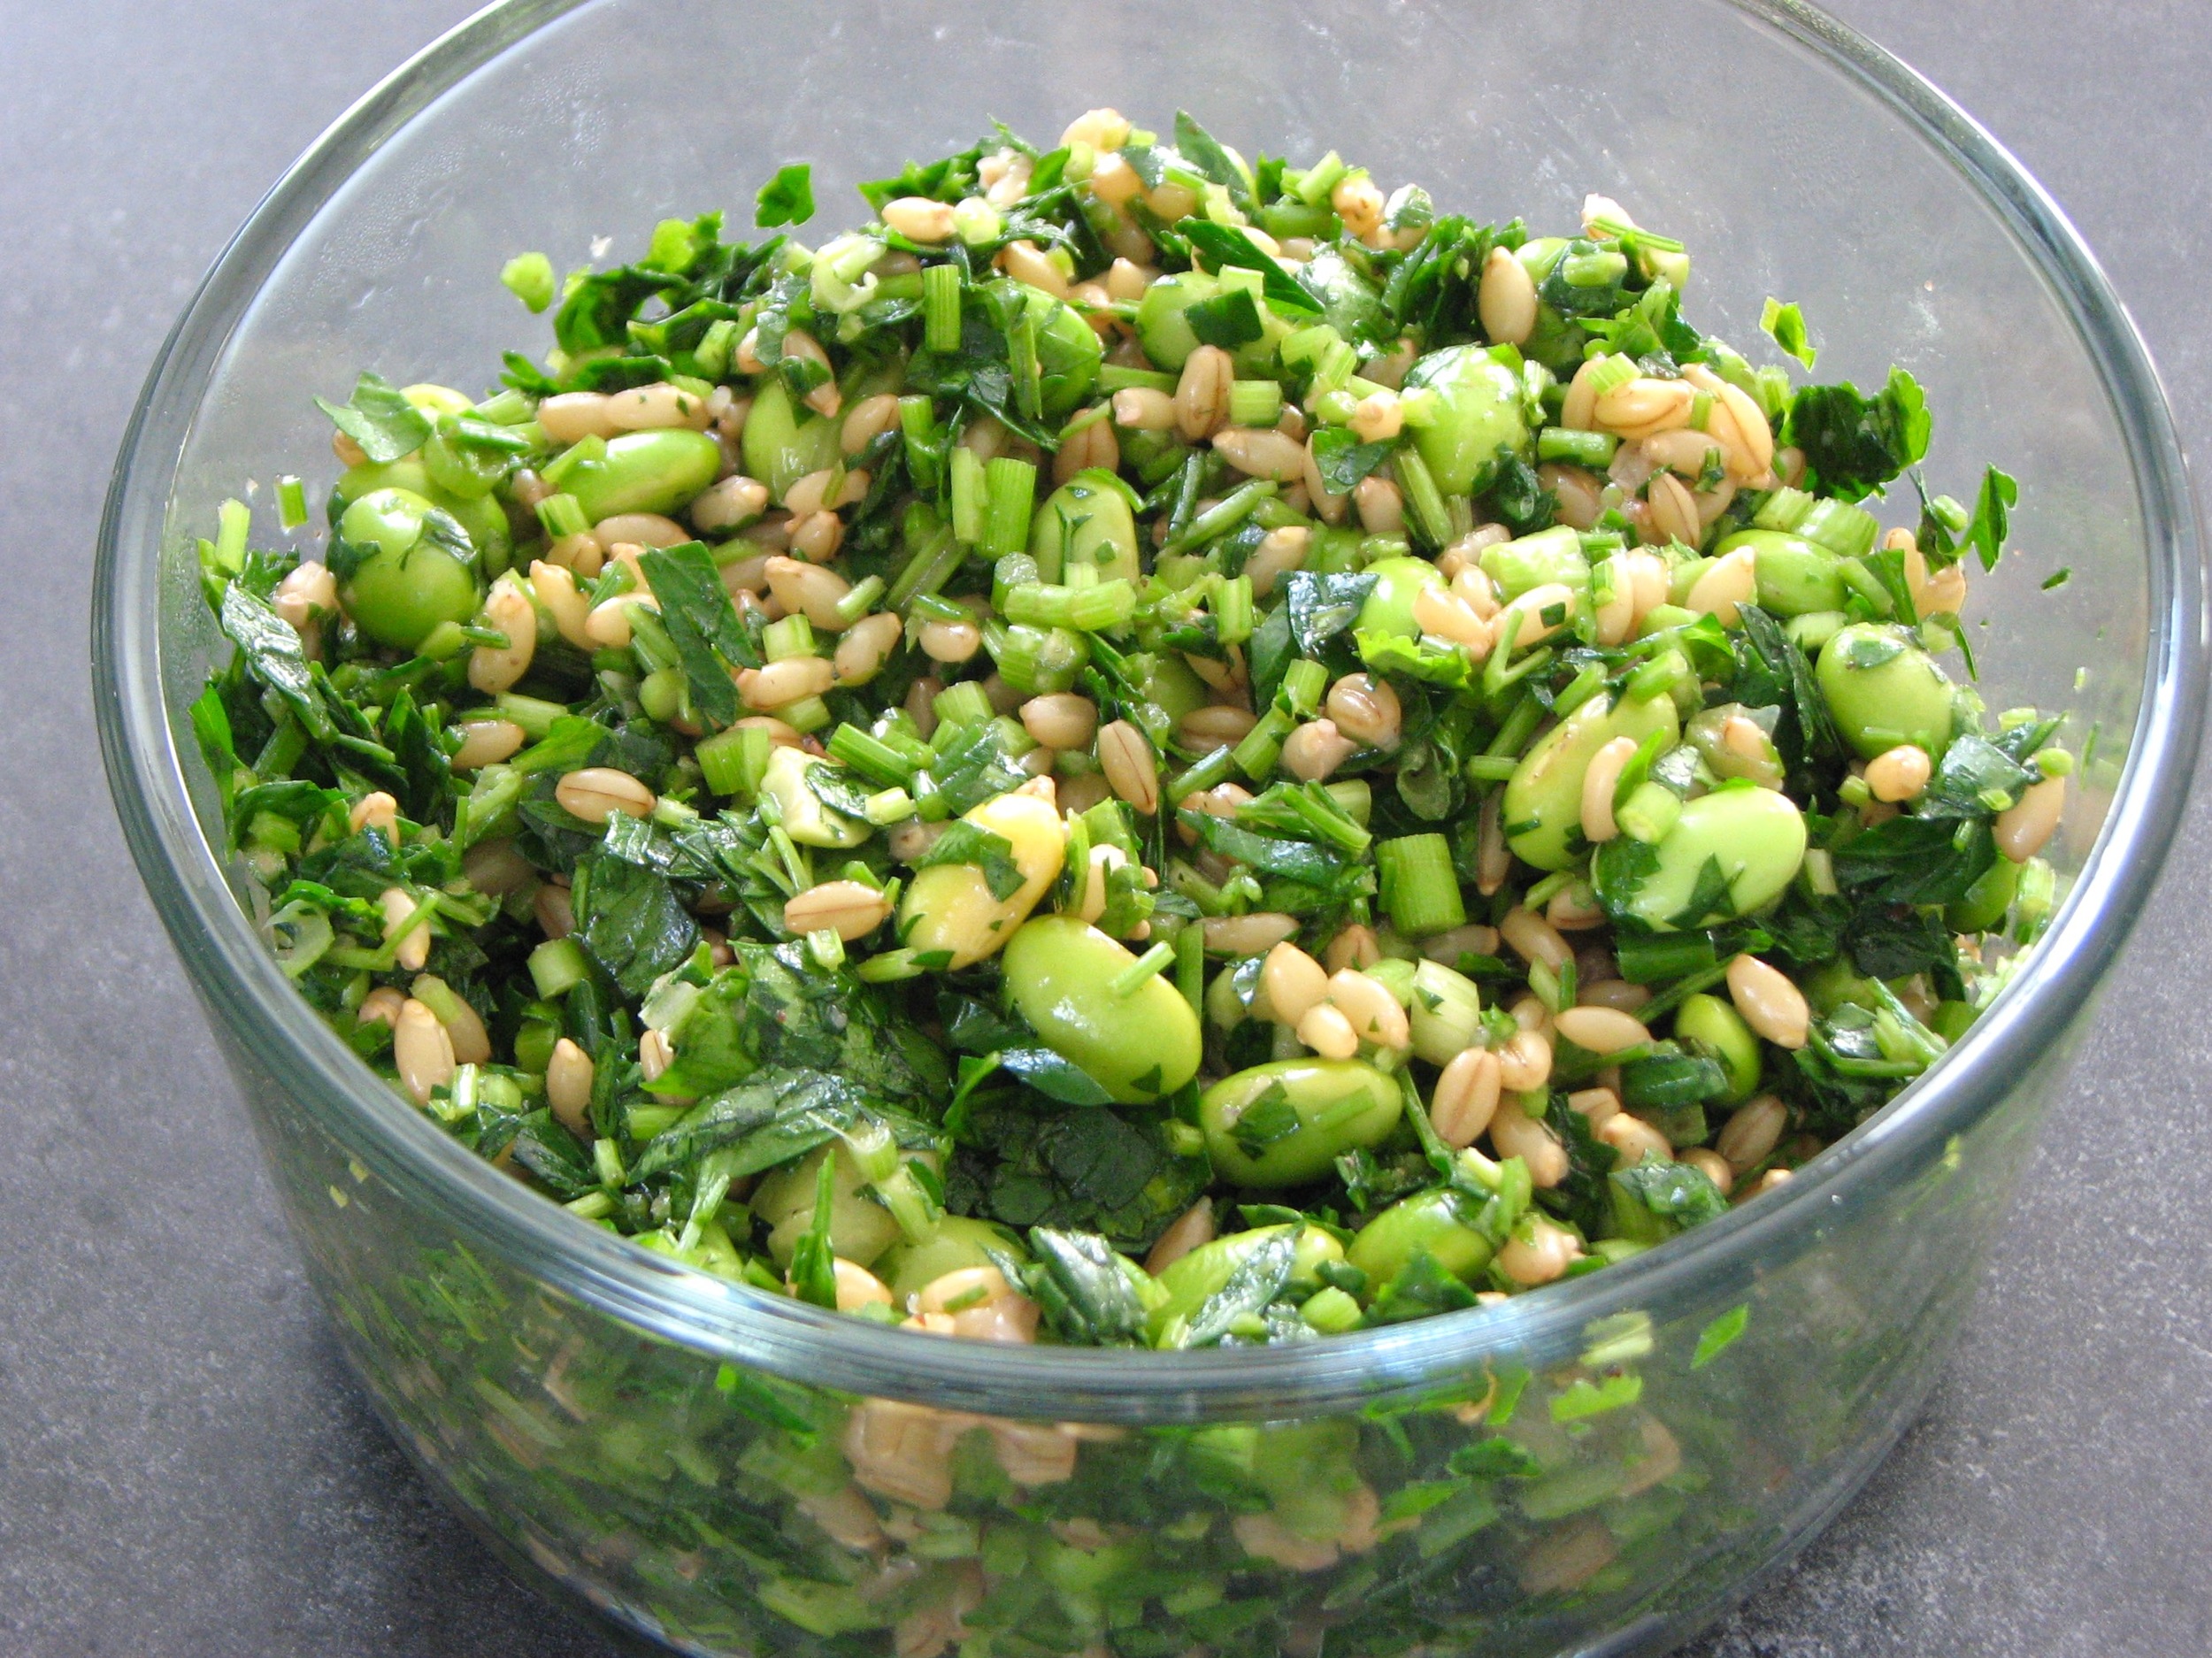
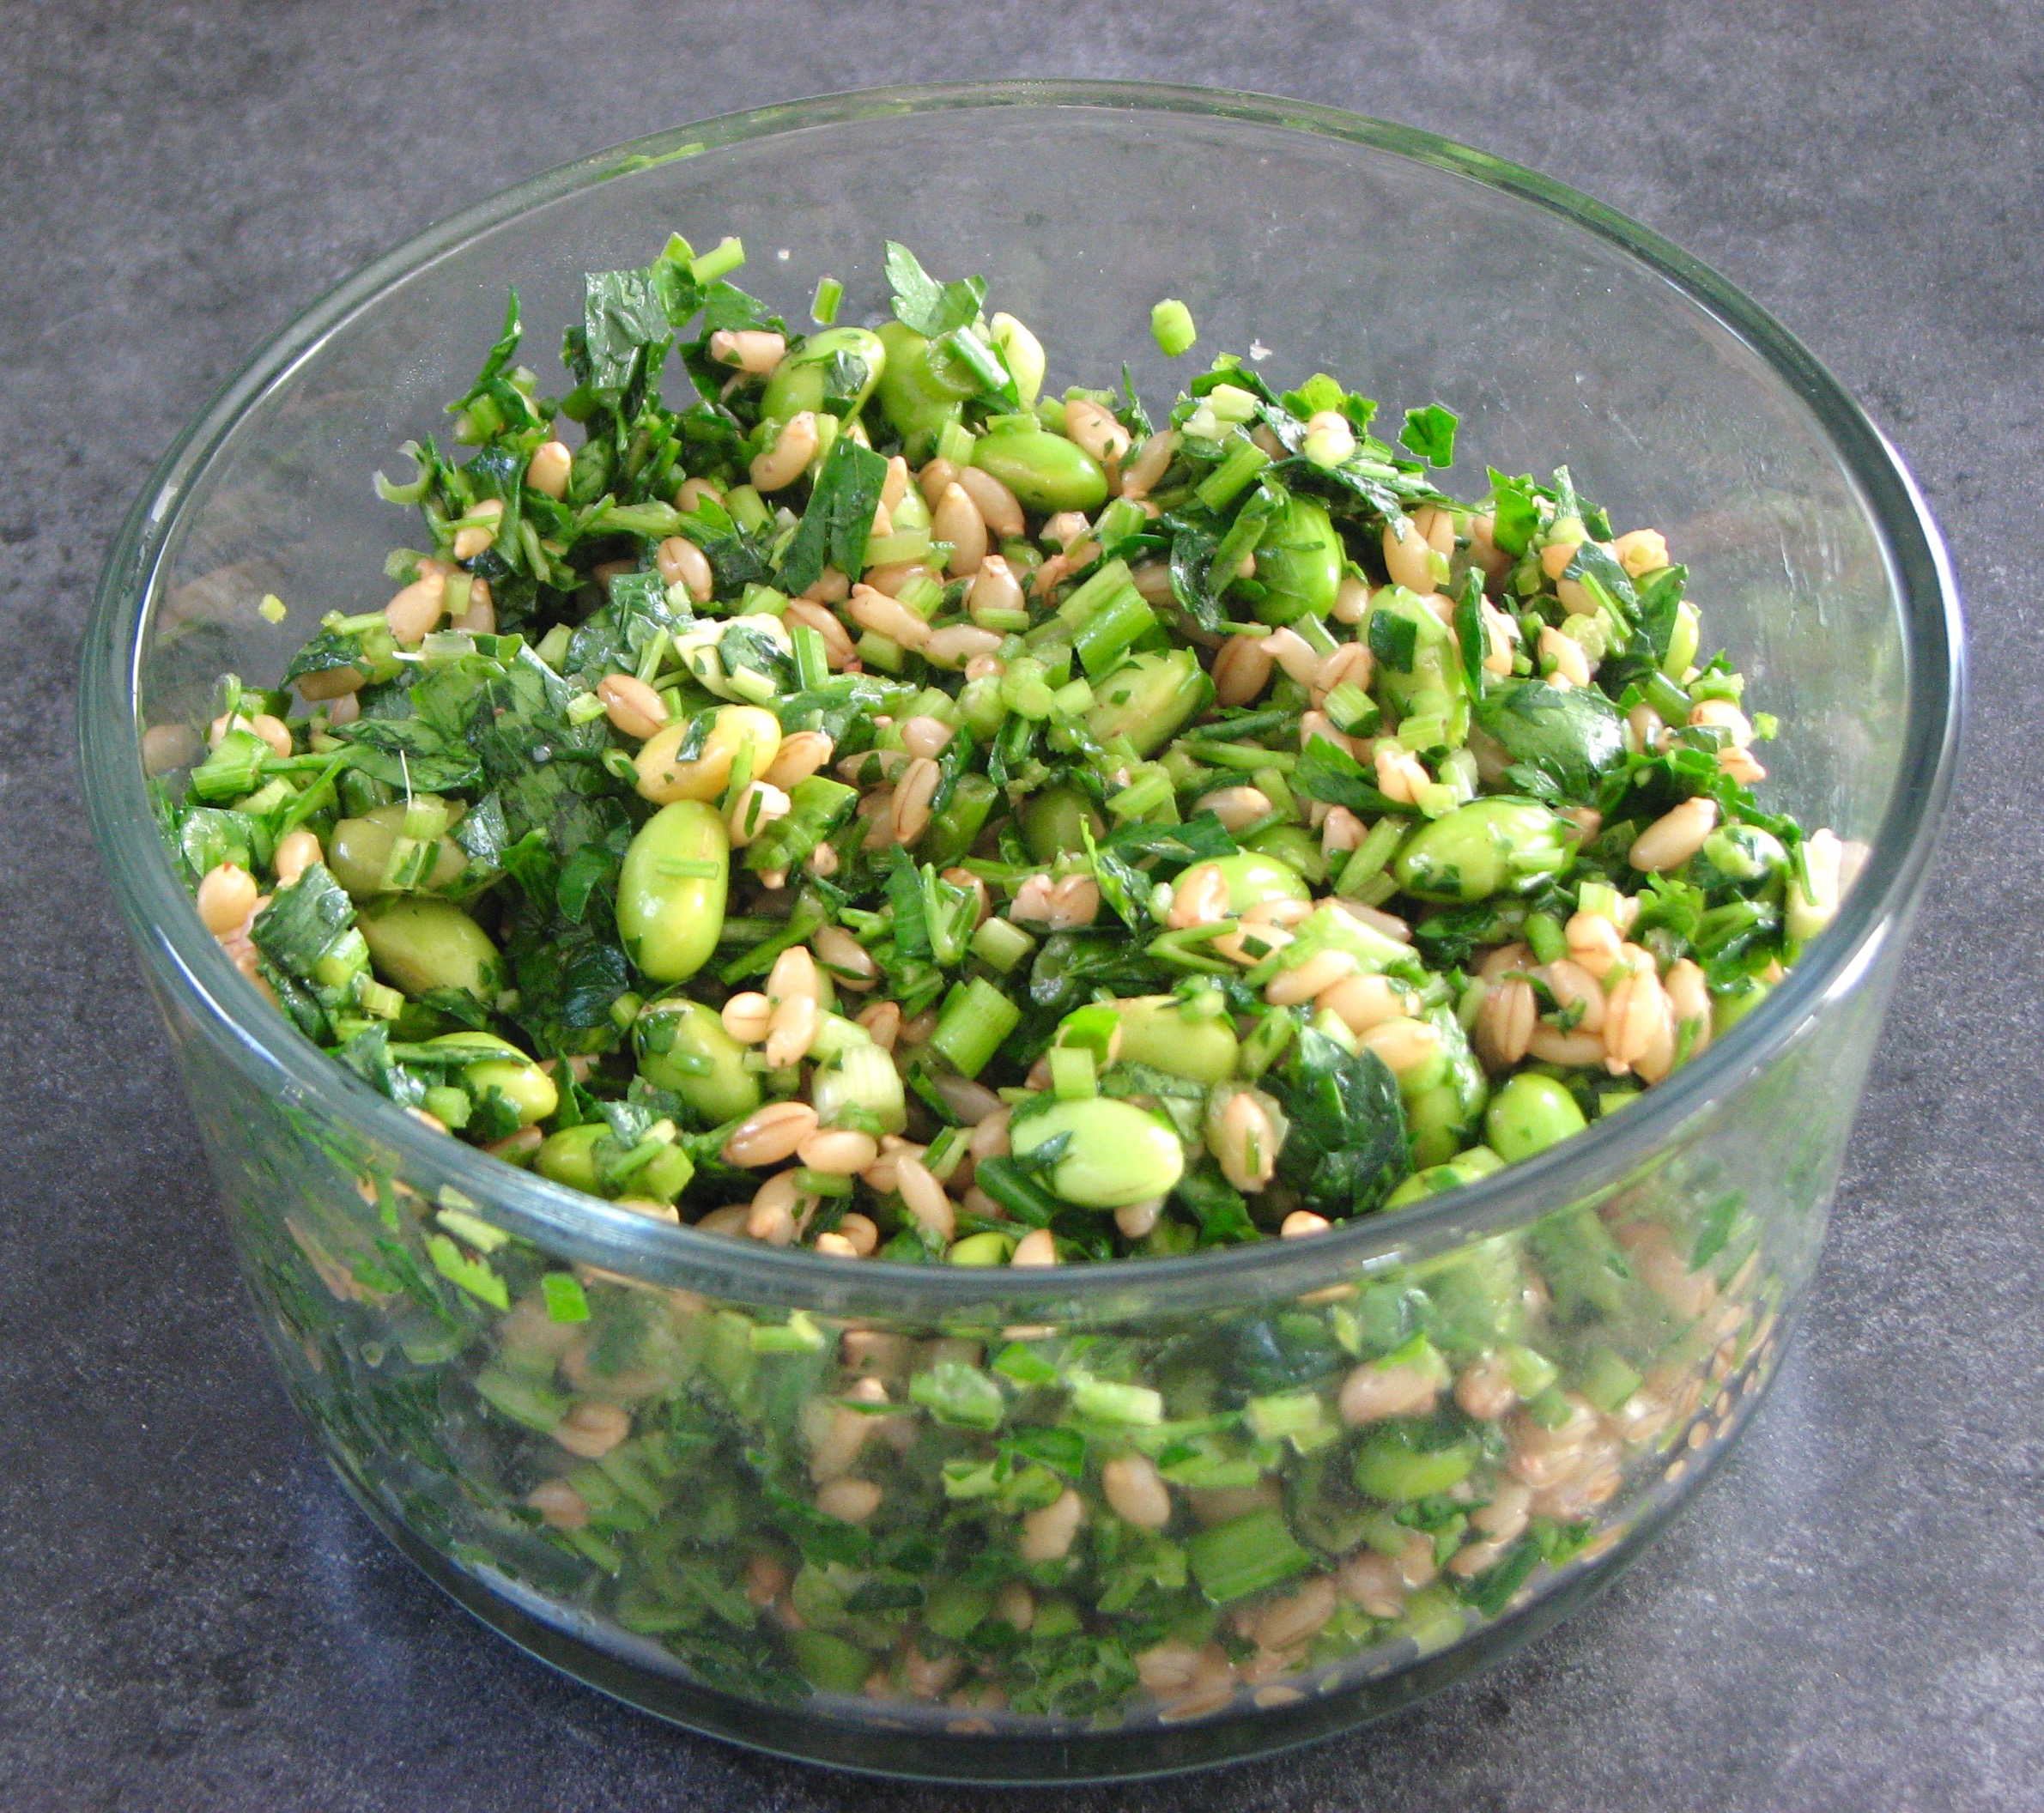
Herb Salad with Edamame and Barley

I don't know about you, but every so often I end up with a ton of herbs in my fridge that I keep meaning to use but for whatever reason I haven't been able to get too. This is especially a problem if I'm also going out of town for a little while and need to use these herbs up before leaving. I absolutely hate throwing herbs away, so I usually come up with some way to use up a big chunk of them all at once.  Some of my favorite quick options for preserving herbs include making pesto with whichever herb(s) I have and then freezing it for later, or even just chopping them up finely, placing them in ice cube trays, covering with water and freezing. Not as good as fresh herbs, but great in a pinch! 

Recently however I was headed out of town and wanted to use up my herbs quickly without having to freeze them, my freezer was a little full and I didn't want to add to it. I decided to make an herb salad, my own little spin on tabbouleh I guess you could say. I kind of eye-balled everything, there is no need to be exact in these situations. Below is my approximate measure of what I used, but you can scale up or down depending on what you have and what you need to use up. Let your imagination go wild!

For the grain in this salad I used hull-less barley from Bob's Red Mill, but you can use whatever whole grain you like; quinoa, brown rice, or wheat berries would all be wonderful. I like the chewiness of the hull-less barley which is very similar to wheat berries, but any whole grain will do. I also added in some shelled edamame that had been floating around my freezer for a while. I figured I mind as well clean something out of the freezer as well as long as I was at it! The edamame was perfect with the fresh herbs and hearty barley. Regardless of the herbs and grain you use you're sure to end up with a fresh and healthy salad that can really clean out that fridge when need be!


Herb Salad with Edamame and Barley
From Delectably Mine
Ingredients

  • 1/4 cup hull-less barley
  • 1 bunch parsley, chopped fine
  • 1/2 bunch cilantro, chopped fine
  • 3-4 green onions, sliced thin
  • 1 cup shelled edamame
  • Your favorite vinaigrette 

Directions
Place barley in a small stockpot. Add water to cover and a pinch of salt. Bring pot to boil, reduce heat to simmer and let cook until barley is tender, 30-40 minutes. 

Meanwhile, chop up your parsley, cilantro and green onions and add to a medium sized bowl. Defrost edamame and add to the bowl of herbs. 

When barley is cooked, drain excess water and add the barley to the bowl as well. Add vinaigrette, a few spoonfuls at a time, tossing between each addition, until the salad is dressed to your liking. Add additional salt or pepper if needed. Eat immediately or let sit for a few hours for the flavors to meld. 
 

Black Bean Burgers

I still have one more post to put up with pictures from my trip to Europe, but first a little detour back into recipe-land. Since it is Memorial Day weekend and the unofficial start of summer I thought a burger recipe was fitting. While it's not a real burger, this still a great meal idea to keep in your back pocket for days when meat is not on the menu. I saw this recipe recently while watching an episode of America's Test Kitchen online and I knew I had to make it soon. 

I really like a good veggie/bean burger and so was very happy to see that this recipe was actually quite simple and used ingredients that I almost always have on hand.  So often it seems that veggie burgers have a million ingredients, several of which I don't usually keep at home so I was happy about this.  All I had to do was soak a pot of beans and make a quick stop to the store to pick up some cilantro and I was all set to whip up a batch of these delicious and versatile black bean burgers. If you're looking for a simple recipe to cure that (veggie) burger craving give this one a try. It's sure to be a winner, it certainly was in my house. 

These burgers have good flavor and a good texture. They did not turn out "mushy" like so many veggie burgers, but were nice and firm and held together well. I also made a little chipotle yogurt sauce using canned chipotles in adobo mixed with a little Greek yogurt. You can always use mayo instead of the yogurt, that is what they did on the show. I topped the burgers with this sauce and a few slices of avocado and it was delicious. I think a  nice slice of cheddar cheese would also be wonderful. 

These burgers are great to make ahead for a quick meal when you don't have a lot of time to cook. Full of spices and aromatics, the prep work is done so you don't need to spend time chopping and adding flavor on a busy night. Just grab a pre-made patty and you're set. Great as a burger, but also in a wrap, on a tortilla, broken into chunks and mixed with a little yogurt or sour cream as a black bean version of chicken salad, or used to top a pizza. These little guys are versatile and delicious, if you've never made a black bean burger before, this is the place to start. 


Black Bean Burgers
Adapted from America's Test Kitchen
Ingredients

  • 1 can black beans, or 4 1/2 ounces dried black beans boiled until tender (about 1 1/2 cups total, cooked)
  • 1 egg
  • 1 tablespoon flour
  • 2 scallions, sliced thinly
  • 1 1/2 tablespoons cilantro, chopped finely
  • 1 clove garlic, minced
  • 1/2 tsp cumin
  • 1/4 tsp coriander
  • 1/8 teaspoon cayenne (optional)
  • 1/8 teaspoon salt
  • 1/8 teaspoon pepper
  • 3 tablespoons bread crumbs
  • 1 tablespoon coarse cornmeal
  • Cheese, avocado, sprouts for topping (optional)

Directions
Line a baking sheet with a couple of layers of paper towels. Drain and rinse black beans lay in an even layer on the paper towels. Set aside to dry for 15 minutes. 

Meanwhile, in a medium sized bowl, whisk the egg. Add the flour and whisk until no more lumps are visible.  Add the scallions, cilantro, garlic, cumin, coriander, cayenne, salt and pepper and whisk to combine. Set aside. 

Place the bread crumbs, cornmeal, and beans in a food processor. Pulse 5-6 times until a coarse mixture forms. It should be fairly dry. Add the bean mixture to the bowl with the egg mixture. Stir to combine everything evenly. It will be fairly wet. 

Place bean mixture in the fridge for at least 1 hour, up to 24 hours, to firm up. When ready to form patties, shape mixture into 4 uniform size round patties of even thickness. 

Heat a large frying pan over medium to medium-high heat. Add a tablespoon or two of olive oil. Place the patties in the frying pan and cook on one side until golden brown, 6-8 minutes. Flip patties with a spatula and cook on second side for another 6-8 minutes or until well browned. Remove from pan. Serve with your favorite toppings. 

Chana Dal Lentil Soup

I woke this morning and checked the old temperature gauge (aka my phone) to discover it was a balmy -6° Fahrenheit, not the windchill, the actual temperature (the windchill was a lovely -20°). In these kinds of conditions I crave something warm and hearty, simple yet filling and flavorful. This recipe was the first time I've tried chana dal. I spent some time researching exactly what chana dal is, and to be honest I'm still a little confused as to whether it is split lentils or split chickpeas or something else. Whatever the case, it is some kind of dried pulse or legume. If anyone has a good explanation of what dal is please let me know, I'd love a good definition. 

Regardless of what exactly dal is, this recipe is simple and filling. Dal cooked with tomatoes, onions and various spices. and finished with cilantro and a squeeze of fresh lemon juice. It doesn't get much easier than this, and it is so healthy. If you are looking for something hearty and warming this winter that's a little different than the norm, give this recipe a try. A thick slice of hearty bread on the side to mop up all the extra juice is the only other thing you need to finish off this delicious meal. 

All this recipe really requires of you is a little time. Chop a few vegetables, throw them into a pan with the lentils and a few spices and let it all cook away for an hour or two. When it's finished cooking you just need to add a few garnishes for freshness and a little more flavor. Then plate up and dig in. There is also so much room for innovation and creativity in this dish. Add some extra veggies, some different spices, another herb, whatever you like. In the end, I don't think you will be disappointed. 

Chana Dal Lentil Soup

From 

The Spice Spoon

Ingredients

  • 2 tbsp corn or any other neutral oil
  • ½ small onion sliced thinly
  • 3 small tomatoes, blanched, skins removed and diced
  • 1 tsp tomato paste (optional)
  • ¼ tsp turmeric powder (haldi)
  • 1 tsp salt (or more, to taste)
  • ½ tsp red chilli pepper (to taste-or can be omitted altogether if you don’t like spicy soups)
  • 1½ litre of boiling water (approximately 6 cups)
  • 400g chana lentils (approximately 2 cups)
  • 2 1-cm thick slices (a little less than ½-in.) of peeled ginger
  • fresh cilantro (or your favourite herb) for garnishing
  • paprika or sumac for garnishing (optional)
  • olive oil for drizzling
  • lemon wedges

Directions

Note: If you soak the lentils in cold water overnight or for an hour prior to cooking, you can reduce the cooking time from 1½ to 1 hour.

Coat bottom of a large pot with oil and place on medium-low heat. Add sliced onions and cook for 30 minutes; checking every 10 minutes. Cook till onions wilt and turn golden.

Add chopped tomatoes, tomato paste, turmeric, salt and chilli pepper and turn flame to medium-high. Sauté for 2-3 minutes till tomatoes look jammy (i.e., their liquid has reduced).

Add boiling water, lentils and ginger. Reduce heat to low. Stir and cover pot with lid.

Simmer until lentils are tender- test a grain between your thumb and forefinger- about 1½ hour.

Remove and discard the ginger slices.

The proceeding steps are optional; they are for those who want a thicker, soup-like consistency. If you don’t want a soup, but a traditional Pakistani-style Chana Dal, once the lentils are tender, loosen them with a little bit of water till the desired consistency is achieved and taste for salt and red chilli pepper. Serve with fresh, chopped coriander on top.

When lentils have cooled, transfer 1 cup of lentils and process in a blender till smooth and creamy. Loosen with a little bit of water. Pour back into pot. (For those of you who have an immersion blender, you can blend the soup directly in the pot.) Slowly add boiling water to soup till desired consistency is achieved. Taste for salt and red chilli pepper.

Serve with fresh coriander or your favourite herb; a sprinkle of paprika or sumac (optional); a drizzle of very good olive oil and lemon wedges to add tanginess.

Chicken Biryani

I love trying new foods and new cuisines and so am always on the lookout for something new and delicious to experiment with. However, I admit that a lot of the time I find something I want to try, but then never get around to making it. Most of the time it is because I don't have a lot of the ingredients on hand and I don't feel like going out and searching for them, and spending more money than I (as a poor graduate student) want to. Recently though, my sister Lara came across this recipe for Chicken Biryani and decided that we were just going to try it. We decided to go out and buy what we needed, regardless of what that was.

Putting this dish together, I had no idea what to expect. The combination of spices and the cooking method was unique to me. It isn't a difficult recipe, but it does have multiple steps and took a good couple of hours to complete. The end result however was totally worth it. The combination of flavors and textures was completely delicious, I couldn't get enough. A wonderful mixture of warm spices coats the chicken which is layered with a sweet and spicy caramelized onions and serrano chiles mixture, seasoned again with some of the same spices as is on the chicken. Layers of seasoned rice complete the dish along with fresh cilantro and mint.

I've posted the original recipe below, but I had to make a few changes when I made it. I used ground cardamom and cinnamon because that's what I had, and I added it directly to the rice after cooking. Maybe not authentic, but still delicious. I also didn't have a tall pot, so I used my cast iron skillet and it worked just fine. I absolutely loved how this recipe turned out and will definitely make it again!

Onions chopped, and spice paste made

My first time using serrano chiles

Chop them up

And some cilantro

Paste for the chicken, yum!

Rub it all over the chicken

Start cooking that chicken

A beautiful brown crust

Ready for the rest of the dish

Take out the chicken and throw the onions into the skillet

Cook them until they are nice and caramelized

Add the chiles

Then it's time for the spices

Remove the onion mixture and start layering; Layer #1: Rice

Add some cilantro and mint (I didn't splurge for the saffron)

Next is the onion mixture

Time for the chicken

Followed by more onions

Then the rest of the rice

Finally, the last of the cilantro and mint. Cover and cook until the rice and chicken are finished.

This picture doesn't do it justice so just trust me, it's delicious!

Chicken Biryani
From No Recipes
Ingredients
Chicken

  • 4-5 bone-in skin-on chicken thighs 
  • 2 cloves of garlic minced 
  • 1 teaspoon salt 
  • 1/2 teaspoon ginger powder (or 1 teaspoon grated ginger) 
  • 1/2 teaspoon garam masala 
  • 1/2 teaspoon ground black pepper 
  • 1 teaspoon oil
  • 3 quarts water 

Rice

  • 1 teaspoon salt 
  • 10 green cardamom pods, crushed 
  • 1 cinnamon stick 
  • 1 teaspoon cumin seeds 
  • 1 bay leaf 
  • 2 cups basmati rice

Onions

  • 2 medium onions sliced thin 
  • 2 serrano chiles minced (remove the seeds and membranes if you want it less spicy) 
  • 1 clove garlic minced 
  • 1 teaspoon garam masala 
  • 1/2 teaspoon ginger powder 
  • 1/4 teaspoon salt 

For Assembly

  • 1 cup + 3 tablespoons water the rice was boiled in 
  • 1/2 teaspoon salt 
  • 2 tablespoons cilantro minced 
  • 2 tablespoons mint minced 
  • 1/2 teaspoon saffron (optional) 

Directions
Wash the chicken, pat dry and trim any excess fat or skin off the chicken. Mash together the garlic, salt, ginger, garam masala, black pepper and oil to make a paste. Coat all the pieces of chicken rubbing into all the crevices.

In a tall deep pot, add the water, salt, cardamom, cinnamon, cumin and bay leaf, cover then bring to a simmer on medium low heat.

Meanwhile, heat a large heavy bottomed frying pan over medium high heat until hot. Add a small splash of oil coating the bottom of the pan then add the chicken skin side down. Fry undisturbed until the chicken is nice and brown on that side (about 3 minutes). Flip the chicken then brown on the other side.

Transfer the chicken to a plate, turn down the heat to medium low then add the onions to the pan. Fry the onions, scrapping up the browned bits on the bottom of the pan until the onions are fully caramelized (about 20 minutes). Add the chiles, garlic, garam masala, ginger, and salt and continue to cook until the garlic and spices are fragrant. Remove from heat and set aside.

Turn the heat on the water up and bring to a boil. Add the rice, cover, then turn the heat back down to medium low. Cook for 5 minutes. Drain the rice reserving 1 C + 3 Tbs of liquid.

To assemble the biryani, put half the rice back into the tall pot. Sprinkle half the saffron over the rice followed by half the cilantro and mint. Spread half the onion mixture over this then lay the chicken pieces on top. Cover with the rest of the onions then the rest of the rice. Top with the rest of the saffron, cilantro and mint. Pour the reserved liquid from the rice into the pan you fried the onions in scraping up any residual browned bits of onion then dump this on top of the rice.

Cover then cook the biryani over medium low heat for 20-30 minutes or until most of the water has evaporated and the chicken is cooked.