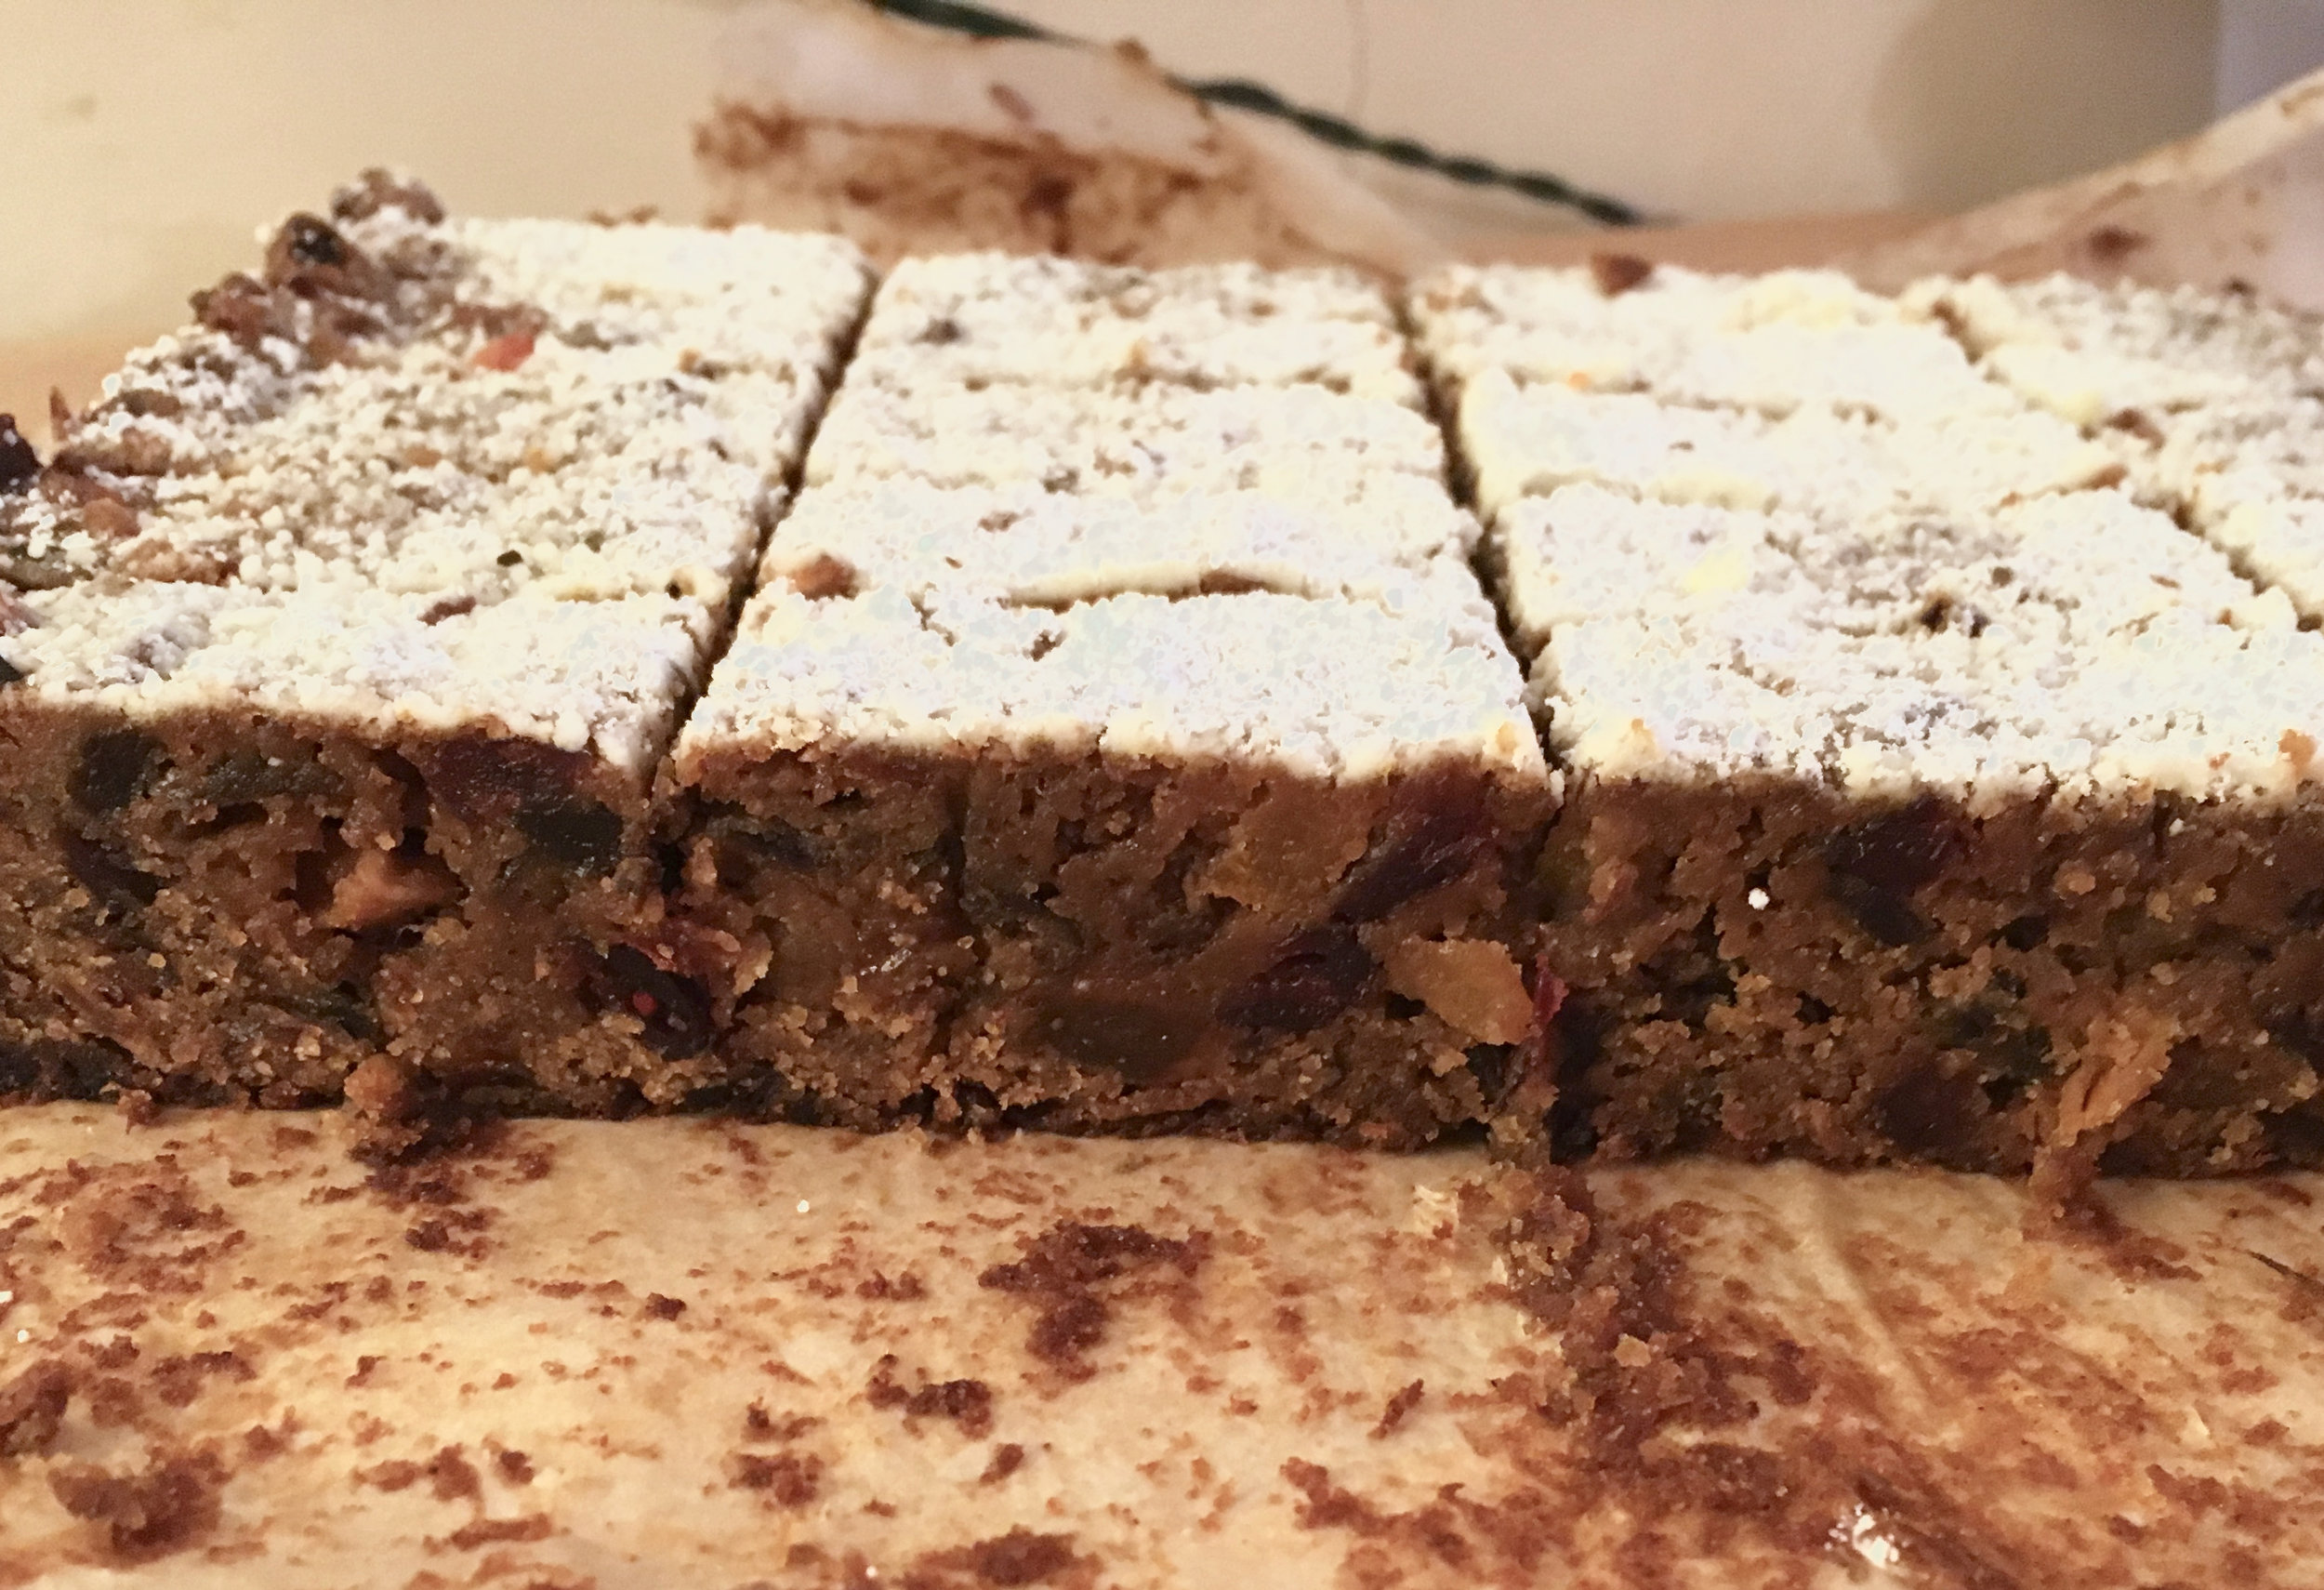
New Years Brunch, 2022

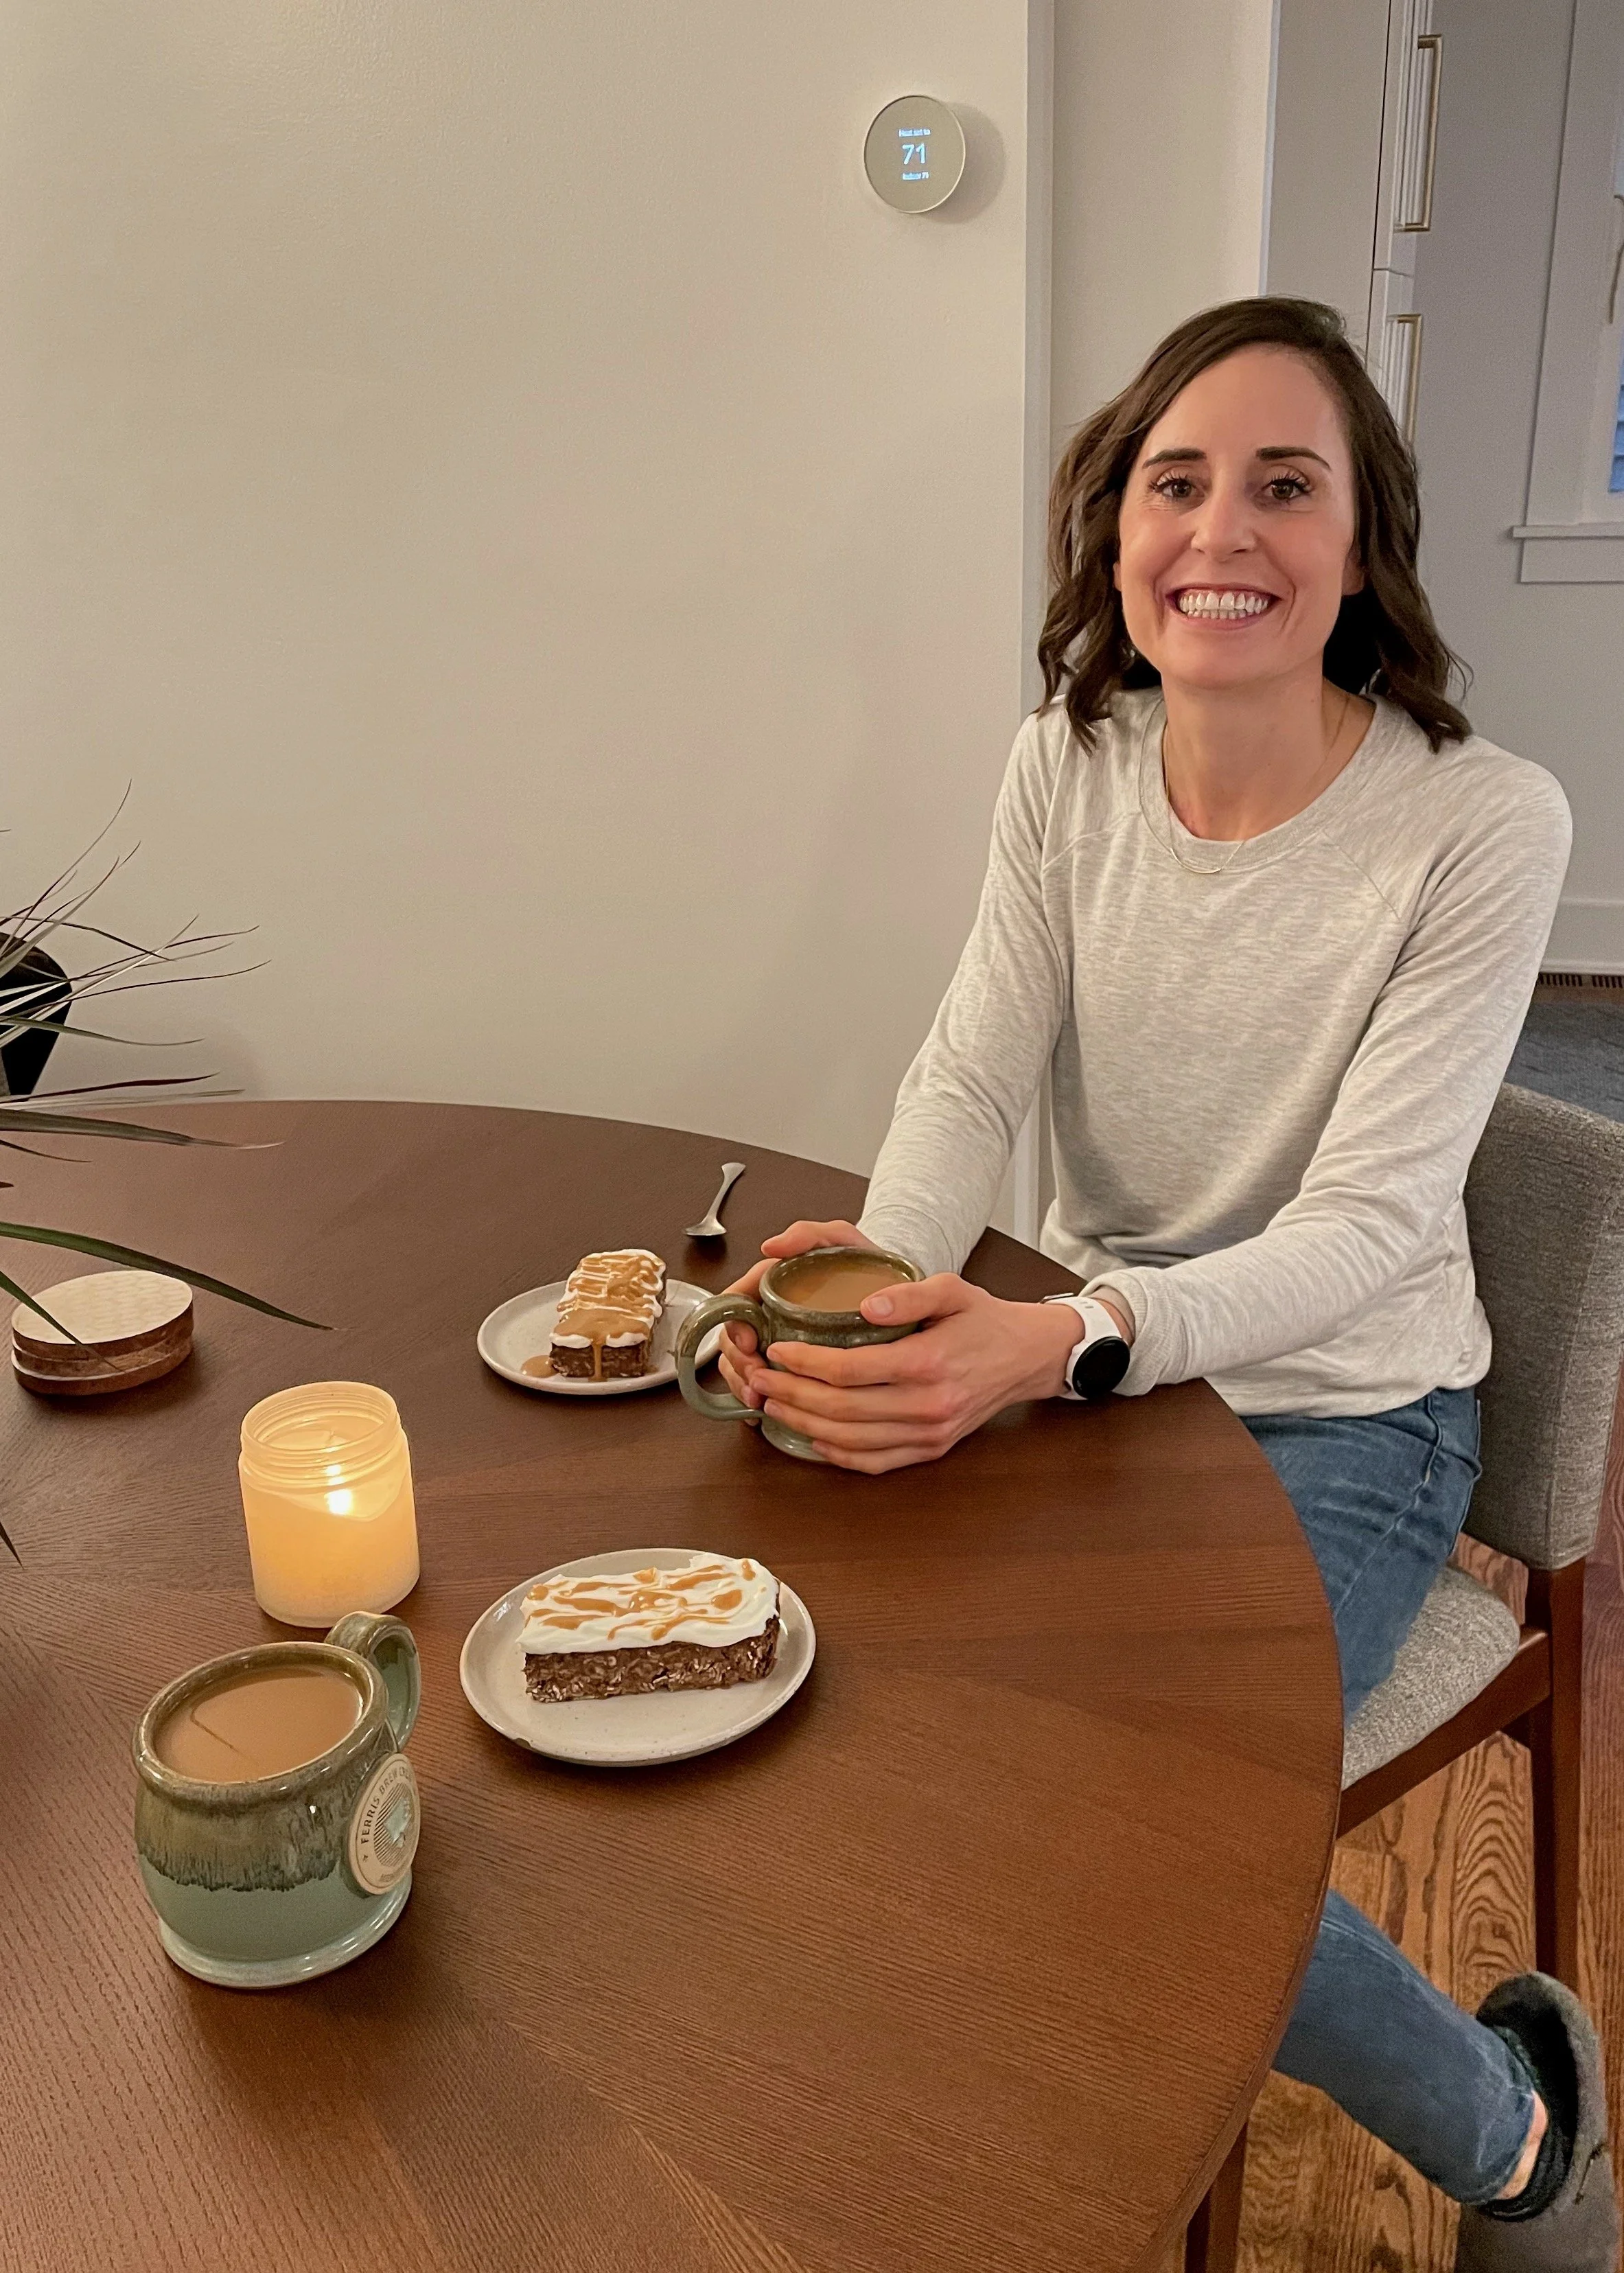
Lara and I decided we wanted to make some cinnamon rolls over the holidays. We certainly weren’t going to eat a whole batch of them ourselves, so we decided to invite some family over for a New Years Day brunch….

We both love brunch, but rarely get to have people over for a brunch party. This past New Year’s Day was therefore a treat! We had such a fun time coming up with a menu and then buying and preparing everything.

We did need to make a few dairy free items for some family members. There was a few moments of tension early in the mornign when we realized the first batch of cinnamon rolls (the dairy free version) wasn’t going to come out as planned. We pivoted, found a new recipe quick, threw it together and made it all work out in the end. Phew.

Random photos below followed by the recipes. I liked them all and would make again in a heartbeat! Enjoy!


Coconut Oil Cinnamon Rolls
Recipe from Love and Lemons
Ingredients
For the yeast

  • ½ cup warm water, 110°

  • 1 (¼-ounce) package active dry yeast

  • 1 teaspoon cane sugar

Dough

  • ⅓ cup melted coconut oil, plus more for brushing

  • ½ cup almond milk, at room temperature

  • ⅓ cup cane sugar

  • 1 teaspoon sea salt

  • 2¾ cups all-purpose flour, plus more for kneading

Filling

  • ½ cup brown sugar

  • 1½ tablespoons cinnamon

Glaze

  • 1½ cups powdered sugar, sifted

  • 3 to 4 tablespoons almond milk

  • ½ teaspoon vanilla extract

Instructions
Grease an 8x11 or 9x13-inch baking dish. In a small bowl, stir together the water, yeast, and sugar. Set aside for 5 minutes, or until the yeast is foamy.

Make the dough: In a medium bowl, combine the coconut oil, almond milk, sugar, and salt. Stir in the yeast mixture. Place the flour in a large bowl, then add the wet ingredients and stir until combined. The mixture will be sticky. Use your hands to roughly knead the mixture, then turn it out onto a floured surface. Knead 3 to 4 minutes until smooth, sprinkle with more flour if needed, and form into a ball. Brush a large bowl with coconut oil and place the dough inside. Cover with plastic wrap and set aside in a warm place to rise until doubled in size, about 1 hour.

Filling: In a small bowl, mix the brown sugar and cinnamon. Punch down dough and roll out on a floured surface into a 20x14-inch rectangle. Brush with 2 tablespoons melted coconut oil and sprinkle with the cinnamon sugar to within ½ inch of the edges. Starting at one of the short 14-inch ends, roll tightly into a log, then slice into 12 rolls. Place the rolls into the baking dish cut-side up, cover, and let rise for 1 hour.

Make the glaze: In a medium bowl, whisk together the powdered sugar, 3 tablespoons almond milk, and vanilla until smooth. If it’s too thick, add more almond milk.

Bake: Preheat the oven to 350°F. Bake the rolls 25 to 30 minutes or until lightly golden on top. Remove and allow to cool for 10 minutes, then drizzle the glaze on top and serve.

My (Jana’s) Notes: I made 1.5 x the recipe, cut the dough into thirds, and made 12 normal size from 2/3 of the dough, and 12 mini (from the other 1/3). Didn’t rise as well as liked, maybe didn’t let them rise the first time long enough? They did rise in the oven, but they didn’t get pillowy and soft and fluffy. They seem dense and heavy. We were disappointed. We wanted pillowy and soft.

Later in the day, after everyone left we tried them again and thought they were great, but just not a traditional soft and fluffy cinnamon roll. They are dense, chewy and kind of elastic-y. They aren’t at all dry or dried out, but taste and kind of feel like raw cinnamon roll dough. So although we were disappointed initially (and Lara said we could throw them away), in the end we thought they were fantastic. Just different than a normal roll (maybe because they were a little under-risen, or maybe that’s just how they are!)


Quick and Easy Cinnamon Rolls
From Sally’s Baking Addiction
Ingredients
Rolls

  • 2 and 3/4 cups (344g) all-purpose flour (spoon & leveled)

  • 1/4 cup (50g) granulated sugar

  • 1/2 teaspoon salt

  • 2 and 1/4 teaspoons Red Star Platinum Yeast or any instant yeast (1 packet)

  • 1/2 cup (120ml) whole milk

  • 1/4 cup (60ml) water

  • 3 Tablespoons unsalted butter

  • 1 large egg

Filling

  • 3 Tablespoons (45g) unsalted butter, softened to room temperature

  • 1 Tablespoon ground cinnamon

  • 1/4 cup (50g) granulated sugar or packed light or dark brown sugar

Icing

  • 1 cup (120g) confectioners’ sugar

  • 1/2 teaspoon pure vanilla extract

  • 2–3 Tablespoons (30-45ml) strong brewed coffee or milk

Instructions
Make the dough
: Whisk the flour, sugar, salt, and yeast together in a large bowl. Set aside.

Combine the milk, water, and butter together in a heatproof bowl. Microwave or use the stove and heat until the butter is melted and the mixture is warm to touch (about 110°F). Pour into the dry ingredients, add the egg, and stir until it forms a soft dough or use your mixer.

On a lightly floured surface using floured hands, knead the dough for 3 minutes. Place in a lightly greased bowl (I use non-stick spray), cover loosely, and let rest for about 10 minutes.

Fill the rolls: After 10 minutes, roll the dough out in a 14×8 inch rectangle. Spread the softened butter on top. Mix together the cinnamon and sugar. Sprinkle it all over the dough. Roll up the dough tightly to make a 14 inch log. Cut into 10-12 even rolls and arrange in a lightly greased 9-inch round cake pan or pie dish.

Rise: Tightly cover the rolls with aluminum foil or plastic wrap and allow to rise in a warm, draft-free environment for 60-90 minutes.

Bake the rolls: After the rolls have doubled in size, preheat the oven to 375°F (190°C). Bake for 25-28 minutes until lightly browned. If you notice the tops are getting too brown too quickly, loosely cover the rolls with aluminum foil and continue baking.

Make the icing: Whisk the confectioners’ sugar, vanilla extract, and coffee/milk together. Drizzle or spread over warm rolls.

MY (Jana’s) NOTES: Had to quick throw these together at 8:00am as the first batch (above) didn’t turn out as desired/expected. Wanted tall, fluffy, rich, decadent cinnamon rolls. These were it. Because I wanted them to be huge I ended up doubling the recipe, yet still cutting them into 12 rolls and baking them in a 9x13 (ish) baking pan. They turned out HUGE!!!! AND SOFT!!!!! They were incredible tall. And so so good! I would definitely double the recipe again. Huge rolls are fun. This is a good old American breakfast pastry at it’s finest. Decadent and over the top. Reminded us a lot of Ida’s cinnamon rolls. They only really needed to rise for 30-40 minutes. The kitchen was warm and they have a lot of yeast. Topped with cream cheese frosting. Probably took less than two hours from start to finish. Dad loved them. With lots of butter…

I don’t know how long them baked because my timer got screwed up. They turned out great, but Lara wanted them a little less brown. So could potentially cover with foil to prevent browning. Or bake them a little less… whatever that would be.

For frosting: 4 ounces cream cheese, 4 tbs butter, added a little milk (maybe wouldn’t need, but the cream cheese wasn’t super soft…). Didn’t use all the frosting.


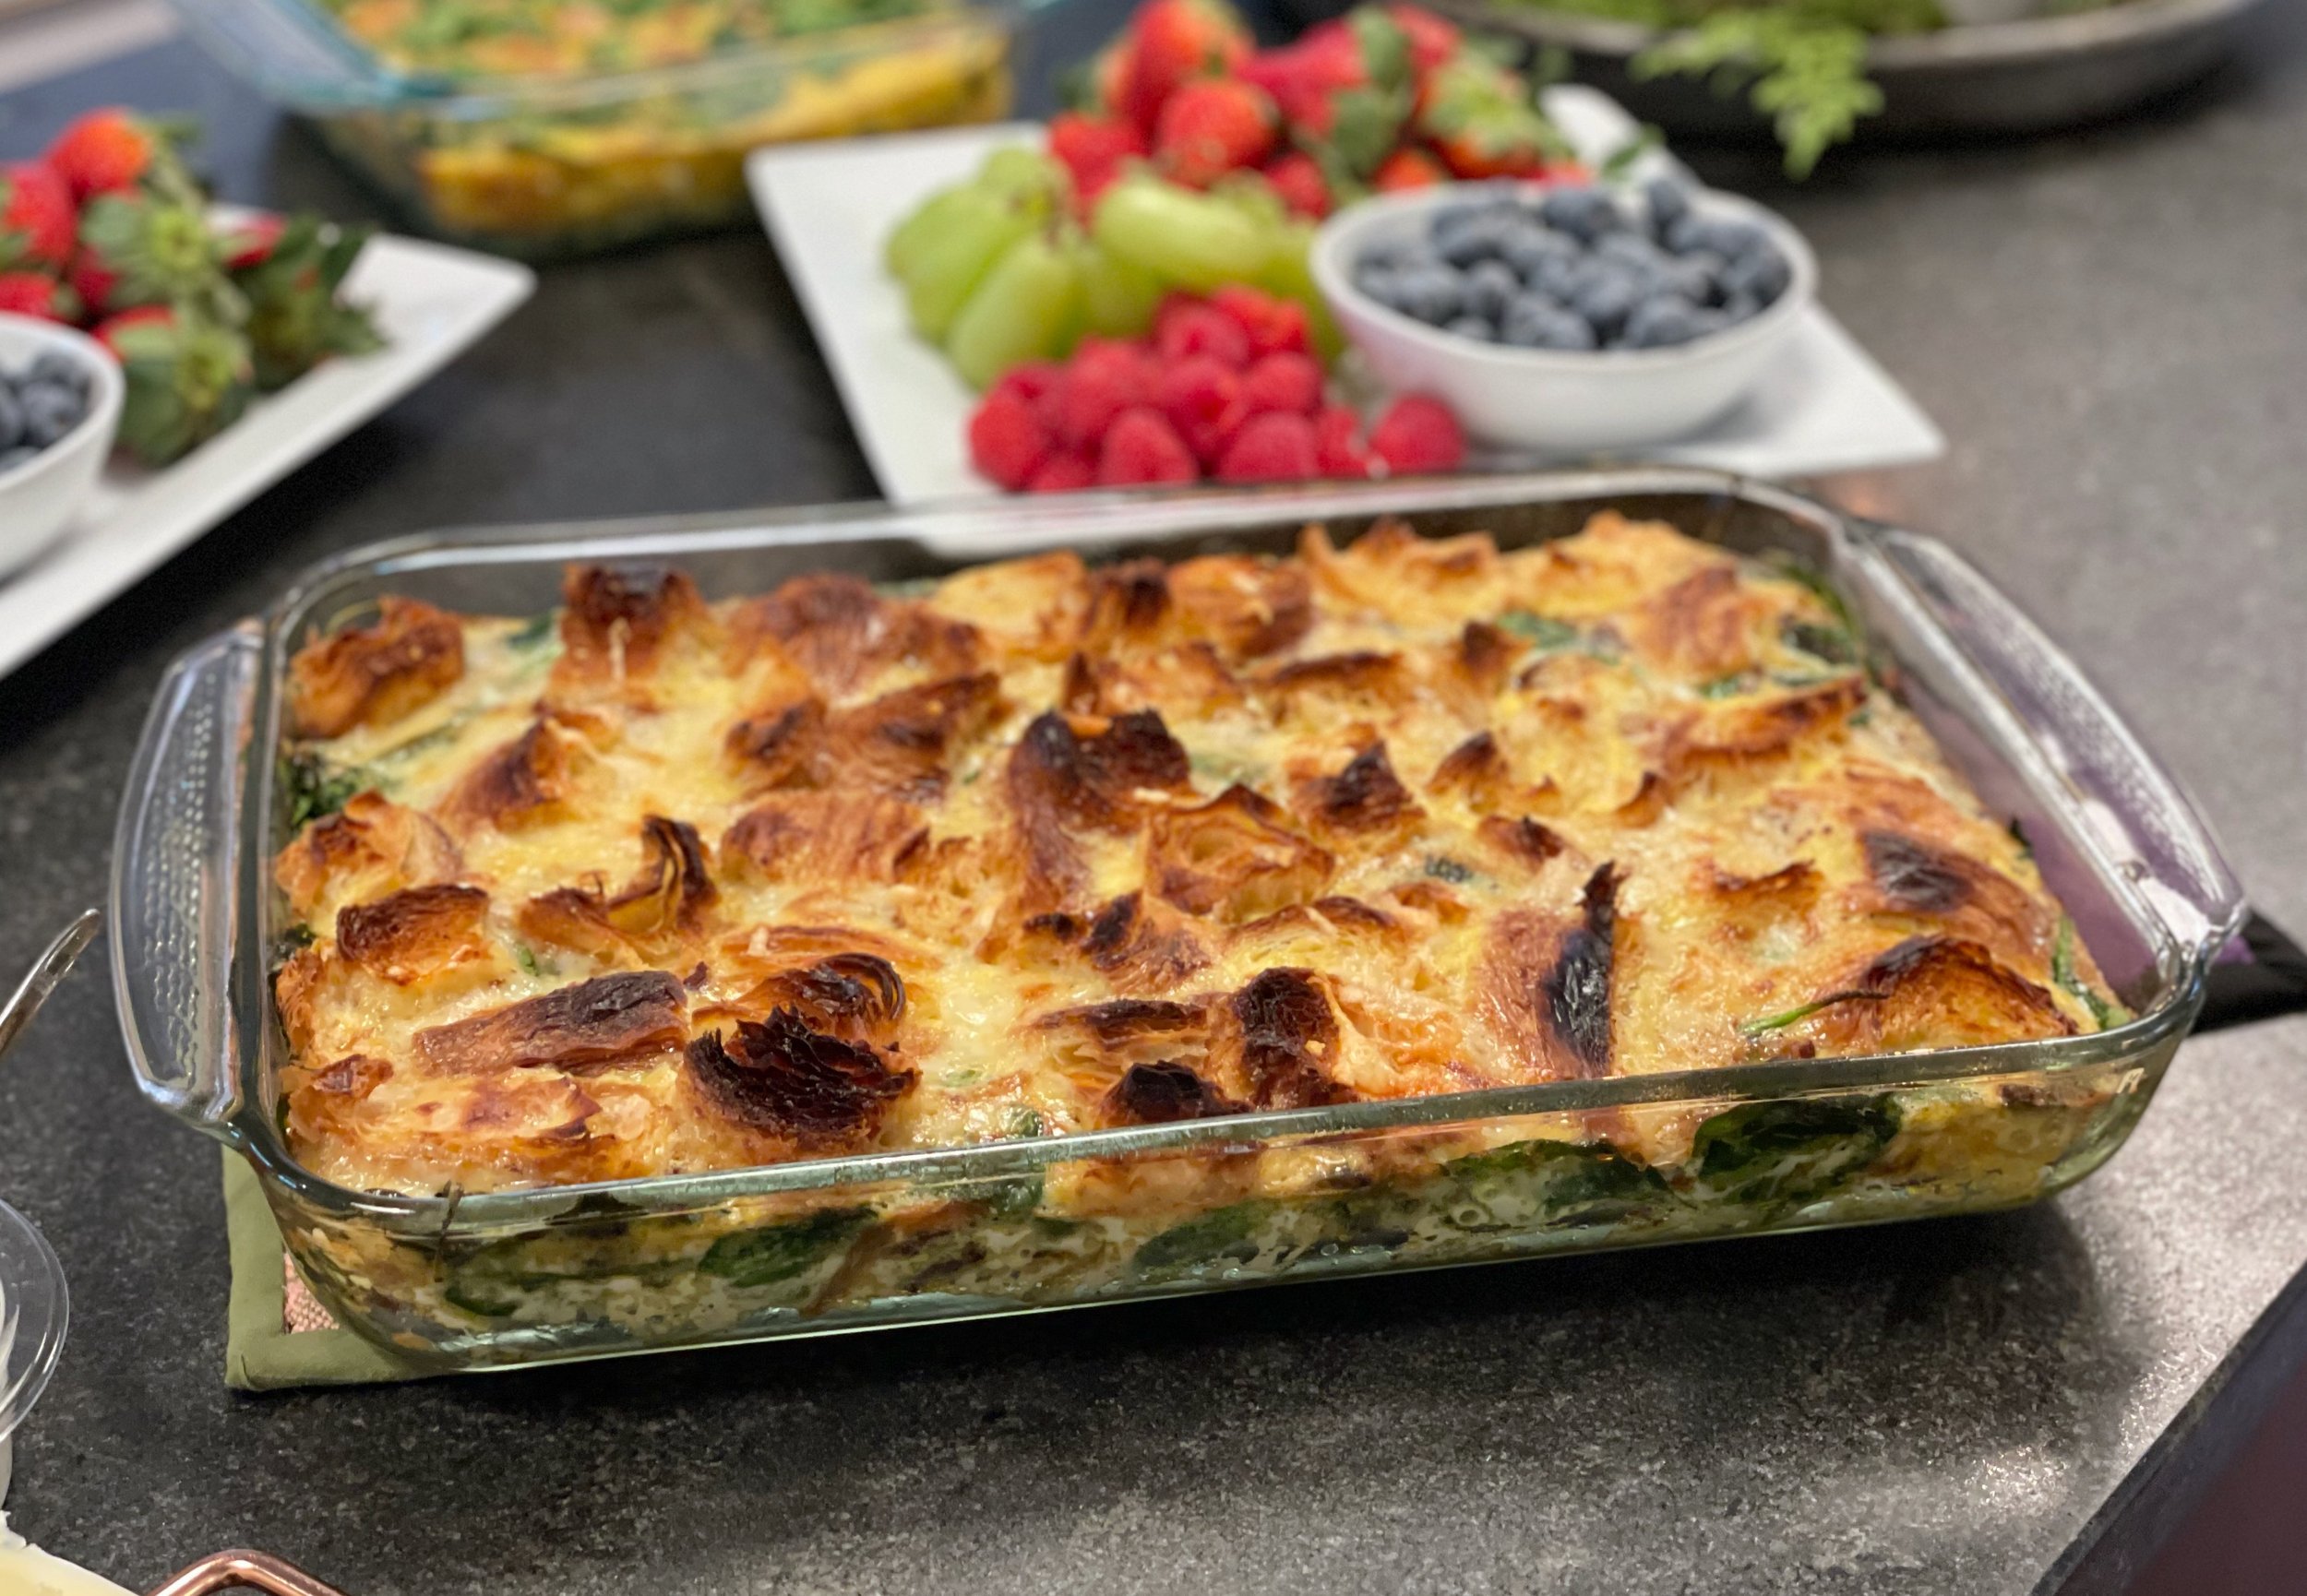
Croissant Egg Bake
From Pinch of Yum
Ingredients

  • 2 tablespoons olive oil

  • 1 large yellow onion, sliced thinly

  • 2 1/2 cups diced ham [I used bacon!]

  • 2–3 ounces fresh baby spinach

  • 1 cup shredded cheese [I used Gruyere]

  • 12 eggs

  • 1/2 cup milk

  • 1 tablespoon Dijon mustard

  • 1 teaspoon salt

  • pepper to taste

  • 5–6 mini croissants [I used 2-3 regular croissants]

Instructions
Caramelize the Onions
: Heat the olive oil over medium-low heat in a large heavy pan. Add the onions and cook, stirring occasionally, for about 30 minutes until almost-jammy, onions that are a a really deep, rich, golden brown.

Ham and Spinach: Toss the ham in a skillet with a quick drizzle of olive oil. Pan-fry until the edges are kind of browned and some of the fat is rendered. Throw in your spinach. Stir to wilt the spinach. Remove from heat.

Eggs: Whisk eggs with the milk, dijon, salt, and pepper.

Layer: Preheat the oven to 350 degrees. Grease a 9×13 baking dish. Layer the ham, spinach, and onions on the bottom. Sprinkle with half of the cheese. Pour eggs over. Arrange croissant pieces on top. Finish with remaining cheese.

Bake: Cover with foil. Bake for 30 minutes, depending on oven and pan size. Remove foil and bake for another 5-10 minutes. You don’t want to overcook the eggs (gross) but the middle should be almost completely firm when you give the pan a quick jiggle test. You’ll also notice the whole thing will be just starting to puff up a bit. Slice, serve, and brunch forward!

MY (Jana’s) NOTES: Bought 3 Field and Fire croissants, used probably about 2 of them, plus a little. Would probably be fine if you used 2 large croissants. Ended up adding 4 extra eggs (with a splash of milk) because it just didn’t seem like enough with 12. It turned out great! I would probably always do 16 eggs, adjusting the milk accordingly. I used bacon instead of ham. Otherwise left it all the same. Was great! Easy to adapt the flavors as needed.

Cheese: Filled a 2 cup pyrex lightly with gruyere comte cheese. Wasn’t overly cheesy. I don’t think it needs more, but more would certainly fit if you wanted it super cheesy.


Sausage Sweet Potato Egg Bake
From Aimee Mars Living
Ingredients

  • 1 tablespoon coconut oil

  • 1 lb ground turkey [or turkey/chicken breakfast sausage!]

  • 1/2 tsp paprika

  • 1/2 tsp garlic powder

  • 12 large eggs

  • 1 small sweet potato

  • 1 cup fresh spinach

Directions
Preheat the oven to 375℉ and grease a 9 x 9 baking dish with coconut oil and set aside. Peel and slice the sweet potato, making sure to cut them 1/4-inch slices (any thicker and they won't be tender). Line the bottom of the greased baking dish with the sliced potatoes in a single layer, some overlap is okay.

Melt 1 tablespoon of coconut oil in a medium-sized skillet over medium heat add the ground turkey and season with additional spices if desired. Using a spatula break the meat apart and cook until browned, about 3 to 5 minutes. Drain and place on top of the sweet potato layer.

In a medium bowl beat the eggs with a whisk until combined. Add the paprika, garlic powder, and any additional salt and pepper if desired. Pour over the ground turkey layer.

Place the dish in the oven and cook for 30 minutes. Carefully slide the dish out, without removing it from the oven, and top with the spinach. Return to its position and continue cooking for 5 to 15 minutes until the center of the casserole is firm. I usually cook my casserole for 40 to 45 minutes in total.

MY (Jana’s) NOTES: Super easy. Used chicken breakfast sausage from Rakowski. A full pound. Added a small amount of fresh spinach to the sausage before adding the egg. Didn’t add the spices called for in the recipe because I did use the breakfast sausage instead of plain ground turkey. I sliced the sweet potato very thin. You don’t use very much sweet potato at all because it is raw and has to be sliced so thin. A nice accent, but if you wanted to use a little more sweet potato I would consider slicing and par baking the sweet potato and then putting the dish together. Maybe you wouldn’t need to par-bake the sweet potato, but maybe you would. I will have to experiment.

Thanksgiving 2021

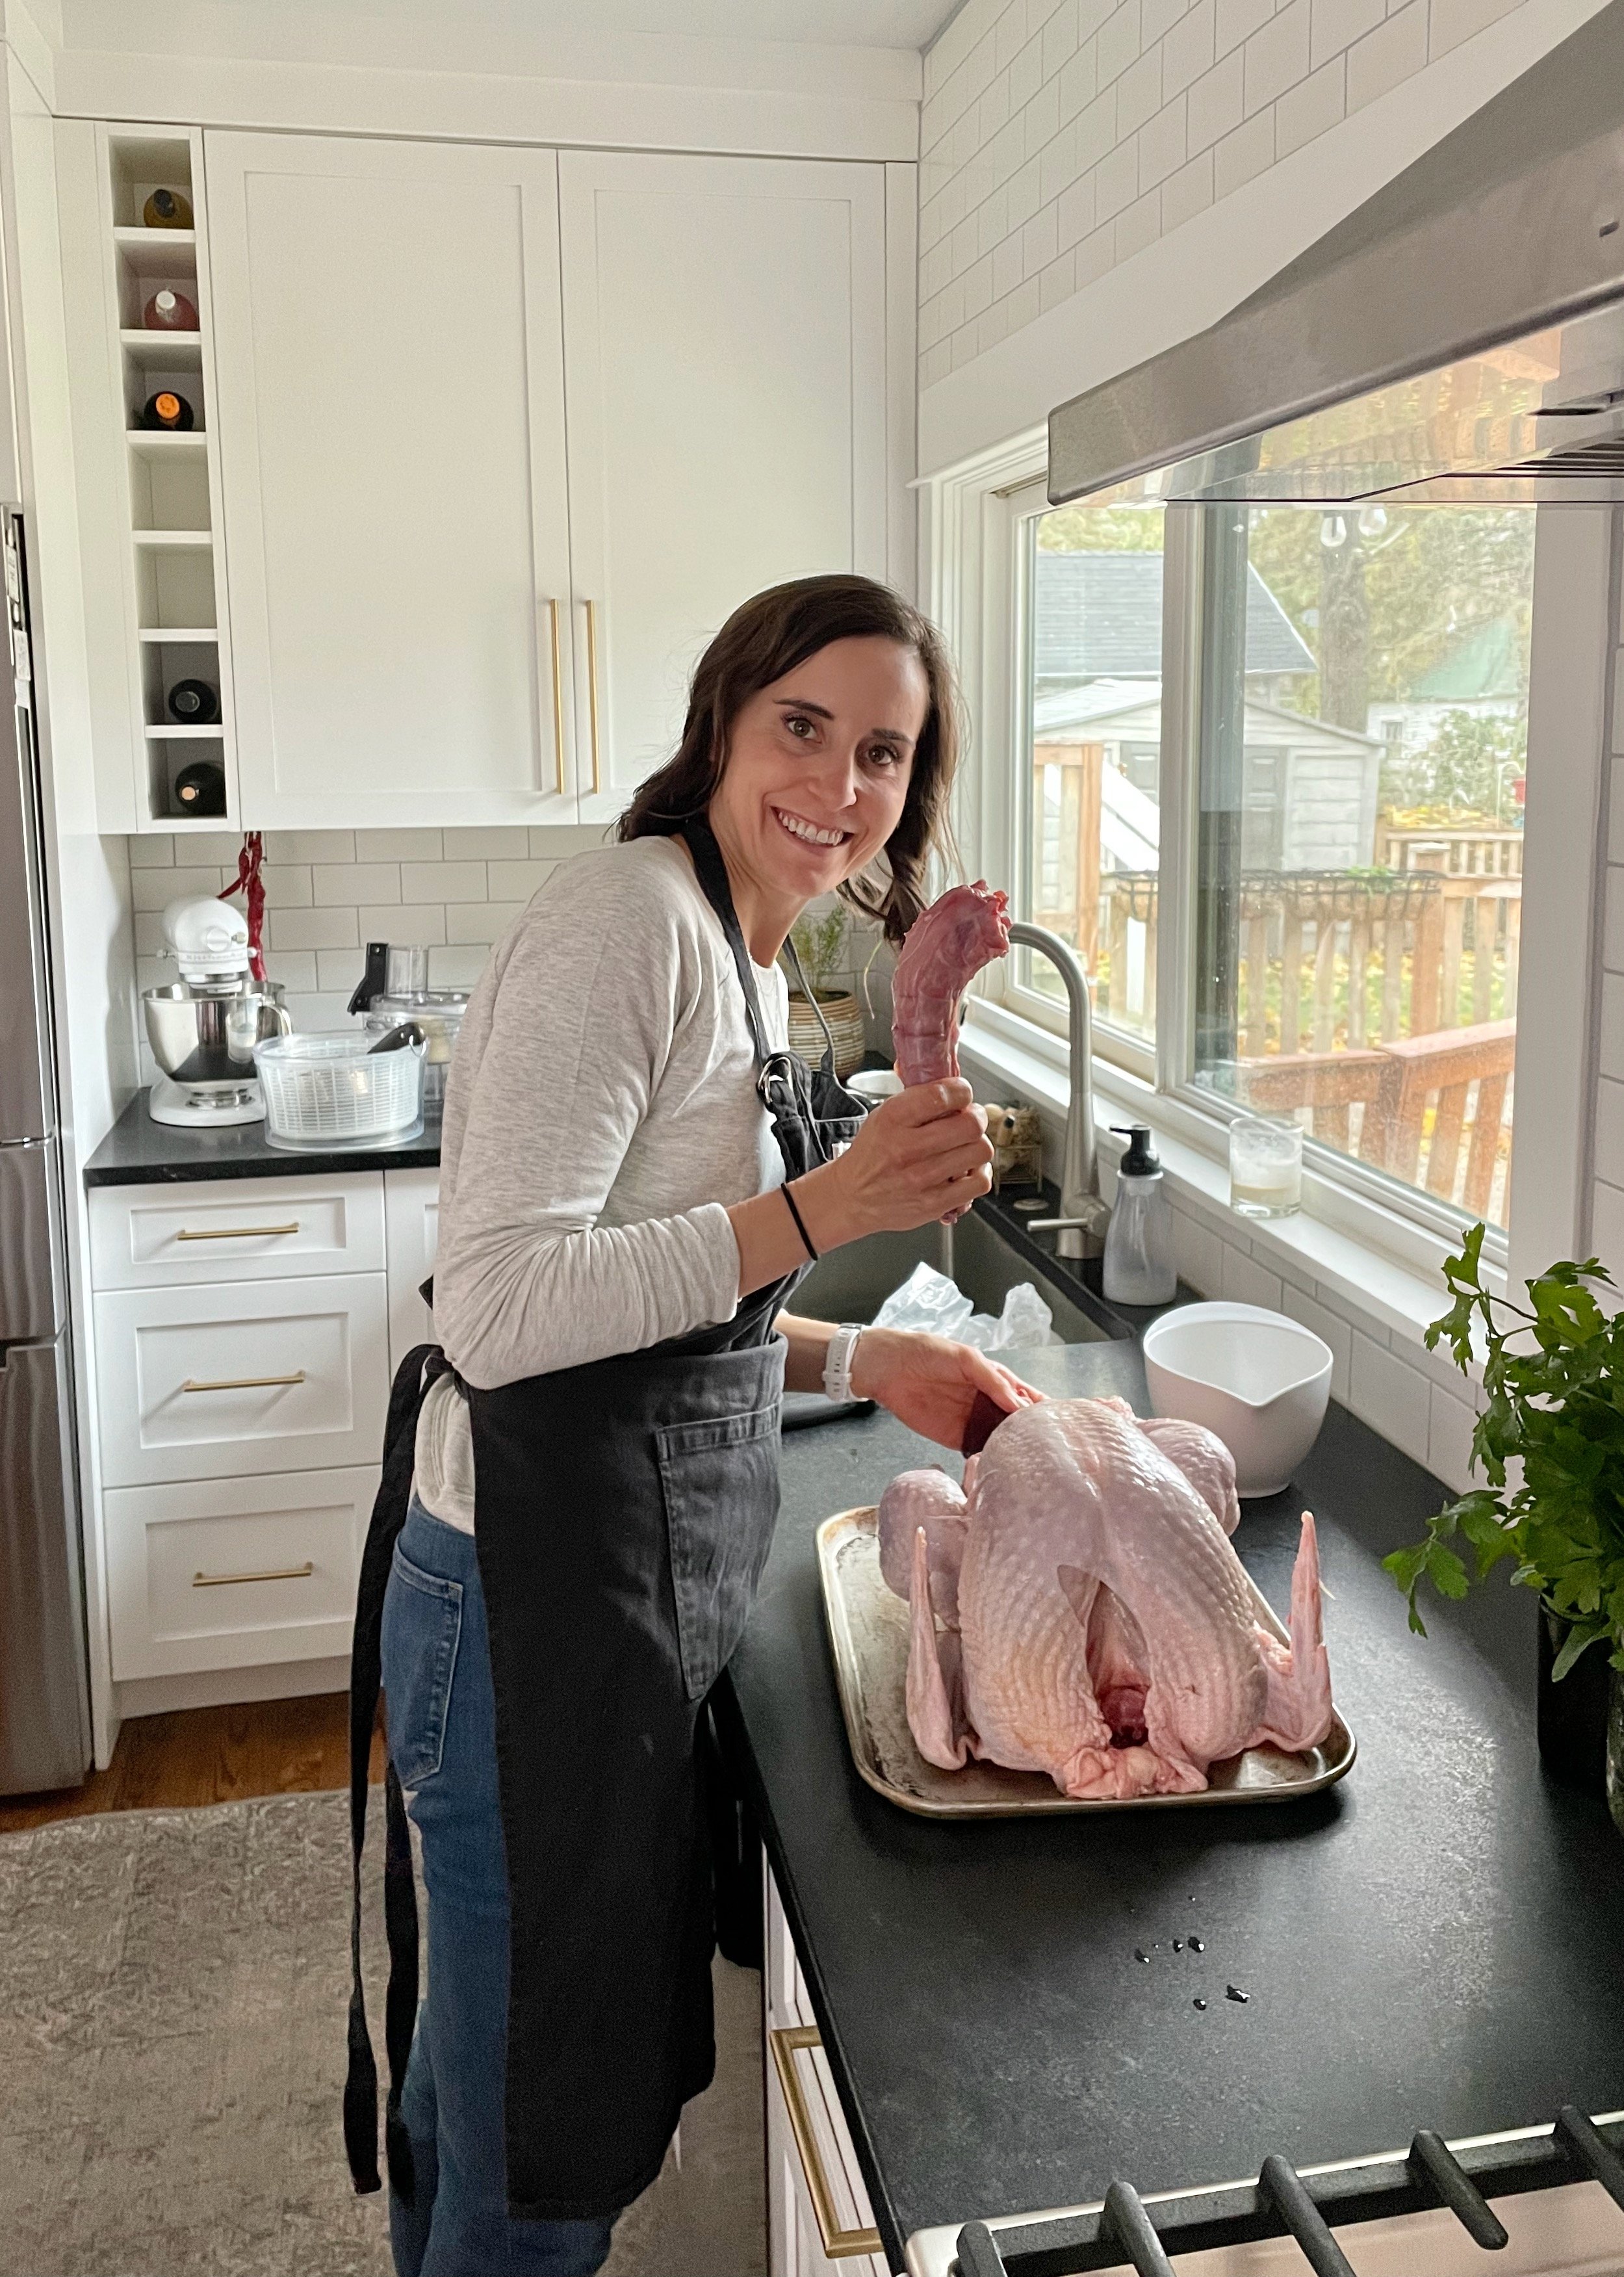
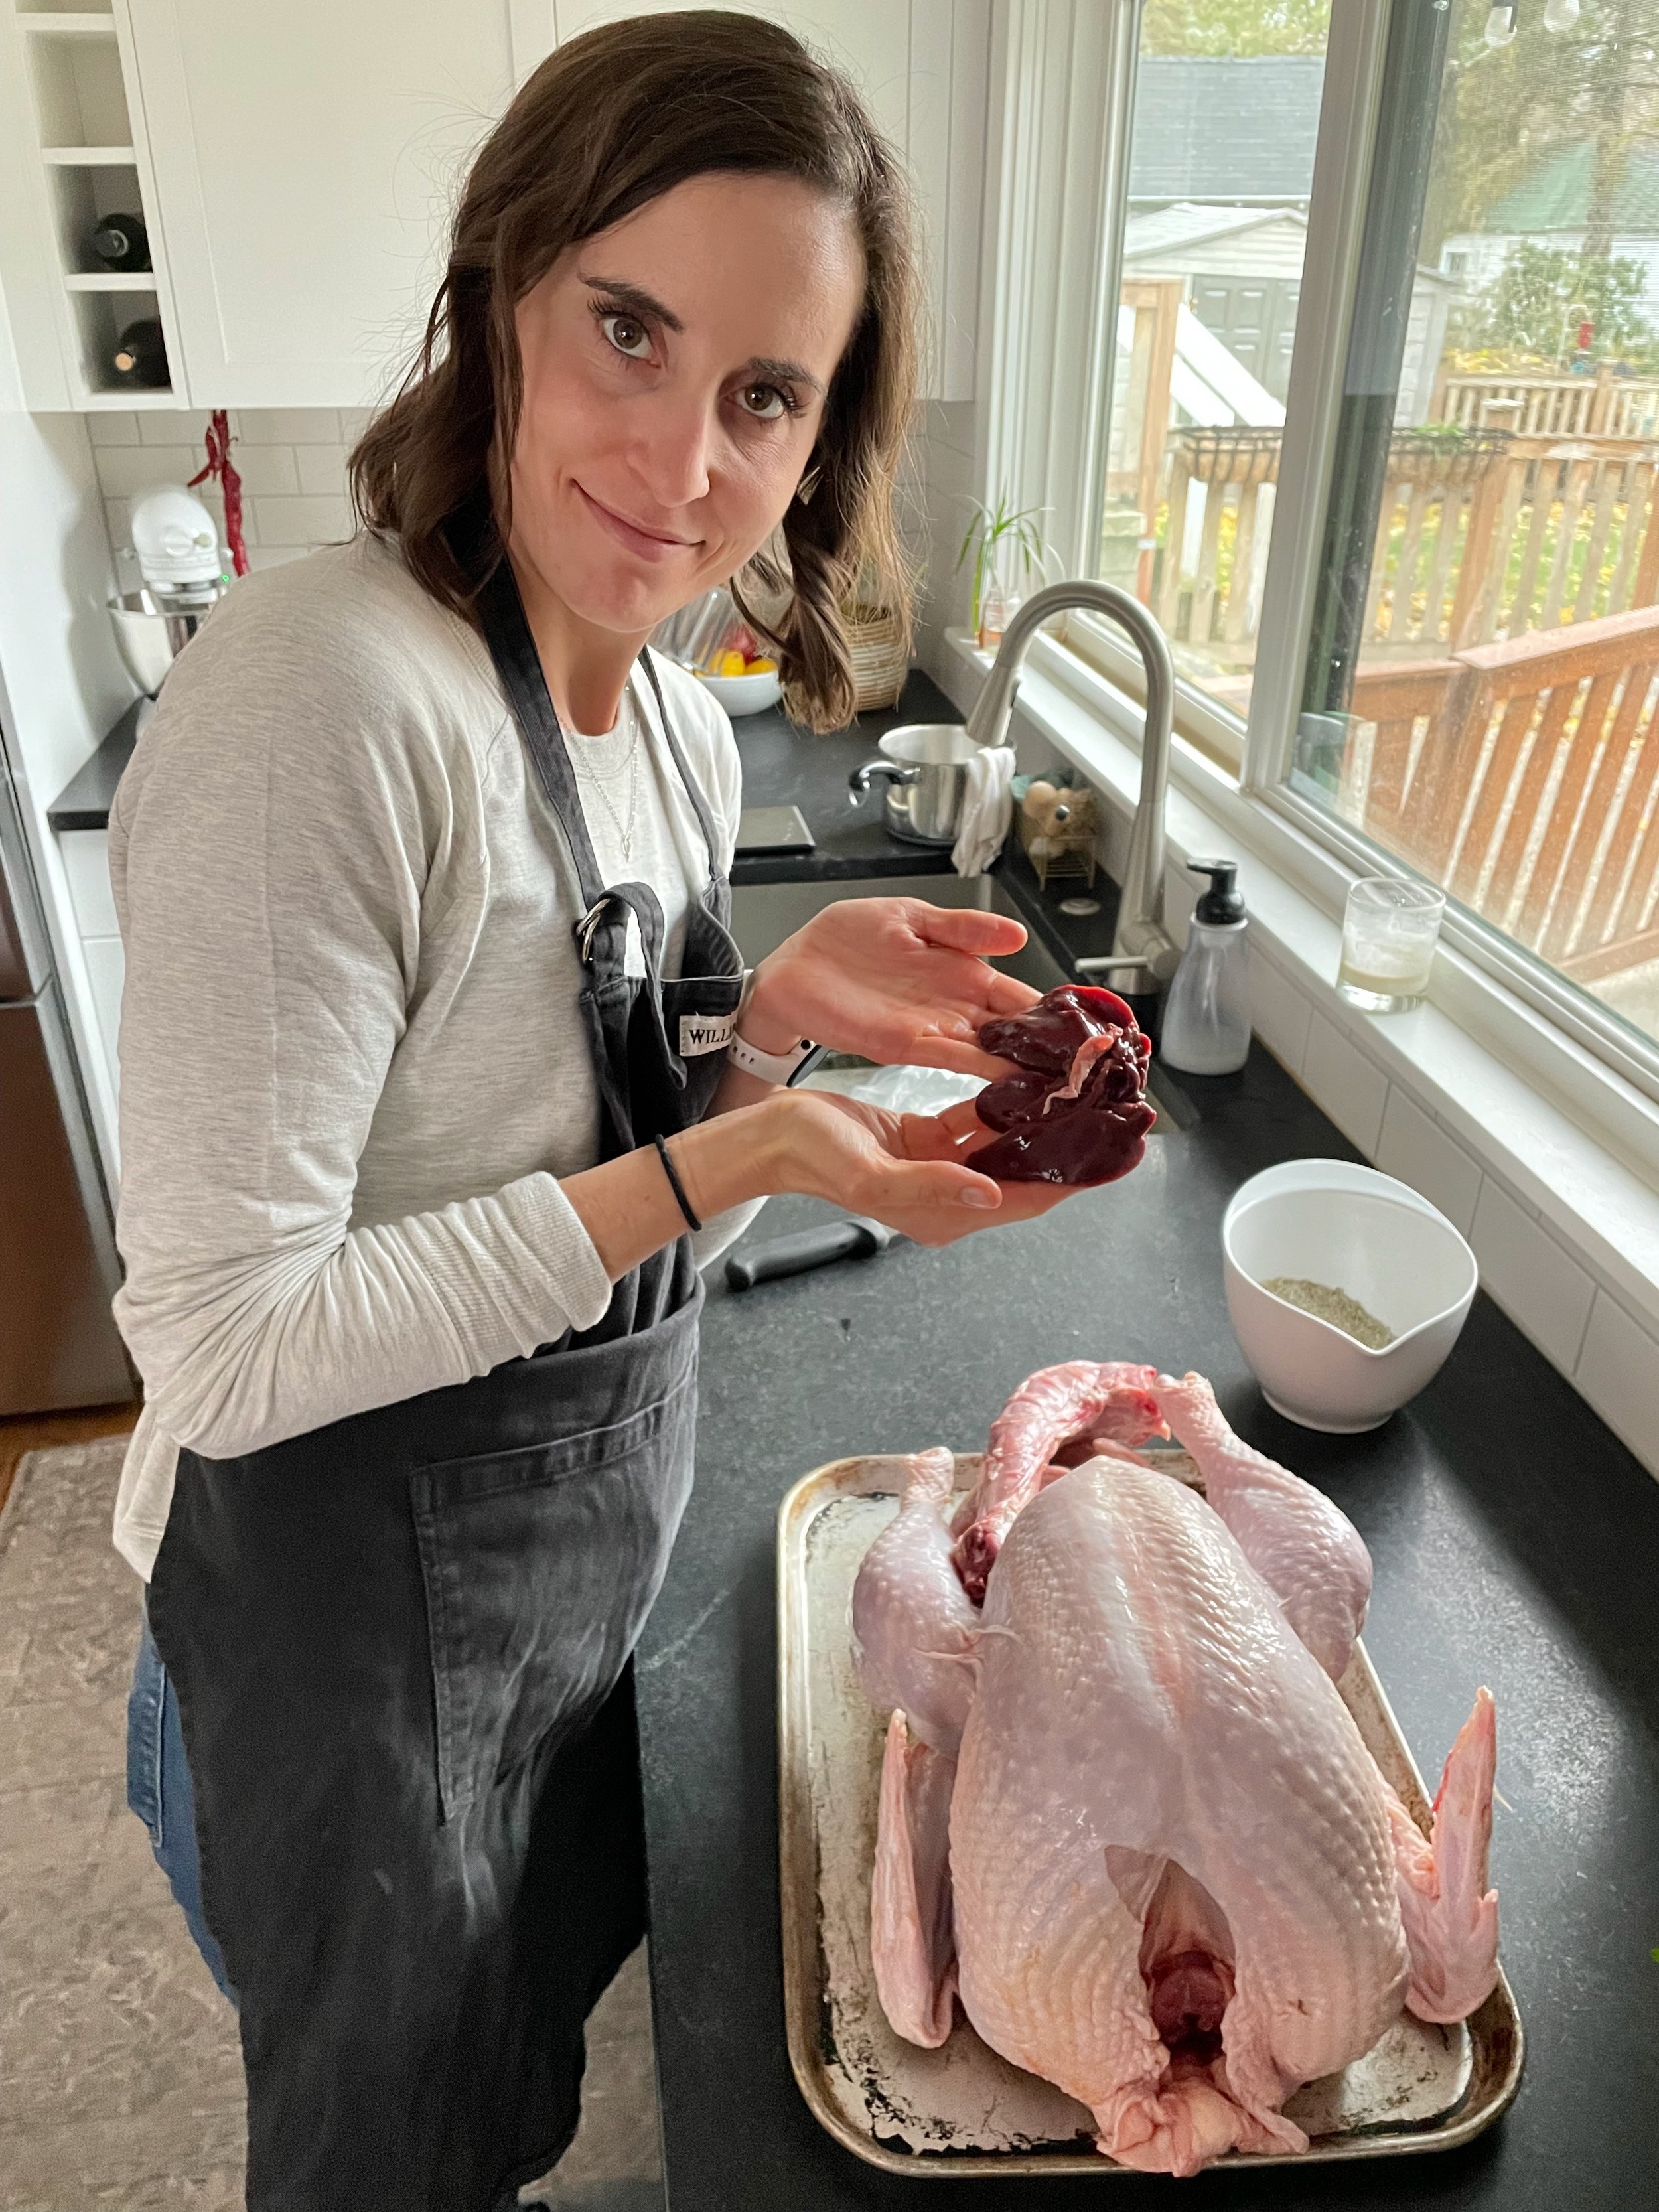
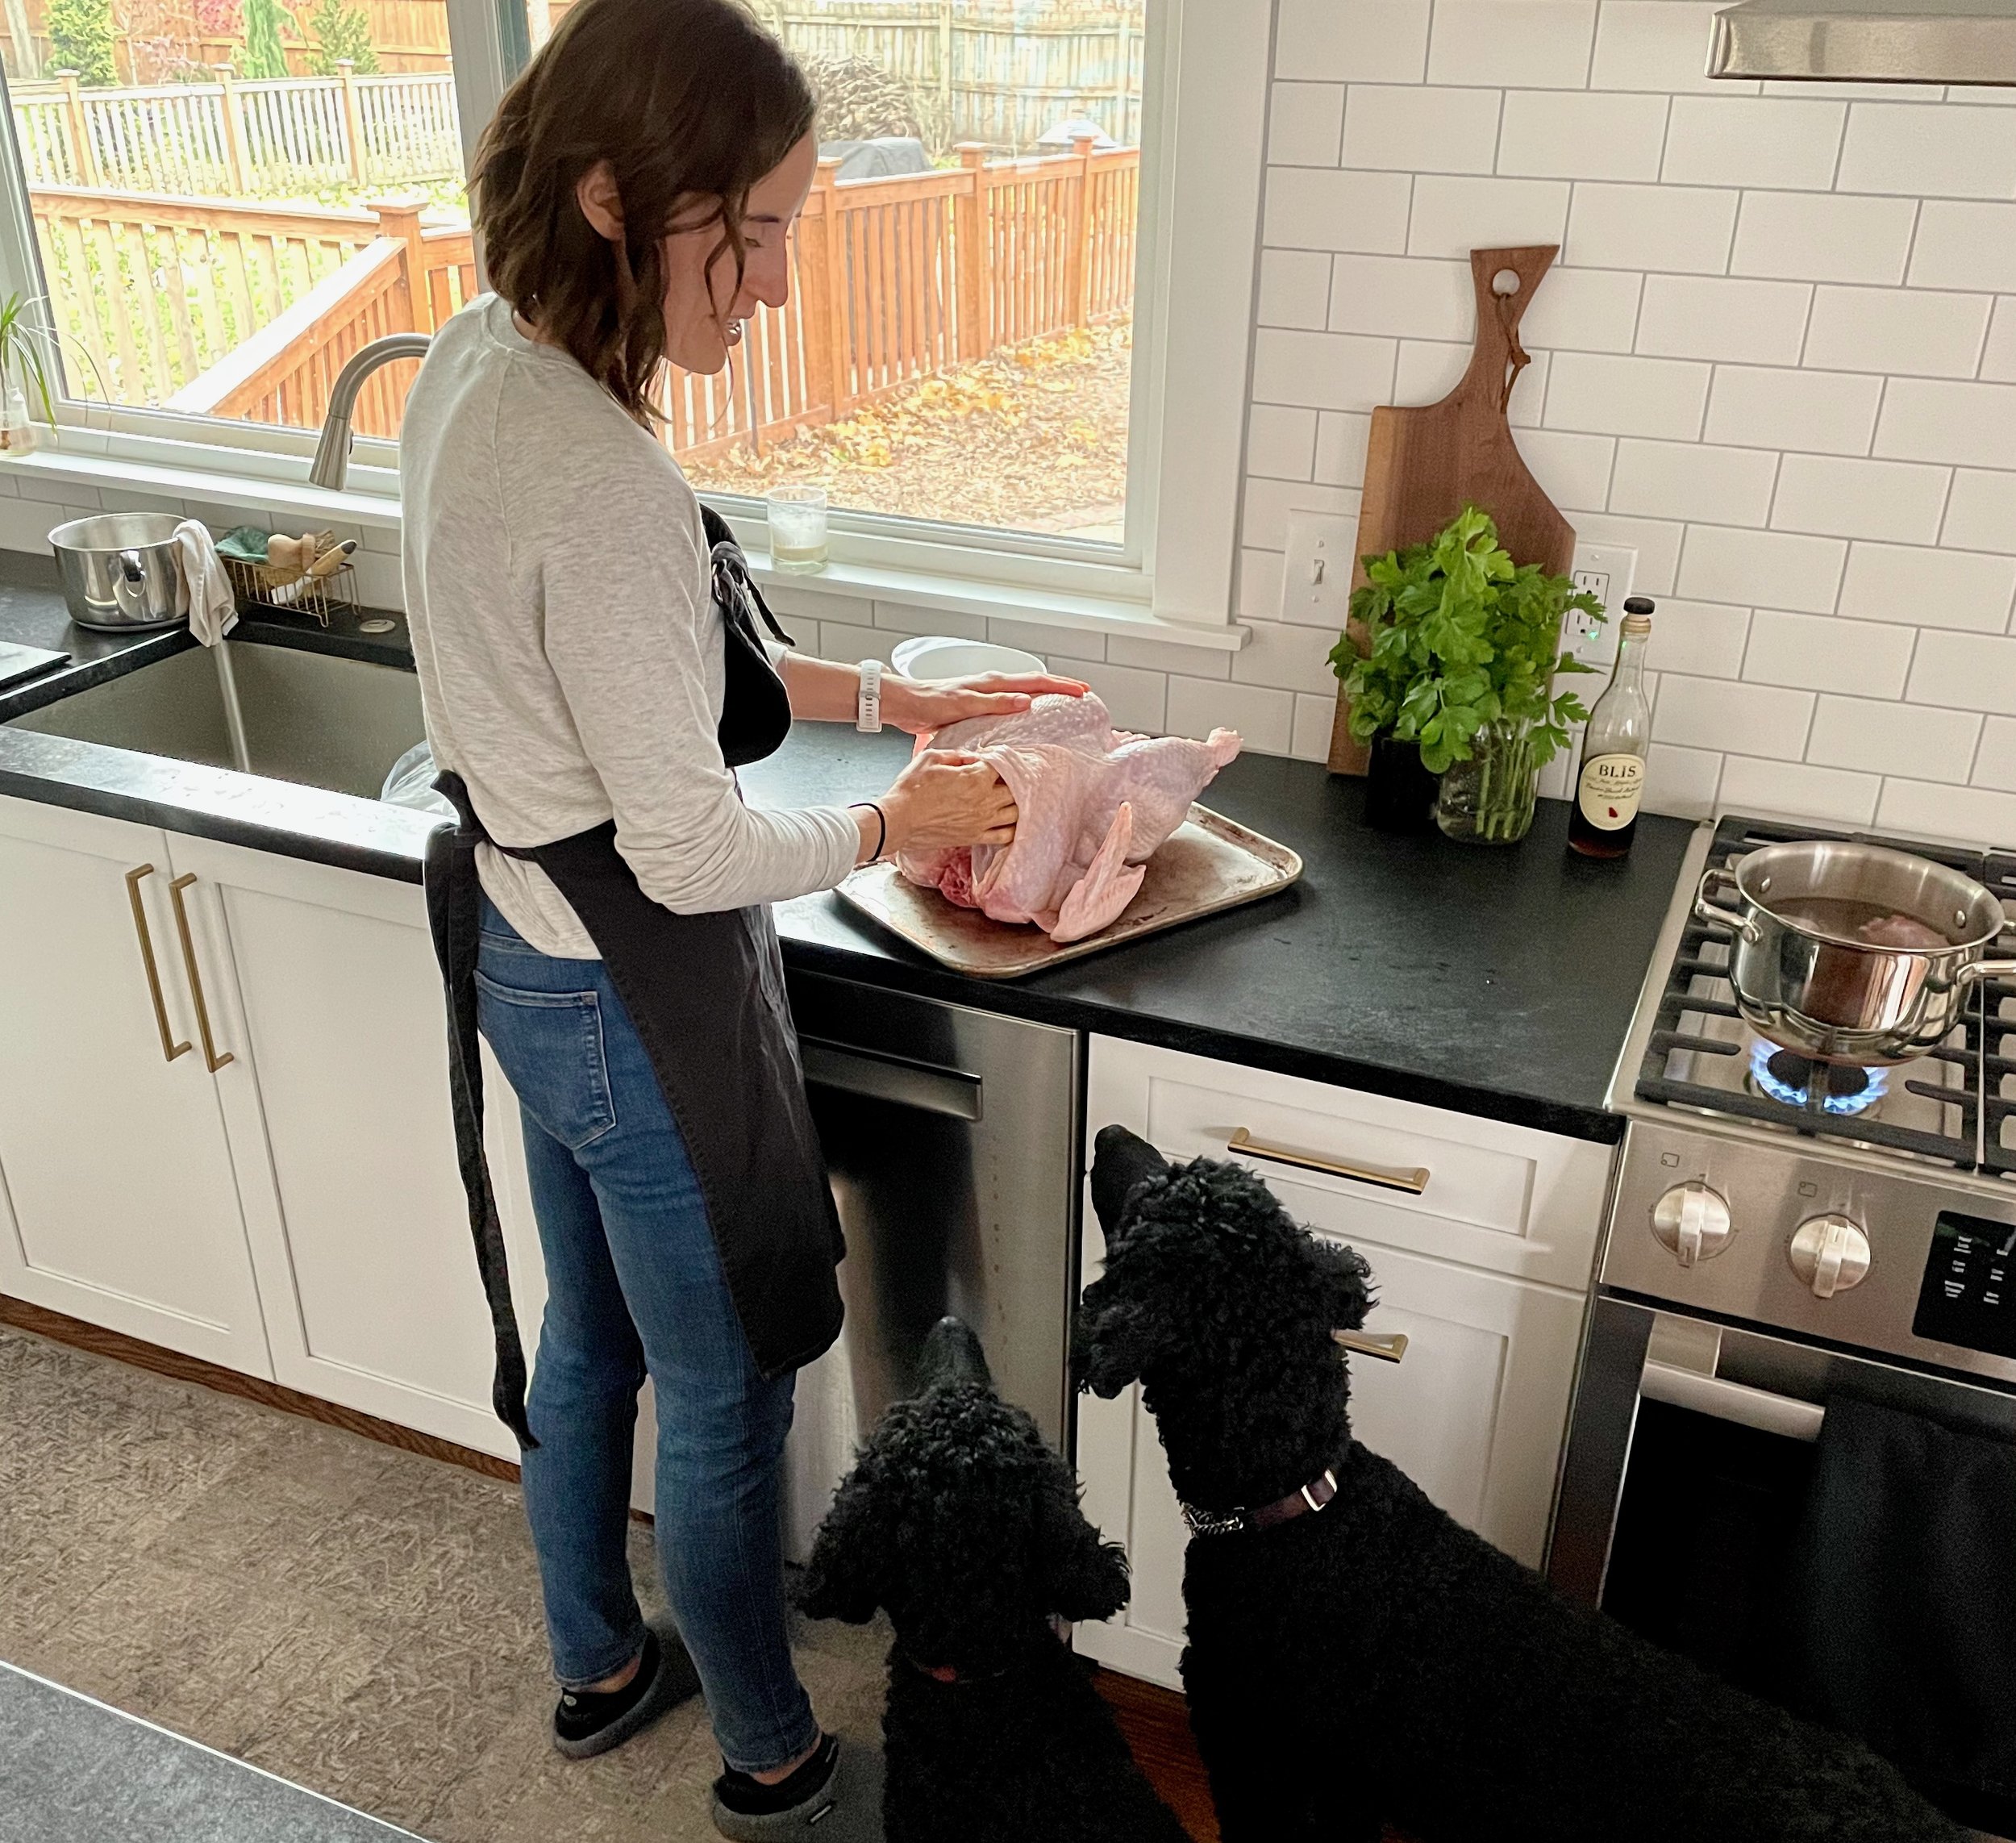
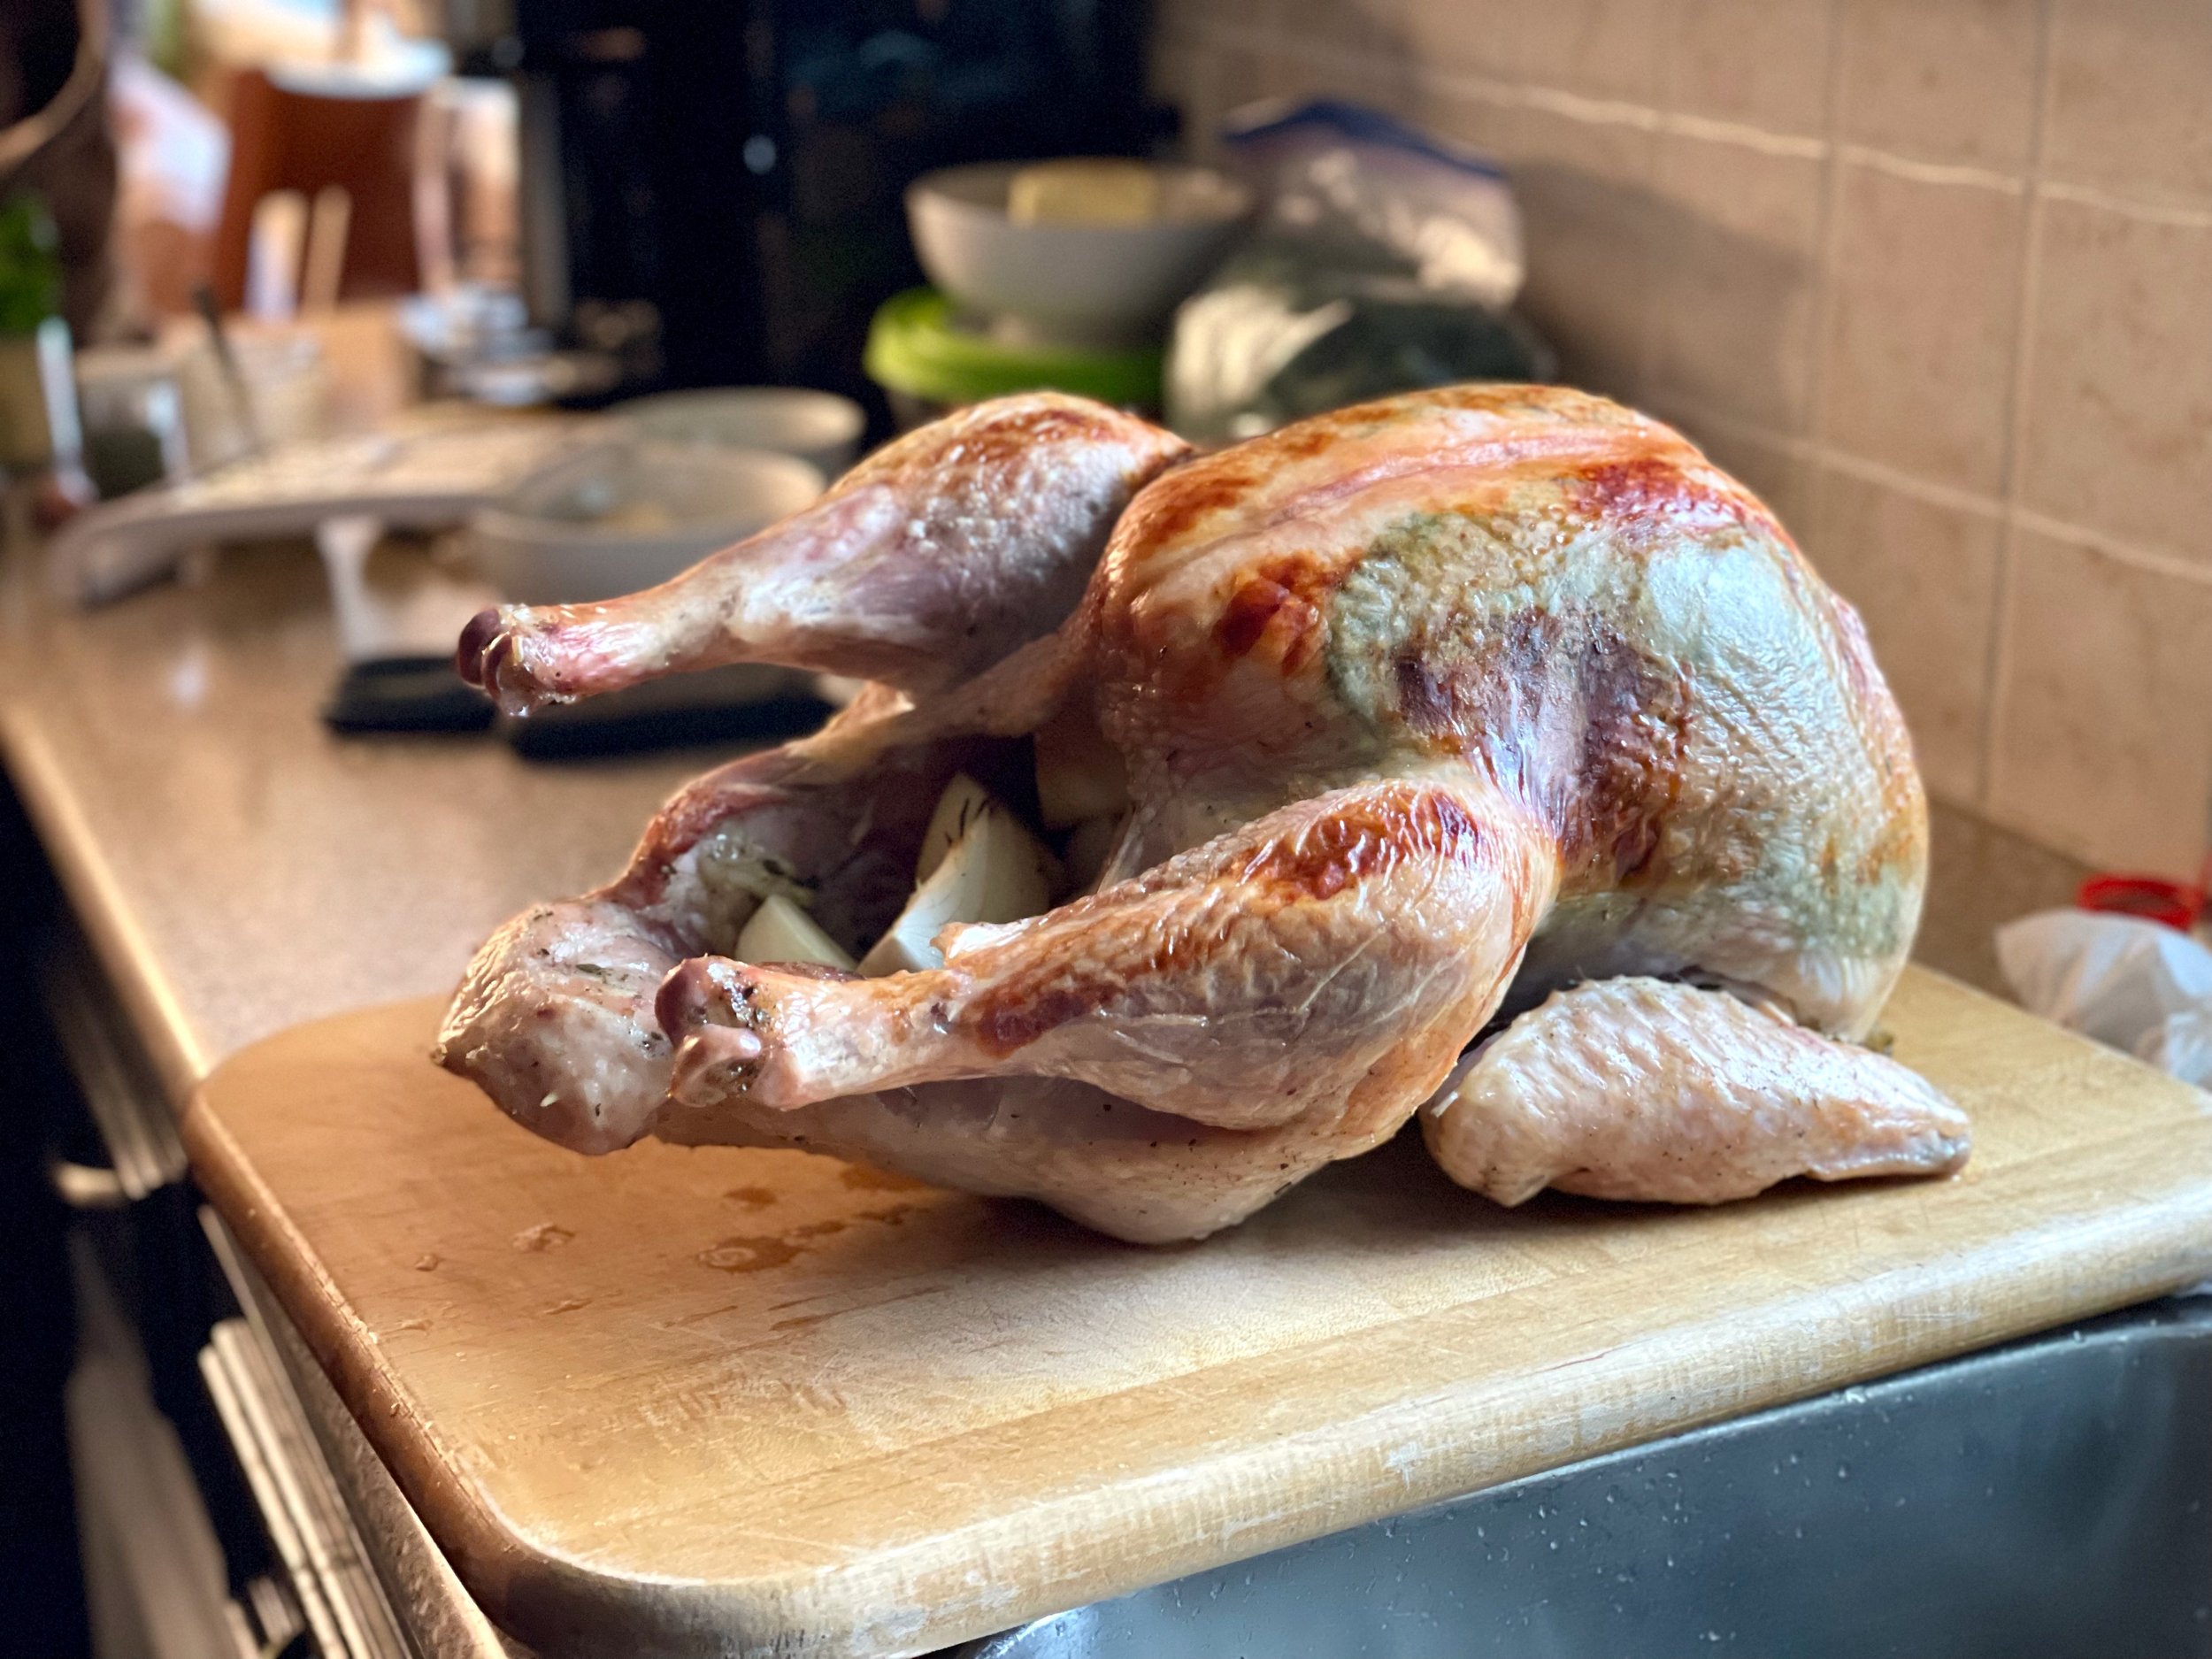
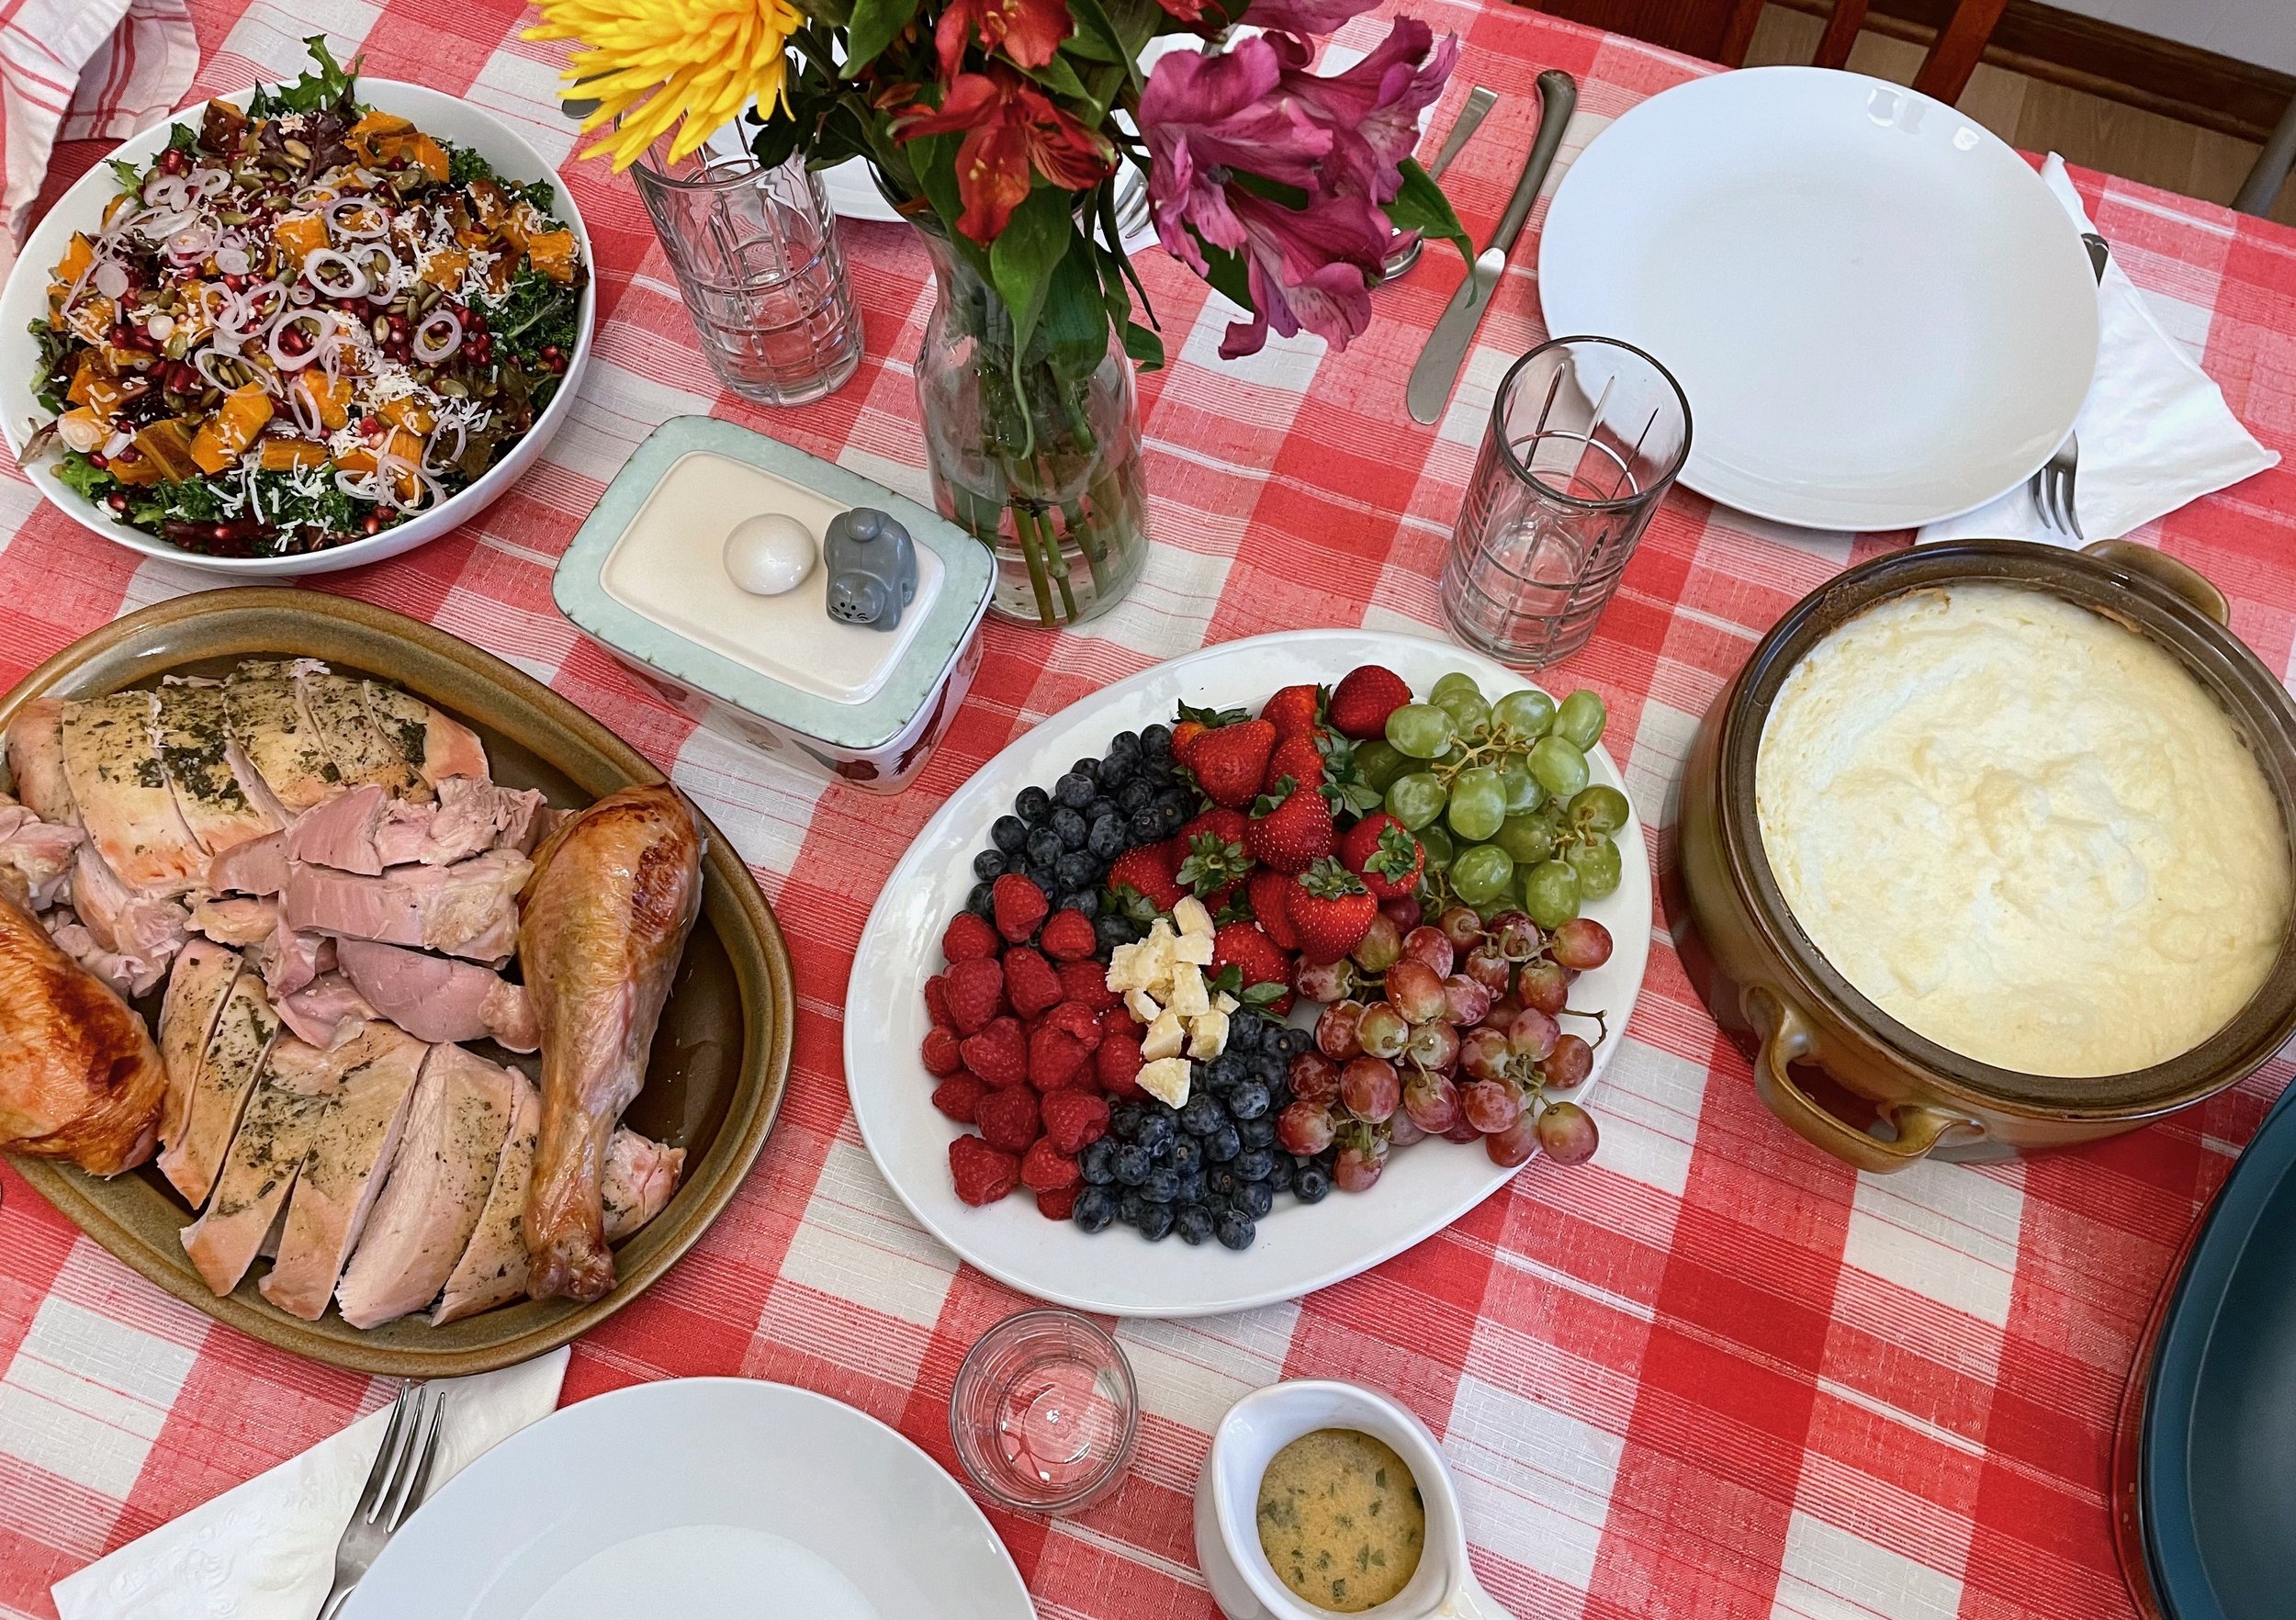
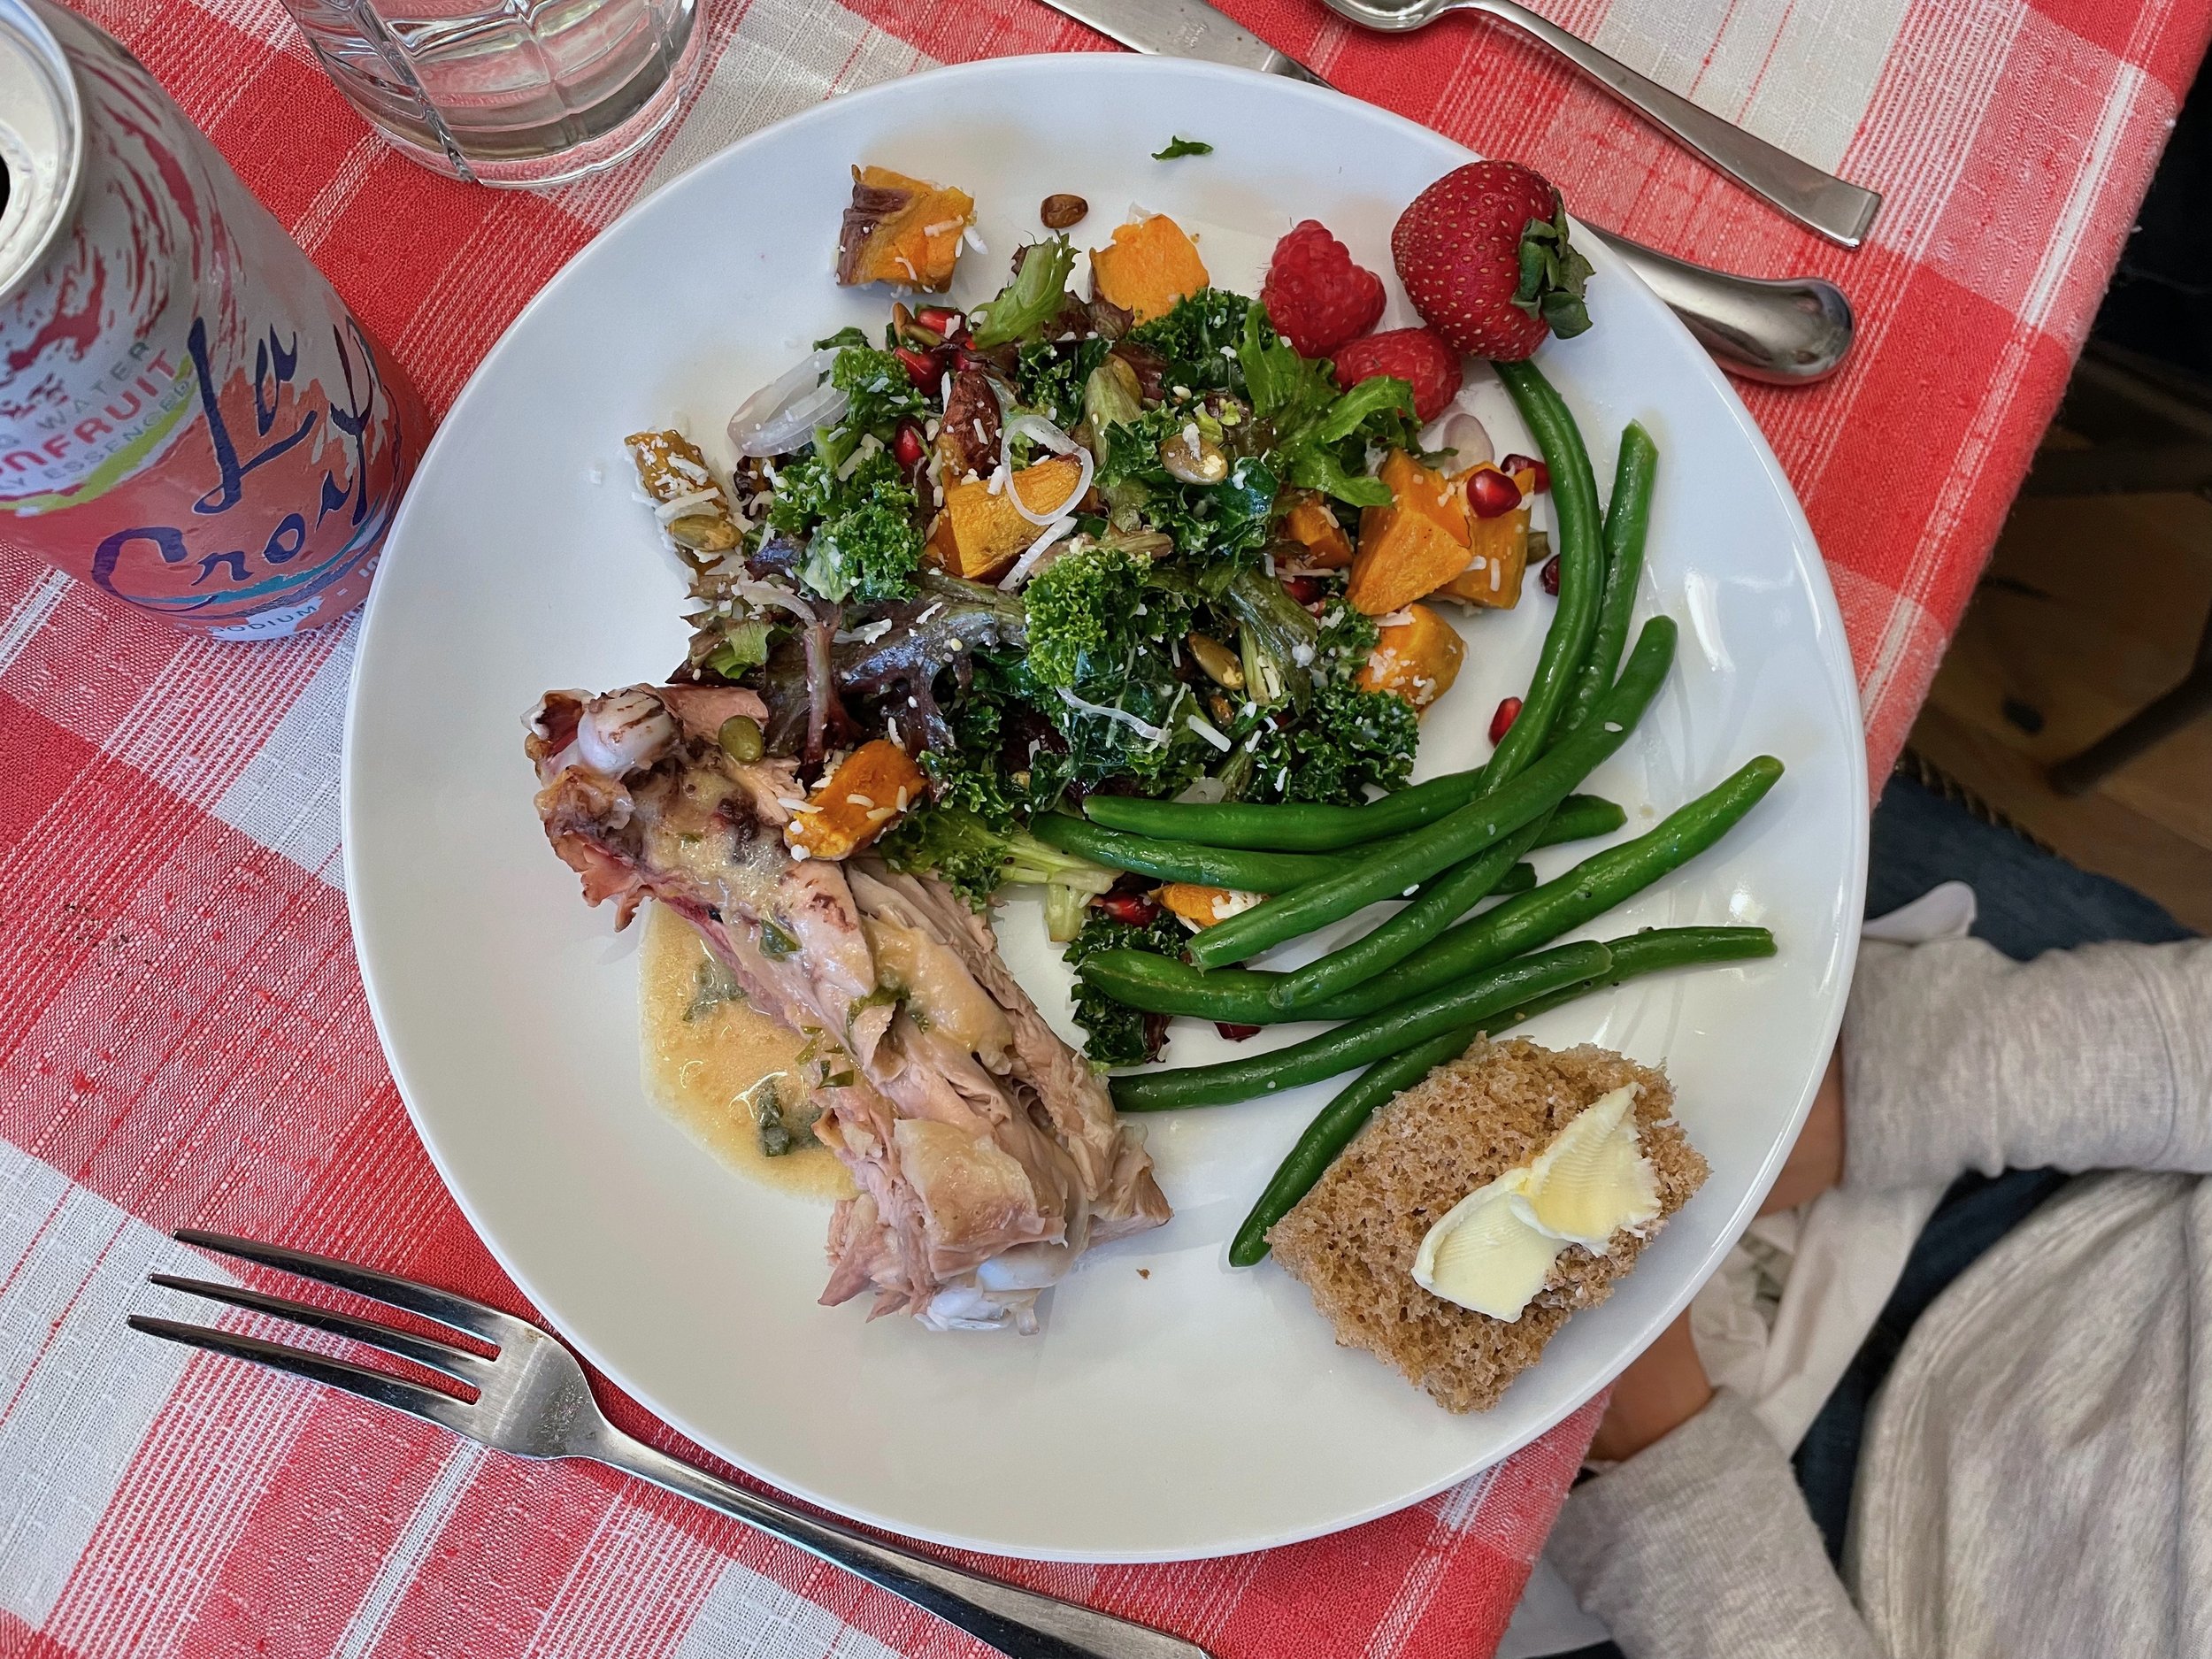
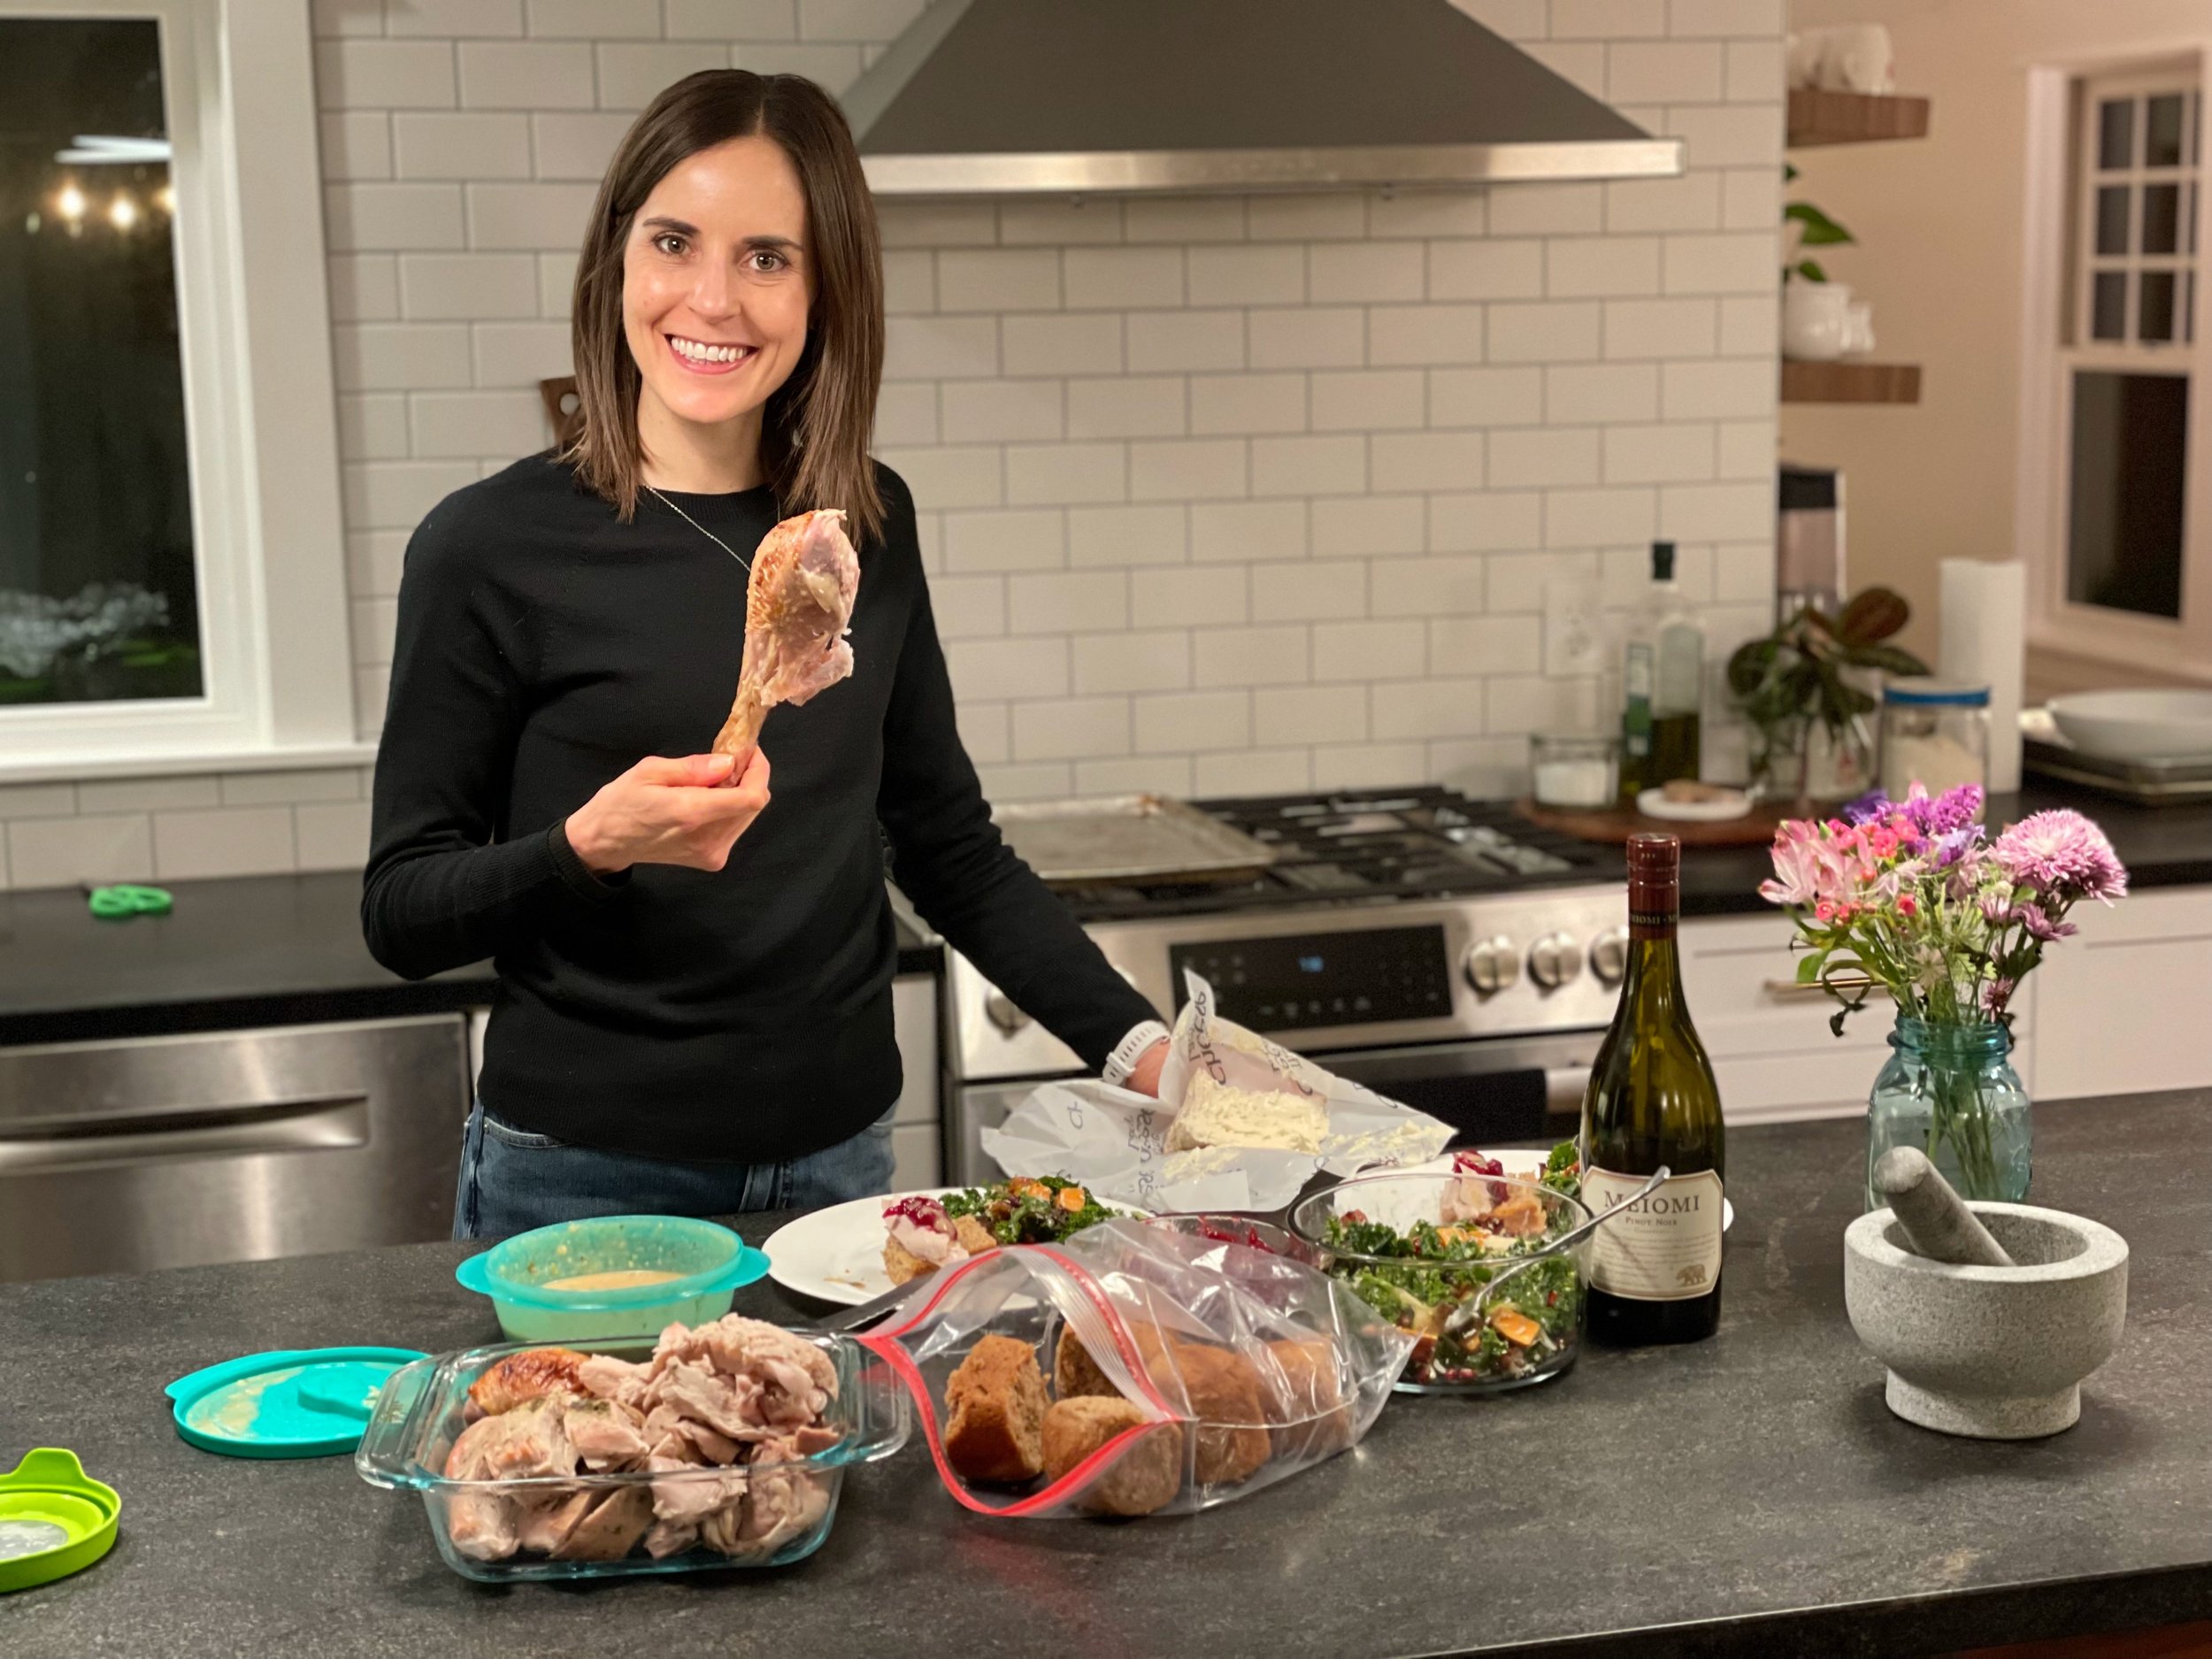
I had a lovely Thanksgiving this year. It was low key and relaxing (for the most part; there are always those few minutes before eating when chaos is going on in the kitchen and you’re trying to make sure everything is done, on the table, serving utensils included, that everyone has a water glass and silverware, etc.) I went with a new turkey recipe this year. I posted the recipe as written below although I didn’t really follow it exactly. I didn’t feel like messing with a wet brine, so I dry brined instead. What I DID want to try was the butter jacket - roast the turkey covered in a butter soaked cheese cloth. Um, yes.

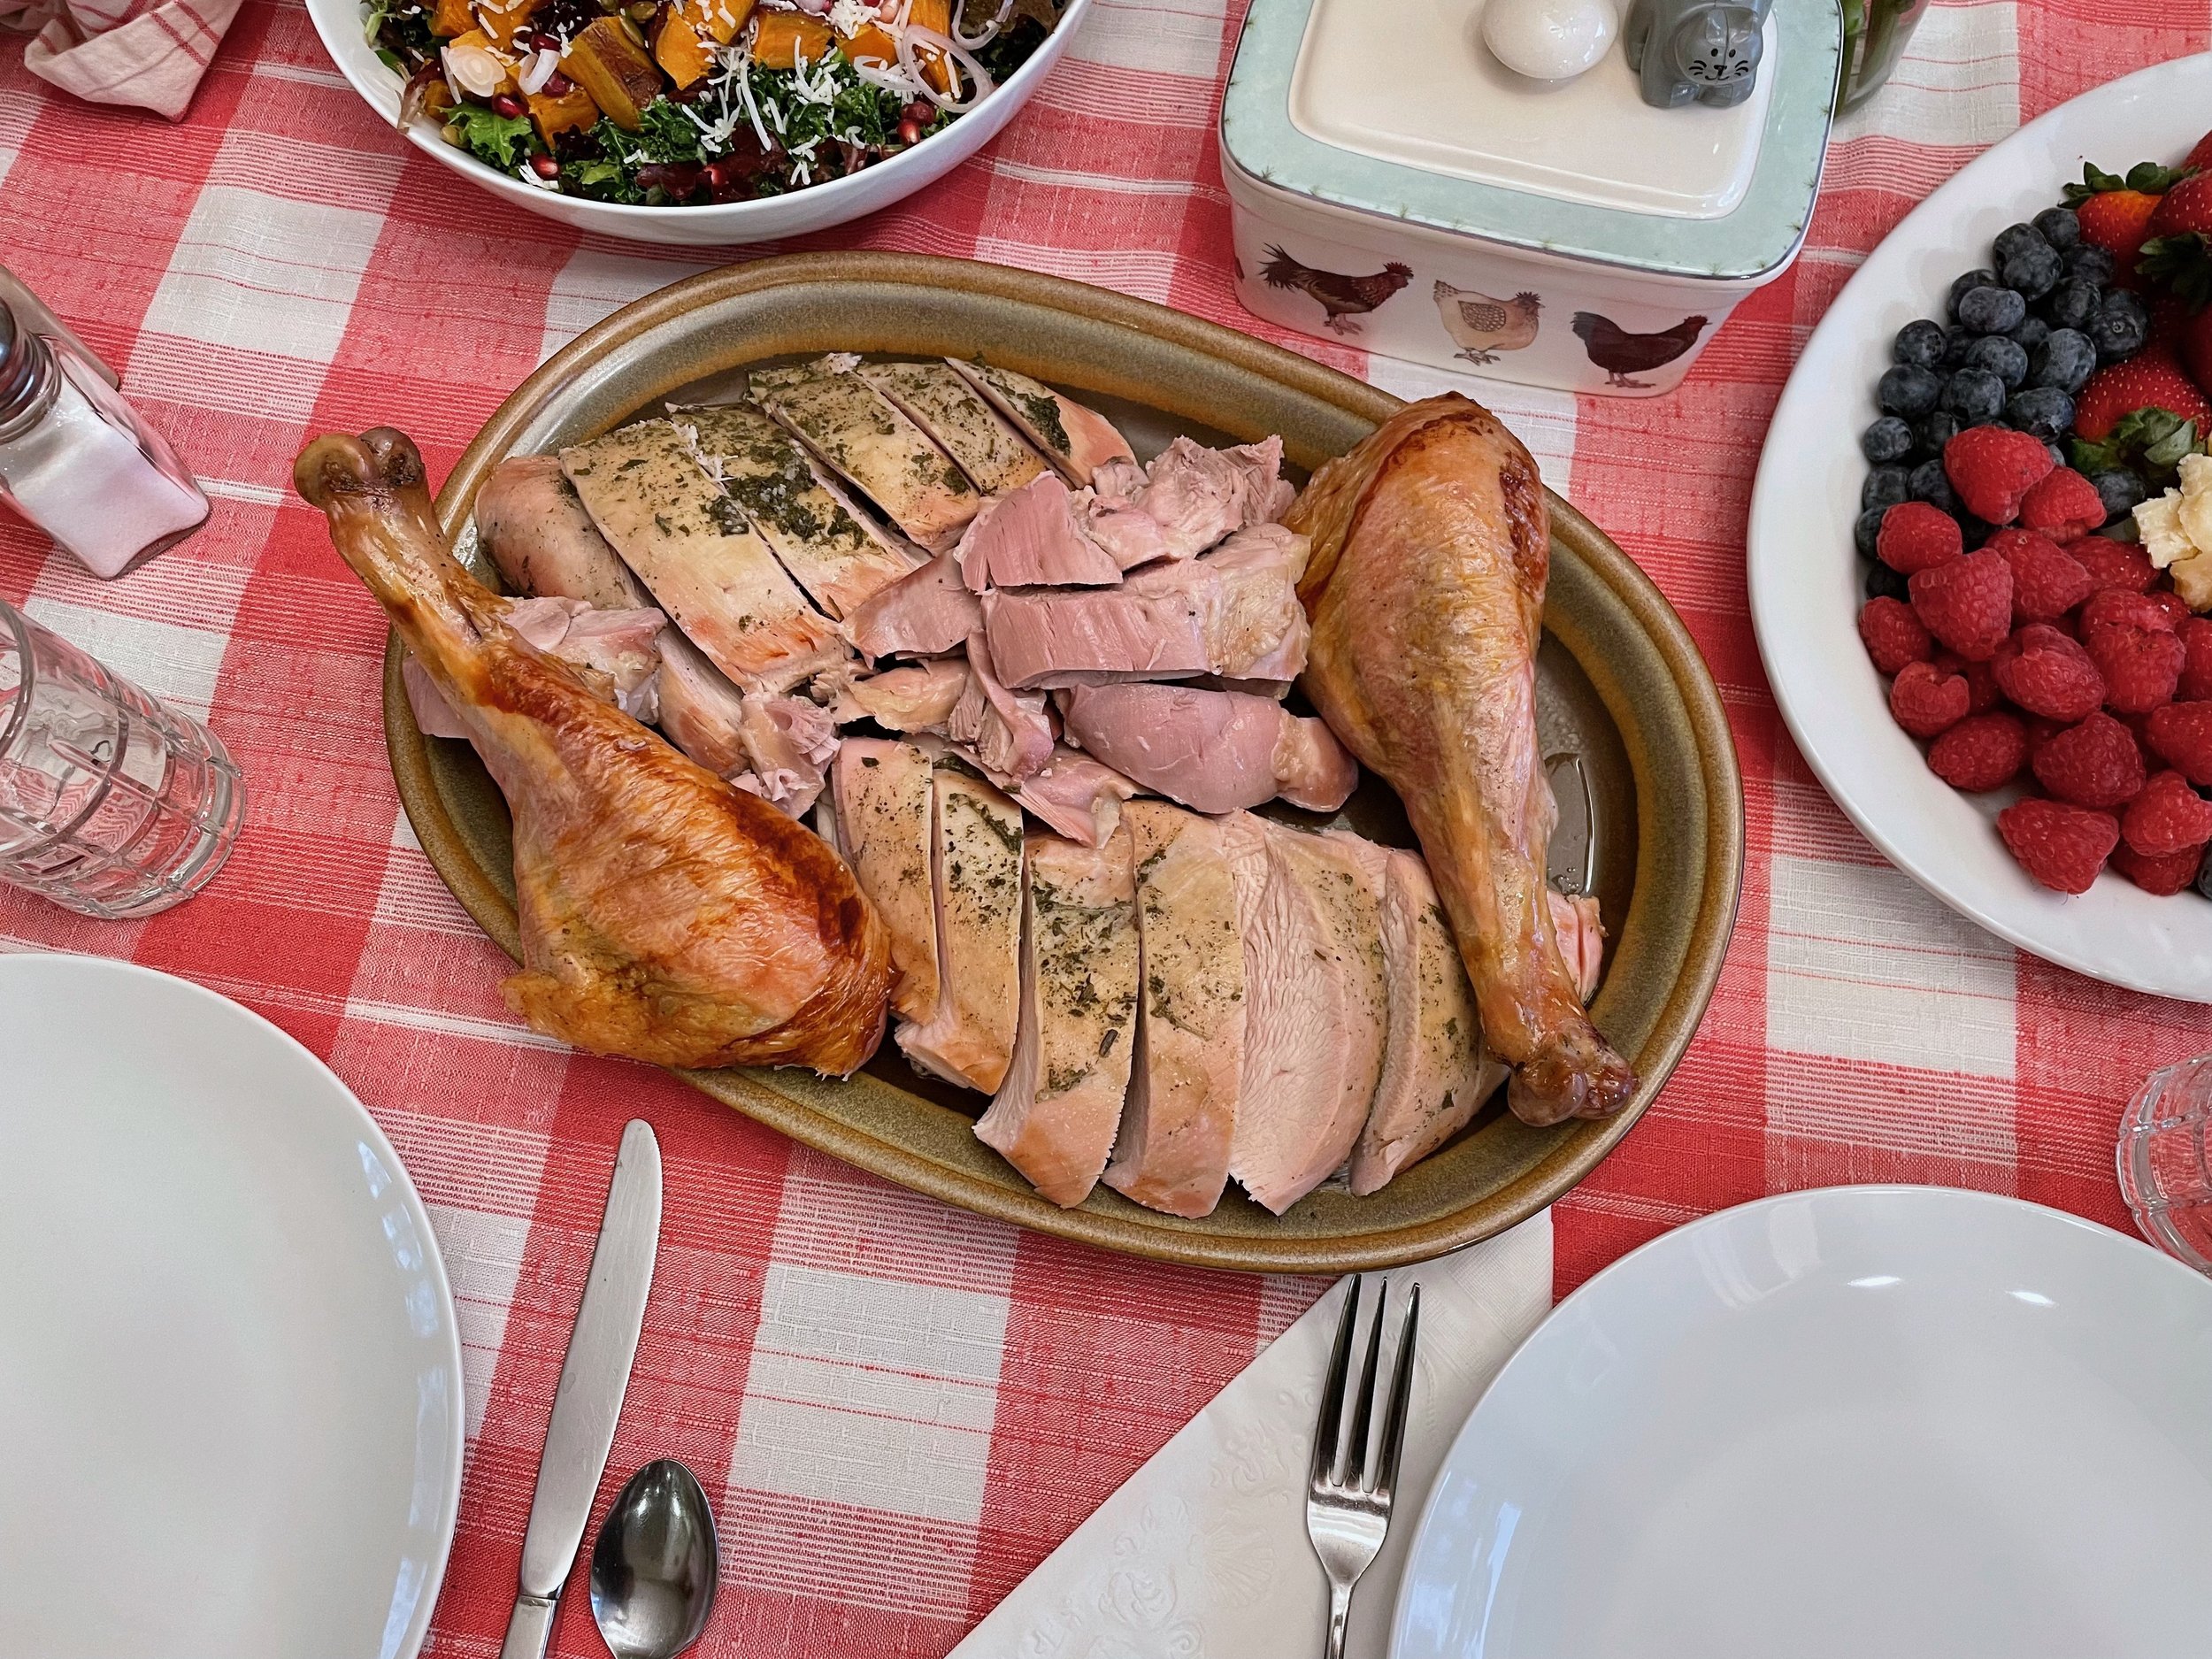
My turkey was 15 lbs, so a little smaller than she called for. It cooked for less time than called for, but unfortunately when Lara initially tried to carve it she discovered it wasn’t quite finished… she did a magnificent job of cutting it into pieces, putting everyhing on a few cookie sheets, and popping it back into the oven until done. Still turned out great and no one was any wiser.

I took the idea for the gravy and kind of eye-balled everything. It turned out very sweet due to the cider. I liked it a lot, although more of a “sauce” than a traditional gravy. I’m not a traditional gravy fan so that was okay with me.

Before heading to mom and dad’s Lara and I enjoyed a really nice (and fairly warm!) Thanksgiving run followed by our favorite breakfast and coffee. While we ate I made another batch of 100% whole wheat dinner rolls and then we packed everything up (love all my canvas bags, they are so great for transferring a lot of food prep!) and headed to Jenison to get started cooking for the day!

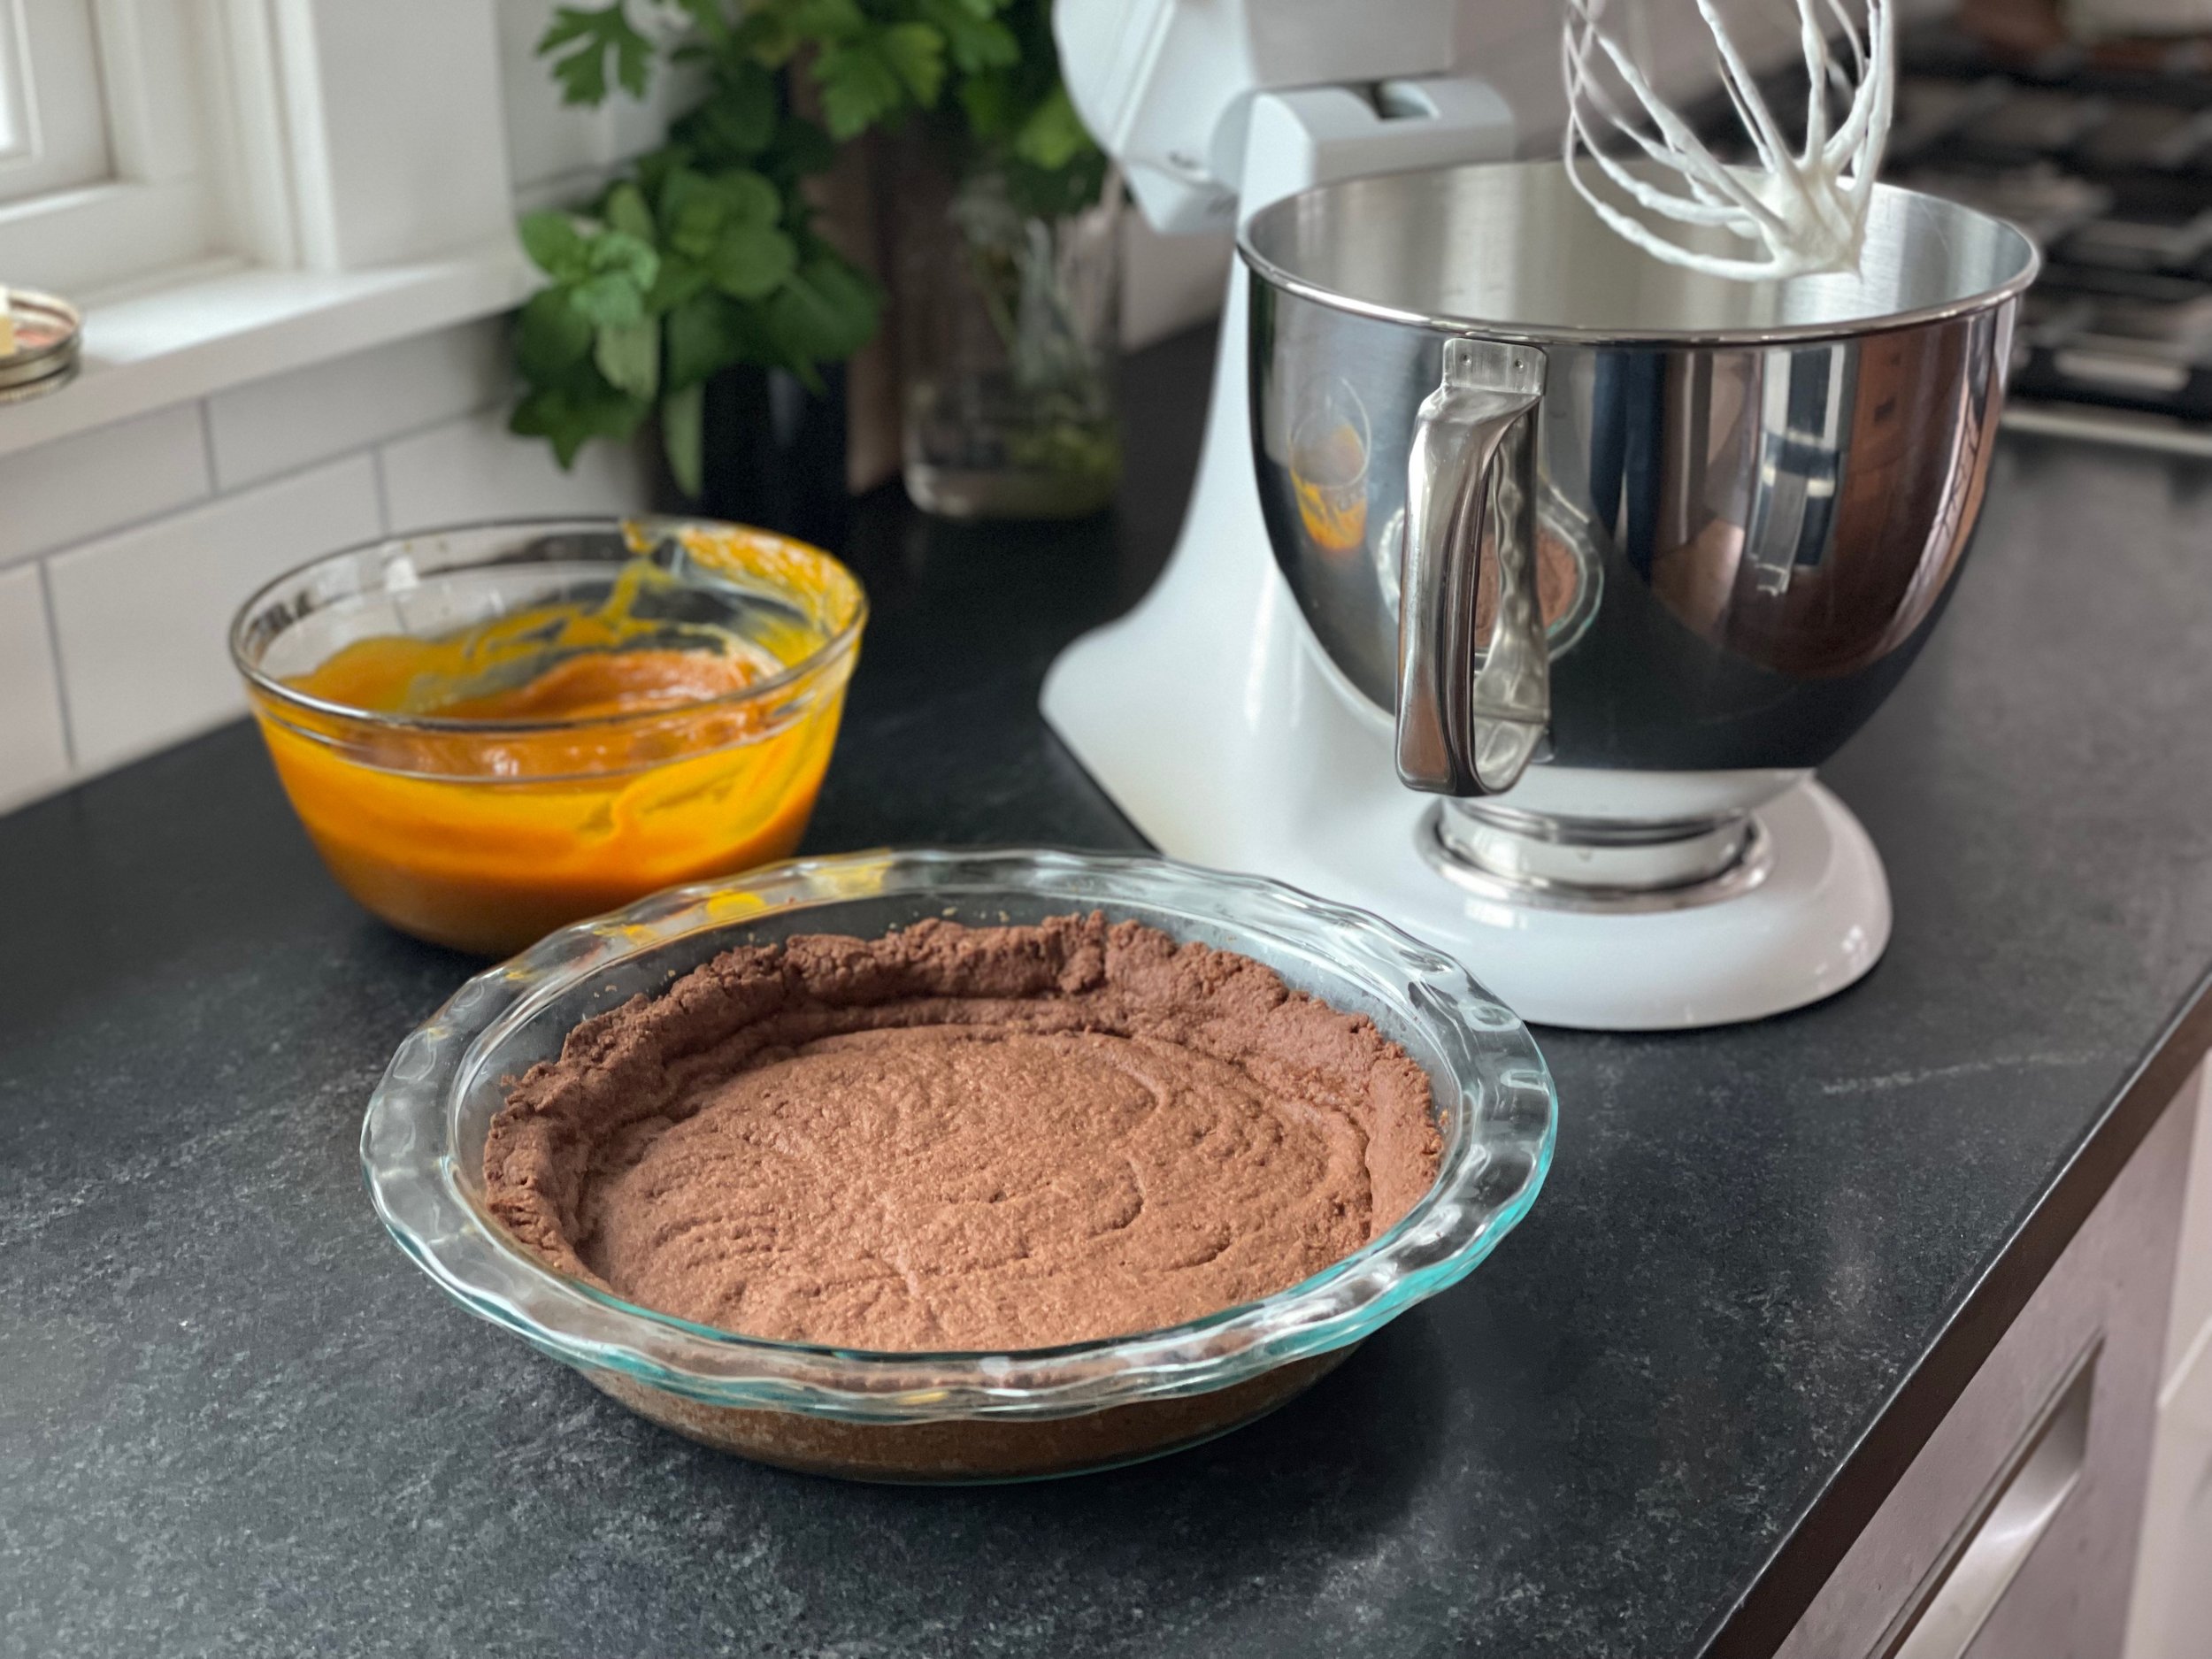
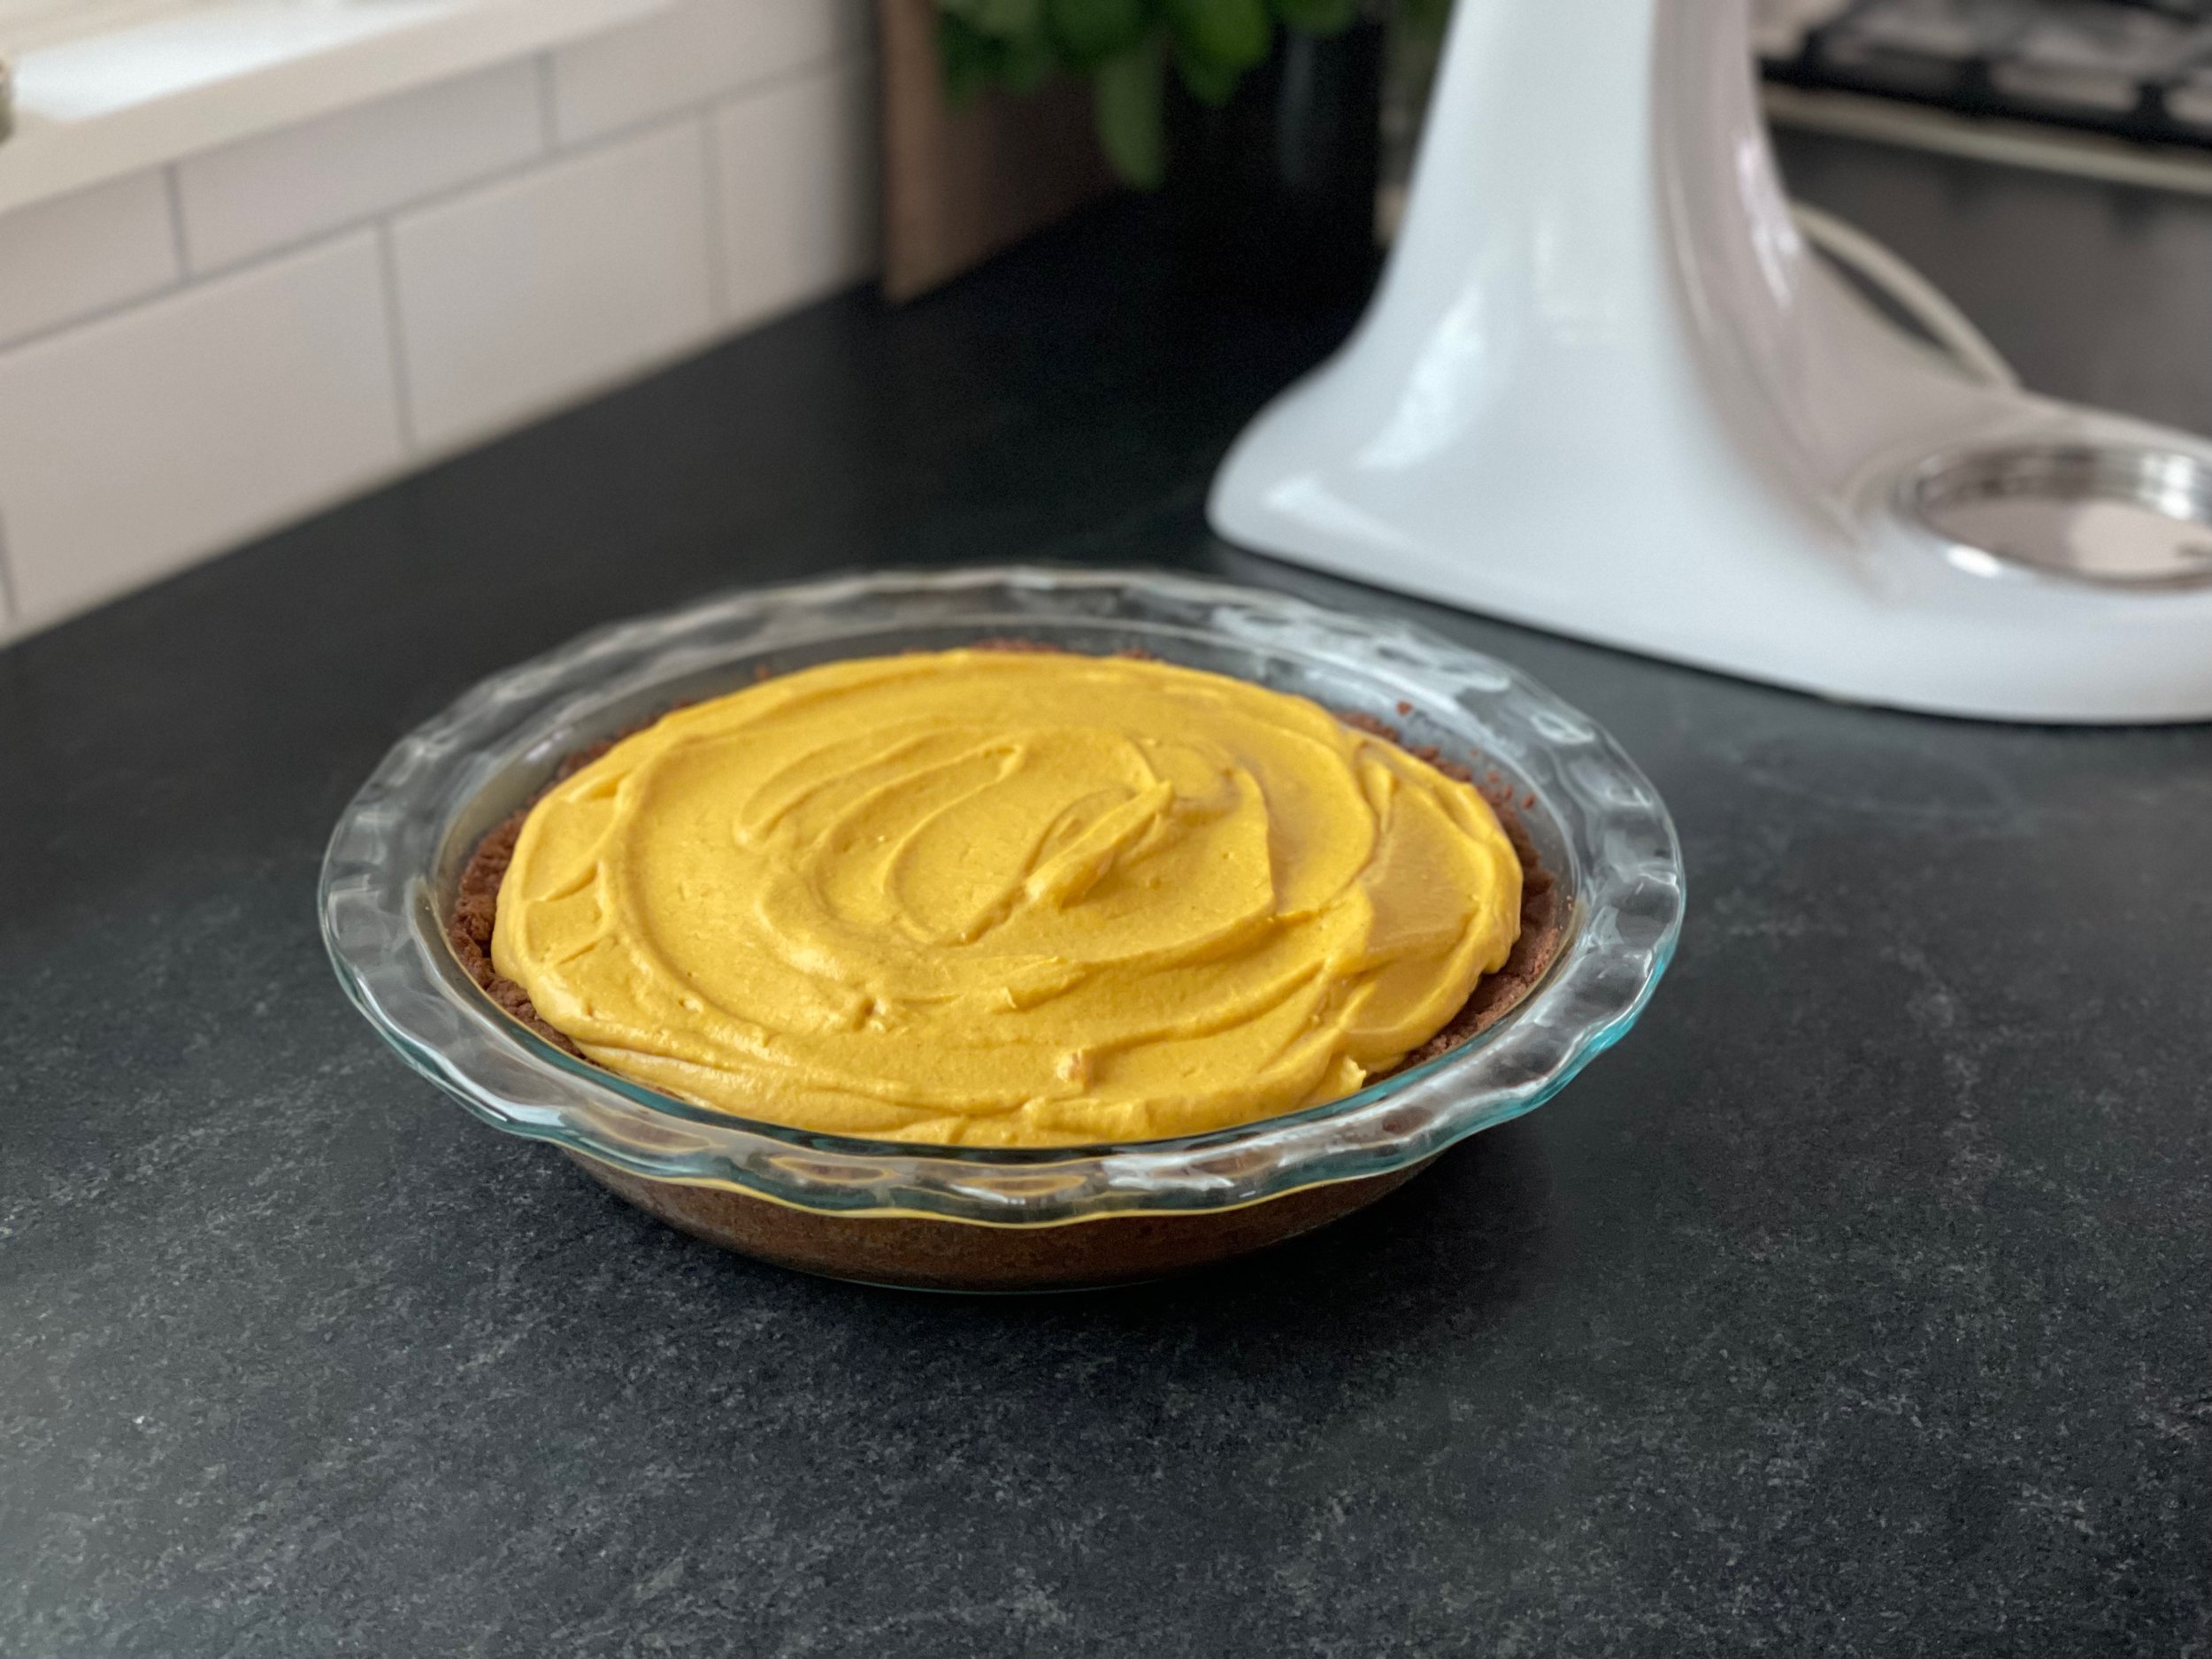
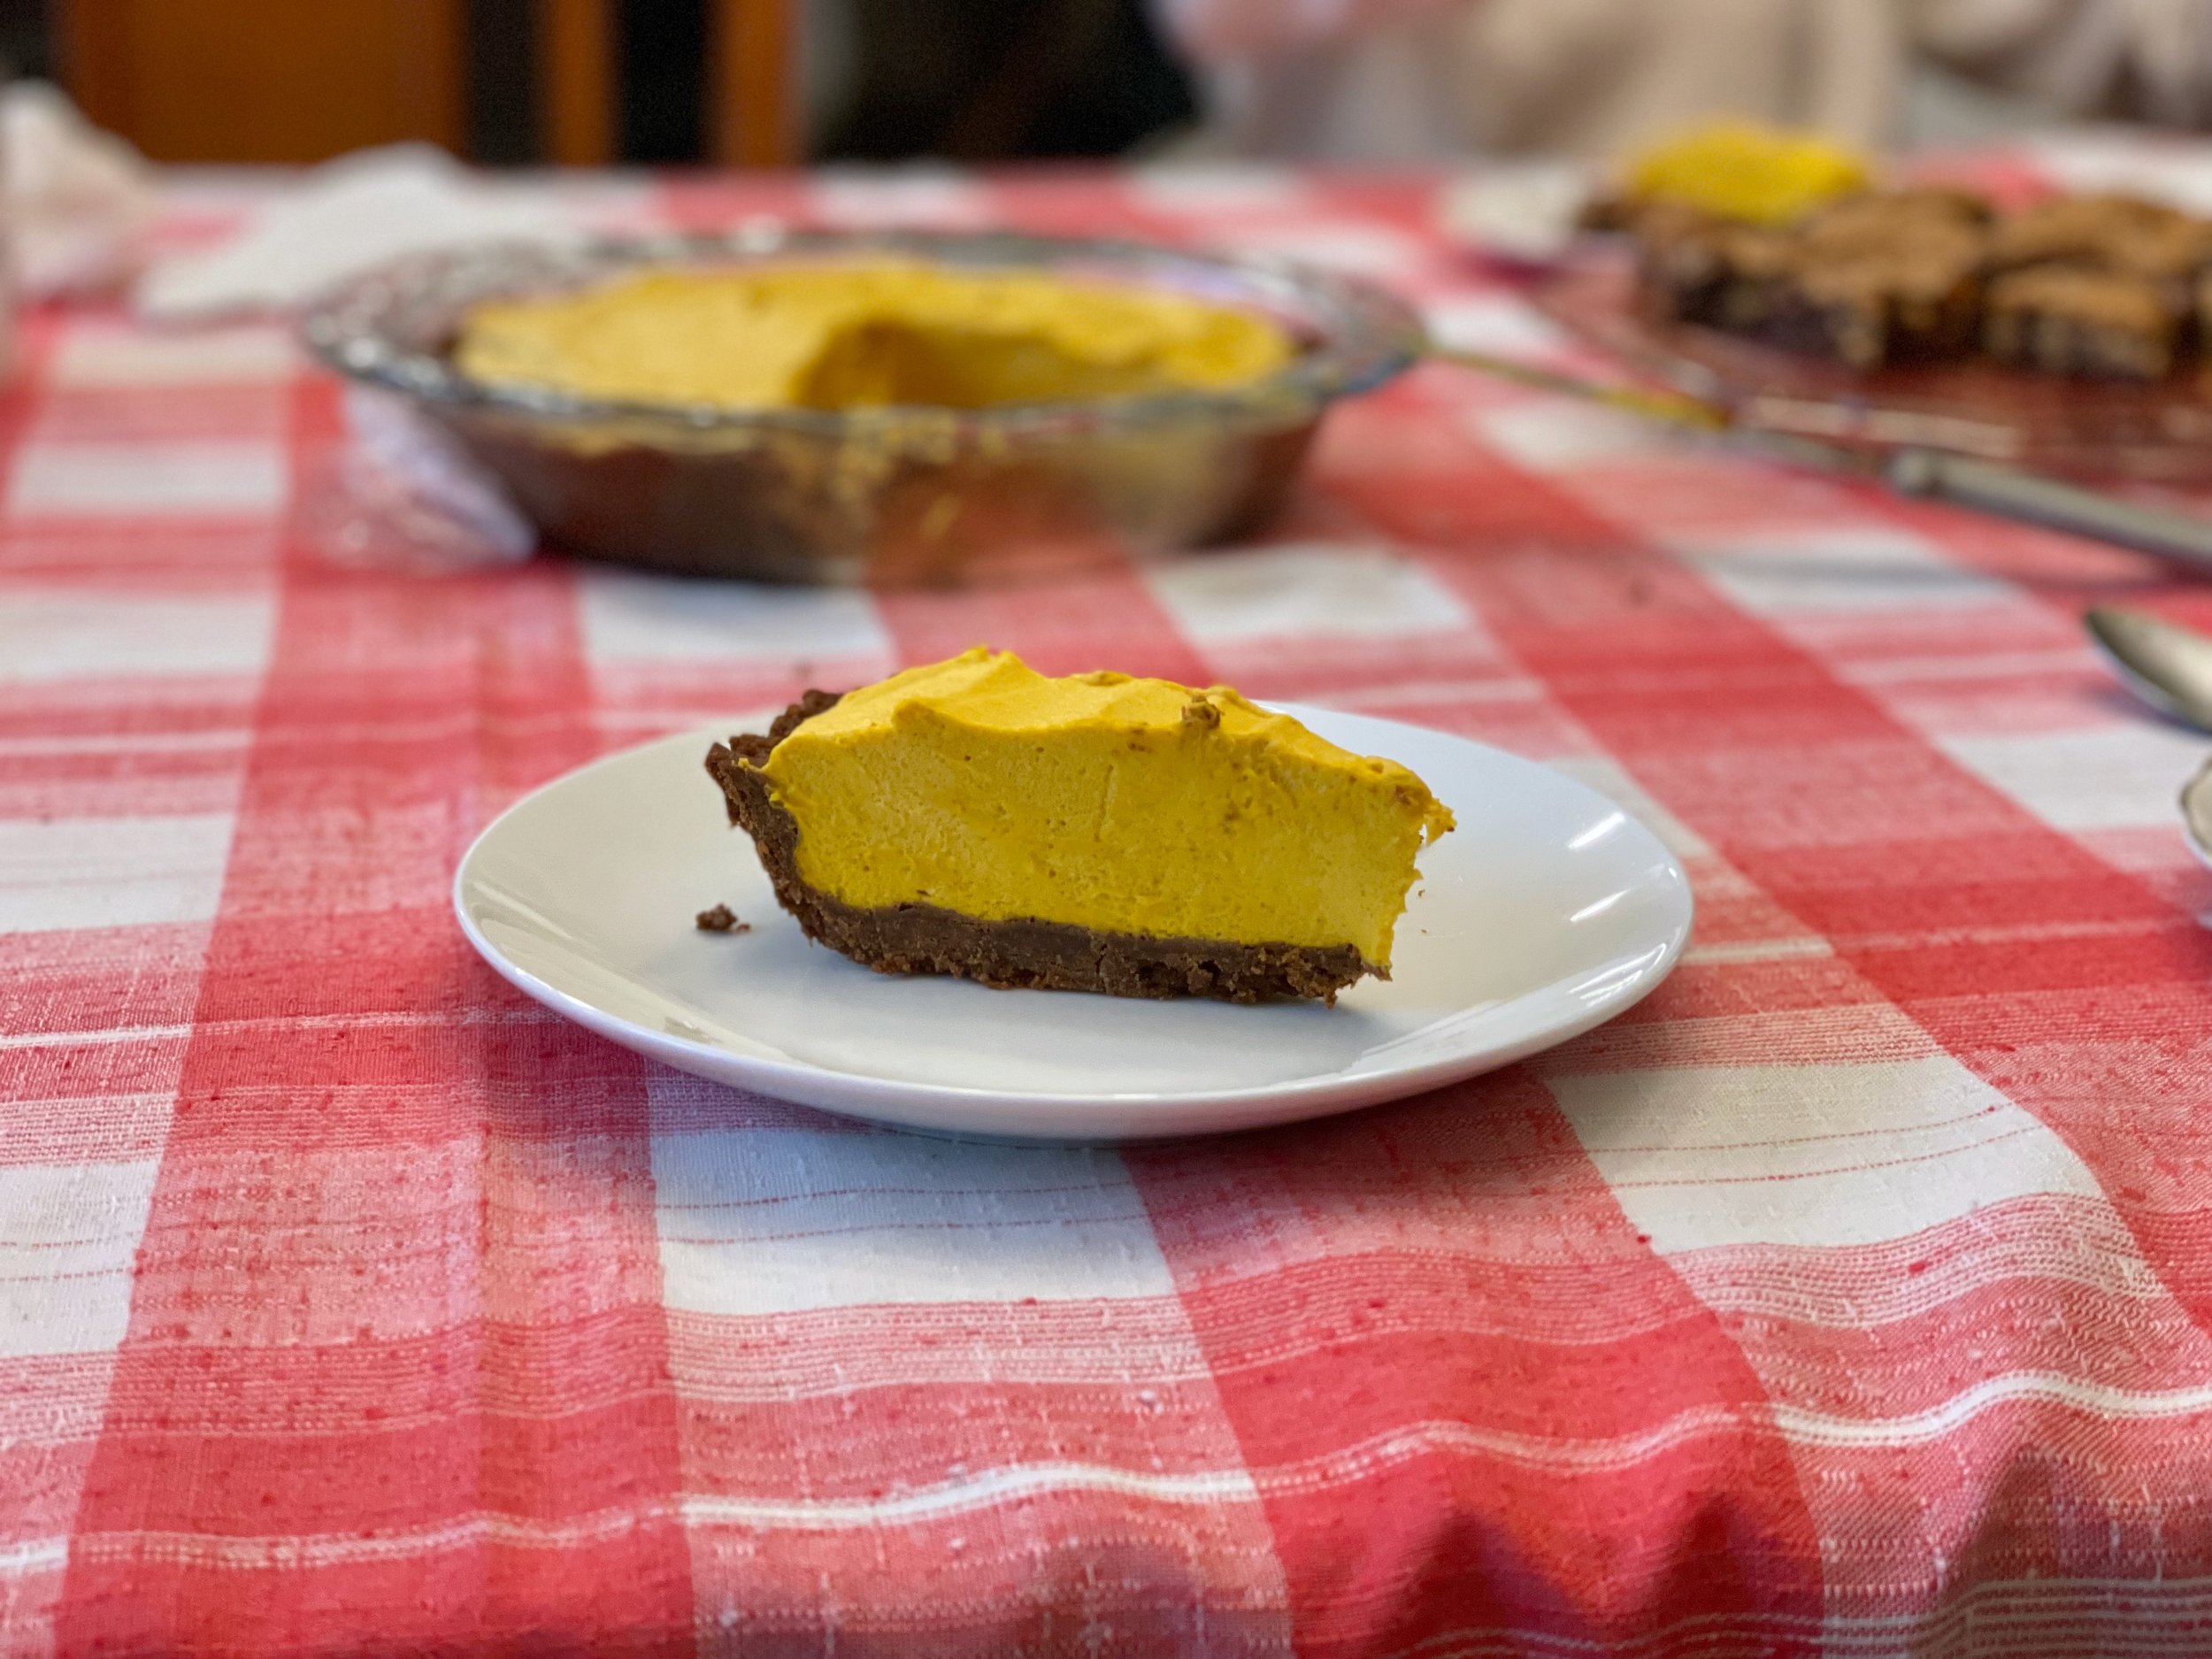
For dessert I made a pumpkin mousse pie I had seen on instagram. It just looked fun! I don’t love pumpkin pie, but a mousse pie with foleded in whipped cream looked wonderful, and it was! I really loved it and would make again! I used Effie’s biscuits instead of traditional graham crackers for the crust. I ended up doubling the amount of biscuit. I used two full Effies boxes. I initially used one and it looked way too wet. Maybe just because it’s a very different type of graham cracker. Didn’t matter though, the crust turned out deliciously, and EXTRA thick! I’m not sad about that. I still used the 6 Tbs butter, just double the cookie/cracker.

Butter Roasted Turkey with Cider Herb Gravy
From ful-filled
Ingredients

FOR THE CIDER BRINE:

  • 3 quarts apple cider, divided

  • 1 1/2 cups kosher salt

  • 1/4 cup whole allspice

  • 8 bay leaves

  • 4 quarts cold water

  • (1) 16-20 pound turkey (neck and gizzard reserved)

FOR THE GRAVY:

  • 2 tablespoons minced fresh Italian parsley

  • 2 tablespoons minced fresh thyme

  • 2 tablespoons minced fresh sage

  • 2 tablespoons minced fresh marjoram

  • 1 teaspoon minced fresh rosemary

  • 1 teaspoon ground nutmeg

  • 1/4 cup unsalted butter

  • 4 cups chicken broth

  • 2 cups apple cider

  • 1/4 cup all purpose flour

  • 1/2 cup whipping cream

  • 2 tablespoons Calvados (apple brandy) or other brandy

FOR ROASTING:

  • 2 sticks unsalted butter

  • 2 yards cheesecloth

  • 2 large Granny Smith apples, quartered

  • 2 large onions, quartered

  • 1 cup chicken broth

  • 1 cup apple cider

Instructions
FOR THE BRINE:
Line extra-large pot with two 13-gallon plastic bags, 1 inside the other (or use a brining bag). Simmer 1 quart apple cider, salt, allspice, and bay leaves in 20-quart pot for 5 minutes, stirring until salt dissolves. Remove from heat, add remaining 2 quarts cider and 4 quarts water. Pour brine into plastic bag. Wrap turkey neck and refrigerate. Submerge turkey in brine to cover completely, gathering bags tightly to eliminate any air; tie bags closed. Refrigerate turkey in brine in pot for at least 18 hours and up to 20 hours.

Next day: Line a large roasting pan with 4 layers of paper towels. Remove turkey from brine and drain well; discard brine. Place turkey in prepared pan. Cover with plastic wrap and refrigerate overnight.

FOR THE GRAVY:
Combine broth and apple cider in heavy large saucepan. Boil until reduced to 3 cups, about 20 minutes. Pour broth reduction into bowl. Melt 1/4 cup butter in same saucepan over medium-high heat. Add flour; stir 1 minute. Whisk in broth reduction, then cream, Calvados, and remaining herb mixture. Bring to boil; reduce heat to medium-low and simmer until gravy base is thickened and reduced to 2 3/4 cups, whisking often, about 20 minutes. Cool gravy base, cover & chill. (Gravy base can be made 2 days ahead.)

FOR ROASTING:
Position rack in bottom third of oven and preheat to 350°F. Remove turkey from roasting pan; drain any accumulated juices from main cavity. Discard paper towels from roasting pan. Return turkey to prepared pan. Tuck wing tips under; tie legs together loosely to hold shape. Place some apple quarters and onion quarters in main cavity. Scatter remaining apples and onions around turkey in pan. Add reserved turkey neck to pan along with 1 cup of broth.

Fold a 2 yd. piece of cheesecloth to create a 4 layer rectangle. Dampen the cloth with water & wring out. Melt two sticks of butter and then submerge the cloth in the melted butter, making sure it is completely saturated. Drape over the top of the turkey, covering it completely.

Roast turkey for 1 hour. Baste with 1/2 cup apple cider. Roast turkey 30 minutes. Baste with remaining 1/2 cup cider. Roast turkey, basting every 30 minutes with pan juices for anther 1 1/2 hours. Very gently remove the cheesecloth from the turkey, taking care not to tear the skin. Baste turkey one more time, then return the turkey to the oven and roast until a thermometer inserted in the thickest part of a thigh measures 170 degrees F, about another 30-45 minutes.

When done roasting, transfer turkey to a platter; let stand at least 30 minutes before carving (internal temperature will rise 5 to 10 degrees).

Discard apples, onions, and turkey neck from pan. Pour pan juices into large glass measuring cup; spoon off fat from surface. Pour degreased juices into gravy base and bring to boil over medium-high heat, whisking occasionally. Boil until gravy thickens enough to coat spoon and is reduced to 3 1/2 cups, about 15 minutes. Season gravy to taste with pepper. Serve turkey with gravy.

Pumpkin Mousse Pie
From ful-filled
Ingredients
FOR THE FILLING:

  • (1) 15 oz can (425g) pumpkin puree

  • 1/2 cup (120g) maple syrup (date syrup works well too or try 1/2 date syrup + 1/2 maple syrup)

  • 2 tsp unflavored gelatin

  • 1/4 cup (60g) cold water

  • 1/2 tsp cinnamon

  • 1/4 tsp ginger

  • 1/4 tsp nutmeg

  • 1/8 tsp clove or allspice

  • 1 1/4 cup (10oz/284g) heavy whipping cream

FOR THE CRUST:

  • 1 sleeve (155g) graham crackers (approximately 10 whole graham crackers) gingersnaps or biscoff cookies would work well too

  • 6 tbsp (85g) unsalted butter, melted

  • 1/4 tsp fine grain salt

FOR THE TOPPING

  • 3/4 cup (6oz/170g) heavy whipping cream

  • 2 tbsp maple syrup

  • 1/3 cup (40g) candied pecans, chopped

DIRECTIONS:
Start by sprinkling the 2 tsp gelatin over the 1/4 cup of water in a small dish, let gelatin soak into water while you move on to the next step.

In a small pot combine pumpkin puree, maple syrup, and spices. Place on the stovetop over medium low heat, stirring to combine. Once mixture is heated through, add the soaked gelatin to the pot, stirring until dissolved & well combined. Turn off the heat and allow pumpkin mixture to cool to room temperature while you prepare the pie crust.

FOR THE PIE CRUST
Pre-heat oven to 350 F

Crush graham crackers into fine crumbs in your food processor. Add fine grain salt & pulse briefly to combine. Add melted butter and pulse until well combined with the graham cracker crumbs.

Pour crumbs into a 9" pie dish, spreading them evenly into the bottom of the pie dish. Using a measuring cup, press the crumbs evenly across the pie dish & up the sides. Use the measuring cup along with your fingers to gently press the crumbs at the edges to make sure they are nice & packed.

Bake the crust for 12 minutes - remove from the oven & allow to cool to room temperature.

FOR THE FILLING:
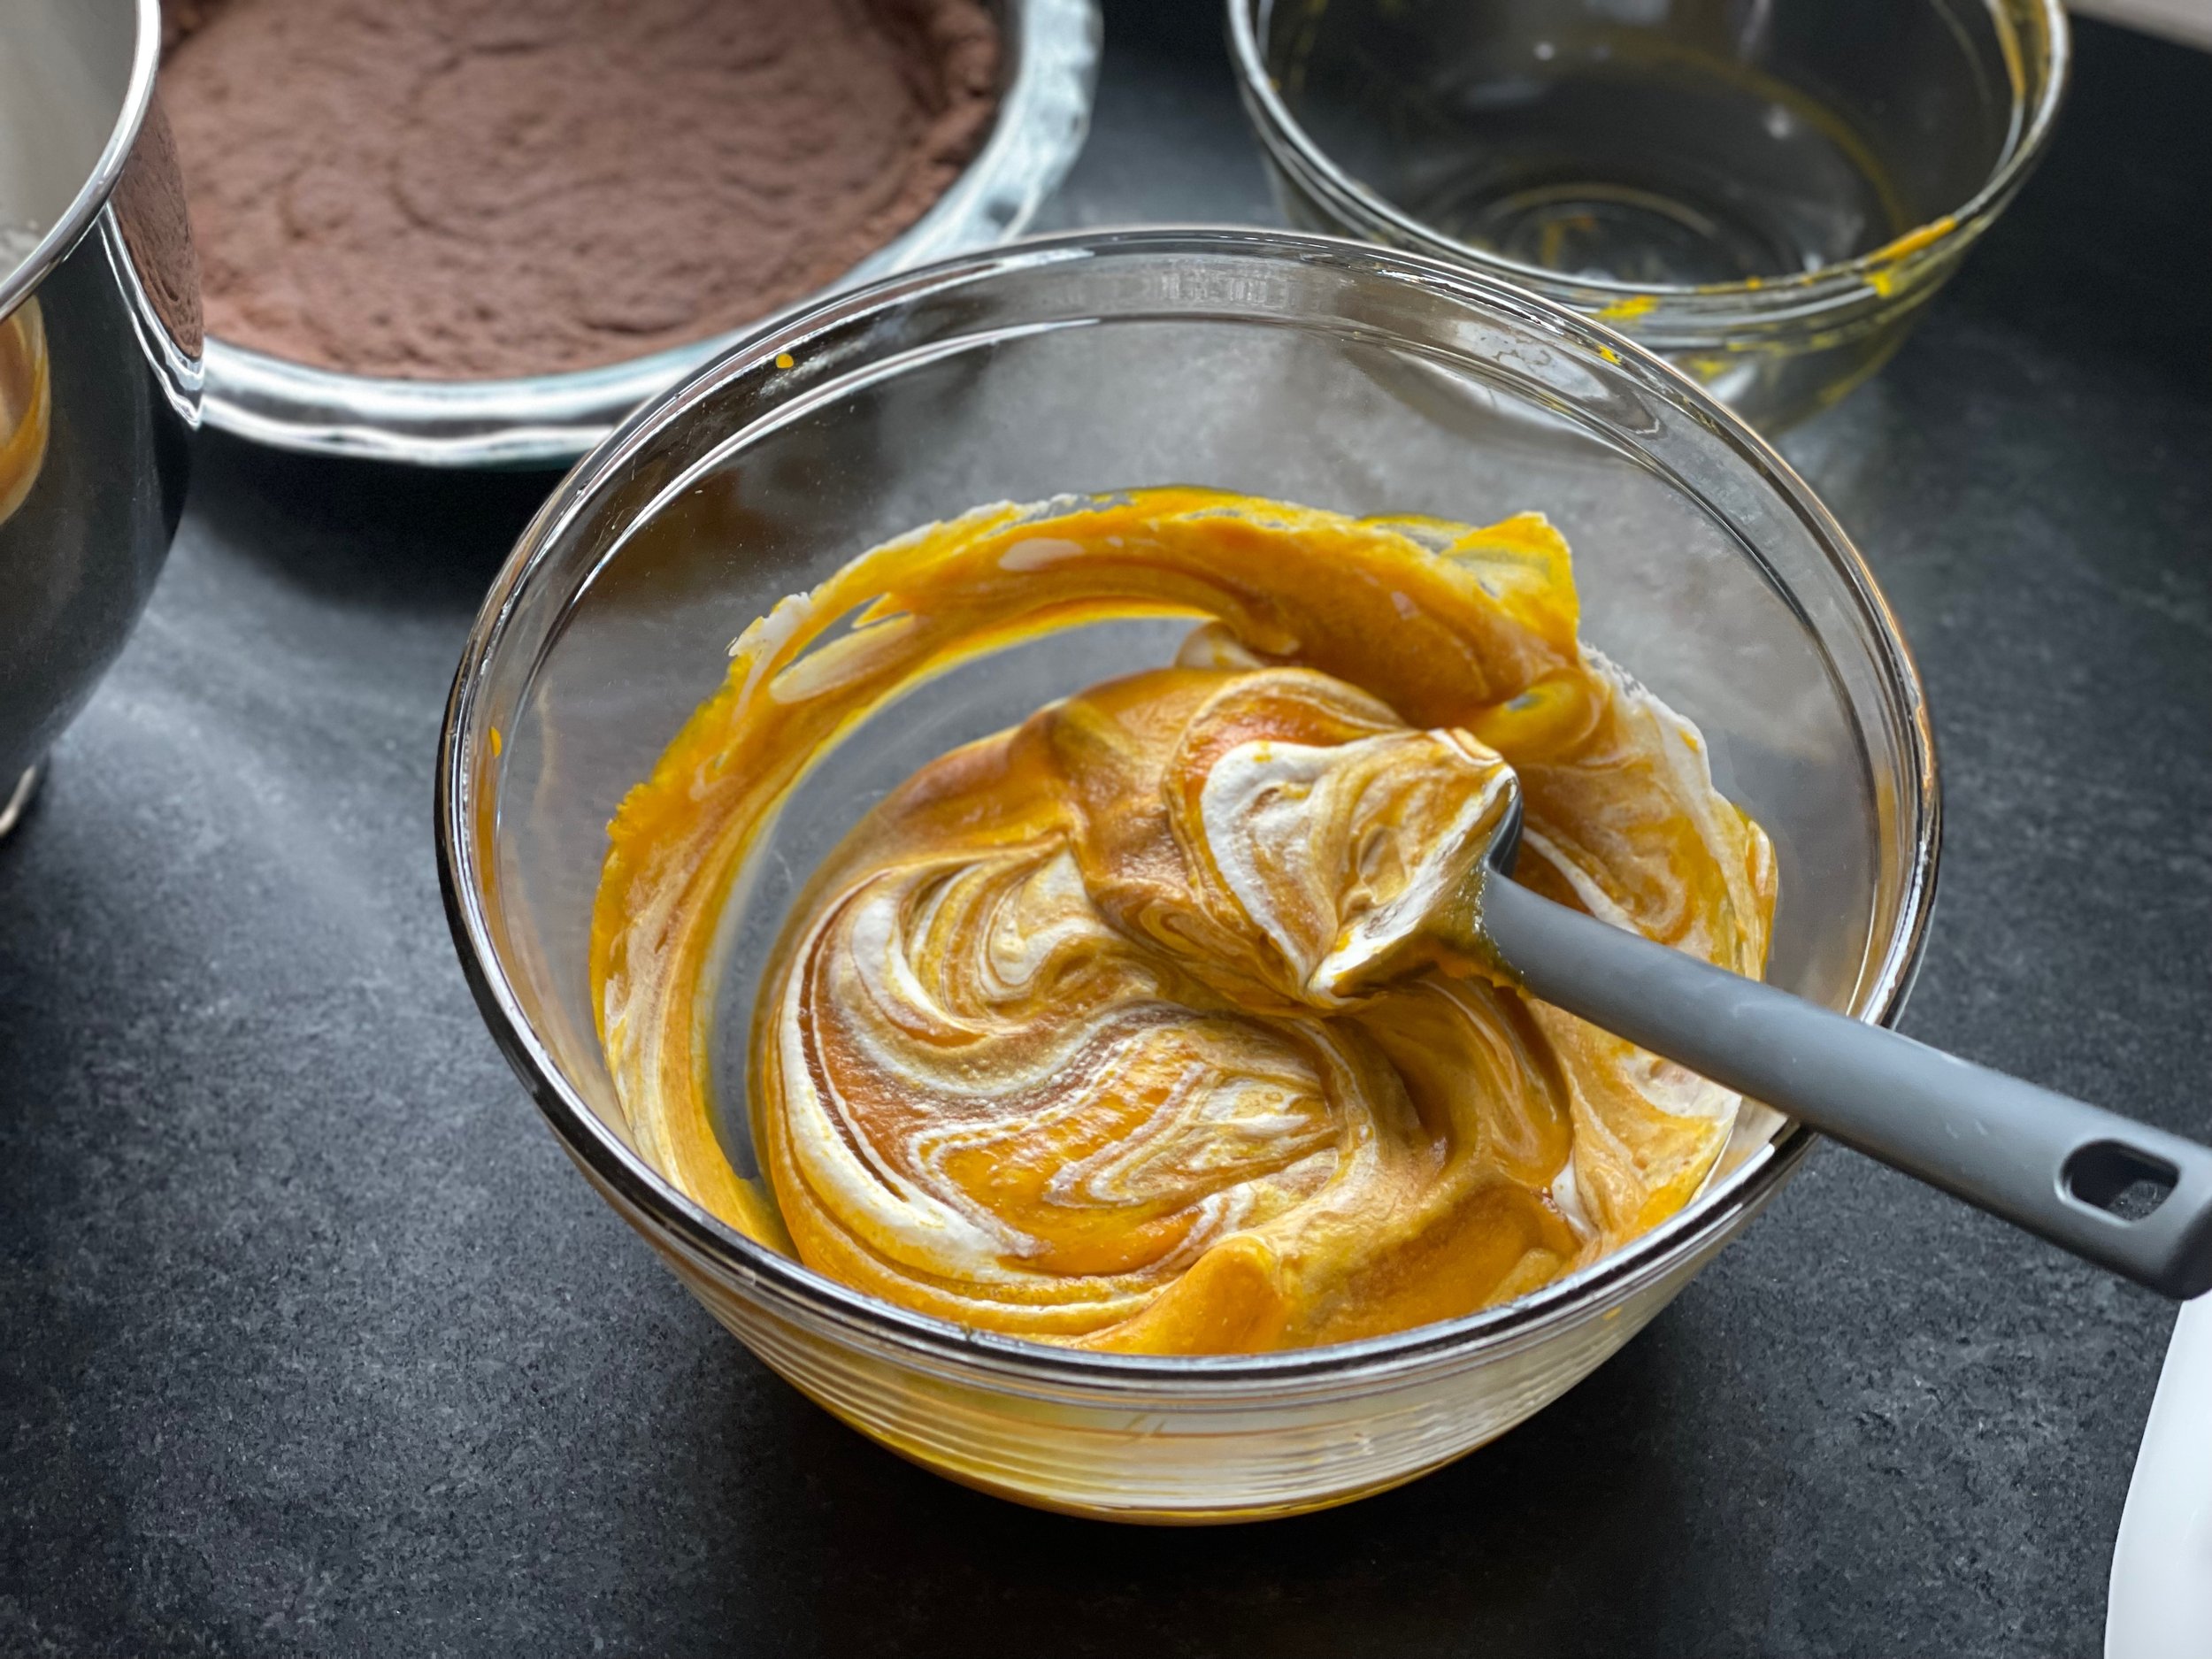
Whip the 10oz of heavy cream until soft peaks. Fold the cooled pumpkin mixture into the whipped cream until just combined. Add the pumpkin mousse mixture to your cooled pie crust. Place pie in the refrigerator to chill at least 8 hours.

To serve: whip the remaining 3/4 cup heavy cream with 1 tbsp maple syrup until it reaches soft peaks. Top the pumpkin mousse pie with the fresh whipped cream and sprinkle with chopped candied pecans, slice & serve.


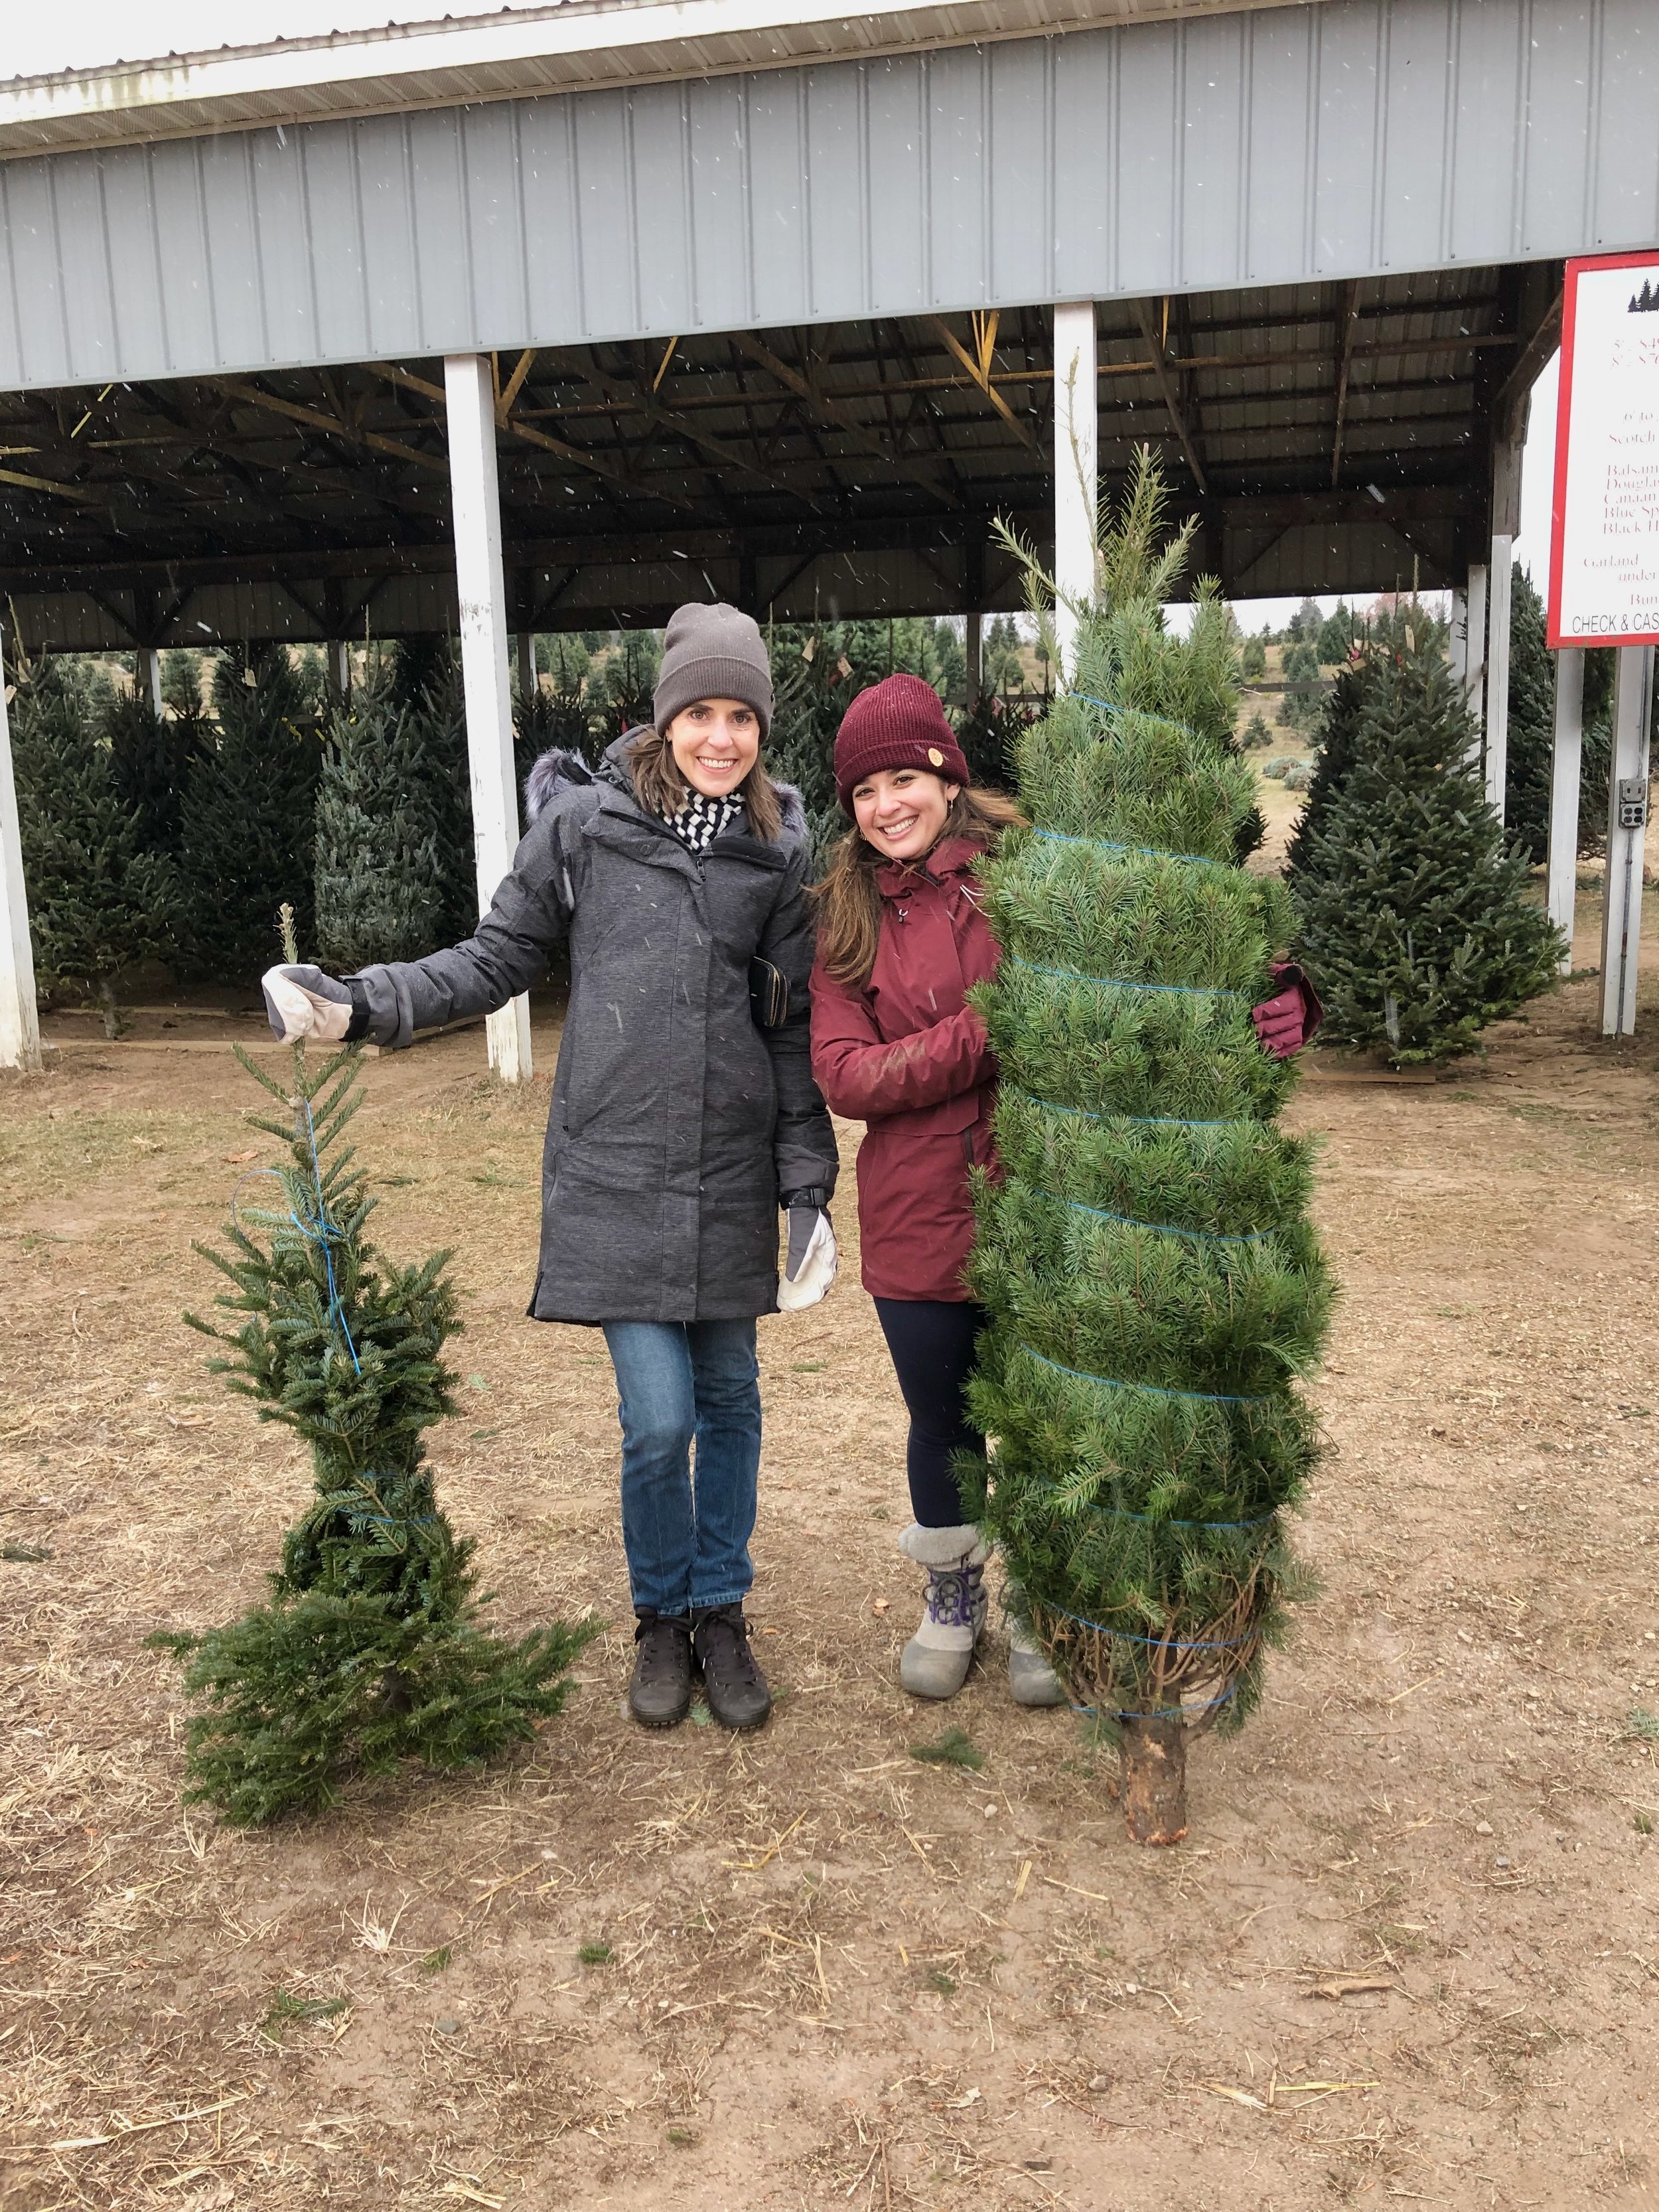
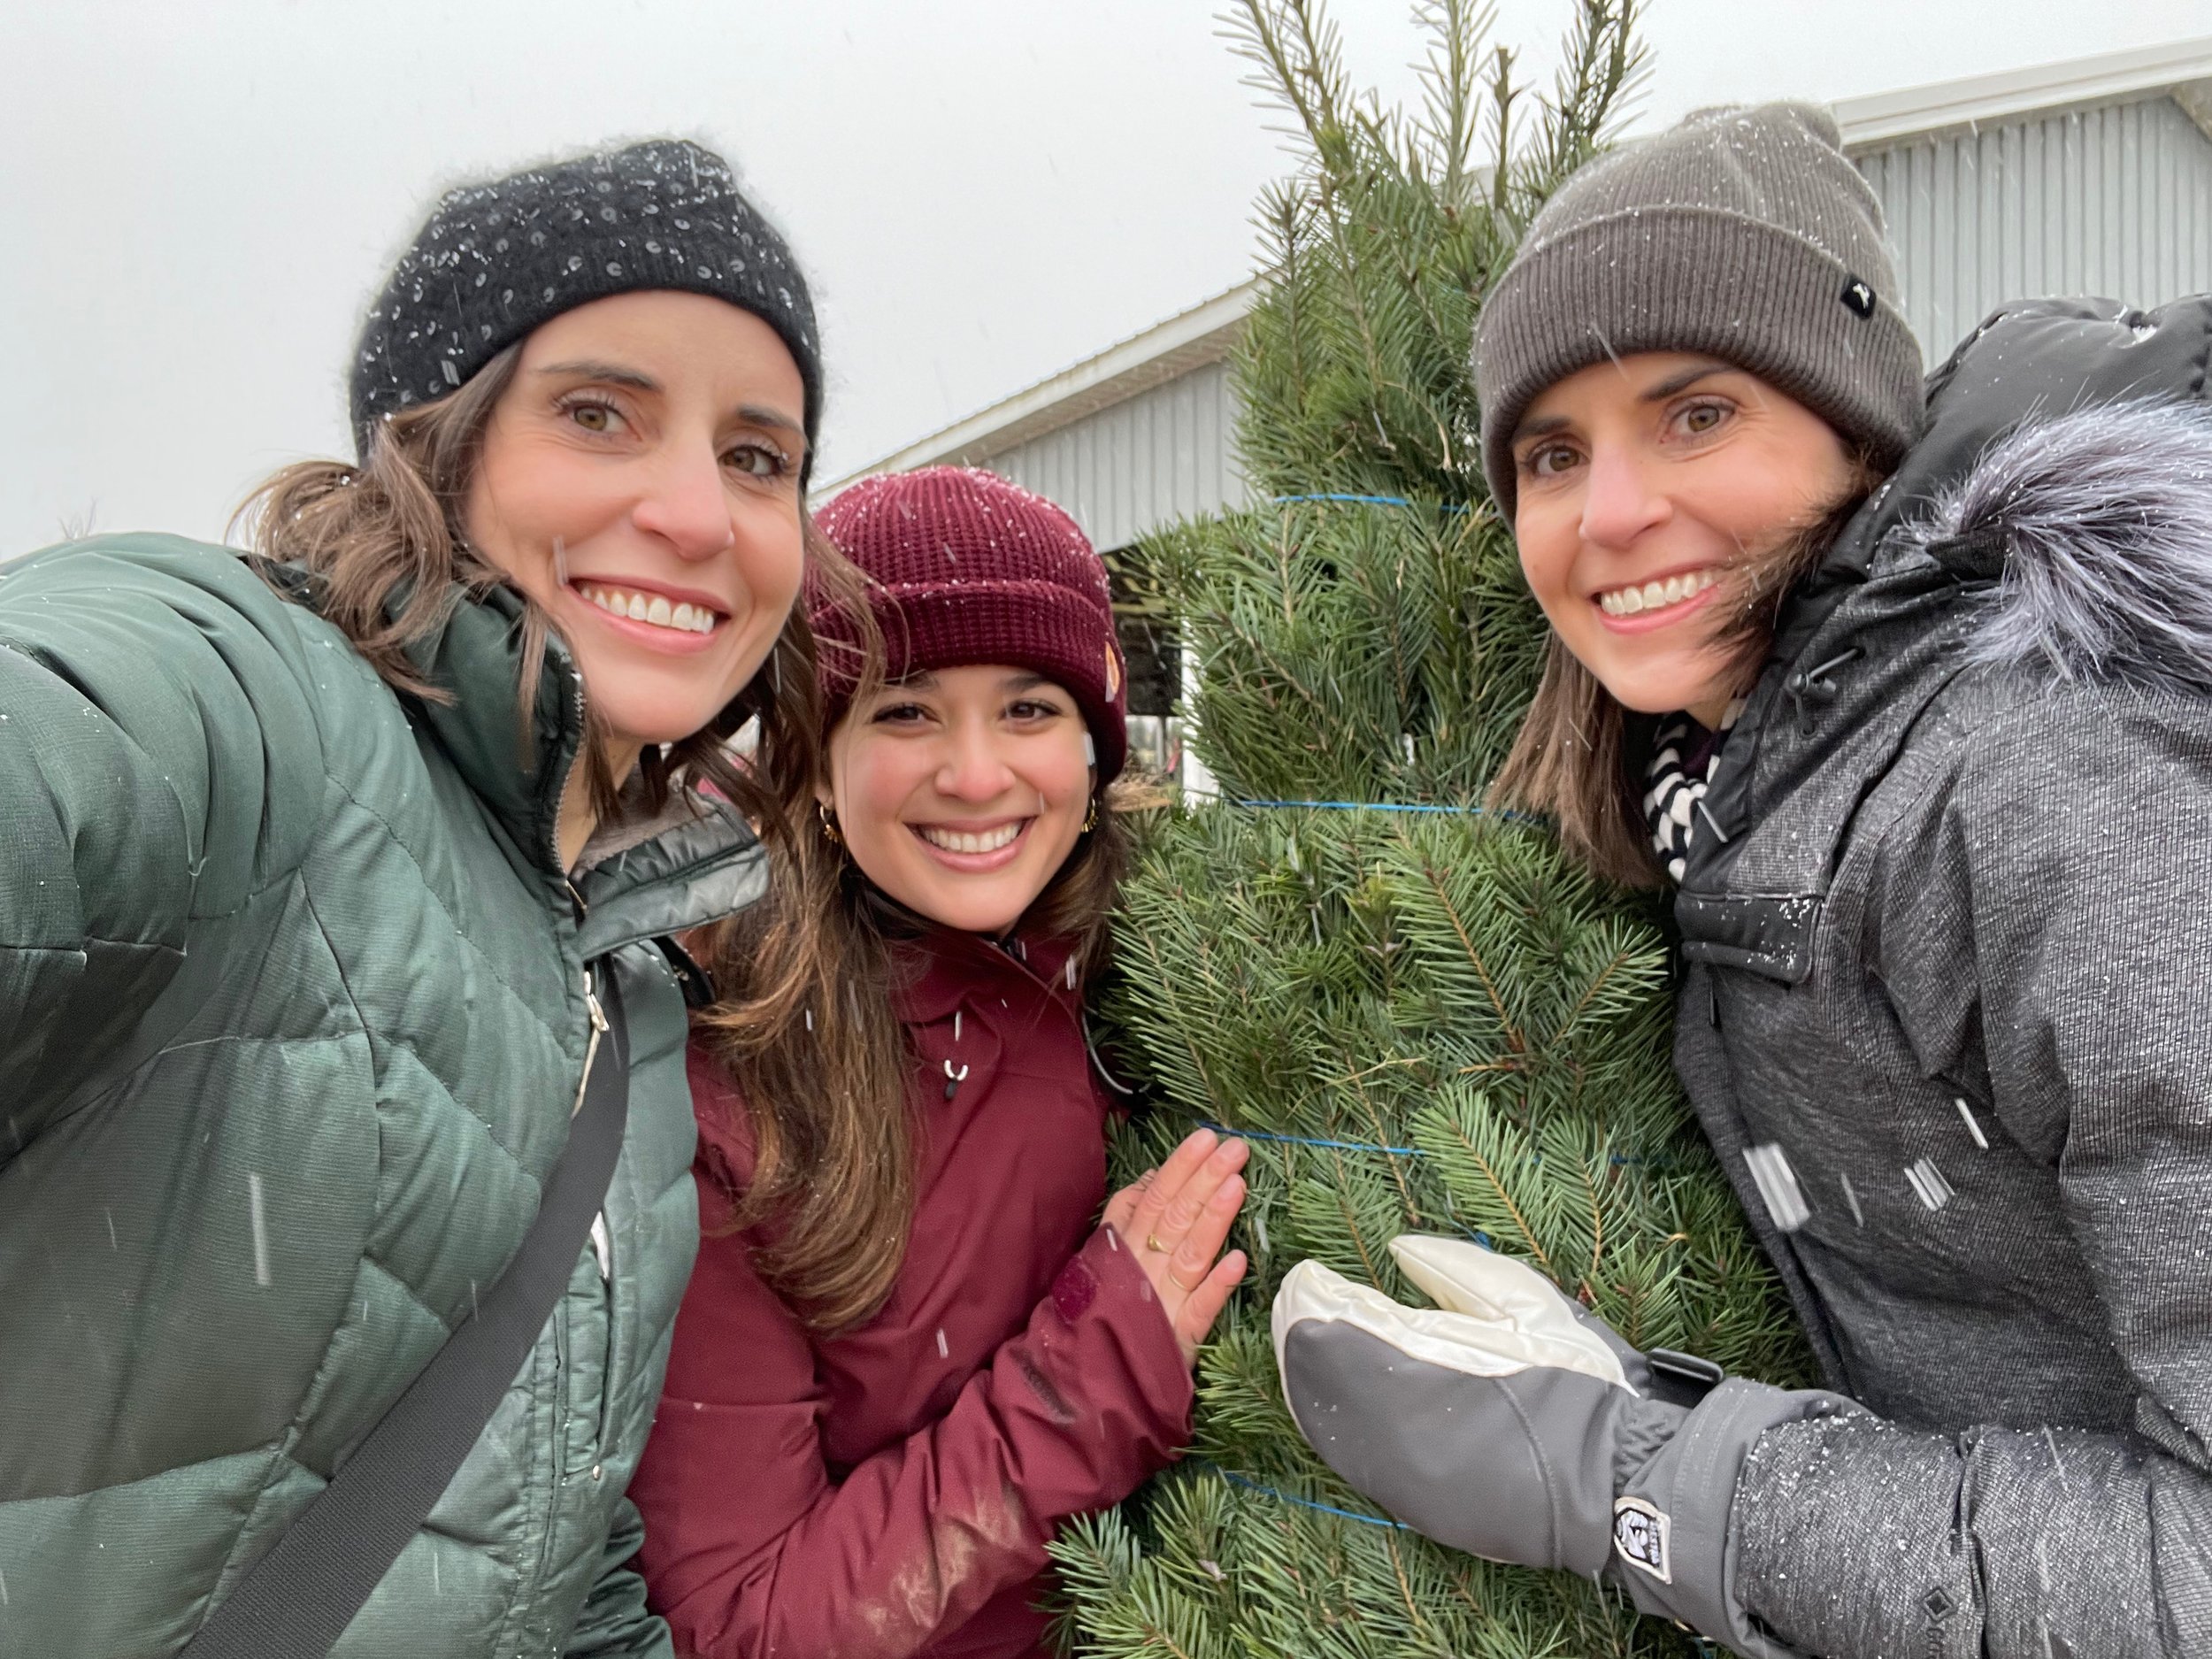
I had a lovely holiday weekend after all of the Thanksgiving festivities! Lara and I first went to Everett’s for a Christmas tree with the dogs. Couldn’t decide on a tree so we got a garland instead. The next day we went to a cut your own Christmas tree farm where I found a little tree that was the perfect size for me! It started snowing as we finished getting the trees and it was just so festive!

Christmas 2020

I know for a lot of people Christmas was different this year. Smaller gatherings, less travel, the inability to see everyone, etc. I am thankful that for me a whole lot didn’t change. I don’t have a huge family, and I have several family members that live out of state so every year Christmas is different. This year was just another variation. No extended family gathering.

 
FullSizeRender.jpeg
 
IMG_0885.jpeg

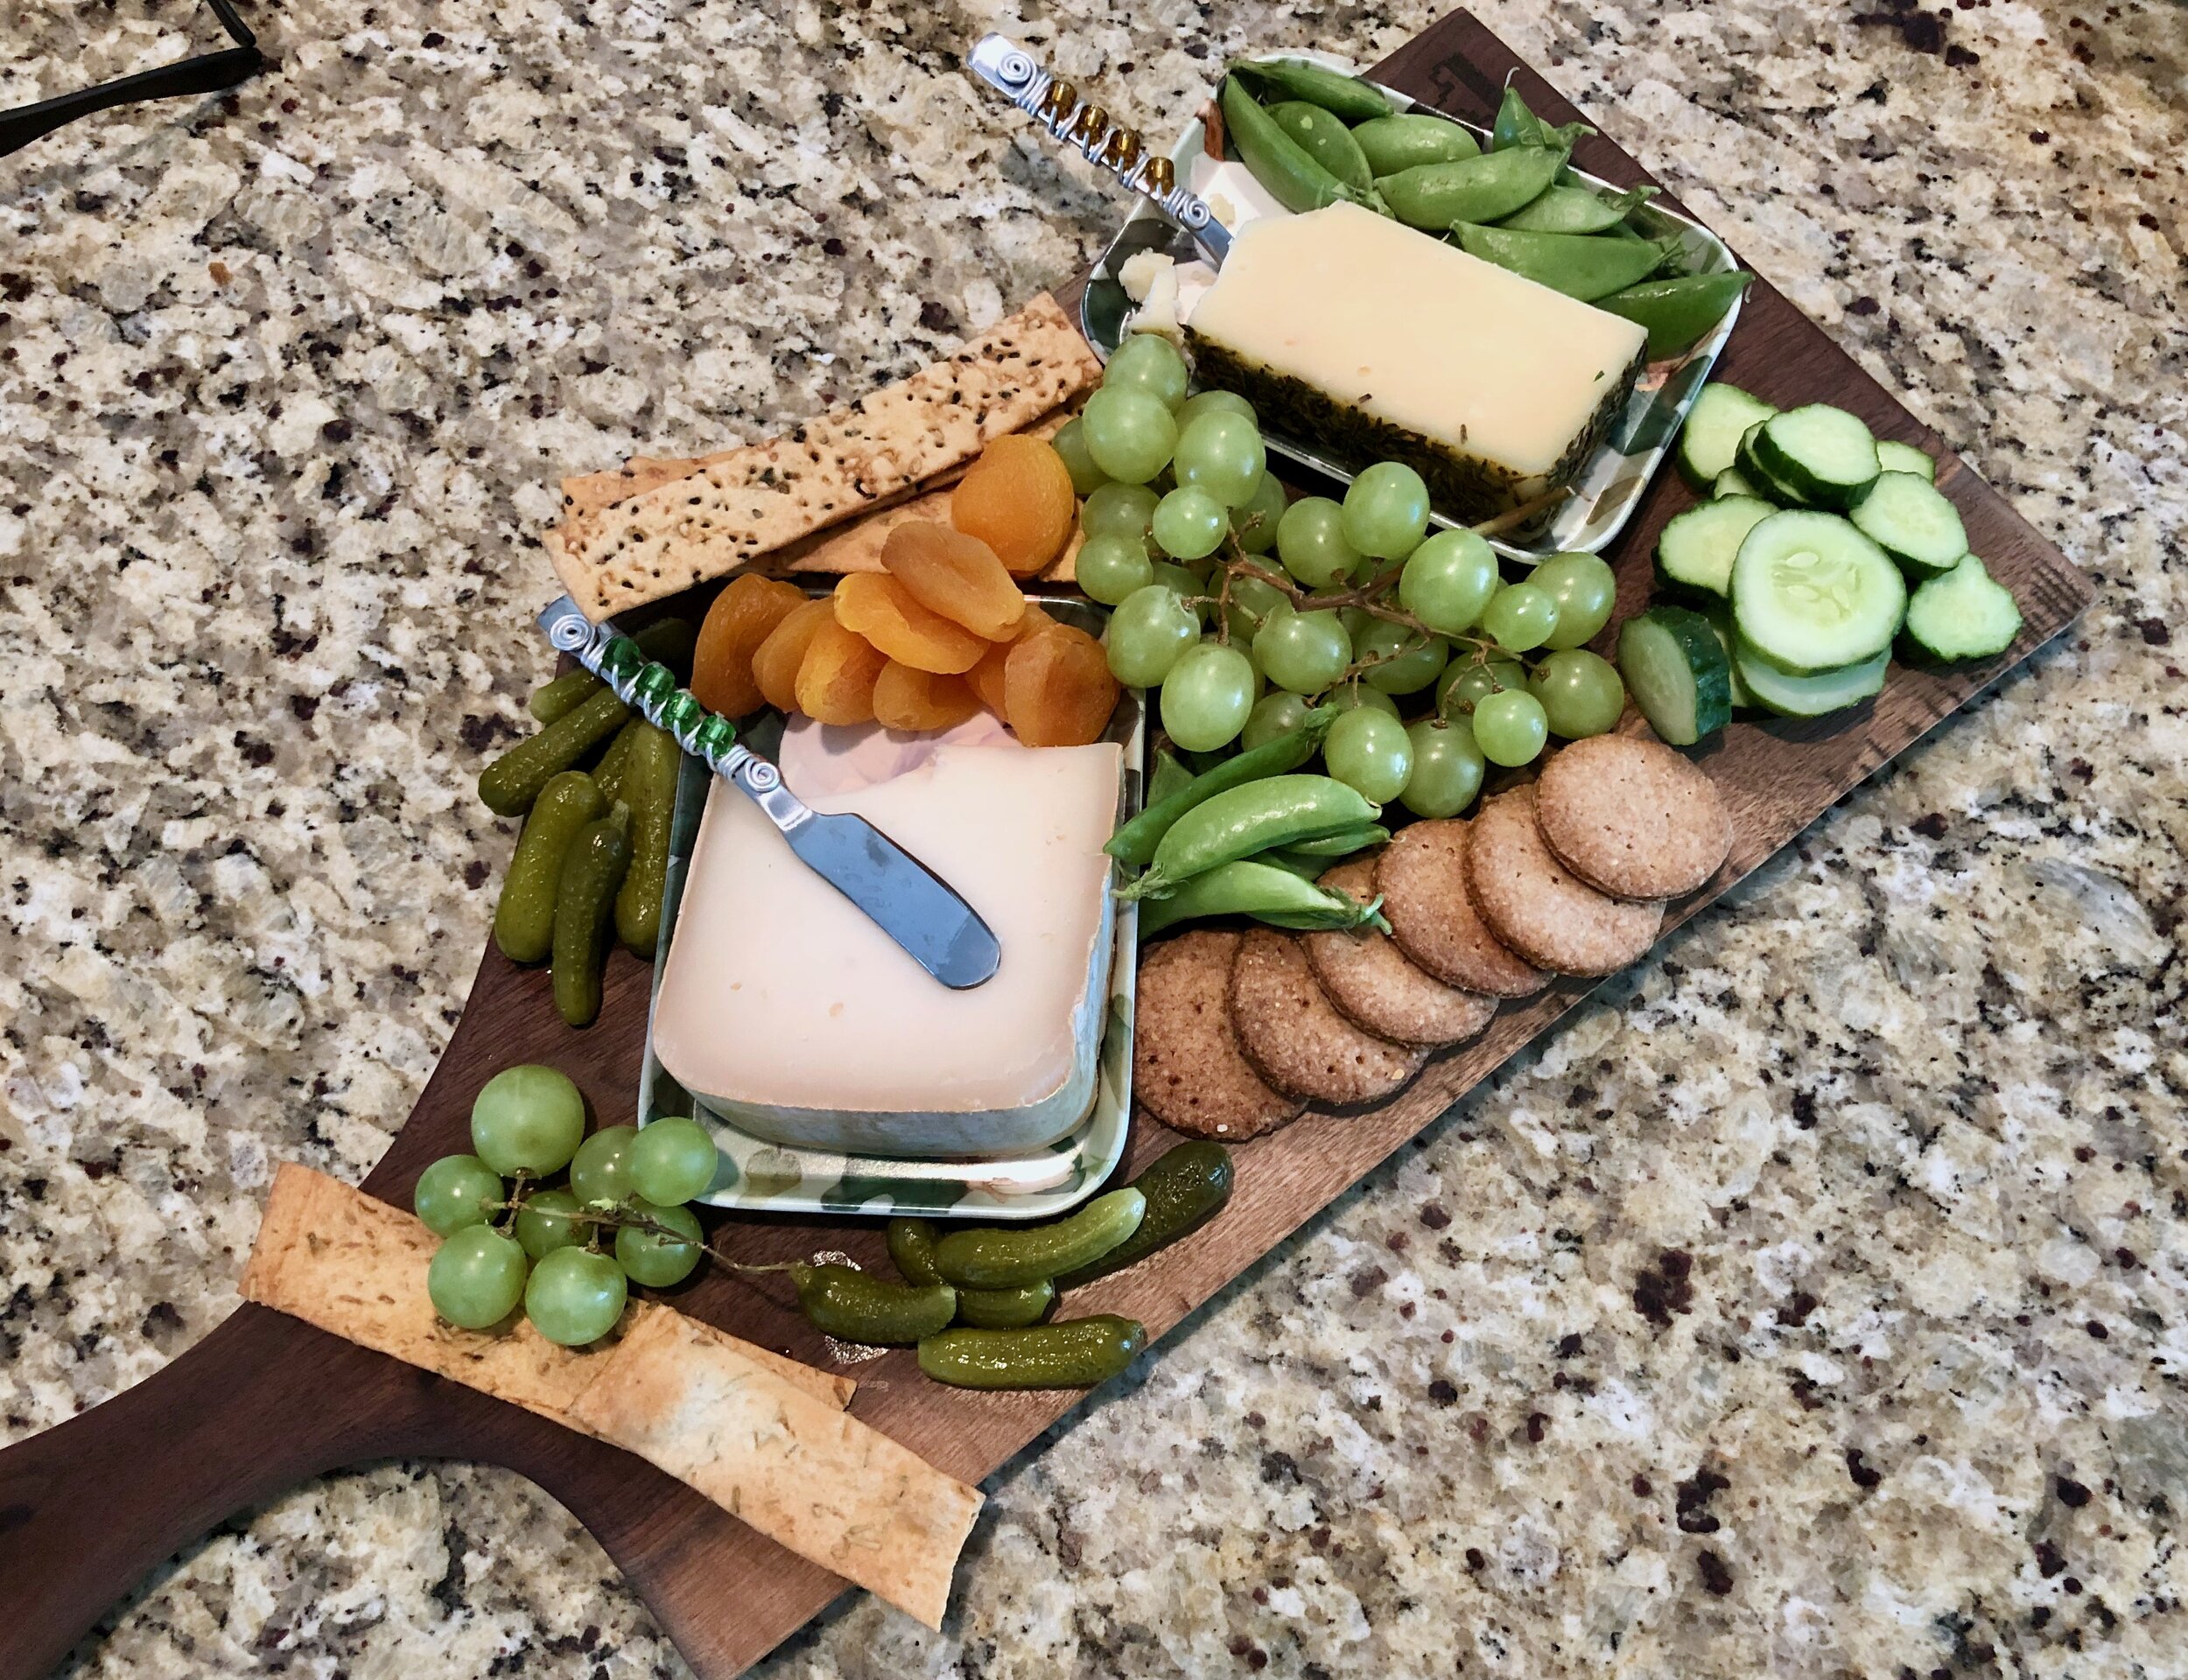
On Christmas Eve this year, my dad actually invited Lara and I over for a prime rib dinner that he ordered from one of his favorite restaurants (The Alpen Rose in Holland. Sadly, it is closing at the end of the year so this is the last time I will eat anything from there). He ordered a 7 lb rib roast, red skin potatoes, a seasonal salad, and a charcuterie platter. It was all so lovely! I rarlely eat prime rib, but it is so good! And they did a great job with this one, it was cooked perfectly!

IMG_0877.jpeg
IMG_0881.jpeg

The four of us then headed to church for an 11:00 candlelight service. I was afraid we weren’t going to have any in-person services for Christmas because our church has been watching the COVID case trends carefully to decide which Sundays in-person services are safe. The two Sundays before Christmas we did not have in-person church, but thankfully the infection rates were looking better so we were able to have a Christmas service! I have to be honest, staying up past midnight was rough for me :) I’ve typically been in bed for hours at that point! But it was totally worth it. Beautiful music, candlelight, meditations, and being able to do this all in person - what an extra special blessing for Christmas this year.

IMG_9922.jpeg

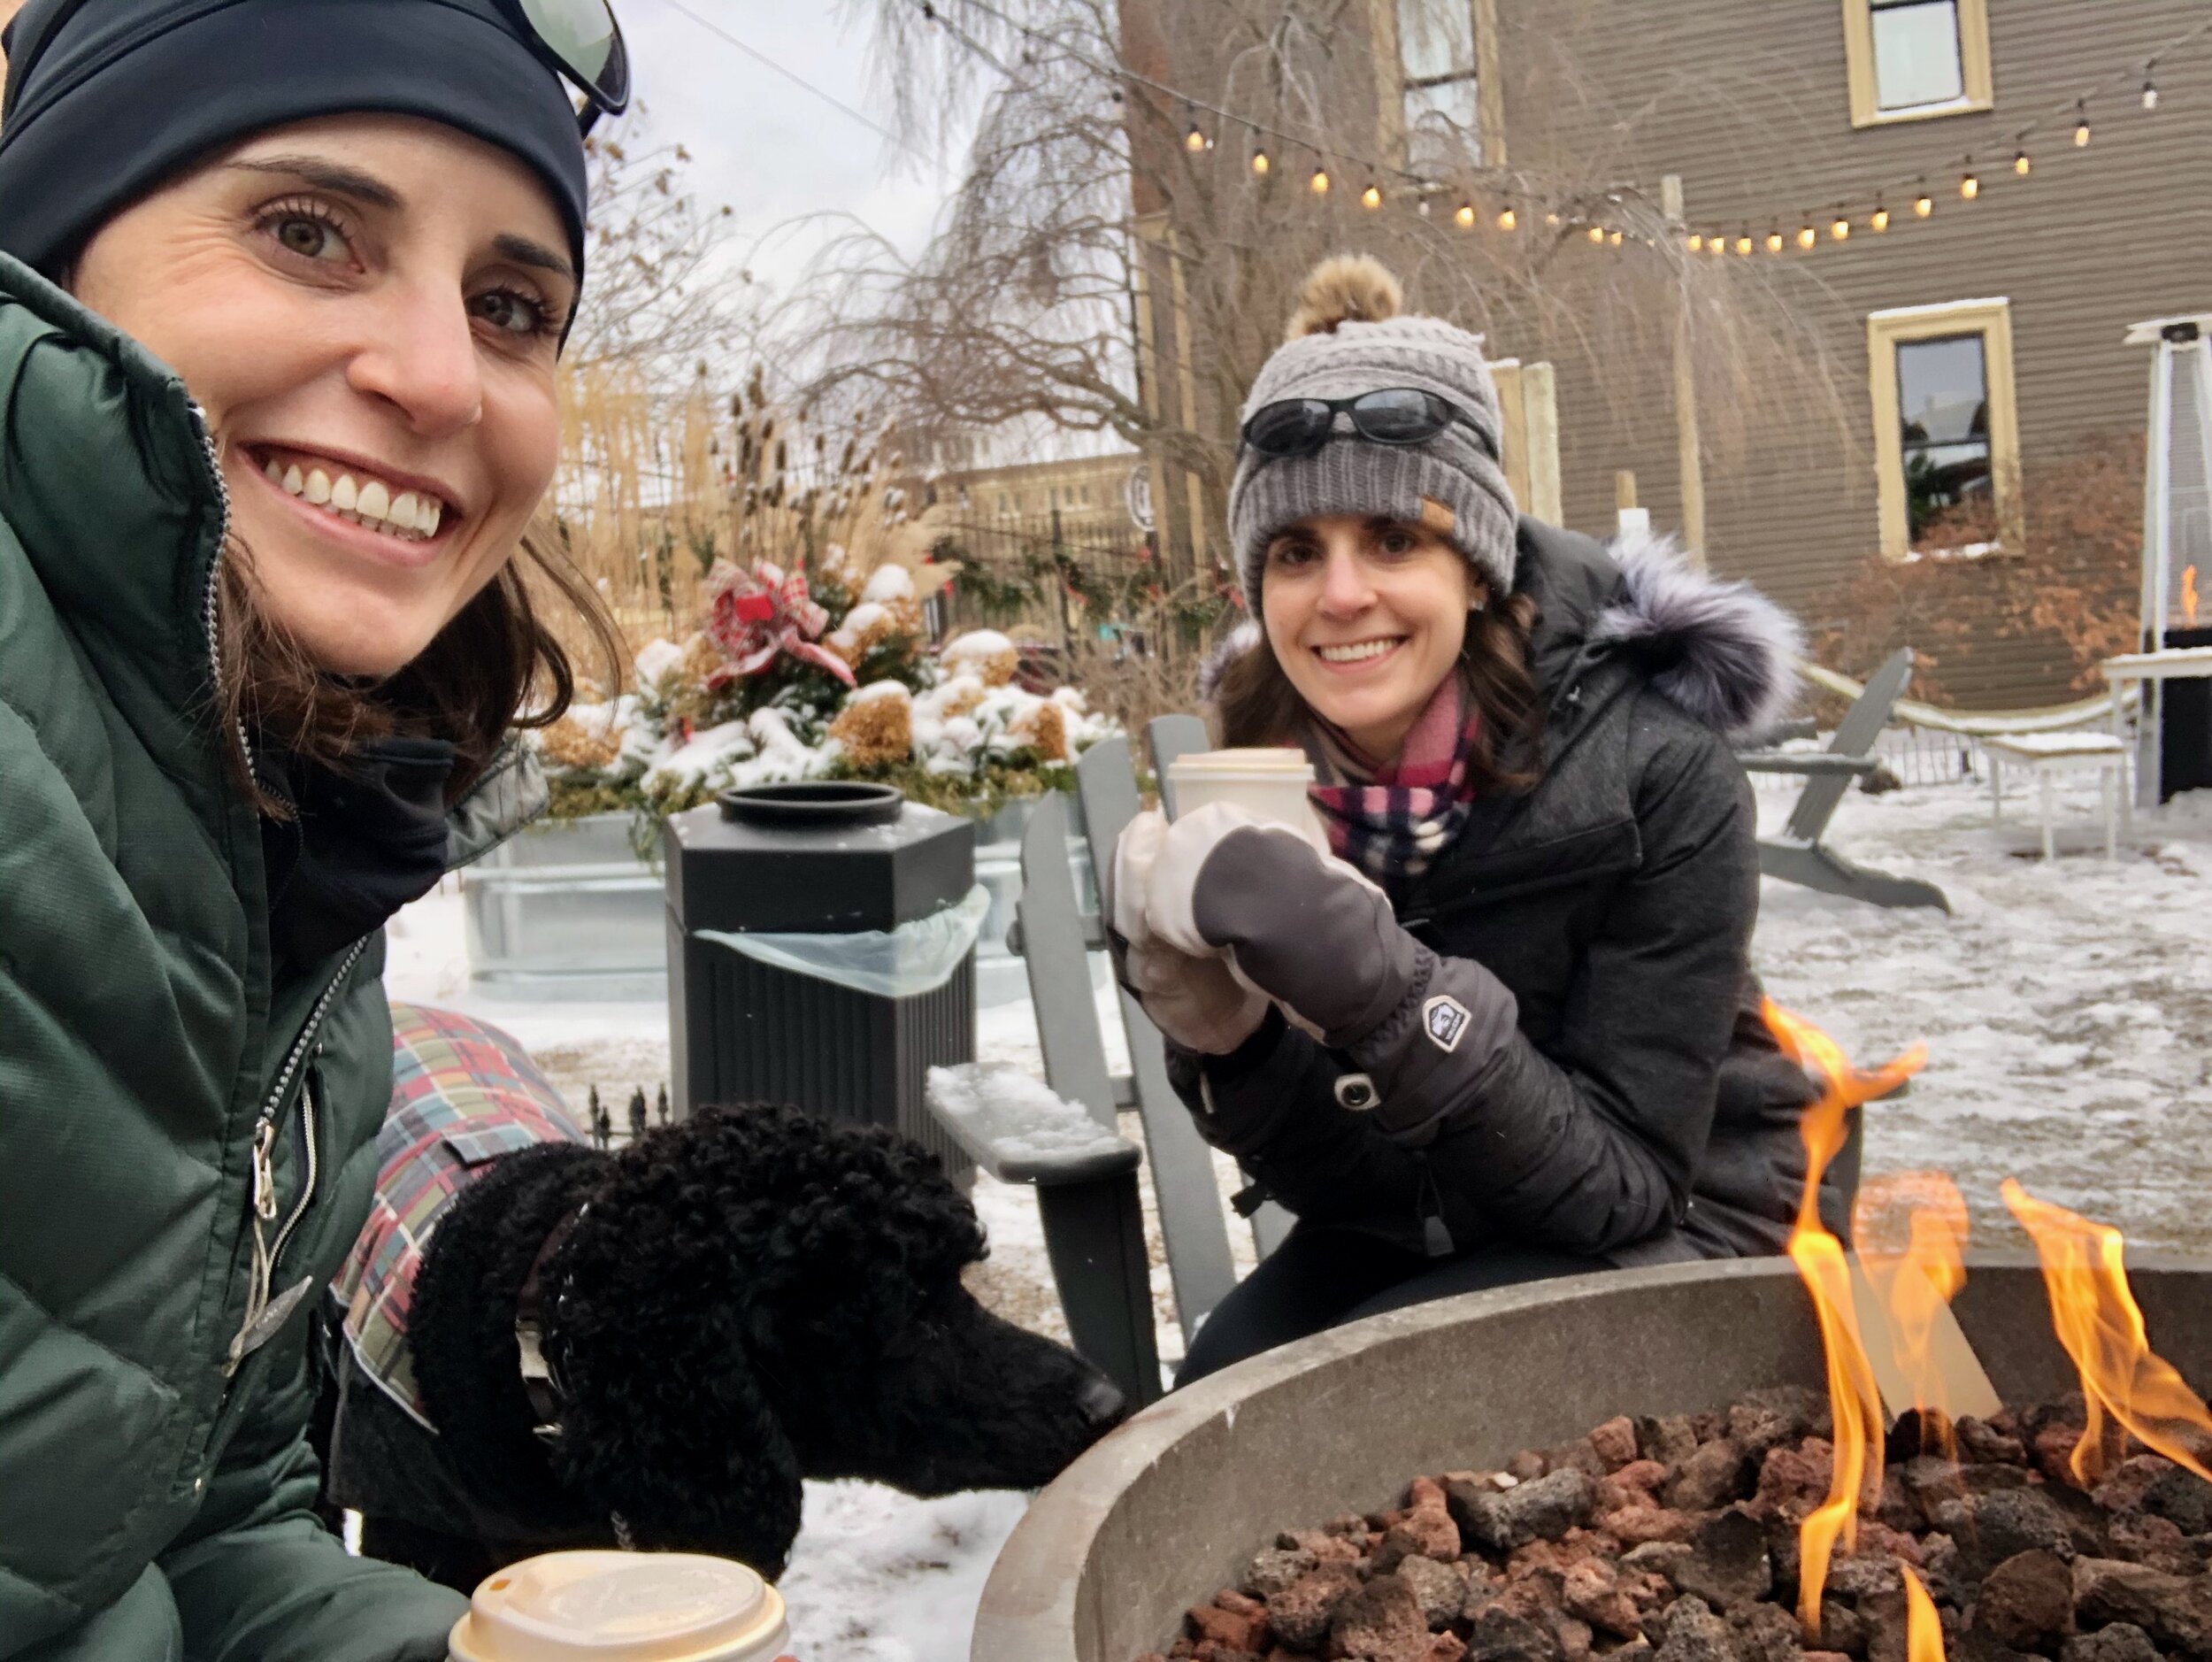
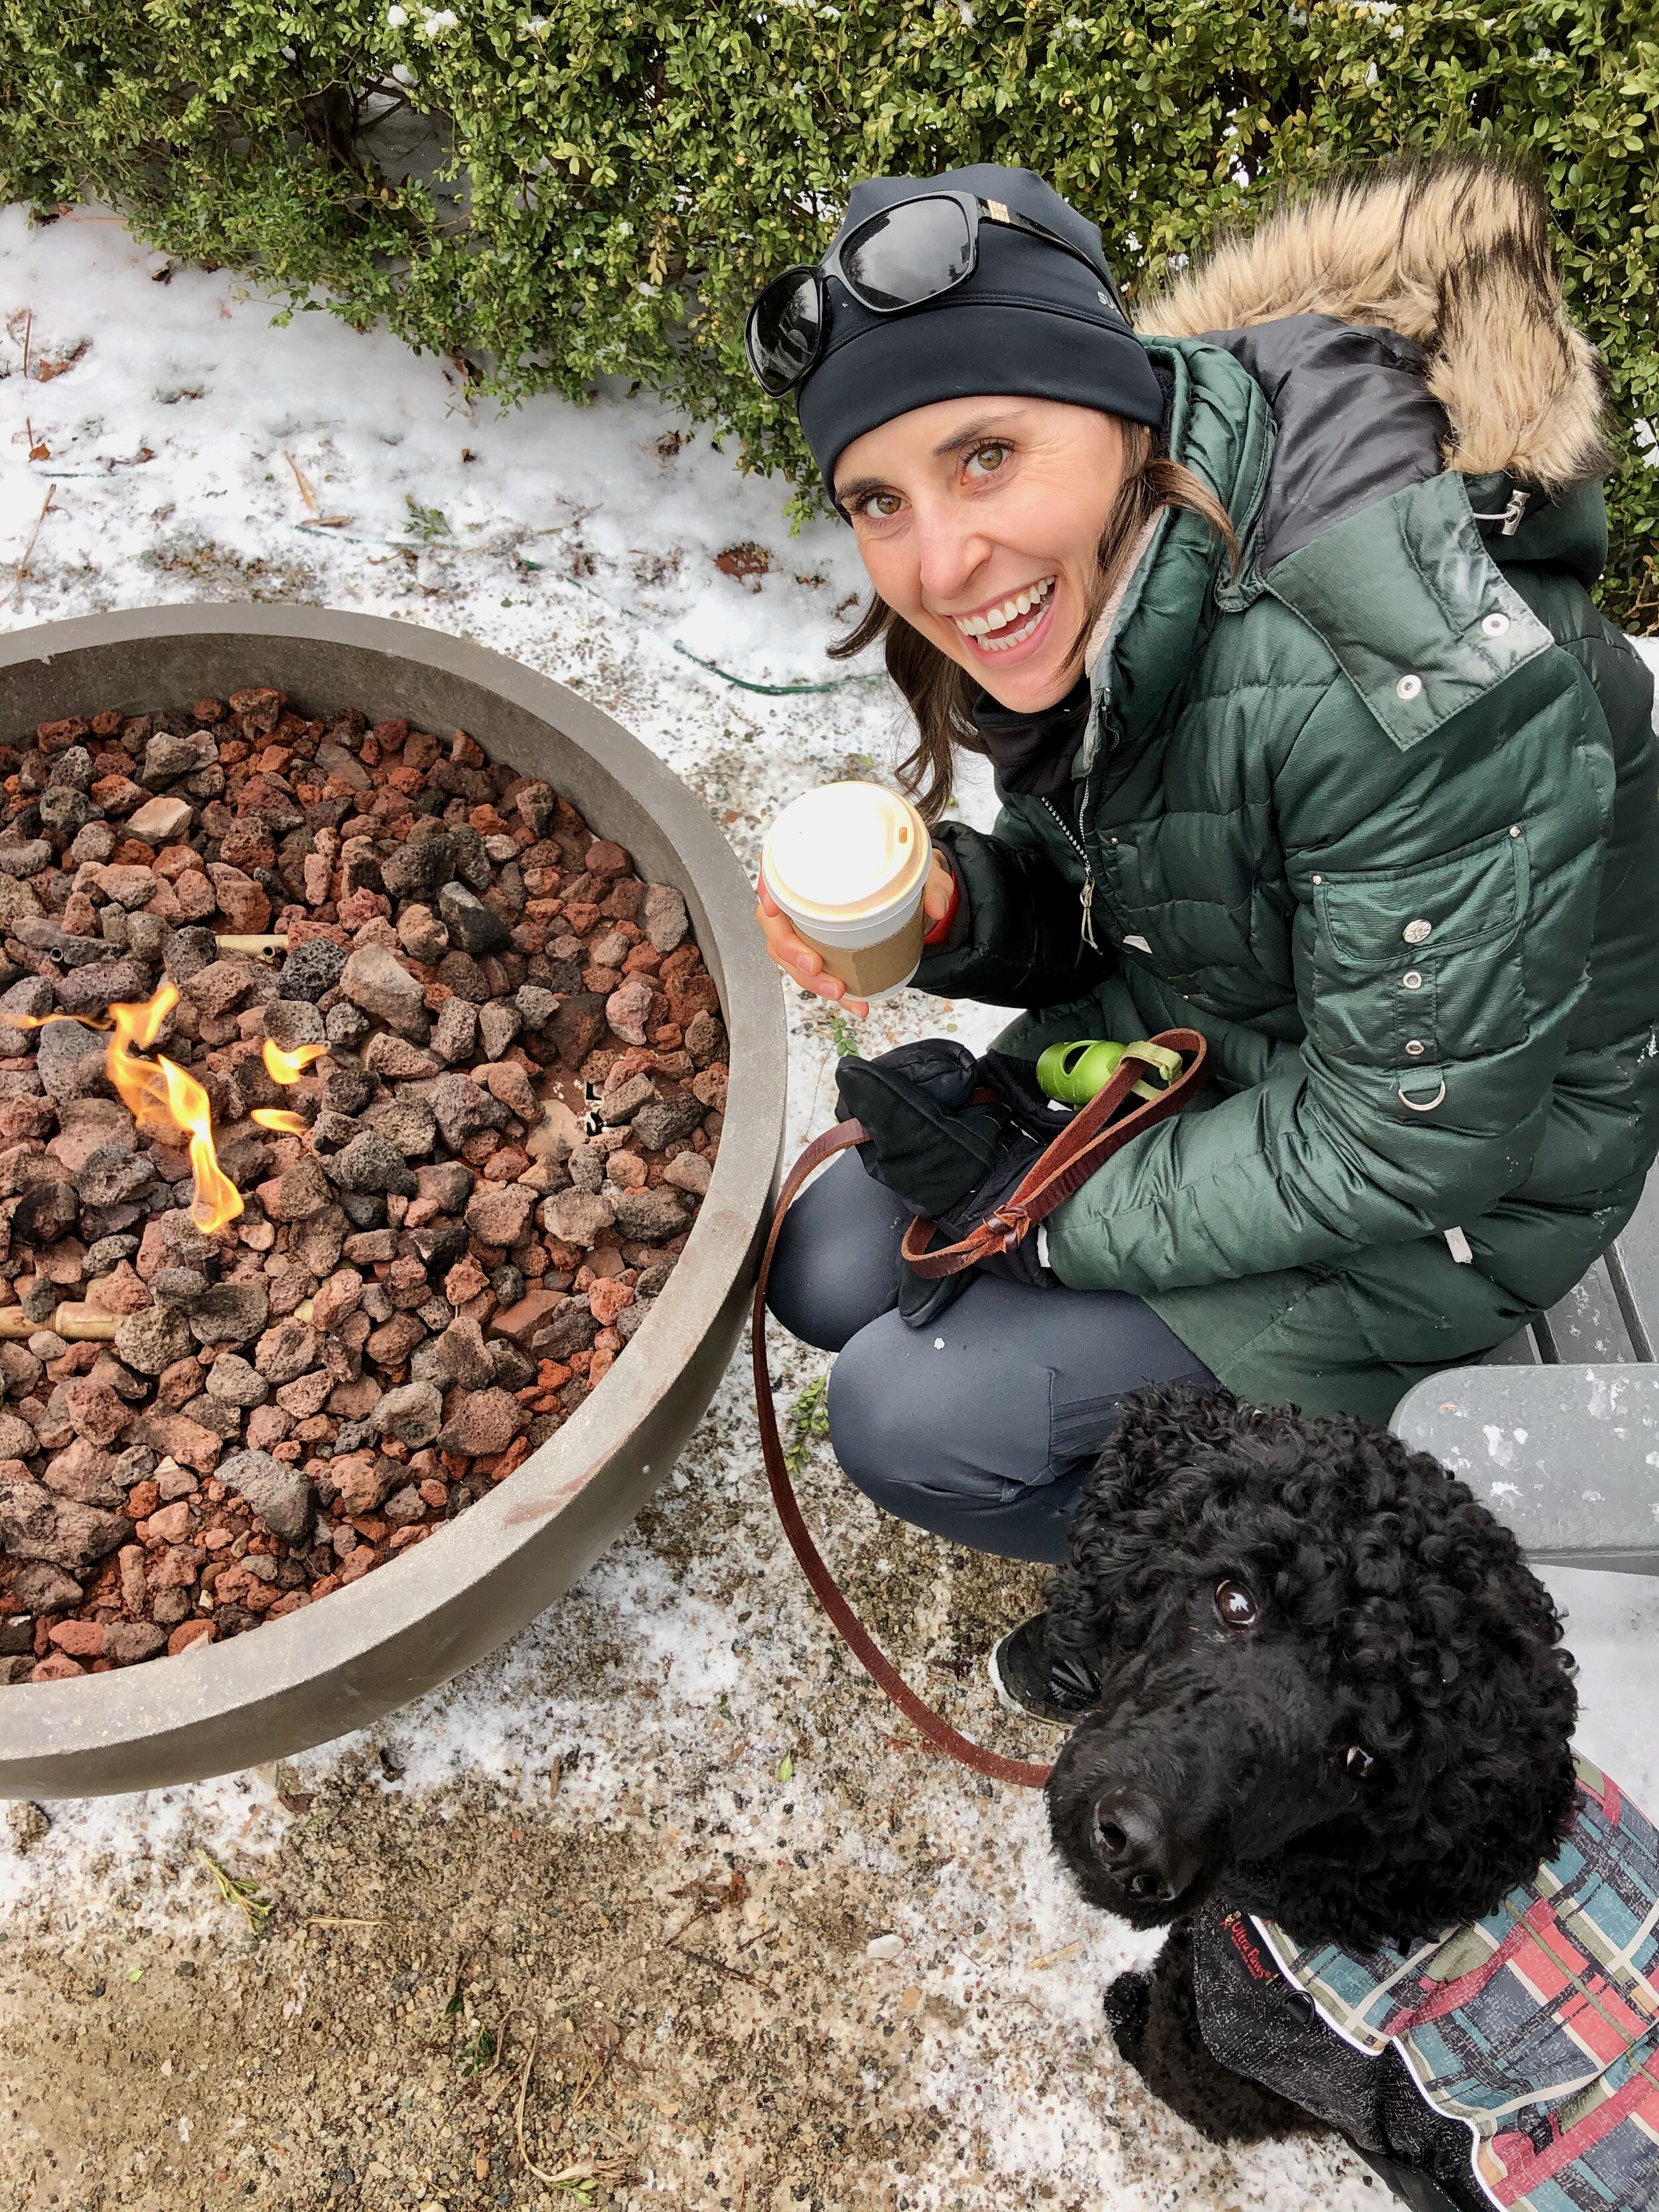
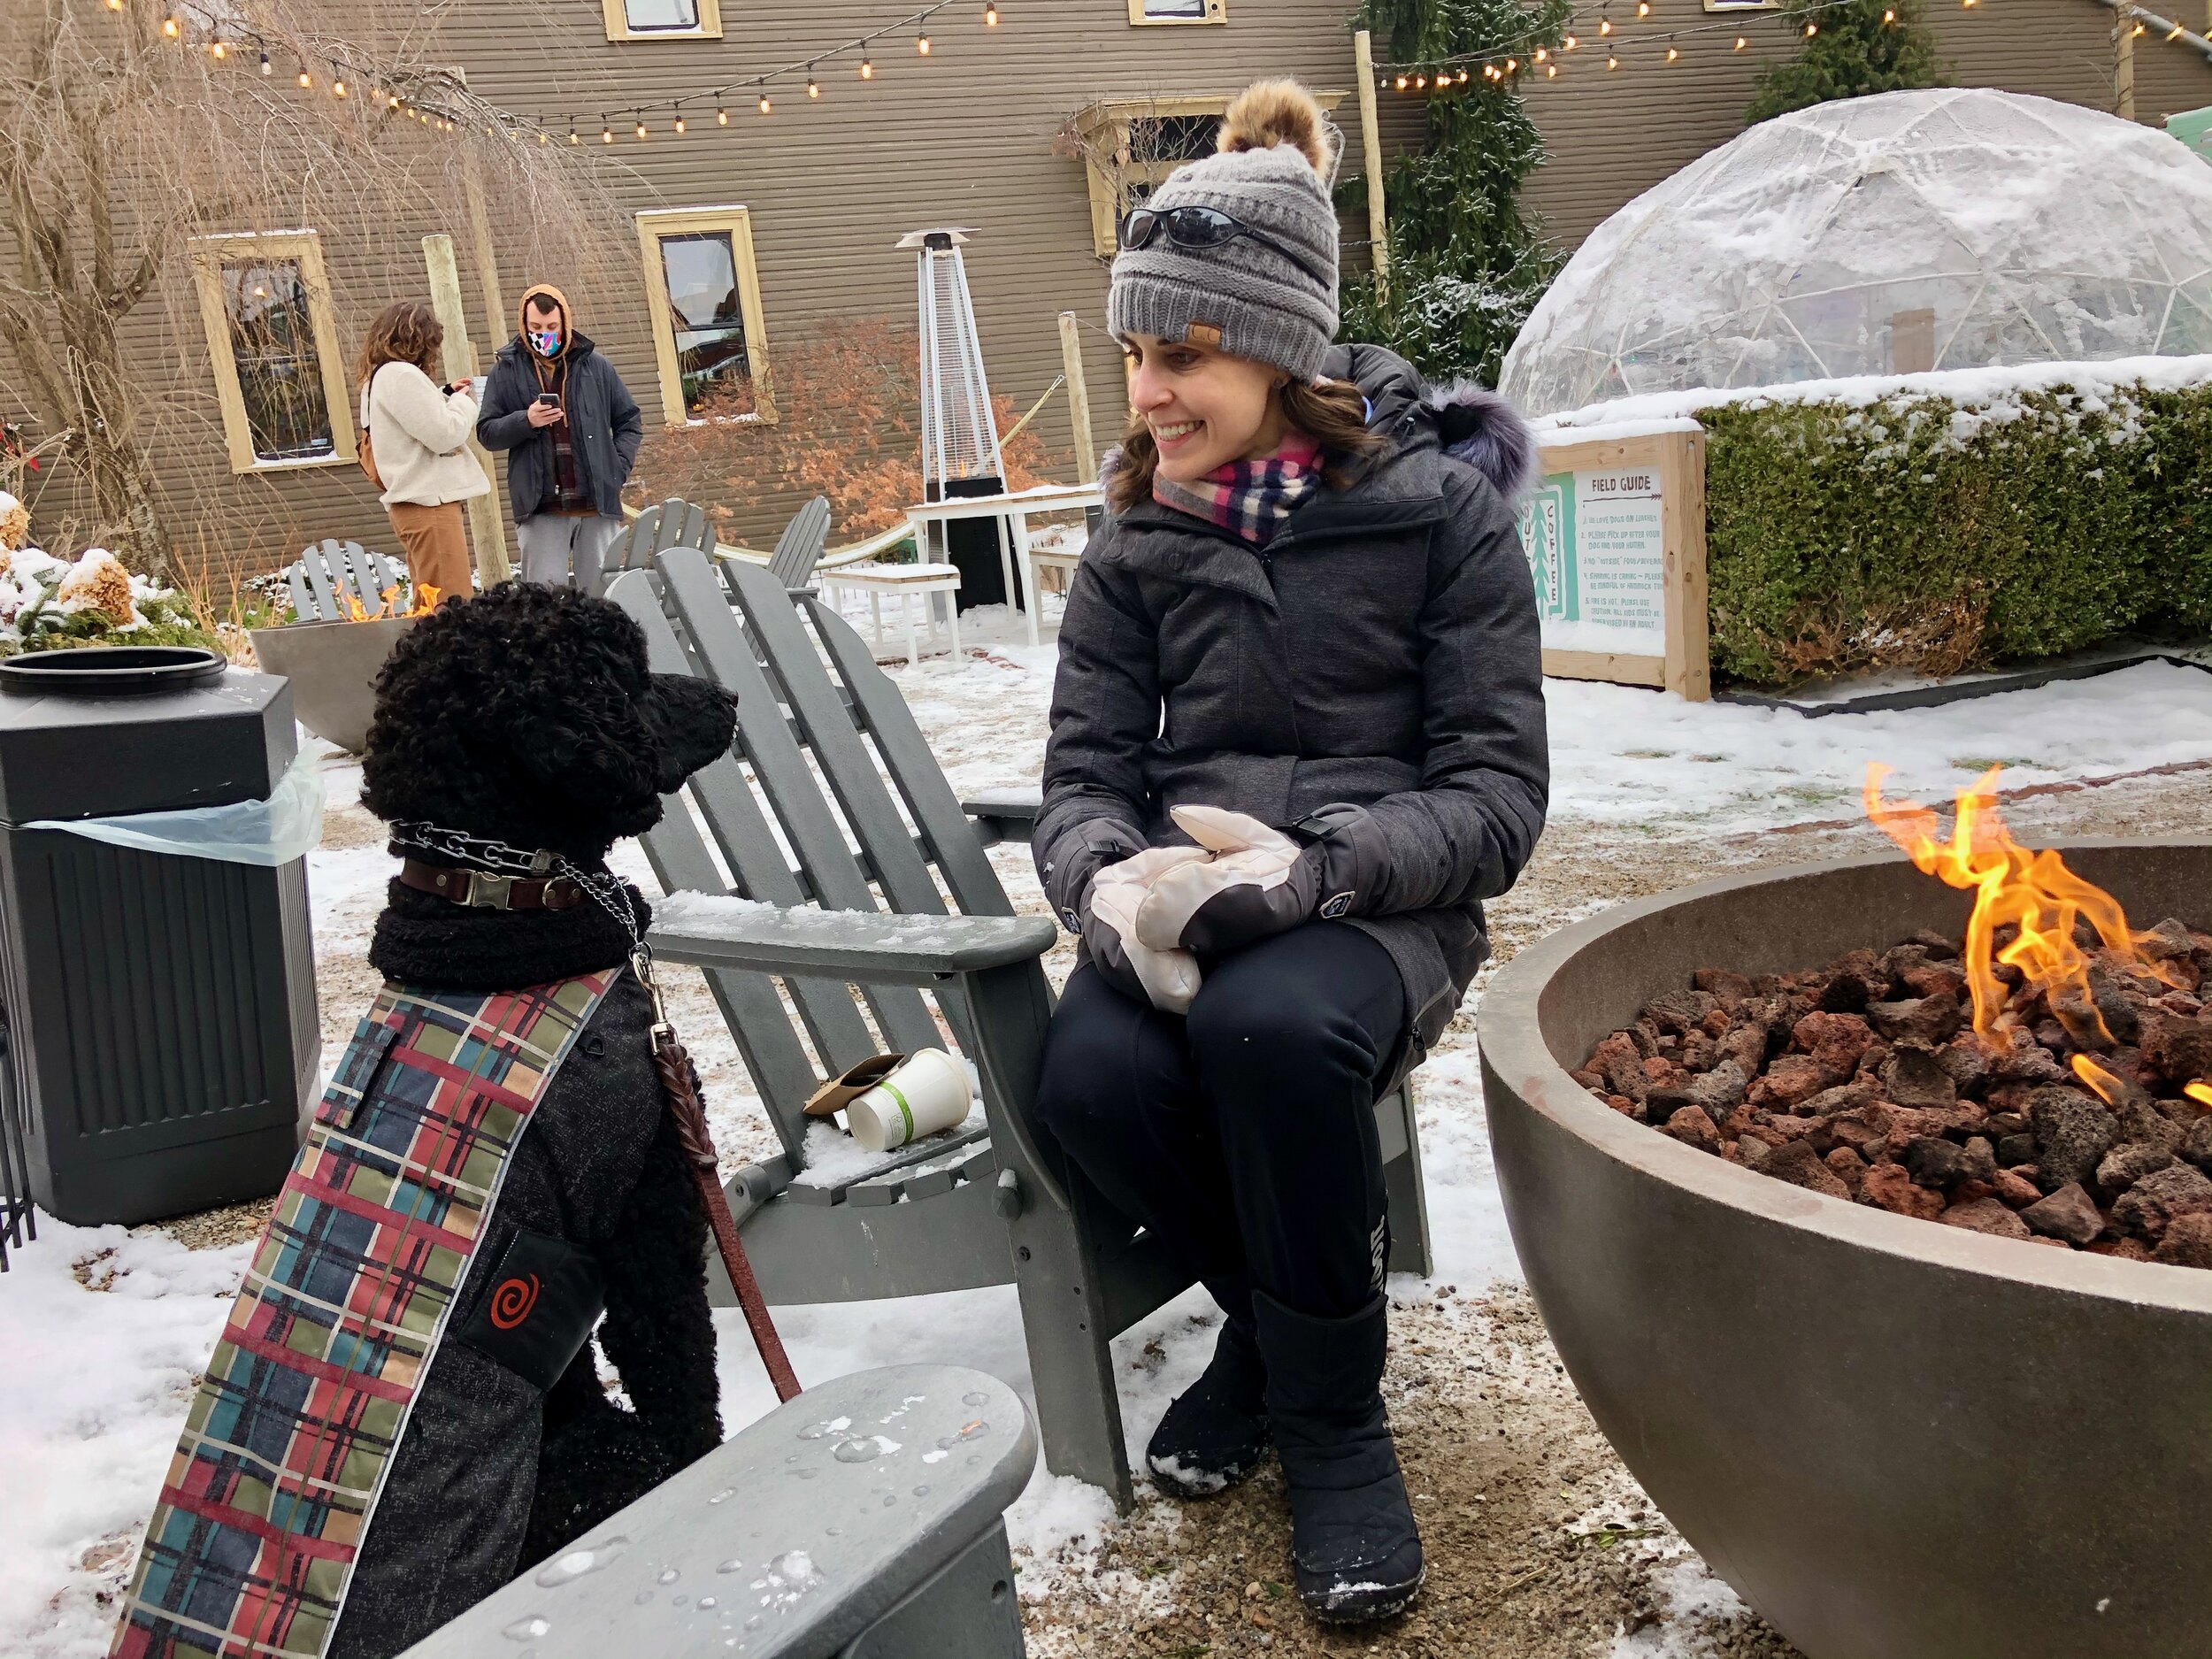
Prior to dinner at my parent’s that evening, Lara and I took a Christmas Eve walk to Outside Coffee Co (a coffee shop place that has always been all outdoor all year! They were ahead of their time. They’ve had their igloos and fire pits since opening several years ago, way before COVID) for Christmas Eve lattes. It was cold, and a little windy, but perfect! A light dusting of snow, a fire pit, and a latte. Perfect.

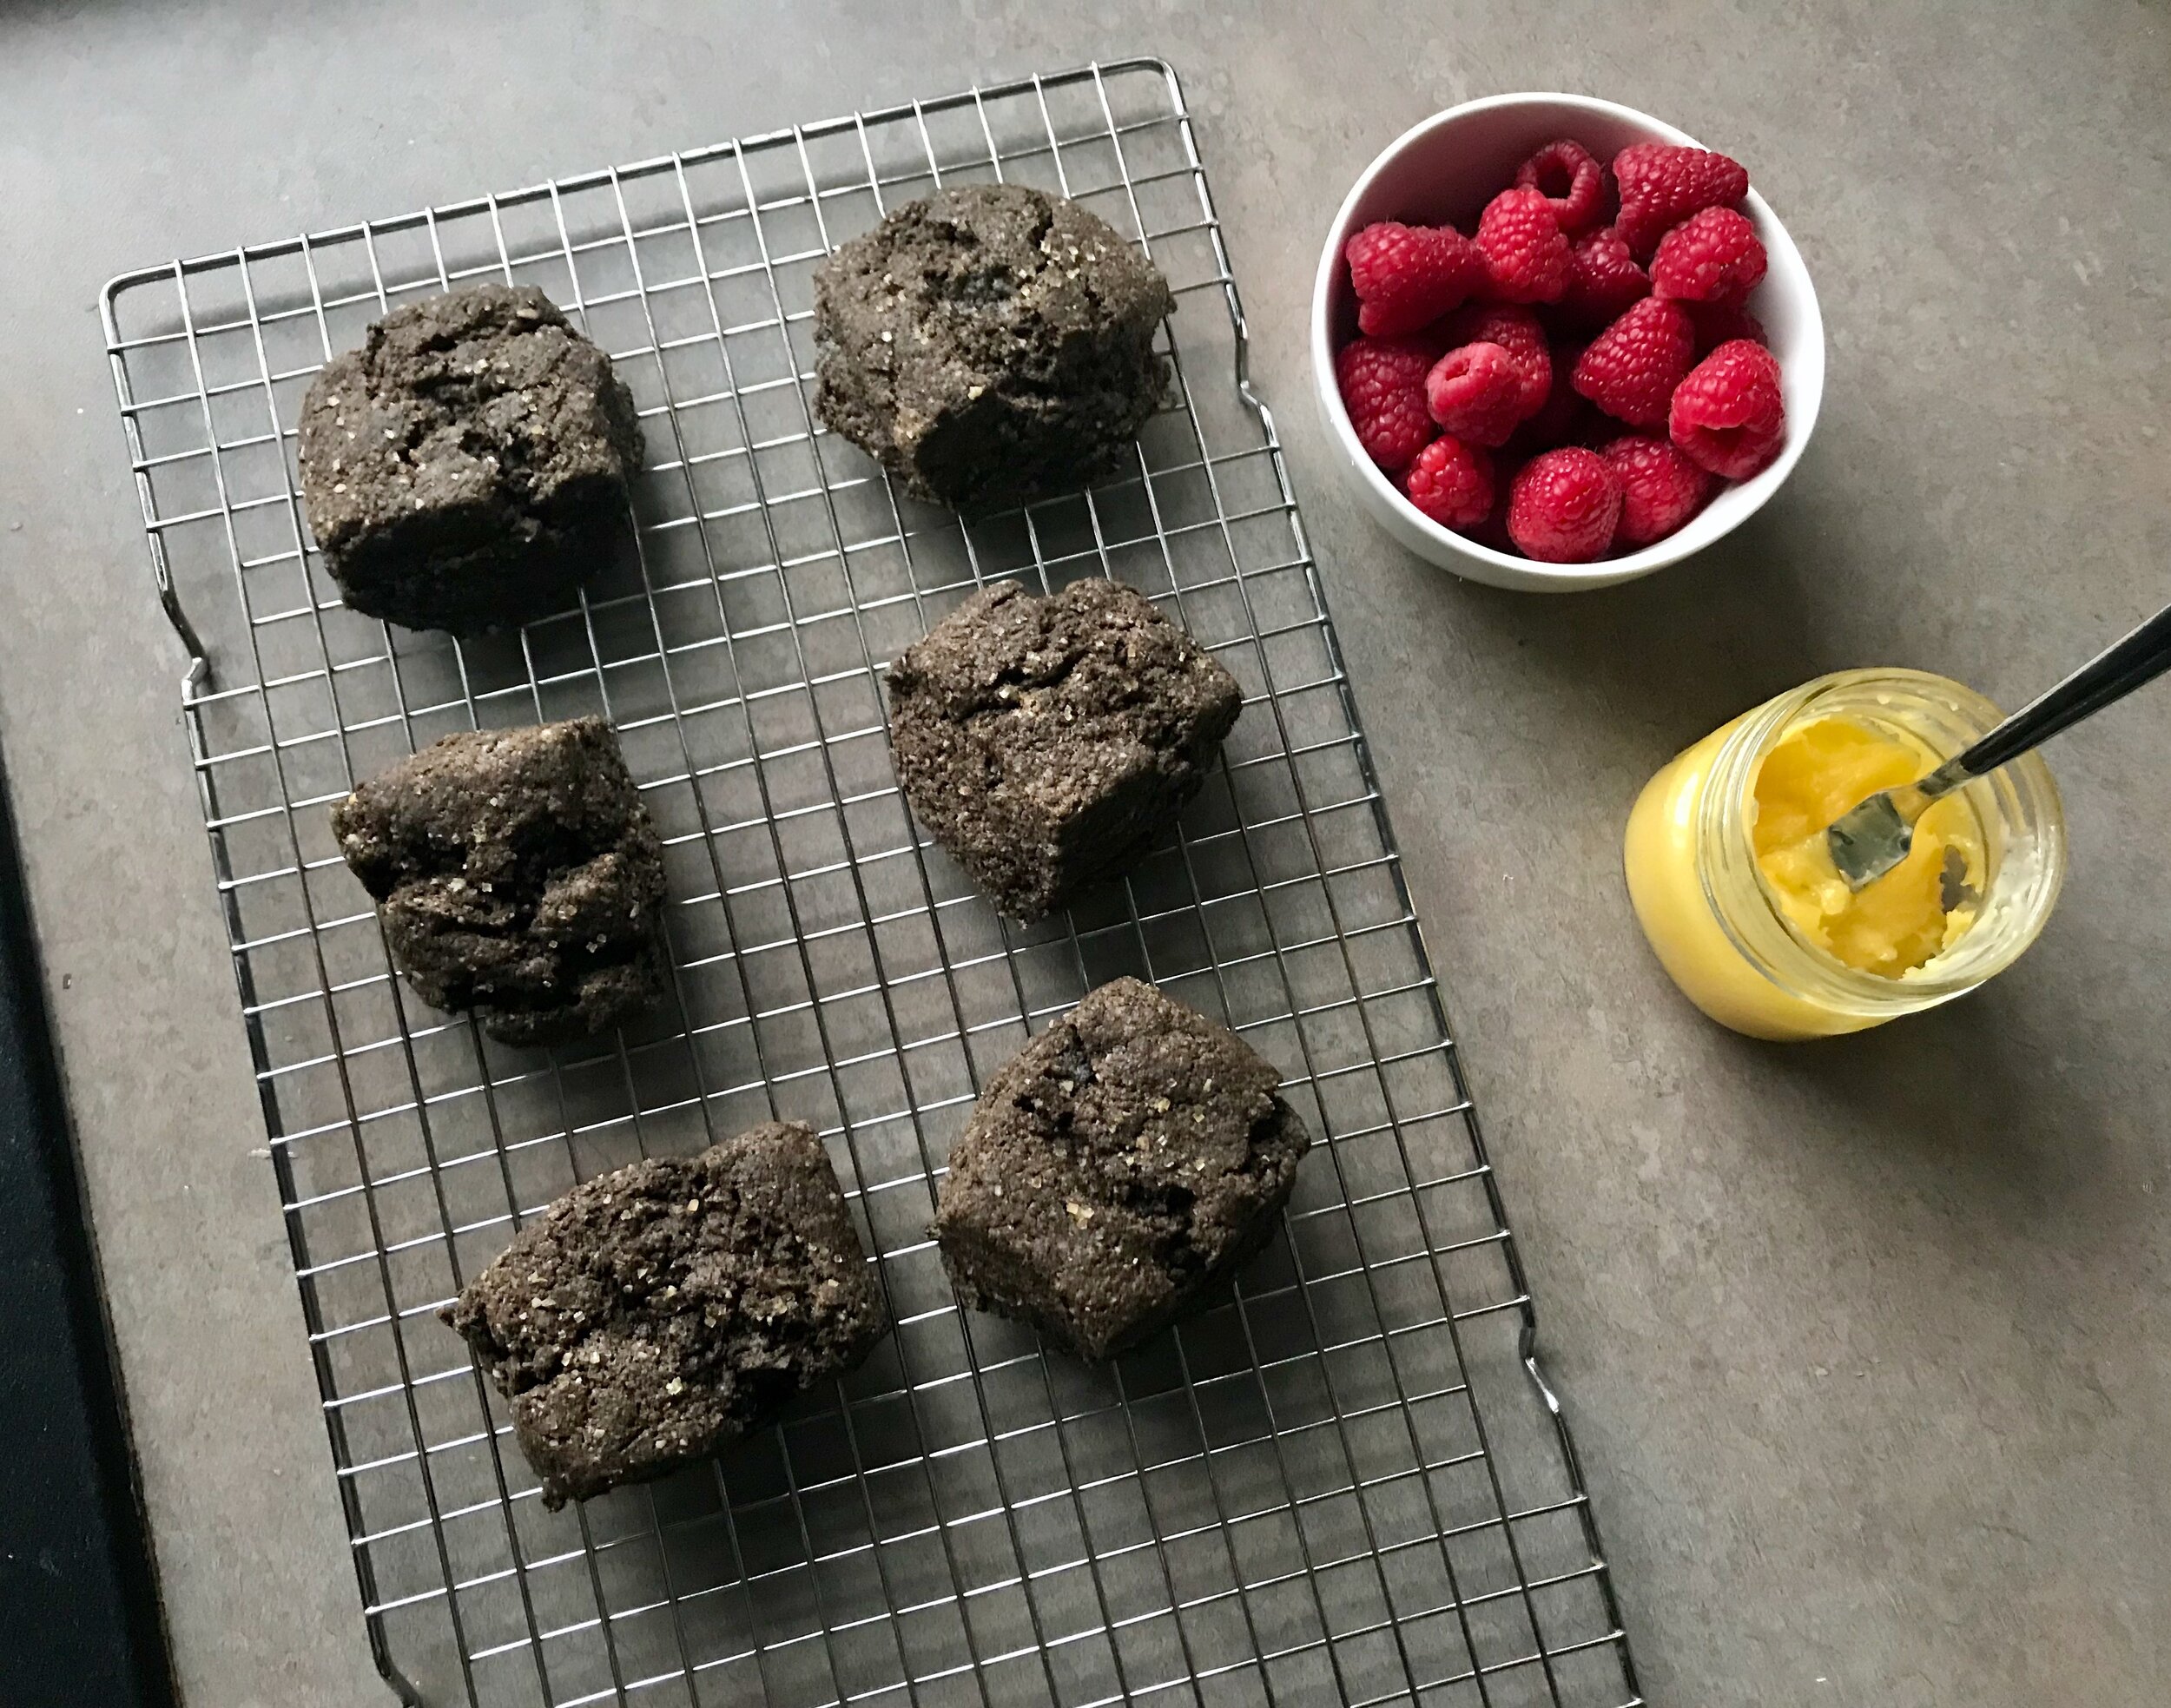
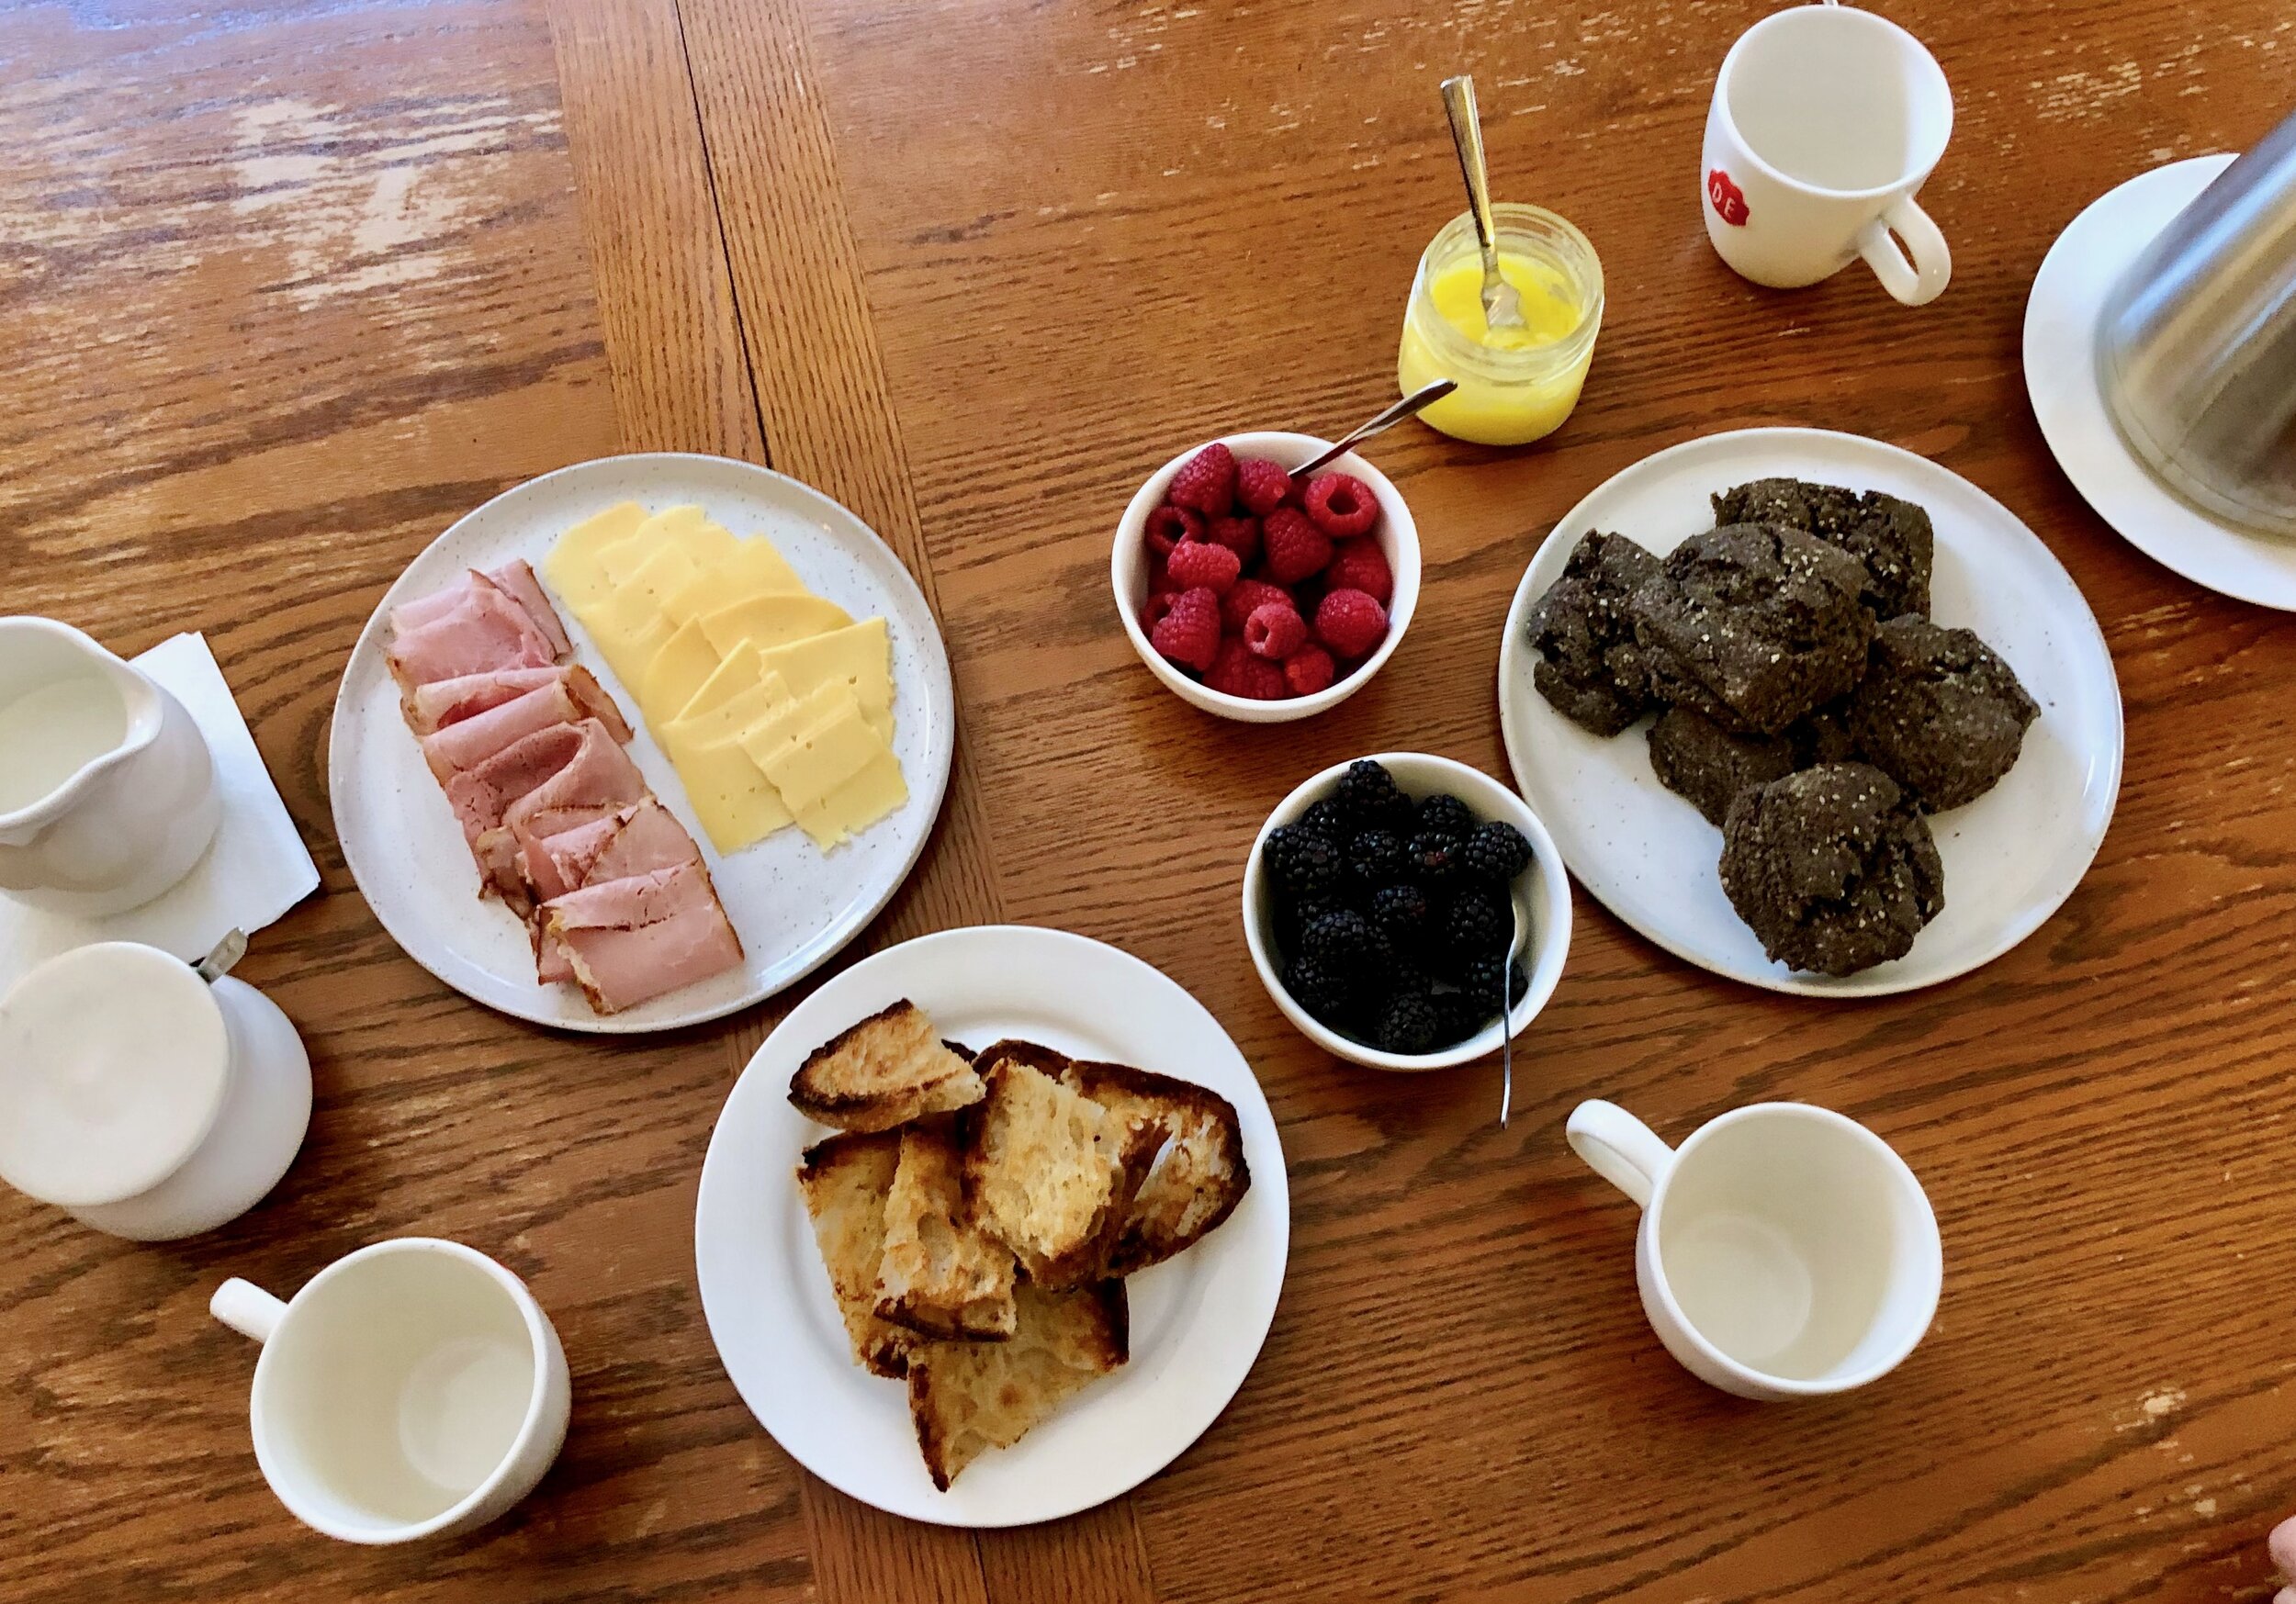
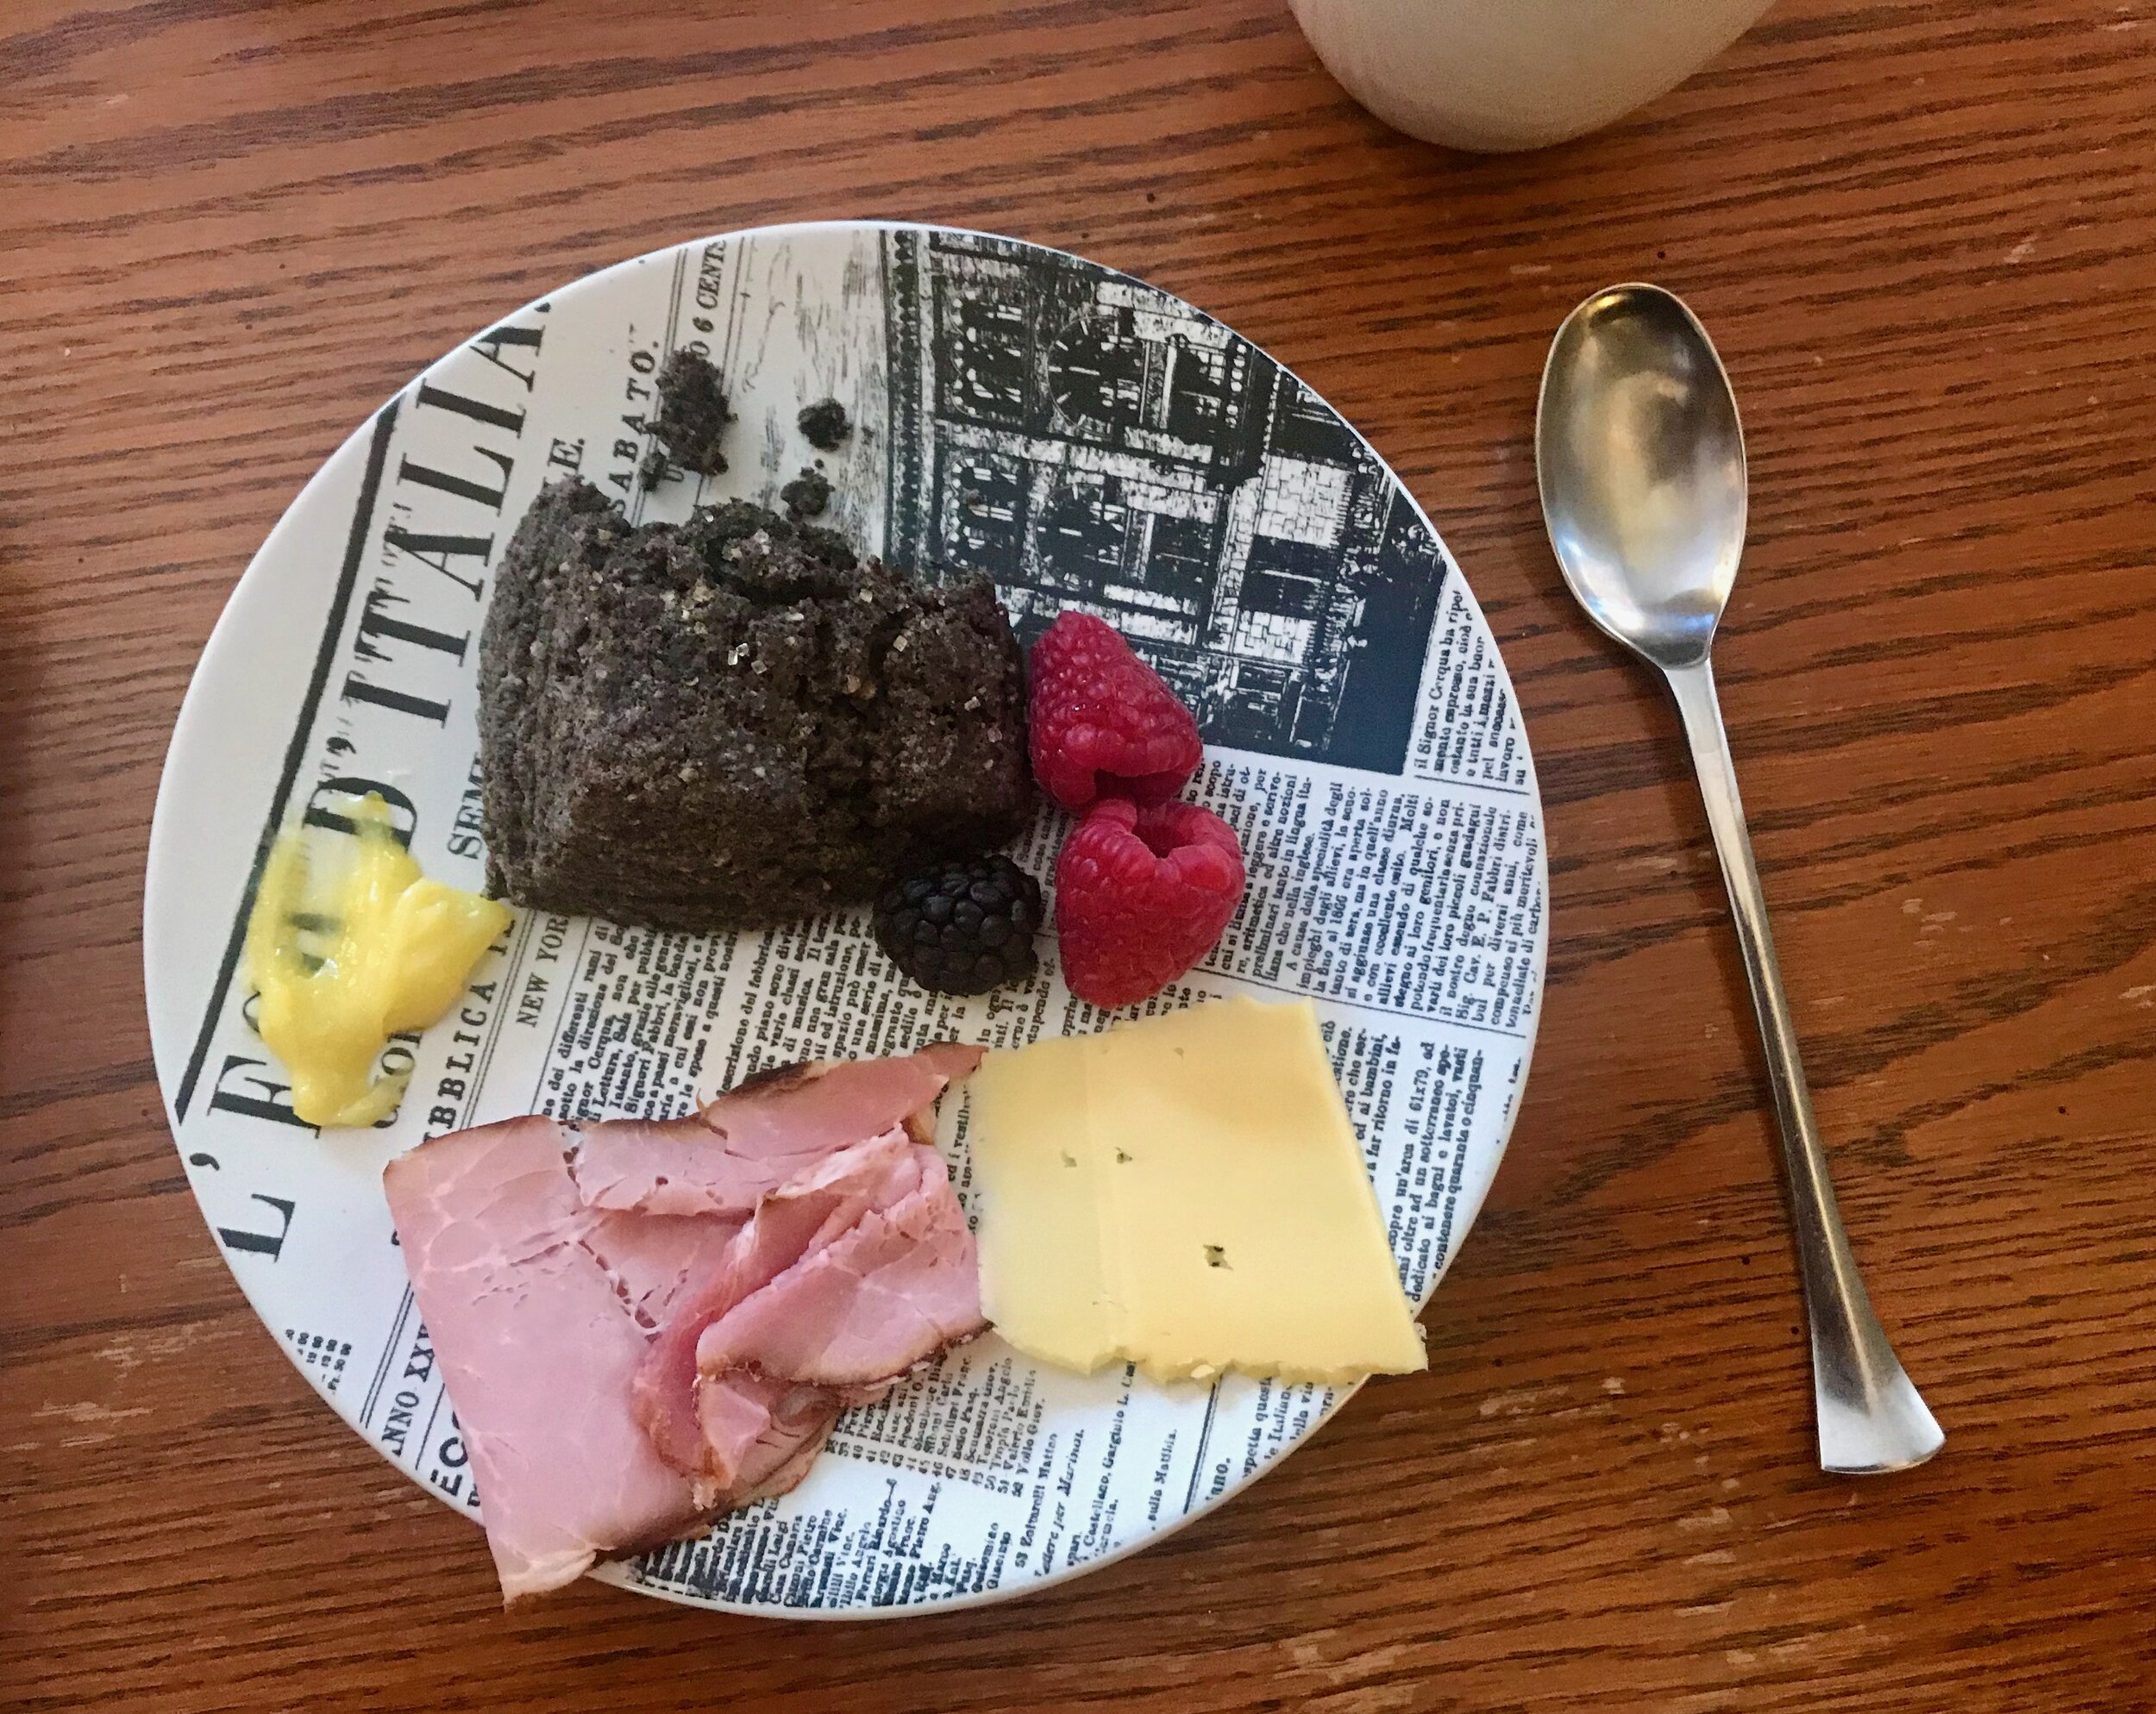
On Christmas morning Lara and I started the day with a Chirsmas Day run which is always so nice, and so quiet on the roads! We then had a friend over for a Christmas morning brunch. We served buckwheat scones with lemon curd, smoked ham with double cream gouda, and some fresh berries. It was perfect. Great conversation, great company!

IMG_0916.jpeg

I hadn’t made these scones in a while and now I don’t know why, they are so good! A little crumbly and sandy due to the buckwheat, slightly sweet and nutty. The lemon curd was the perfect accompaniment. I hadn’t tried the combo in the past, but it was wonderful! I may always need lemon curd with these scones.
IMG_9951.jpeg

Lara and I then headed to our parent’s home, with a stop at the dog park for a short hike, for a little relaxation by the fire. Just hanging out which is so nice.

Later that afternoon my brother and his family came over for our (now traditional) homemade pizza dinner followed by presents. I love homemade pizza so this has been a great tradition over the past several years. I hope everyone else likes it too!

IMG_9960.jpeg
IMG_9966.jpeg

The pizzas turned out really well this year! Last year for whatever reason, I wasn’t happy with how they turned out. I tried baking them on baking sheets, and I’m not sure I even preheated the baking sheets, all I know is they were a little anemic looking and didn’t rise much in the oven. More flatbread like than puffy pizza crust. This year was completely different! I heated two baking steels for over an hour in my mom’s new oven. The dough was nice and puffy, perfectly timed to go straight into the oven after topping. If I had my choice I would let the pizza dough rest a little longer after dividing, but it didn’t really seem to matter this time.

IMG_9983.jpeg
IMG_9975.jpeg

I had people shape their dough on a flour counter, and once shaped as desired they placed the dough/crust on a square piece of parchment paper. Then they could top as desired and the pizza, parchment and all, was transferred to the hot baking steel. I was able to fit two pizzas at a time onto each steel.

IMG_9981 2.jpeg

We only had one casualty (see left); as I was sliding the whole rack back into the oven after placing my nephew and my brother’s pizzas on the steel, I watched my nephew’s pizza (which was in the back corner of the steel) slowly waterfall off the back of the steel and onto the bottom of the oven. Talk about smoke and burning dough! I was actually able to pick up most of the dough with a large spatula and put it back on the steel in one big blob, but most of the cheese burned in the bottom of the oven. Very sad. Thankfully we had some extra dough for my nephew so he was still able to have a nice pizza. Lara and I enjoyed the blob of pizza. Almost like a calzone! Just without a lot of filling, but the inside of the dough was very soft and fluffy!

All the rest of the pizzas turned out great thankfully! I found out that my mom’s oven seems to be significantly hotter than mine. The pizzas only baked for maybe 5-8 minutes (I didn’t really time it) which is so much less time than I do at home. And the bottoms of the first pizzas were even a little charred and burned in spots (which I loved, but my nephew wasn’t a fan of). Even though I preheat mine to 550 degrees for over an hour sometimes, it has never been as hot as hers was (and I think hers only preheats to 500 degrees). Now I’m questioning my ovens accuracy, it’s ability to actually get up to 500 or 550 degrees, or perhaps my electricity… I know for a fact the electric in my house is NOT great. So I’m super excited for my kitchen renovation! New electrical, new oven - I can’t wait to see how much better everything will work (as I anticipate it will!)!

IMG_9987 2.jpeg

After pizza it was time for presents. Lots of presents! This seemed to be the year of the canvas bag! I got two (one farmers market bag, and a reusable grocery bag, both from Food52), and Lara got a canvas garden bag. They’re all beautiful and will be very useful I have no doubt. I also got some great running gear, a headband and scarf from Tracksmith to add to my winter running wardrobe which has greatly improved over the past month. I finally pulled the trigger and bought myself some new winter running tops and tights and it has been glorious! The stuff I had been wearing was SO old! I was wearing some of it in college it’s that old. I’m still waiting on a new running jacket (the NDO jacket from tracksmith) which I splurged on and bought myself on boxing day, the day it was available. Should be coming this weekend and I can’t wait to try it!

IMG_0015 2.jpeg

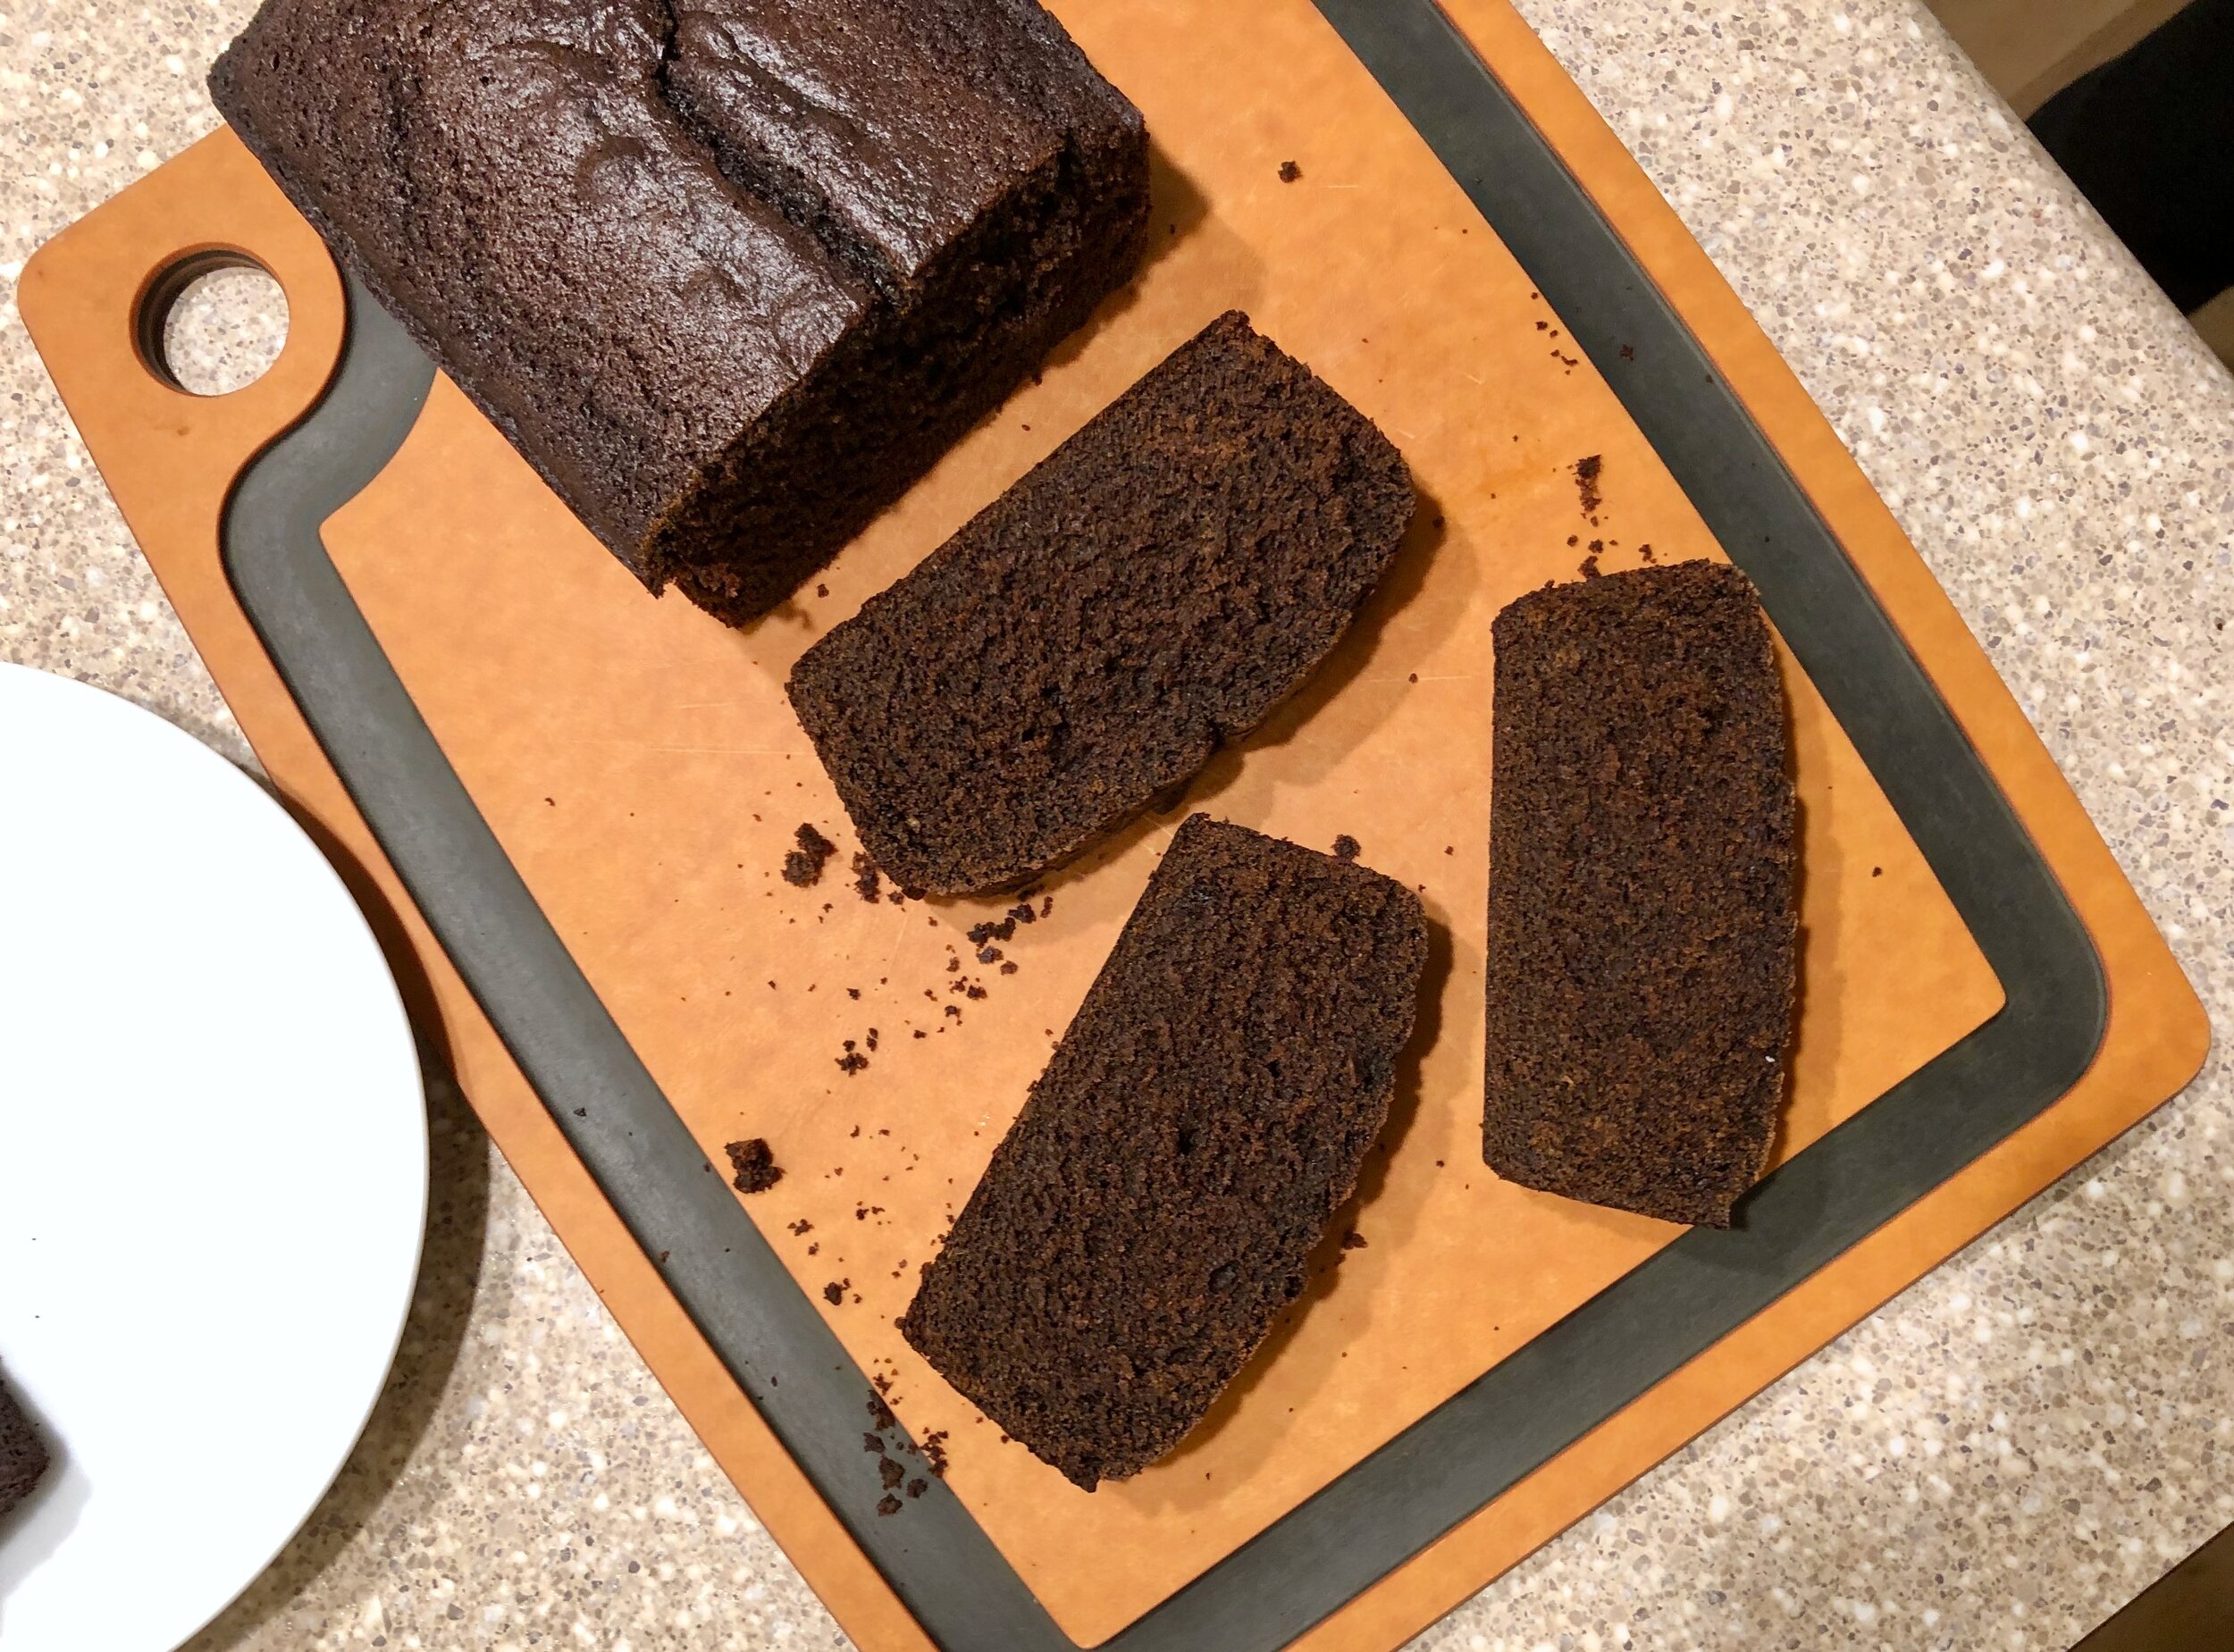
After presents we enjoyed a short dessert time before everyone headed home. Earlier in the afternoon I had felt like baking something, so Lara found a recipe for a gingerbread loaf cake that was quick and easy to throw together, and my mom had all the ingredients in the house. So we had baked that before pizza time. I loved it! I love gingerbread and this cake was perfect! We used a combo of dark, and blackstrap molasses which is what my mom had, and I thought it was great. I like using the darker molasses in baking. It just adds more flavor, and bitterness which I like. The cake was moist and rich. It would have been perfect with a little whipped cream or my personal favorite, cream cheese frosting. But it was wonderful on it’s own as well. I will definitely make this again.


Basic Pizza Crust
From Sally’s Baking Addiction
Ingredients

  • 3 and 1/2 cups (440g) all-purpose flour

  • 2 and 1/4 teaspoons instant yeast

  • 1 Tablespoon (13g) granulated sugar

  • 3/4 teaspoon salt

  • 2 Tablespoons (1 ounce) olive oil

  • 1 and 1/3 cups water

Directions
Prepare the dough: In the bowl of a stand mixer with the dough hook in place, whisk together the flour, yeast, sugar and salt. Add the olive oil and mix until the dry ingredients are slightly moistened and coated in the oil. Then add the water and knead for 5-6 minutes until a smooth shiny dough is formed. Form the dough into a ball and place in a lightly oiled bowl.

Cover with plastic wrap and allow the dough to rise 60-90 minutes at room temperature, or until about double in size.

Shape the dough: When the dough is ready turn it out onto a lightly floured work surface. Divide the dough into two pieces and shape each piece into a round. Let these rest on the counter for 5-10 minutes to help the dough relax.

Shape the dough: press each ball of dough into a disc and stretch and flatten the disc into a circle, approximately 12-inches in diameter. Cover dough lightly with plastic wrap or a clean kitchen towel and allow to rest for a few minutes as you prepare your pizza toppings. (You can also top immediately and bake if you don’t have the time, it will turn out either way if you’re in a pinch).

For this Christmas I made 2.5 batches of the dough above. From this I ended up making 7 pizzas initially, and then an 8th after my nephew’s initial pizza fell off the steel. After all that we still had a little dough left over. Probably a little more than one pizzas worth, but I didn't weigh it. Each pizza was 215 grams which I thought was a nice size. They were definitely not too small. More than I want to eat on my own for sure. But no one else had any trouble finishing theirs off! Everyone else ate their own whole pizza, Lara and I ate 1/3 each of ours.


Spiced Gingerbread Loaf
From Sally’s Baking Addiction
Ingredients
For the Cake:

  • 2 cups (250g) all-purpose flour

  • 1 teaspoon baking soda

  • 1 and 1/2 teaspoons ground ginger

  • 1 and 1/2 teaspoons ground cinnamon

  • 1/4 teaspoon ground cloves

  • 1/4 teaspoon salt

  • 1/8 teaspoon fresh ground pepper

  • 3/4 cup (225 grams) unsulphured or dark molasses

  • 3/4 cup (6 ounces) hot water (about 100°F (38°C))

  • 1/2 cup (115g; 1 stick) unsalted butter, softened to room temperature

  • 1/3 cup (67g) packed light or dark brown sugar

  • 1 large egg, at room temperature

  • 1 teaspoon pure vanilla extract

For the Orange Icing:

  • 1 cup (120g) confectioners’ sugar, sifted

  • 2–3 Tablespoons (30-45ml) orange juice

Directions
Adjust the oven rack to the lower third position and preheat oven to 350°F. Grease a 9×5-inch loaf pan. Set aside.

In a medium bowl, whisk the flour, baking soda, ginger, cinnamon, cloves, salt and pepper together until combined. Set aside. In a separate bowl or dish, whisk the molasses and hot water together.

In a large bowl using a handheld or stand mixer fitted with a paddle attachment, beat the butter on high speed until smooth and creamy – about 1 minute. Add the brown sugar and beat on high speed for 1 minute until creamed together fairly well. Scrape down the sides and up the bottom of the bowl with a rubber spatula as needed. On medium-high speed, beat in the egg and vanilla extract until combined. Scrape down the sides and up the bottom of the bowl as needed. With the mixer on low speed, add the dry ingredients in three additions alternating with the hot water/molasses and mixing each addition just until incorporated. Avoid overmixing. Batter will be thin.

Pour batter into prepared pan. Bake for around 50-60 minutes (mine went about 47 minutes , I had to restart the timer at one point so I may have lost a few minutes, but it was perfect, so I’d probably start checking at around 45 minutes) or until baked through. All ovens are different and your loaf could take a little more or less time. To test for doneness, insert a toothpick into the center of the gingerbread loaf. If it comes out clean with only a couple moist (not wet) crumbs, it is done. Allow to cool completely in the pan set on a wire rack before removing from pan.

Make the icing: Whisk the confectioners’ sugar and orange juice together. Drizzle over cooled loaf. Tasty I’m sure, but option. Very good without the glaze.

Sourdough Focaccia (Fourth of July, 2020)

IMG_5960.jpeg

Happy Fourth of July Weekend! It’s a HOT one here in West Michigan. This combo of events definitely = Beach! I went twice this weekend! First on Friday, the third, Lara and I went to Grand Haven city beach early when dogs are allowed (before 11), so we could walk the beach with Pinda and try to get him used to the water. We also wanted to avoid all the holiday weekend beach crowd. It was a glorious day. The lake was calm, the water was warm, and the sun was shining. Pinda is still not very sure about the water. He’ll allow us to drag him in, but then he turns right around and swims as fast as he can back to shore! It’s cute, but we want him to want to go in the water. Baby steps I guess!

IMG_2044.jpeg

Before doing anything else, we ate a chocolate muffin and drank coffee in the sand. Breakfast of champions! Then we headed down the beach for a walk and swim. Then we sat in our beach chairs and just watched the water and all the people for a bit. Relaxing and enjoyable! When we had to get the dog off the beach we headed into town to get some iced lattes at Aldea. Perfect! It was a hot walk along the boardwalk, but such a beautiful day. Mid-80s and sunny. Perfect holiday weekend!

Then, on the evening of the Fourth, my Aunt and Uncle invited me and my family out to their house on Lake Macatawa for some food and a boat ride on their new boat. She asked if we would bring some kind of appetizer. For the last few weeks/months I’ve really been liking the pizza dough I’ve been making and I’d been wanting to try making it into focaccia. I adapted a basic pizza dough recipe in order to use up my leftover sourdough starter from bread baking and it seemed like it could make a good focaccia as well. I decided this was the time and place to try it out.

IMG_2114.jpeg

I replaced some of the water and flour in the recipe with my discarded starter (I used 150 grams this time, in the past when I’ve made this as pizza dough I’ve done 120 grams and both seemed to work just fine in their respective settings so the recipe is pretty forgiving). I also increased the salt slightly from the original, I thought it needed a little more. I really like the addition of a small amount of oil and sugar to this dough. I think it adds the perfect balance of sweetness to the dough, as well as tenderizing it.

I let the dough rise for an hour before popping it in the fridge overnight. It ended up exploding out of the bowl I was using which is always kind of crazy! The next day I took it out and added in my mix-ins. I did cubes of sharp Irish Cheddar, some raw garlic, and a bunch of chopped fresh herbs (parsley, chives, thyme, and basil). I dumped all this into a parchment lined 9x13 inch glass pan in which I drizzled a nice amount of olive oil first (I have tried and tried to make focaccia without parchment and I have never succeeded. It ALWAYS sticks to the pan no matter what I do or how much oil I put in it. So I’ve just given in and now use parchment. It works great!). I let it rise for another 50-60 minutes until super puffy before baking. I looked at a few recipes and it seemed like most did 425, although I did see 450. I baked it for 30 minutes at 425. I would have liked it a little more brown on both the top and bottom, but the interior was soft and well baked so I wasn’t too upset about the browning.

IMG_9395.jpeg

Right before putting in the oven, I drizzled with a little more olive oil. Then, while the bread was baking I made a little garlic and herb infused oil that I brushed on top as soon as it came out of the oven. I heated olive oil, butter, and slivered garlic in a cold pan until it was just started to bubble but the garlic hadn’t browned yet. I took off heat and added herbs (thyme, basil and chopped parsley). Once the oil was brushed on I grated a some Piave Vecchio cheese over the hot bread and oil. So good!

IMG_1526.jpeg
IMG_3322.jpeg
IMG_2415.jpeg

I thought it turned out great! I think this is the best focaccia I’ve made yet. It was tall which I always want my focaccia to be. It seems like so many recipes make a thin focaccia, but I want my thick, thick, thick! The interior was super soft and delicious! I love adding garlic oil/butter to the top as soon as it’s out of the oven. It adds such great fresh flavor that you don’t get if you only add oil before baking.

Some things I’d like to try - while the interior was fantastic, I would like it a little more open crumb, hole-ier if you will. I would like to try adding more water to the dough at the start, making a more pourable dough. I could also try replacing some/all of the flour with bread flour to help with structure and chew. But if I never end up changing anything I would be very happy eating this focaccia from here on out!


Sourdough Focaccia
Adapted from Sally’s Baking Addiction
Ingredients

  • 150 grams leftover/discarded sourdough starter

  • 365 grams all purpose flour

  • 2 teaspoons instant yeast

  • 1 tablespoon sugar

  • 1 teaspoon salt

  • 2 tablespoons (25 grams) olive oil

  • 302 grams water

Directions
Add all of the ingredients to the bowl of a stand mixer with the dough hook and knead for 5-6 minutes, until nice and soft and smooth. Transfer to a oiled bowl and cover for an hour. Then place in the fridge until ready to use.

Once ready to bake, line a 9x13 inch pan with parchment paper and generously drizzle olive oil onto the parchment and spread all around the bottom of the pan. Transfer the dough to the prepared pan and use your fingers to spread it out until it evenly lays in the pan, touching all corners and sides as best you can. (If you want to add anything to the dough, add it before you transfer to the pan. Alternatively you can add these ingredients to the dough right away when it is first made, before the initial rise). You may need to let it rest for 5-10 minutes a couple of times to help the dough relax and be easier to spread. Once it is spread out, cover with plastic and let rise another 45-60 minutes until super poofy and tall.

Once ready to bake, drizzle with more olive oil and sprinkle with plenty of flaky salt. The more the better in my opinion… Bake in a 425 degree preheated oven for 30 minutes. If desired, poke some holes in the bread as soon as it comes out of the oven, brush the hot bread with a mixture of melted butter and olive oil (and garlic if you’d like, I do) and sprinkle with more flaky salt if desired (I do). Let cool completely before cutting.

You can cut into thin strips as I did this time, or you can cut into squares. I know this would make some delicious focaccia sandwiches!

IMG_4405.jpeg

Memorial Weekend 2020 (and Chili-Red Pepper Chicken Kebabs [Tavuk Şiş])

IMG_8210.jpeg

It was a bit different of a Memorial Weekend this year. No annual Memorial Day parade. No Monday morning waffle tradition with friends. No big cookout in the afternoon. It was a much quieter and more low key weekend. I really had no plans going into the weekend, but as each day passed they filled up with small gatherings and outings with a few friends and family members. It turned into one of the most lovely and relaxing holiday weekends! And tasty, very tasty…

IMG_8209.jpeg

Friday night I had a friend over to grill out and relax in the back yard. She provided the burgers and wine, while Lara and I provided the grill and the remainder of the food. We grilled up some juicy burgers, topped them with sharp and crumbly Irish Cheddar (one of my favorites!) and garlicky red pepper sauce that is to die for. The sauce was actually made to use on chicken skewers that were on the menu later in the weekend (see below) but it is so good that I doubled the recipe and ate it on pretty much everything this week including these burgers. The juicy meat, sharp cheese, and sweet and garlicky sauce were a perfect combination that I will definitely do again!

We grilled up some asparagus to have on the side which I tossed with a super garlicky Parmesan vinaigrette. My basic go-to of lemon juice and zest, whole grain mustard, salt, garlic and olive oil. This time I added a lot of extra raw garlic, 2 full cloves (if you’re a little nervous about raw garlic then this would not have been for you… but I LOVED it!) as well as a couple of handfuls of grated Parmigiano-Reggiano. The resulting dressing was almost more of a paste at this point. I tossed it together with the hot asparagus straight off the grill and it was so good.

IMG_7989.jpeg

The next day started with a lovely scone and coffee breakfast on the porch. It was the perfect weather for lounging outside for as long as I wanted. Hot coffee, buttery scone, and great company!

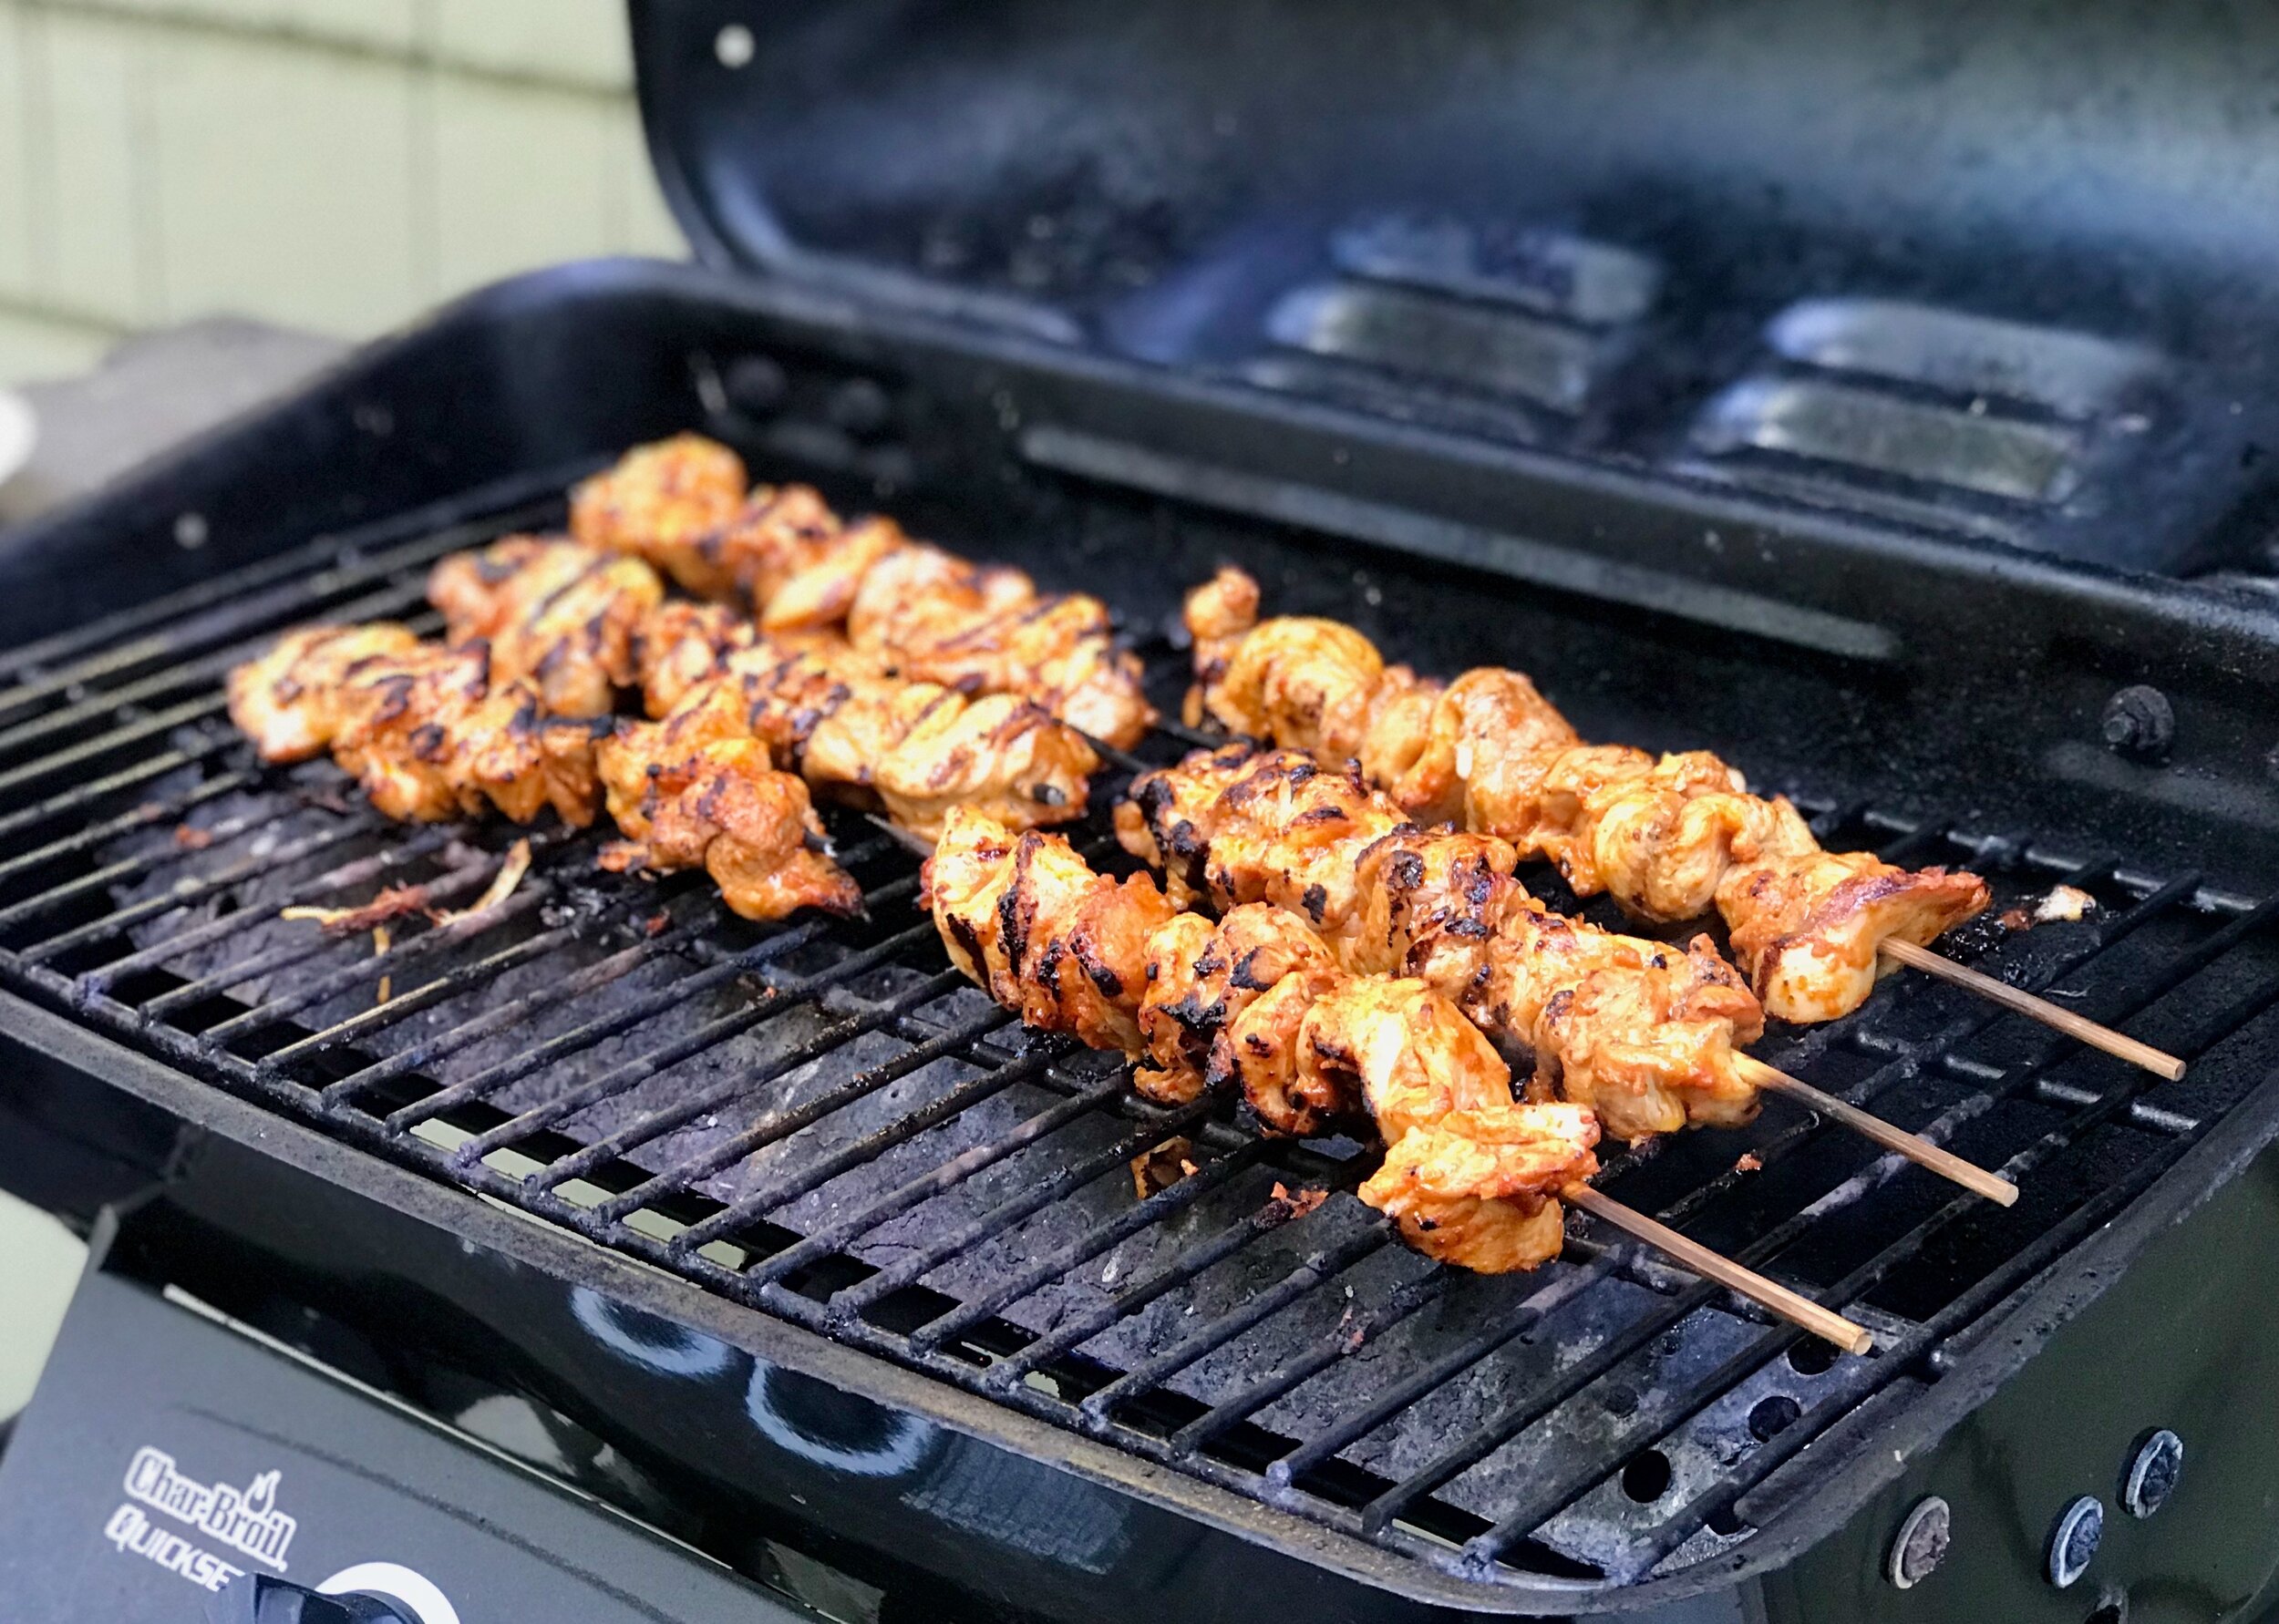
Later that afternoon my parents came over for a cook out. We grilled up a new chicken skewer recipe with red pepper paste with homemade Greek yogurt pita, and a fresh green salad. This red pepper paste is the sauce that I was talking about above that we also served with the burgers. Super versatile! It’s apparently a take on a Turkish red pepper paste called biber salçası. This was the first time I’ve heard of this recipe so I know nothing
about it other than that it was delicious!

IMG_8020.jpeg
IMG_8025.jpeg
IMG_8023.jpeg

We ate outside again, enjoying each others company (it had been a long while since I’d seen my dad!), and finally getting the dead branches out of the trees in the backyard. Thanks dad! :)

IMG_8026.jpeg

Finally, on Memorial Day, after another fantastic front porch scones breakfast —> (it was so lovely the day before we had to do it again!) we headed out to a nearby state park that I had never heard of to go kayaking and paddle boarding with friends.

I had never paddle boarded before so I was excited. The lake was lovely, the weather was perfect and the company was great. Since our friends provided the entertainment, Lara and I provided the food.

IMG_8032.jpeg
IMG_8038.jpeg

We thought long and hard (as always!) about what would be best for a picnic after kayaking. We ended up making chicken pesto salad wraps. We grilled up a few boneless skinless chicken breast, cubed it up, and tossed it with plenty of pesto sauce, chunks of fresh mozzarella (similar size to the chicken), and halved cherry tomatoes. It was soooooo good! I’ve made similar things, but never this exact recipe. I loved the soft fresh mozzarella that had marinated in the pesto by the time we ate it. We ate this on more of the homemade Greek yogurt pita. Served with more grilled asparagus, some cold drinks and fruit, it was a perfect picnic!

That was about it for the weekend. Other than one more simple treat, my first iced latte of the summer! What better way to end the weekend!

——————————————————————————————

Chili-Red Pepper Chicken Kebabs (Tavuk Şiş)
Recipe from 177 Milk St
Ingredients

  • 1/2 cup drained roasted red bell peppers, patted dry (I roasted my own and used one full roasted pepper)

  • 6 medium garlic cloves, smashed and peeled

  • 2 fresno chilies, stemmed, seeded and roughly chopped (I wasn’t able to find any fresno chilies so I omitted this and the recipe was still delicious but I would love to make again with the fresnos to see what they add to the mix)

  • 1/4 cup (50 grams) extra virgin olive oil

  • 2 tablespoons dried mint

  • 2 tablespoons aleppo pepper (or 1 tablespoon sweet paprika plus 1/4 teaspoon cayenne pepper) (I used the paprika + cayenne)

  • 1 tablespoon (21 grams) honey

  • 1 tablespoon tomato paste

  • Kosher salt

  • 1 1/2 tablespoons fresh lemon juice

  • 2 lbs boneless, skinless chicken thighs, trimmed and cut crosswise into 1-inch strips (I bought 6 bone-in thighs and boned them myself, this was around 2 lbs)

  • 3 tablespoons chopped fresh mint (I didn’t use, my mint plant isn’t big enough yet!)

Directions
In a food processor (or high-speed blender, I used my Vitamix), combine the roasted red peppers, garlic, chilies, oil, dried mint, Aleppo pepper, honey, tomato paste and 2 teaspoons salt. Process until almost smooth, 45 to 60 seconds, scraping the sides as needed. Measure 3 tablespoons of the puree into a small bowl, then stir in the lemon juice; cover and refrigerate. Transfer the remaining puree to a medium bowl, add the chicken and toss to coat. Cover and refrigerate for at least 1 hour or up to 12 hours.

Prepare a charcoal or gas grill for direct, medium-high heat. For a charcoal grill, ignite a large chimney three-quarters full of coals, let burn until lightly ashed over, then distribute evenly over one side of the grill bed; open the bottom grill vents and the lid vent. For a gas grill, turn all burners to high. Heat the grill, covered, for 5 to 10 minutes; clean and oil the grate. Remove the reserved puree from the refrigerator.

While the grill heats, thread the chicken onto eight 10- to 12-inch metal skewers (I only got 6 skewers out of this, not 8), evenly dividing the pieces and scraping off excess marinade. If using a gas grill, turn all burners to medium-high. Place the skewers on the grill, on the hot side if using charcoal, and cook, uncovered, turning every 2 to 3 minutes, until evenly charred on all sides and the thickest piece is opaque when cut into, 10 to 12 minutes. Transfer to a serving platter. Stir the fresh mint into the reserved puree and serve with the kebabs.

Thanksgiving 2019

IMG_5410.jpeg

I love thanksgiving. It was another great one this year. There were 16 of us this year including grandpa, grandkids, an aunt and uncle, and some cousins with their kids. A good bunch! I’ve made the same turkey for the past several years. It’s from Bon Appetit and it has turned out great every year. This year I wanted a slightly bigger turkey but know that this can present a problem with roasting evenly so I decided to roast the turkey in parts instead of whole. Just a few days later, lo and behold, I was listening to Bon Appetit’s podscast where they mentioned their turkey receip this year called for the turkey to be cut into pieces before roasting. Perfect!

IMG_5414.jpeg

I listened to another podcast where Alison Roman was talking about her new cookbook and what she was going to make for thanksgiving this year and she mentioned her turkey was dry-brined in a mixture of herbs and brown sugar, and then stuffed with lemons and red onion. I thought this flavor combo sounded great so I decided to combine the two recipes.

IMG_5415.jpeg

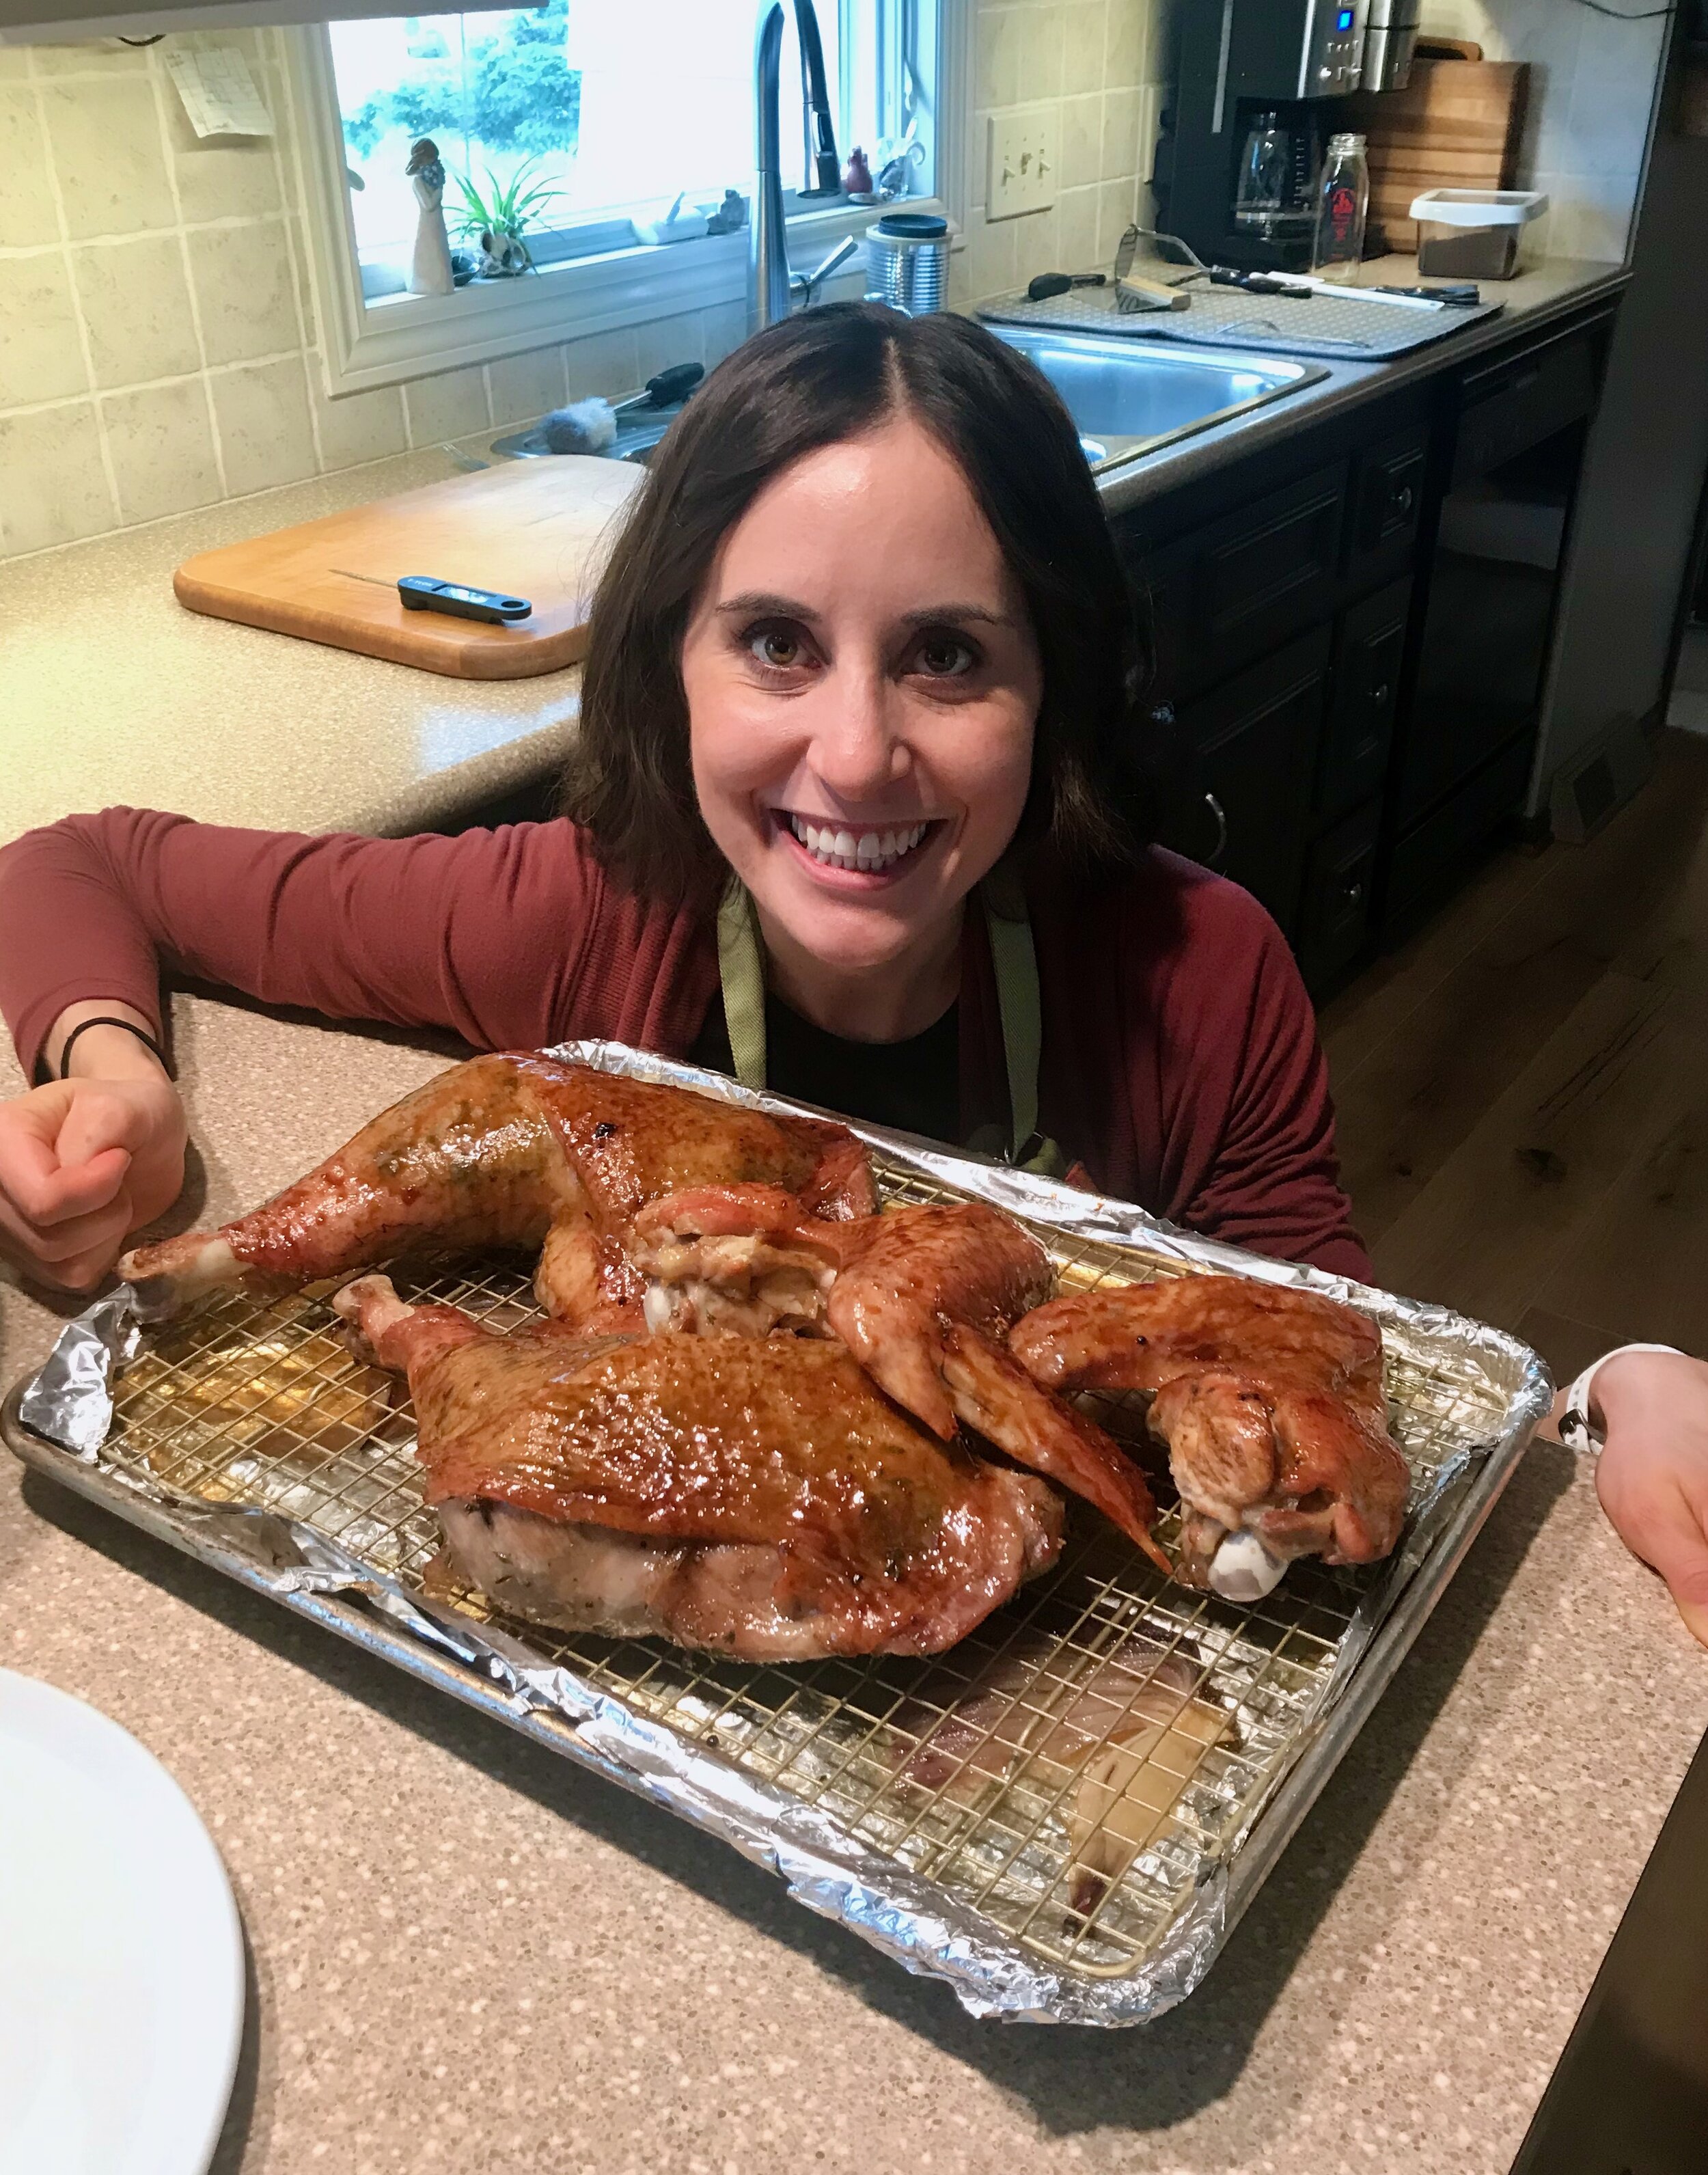
I cut the turkey into parts (2 leg/thigh combinations, 2 wings, and one double breast) and then dry brined it (it was a 21.4 pounder this year so I increased the total amount of dry brine accordingly) in Alison’s mixture of sugar, salt and thyme but added in a good amount of lemon zest. I let that sit for 2 days on baking sheets in the fridge, uncovered. I then baked it on Thanksgiving morning following the Bon Appetit method, on a wire rack at 425 degrees initially, and then decreasing to 300 degrees until done. I put a few cut up red onions and two full heads of garlic under the wire racks as well. I glazed with the Bon Appetit glazed as well, but substituted lemon for orange. It ended up baking at 450 degrees (I decided to up the temp just a bit since my bird was so big) for 25-30 minutes, and then another 60-65 minutes at 300 degrees. I had to pull the legs a few minutes before the breast was done.

The final result? It was great! Both the white and dark meat were cooked perfectly, no dry over-cooked breast meat here. I let the turkey sit for about an hour before carving. While it was resting I made Alison Roman’s turkey gravy which turned out beautifully smooth and glossy. It was rich and buttery and so delicious. Overall the combination of recipes and a fresh local turkey came together for another win.

IMG_5422.jpeg

Had one fail this year, thankfully it wasn’t the turkey. And thankfully I had the time to fix it! In addition to the turkey, every year I also enjoy making dinner rolls. This year I was planning on making two different recipes; a simple sourdough white roll, and a slightly sweetened molasses and oat sourdough bun which was dairy free for some family members with food intolerances. Since the molasses buns were a new recipe I tested them twice, TWICE in the week before Thanksgiving and was feeling good about them.

IMG_5425.jpeg

I started these rolls again the Tuesday night before Thanksgiving. The first rise went fine, but after shaping them on Wednesday I left them in the fridge overnight for the second rise. In the morning they didn’t look like they had done a lot, they were still pretty flat, but I had to get them in the oven so in they went after warming on the counter for an hour or two. In the oven they did not rise at all. Not one millimeter. They came out as flat little pancakes of dense dough. I have no idea what went wrong. I know the started was active because I used the exact same starter for the other batch of sourdough rolls and those rose just fine.

IMG_5429.jpeg

I was stumped but didn’t have time to dwell on it. I thankfully knew I had time to whip together something else and get it baked before everyone showed up at 12:30. I found a good basic soft and buttery dinner roll on a dependable blog. I’ve made very similar recipes in the past and knew it would probably be fine. It was. This recipe was simple and rose easily and baked up like a dream. They were not dairy free but they were delicious so that’s what we went with! Phew, saved the rolls!

——————————————————————————————

IMG_5430.jpeg

Spiced and Glazed Roast Turkey
From Bon Appetit
Ingredients
Turkey

  • 1 12–14-lb. turkey, cut into pieces

  • 2 Tbsp. whole black peppercorns

  • 2 Tbsp. whole pink or black peppercorns

  • ½ cup Diamond Crystal or ¼ cup plus 1½ tsp. Morton kosher salt

  • 2 Tbsp. garlic powder

  • 2 Tbsp. onion powder

  • 1 Tbsp. light brown sugar

  • 1 Tbsp. smoked paprika

Glaze and Assembly

  • Small handful of hardy herbs (such as sage, rosemary, bay leaves, and/or thyme)

  • 4 garlic cloves, crushed

  • 2 2x1" strips orange zest

  • ⅓ cup low-sodium soy sauce

  • ⅓ cup (packed) light brown sugar

  • ⅓ cup sherry vinegar or red wine vinegar

  • 6 Tbsp. neutral oil (such as vegetable, peanut, or canola)

Brining the Turkey: Place turkey pieces, skin side up, on a wire rack set inside a rimmed baking sheet. Sprinkle salt mixture liberally all over turkey, patting to adhere. You may not need all of it, but it’s good to have extra since some will end up on the baking sheet. Chill bird, uncovered, at least 24 hours and up to 2 days.

IMG_5436.jpeg

Glaze and Assembly: Remove turkey from wire rack and rinse baking sheet and rack if needed (turkey will most likely release some liquid). Line baking sheet with 3 layers of foil to make cleanup easy and set rack back inside. Arrange turkey pieces on rack, skin side up, and let sit at room temperature 2–3 hours to help decrease the cooking time.

Meanwhile, cook herbs, garlic, orange zest, soy sauce, brown sugar, and vinegar in a small saucepan over medium heat, stirring occasionally, until sugar is dissolved and glaze thickens slightly (it should just barely coat a spoon), 10–12 minutes. Remove glaze from heat.

IMG_5439.jpeg
IMG_5452.jpeg

Place a rack in middle of oven; preheat to 425°. Rub turkey with oil and pour 1 cup water into baking sheet. Roast turkey, rotating baking sheet halfway through, until skin is mostly golden brown, 20–25 minutes. Reduce oven temperature to 300° and continue to roast turkey, brushing with glaze every 20 minutes and adding more water by ½-cupfuls as needed to maintain some liquid in baking sheet, until an instant-read thermometer inserted into the thickest part of breast registers 150°, and 170° when inserted into the thickest part of the thighs, 50–70 minutes longer (total cooking time will be 1–1½ hours). [Mine ended up going an additional 60-64 minutes] Skin should be deep golden brown and shiny. Transfer turkey to a cutting board; tent loosely with foil. Let rest 30–60 minutes before carving.

——————————————————————————————

Dry-Brined Turkey with Sheet-Pan Gravy
From Alison Roman
Ingredients

Turkey:

  • 1 bunch fresh thyme

  • ⅓ cup kosher salt

  • ⅓ cup light brown sugar

  • 2 tablespoons coarsely ground black pepper

  • 1 12- to 14-pound turkey

  • 4 to 5 medium red onions, quartered

  • 3 lemons, halved crosswise

  • 2 heads garlic, halved crosswise

  • ⅓ cup olive oil

  • 6 tablespoons unsalted butter

Gravy:

  • 3 cups Chicken or Turkey Stock, plus more as needed

  • 6 tablespoons unsalted butter

  • ½ cup all-purpose flour

  • 2 tablespoons low-sodium soy sauce, plus more to taste

  • 2 tablespoons apple cider vinegar or white wine vinegar, plus more to taste

  • Kosher salt and freshly ground black pepper

Turkey: Strip the leaves from 4 sprigs of thyme, and coarsely chop the leaves. Place in a medium bowl along with salt, brown sugar and pepper; mix to blend well.

Place the turkey on a rimmed baking sheet lined with a wire rack. (If you do not own a wire rack, just place the turkey directly on the baking sheet.) Make sure the giblets (the bagged heart, kidneys and liver, and the neck) are removed from the cavity. Using paper towels, pat the turkey dry on all sides. Sprinkle with the salt mixture, making sure to distribute the seasoning evenly to all the bits and parts. Refrigerate turkey, uncovered, for 8 to 24 hours — the longer, the better.

Heat oven to 325 degrees. Remove turkey from the fridge, and transfer it to another clean rimmed baking sheet (discard any liquid that has accumulated on the first baking sheet). Stuff turkey with remaining bunch of thyme, a few of the quartered onions and half of the lemons and garlic. Scatter remaining onion quarters, lemons and garlic around the turkey. Combine olive oil and 6 tablespoons butter in a small pot over medium heat until butter is melted. Pour half of the mixture over the turkey and onions. Toss the onions lightly to evenly coat; season everything with salt and pepper.

Roast, rotating the baking sheet every hour or so, until the turkey has reached 160 degrees when a thermometer is inserted in the deepest part of the thigh, 2½ to 3 hours. The turkey will be cooked through and tender, and the skin will be brown, but you can and should get it browner.

Increase temperature to 425 degrees. Pour remaining butter mixture over the turkey (warm it slightly if solidified) and continue to cook until the internal temperature reaches 165 degrees and the skin is very deeply browned all over, 20 to 25 minutes. It's OK if the internal temperature is just shy of 165 degrees, it will come to temperature as it rests. (If you find the skin is browning too quickly, especially on the top at the breast, place a sheet of foil over the breast.)

Remove turkey from the oven and let rest on the baking sheet for 30 minutes (and upward of 45 minutes). Tip the turkey, cavity-side down, making sure the aromatics stay inside the cavity and letting any juices run out onto the rimmed baking sheet. Transfer the roasted onions, lemons and garlic to another dish and set aside. Transfer the turkey to a cutting board and let it continue to rest while you make the gravy.

Gravy: Pour about 1 cup stock onto the baking sheet. Using a spatula, scrape up the bits from the turkey drippings, just as if you’re deglazing a skillet after searing a piece of meat. Carefully pour the contents of the baking sheet into a large measuring cup or other spouted vessel. Add remaining stock until you have 4 cups liquid; you may need more or less stock depending on how juicy the bird was.

Melt 6 tablespoons butter in a medium pot over medium heat. Add flour and cook, whisking constantly, until flour is sizzling furiously and well-toasted, about the color of a graham cracker, 4 to 6 minutes. (The mixture will be thick at first but will thin as the flour cooks.) Slowly whisk in fortified stock mixture, about ½ cup at a time, letting it bubble, thicken and incorporate completely between additions until all of it has been added.

Add soy sauce and vinegar, and season with salt and pepper. Continue simmering until gravy is at your desired viscosity and the flavors have all melded together, 5 to 8 minutes. Add more soy sauce if you think it needs more depth of flavor, vinegar if you want more acidity, and salt and pepper for seasoning. Remove from heat and set aside until ready to serve.

———————————————————————————————————————————————————————————————

Soft and Buttery Dinner Rolls
From Sally’s Baking Addiction
Ingredients

  • 1 cup (240ml) milk, around room temperature

  • 2 and 1/4 teaspoons instant yeast

  • 2 Tablespoons granulated sugar, divided

  • 1 large egg

  • 1/4 cup (60g) unsalted butter, softened to room temperature and cut into 4 pieces

  • 1 teaspoon salt

  • 3 cups (375g) all-purpose flour or bread flour

  • Optional topping: 2 Tablespoons melted unsalted butter mixed with 1 Tablespoon honey

Add flour, salt, sugar and yeast to the bowl of your stand mixer fitted with a dough hook. Whisk to combine. In a separate bowl whisk together the milk and egg - add to the flour mixture. Beat on low speed for 30-60 seconds, scraping down the sides of the bowl with a rubber spatula as needed until all of the flour is moistened. Then increase to medium speed and knead until the the dough is well developed and comes together to form a soft dough. It will be sticky. Add flour as needed to make it manageable but don’t add too much so it becomes too dry.

Lightly grease a large bowl with oil or nonstick spray. Place the dough in the bowl, turning it to coat all sides in the oil. Cover the bowl with plastic wrap, or a clean kitchen towel. Allow the dough to rise in a relatively warm environment for 1-2 hours or until double in size.

Grease a 9×13 inch baking pan or two 9-inch square or round baking pans. Set aside.

When the dough is ready, turn it out onto a lightly floured surface. Divide the dough into 14-16 equal pieces. Shape each piece into a smooth ball. Arrange in prepared baking pan. (For a 9x13 inch pan, 15 rolls is nice to arrange in 3 rows of 5 rolls each).

Cover shaped rolls with plastic wrap, or a clean kitchen towel. Allow to rise until puffy, about 1 hour. Near the end of the rising time, preheat oven to 350°F. Bake for 20-25 minutes or until golden brown on top, rotating the pan halfway through. If you notice the tops browning too quickly, loosely tent the pan with aluminum foil. Remove from the oven, brush with optional honey butter topping, and allow rolls to cool for a few minutes before serving.

Christmas 2017

Merry Christmas! I hope everyone had a blessed day yesterday. It was s a beautiful white Christmas here in Michigan, we couldn't have asked for better. It truly felt like the story book Christmas. While I unfortunately had to work all day at the hospital yesterday, I am thankful that I am working at the hospital, and not admitted to the hospital myself. With Christmas music playing in the workroom, and the snow falling gently outside, it really wasn't too bad! I made the rest of the team breakfast for Christmas morning. Broccoli cheddar quiche, and coffee break muffins. Lara brought in a baked oatmeal and we all enjoyed a festive and delicious breakfast before getting to work!

IMG_1917.jpg

Thankfully, I was able to do a lot of baking and cooking for the holidays this year. First, Lara and I made Christmas cookies to give away to friends and co-workers. We decided on a trio of delicate snowflake Linzer cookies, thick and fruity stollen bars, and our yearly extra chewy molasses cookies (<-- these things are amazing! They may not look super exciting, but they are the best molasses cookies I have ever had!). We bagged those up a few weeks ago to get into the holiday spirit.

IMG_1854.jpg
IMG_1860.jpg
IMG_1871.jpg
 
IMG_1863.jpg
IMG_1858.jpg
IMG_1864.jpg

Next, the annual decorated sugar cookies. We decided on cute little owls, snowy Christmas trees, and simple holiday words. They turned out super cute! Lara did most of the actual decorating as usual, and of course did a wonderful job! These were snacked on all weekend long by family, friends and coworkers. 

IMG_1918.jpg
IMG_1920.jpg
IMG_1921.jpg

We celebrated Christmas with the whole extended family in Holland on the water this year on the 23rd. It was a great turn out. Most of the family could make it from all areas of the country! We had a wonderful time eating and talking and just enjoying the day all together. 

25550334_10214412110837591_2987767959520134947_n.jpg

Grandpa and grandma got into the Christmas spirit! Looking good!

25660051_10214412110797590_4219519452398896167_n.jpg
IMG_1908.jpg

And finally - Christmas day, at the hospital. Merry Christmas from the whole family medicine team!

If I had to work the holiday, at least it was with this great group of people!

IMG_1909.jpg

Thanksgiving 2017

I love Thanksgiving. The food, getting together with family, cooking and baking, eating and talking, even the football watching. It's all so festive and lovely. My favorite part is probably the weeks leading up to the big Thursday, thinking of a menu, trying to come up with the right blend of tradition and innovation. My family and I don't see eye to eye on this so it can be challenging to come up with food to please everyone, but I do feel like this year was a pretty decent success. 
 

IMG_1724.jpg

Here's the menu: 

Balsamic Glazed and Lacquered Turkey
(adapted from Bon Appetit, year 3 for this baby and still a winner! This time
replaced the sherry vinegar with balsamic and [accidentally] doubled
the sugar, a happy mistake!)

Pan roasted brussel sprouts with cracked wheat berries and tahini dressing
(adapted from Plenty More by Yotam Ottolehghi - replaced the green
beans for something more seasonal)

Spicy greens salad with roasted golden cauliflower, fresh mozzarella and candied lemon peel
(also adapted from Plenty More, this time replaced the artichoke
hearts with the cauliflower)

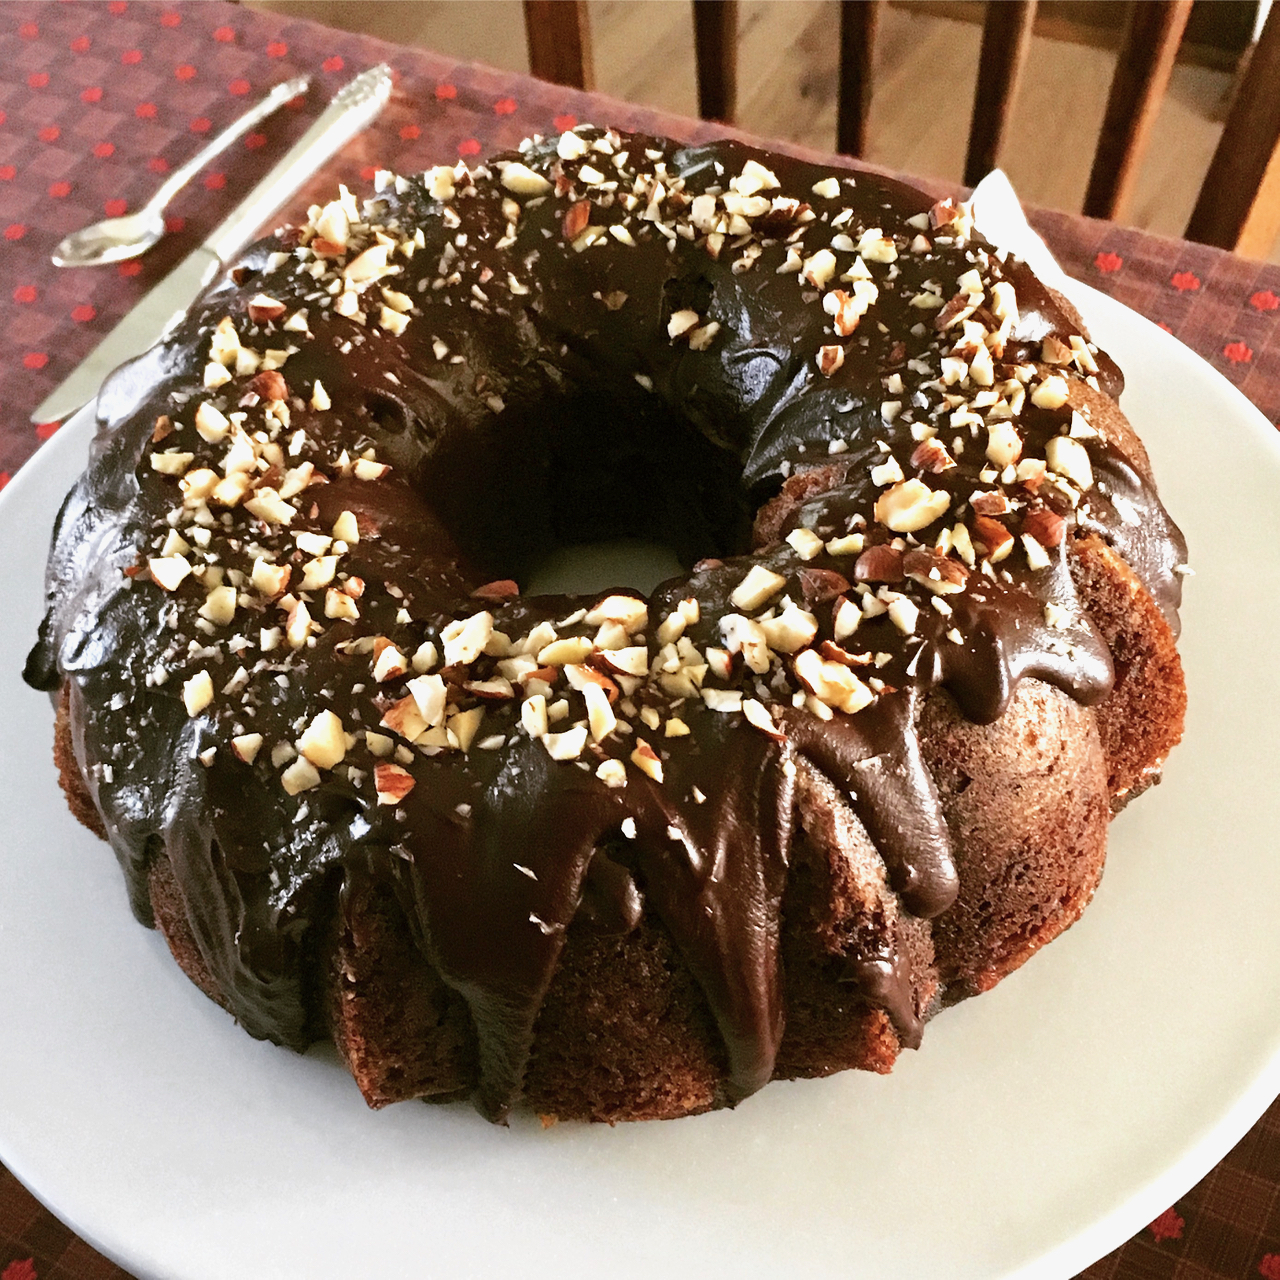
Marbled pumpkin and chocolate bundt cake with chocolate glaze and hazelnuts
(From The Pastry Affair)

Fresh cranberry sauce with orange zest
 

There were a few additional dishes from other family members (Thanks everyone) to round out the meal. These included sourdough and brown sugar stuffed pumpkins, jello salad, and great grandma's fudge. All in all a fantastic meal!

IMG_1736.jpg
IMG_1729.jpg
IMG_1766.jpg
IMG_1739.jpg
IMG_1757.jpg
IMG_1758.jpg
IMG_1749.jpg

Leftovers! Such a wonderful thing! Fresh salads with Turkey and miso noodle soup garnished with fresh cilantro. 

IMG_1774.jpg

On the final day of the Thanksgiving weekend, Lara and I drove up north to Cedar Springs where I finally got to cut down my very own Christmas tree - something I've always wanted to do! Lara had met a new couple through church friends a few weeks earlier, and they started talking about her parent's Christmas Tree Farm so of course we had to go check it out. Red Flannel Tree Farm is the cutest, most picturesque place to cut down a Christmas tree that you can imagine. They have horse drawn wagons (or sleighs [!] if it's snowing, I was jealous!) to take you out to the trees. They had a wonderful variety of pines and firs of all sizes and shapes. They then have a barn full of old farm paraphernalia, some of which is for sale, and free hot chocolate to warm up with after cutting down your tree. They also have tree stands and some wreaths and other decor for sale. I had an absolute blast and want to go back and do it all over again! They're only open 3 weekends and said the trees were going extra fast this year so I'm glad I headed up to finally get the experience I've been wanting for a long time. 

IMG_1779.jpg
IMG_1783.jpg

With a tiny apartment, you only need a tiny tree!!

IMG_1784.jpg

Start sawing...

IMG_1786.jpg

...keep going...

IMG_1795.jpg

The perfect tree for me, a concolor fir

IMG_1787.jpg

Success!!

IMG_1797.jpg

Lara got one too!

IMG_1801.jpg

New friends, Chevy and Ford

 
IMG_1804.jpg

MERRY CHRISTMAS!!