Spiced Oat Cookies with Chocolate and Fruit

Cookies are the best. They're always a hit, they're easy to make, the options are endless, and did I mention, they're delicious! I'm always on the lookout for a new cookie to try even though I have plenty of good recipes in the archives. You never know when you'll stumble upon the best recipe ever. Recently I came across this recipe for Cardamom-Spice Oat Cookies from King Arthur Flour and they looked just different enough and tasty enough to try. 

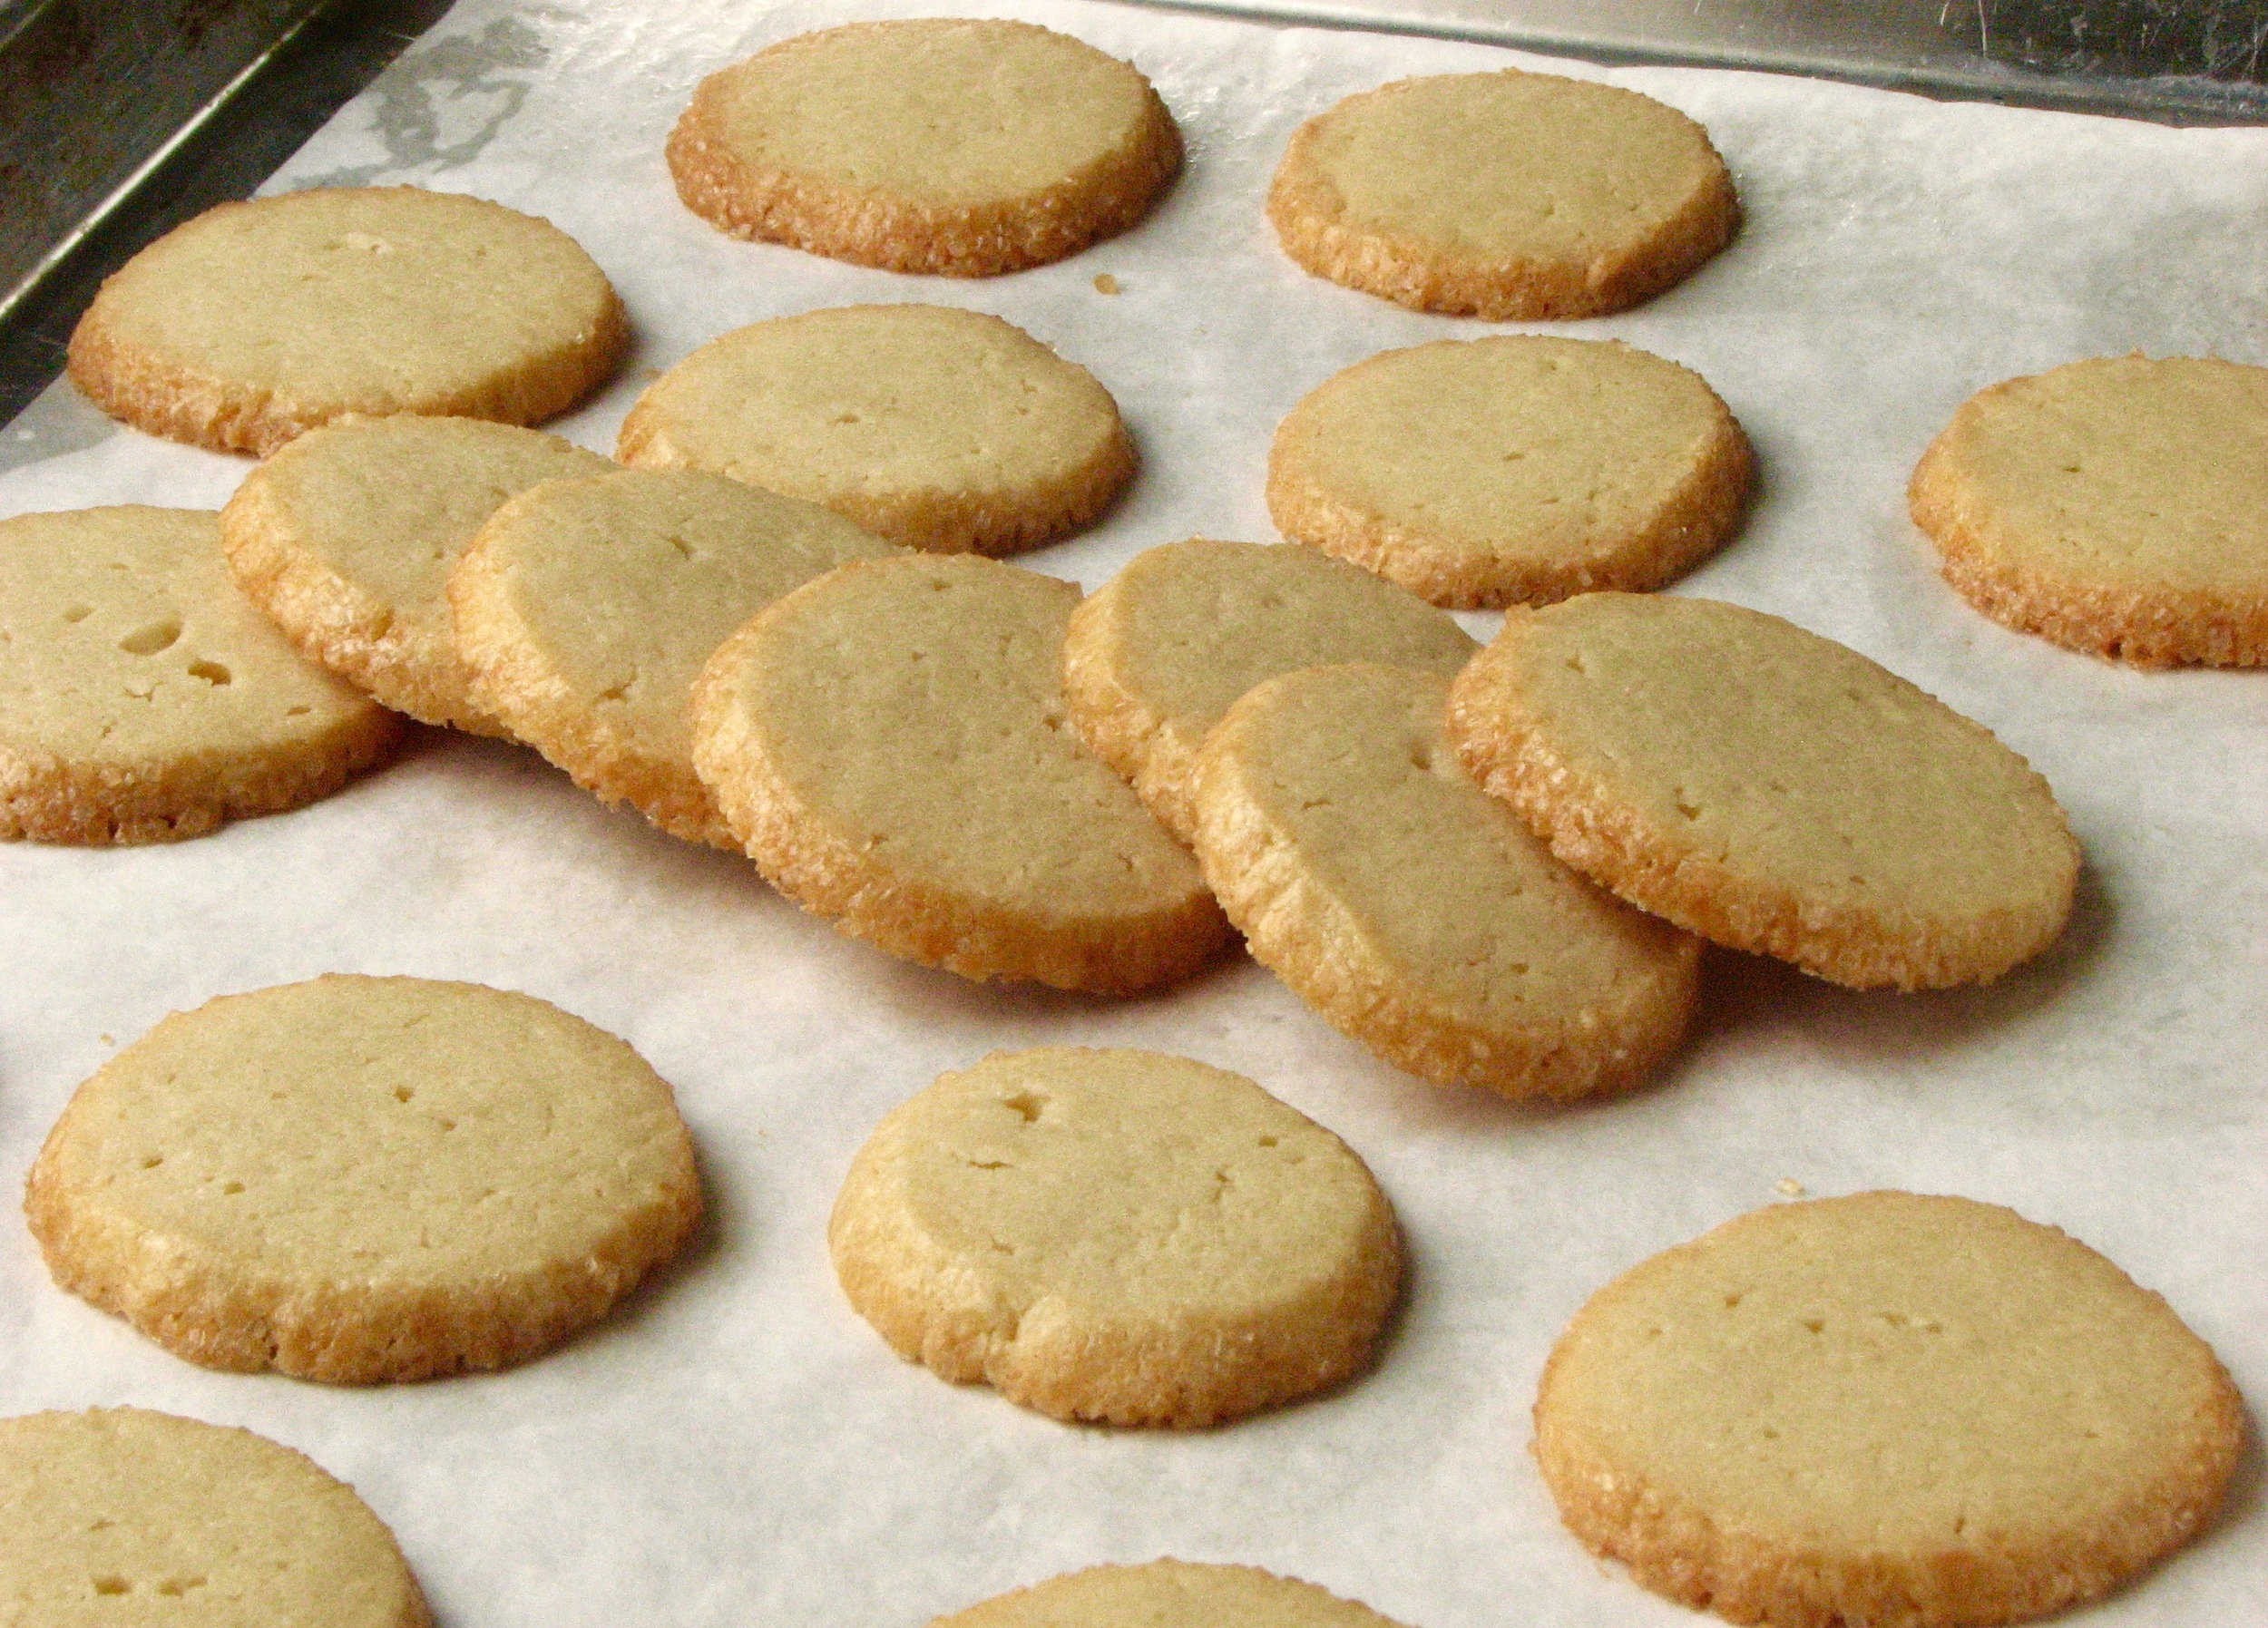
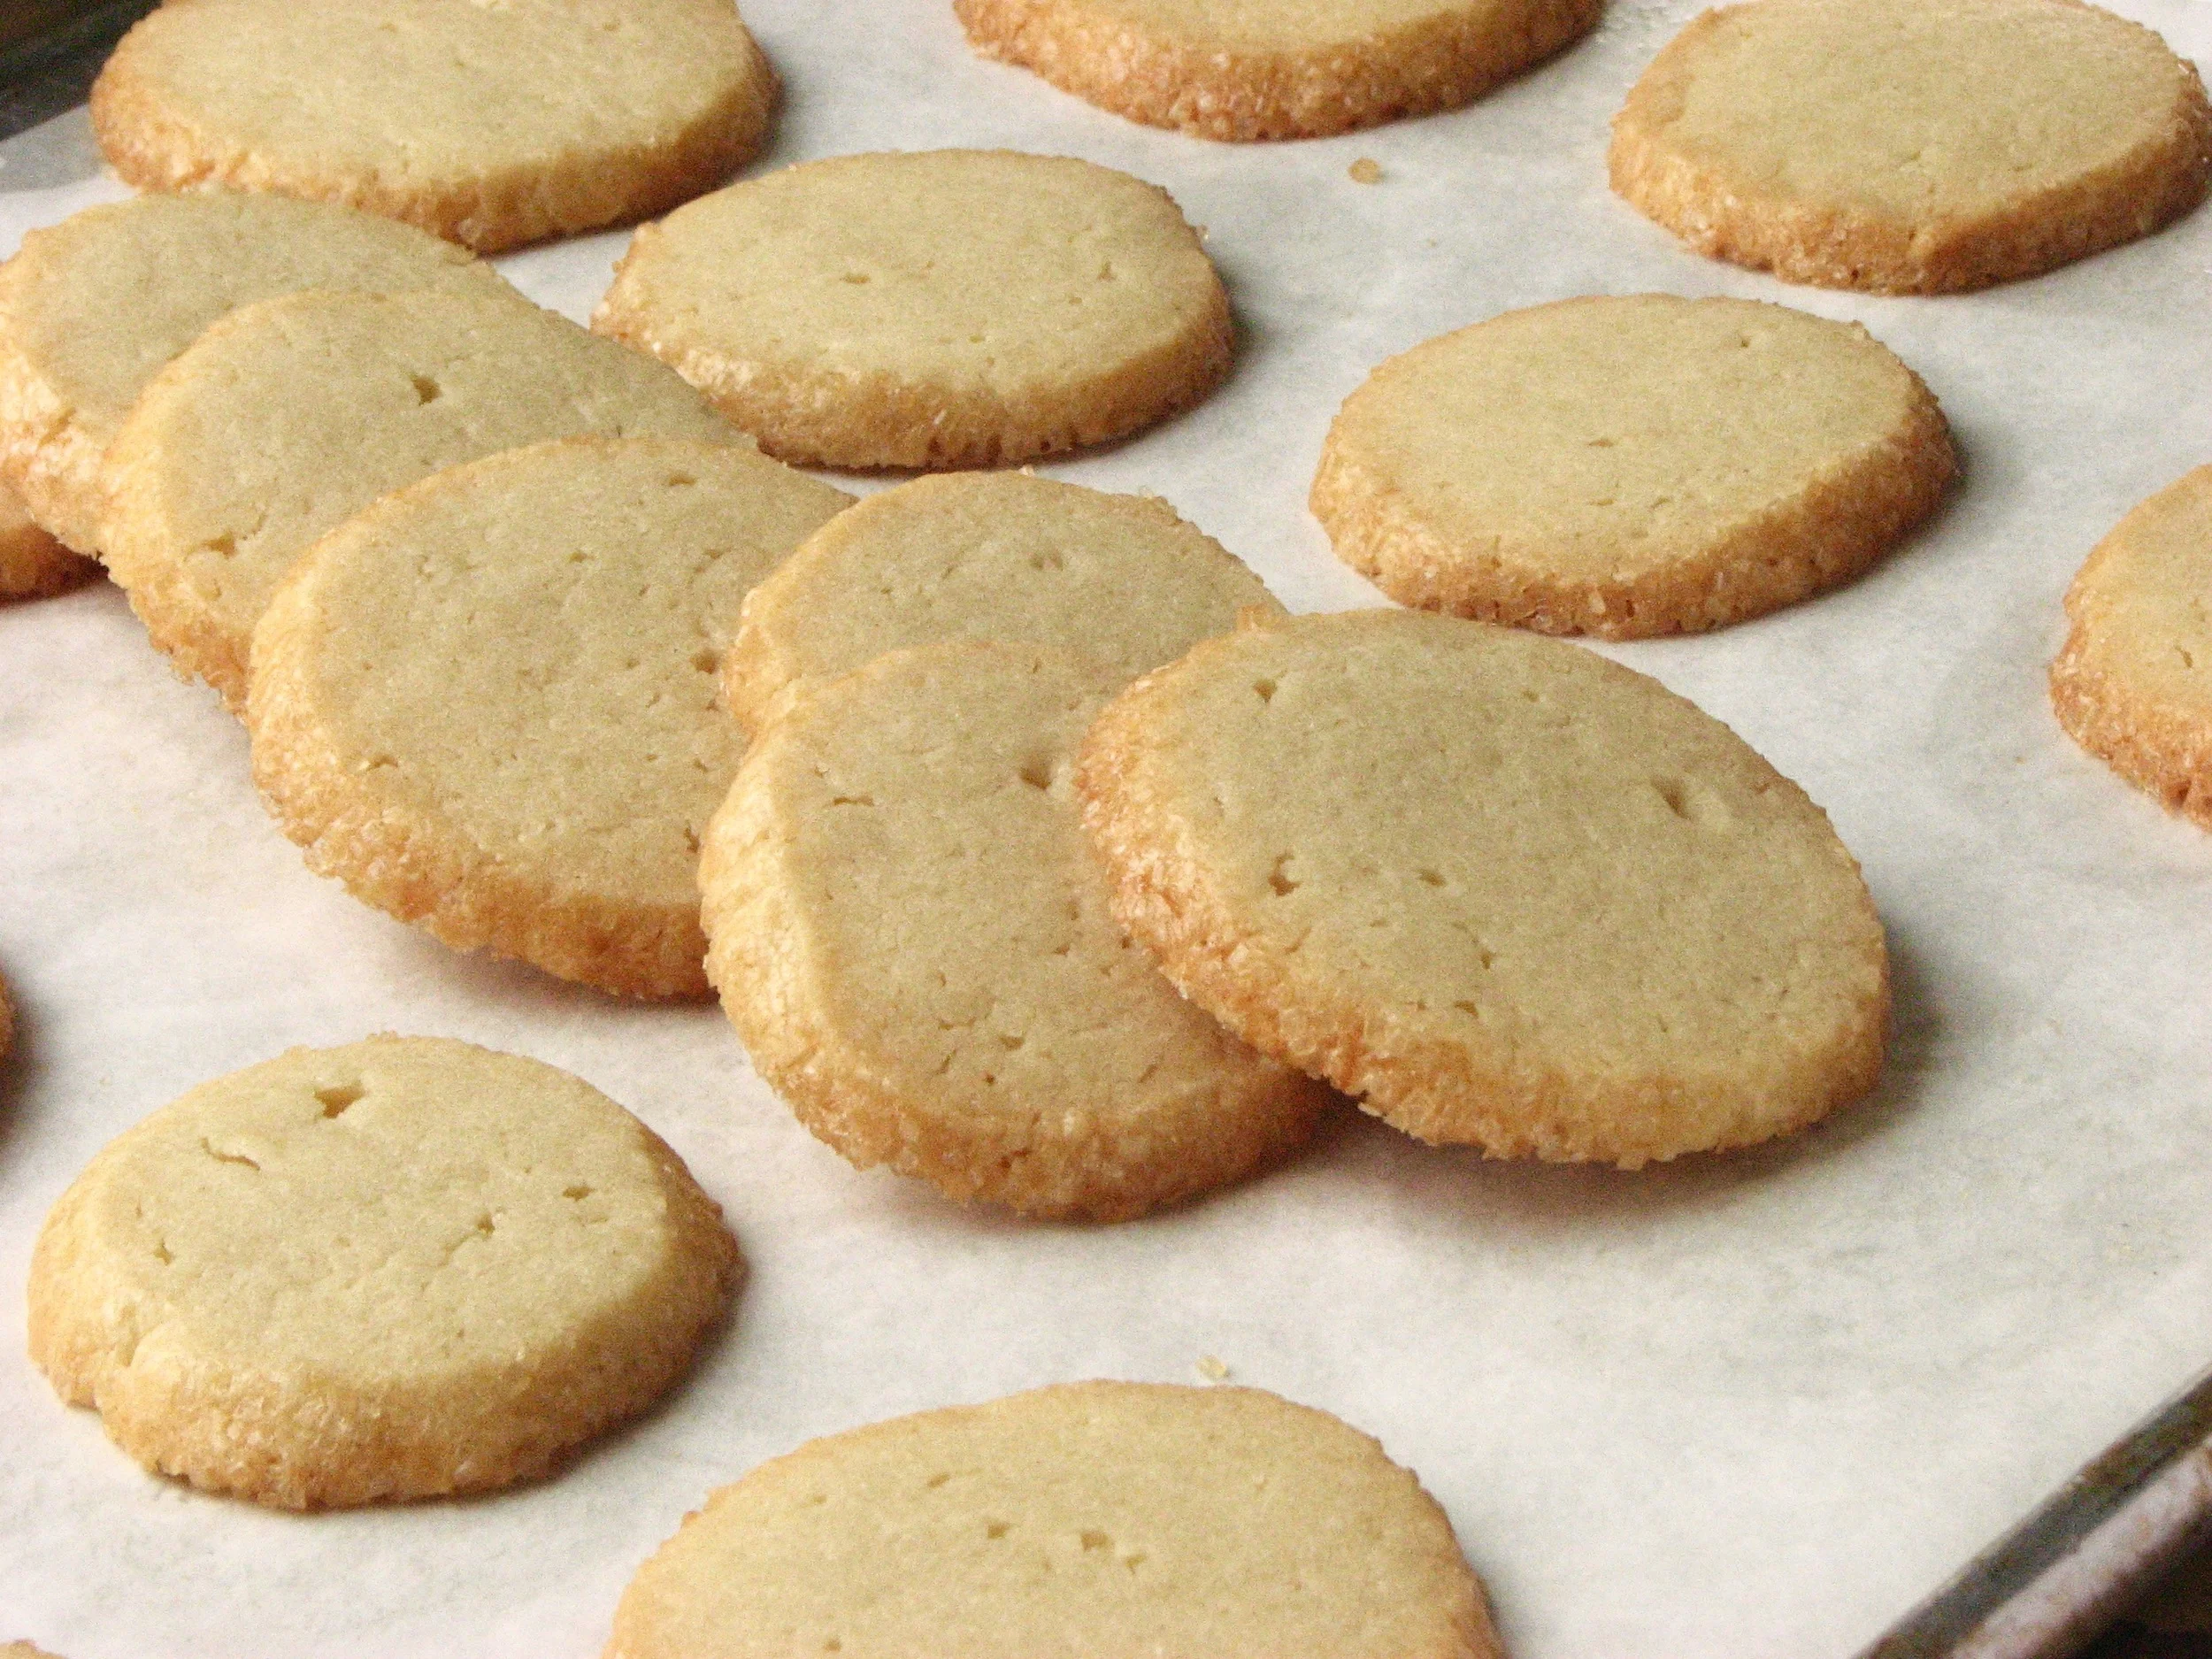
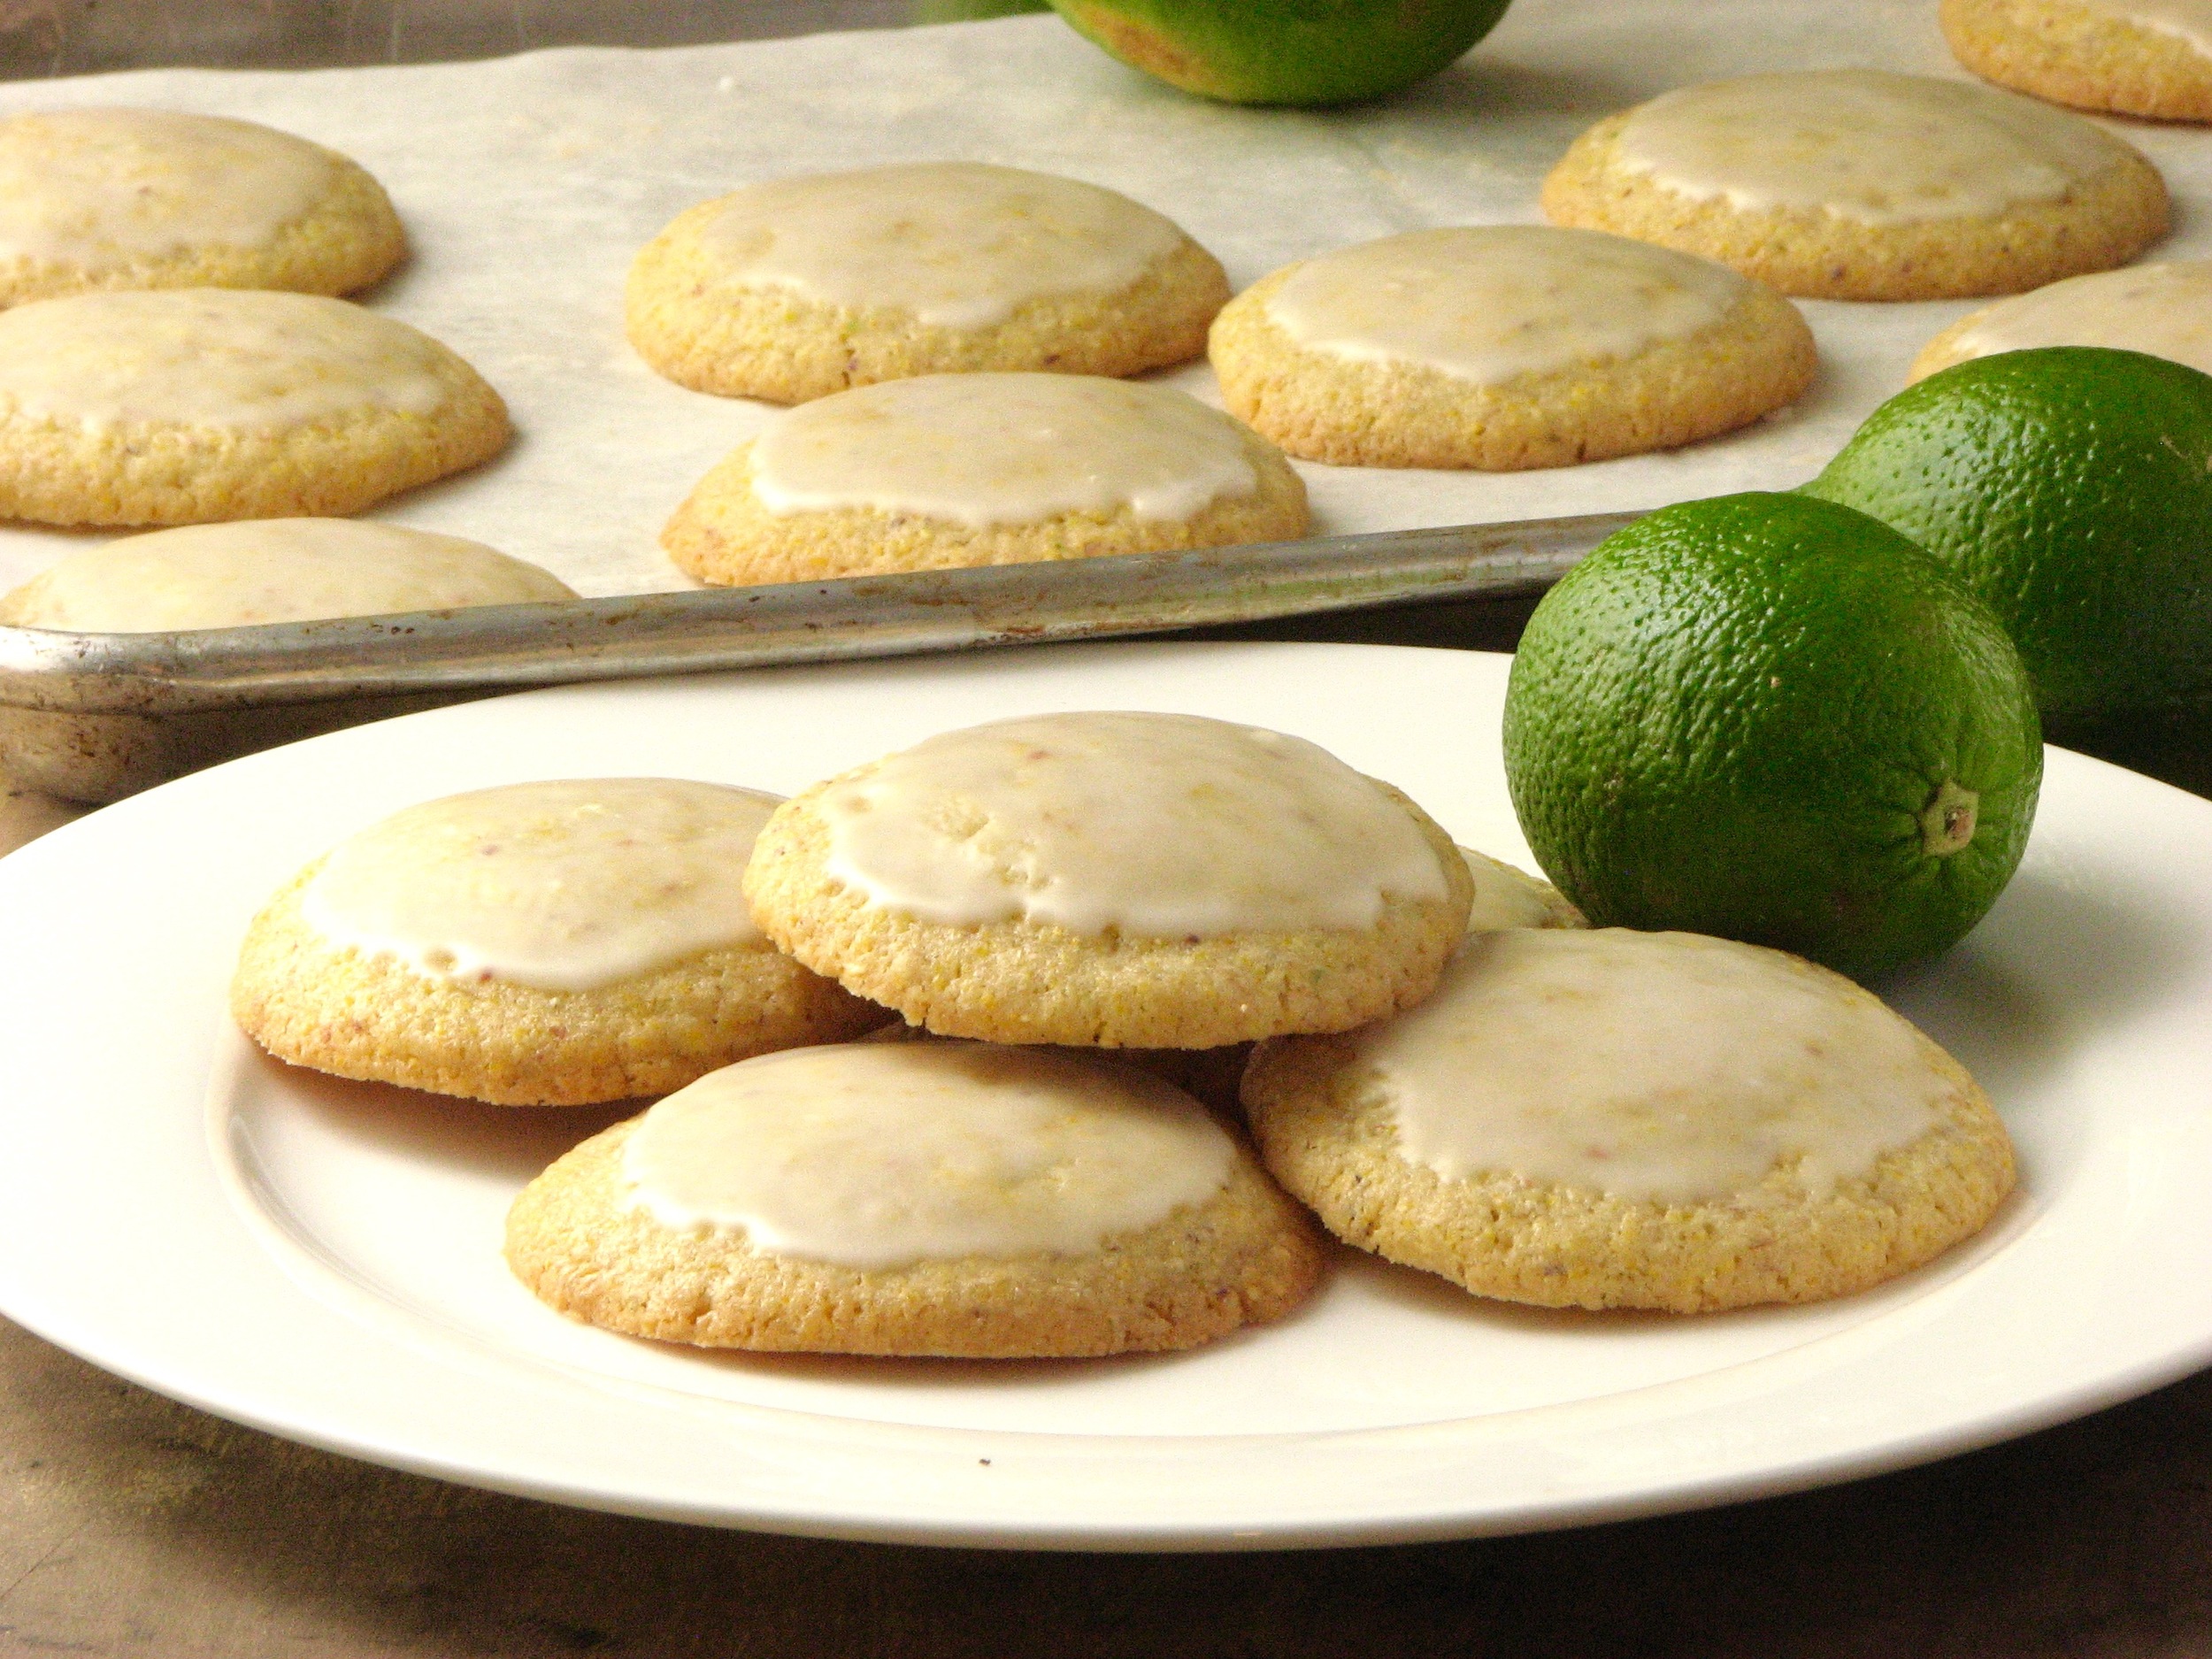
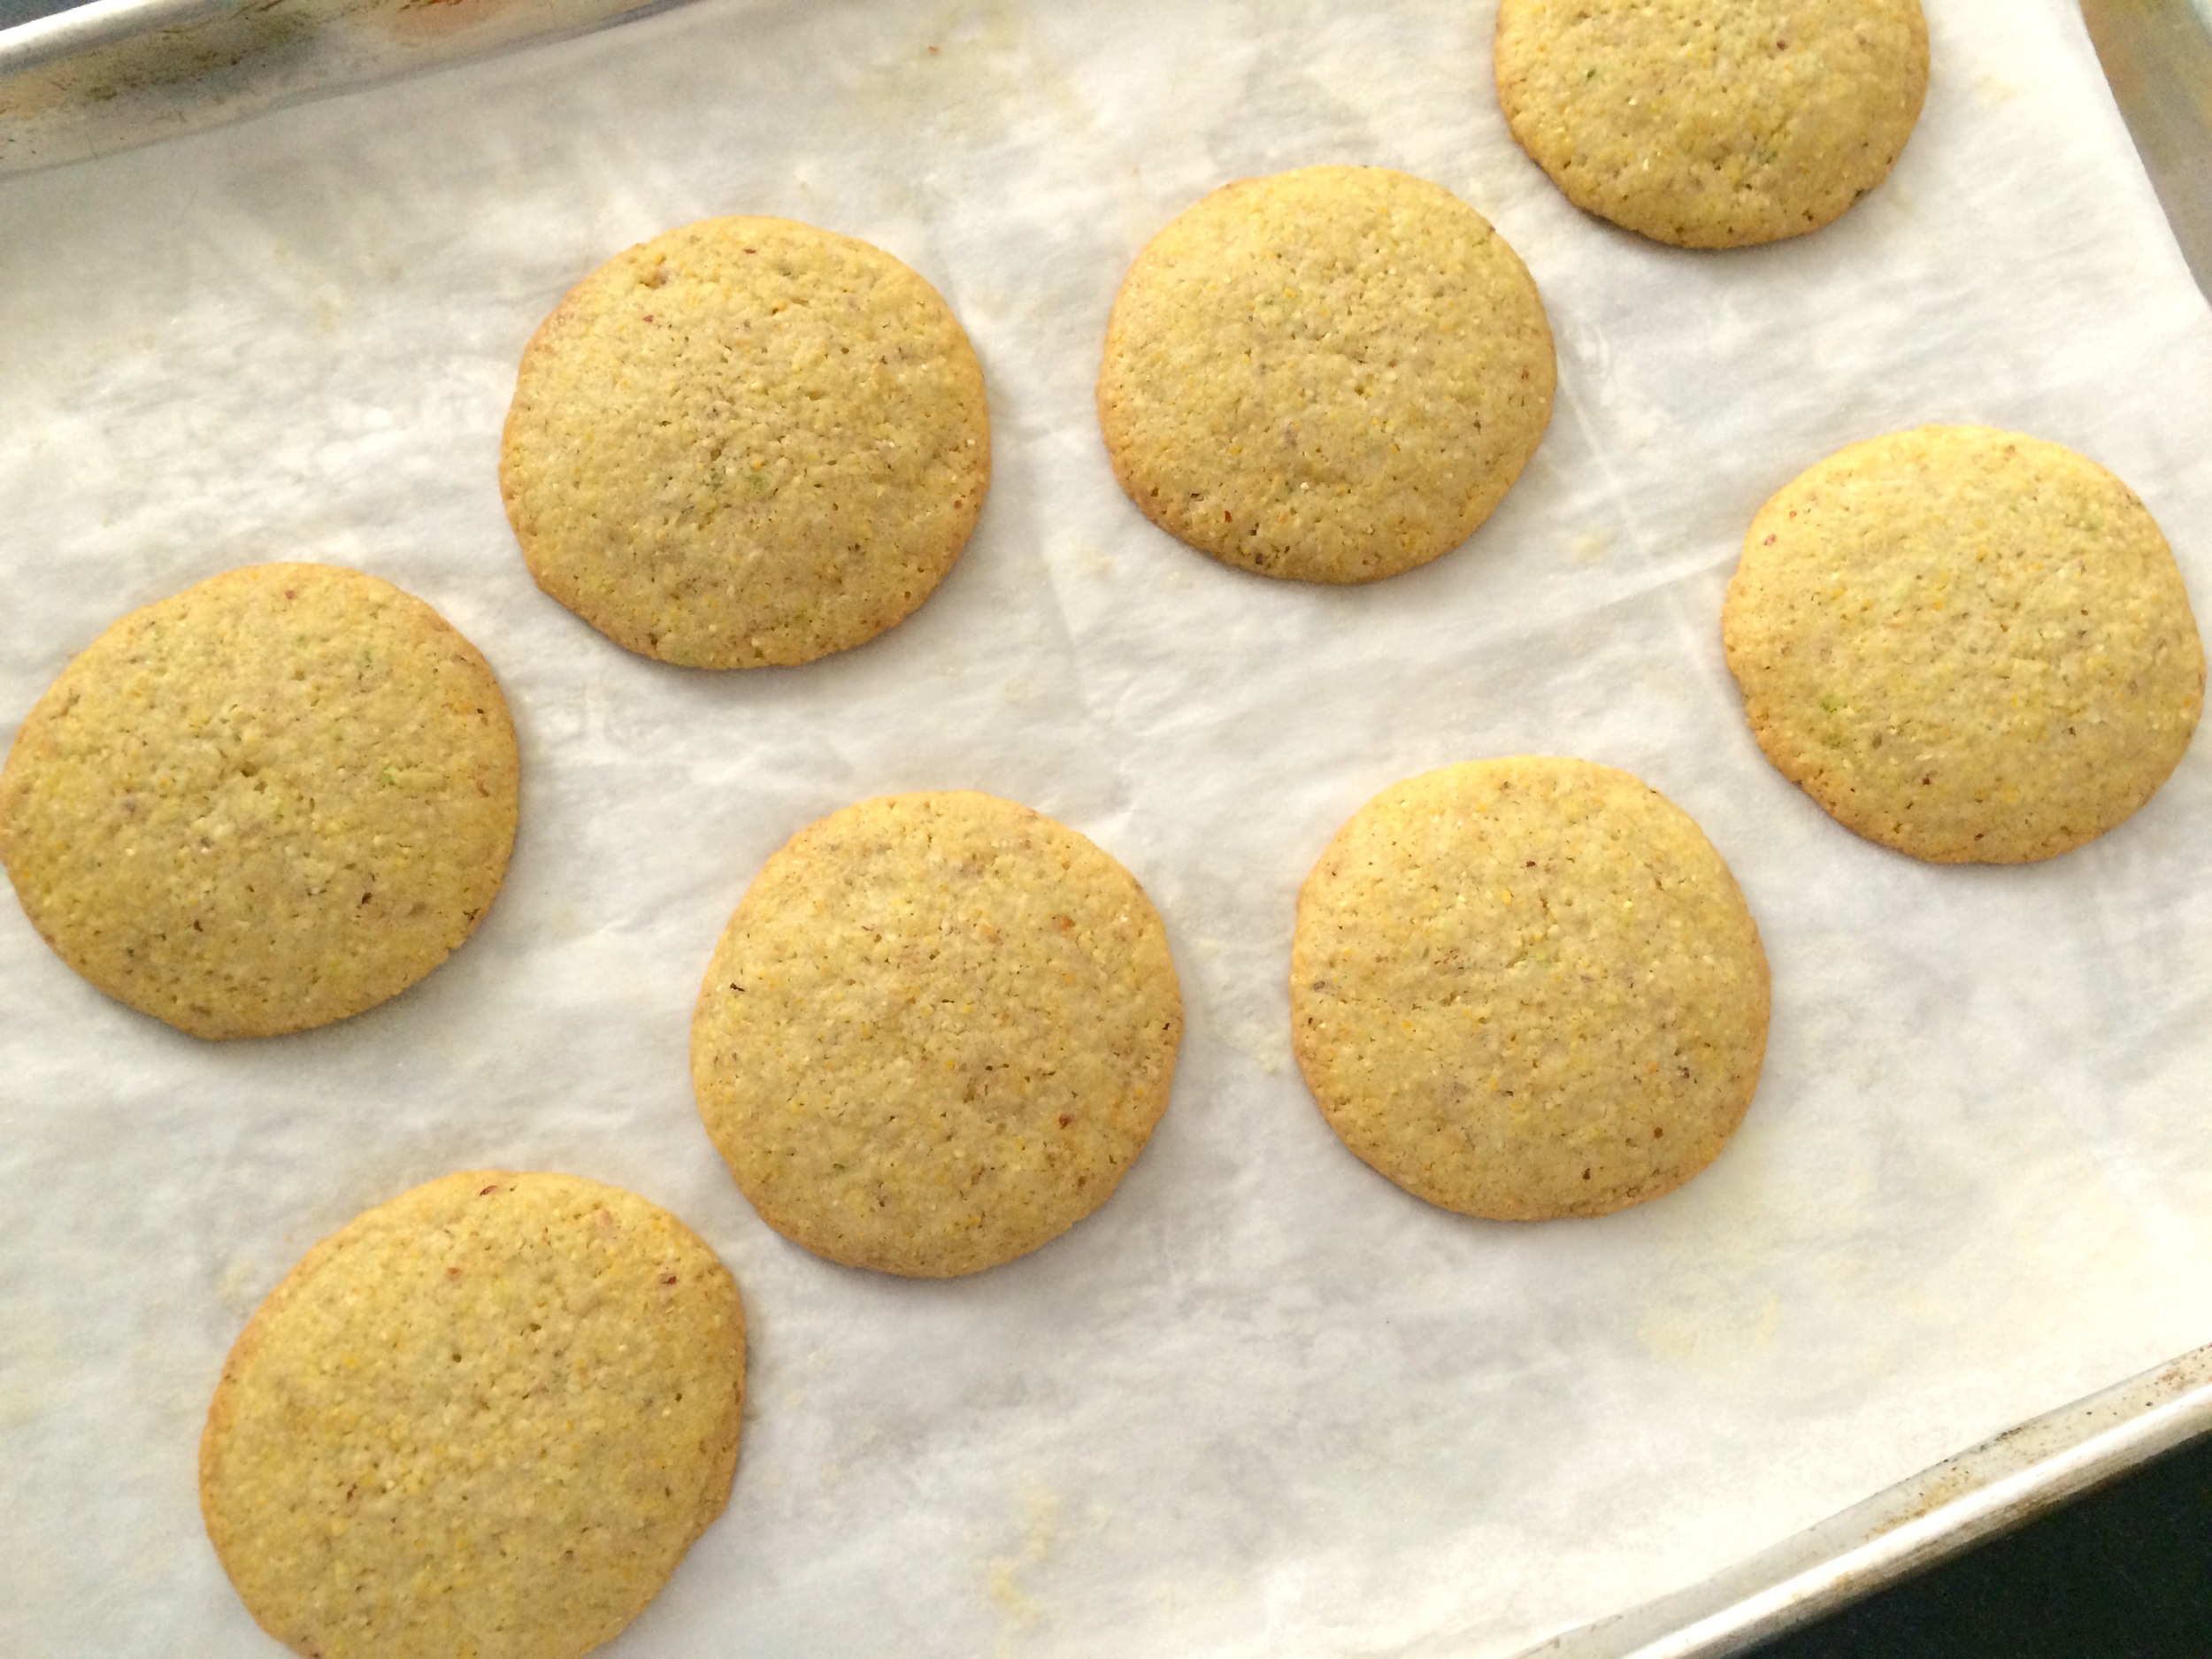
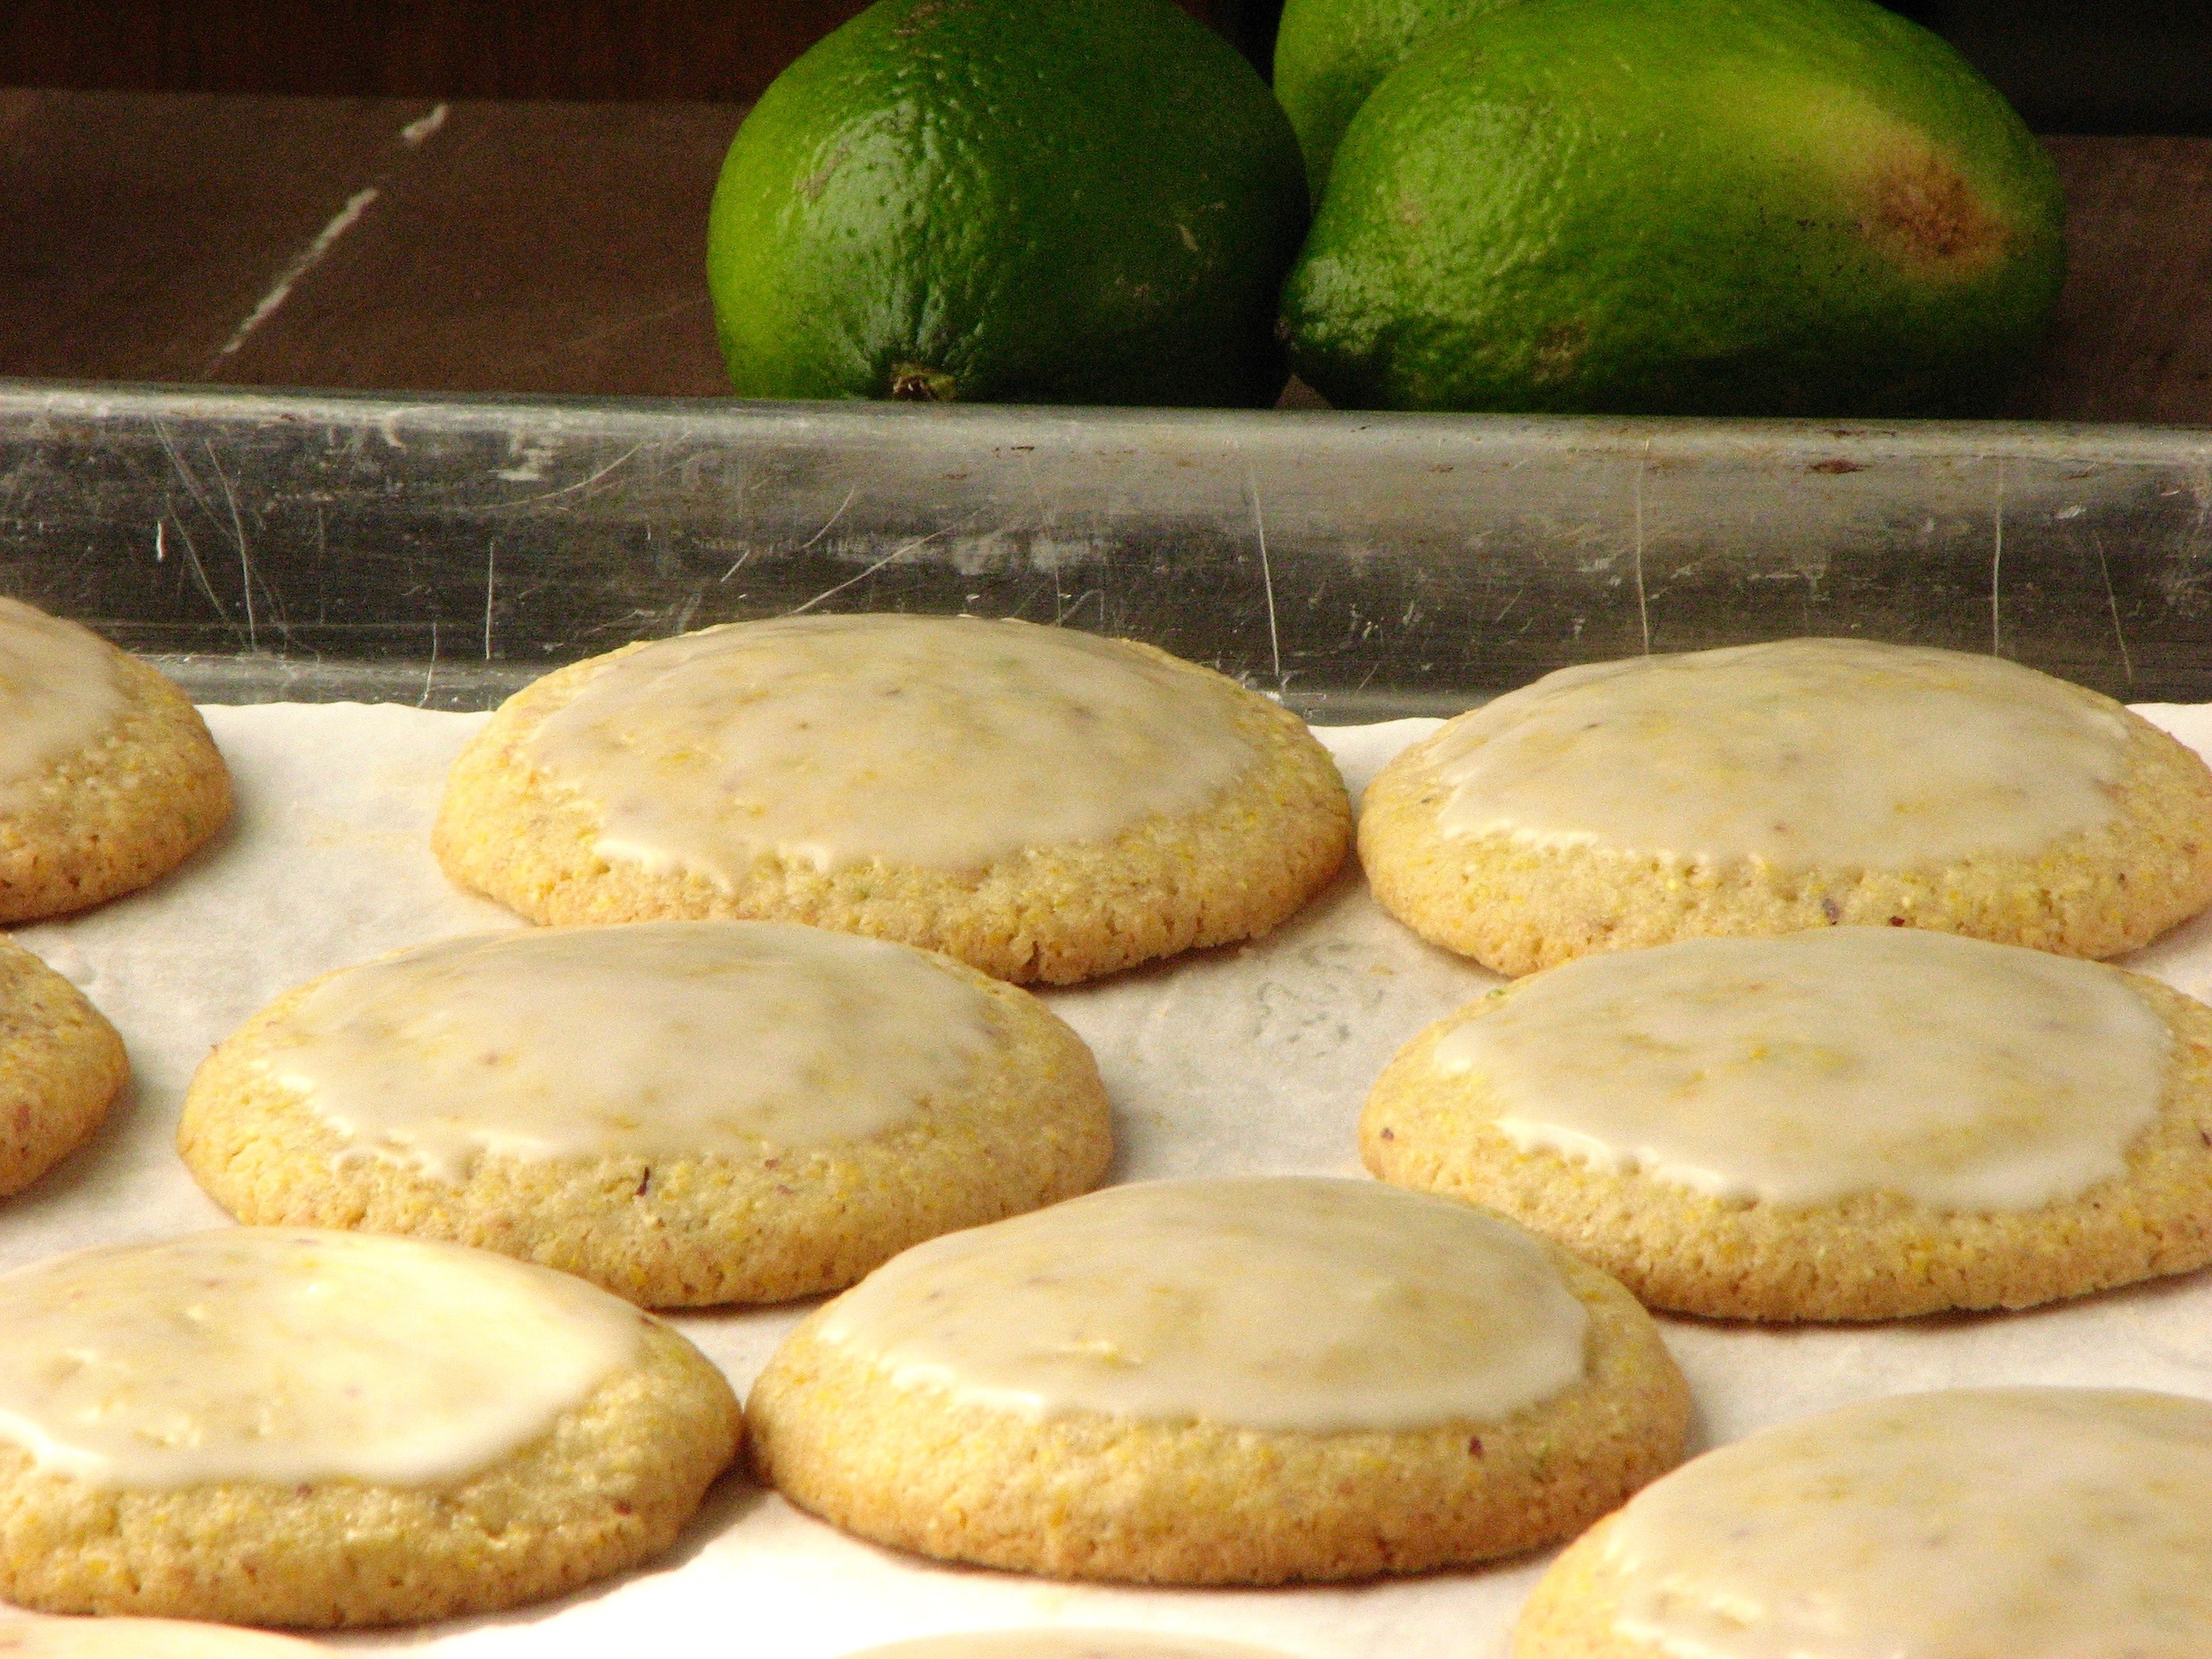
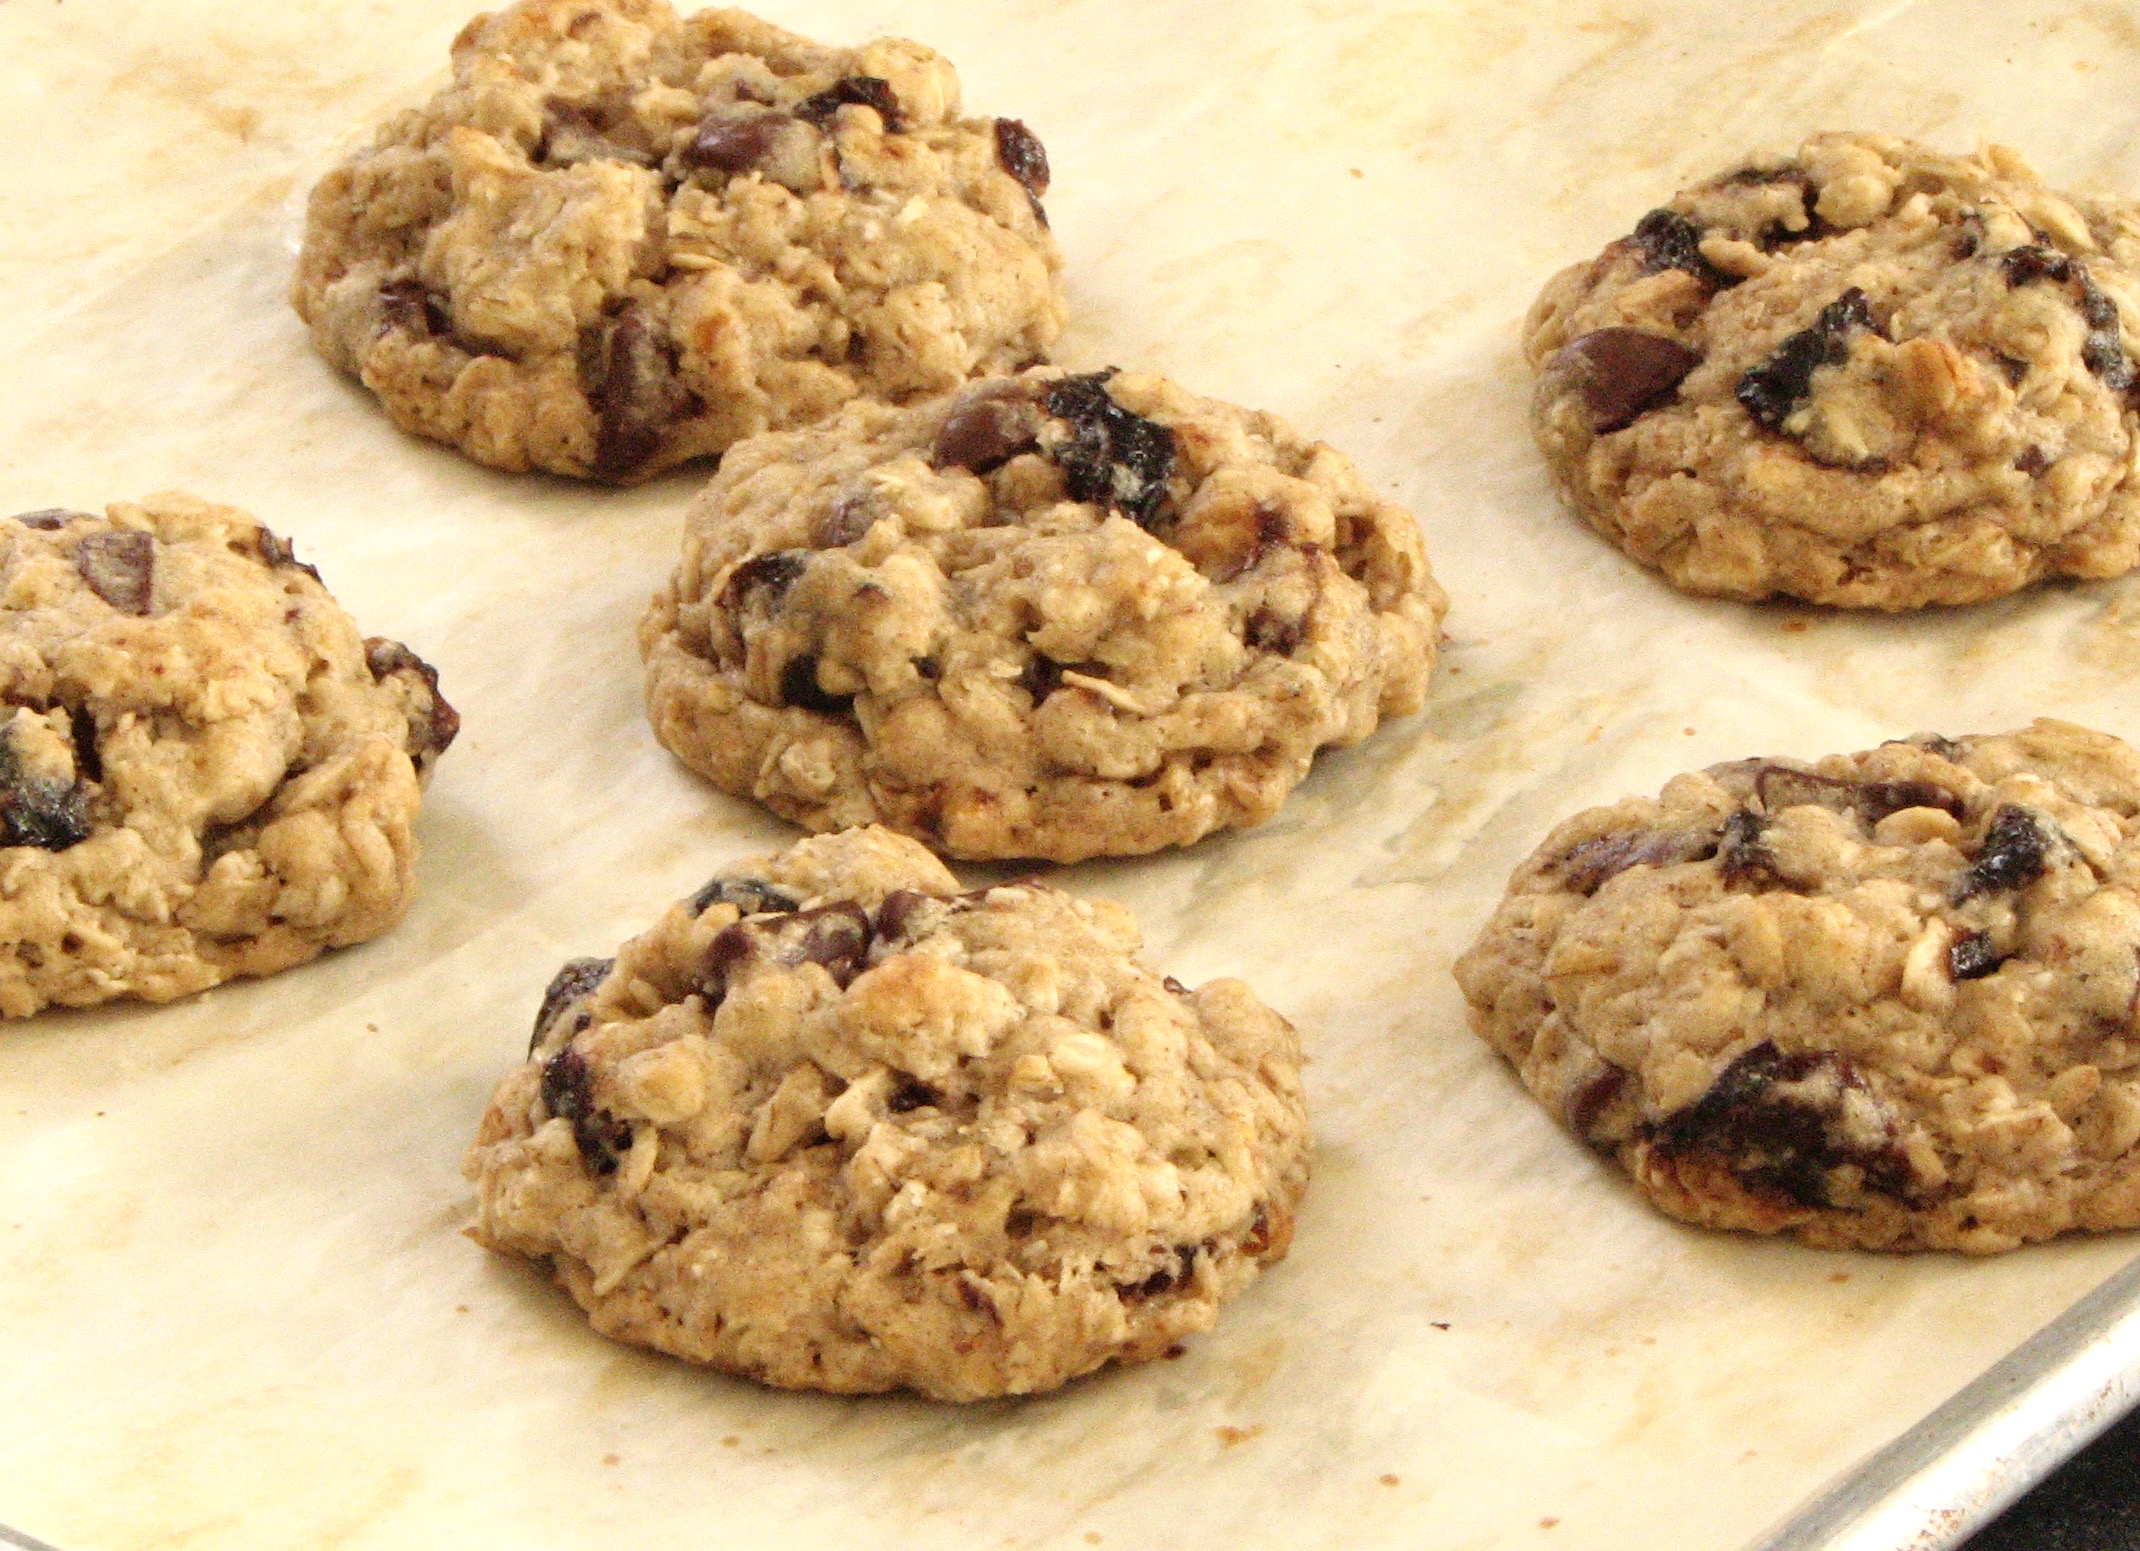
Don't ask me how, but I managed to completely forget to add the cardamom to the cardamom-spice cookies so they became just plain "spiced" cookies, but that didn't seem to matter too much in the end. The final cookie was fantastic! Visually beautiful with a wonderful texture, slightly crisp on the edges yet nice and chewy in the center. I've had some trouble with oatmeal cookies in the past always being too soft for my liking but these were perfect. They baked up well, spread perfectly, not too flat, not too round, a smashing success. 

When I started to make these cookies I realized that my brown sugar was as hard as a rock and I didn't feel like dealing with trying to soften it up, so I just replaced it with white sugar and it was fine. I threw in some chocolate and dried fruit, prunes were what I had so in they went! Any dried fruit would do, I'm partial to chocolate cherry myself, but really anything will work. 

I halved the original recipe and didn't want to halve an egg so I just skipped it and added a little 1/2 and 1/2 for fat and liquid. Necessary? Probably not, but they turned out great, so whatever! I ended up getting 8 nice sized cookies out of this recipe, each cookie was about 50-55 grams of dough. I thought they were a perfect size in the end, not too big and not too small. All around delicious!


Spiced Oat Cookies with Chocolate and Fruit
Adapted from King Arthur Flour
Ingredients

  • 5/8 cup (75 grams) all purpose flour
  • 3/4 cup (60 grams) old fashioned oats
  • 1/4 teaspoon baking soda
  • 3/8 teaspoon salt
  • 1/2 teaspoon cinnamon
  • 1/8 teaspoon ginger
  • 1/8 teaspoon allspice
  • 1/4 cup (70 grams) butter
  • 1/3 cup (70 grams) granulated sugar
  • 1 tablespoon (20 grams) maple syrup
  • 1/4 teaspoon vanilla
  • 1 tablespoon (15 grams) half and half
  • 1/4 cup (28 grams) chocolate chips
  • 1/4 cup (28 grams) prunes, chopped into bite-sized pieces

Directions
Line a baking sheets with parchment paper. In a medium bowl, whisk together the flour, oats, baking soda, salt, and spices. Set aside.

In a large mixing bowl, beat the butter, sugar, and syrup together on medium-high speed until light and fluffy. Scrape down the sides and bottom of the bowl. Add the vanilla and half and half and beat at medium speed until smooth. Scrape the bowl once again.

Add the dry mixture and mix at low speed until just combined. Scrape the bowl and mix once more for 30 seconds. Add the chocolate and fruit and mix until well blended.

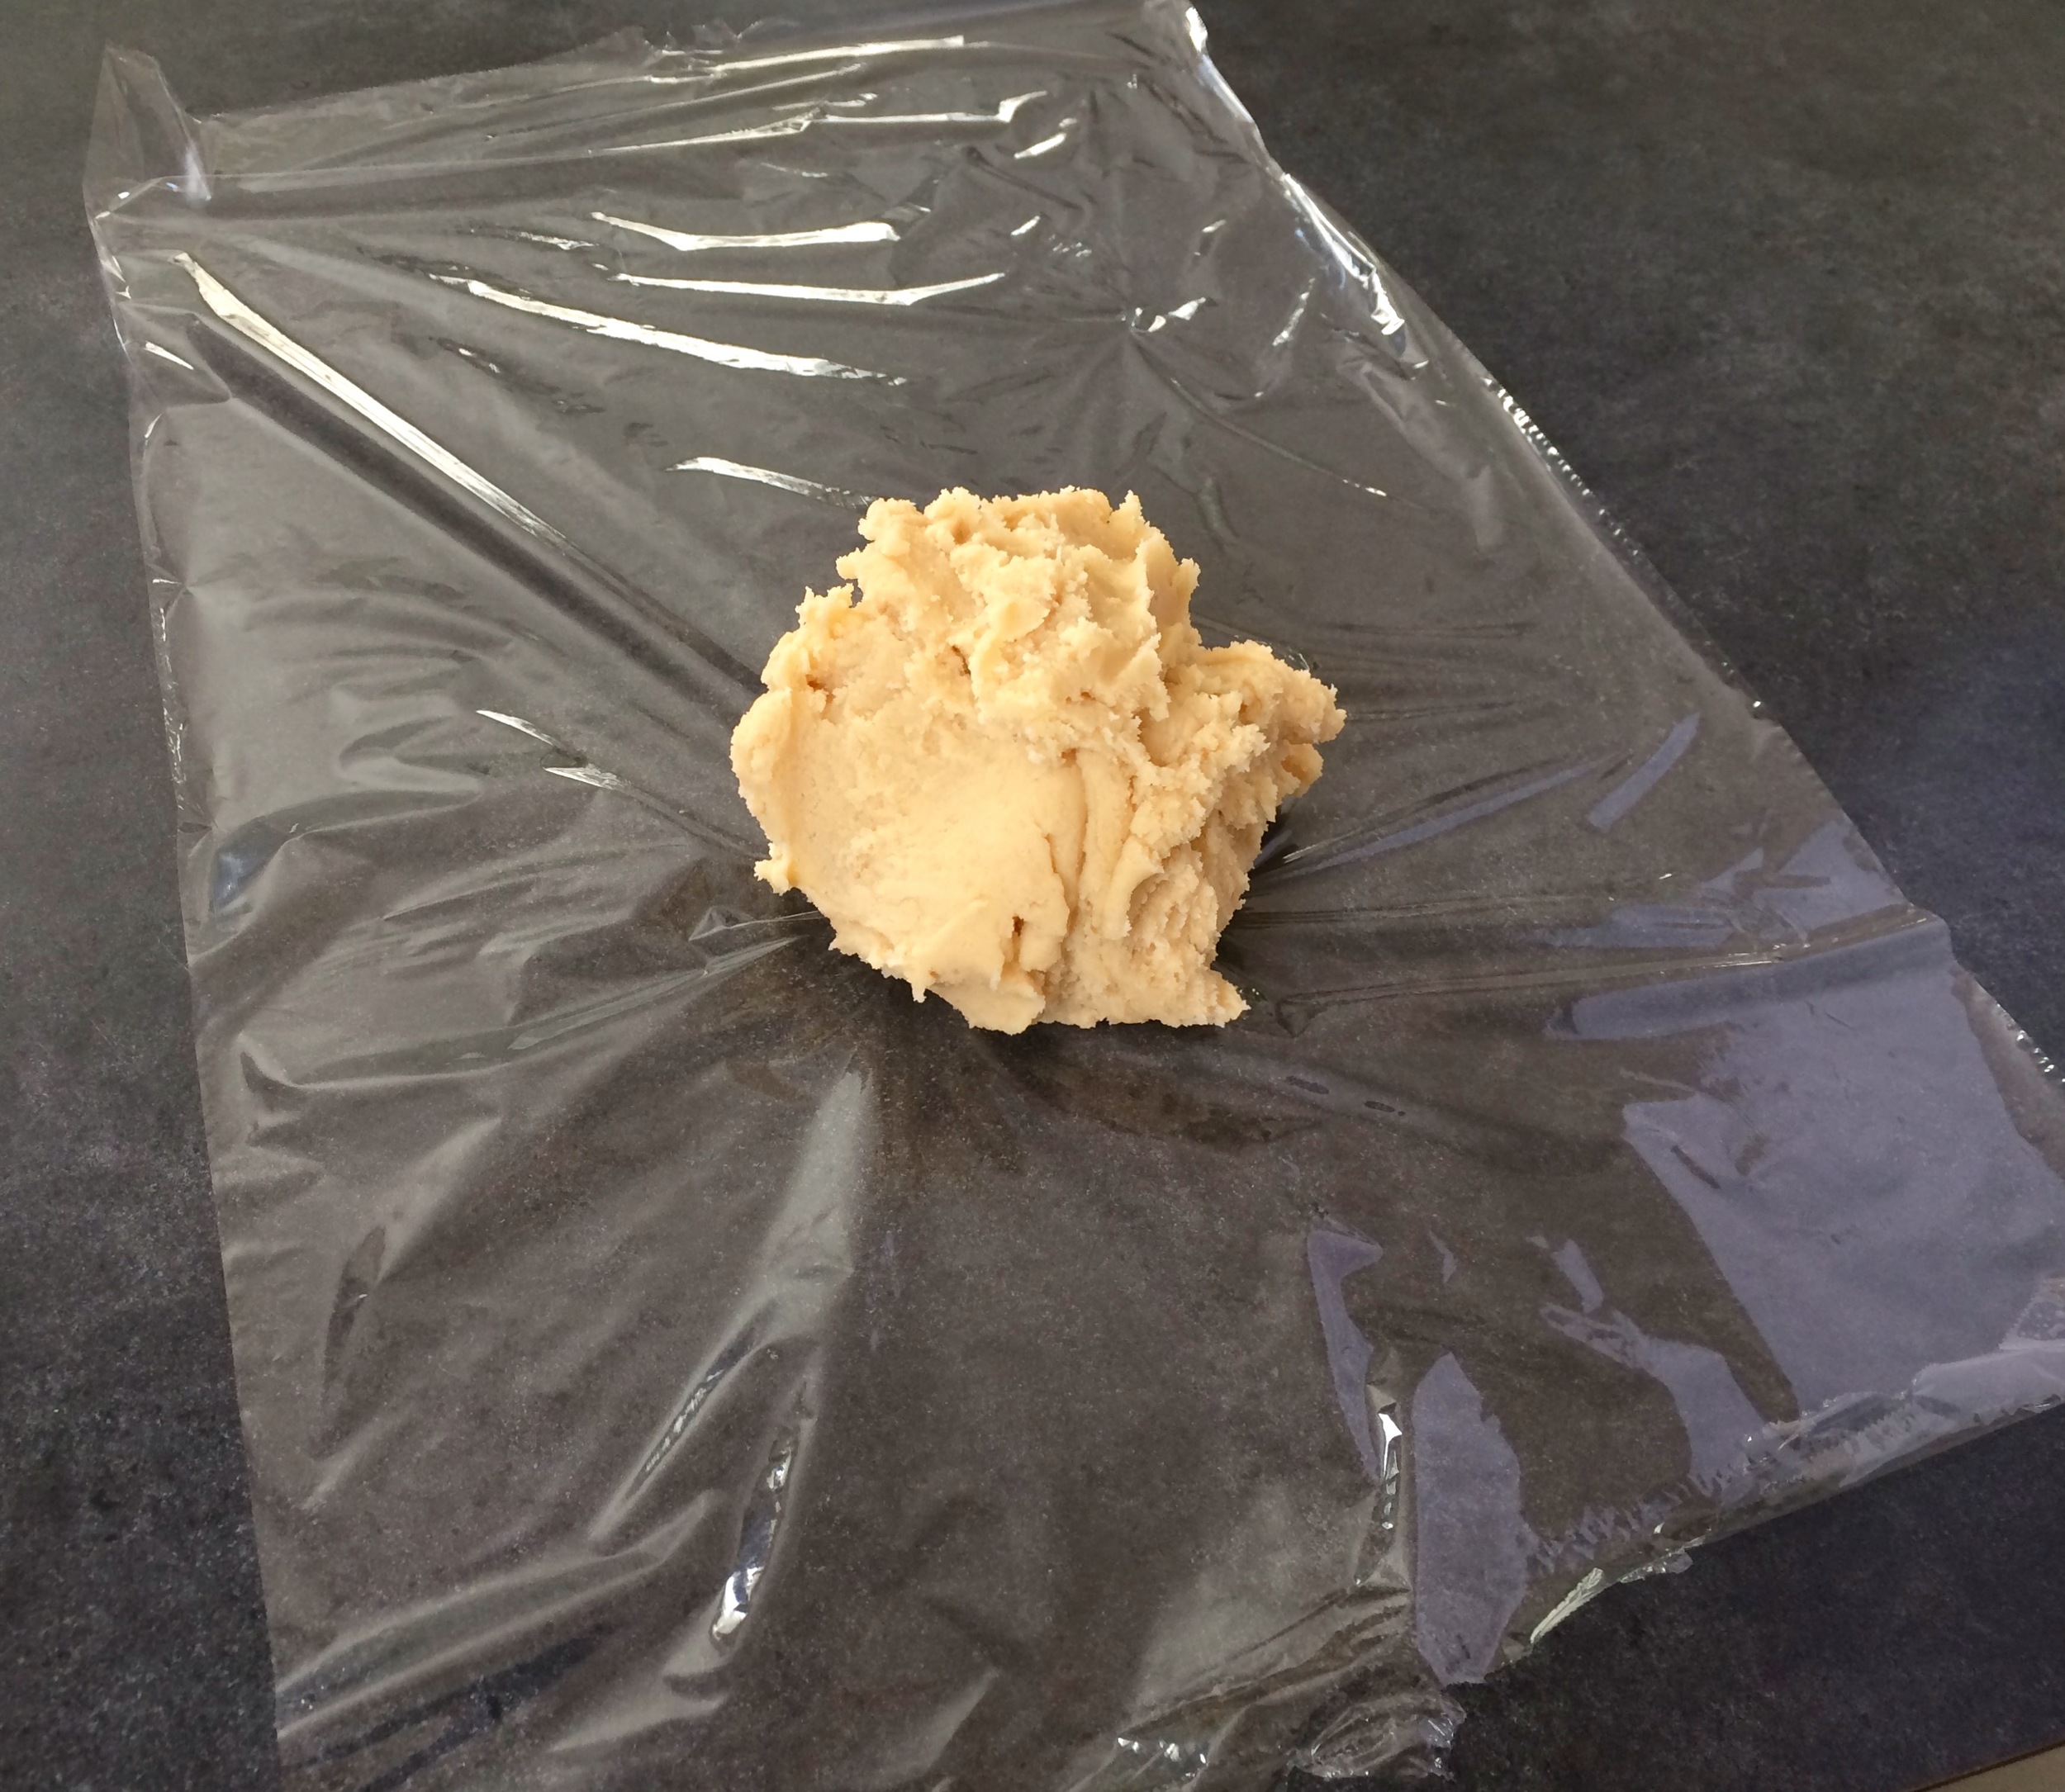
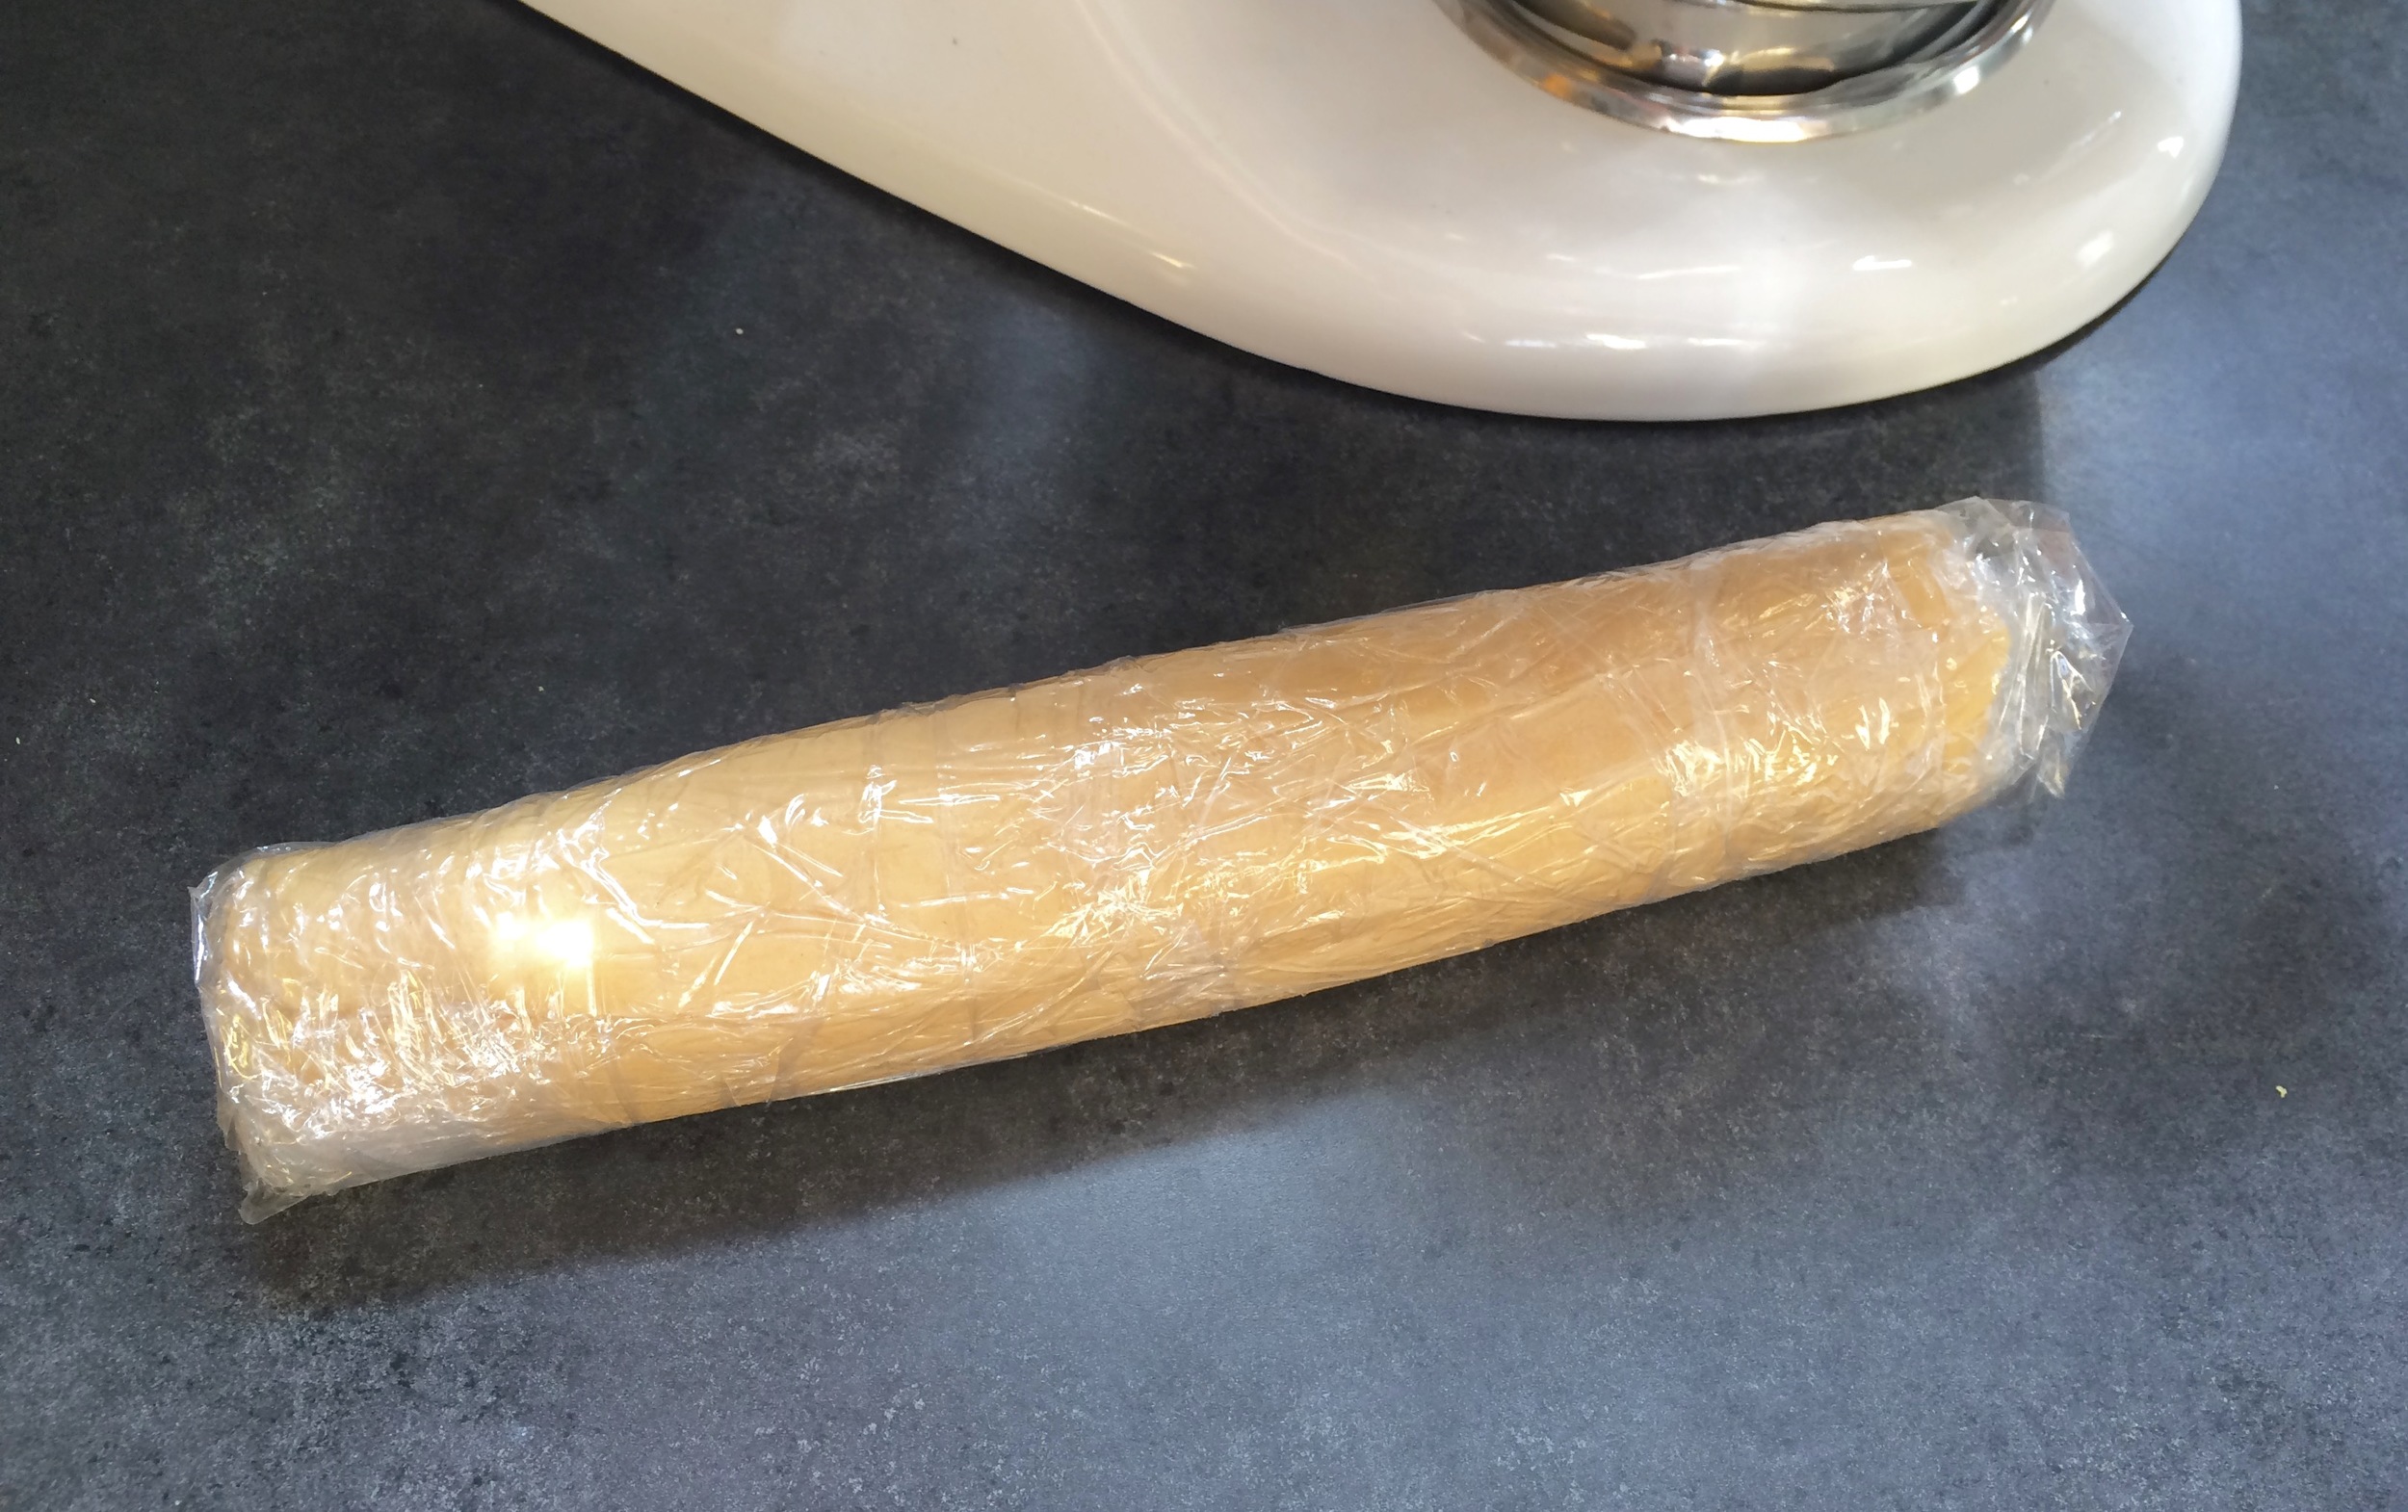
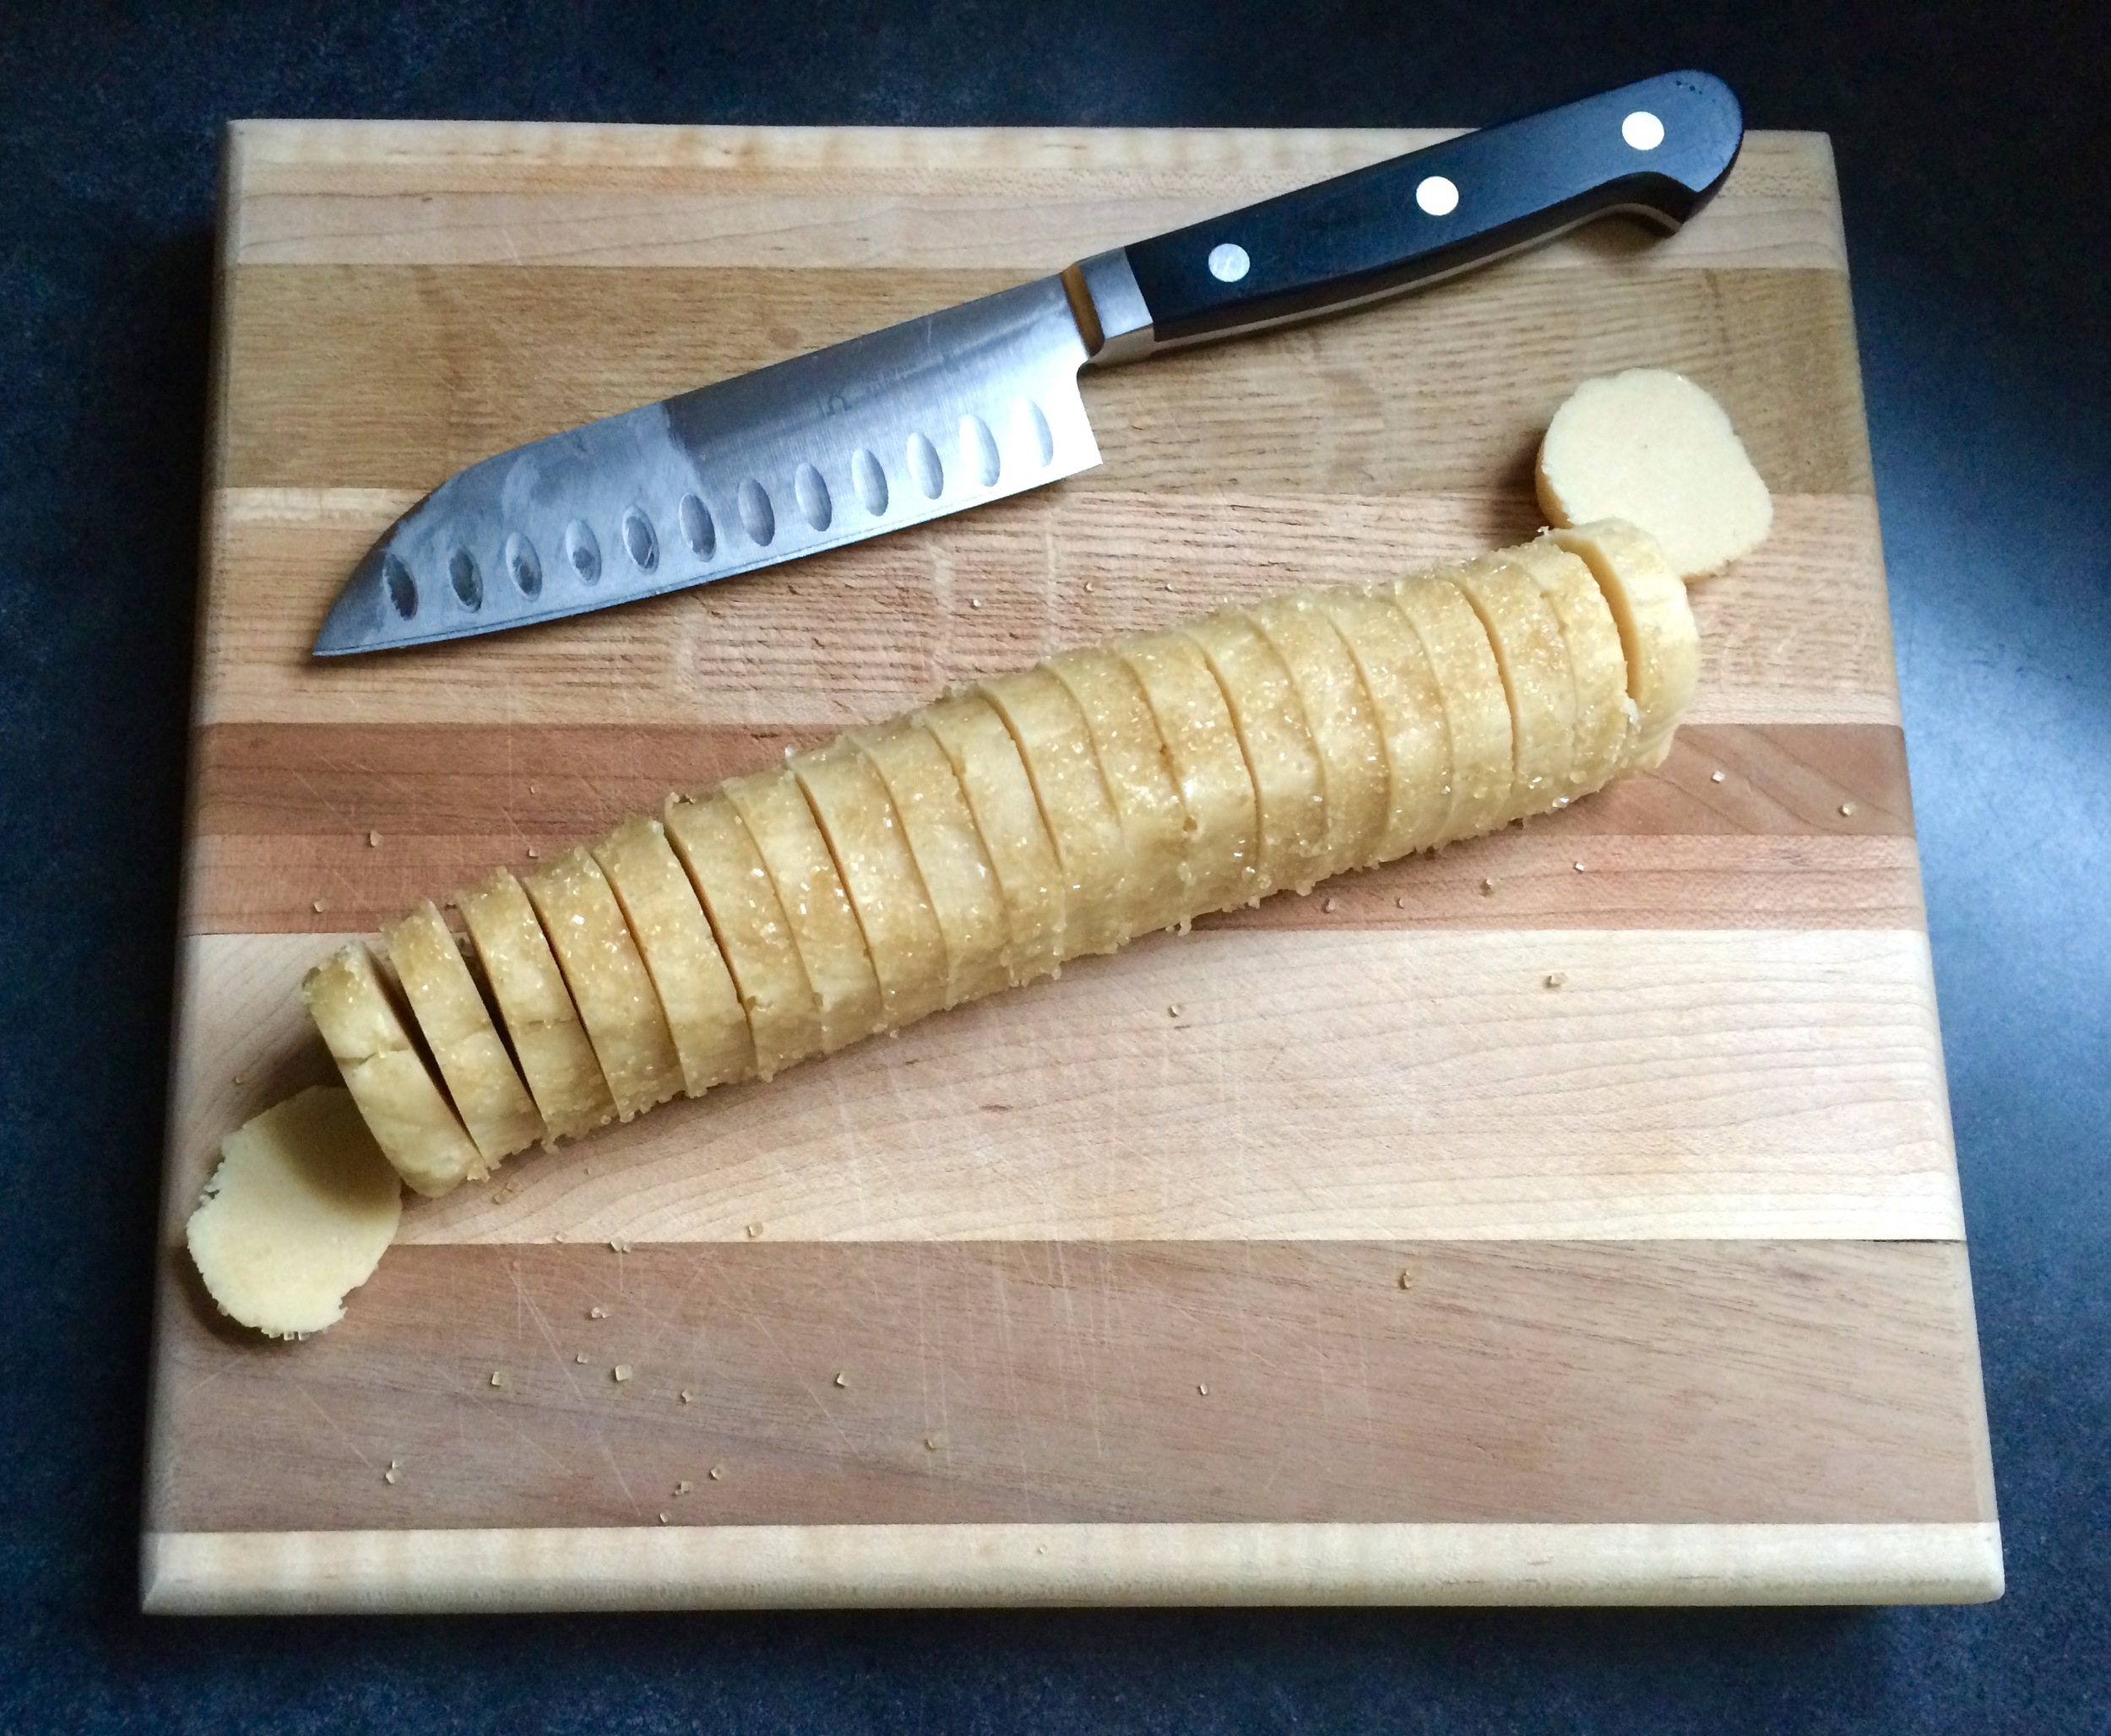
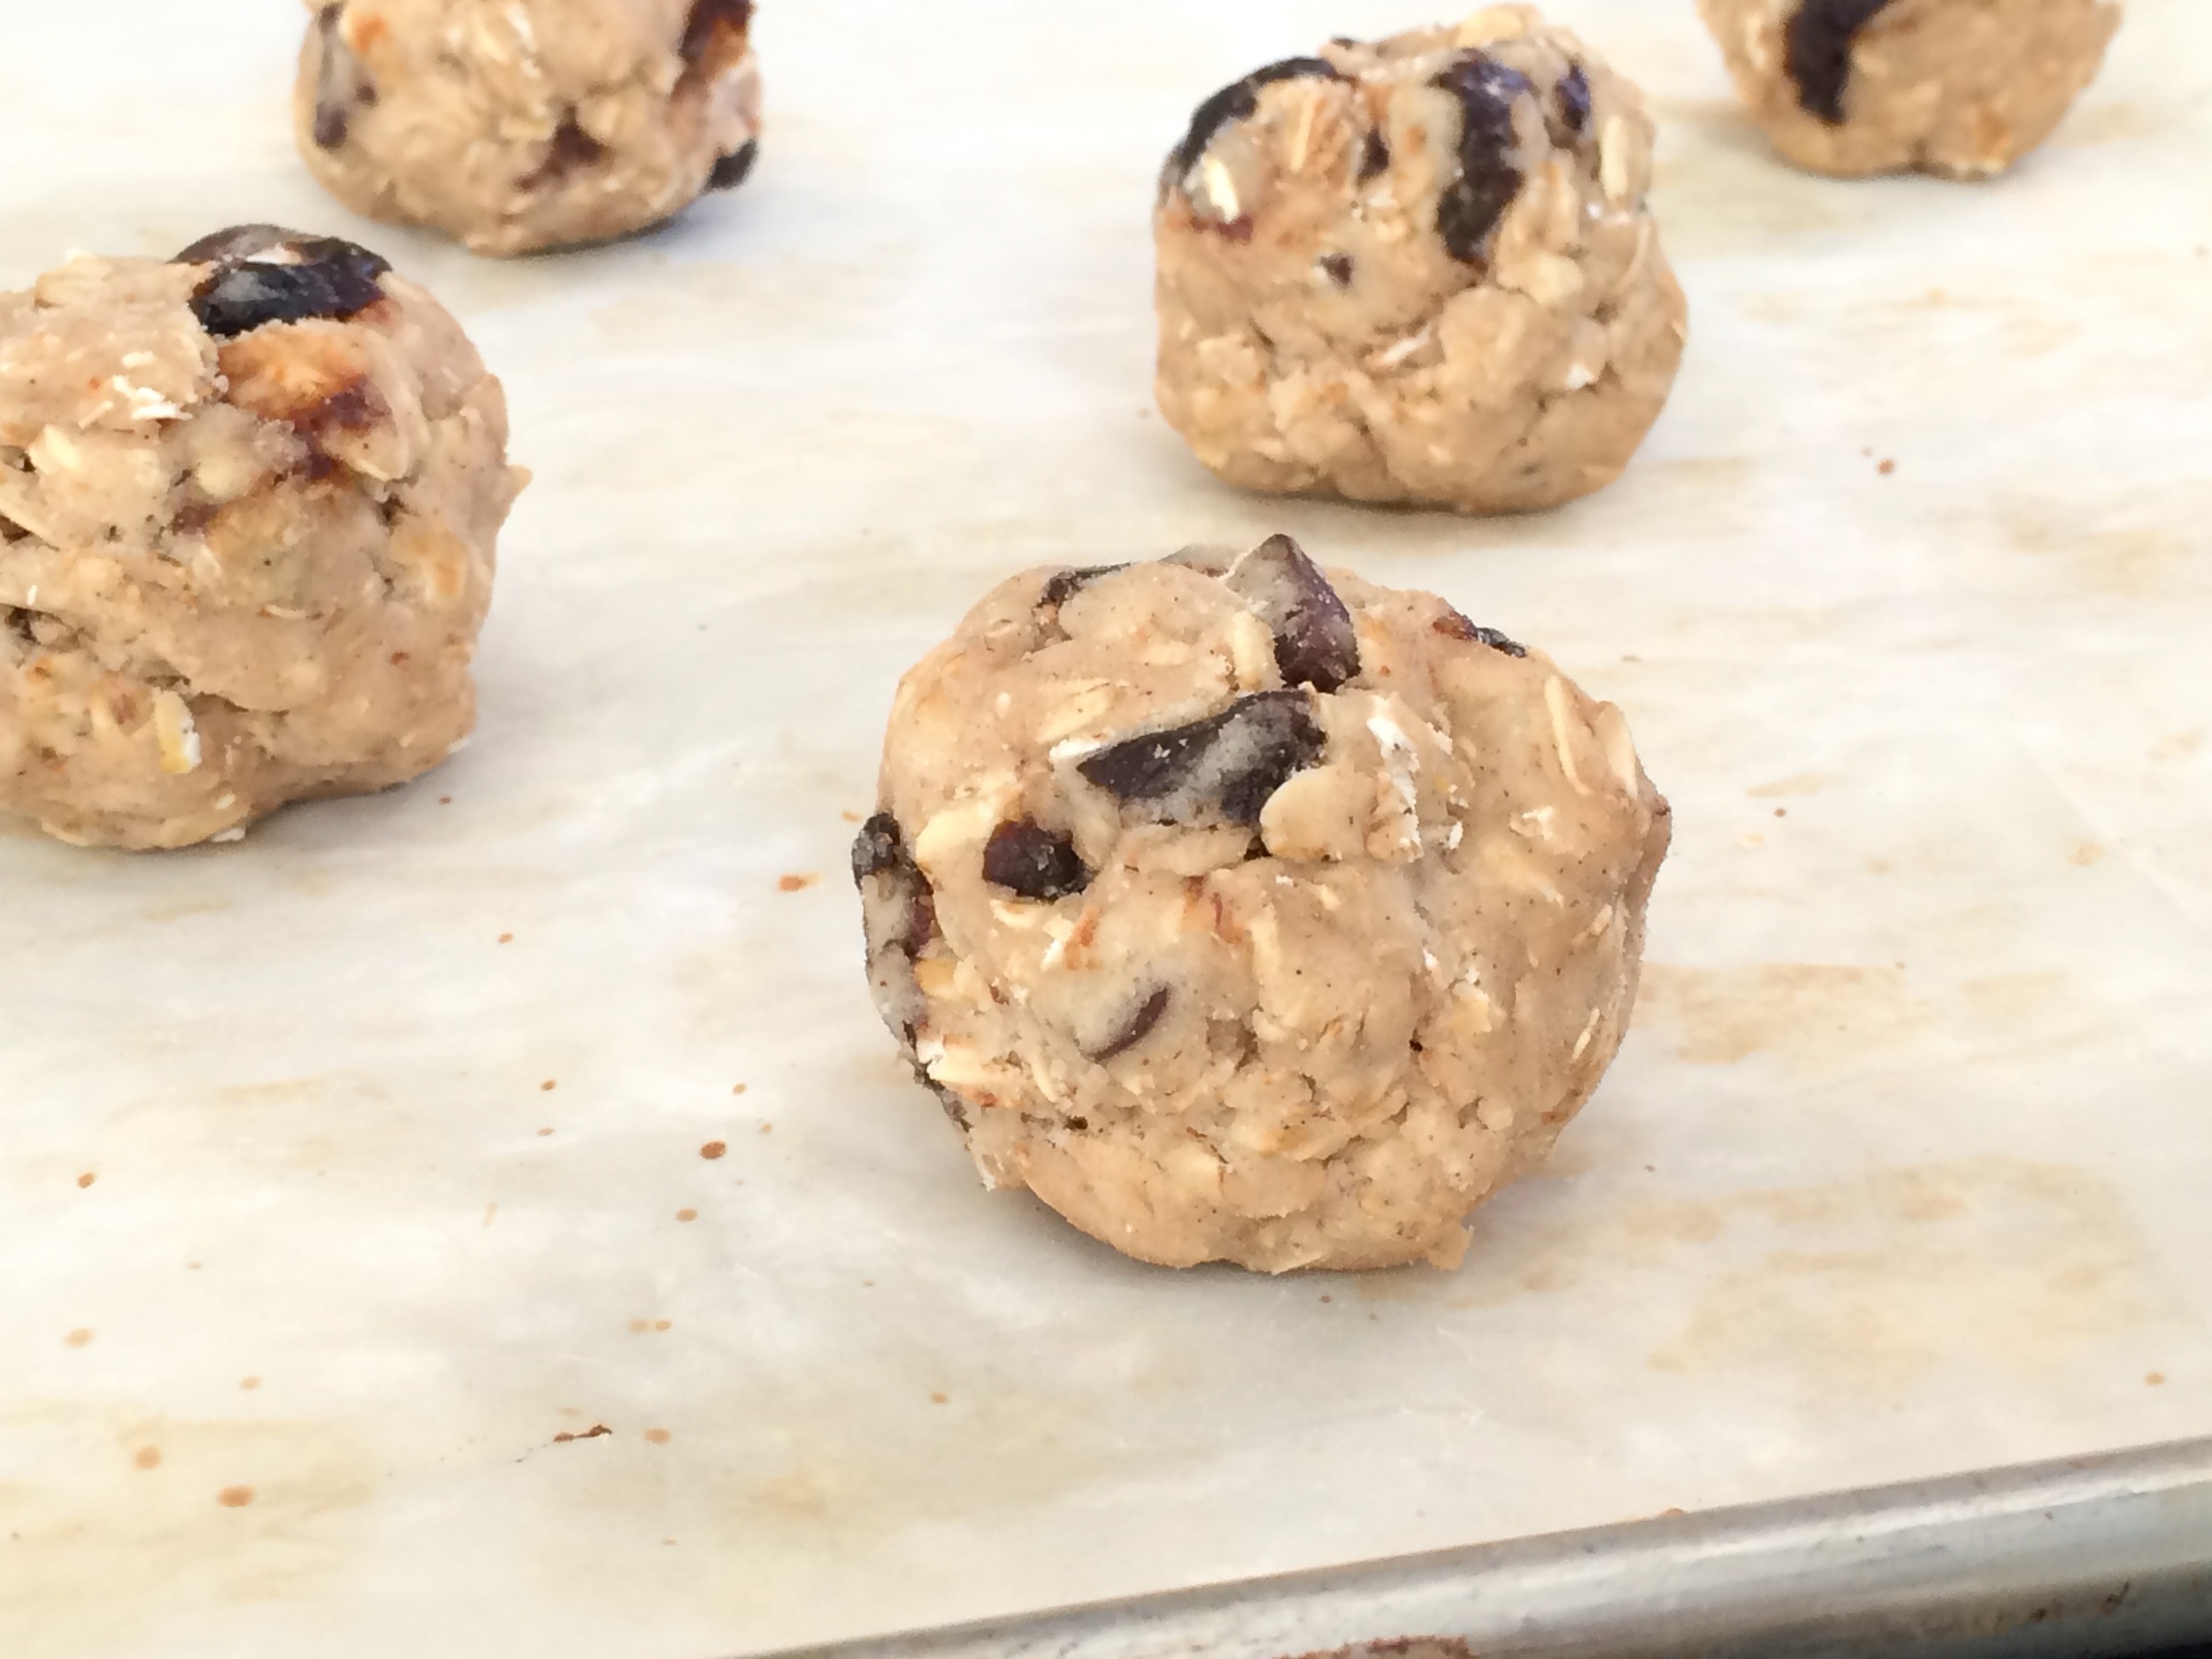
Place the dough and refrigerate at least a couple of hours, or overnight. When ready to bake, scoop out pin pong-sized balls of dough (I did 50 grams of dough each), and place on parchment-lined baking sheets. Place in a preheated 350°F oven and bake for 18-20 minutes, until just golden at the edges and have set in the center. Remove from the oven and cool on the pan for 5-10 minutes before transferring cookies to a wire rack to cool completely. 

Yields: approximately 8 large cookies
Nutrition: approximately 180 calories per cookie

Christmas Cookies 2016

Although they were a little late this year, I made sure to decorate my yearly batch of Christmas cookies. I whipped these together with my sister, and we went with a couple simple designs that would be simple to create; some cute little snowmen, and some festive gloves. I wanted to do mittens, but we didn't have a mitten cookie cutter, just a glove, so that's the route we went. Decorating Christmas cookies has become one of my favorite Christmas traditions so I was glad that we were able to find the time to do it again this year!


I had a great time the rest of my Christmas; going to the IMAX with my whole family to see Star Wars on the
big screen was tons of fun. 


And our family Christmas party is one of my favorite times of the year. We've made it a tradition to have homemade pizza for our get together. It's fun, casual and delicious. We've done personal pizzas in the past, but this year I just made two big pizzas that we all shared. They turned out delicious!


Try out this delicious homemade French onion dip from How Sweet Eats


Merry Christmas and a blessed New Year to everyone out there! I hope your Christmas season was as wonderful as mine!

Vanilla Sablé

When I went to the Netherlands earlier this year I loved the fact that every cup of coffee I ordered (and let's just say there were a LOT of them!) came with some kind of cookie on the side. Just a small little sweet bite to complement the dark, roasted flavor of coffee. Having been raised in a Dutch American home, I was already quite accustomed to "coffee-time" at home always having accompanying cookie of some sort (windmill cookies were always the go-to) , but seeing the same principle in action in everyday Dutch life was simply wonderful. After getting back from Europe I was inspired to whip together a couple batches of coffee-time cookies for myself. This vanilla sablé recipe was one of the cookies I happened to try out and it turned out to be an amazing choice. It was a fitting choice after my trip to the Netherlands and France; a French cookie to go along with my Dutch cookie culture inspiration! 

These cookies may look simple and humble but they are absolutely delicious! Super easy to make with just a few simple and basic ingredients, but the end result is heavenly. They are rich yet crisp and light, and melt-in-your-mouth buttery. If you have some good butter to spare, this is the place to use it and really let it shine. A perfect cookie to stand alongside a cup of strong dark coffee. 

The recipe I used for these cookies originally called for lemon and lime zest to make citrus sablé, but this time I just wanted something super simple and classic and so I flavored mine with just a little vanilla (vanilla bean would also be amazing if you have one). I also made a few little adjustments in order to not be left with 1/2 and egg. As far as I can tell these adjustments did not end up harming the final cookie one bit. Another great thing about these cookies is that you can make the dough ahead, and shape it into a long and then freeze the log of dough for up to a couple months before thawing and baking. I love finding ways I can work ahead and make life easier for myself in the future. 


Vanilla Sablé
Adapted from Joy the Baker
Ingredients

  • 1 stick butter
  • 1/4 cup (50 grams) granulated sugar
  • 2 tablespoons (15 grams) powdered sugar
  • 1/4 teaspoon salt
  • 1 egg, separated
  • 1 teaspoon vanilla extract
  • 1 cup (130 grams) flour
  • Turbinado sugar, for decorating

Directions
Working in a mixer fitted with a paddle attachment, beat the butter at medium speed until it is smooth and very creamy.  Add the sugars and salt to the butter and continue to beat until smooth and velvety, not fluffy and airy, about 1 minute. Reduce the mixer speed to low and beat in the egg yolk until well blended.

Turn off the mixer, pour in the flour and mix on low speed just until the flour disappears into the dough and the dough looks uniformly moist. If you still have some flour on the bottom of the bowl, stop mixing and use a rubber spatula to work the rest of it into the dough. (The dough will not come together in a ball — and it shouldn’t. You want to work the dough as little as possible. What you’re aiming for is a soft, moist, clumpy dough. When pinched, it should feel a little like Play-Doh.)

Scrape the dough onto a work surface and gather it into a ball. Shape into a smooth log about 9 inches long (it’s easiest to work on a piece of plastic wrap and use the plastic to help form the log). Wrap the log well and chill for at least 2 hours. The dough may be kept in the refrigerator for up to 3 days or frozen for up to 2 months.

When ready to bake, center a rack in the oven and preheat the oven to 350 degrees. Line a baking sheet with a silicone baking mat or parchment paper and keep it at the ready.

To decorate the edges of the sables, whisk the egg white until smooth. Place chilled log of dough on a piece of waxed paper and brush it with the white, and then sprinkle the entire surface of the log with turbinado sugar. Trim the ends of the roll if they are ragged and slice the log into 1/3-inch-thick cookies (I got around 18 cookies). May chill the dough again at this point if desired, or proceed directly on to baking. 

Place the rounds on the baking sheet, leaving an inch of space between each cookie, and bake for 17 to 20 minutes (mine went the whole 20), rotating the baking sheet at the halfway point. When properly baked, the cookies will be light brown on the bottom, lightly golden around the edges and pale on top. Let the cookies rest 1 or 2 minutes before carefully lifting them onto a cooling rack with a wide metal spatula. Repeat with the remaining log of dough. 

Date and Almond Breakfast Bars

Quick post this week. You may or may not have noticed my love for snack bars. Usually oat based, hearty, filling and on the healthier side. Well, here's another winner! These bars are soft, but not chewy, more of a sandy texture. They are slightly sweet, just enough for me, and a little salty (which I love!). The dates add a nice natural sweetness without being an overwhelming flavor. They bars bake up pretty firm and hold together unless it's really warm out, or they sit in a hot car for a while! Whoops!! 

I cut back slightly on the honey in these bars, just by 1 tablespoon. They may have been slightly firmer with that additional tablespoon, but I didn't mind them at all the way they turned out. While the title of this recipe is "breakfast bar" I really found them to be more of a homemade granola bar. But in the end it doesn't really matter what they are called. I just know I enjoyed them!


Date and Almond Breakfast Bars
Adapted from Donuts, Dresses and Dirt
Ingredients

  • 2/3 cup (90-100 grams) chopped dates
  • 1 1/4 cup (110 grams) old fashioned oats
  • 3 tablespoons (22 grams) whole wheat flour
  • 1/3 cup (20 grams) wheat germ
  • 1/3 cup (35 grams) chopped almonds
  • 1/2 teaspoon salt
  • 1/4 teaspoon cinnamon
  • 1/2 cup (65 grams) almond butter
  • 1/4 cup (50 grams) olive oil
  • 3 tablespoons (63 grams) honey
  • 1/2 teaspoon vanilla

Directions
Preheat oven to 350. Line a 8x8 inch pan with parchment paper and spray with oil. Set aside. 

Combine the dates, oats, flour, wheat germ, almonds, salt and cinnamon in a large bowl. In a separate bowl, whisk together the almond butter, olive oil, honey, and vanilla. Pour the wet ingredients over the dry mixture, and stir together until evenly combined. Spread the batter into the prepared pan, pressing the mixture firmly onto the bottom, edges and corners.

Bake the bars for 30-35 minutes, until they are golden brown all over. Cool the bars completely in the pan on a cooling rack. When mostly cool, transfer to the fridge and let them chill for a few hours. This will make it easier to cut into neat bars.  Remove from fridge and cut into bars.

Lime Cornmeal Cookies

I first made these cornmeal cookies 5 years ago when I was living in Dearborn. So much has happened since that time, but one thing that has not changed is how delicious these cookies are. That first batch was back in the early years of this blog and the photos on that first post were not so hot (if you're interested in taking a look you can see it here). I thoughts it was time to revisit this recipe and give it the photos it deserves. 

It had been a little while since I'd made a batch of these cookies, but I was having some friends over for a Bible study and the food I was making was full of Mexican flavors so I thought these cookies would be the perfect dessert to finish off the night with. They are buttery and tart with a wonderful crunchy texture from the cornmeal. The lime glaze on top really finishes them off nicely. All around a great cookie that's just a little bit different than the usual. Everyone I served them to loved them, so I'm sure anyone you serve them to will love them too! 

I halved the original recipe this time, the full batch makes quite a few cookies and I didn't need that many on this occasion. When shaping them I used my scale and made each cookie 30 grams, this yielded 17 cookies that were the perfect size in my opinion. The recipe calls for 90 grams cookies but that is just massive. I'm sure they'd be awesome, but I didn't feel the need to make mine this big. I ended up chilling the dough overnight before baking which is not called for in the original recipe, but the dough was fairly soft, and I had the time to throw it in the fridge before I needed to bake. The cookies might spread a little more if you don't chill the dough, but I haven't tested this. They did spread a bit regardless of the chilling, so just make sure there is enough space between each ball of dough before putting in the oven. And if you're feeling tempted to skip the lime glaze as I was...don't! It really finishes off the cookies perfectly - the sweet and tart glaze complements the crunchy and buttery cookie and brings them up a notch. Plus, it just looks so cute! 


Lime Cornmeal Cookies
Adapted from The Sweeter Side of Amy's Bread by Toy Kim Dupree and Amy Scherber

  • 3/4 cup (3 1/2 ounces) all purpose flour
  • 1/2 cup (3 ounces) coarse cornmeal or fine grits
  • Scant 1/2 cup (2 ounces) bread flour
  • 7/8 teaspoon kosher salt
  • 1/2 teaspoon baking soda
  • 1/2 cup plus 2 tablespoons (4 3/8 ounces) granulated sugar
  • 1/2 cup (4 ounces) butter, slightly softened
  • 3/4 ime zest, finely minced
  • 1 egg
  • 1 egg yolk
  • 1 cup powdered sugar
  • 1 1/2 tablesppons lime juice

Directions
Preheat the oven to 350 degrees. Line a cookie sheet with parchment paper.

In a bowl, add the all-purpose flour, cornmeal, bread flour, salt and baking soda and whisk together. Set aside. 

In another bowl, using an electric mixer with a paddle attachment, cream the sugar, butter and lime zest together on medium speed for 2 minutes, or until light and fluffy, scraping the sides and bottom of the bowl frequently. Add the egg and egg yolk, mixing until every thing is well combined.

With the mixer on medium-low speed, add the dry ingredients in stages. Mix only until everything is well combined, scraping the sides and bottom of the bowl frequently. There should not be any pockets of dry flour left in the dough. At this point, you can refrigerate the dough overnight, or move on immediately to the next step. 

Portion the dough into individual balls, rolling them between your hands to make them uniform. Place them on the cookie sheet with an inch or two between each cookie. They will spread during baking. (The original recipe calls for you to make giant cookies, 90 grams/3.2 ounces of dough each, which is huge and wonderful. However, I made my balls of dough a little more reasonably sized at 30 grams, 1-2 tablespoons, each.) This dough will be soft, so don't flatten the dough balls at all before baking. Bake the cookies for 16-18 minutes, rotating the cookie sheet halfway through the baking time. The cookies should be lightly browned on the edges and baked all the way into the center. They should be soft, but be careful not to underbake them or the centers will collapse and be doughy.

Cool the cookies on the sheets for 5 minutes, then move them to a rack and cool completely before glazing.

Whisk together the confectioner's sugar and the lime juice to make a loose glaze. Use a 2 inch pastry brush to frost the top of each cookie, leaving an unfrosted 1/4 inch border around the edge. Let the glaze dry completely before storing the cookies in an airtight container.

Nurse Cookies

I have a good friend who works in a local urgent care as a PA. A week or two ago she mentioned that it was going to be National Nurses Day coming up (it was actually last Friday, May6) and she wanted to bring a bunch of homemade goodies into the urgent care as a thank you to all the nurses she works with. She was hoping that Lara and I could help her out with some decorated sugar cookies, the type we usually make at Christmas. Of course we both jumped on board right away and last week the three of us got together to do some decorating. 

After browsing Pinterest, we settle on three design ideas, EKG hearts, bandages, and nurses caps. All three designs were very simple to make and turned out great! The perfect way to say Thank You to all those nurses out there who work incredible hard to give their patients the best care possible. So although this is a few days late; Happy Nurses Day!!

These cookies were a team effort. I made the cookies the day before we were planning on decorating and Lara made the royal icing that night and frosted the cookies with the base layer so they would have time to dry. The next day we headed over to our friends house and completed the decorating. So while there were a few different steps involved, the whole process was pretty easy and didn't take very long at all!


Vanilla-Almond Sugar Cookies
from Bake at 350
Ingredients

  • 3 cups all-purpose flour 
  • 2 teaspoons baking powder 
  • 1 cup sugar 
  • 2 sticks butter, cold 
  • 1 egg 
  • 3/4 teaspoon pure vanilla extract 
  • 1/2 teaspoon pure almond extract 

Directions
Combine the flour and baking powder, set aside. Cream the sugar and butter. Add the egg and extracts and mix. Gradually add the flour mixture and beat just until combined, scraping down the bowl, especially the bottom.

The dough will be crumbly, so knead it together with your hands as you scoop it out of the bowl for rolling 

Roll onto a floured surface and cut into shapes. Place on parchment lined baking sheets and freeze for 5 minutes. Bake chilled cookies for 10-12 minutes at 350. Let sit a few minutes on the sheet, then transfer to a cooling rack to cool completely. 


Royal Icing
from Sweetopia
Ingredients

  • 6 oz (3/4 cup) warm water 
  • 5 tablespoons meringue powder 
  • 1 teaspoon cream of tartar 
  • 1 kilogram (2.25 pounds) powdered sugar 

*** Note: if your meringue powder has no vanilla flavor in it, you may add a teaspoon of clear vanilla to this recipe

Directions
Pour the warm water and meringue powder into the bowl of an electric mixer. Mix it with a whisk by hand until it is frothy and thickened, about 30 seconds.

Add the cream of tartar and mix for 30 seconds more.

Pour in all of the powdered sugar at once. Using the paddle attachment, mix slowly, on the LOWEST speed, for a full 10 minutes. Icing will get thick and creamy.

Cover the bowl with a dampened towel to prevent crusting and drying.

Tint with food colorings and thin the icing with small amounts of warm water to reach the desired consistency.

Classic Brownies

It's been a couple weeks since I posted anything but I promise that I had good reason - I was in Europe for 10 days!! My sister and I went on a fantastic trip to the Netherlands and France and we had such a wonderful time. I will be sharing pics (LOTS of food pics!) soon, once I can go through all my photos, so stay tuned! 

Until then, enjoy this recipe for classic brownies. I'd have to say that brownies are one of my all time favorite desserts. They are easy, delicious, and always a crowd pleaser. I like my brownies rich and fudgy, those recipes that are full of butter, chocolate (not just cocoa powder) and eggs, with a tiny bit of flour to hold everything together. The only problem with these type of recipes is that I don't always have enough chocolate in the pantry to make them as they often call for 8+ ounces of chocolate (plus this can quickly get quite expensive).

I thought this recipe was a good compromise. It calls for some melted chocolate, but not half a pound of it, and only 6 tablespoons of butter which is really reasonable in a brownie. They are super easy to throw together and bake up beautifully, fudgy and dense, moist and chewy. Great chocolate flavor, a great go-to brownie recipe. 

When I was trying to find a brownie recipe to make I couldn't find anything just right. The recipe I used as a starting point for this recipe looked perfect, the only problem was it called for unsweetened chocolate which I did not have and didn't want to go buy at the time. I decided to try and adapt it so I could use bittersweet chocolate and just see how it worked. So I replaced the unsweetened chocolate with bittersweet chocolate, cut back a bit on the sugar, and added a little cocoa powder to boost up the chocolate flavor. In the end I thought they turned out great! I don't know how they compare to the original but it doesn't really matter, they are great as written below. If I ever find myself with some unsweetened chocolate maybe I'll try making the original recipe, but until then these brownies will do just fine!


Classic Brownies
Heavily adapted from Cook's Illustrated
Ingredients

  • 1/2 cup (2 1/4 ounces) all purpose flour
  • 1/4 teaspoon salt
  • 3/8 teaspoon baking powder
  • 2 3/4 ounces bittersweet chocolate, at least 60% cocoa
  • 6 tablespoons (3 ounces) butter
  • 1 tablespoon cocoa powder
  • 1 cup (7 ounces) sugar
  • 2 eggs
  • 1 1/2 teaspoon vanilla

Directions
Preheat oven to 325 degrees. Prepare a 8-inch square or similar sized baking dish by lining it with parchment paper and greasing the parchment with butter. Set aside. In a medium bowl, combine flour, salt, and baking powder; set aside.

Melt chocolate and butter in the microwave in 15-30 second intervals, stirring after each interval, being sure you don't overheat the chocolate. When chocolate is smooth and melted add the sugar and stir until well combined. Add eggs one at a time, whisking after each egg until completely combined. Add in vanilla.

Add 1/3 flour mixture, fold in with rubber spatula. Repeat until all flour is used and mix is smooth. Pour batter into prepared pan- make sure to spread into corners of pan. Smooth the surface for even baking.

Bake brownies for 30 to 35 minutes, or until a toothpick inserted into the brownies comes out almost clean. Cool in pan on wire rack for 10 minutes. Then carefully remove brownies from pan by lifting out the parchment. Transfer to wire rack and cool completely before cutting. For cleanest slicing, once brownies are almost completely cool, place in the freezer for 30-60 minutes until chilled all the way through before cutting. 

Peanut Butter and Oat Snack Bars

I've been on a search for some time now for my perfect go-to granola/snack bar. I do have a fantastic  already on this site, a recipe that is far and away the most popular recipe I've ever posted. While I love these granola bars, and have made them many, many times, I'm on the hunt for something different. I want a bar I can feel good about eating any time, day or night, one that has a modest amount of sugar and fat, and comes together easily using ingredients I will always have on hand. I also want bars that really hold together well. Something I can just throw into a bag in the morning and take with me that won't fall to pieces, or crumble everywhere, making a mess when I want to eat it. 

Throughout the last few months I've been looking at tons of different recipes and trying some out here and there. Part of my problem is that since I live alone, I find it difficult to eat what I make quickly, so this has been a slow process, but a fun one still. I want to share one of the bars I made recently. While it wasn't exactly what I was looking for, it turned out to be a wonderful recipe that hit almost all my requirements. I started with a fairly healthy cookie recipe and adapted it to bars. They baked up beautifully! The end result was a very sturdy, pretty nutritious, tasty bar that will be wonderful for a quick breakfast or satisfying mid-afternoon snack. 

You may wonder why they were not exactly what I was looking for. Really the only thing I would like to be slightly different is the texture of the bar. Because they do have 1/2 cup of flour in them, they turned out a little cakier than I would like. The flour did help them hold together very well, but it also made them feel a little more cookie-bar-like than granola-bar-like. Regardless, this is a great recipe that I will definitely keep in the rotation.  

The flavor of these bars is very nice. Just enough sweetness to make them delicious without making them feel like dessert, and the peanut flavor really shines through, nice and toasty. Lots of good oaty chew helps create a nice, hearty texture. This is a versatile recipe that you can certainly adapt to your preference. If you don't like or can't have peanut butter, use almond butter or another favorite nut or seed butter, and you can throw in whatever mix-ins you like. Any dried fruit, nut, seed or chocolate would be wonderful. 


Peanut Butter and Oat Snack Bars
Adapted from The Kitchn
Ingredients

  • 1/2 cup (128 grams) natural peanut butter
  • 1/3 cup (112 grams) honey
  • 1/2 teaspoon cinnamon
  • 1/2 teaspoon salt
  • 1 teaspoon vanilla
  • 1 egg
  • 1 1/4 cup (100 grams) old fashioned oats
  • 1/2 cup (64 grams) whole wheat flour
  • 1/2 teaspoon baking powder
  • 1/2 cup mix-ins (I used 10 grams pumpkin seeds, 10 grams sunflower seeds, 20 grams raw walnuts, 20 grams dried cranberries)

Directions
Preheat the oven to 325°F and line a baking 8x12 or similar sized pan with parchment paper that you spray with cooking spray.

In a medium pot over medium heat, melt together the nut butter and honey until smooth. Remove from heat and use a wooden spoon to stir in the cinnamon, salt and vanilla. 

Once the mixture has cooled a little, add in the egg and mix well. 

Add the oats, flour, baking powder and mix-ins to the pot and stir together until combined. The mixture will be quite thick. Transfer dough to prepared pan, spreading evenly all the way to the edges, pressing down to firmly. 

Place pan in oven and bake until golden brown on the edges, 20-25 minutes. Cool completely before removing from pan and cutting into bars. 

Yields: 14 bars
Nutrition: Approximately 150 calories each