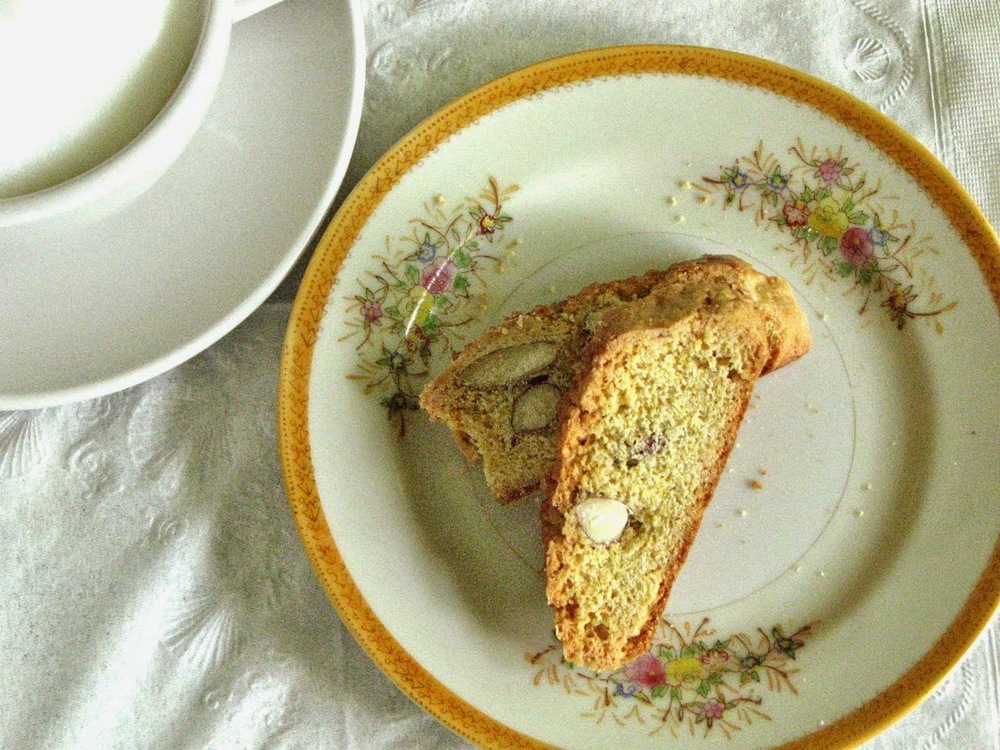
Almond Cornmeal Biscotti
Adapted from Martha Stewart's Baking Handbook
Ingredients
- 1-1 1/2 cups (4.75-7.5 oz) almonds
- 2 1/2 cups all purpose flour
- 1/2 cup yellow corn meal
- 2 teaspoons baking powder
- 1/2 teaspoon salt
- 4 tablespoons butter, room temperature
- 1 cup sugar
- 1 teaspoon vanilla extract
- 1/4 teaspoon almond extract
- 3 eggs, plus 1 egg, lightly beaten
- coarse sugar, for sprinkling (optional)
Directions
Preheat the oven to 375 F. Line a large baking sheet with parchment paper; set aside. Spread the almonds in a single layer on a rimmed baking sheet. Toast in the oven until fragant and just beginning to turn light golden, 6 to 8 minutes. Transfer nuts to a clean surface; spread evenly, and let cool completely.
Sift together flour, cornmeal, baking powder, and salt into a medium bowl; set aside.
In the bowl of an electric mixer fitted with the paddle attachment, beat the butter and granulated sugar on medium-high speed until light and fluffy, about 3 minutes. Beat in the vanilla and almond extracts. Add 3 eggs, one at a time, beating to incorporate after each addition and scraping down the sides of the bowl as needed. Add the flour mixture, and beat on low speed until combined. Mix in toasted almonds.
Turn out the dough onto a lightly floured surface and knead to evenly distribute the nuts. Divide in half. Shape each piece into a 18-inch log, and transfer to the prepared baking sheet, about 3 inches apart (note: this biscotti does not spread a lot during the first bake, so shape accordingly). Brush beaten egg over the surface of the logs, and sprinkle generously with sugar, if using.
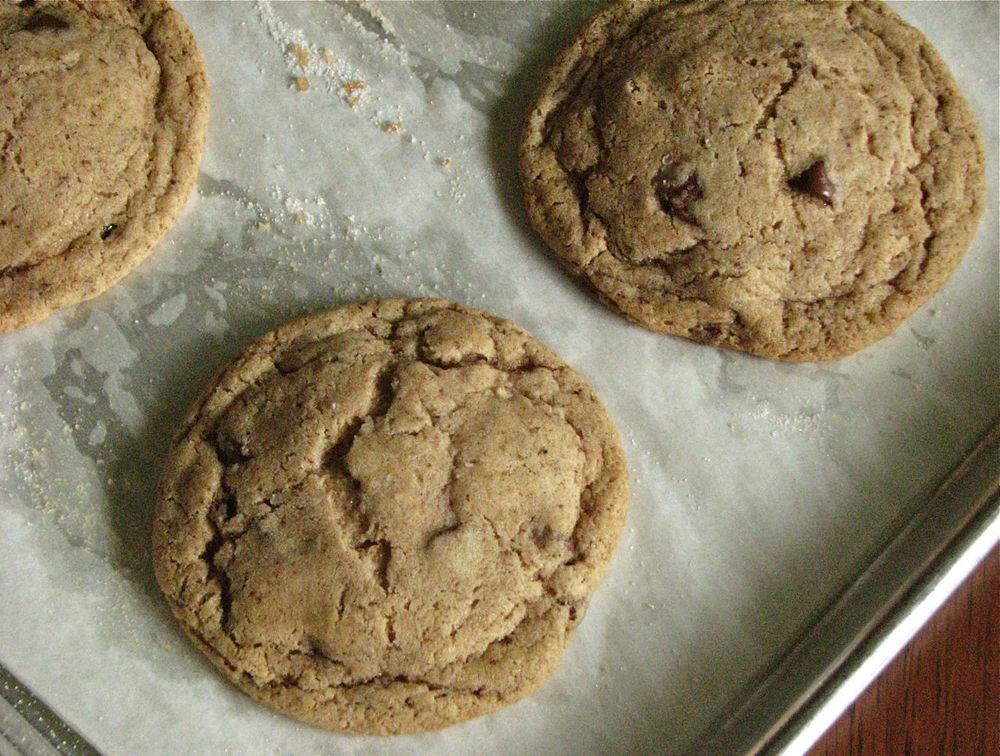
Bake, rotating pan halfway through, until logs are lightly browned and firm to the touch, about 25-30 minutes. Transfer parchment and logs to a wire rack to cool slightly, about 20 minutes. Reduce oven temperature to 300 degrees.
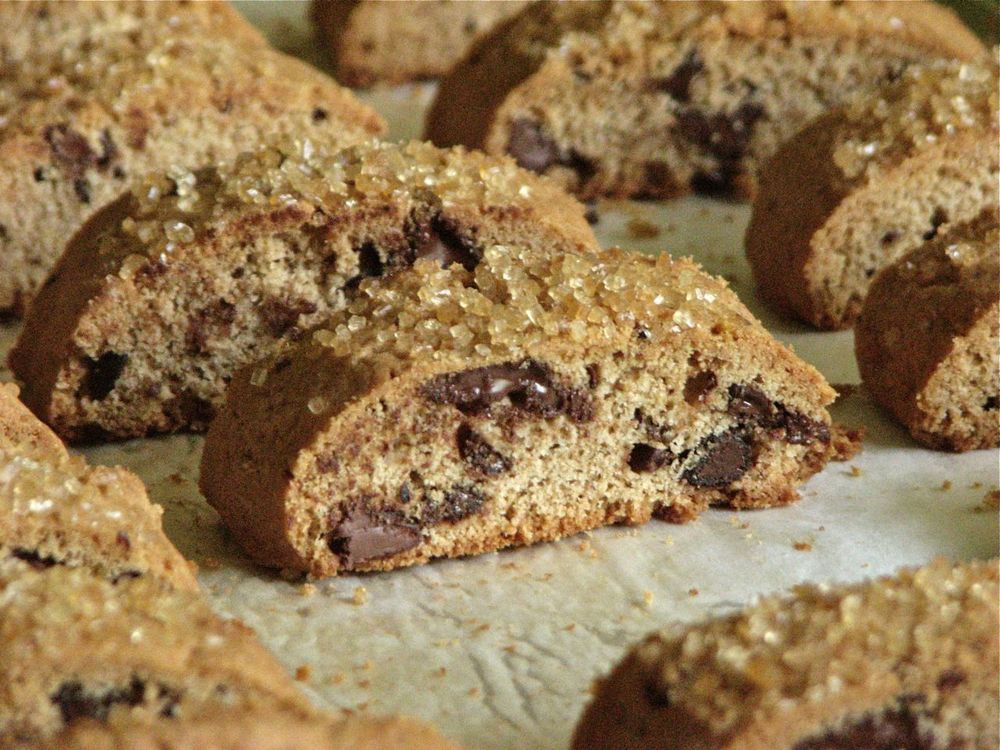
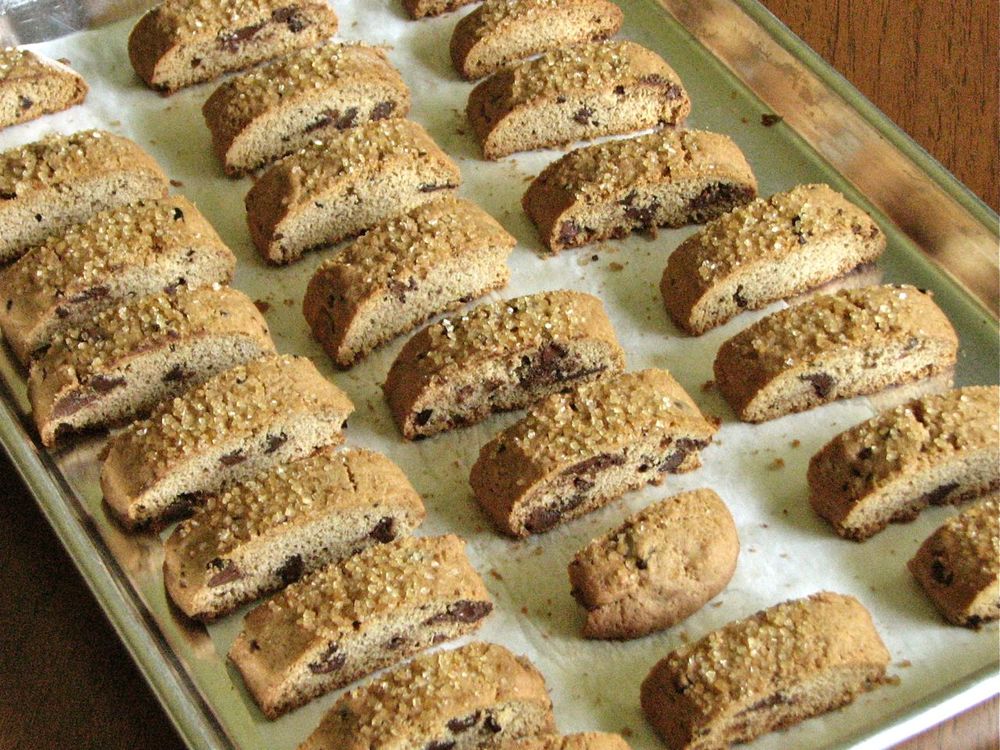
Place logs on a cutting board. Using a serrated knife, cut the logs crosswise on the diagonal into 1/2-inch-thick slices. Place a wire rack on a rimmed baking sheet. Arrange slices cut side down on the rack. Bake until firm to the touch, about 30 minutes. Remove pan from oven; let biscotti cool completely on the rack. Store in an airtight container.