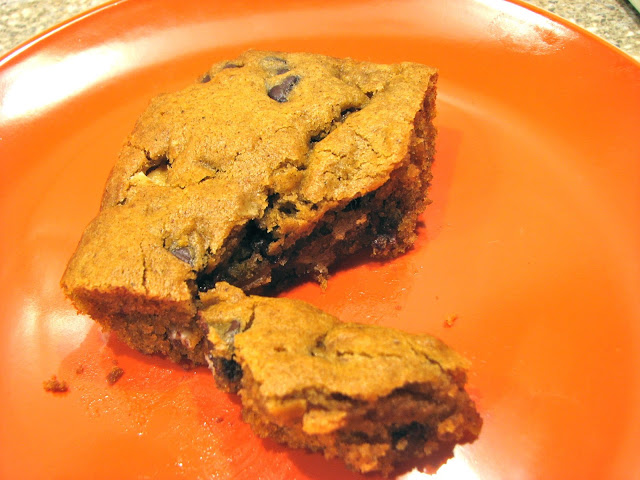
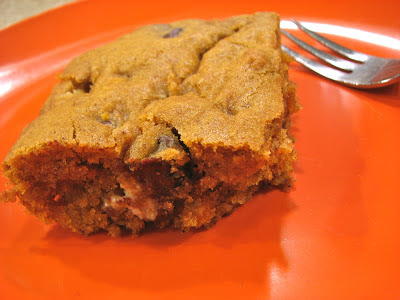
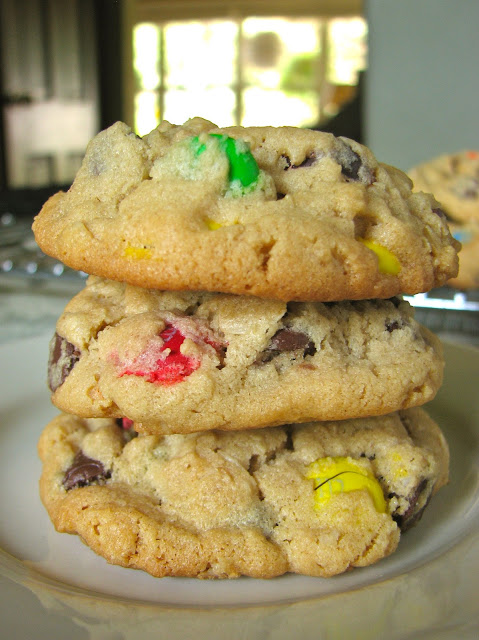
Death By Chocolate Chip Cookies
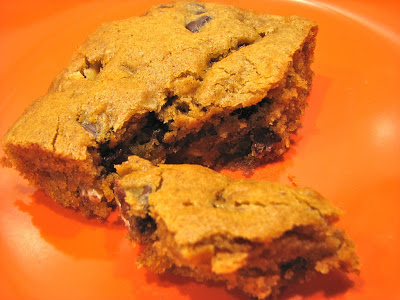
Double chocolate chip cookies always sound like a wonderful idea to me, but so often they just don't deliver that decadent, intense chocolate flavor I'm looking for. But have no fear, I have finally found the perfect recipe. These cookies are dark, decadent and intensely chocolaty, the perfect way to treat your chocolate craving. What I love most about them is that there is 8 ounces, yes, half a pound, of melted chocolate in the dough. Most double chocolate cookies have maybe a couple tablespoons of cocoa powered and that is all. This doesn't cut it in my book. I want real chocolate in my chocolate cookies and lots of it, not just a little powder. So this is it, finally a real chocolate lovers chocolate cookie.

If you aren't looking for something rich, these aren't for you. But if rich and chocolatey doesn't scare you, make these cookies immediately. The only difficult thing about these cookies, is waiting the 30 minutes for the dough to chill before you can bake them. But 30 minutes isn't too bad, and the wait will definitely be worth it in the end.

Death By Chocolate Chip Cookies
Adapted from Sally's Baking Addiction
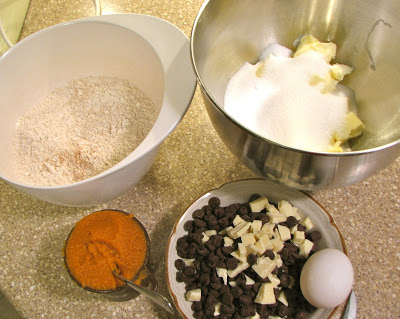
Ingredients
- 1 cup + 1 Tbsp all-purpose flour
- 1/4 cup unsweetened cocoa powder
- 1 tsp baking powder
- 1/4 tsp salt
- 8 ounces semi-sweet chocolate, chopped
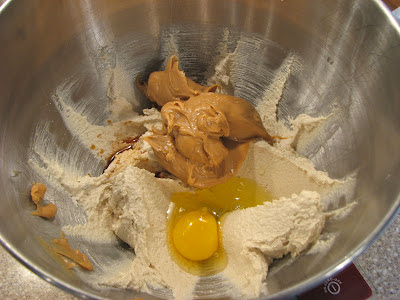
- 2 eggs
- 1 tsp vanilla extract
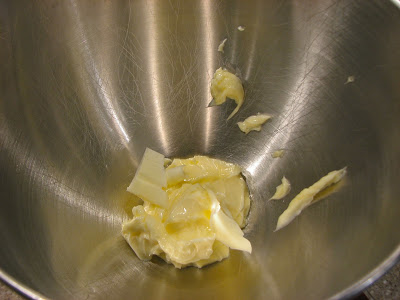
- 5 Tbsp unsalted butter, softened to room temperature
- 3/4 cup light brown sugar
- 1/4 cup sugar
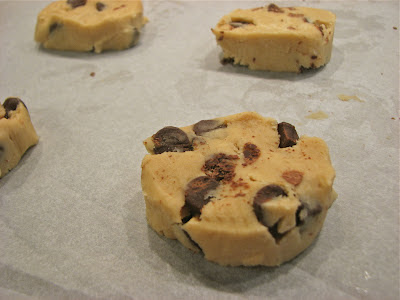
- 2 cups of your favorite chips; dark chocolate, peanut butter, white chocolate etc.
Directions
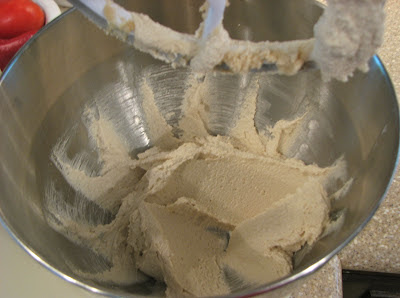
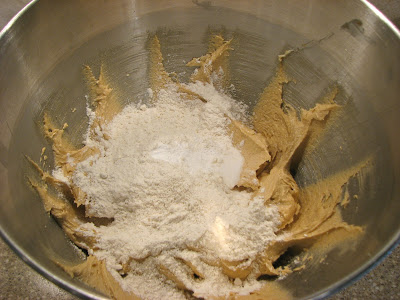
Sift together flour, cocoa powder, baking powder and salt in a medium bowl. Set aside.
Melt the chocolate in the microwave for about 1 minute. Stir. Continue to melt in 30 second increments until fully melted and smooth. Set aside.
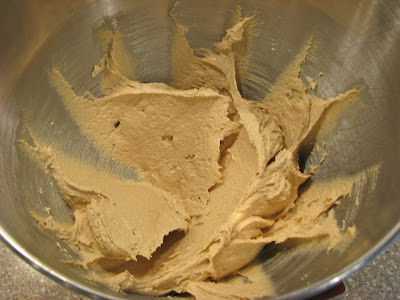
In a small bowl, whisk the eggs and vanilla. Set aside. With an electric or stand mixer with paddle attachment, beat the butter until smooth and creamy – about 1 minute. Beat in the sugars, scraping down the sides every 10 seconds or so. The mixture will be granular.
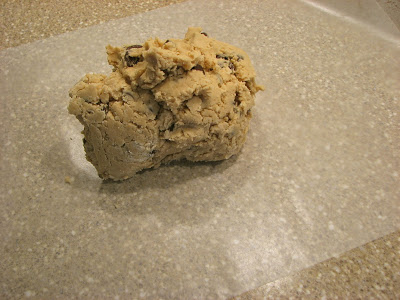
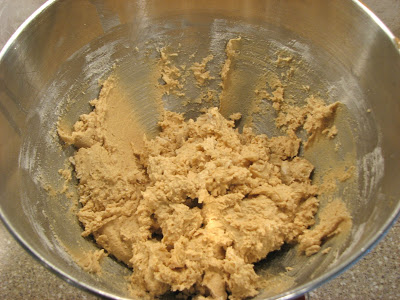
Mix in the beaten egg/vanilla until incorporated. Add the chocolate in a steady stream and beat until combined. Add the dry ingredients on slow speed. Fold in the chocolate chips and peanut butter chips. Do not overmix at any point in this process.
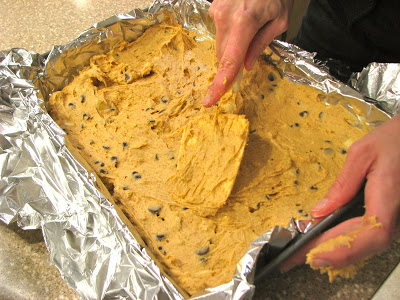
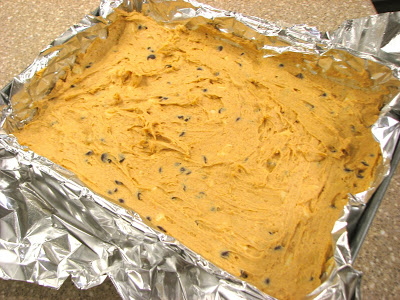
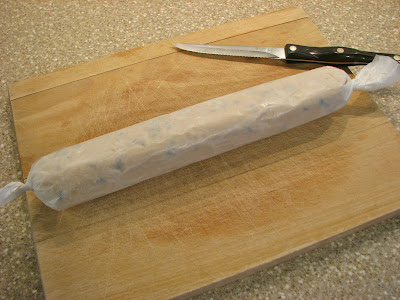
Chill dough for at least 30 minutes. Preheat oven to 350 degrees F.
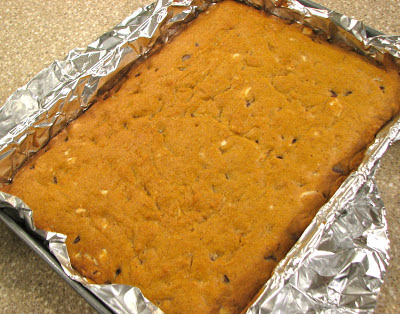
Scoop about 2 Tbsp of dough and roll into a ball. Bake for about 10 minutes, or until the cookies have just begun to set with the centers still appearing very soft. They will firm up as they cool.
Allow cookies to cool on baking sheet for at least 5 minutes before transferring to a wire rack to cool completely.