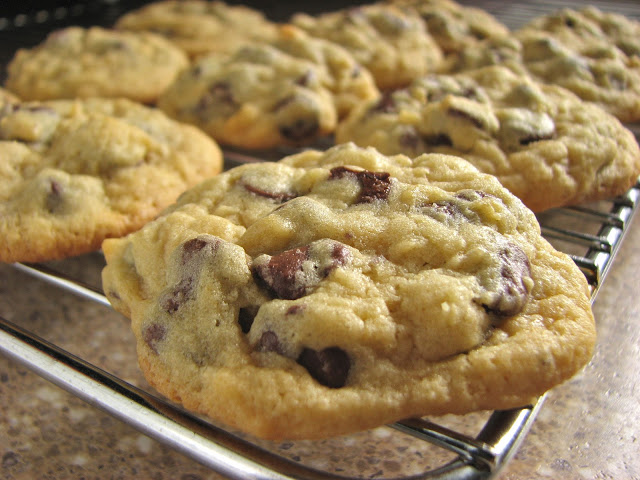
Super Soft Chocolate Chip Cookies
I have a favorite chocolate chip cookie, recipe, but that doesn't mean I've stopped looking at new recipes. You never know when you'll find something new and amazing. Chocolate chip cookies are one of my all time favorites, who doesn't like them? My mom didn't do tons and tons of baking when I was growing up, but she always made the absolute best chocolate chip cookies. I don't even try to make her recipe anymore, they always taste better when she bakes them. She has her recipe, and I have mine.
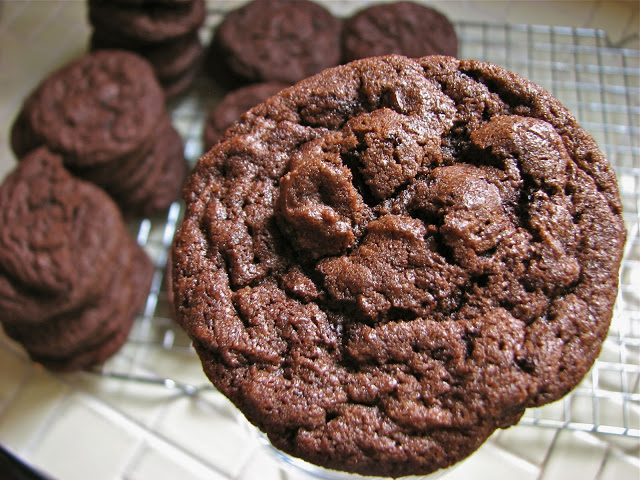
When I saw the recipe for these soft and fluffy CC cookies though, I knew I wanted to try them. I usually prefer a super chewy, slightly crispy CC cookie, but there are times when I crave something soft and light. These cookies did the trick. They were so super soft and pillowy, not a bit of crispness, light and airy and delicious. The flavor was very mild and subdued, a gentle cookie. If you are looking for a chocolate chip cookie that just melts in your mouth, look no further.
These cookies are very simple, just a basic chocolate chip cookie. You start by creaming the butter and sugars, throw in the pudding mix, then add the eggs, and finish with the flour mixture. Nothing to it. You can whip a batch together in just a few minutes and have freshly baked cookies in less than half and hour. Just make sure you have some instant pudding in your pantry and you are good to go!
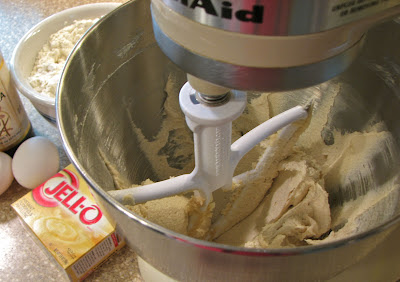
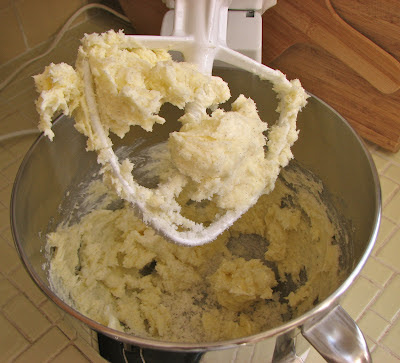
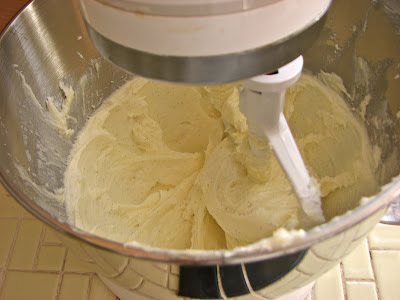
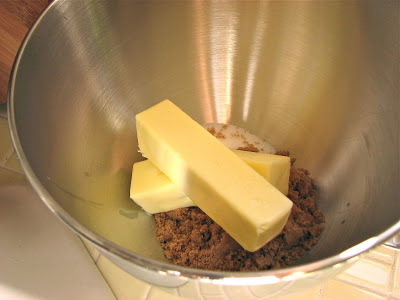
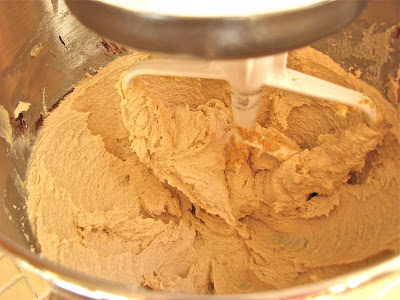
Cream the butter and sugars
Nice and fluffy
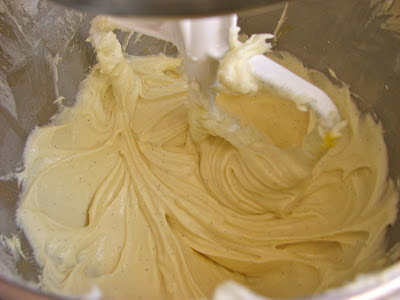
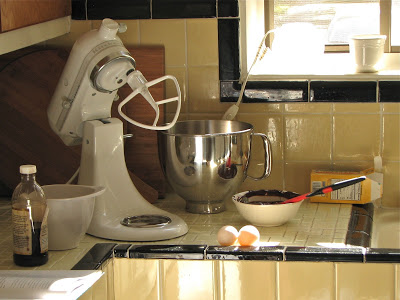
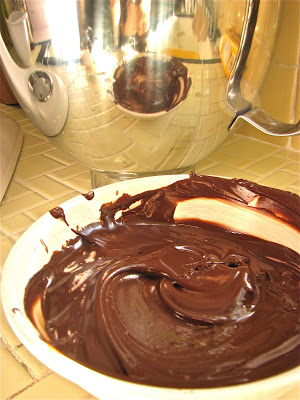
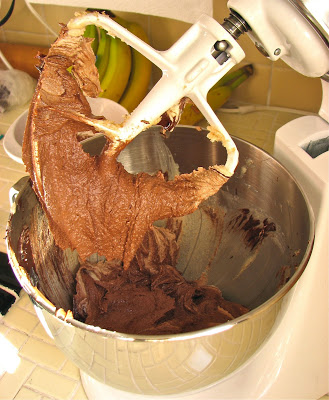
Add the pudding mix
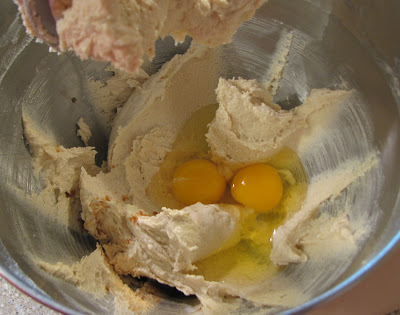
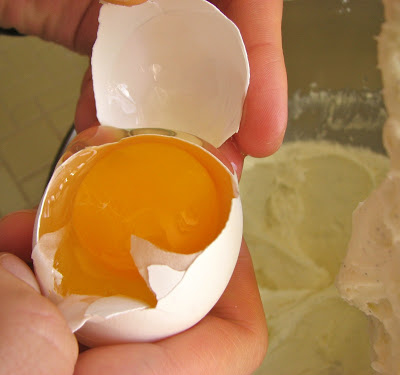
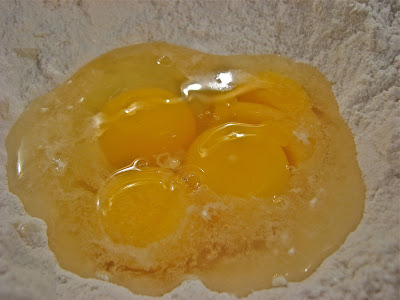
Next it's the eggs and vanilla
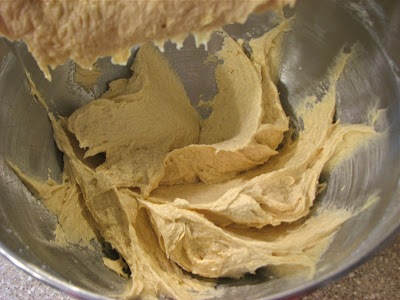
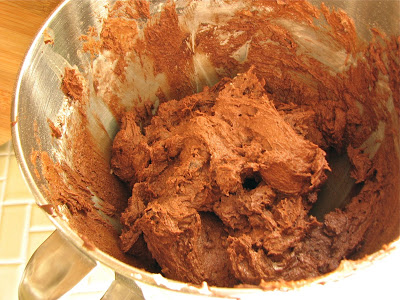
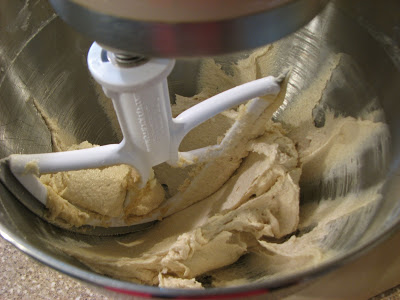
Creamy!
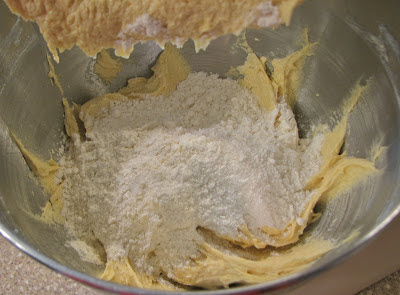
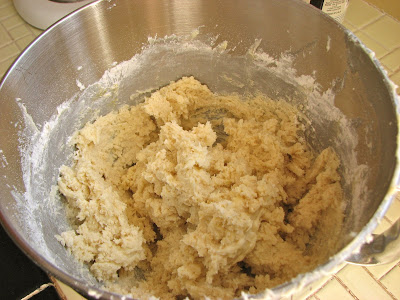
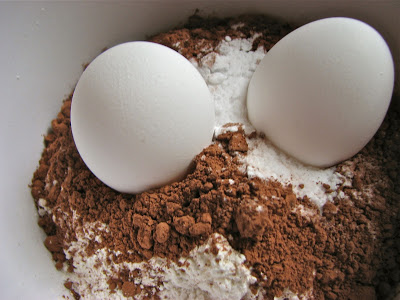
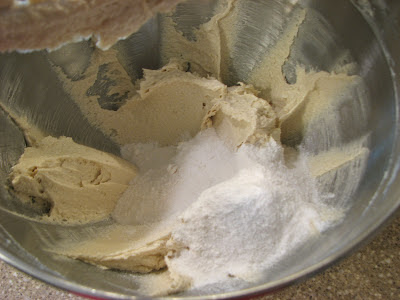
Time for the flour
Mix until almost completely combined

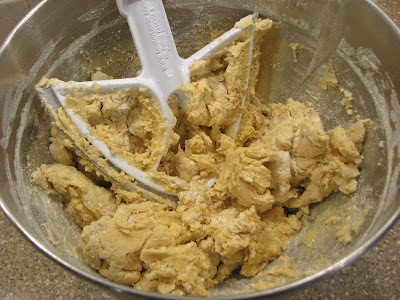
Add the chocolate chips

Mix it all together

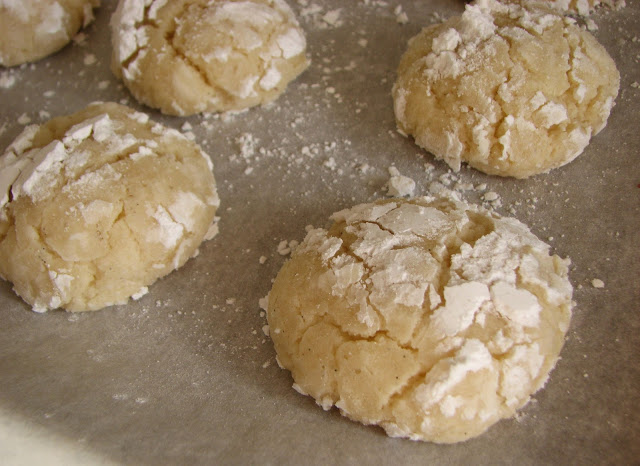
Scoop onto a baking sheet

Ready to eat
Super Soft Chocolate Chip Cookies
Adapted from: Kirbie's Cravings
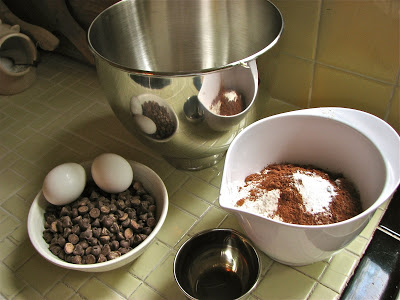
Ingredients
- 2 1/3 cups (11.25 ounces) flour
- 1 teaspoon baking soda
- 1 teaspoon salt
- 1 cup (2 sticks) butter
- 3/4 cup (5.25 ounces) brown sugar
- 1/4 cup ( 1.75 ounces) granulated sugar
- 1 3.4-ounce package instant vanilla pudding
- 2 eggs
- 1 teaspoon vanilla extract
- 2 cups chocolate chips
Directions
Preheat oven to 350 degrees F. In a medium bowl, sift together the flour, baking soda and salt, set aside.
In the bowl of a standing mixer, cream together the butter, brown sugar, and white sugar. Beat in the instant pudding mix until blended. Stir in the eggs and vanilla. Add the flour mixture and mix until almost completely incorporated, then add the chocolate chips, folding them in by hand until evenly incorporated.
Scoop cookie dough onto baking sheet (I used a 1 1/2 tablespoon cookie scoop) and bake in the preheated oven for 10-12 minutes, until the edges just begin to brown. Let the cookies rest on the baking sheet for 5 minutes before transferring to a wire rack to cool.